pixel

Real-time rendering plugin that integrates seamlessly into your 3D modelling software:

Enscape works with SketchUp, ArchiCAD, Revit, Rhino & Vectorworks

Start Using Enscape to Create Your SketchUp Renders

Creating a SketchUp Render is Easy with Enscape

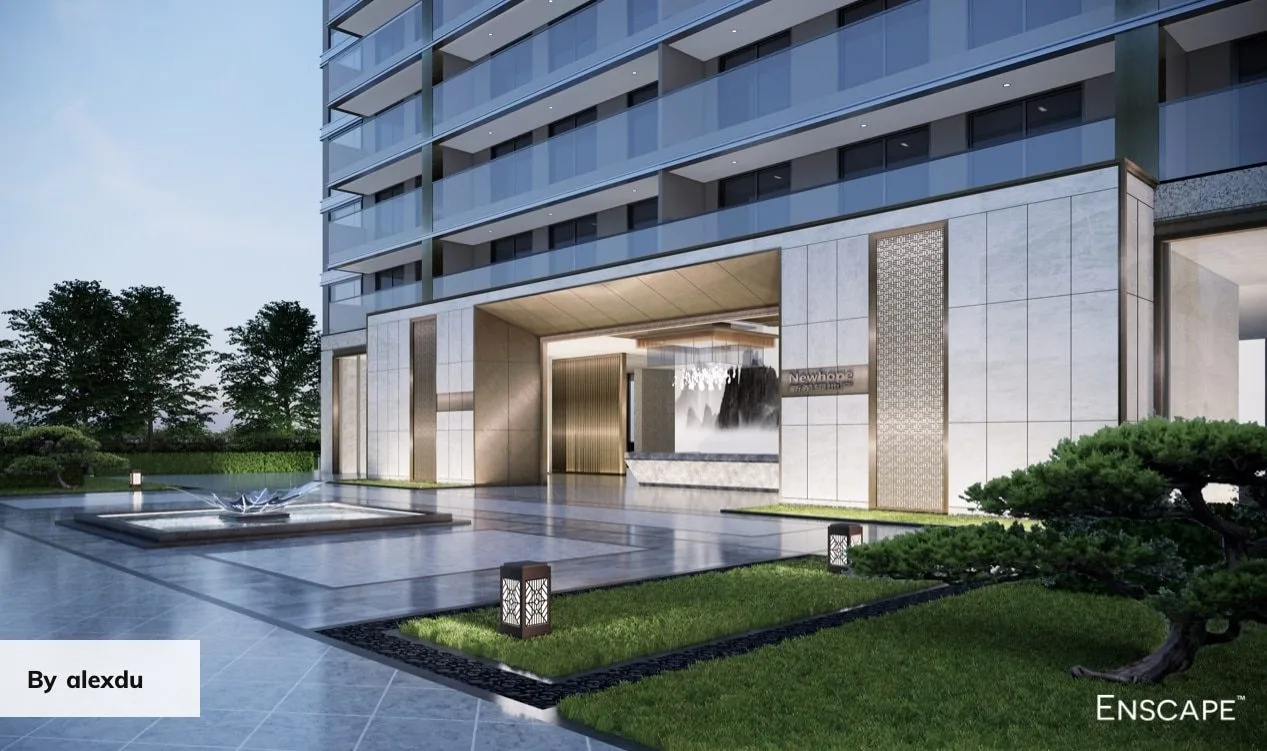
Enscape is a real-time render plugin that empowers you to create beautiful, realistic renderings in a matter of seconds, all from within your favorite 3D modelling software.

Used by architects, designers, and the wider AEC industry, Enscape plugs directly into SketchUp, so you can create a SketchUp rendering and even explore your design in virtual reality, without the need to switch to another tool or export or import any files.
Already used by 85 out of the top 100 architectural firms, Enscape is helping SketchUp users to not only create realistic renderings, but to also improve their design process, accelerate decision-making, and communicate and collaborate more effectively with clients and stakeholders.
enscape showcase zin
enscape showcase clam

Why use Enscape for SketchUp?

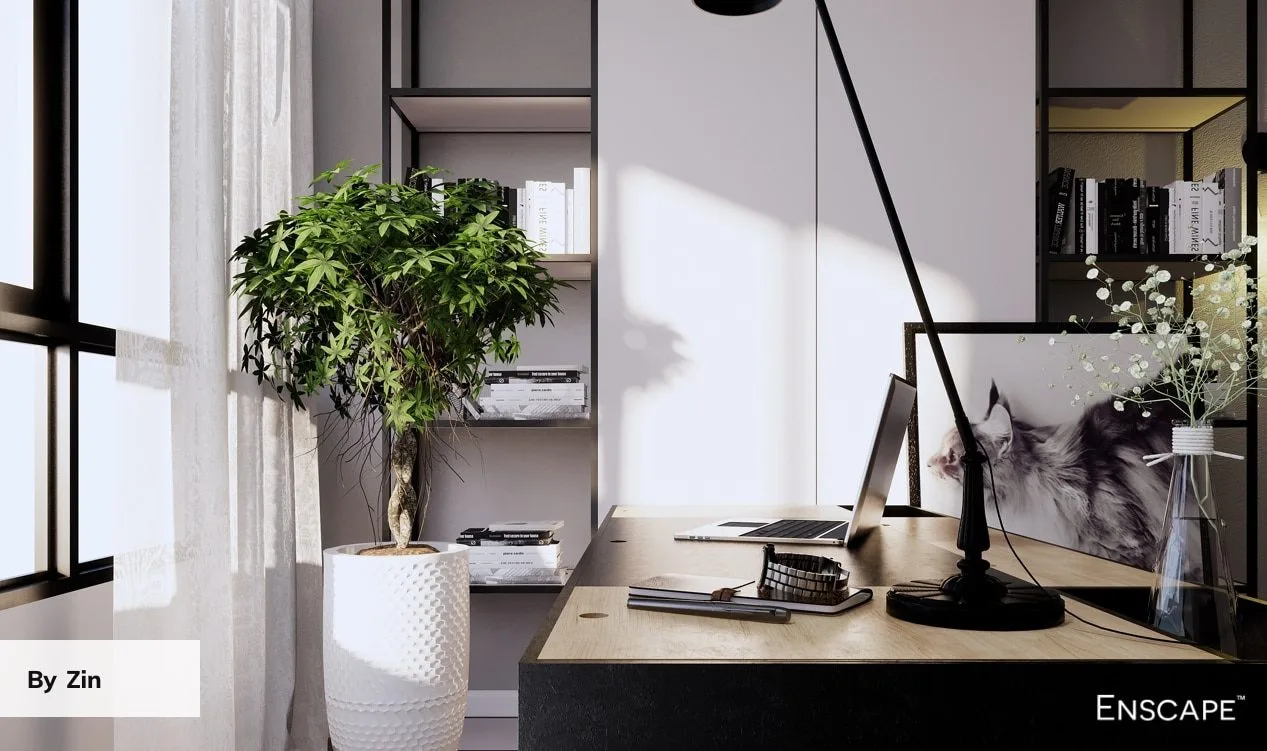
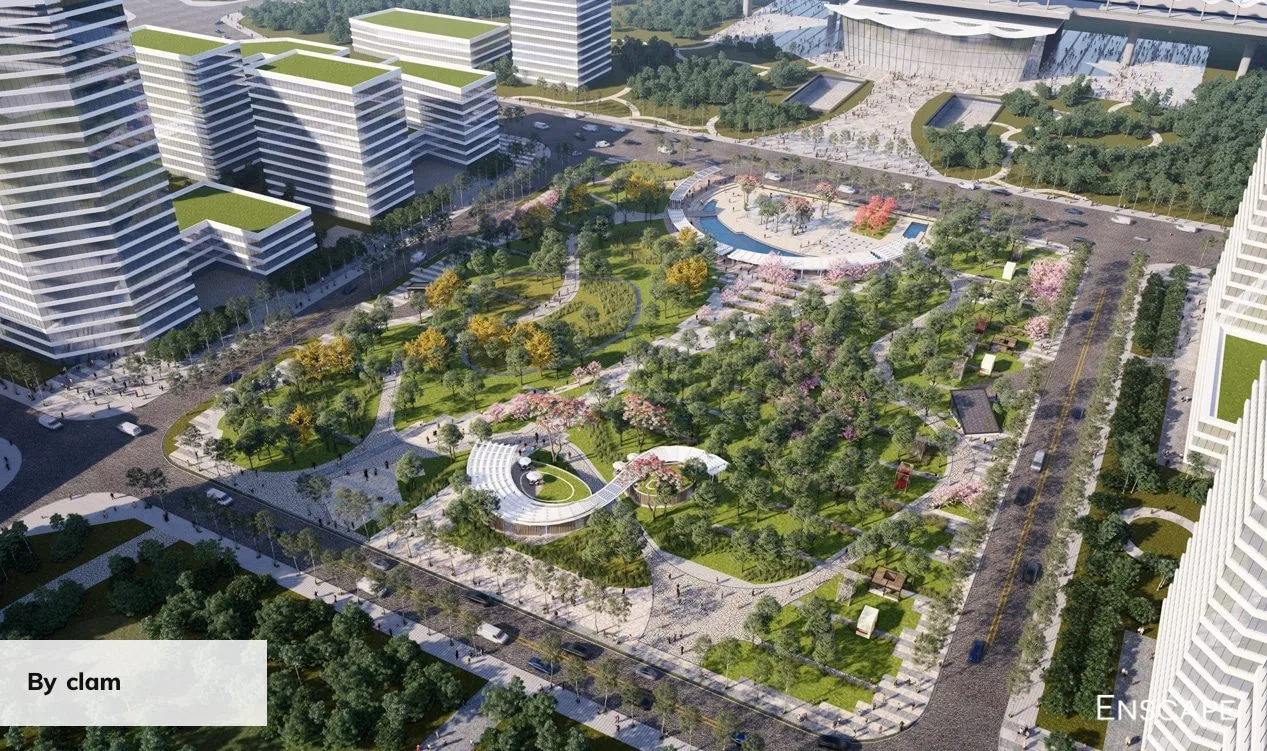
The Enscape SketchUp render plugin provides you with the ability to render, walkthrough, flythrough, create animations, and virtually experience your model in 3D.

It’s easy to export your model and allow others to review your design, with the help of 3D panoramas, QR codes, and web links – helping you to present your ideas and communicate your design in whatever format works best for you and your audience.

Using Enscape as your SketchUp renderer can help you bring your visualizations to life since Enscape comes with a built-in asset library with over 2,300 high-quality assets, a materials editor and lighting options for SketchUp.

How to Create a SketchUp Rendering in Enscape

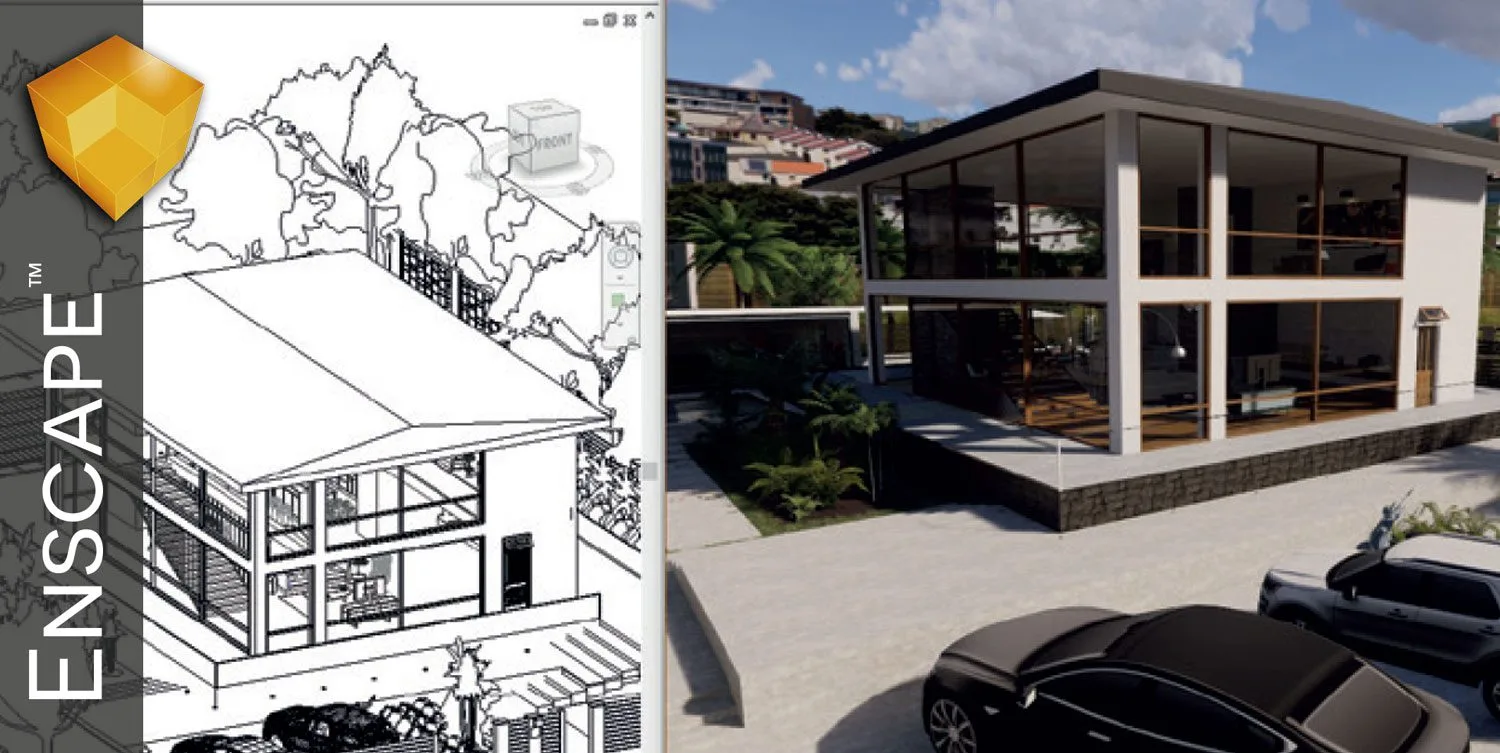
Using Enscape for SketchUp rendering provides you with an instant photorealistic snapshot of your 3D model. Once installed, Enscape will appear in SketchUp under the ‘Extensions’ tab on the menu. You can choose to either access the Enscape functions via this drop–down menu, or by activating the Enscape toolbar.

With installation complete and your SketchUp project file open, it’s now possible to view your project in Enscape by clicking on the “Start Enscape” button. With the Enscape window open, you can instantly see any changes that you make to your SketchUp model.
To create a SketchUp rendering, click on the “Take Screenshot” or “Batch Rendering” button within the ‘Extensions’ tab, or the Enscape Capturing toolbar. It’s possible to batch render multiple views at the same time. You also have the option to adjust your image resolution size using one of the presets in the Enscape Visual Settings, or by choosing your own size up to 8192 x 8192px.
enscape realtime walkthrough
enscape showcase

SketchUp Rendering Pro Tips

For great quality SketchUp rendering results, here are some best practices to follow:
  • Add light sources to your model to brighten up your project. From SketchUp, go to Extensions -> Enscape -> Enscape Objects.
  • Keep your model clean by taking out extra geometry and materials – the lighter your model is, the better it will perform in both SketchUp and Enscape.
  • Use renderable proxies within your SketchUp model, such as vegetation and Enscape will transform them into high-polygon, detailed objects that look very realistic
  • Use Enscape’s roughness map settings to adjust the roughness of your materials and create realistic surfaces, such as crisp reflections and matte surfaces

Real Time 3D Rendering and Walkthroughs for ArchiCAD

3D Rendering & Flythroughs in Real Time with REVIT

Architectural & Product Rendering with Rhino3D

Real Time 3D Rendering and Walkthroughs for Vectorworks

Plans & Pricing

Enscape Subscription License

$939 /yr

– Annual subscription license
– Free locally based NZ support
– Unlimited access to all future releases & updates