

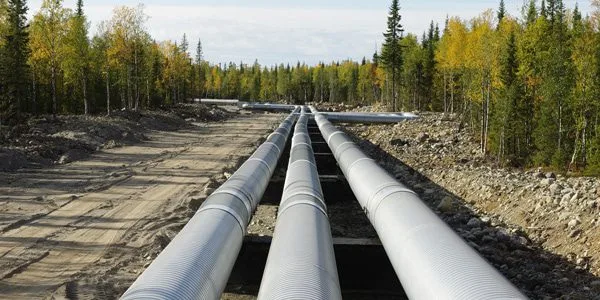
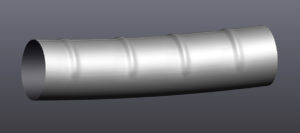
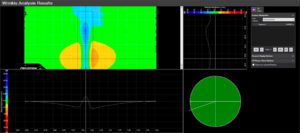
Creaform has the most trusted NDT 3D scanning technology solutions for corrosion, denting (mechanical damage), and wrinkle analyses. Thanks to its 3D scanner bundle with Pipecheck software, service companies and pipeline operators can stick to planned budgets and timelines – all while ensuring pipeline integrity and public safety.

 |
|
 |
|
 |
|

 |
|
 |
|
 |
|

 |
|
 |
|
 |
|
ASME B31G compliant
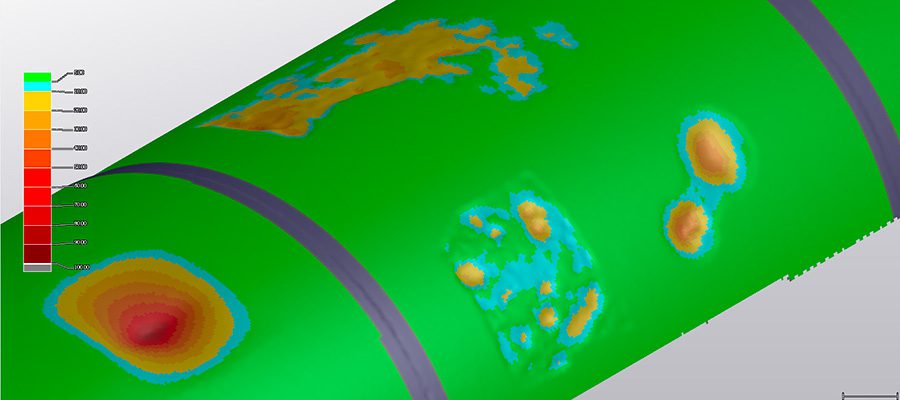
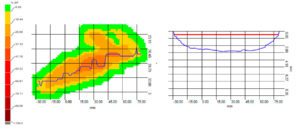
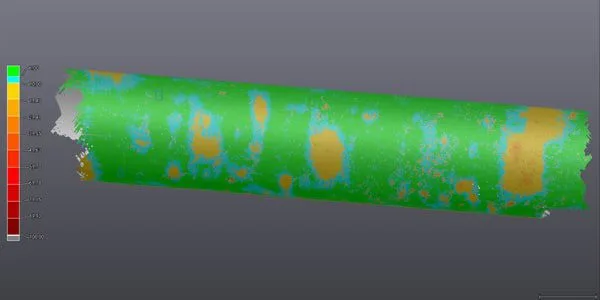
Evaluate a pipeline’s fitness for service with the Pipecheck corrosion software module for fast, yet reliable, data processing and instant on-site results. Pipecheck’s virtual pit gauge demonstrates increased accuracy and repeatability compared to traditional measurement methods, such as manual pit gauges and single-line lasers.
ASME B31.8 compliant
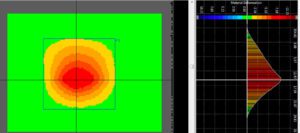
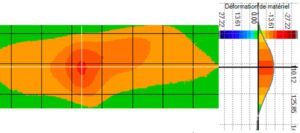
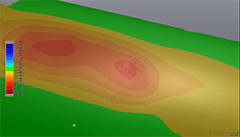
Analyzes mechanical damage, such as dents, gouges and other localized surface deformations. It is the only software to provide users with an easy one-click access to strain-based assessment—a key element in ensuring the continued safety of the pipe in operation and proper maintenance as per industry safety regulations.
Depth-Based Assessment Type
Strain-Based Assessment Type
 |
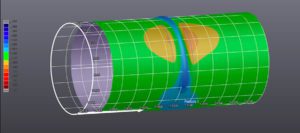
Being able to assess material loss depth from mechanical damage deformation is no longer an unattainable goal. Pipecheck software is the one and only NDT solution on the market to offer unique and sophisticated tools able to extract corrosion depth inside a pipe’s mechanical damage. |
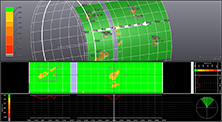 |
In-line inspection (ILI) performance levels can be monitored in Pipecheck by correlating pig data against pipeline 3D scanning and/or imported UT data. The interface has been optimized to compare the depth, length, and width of features in just one click. However, the more pipeline operators accumulate a significant amount of data, the more the correlation results are accurate. ILI determines, with more accuracy, which sites really need to be dug up, reducing the number of excavations necessary for direct assessment and repair. |
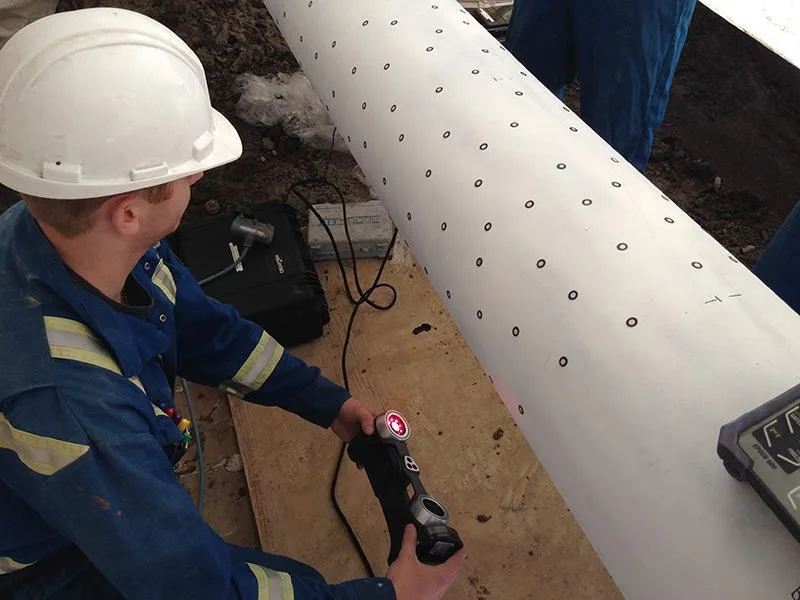
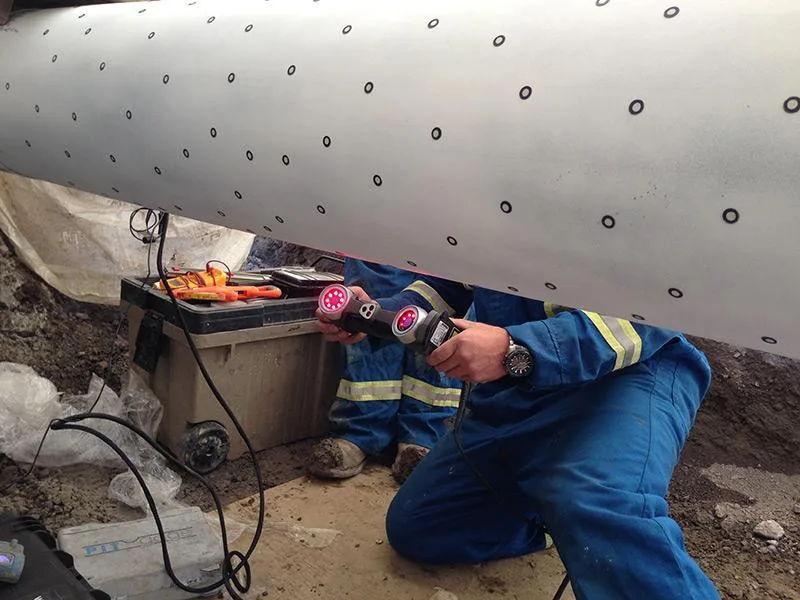
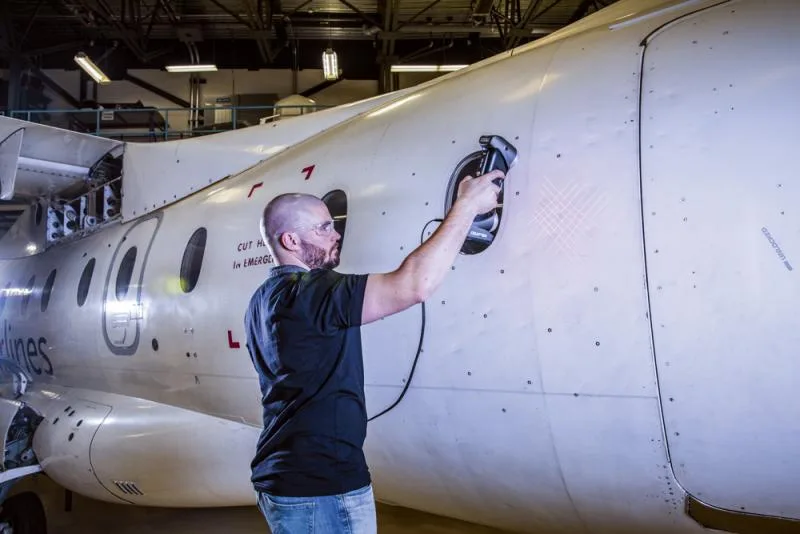
Creaform’s HandySCAN AEROPACK is an easy, fast, and accurate solution for MRO companies. It includes a HandySCAN 3D scanner and SmartDENT 3D, surface inspection software developed specifically for critical aerospace applications. It also comes with other software to address all of your reverse engineering and quality control needs.
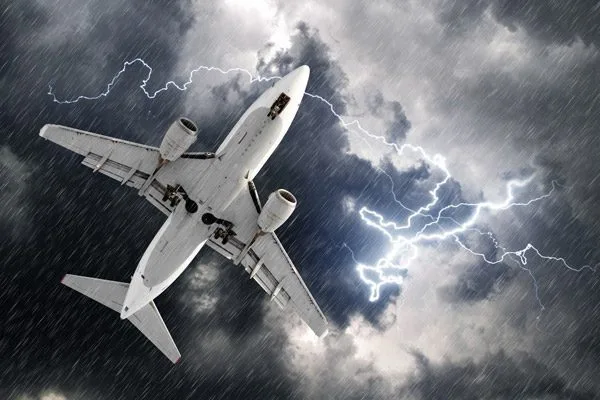
When an aircraft hits a hailstorm, MRO teams need to rely on a solution that enables them to quickly and accurately measure the impact to speed up repairs—and mitigate the negative ripple effects on future sales. Thanks to its remarkable versatility, operators can use the solution in any conditions inside or outside, without sacrificing accuracy and reliability.
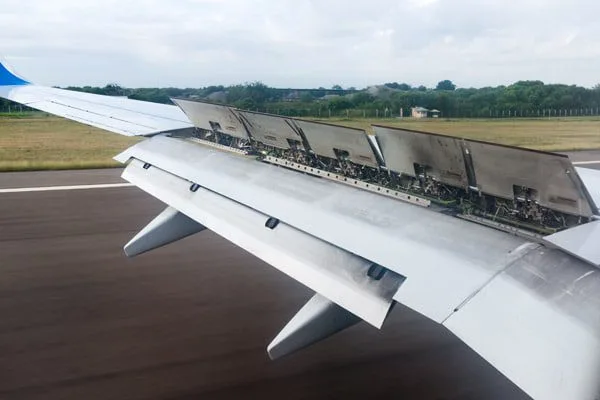
Traditional, manual measurement methods for inspecting flaps and spoilers, such as pit gauges, can bog down productivity. Operators need a modern solution so that they won’t waste time searching the deepest points per dent or scanning a part’s entire geometry.
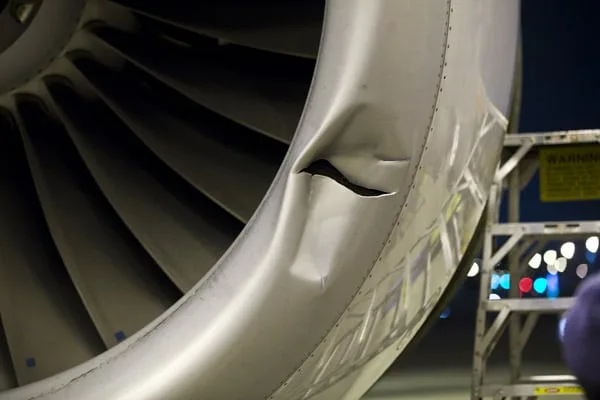
When an aircraft experiences hard landing or other damaging incidents, MRO teams must use a solution that can help them analyze any type of damage on any type of surface or texture. Teams need a solution to perform thorough analyses and any component shape, size or surface finish with confidence.
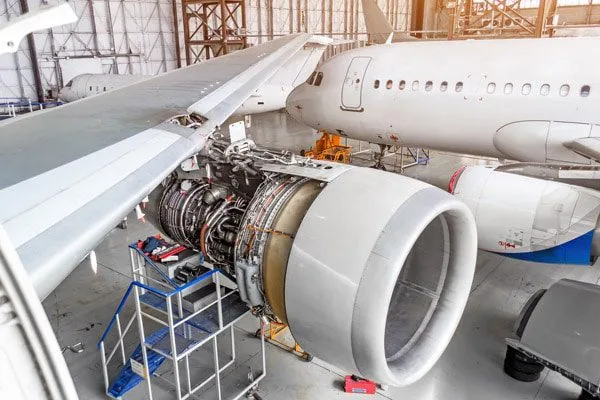
Operators who are responsible to put the aircraft back into service need a tool to validate if a component is within acceptance criteria after rework is completed. Oftentimes, MRO teams don’t have access to the CAD models of aircraft components, which means reverse engineering components becomes key.
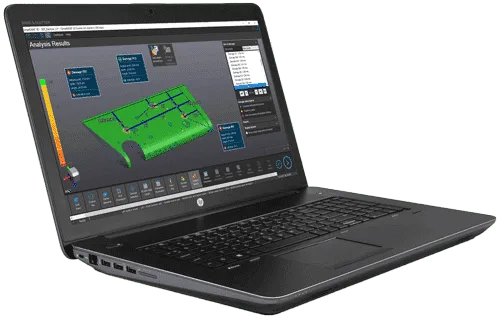
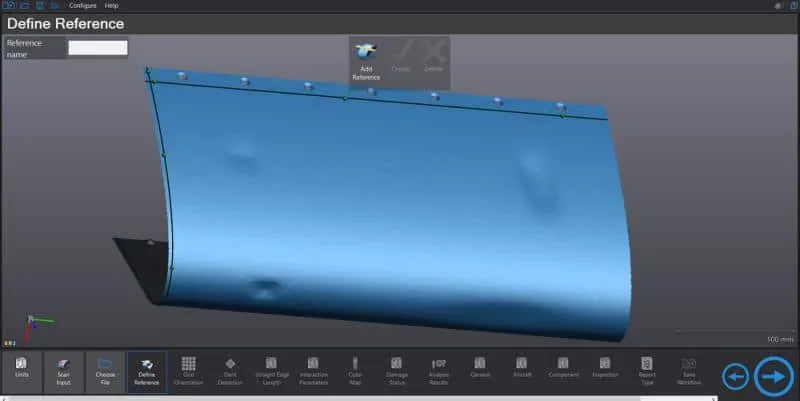
SmartDENT 3D is the first dedicated 3D Visualisation Software on the market designed for 3D assessments and characterisation of dent damages located on aircraft surfaces.
– Offers a guided workflow approach to simplify the measurement extraction of 3D scan data to get exactly the dimensions required for the assessment of in-service airplanes.
– Greatly reduces operators’ impact on measurements results and shortens the time needed to generate final reports.
SmartDENT 3D is the first dedicated 3D visualization software on the market designed for 3D assessments and characterization of dent damages located on aircraft surfaces. It offers a guided workflow approach to simplify the measurement extraction of 3D scan data to get exactly the dimensions required for assessment of in-service airplanes.
