V-Ray for Rhino
Transforms Rollout
The Transforms rollout is part of the Scatter parameters.
Last updated 1 September 2026
The Transforms rollout is part of the Scatter parameters.
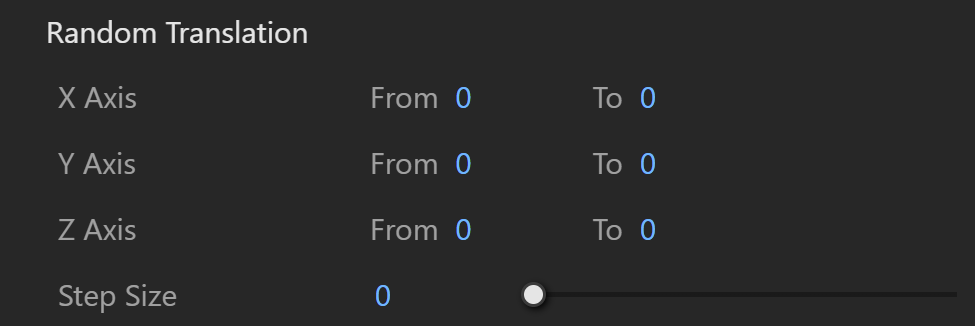
Random Translation
Moves the instances From the given distance To the given distance on the corresponding axis. See the Random Translation Example below.
Step Size – Specifies the random step size.
Example: Random Translation
This example shows how instances are moving along the corresponding axis. The scene for this example is set in inches.
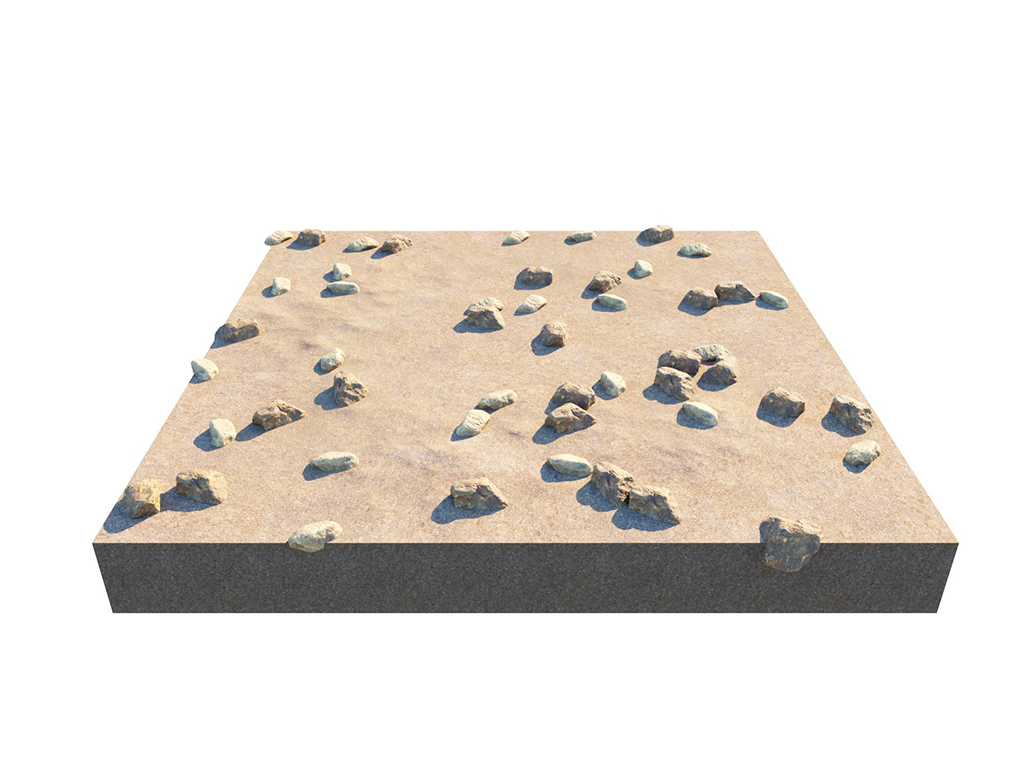
X
= 0-0;
Y
= 0-0;
Z
= 0-0
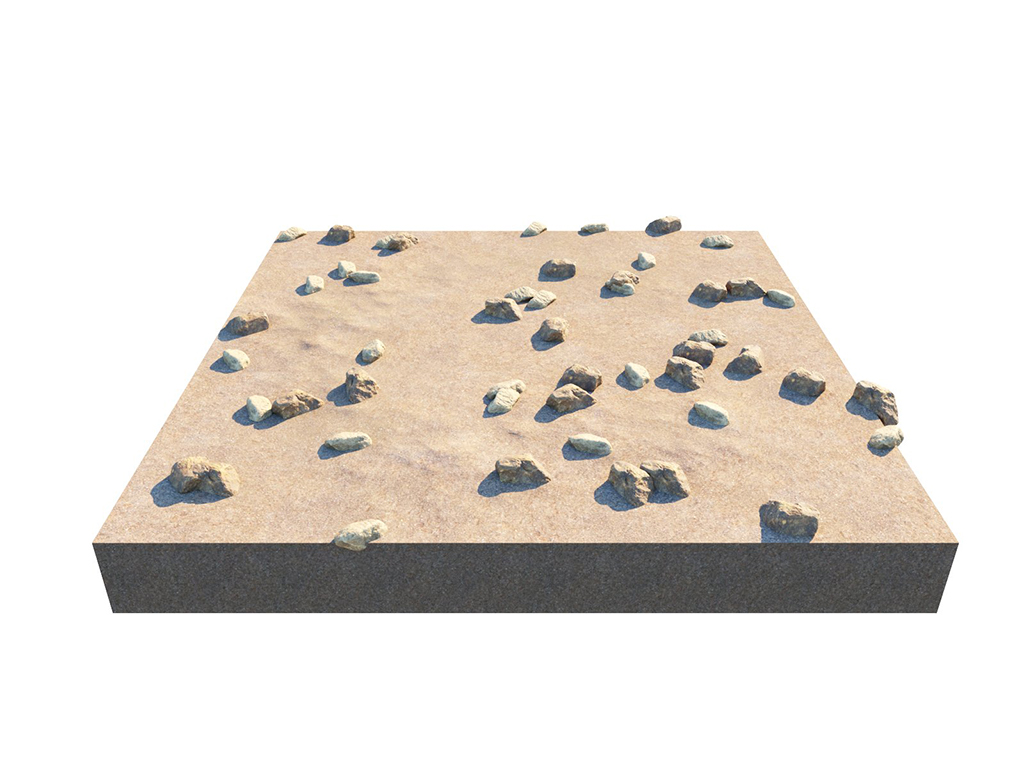
X
= 0-25;
Y
= 0-25;
Z
= 0-0
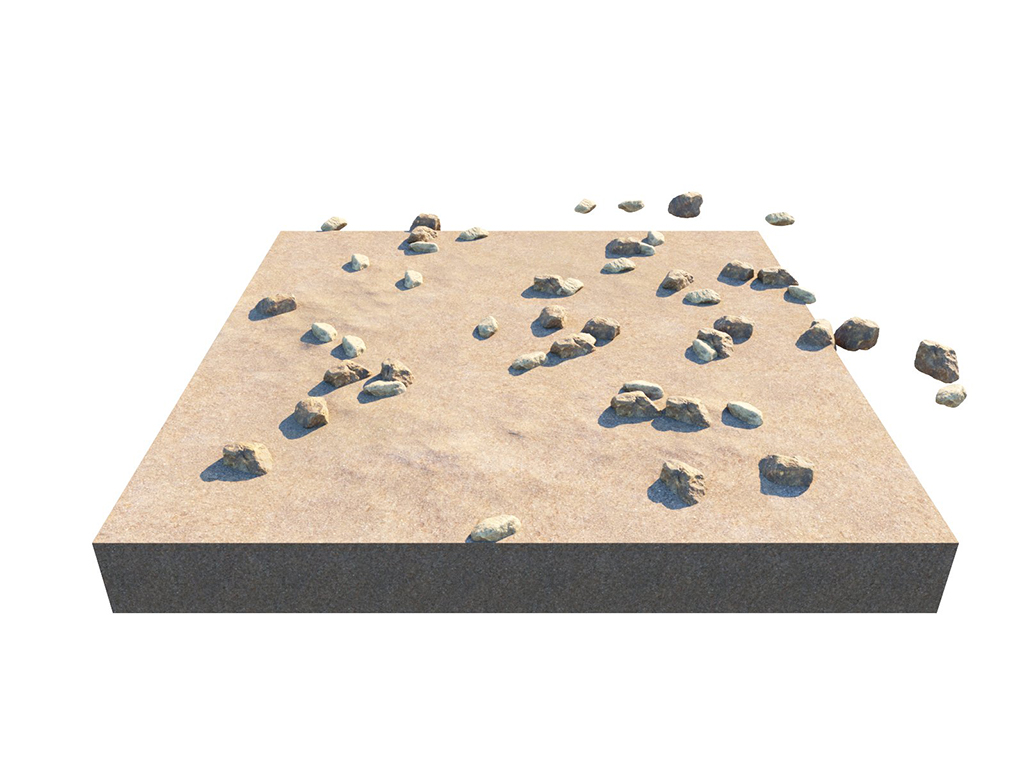
X
= 0-100;
Y
= 0-100;
Z
= 0-0
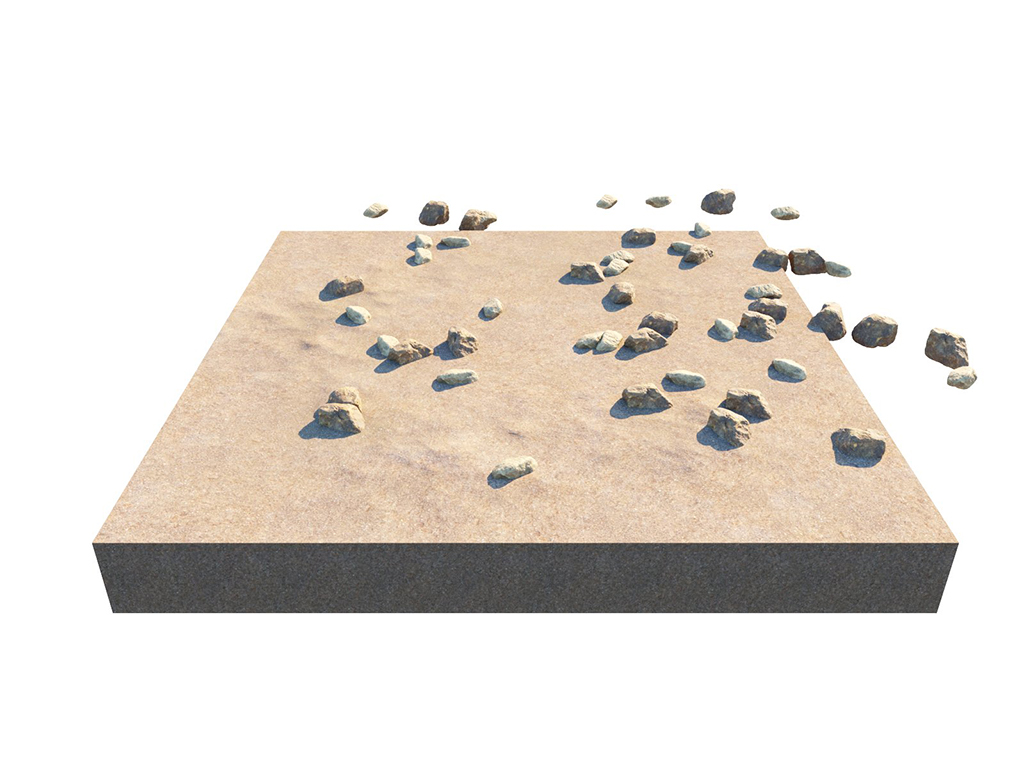
X
= 50-100;
Y
= 50-100;
Z
= 0-0
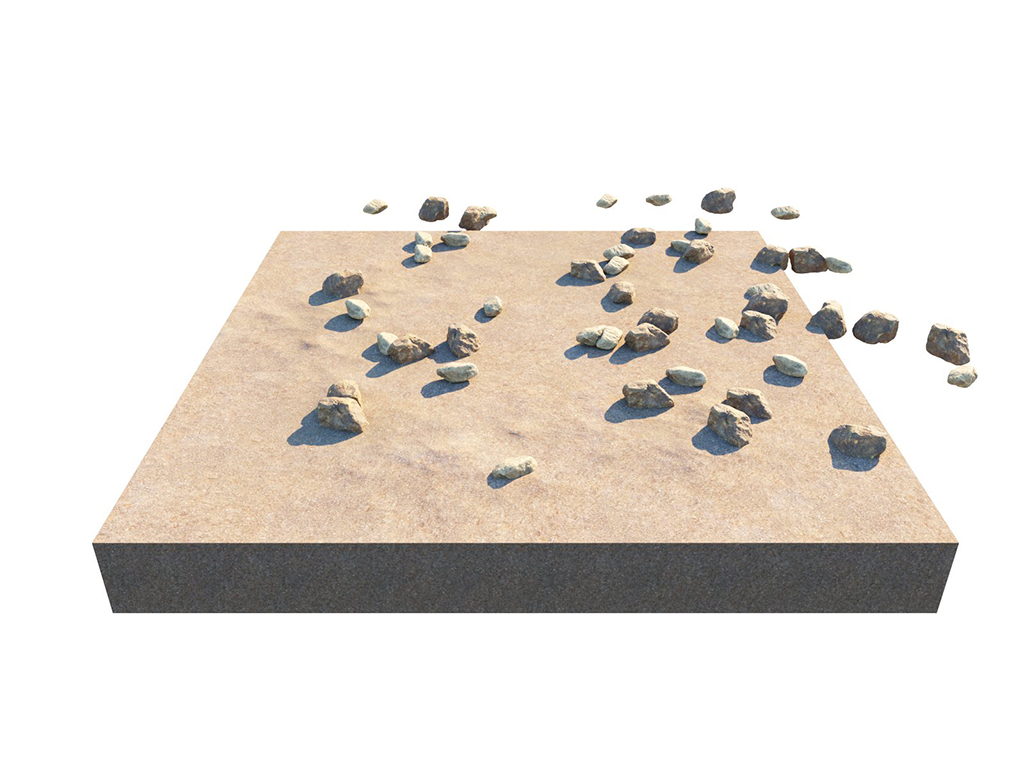
X
= 50-100;
Y
= 50-100;
Z
= 0-2.5
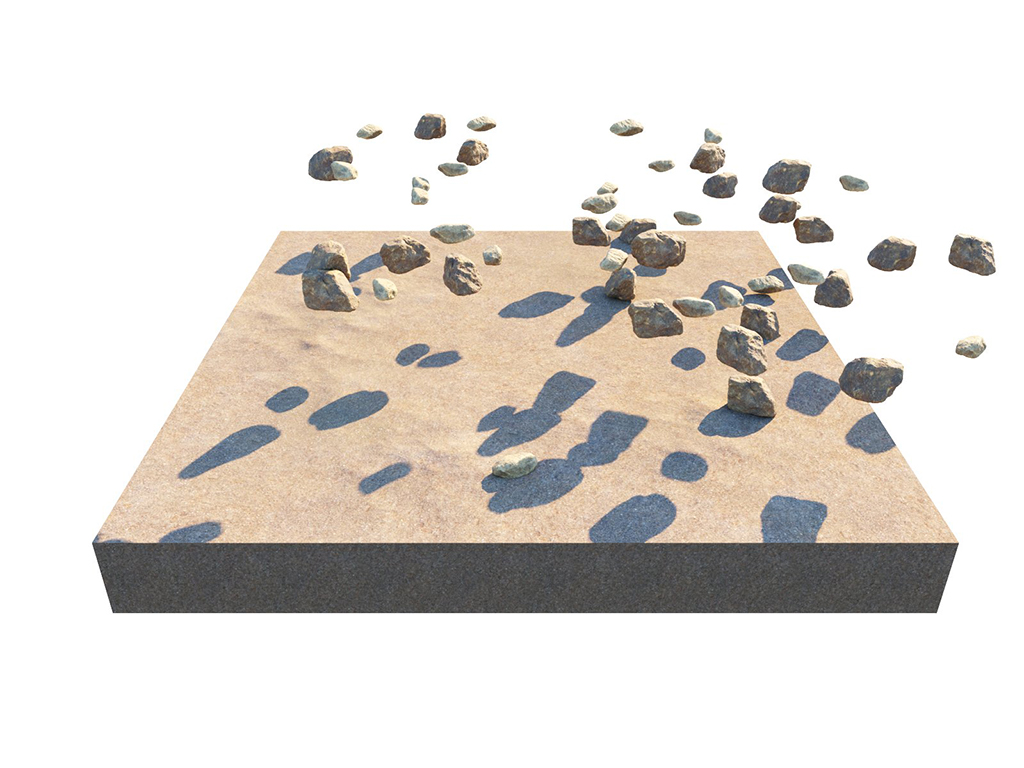
X
= 50-100;
Y
= 50-100;
Z
= 0-100
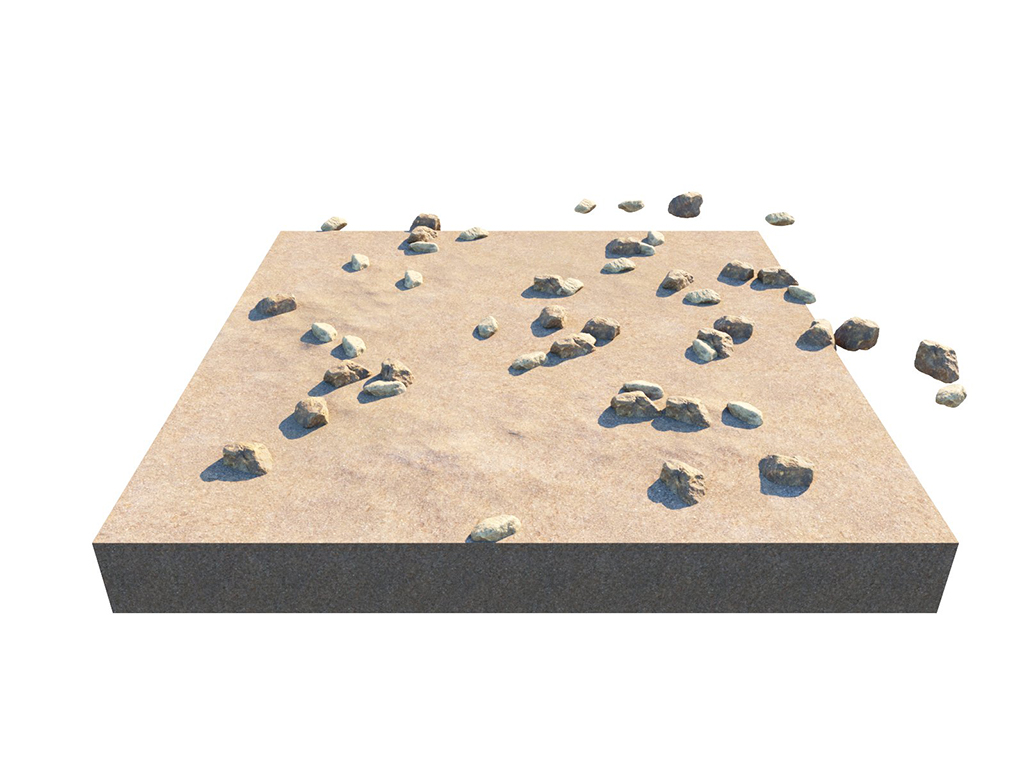
X
= 50-100;
Y
= 50-100;
Z
= 50-100
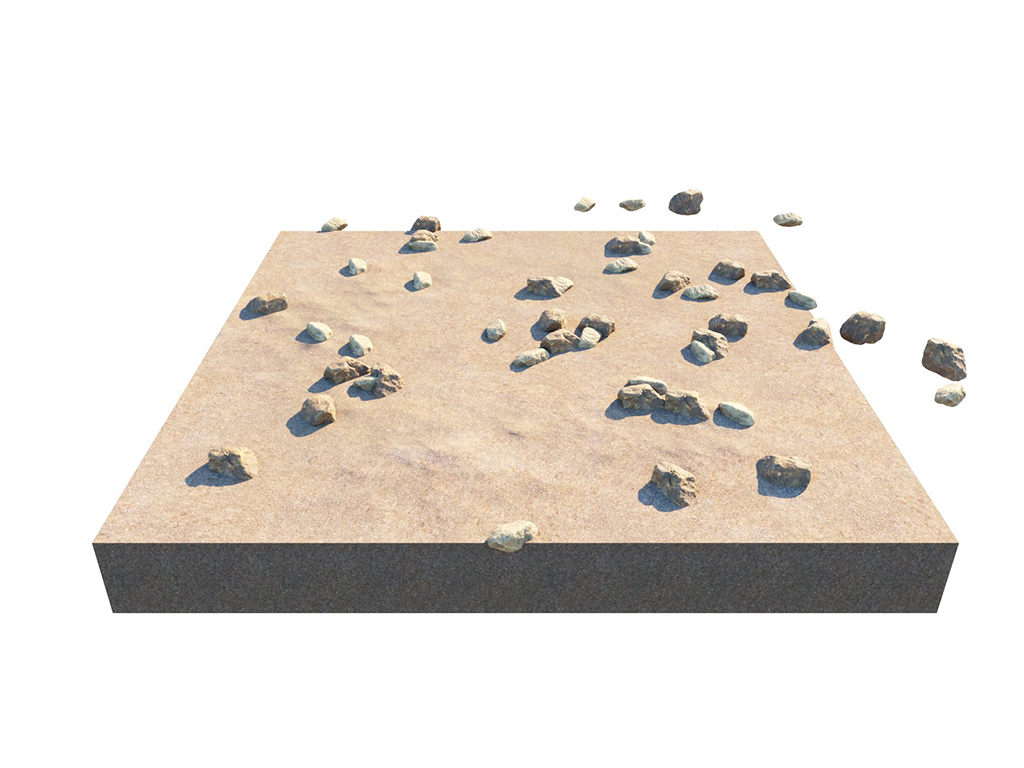
X
= 0-100;
Y
= 0-100;
Z
= 0-0;
StepSize
= 0
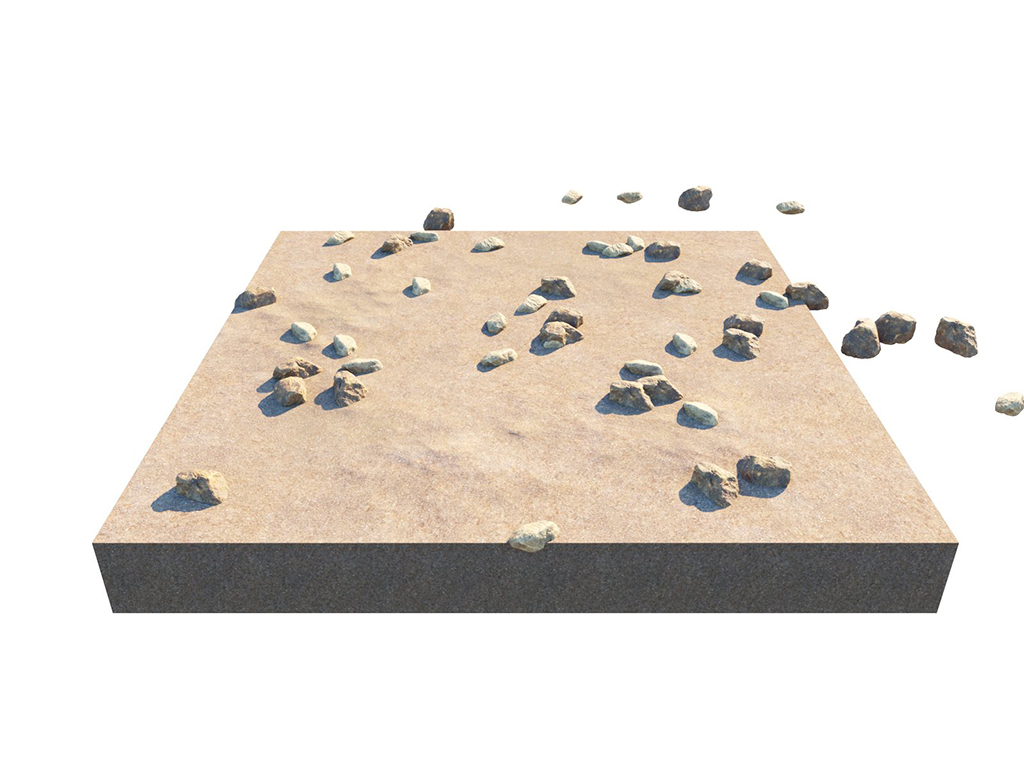
X
= 0-100;
Y
= 0-100;
Z
= 0-0;
StepSize
= 50
Random Rotation
Rotates the instances From the given degrees up To the given degrees continuously. See the Random Rotation Example below.
Step Size – Specifies the random step size.
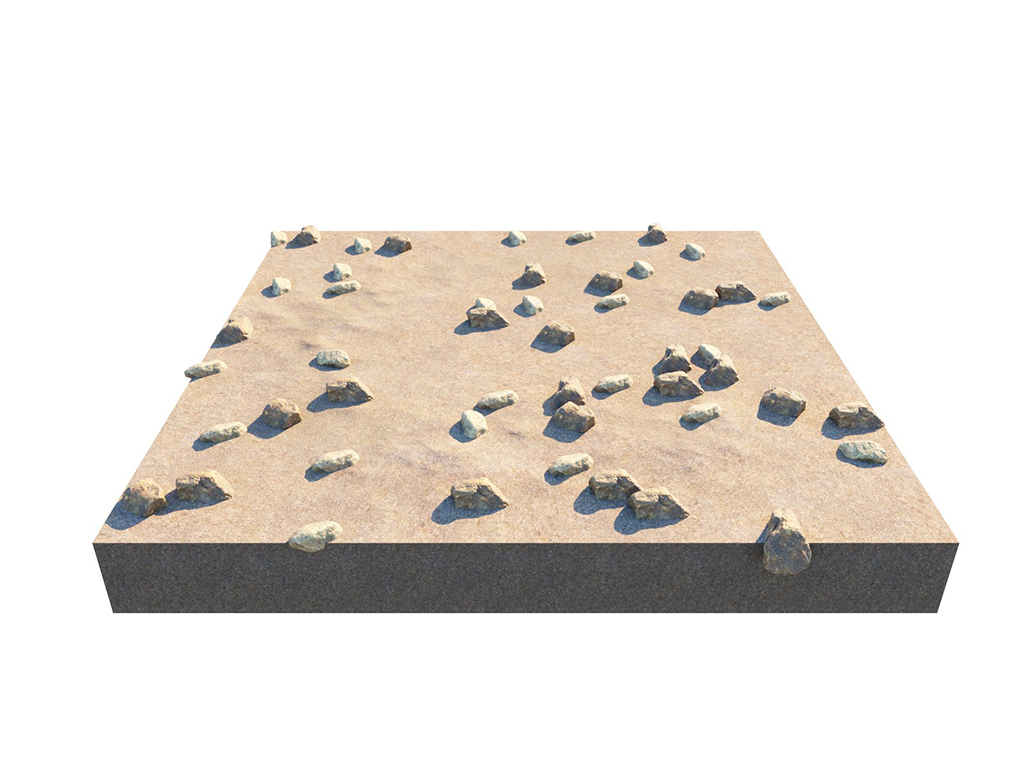
Normal Alignment – When a value, different than 0 is entered, the instances are aligned according to the world up axis. This is useful when the host object is curved and the scattered objects need to remain vertical, not follow the curve of the surface. Positive values mean that the instances are aligned to the +Z axis (vertical up) and negative values mean that the instances are aligned to the -Z axis (vertical down). See the Normal Alignment Example below.
Preserve Rotation – Preserves the original rotation of the objects. This option is always enabled in V-Ray for Rhino. See the Preserve Rotation Example below.
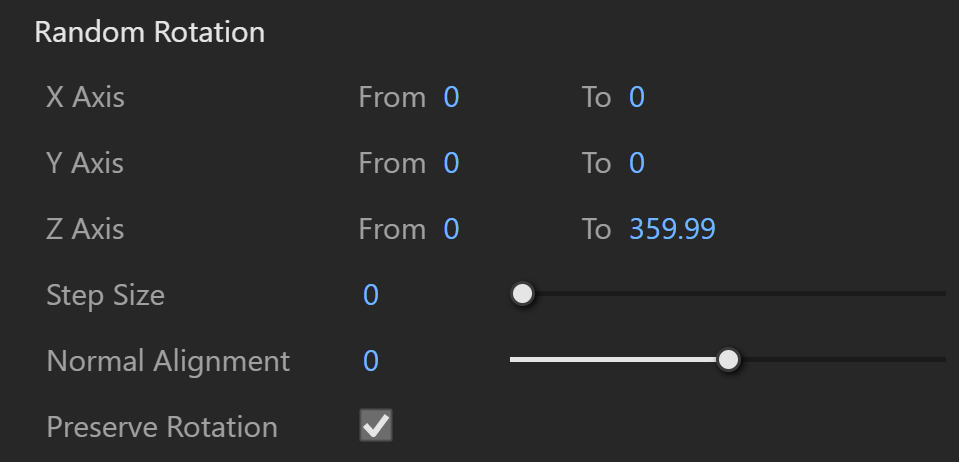
Example: Random Rotation
This example shows how guest objects are rotated in a specific range.
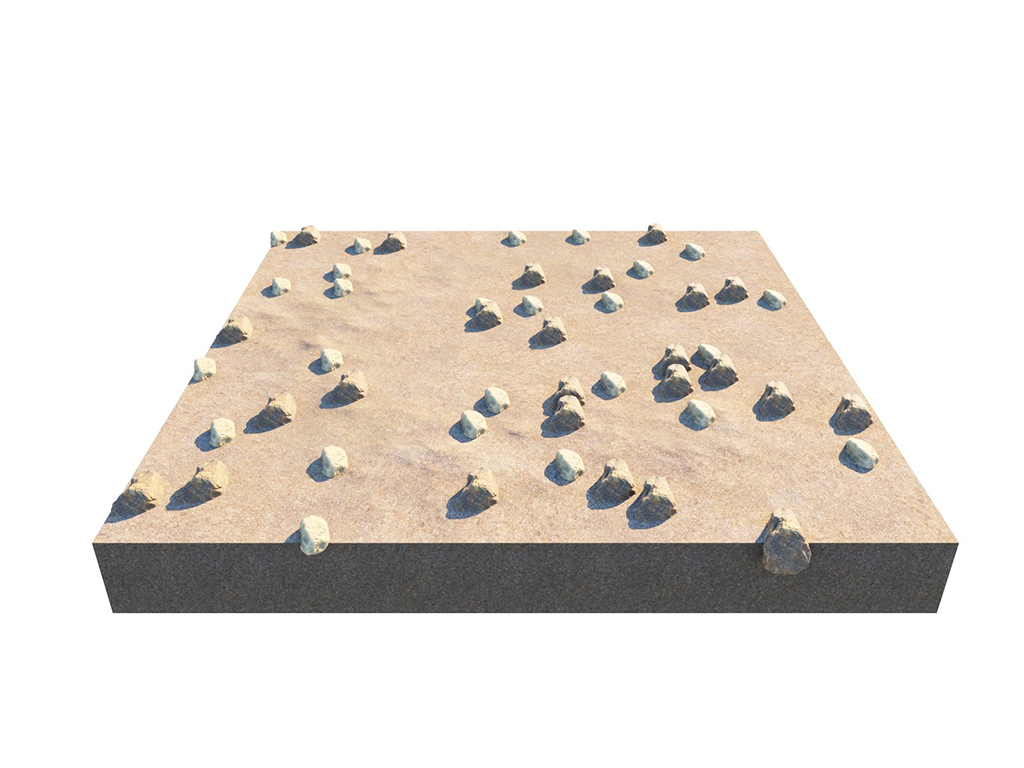
X
= 0-0;
Y
= 0-0;
Z
= 0-0
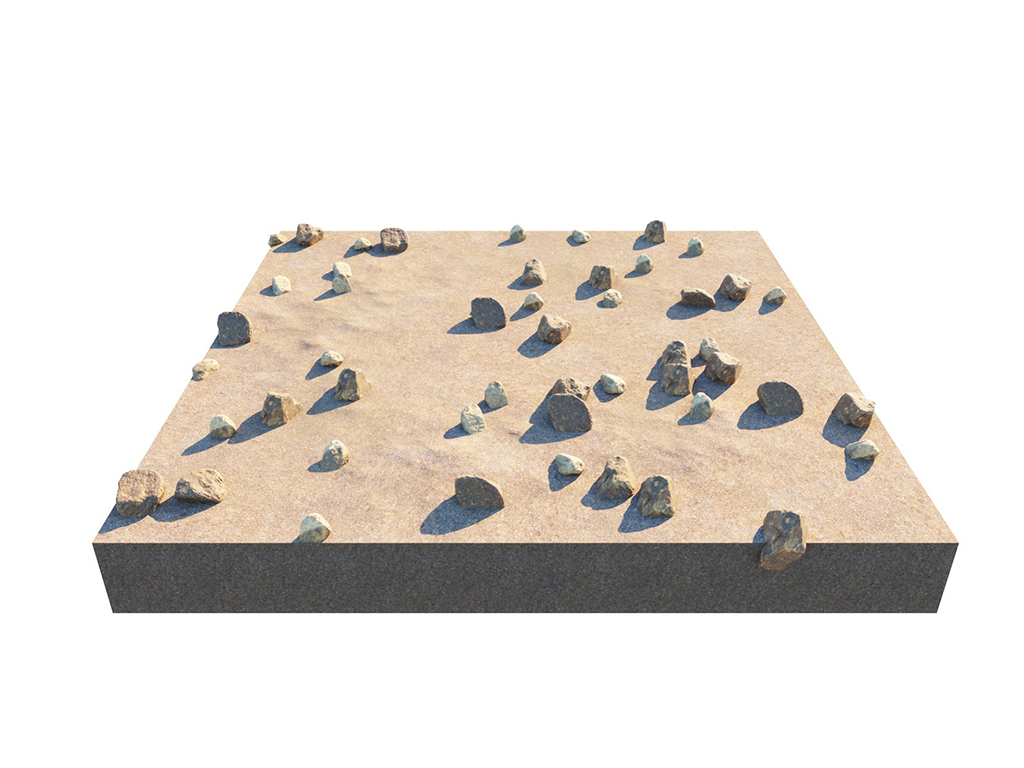
X
= 0-360;
Y
= 0-0;
Z
= 0-0
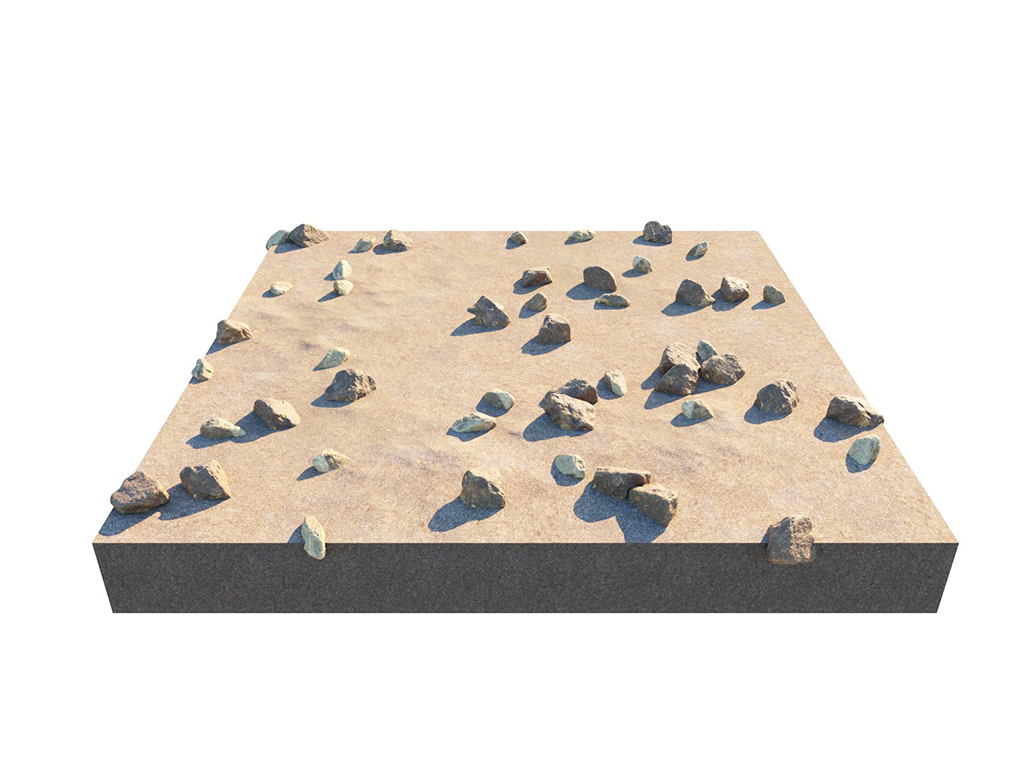
X
= 0-360;
Y
= 0-360;
Z
= 0-0
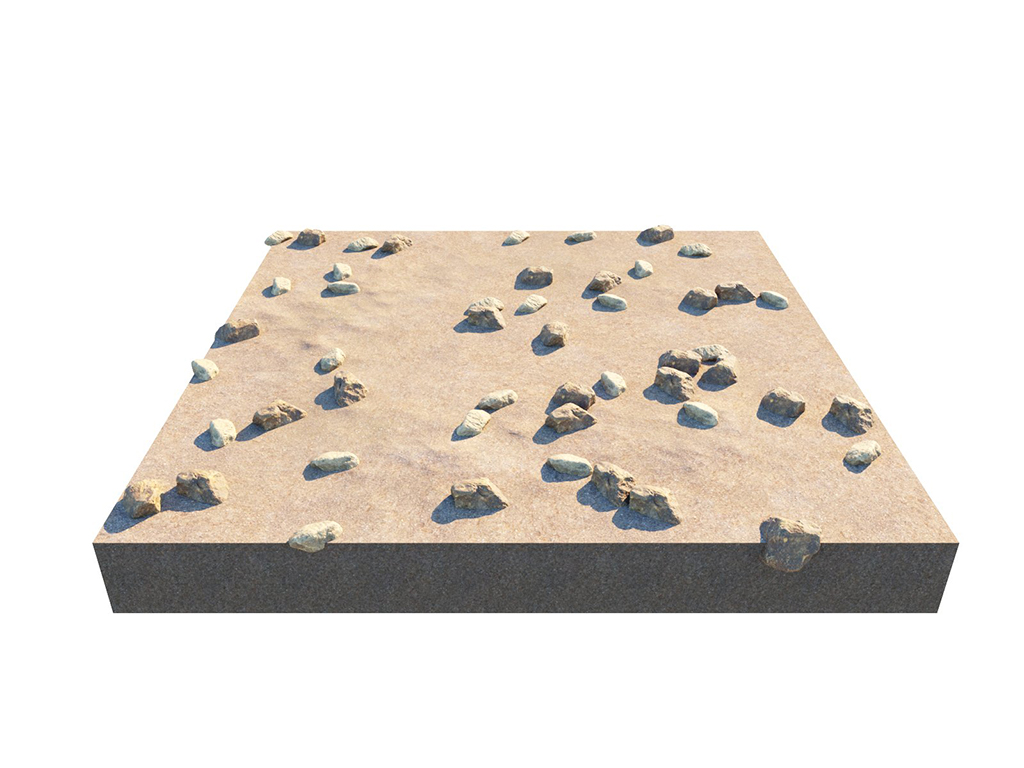
X
= 0-0;
Y
= 0-0;
Z
= 0-360;
Step Size
= 0
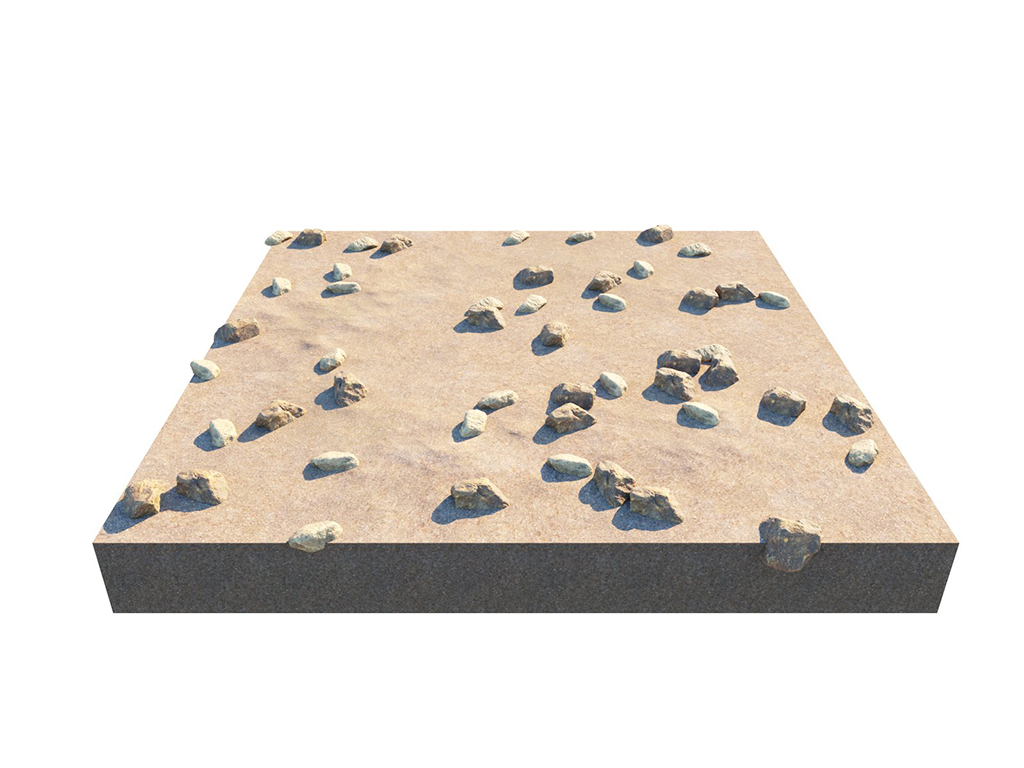
X
= 0-0;
Y
= 0-0;
Z
= 0-360;
Step Size
= 25
X
= 0-0;
Y
= 0-0;
Z
= 0-360;
Step Size
= 125
Example: Normal Alignment
When a value, different than 0 is entered, the instances are aligned accordin
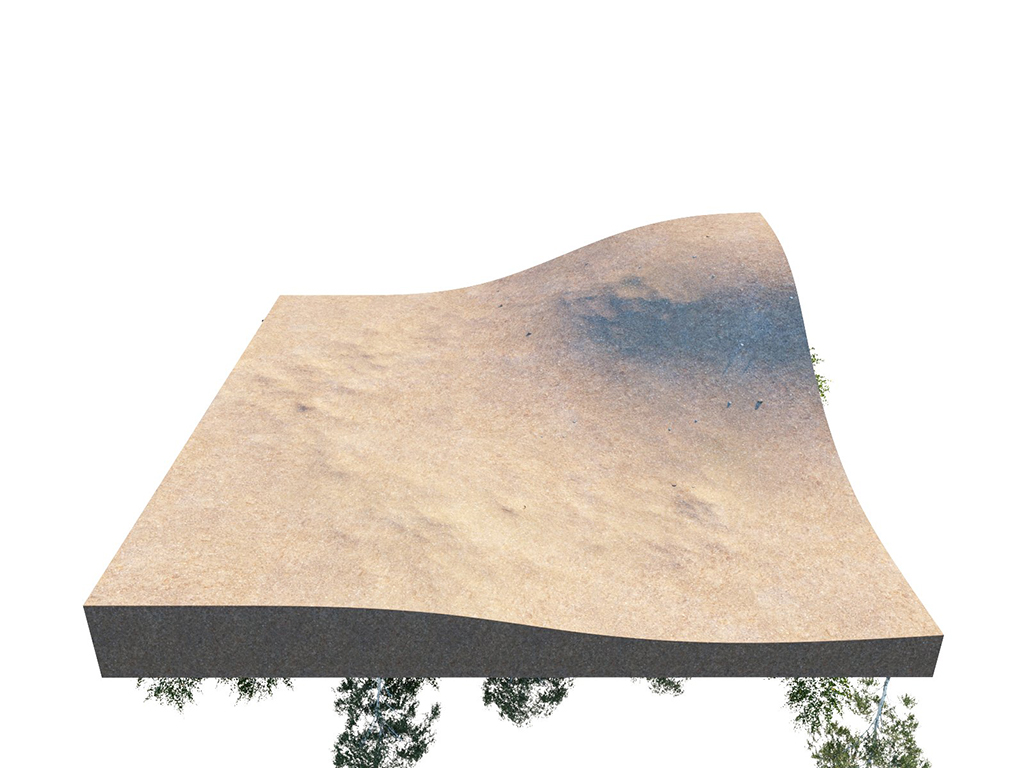
X
= 0-0;
Y
= 0-0;
Z
= 0-360;
NormalAlignment
= -0.75
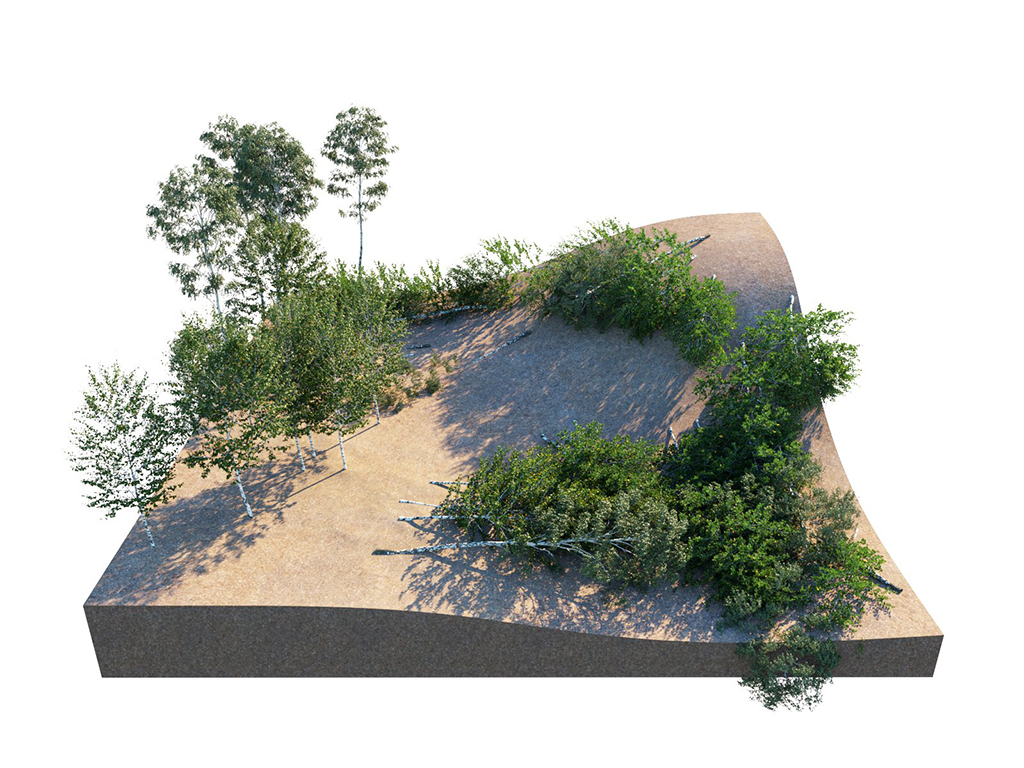
X
= 0-0;
Y
= 0-0;
Z
= 0-360;
NormalAlignment
= -0.5
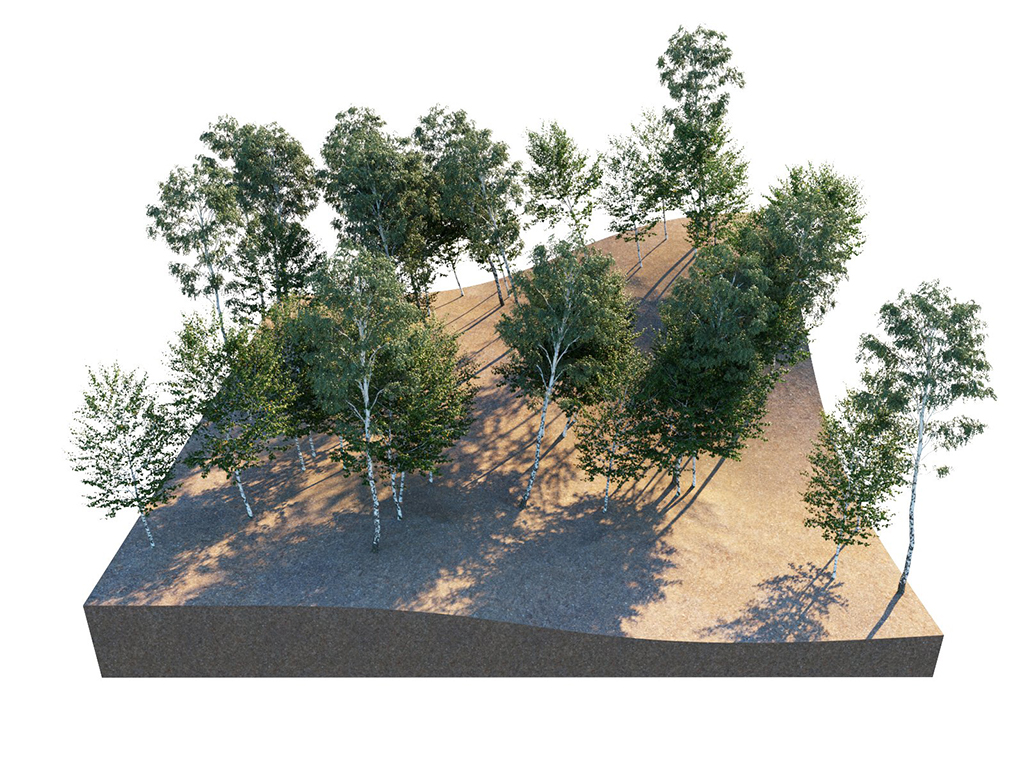
X
= 0-0;
Y
= 0-0;
Z
= 0-360;
NormalAlignment
= 0
Example: Preserve Rotation
The Preserve Rotation option determines which way the instances are rotated.
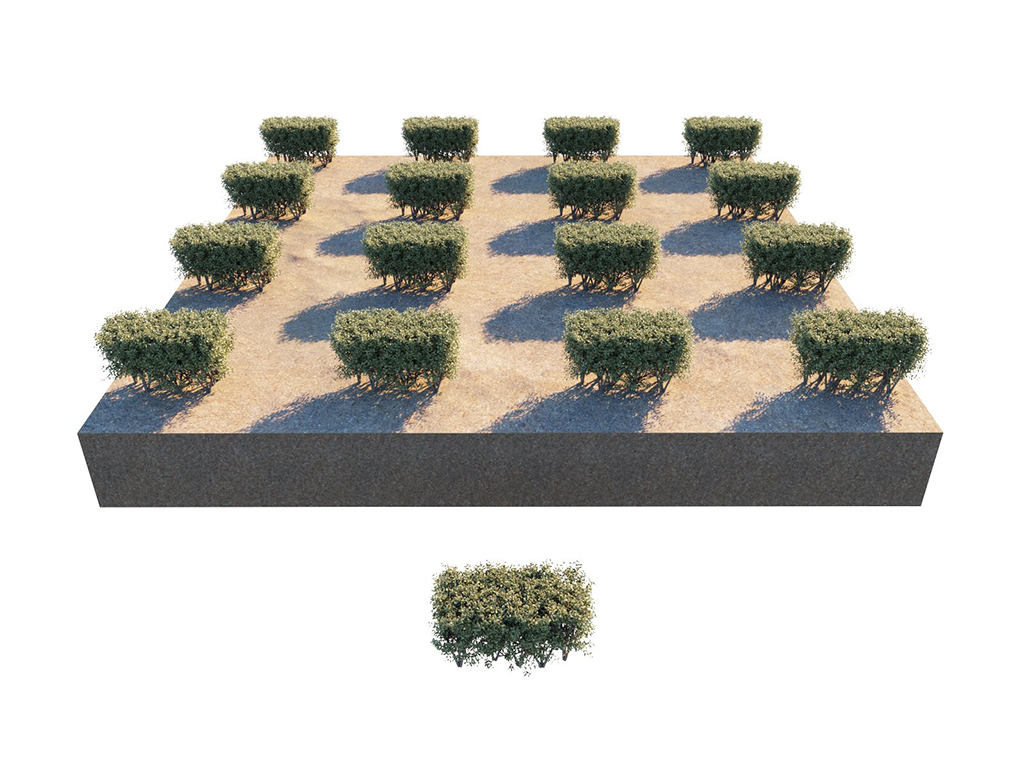
X
= 0-0;
Y
= 0-0;
Z
= 0-0;
Preserve Rotation
= Off (Guest not rotated)
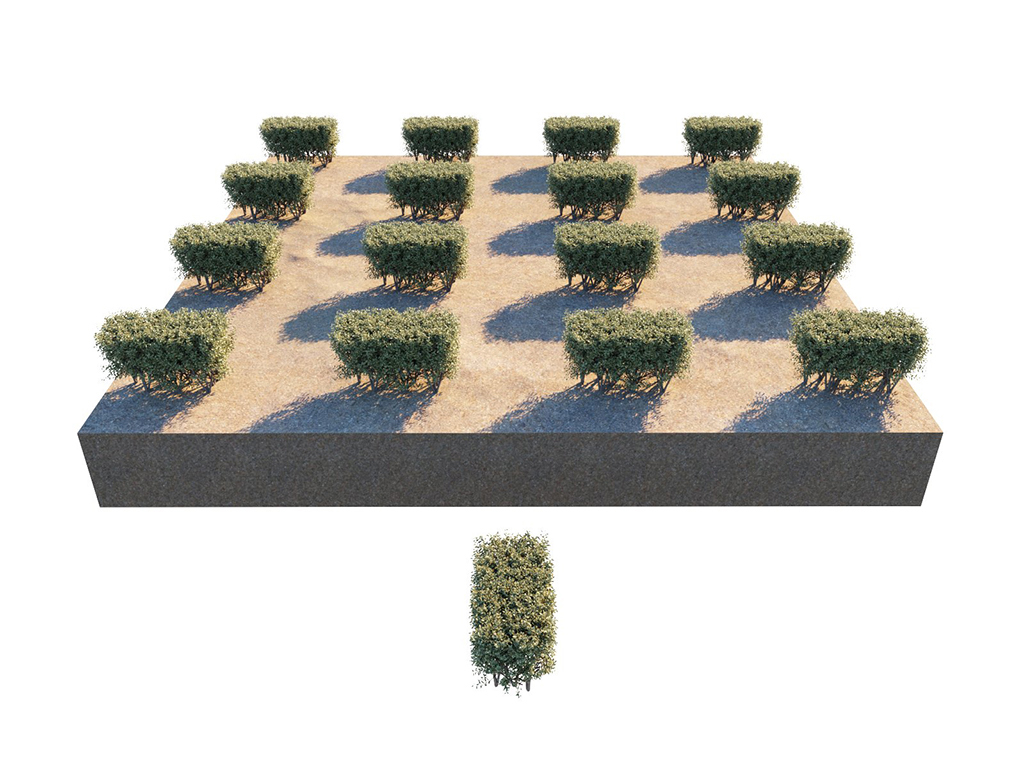
X
= 0-0;
Y
= 0-0;
Z
= 0-0;
Preserve Rotation
= Off;
Guest Rotated
= 90
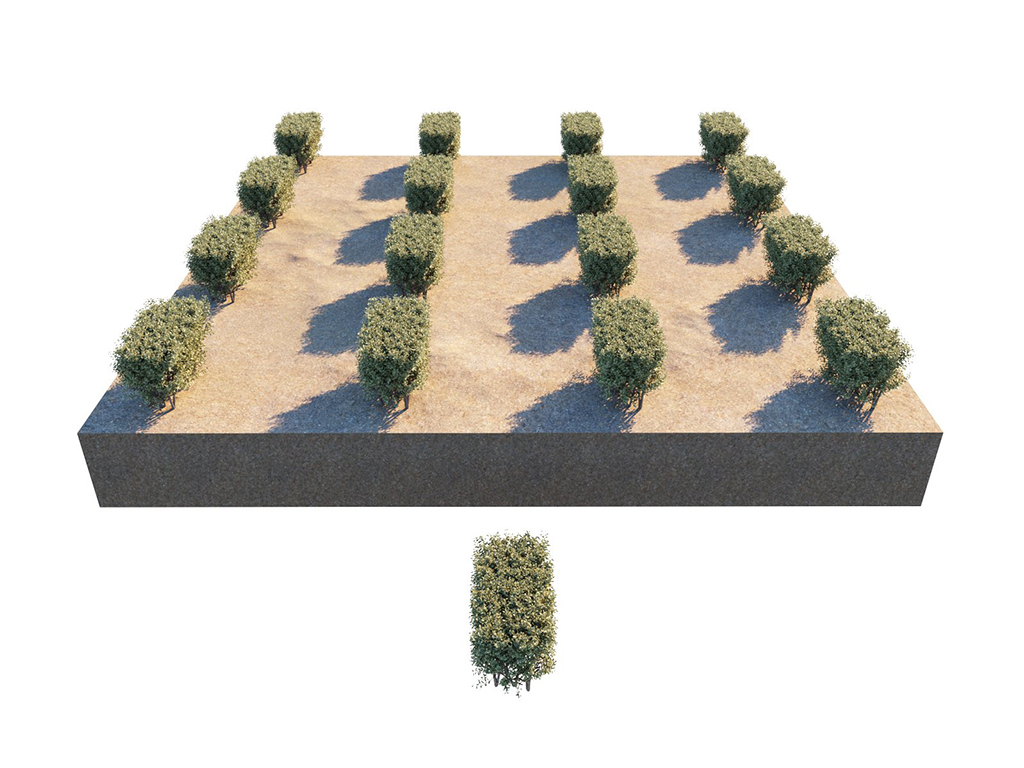
X
= 0-0;
Y
= 0-0;
Z
= 0-0;
Preserve Rotation
= On;
Guest Rotated
= 90
Random Scale
Scales the instances From the given value To the given value continuously. When Uniform scale is enabled, the X axis values are applied on the whole Host object. See the Random Scale Examples below.
Step Size – Specifies the random step size.
Uniform Scaling – When enabled the X axis values are also used for the Y and Z axes.
Preserve Scaling – Preserves the original scaling of the objects. This option is always enabled in V-Ray for Rhino.
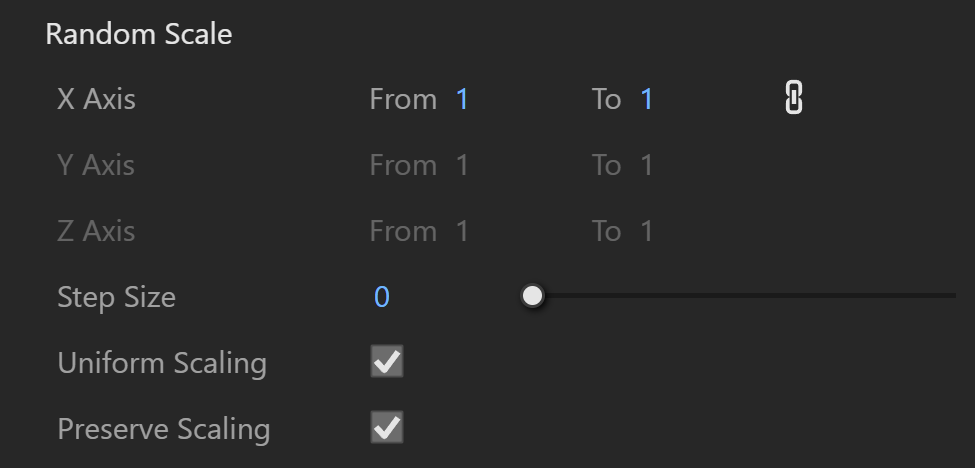
Example: Random Scale
This example shows how the Guest objects scale is modified. See the difference of the scaling with Uniform Scaling on and off.
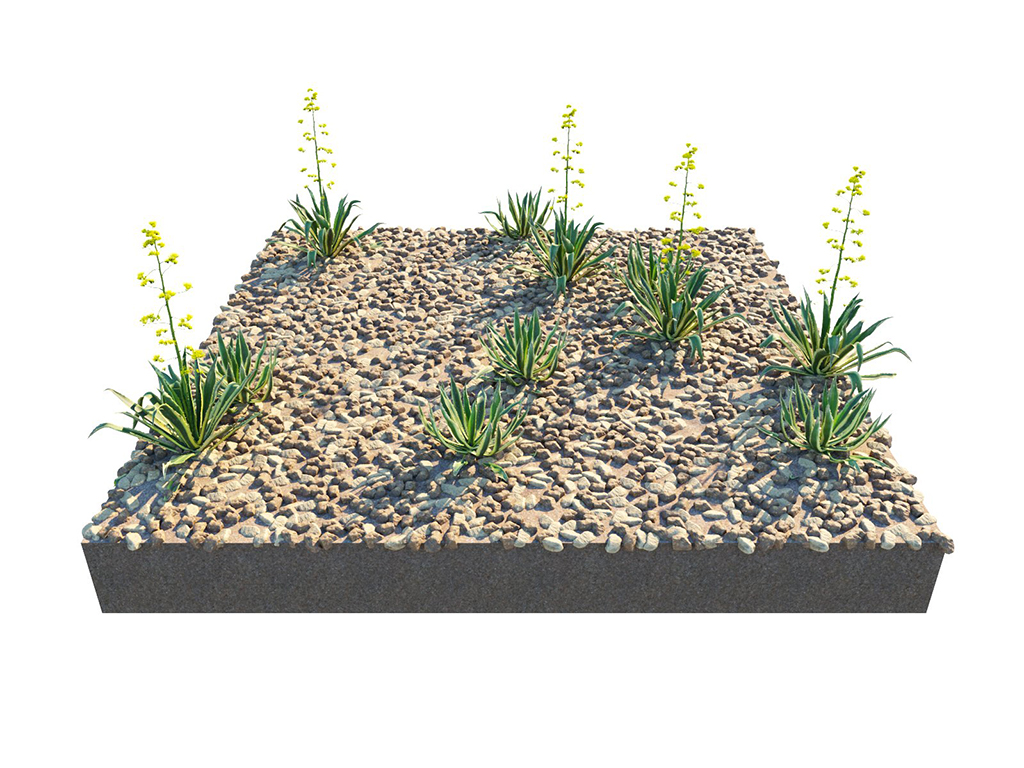
X
= 1-1;
Uniform Scaling
= On
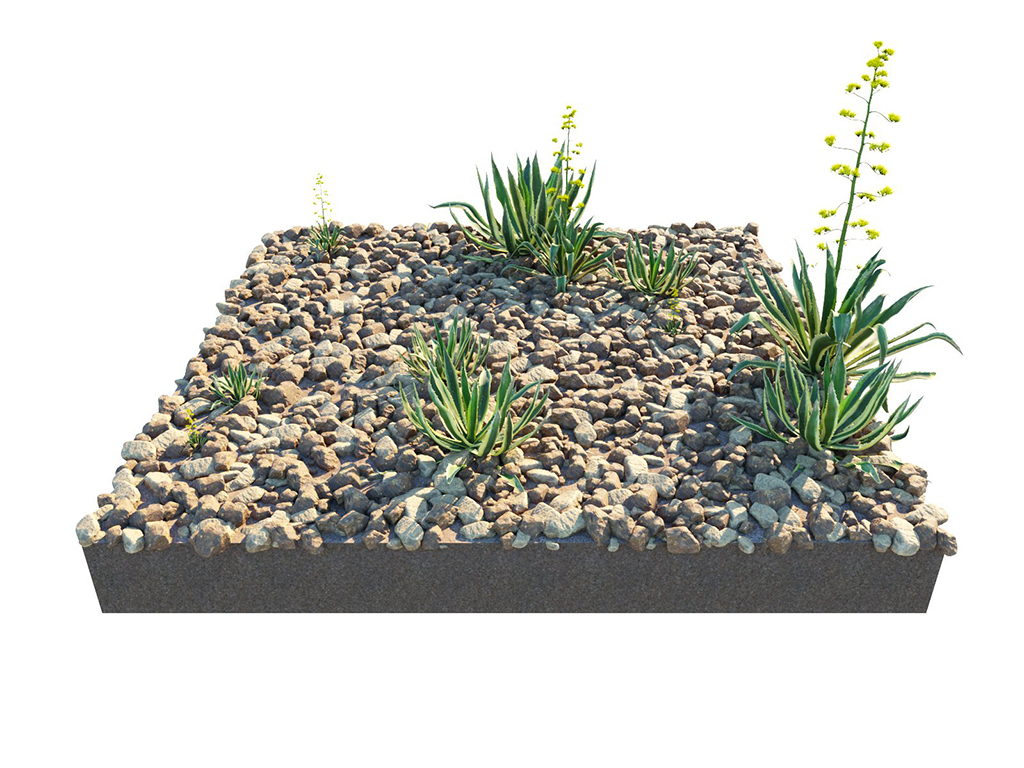
X
= 0-2;
Uniform Scaling
= On
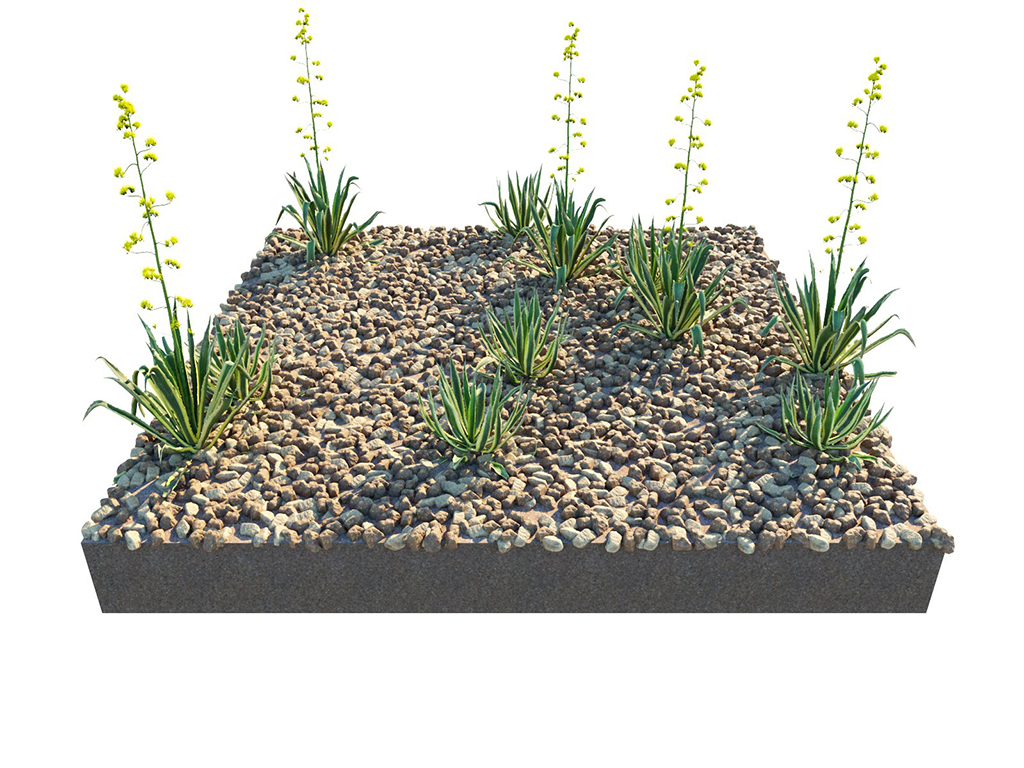
X
= 1-1;
Y
= 1-1;
Z
= 1-1.5;
Uniform Scaling
= Off
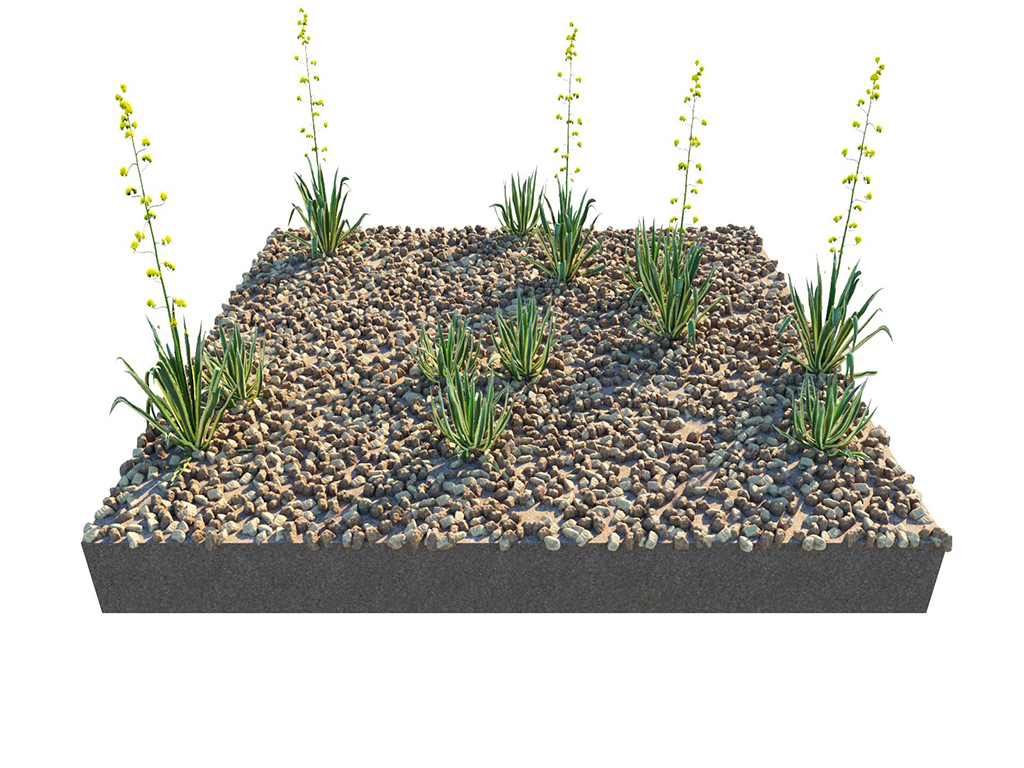
X
= 0.75-0.75;
Y
= 0.75-0.75;
Z
= 1-1.5;
Uniform Scaling
= Off
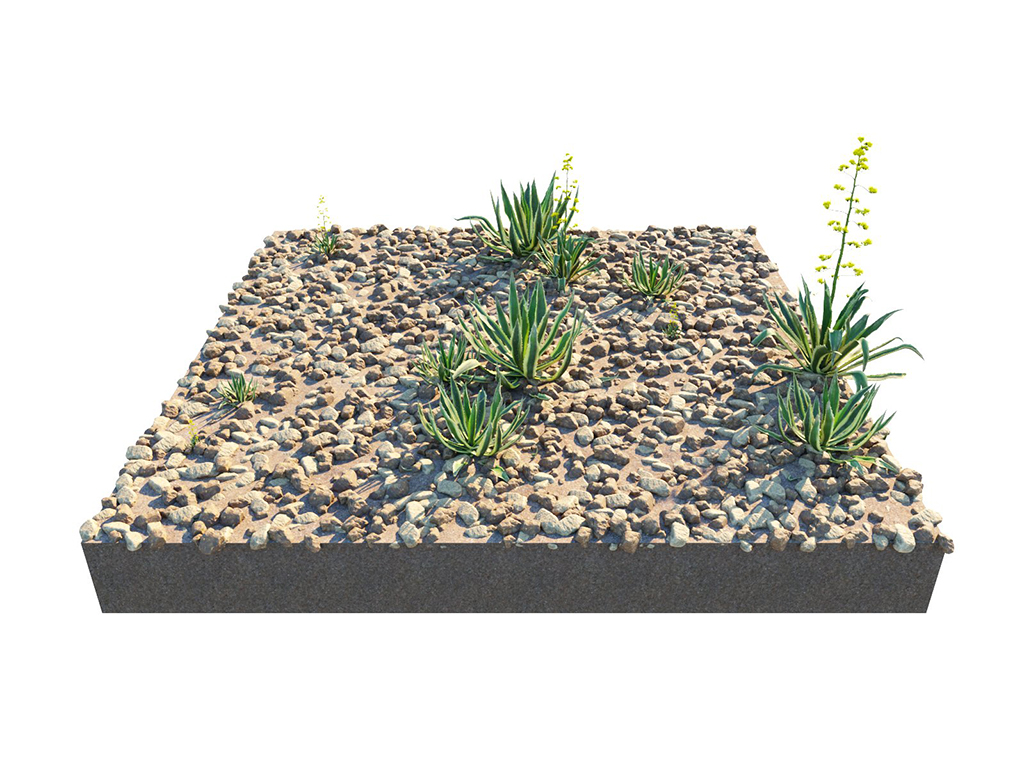
X
= 0-1.5;
Uniform Scaling
= On;
Step Size
= 0
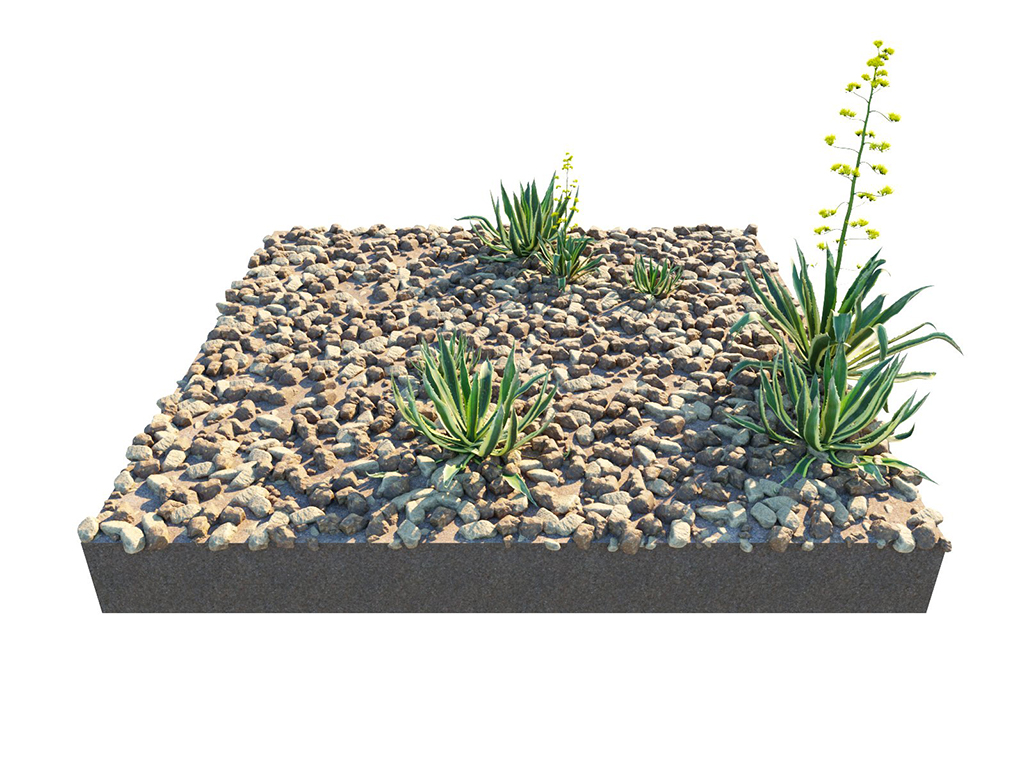
X
= 0-1.5;
Uniform Scaling
= On;
Step Size
= 0.75
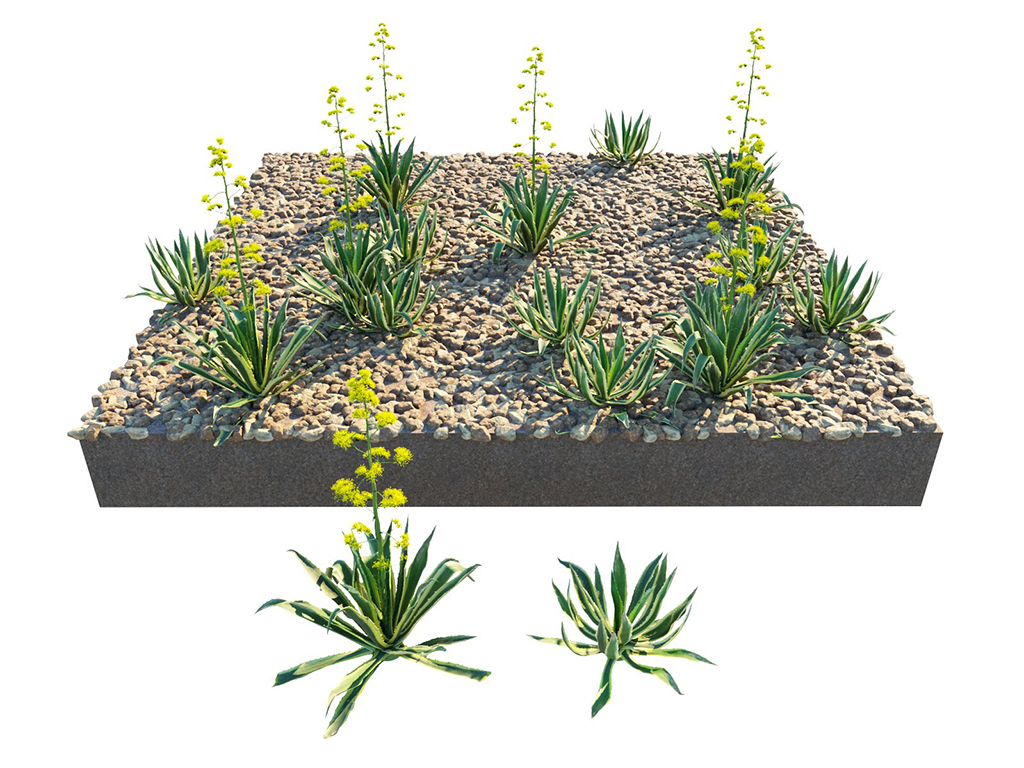
X
= 1-1;
Uniform Scaling
= On;
Preserve Scaling
= On (Guests Not Scaled)
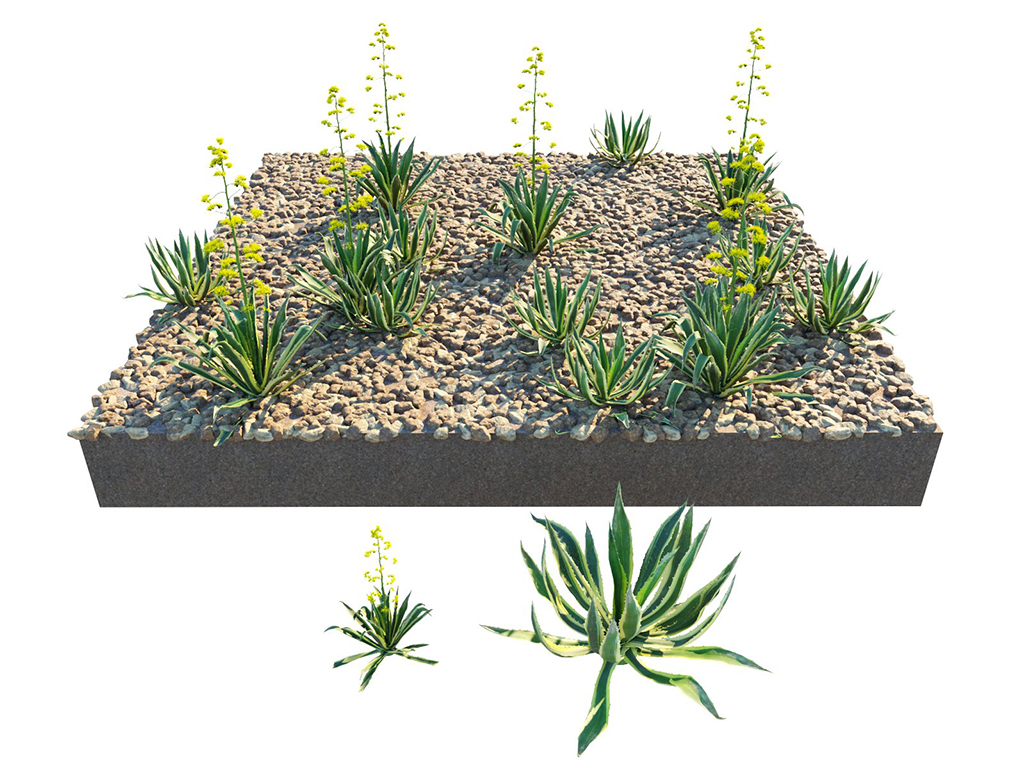
X
= 1-1;
Uniform Scaling
= On;
Preserve Scaling
= Off (Guests Scaled)
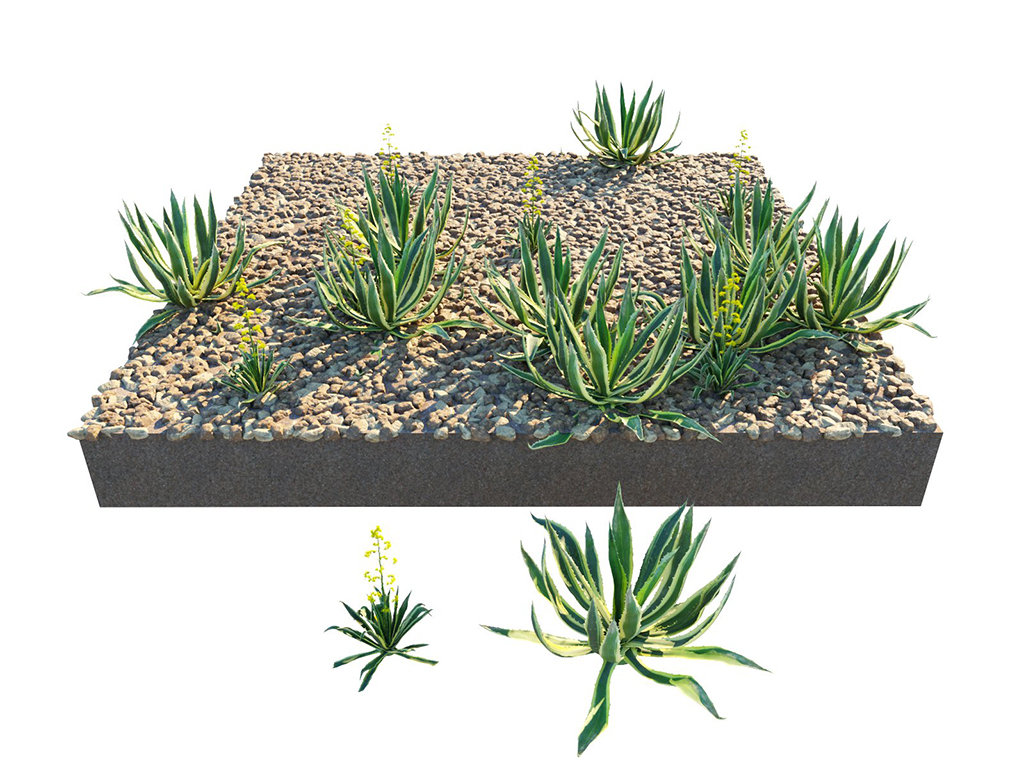
X
= 1-1;
Uniform Scaling
= On;
Preserve Scaling
= On (Guests Scaled)
Look At
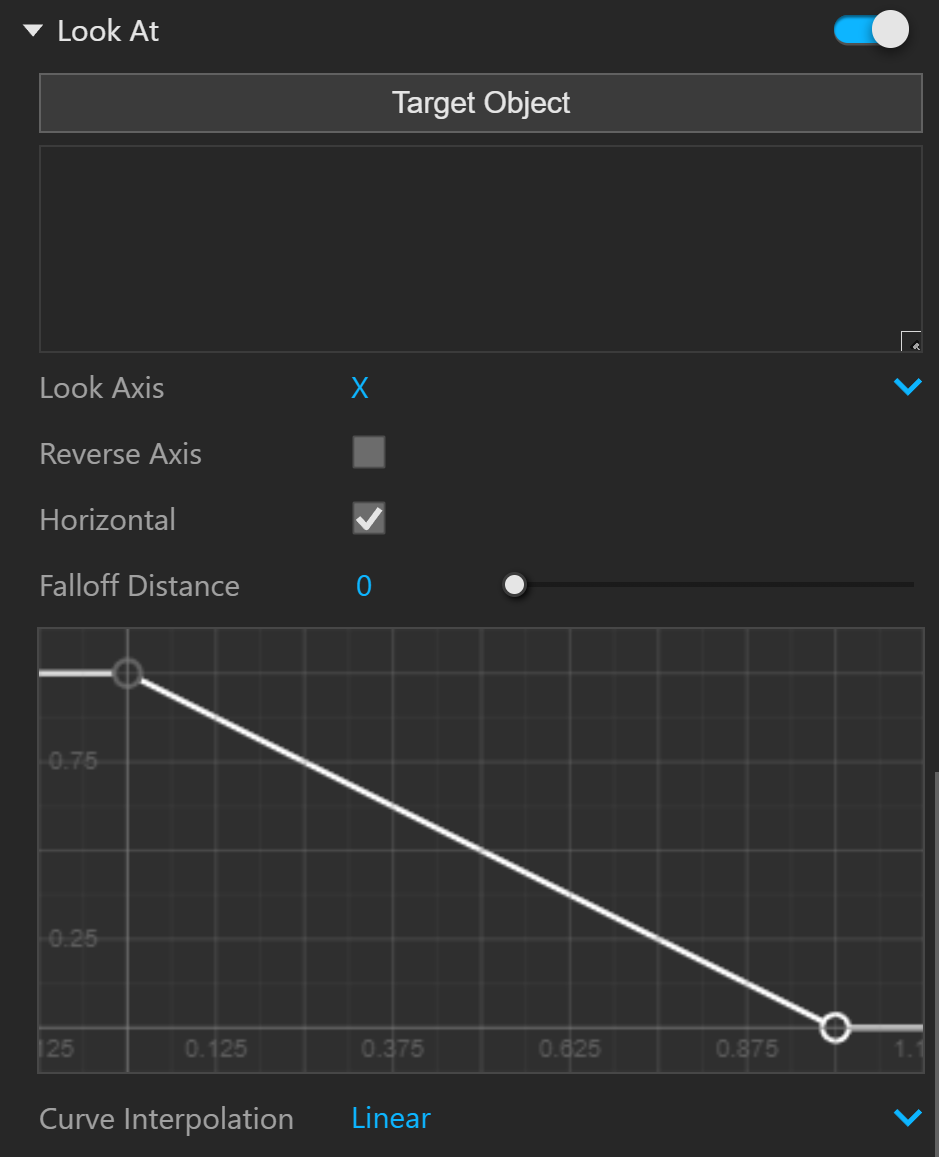
Look At – When enabled, instances in a range get turned towards a specified direction. See the Look At example below.

– Enables the Look At parameters.
Target Object – Picks an object according to which the direction is calculated. When a geometry object is picked, each instance gets oriented towards the center of the object’s bounding box. When a camera object is picked, each instance gets oriented towards the camera.
Look Axis – Selects which of the model object's axes gets turned towards the direction.
Reverse Axis – When enabled, the reverse of the selected axis gets turned towards the direction.
Horizontal – When enabled, the selected look-at axis gets turned only within the plane which is perpendicular to the normal.
Falloff Distance – Specifies the range in which instances get affected by the look-at specifications. When non-zero, only the in-range instances get affected; otherwise, all the instances get affected. There is no effect when a sun object is picked. See the Falloff Distance example below.
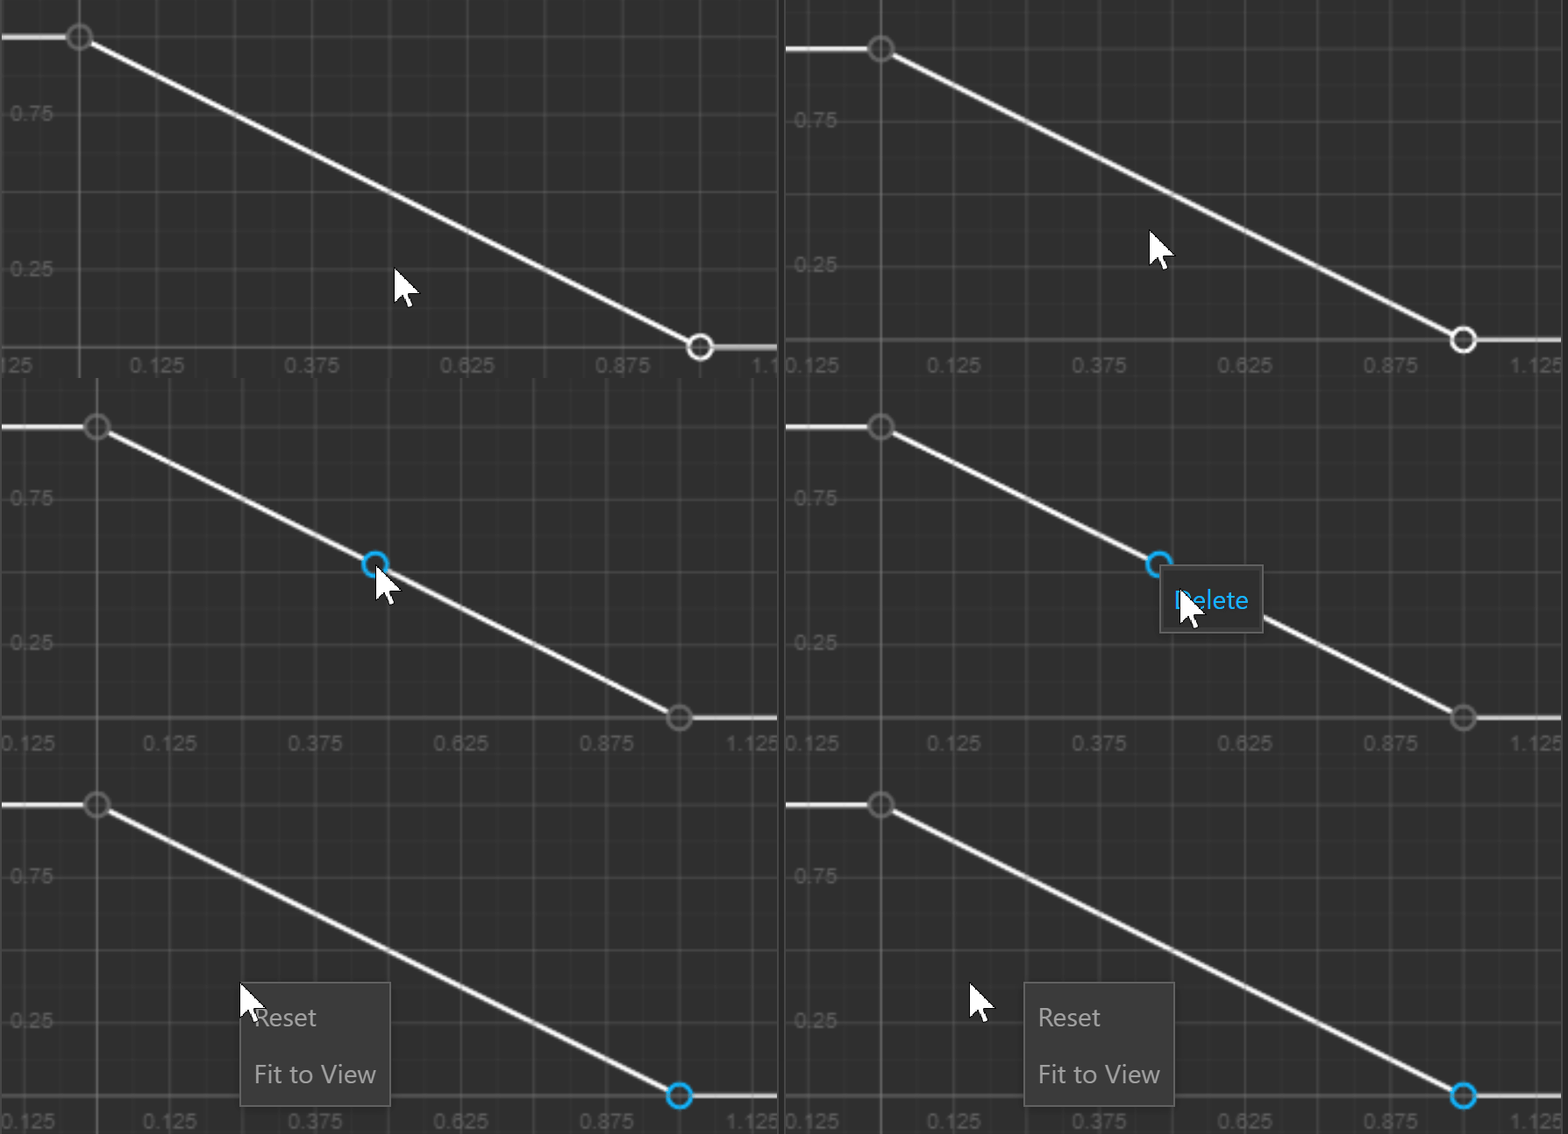
Curve editor - Determines where the falloff can be remapped.
Curve Interpolation – Changes the curve interpolation type. Select between Linear or Cubic. The selected interpolation type is applied to all curve points.
See the context menus here.
Example: Look At
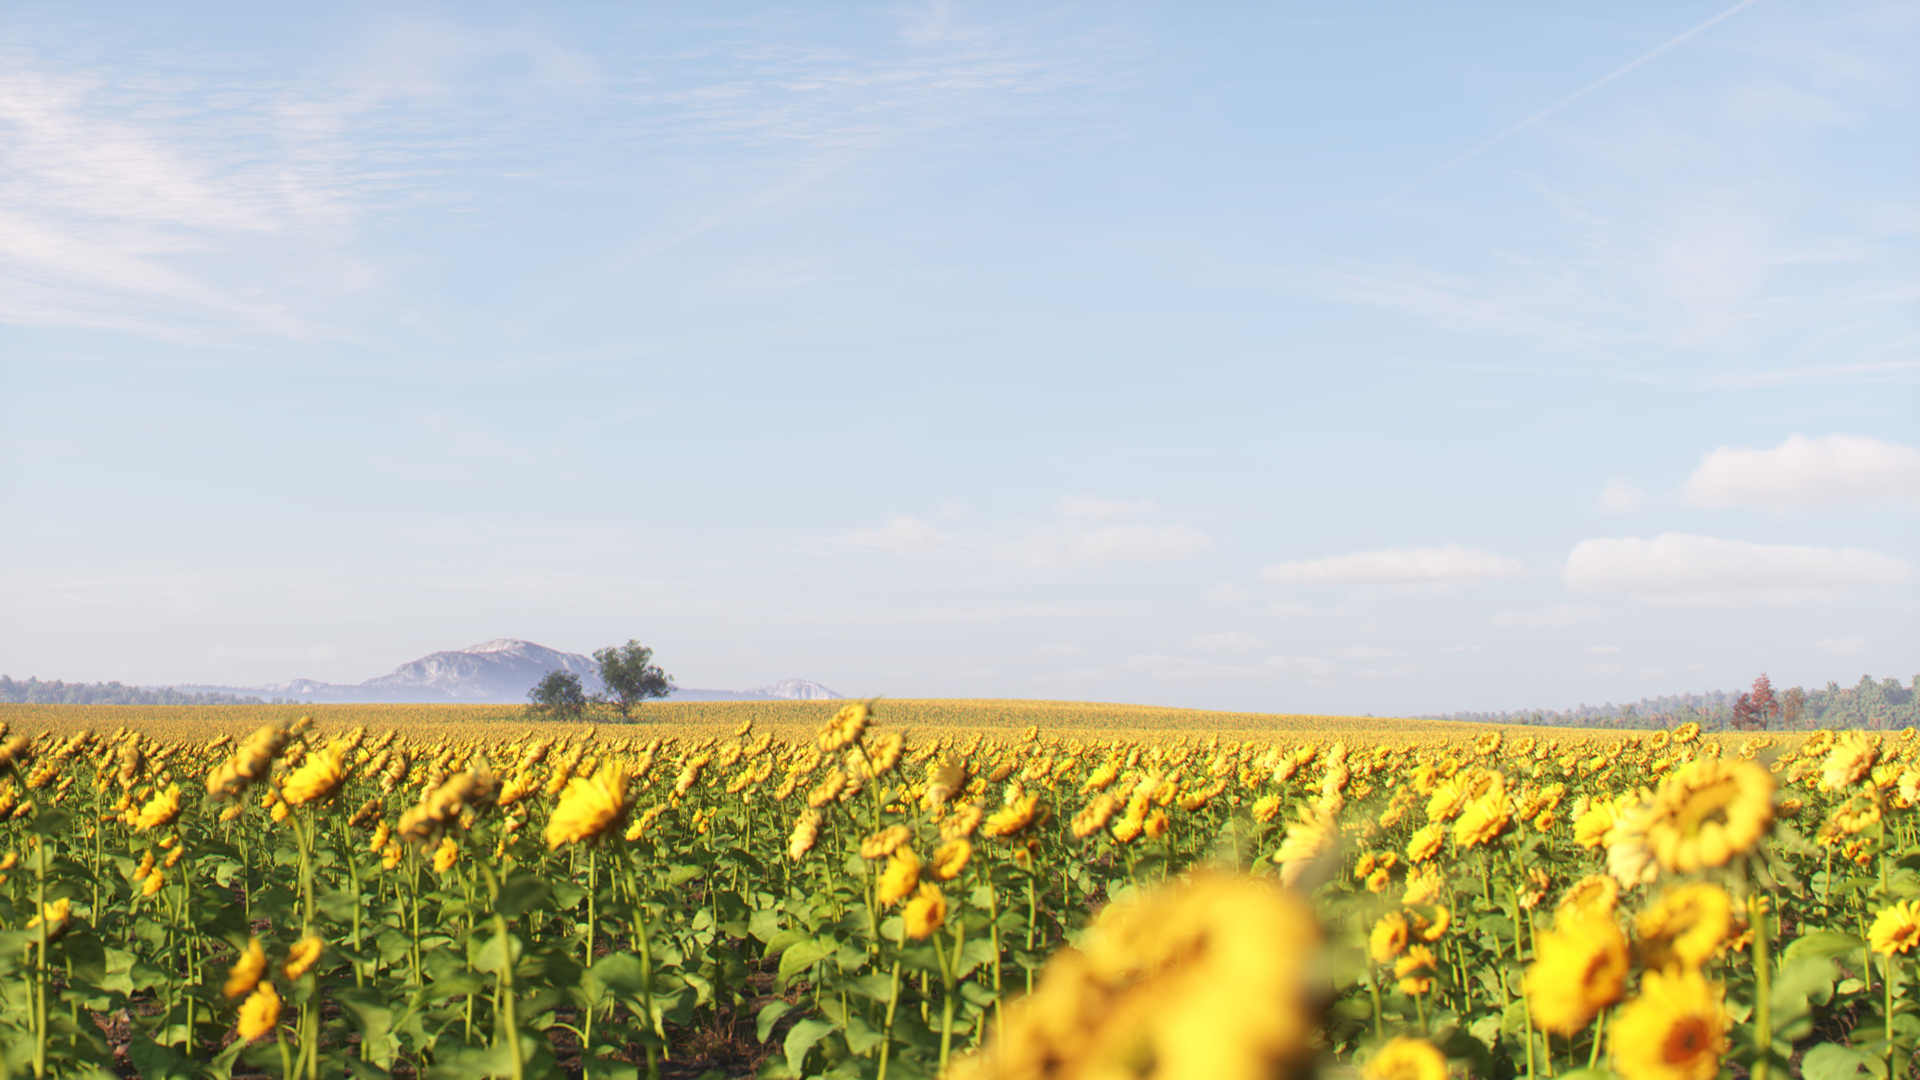
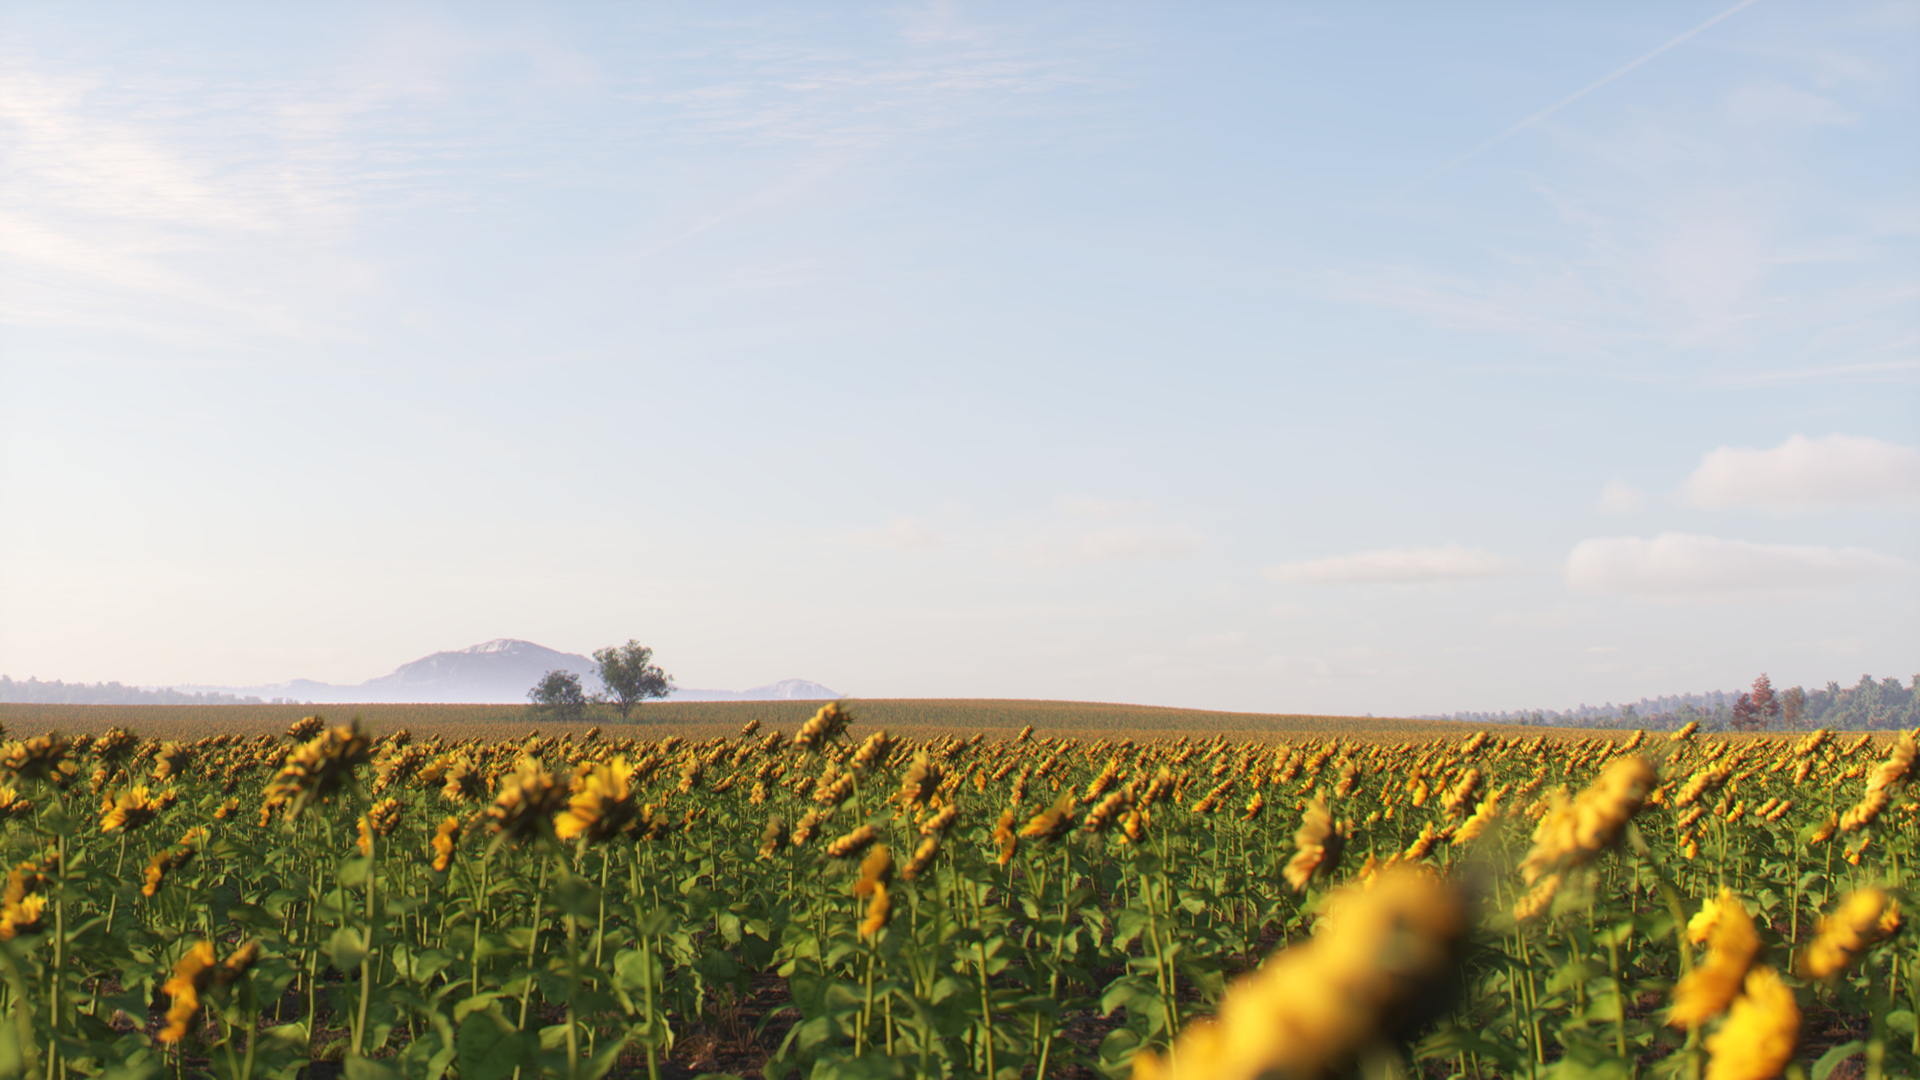
In this example, the sunflower objects are scattered along a plane and the Look At option is enabled. The VRaySun is assigned as the Target object, and it is moved along the sky as if it was setting over the horizon. The Horizontal option is enabled, allowing the sunflowers to rotate more realistically. Slide through the images to see the movement of the sunflowers.

Example: Falloff Distance
In this example, the sunflowers are looking at the blue butterfly. Adding Falloff Distance creates an area around the Target object where the effect is applied. Setting the value to 0 applies the effect to the entire scattered geometry. Scrolling through the examples quickly reveals the area which remains affected.
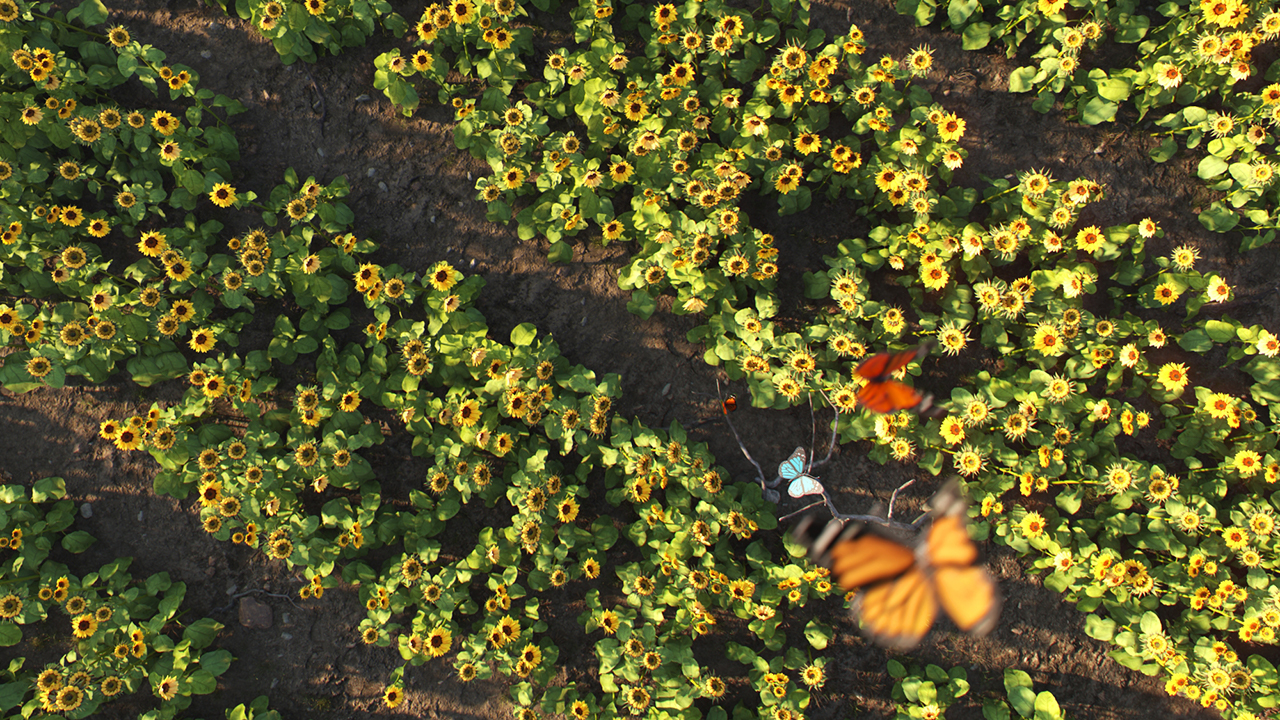
Falloff distance = 0.0

Falloff distance = 3.0
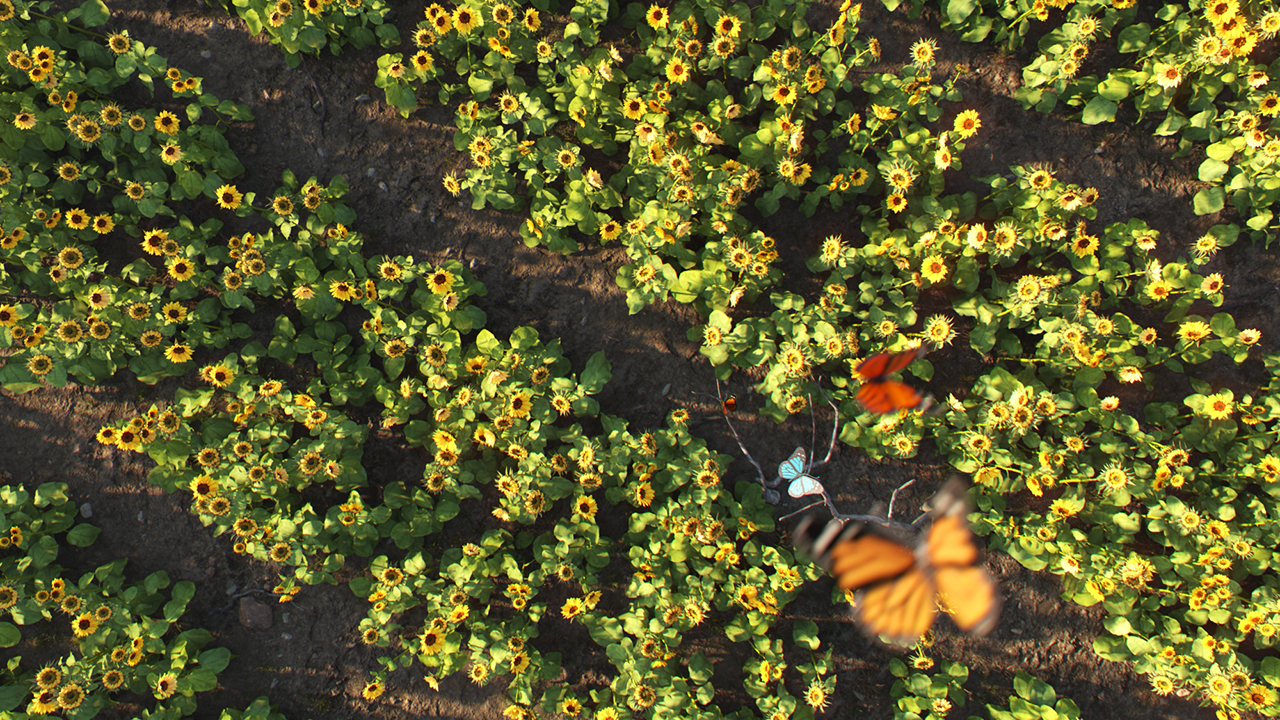
Falloff distance = 9.0