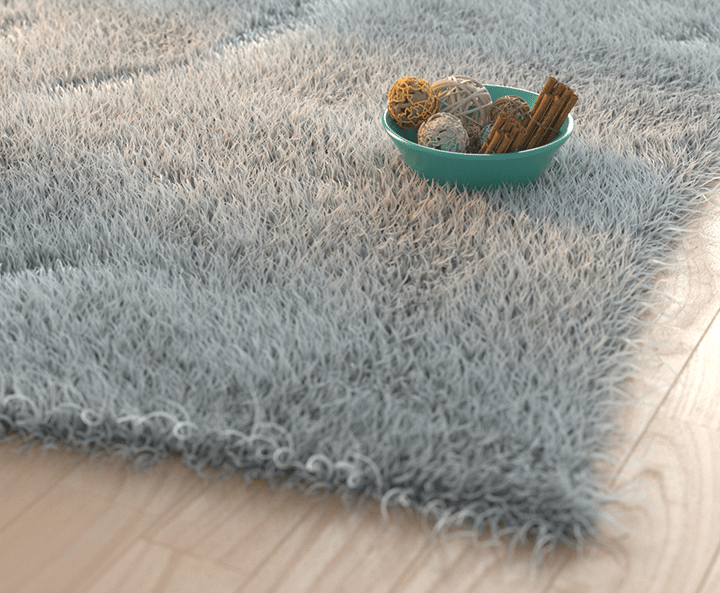
V-Ray Fur is a very simple procedural fur plugin. The fur is generated only during render time and is not actually present in the scene.
Last updated 9 April 2026
Introduction
V-Ray Fur is a very simple procedural fur plugin. The fur is generated only during render time and is not actually present in the scene.
Parameters
V-Ray Fur is implemented in the GeomHair plugin, which has a lot of parameters. They are the following:
Main
mesh - The triangle mesh that will have hairs generated on it.
length_base - The base length of the fur strands.
thickness_base - The base thickness of the strands.
gravity_base - This controls the force that pulls fur strands down along the direction of the gravity_vector.
gravity_vector - The gravity force direction vector.
bend - this parameter controls the elasticity of the fur strands. When it is 0.0, the strands are hard and are all straight lines. Greater values cause the strands to bend (e.g. under the influence of gravity).
taper - Allows you to add a taper to the individual strands of fur. Increasing this value will make each strand thinner in its upper end and wider in its base.
mtlID - Material ID of the faces of the mesh. This is only valid if the placement is by material ID. This is useful for applying a Multi/Sub-object material to the fur.
Geometric Detail
hair_sides - Number of segments along the circumference of a single hair.
hair_knots - Number of segments along the length of a single hair.
flat_normals - when this option is on, the normal of the fur strands does not vary across the strand width. Although not very precise, this is similar to how other fur/hair solutions work. It may also help with fur antialiasing, making the job of the image sampler a little easier. When this option is turned off, the surface normal varies across the width of the strands, creating the illusion that the strands have a cylindrical shape.
lod_enabled - Level of detail toggle. when this option is enabled, V-Ray will generate less fur geometry for parts of the scene which are far away from the camera. This is done by decreasing the density of the fur strands and increasi
lod_startDistance - Level of detail starting distance. The distance from the camera at which V-Ray is going to start implementing the level of detail adjustment. Up to this distance the fur will be generated as specified by the user, after that V-Ray is going to decrease the density and increase the thickness of the strand by a factor of two for every n unit of space specified by the Rate parameter.
lod_rate - Level of detail rate. The rate at which the detail adjustment is applied. Starting from the distance specified in the Start distance parameter V-Ray is going to decrease the density and increase the thickness of the strands by a factor of two for every n units of space specified by the Rate parameter.
Variation
For all of the following values are from 0.0 (no variation) to 1.0.
dir_var - The direction variation. This parameter adds slight variation to the direction in which fur strands grow from the source object. Any positive value is valid. This parameter should also depend on the scene scale.
length_var - The hair length variation.
thickness_var - The hair thickness variation.
gravity_var - The gravity variation.
curl_radius_var - The curl radius variation.
Distribution
distribution - determines the density of strands over the source object:
0 - per face - specifies the number of fur strands per face of the source object. Every face will generate the specified number of fur strands.
1 - per area - the number of strands per squared scene unit. For example, if the the system units are in meters, this parameter specifies the desired number of strands per square meter; if the system units are centimeters, it specifies the number of strands per square centimeter and so on. The area of the triangle faces (which is used to compute the number of strands for each face) is taken at the frame, specified by the Reference frame parameter. Every triangle face has at least one strand.
perFace - Number of hairs per face if distribution=0
perArea - Number of hairs per unit area if distribution=1
Placement
placement - The type of placement of the fur on the mesh. The possible values are:
0 - Entire Object - all faces will generate fur.
1 - Selected Faces - only selected faces (for example with a MeshSelect modifier) will generate fur.
2 - Material ID - only faces with the specified material ID will generate fur.
faceList - A list of face indices that will have hair generated on them. If NULL all faces will have hair on them.
fixed_areas - True if areaList should be used to determine the number of hairs when distribution is 'per area'.
areaList - A list of triangle surface areas. An element here corresponds to an element in faceList, if faceList is not NULL.
Mapping
generate_w_coord - If true, V-Ray will generate a W mapping coordinate that represents the position of the shaded point along the hair strands. In general, all mapping coordinates are taken from the base object. However, the W mapping coordinate can be modified to represent the offset along the hair strands. When this option is on, the W coordinate is the offset along the hair strands (0.0 is the strand base, and 1.0 is the tip). The U and V coordinates are still taken from the base object.
map_channel - the channel for which the W coordinate will be modified, when the Generate W-coordinate option is on.
Others
curl_enabled - True if curl should be applied to the hair.
curl_angle - The angle of the curl applied at each knot.
curl_radius - The radius of the curls.
override_mtlID_on - Material ID will be overridden.
override_mtlID - The override material ID.
ignore_base_mesh_displacement - If false, fur will be displaced by using the parent mesh displacement map.
scale - Fur scaling factor.
Maps
You can control some aspects of GeomHair with texture maps. These can be either bitmaps, or vertex color maps painted directly on the source object.
bend_direction_tex - This is an RGB map which specifies a bend direction of the fur strands, in texture space (according to the specified Base map channel). This is the direction in which the fur strands curve to (the amount of curvature is also controlled by the Bend parameter). The red component is offset along the u texture direction, the green component is the offset along the v texture direction, and the blue component is the offset along the surface normal.
initial_direction_tex - This is an RGB map which specifies the initial direction of the fur strands, in texture space (according to the specified Base map channel). The red component is offset along the u texture direction, the green component is the offset along the v texture direction, and the blue component is the offset along the surface normal.
The following maps are multipliers for the corresponding parameters, where black is a multiplier of 0.0, and white is a multiplier of 1.0.
length_tex - A texture for the length.
thickness_tex - A texture for the thickness.
gravity_tex - A texture for the gravity.
bend_tex - A texture for the bend.
density_tex - this map is a multiplier for the strand density. Black portions of the map correspond to zero density (effectively no fur will be generated in these areas), and white represents the normal strand density, as specified by the distribution parameters.
curl_tex - A texture for the curls.
Code example
Python
C++
C#.NET
Node.js
Example
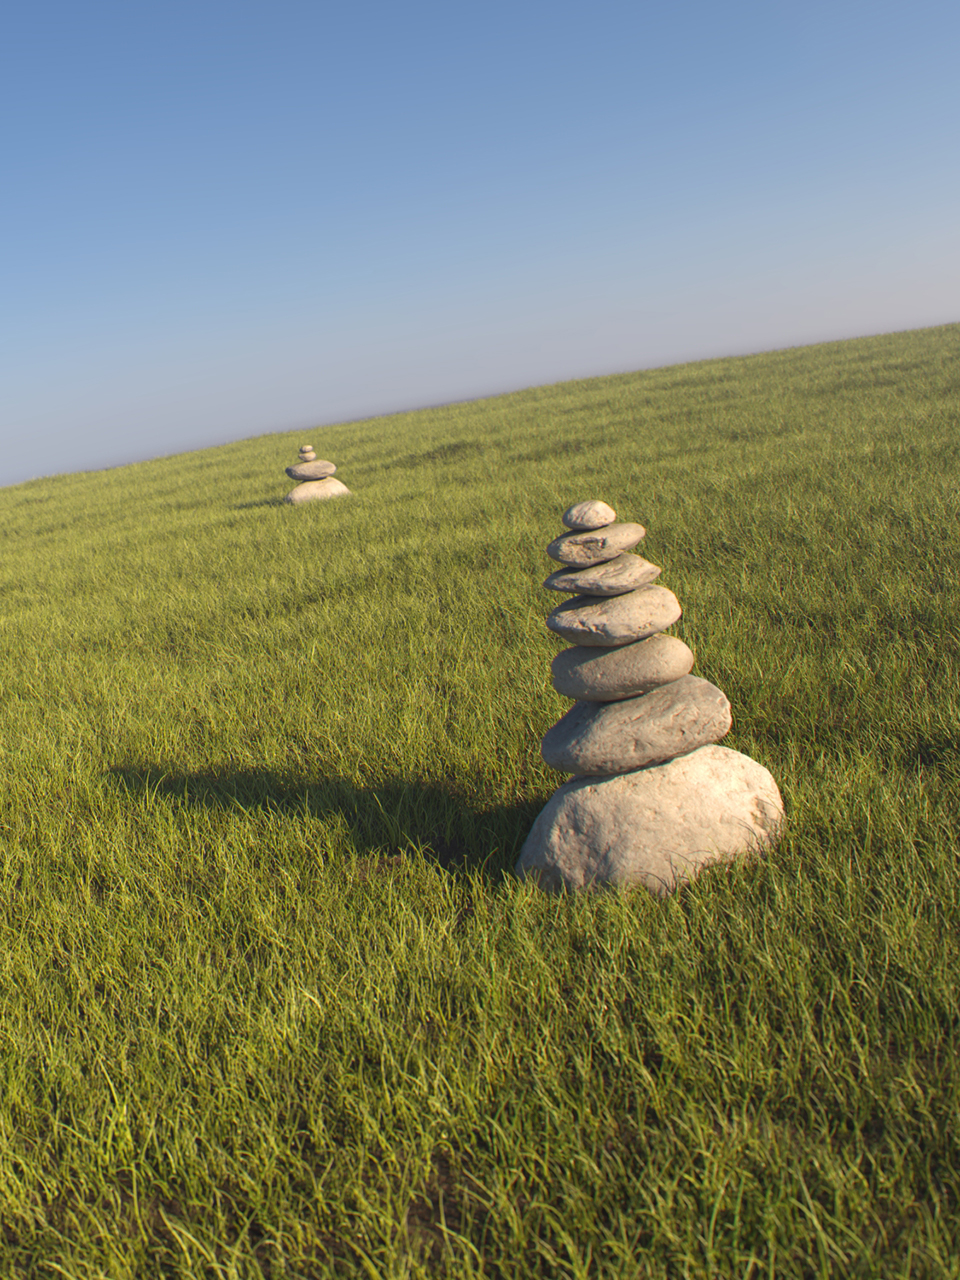
The following grass-like effect is created using the V-Ray Procedural fur from this scene.
Notes
Avoid applying textures with Object XYZ mapping to the fur. If you need to use a 3d procedural texture, apply a UVW Map modifier to the source object with the option to convert XYZ to UVW coordinates and use explicit mapping for the texture.
Avoid having very large triangles covered with fur, since the fur is generated in groups corresponding to triangles of the original mesh.
Shadow maps will not include information about the GeomHair. However, other objects will cast shadows on the fur, even with shadow maps.
Sharp Shadows may produce flickering with GeomHair in animations, because the lighting situation of individual hairs will change very rapidly. Area shadows or VRayLights may produce smoother results.
GeomHair will not work with Infinite Plane | GeomInfinitePlane as a base object.