Chaos Vantage
Materials Tab
This page provides information about the Materials tab in Chaos Vantage.
Last updated 11 June 2026
This page provides information about the Materials tab in Chaos Vantage.
Overview
The Materials tab offers a list of all materials in the scene as well as options to create a range of materials and textures. The list includes materials imported with .vrscene file as well as materials created in Vantage.
All materials are listed in the Material lister, while material creation happens in the Material editor. Materials are edited both in the Material editor and in the Material Node editor.
Scene sub-state
Scene sub-state – A dropdown list of all scene material assignments sub-states.

Create () – Creates a new scene material assignments sub-state.
Update () – Updates a scene material assignments sub-state.

Delete () – Deletes a scene material assignments sub-state. Double-click to delete.

Toon outlines
Settings
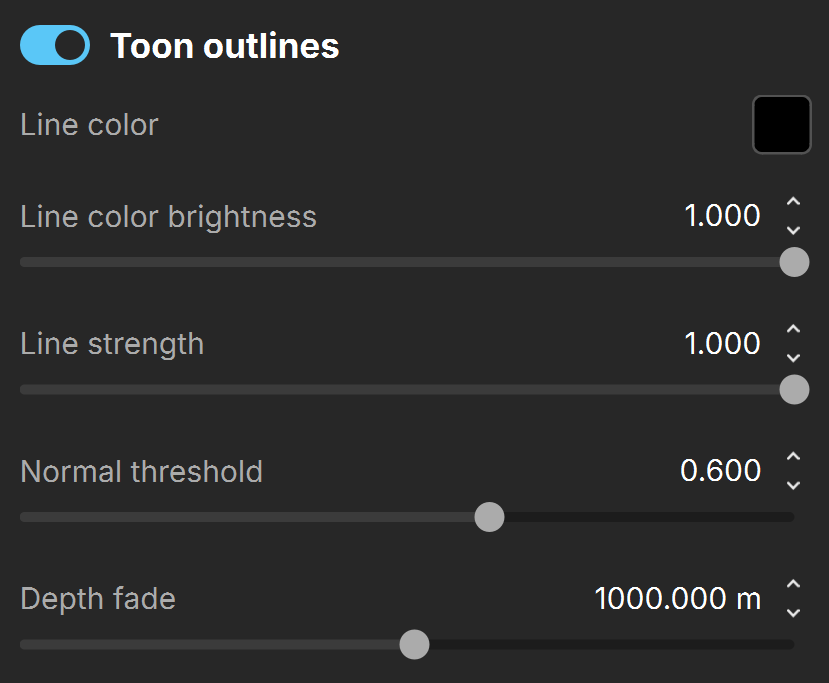
Toon outlines – When enabled, adds internal and silhouette outlines for all scene objects. See the Toon Outlines example below.
Line color – Specifies the color of the toon edges.
Line color brightness – Specifies the brightness of the selected color for the toon edges. If the color is black, no effect is visible. When set to 0, the line color appears black. See the Toon Line Color Brightness example below.
Line strength – Specifies the opacity of the toon edges. Higher values make the edges appear denser and darker. See the Line Strength example below.
Normal threshold – Determines at what point lines are created for parts of the same object with varying surface normals. A value of 0.0 means that only angles of 90 degrees or more generate internal lines. Higher values mean that smoother normals can also generate edges. Don't set this value to pure 1.0 as this fills curved objects completely.
Depth fade – Specifies the distance from the current view at which the toon outlines begin to fade out.
Include/Exclude
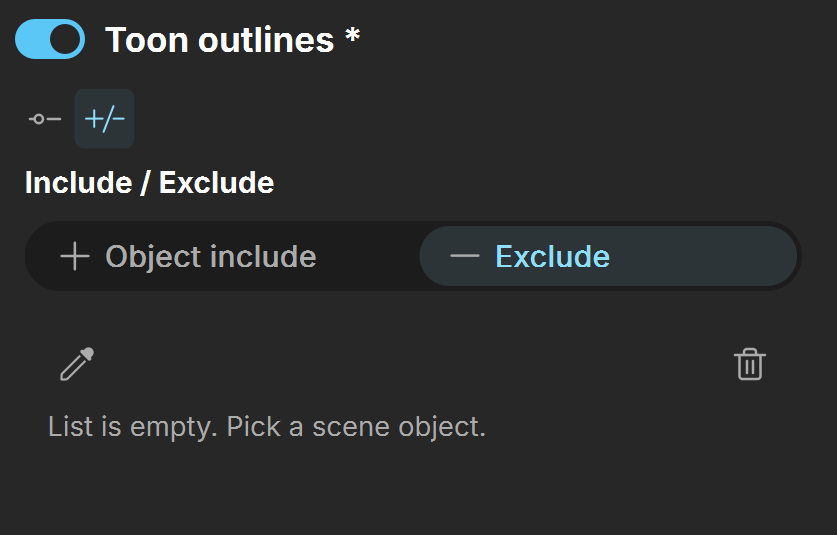
Light include/exclude – Specifies a list of objects to be included in or excluded from the toon effect. Objects are added to the list using the Pick scene object(s) tool.

Pick scene object(s) () – Selects objects and adds them to the include/exclude list.

Delete selected object(s) from the list () – Removes the selected objects from the include/exclude list.
Clay mode
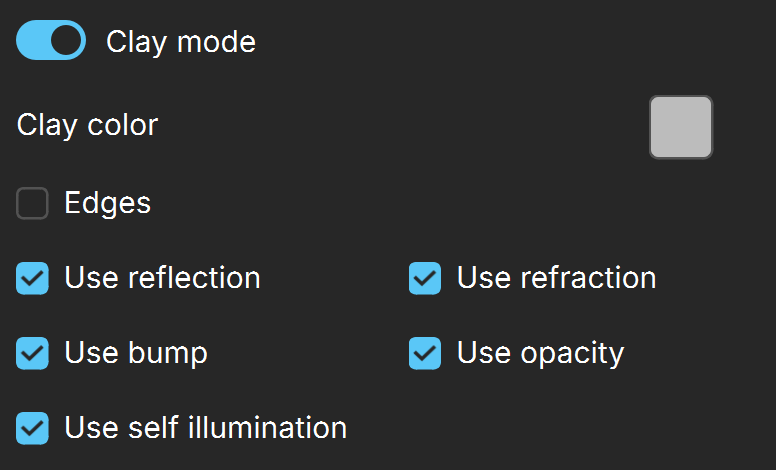
Clay mode – When enabled, overrides all scene materials with a simple grey (default) material. See the Clay Mode example below.
Clay color – Specifies the color for the override material. See the Clay Color example below.
Edges – When enabled, renders geometry edges with a specified Color and Thickness in pixels on top of the clay override material. See the Clay Edges example below.
Color – Specifies the color of the edges when Edges is enabled. See the Clay Edges Color example below.
Thickness – Specifies the width of the edges in pixels when Edges is enabled. See the Clay Thickness example below.
Use reflection – When enabled, the original material's reflection setup is used instead of overriding it.
Use refraction – When enabled, the original material's refraction setup is used instead of overriding it. See the Use Refraction example below.
Use bump – When enabled, the original material's bump setup is used instead of overriding it. See the Use Bump example below.
Use opacity – When enabled, the original material's opacity setup is used instead of overriding it.
Use self illumination – When enabled, the original material's self illumination setup is used instead of overriding it.
Material lister
Button | Description |
|---|
Button | Description |
|---|---|
Create material – Creates a VRayMtl or other materials (2Sided, Blend, CarPaint, CarPaint2, Hair4, Light, Multi, or Override). | |
Import materials from supported files – Imports a material(s) from an external supported file and adds it to the Material lister. | |
Select material – Picks a material assigned to an object in the viewport. Single-click selects the material in the material browser, double-click opens the picked material in the Material editor. | |
Select the material of the selected object – Selects the material of the selected object in the scene. Available only when an object is selected. | |
Select objects with the selected material – Selects all scene objects based on the material that has been selected in the list. Available only when a material is selected. | |
Assign the selected material to the selected object – Assigns a material from the list to the selected objects in the scene. Available only when a material is selected. | |
Open material node editor (Beta) – Opens the Material node editor where materials can be picked and edited. | |
Open advanced Thumbnail settings – Opens the Preview scene settings dialog. | |
Search materials – Filters the material list and shows only those materials that match the search. | |
Clear – Clears the search. | |
Filter menu – Displays a filter menu that enables the listing of materials based on type e.g. Generic, 2 Sided, Multi material, etc., as well as based on whether they are created or edited in Vantage. Use Ctr + click to isolate a selection. | |
Columns – Controls the number of columns in the materials list. You can choose between one, two, three, or four columns. | |
Pick a sorting method – Sorts the material list by name or creation, as well as in ascending/descending order. Right-click to reset the sorting. |
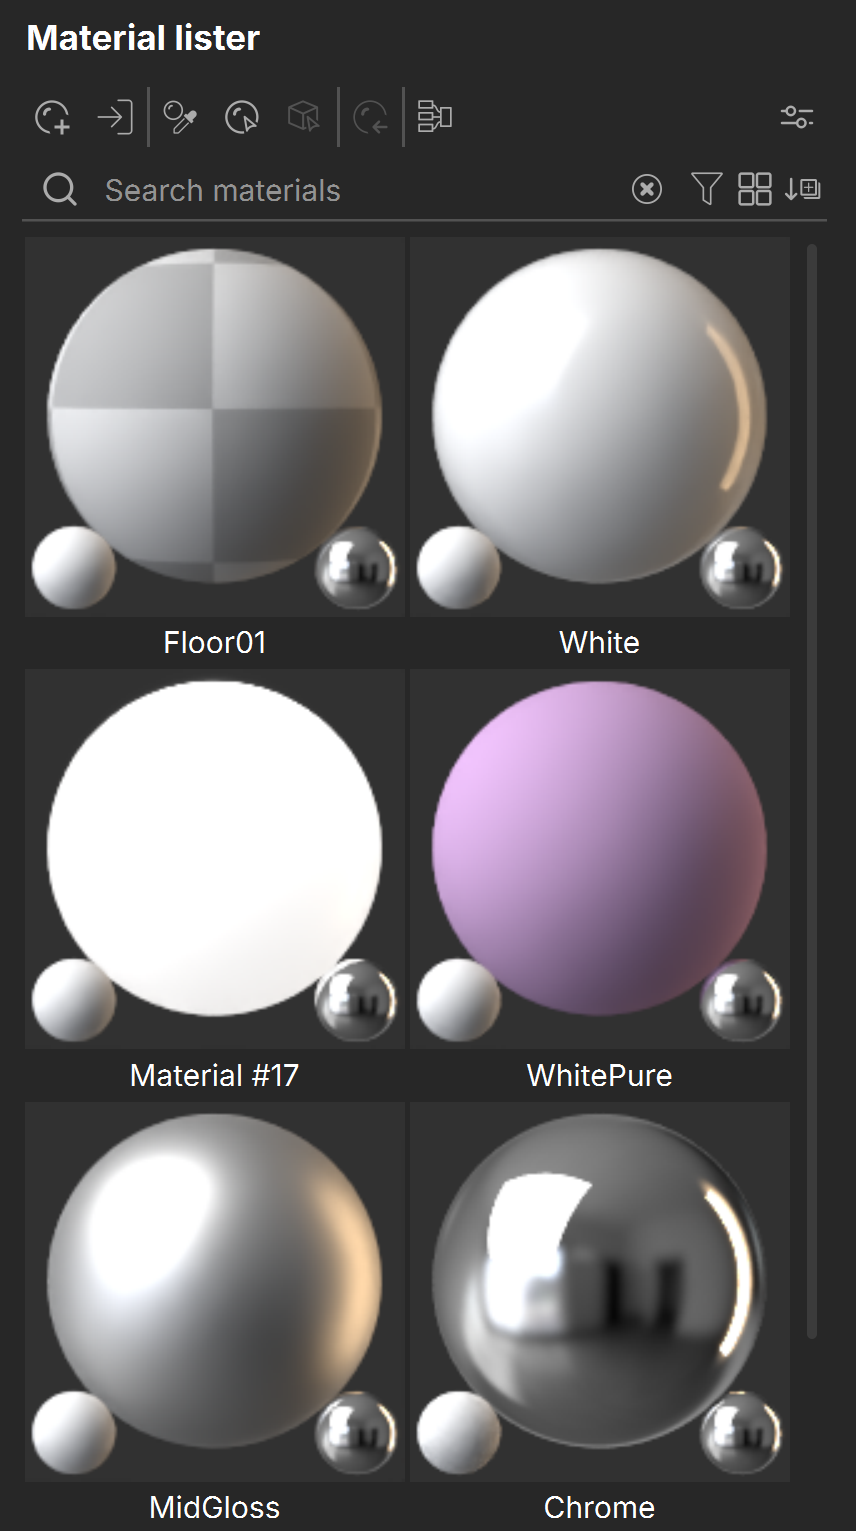
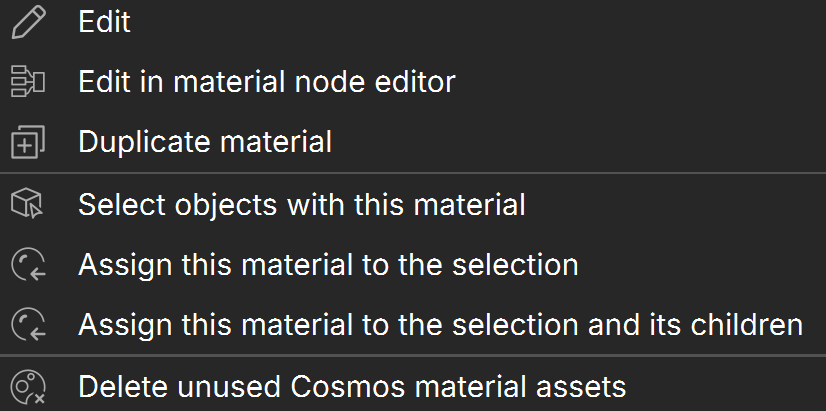
A context menu is available when right-clicking a material thumbnail:
Edit – Opens the material in the Material editor and allows you to modify its parameters.
Edit in material node editor – Opens the material in the Material node editor and allows you to modify its parameters.
Duplicate material – Create a copy of the selected material. If the duplicated material is a complex material with nested submaterials (Multi material, Blend material, etc), the nested submaterials are also duplicated.
Select objects with this material – () Selects all scene objects based on the material that has been selected in the list.

Assign this material to the selection – () Assigns a material from the list to the selected objects in the scene.
Assign this material to the selection and its children – Assigns a material from the list to the selected objects and their children in the hierarchy in the scene.
Delete unused Cosmos material assets – Deletes any currently unused imported Cosmos material assets. This frees up GPU memory.
Preview Scene Settings
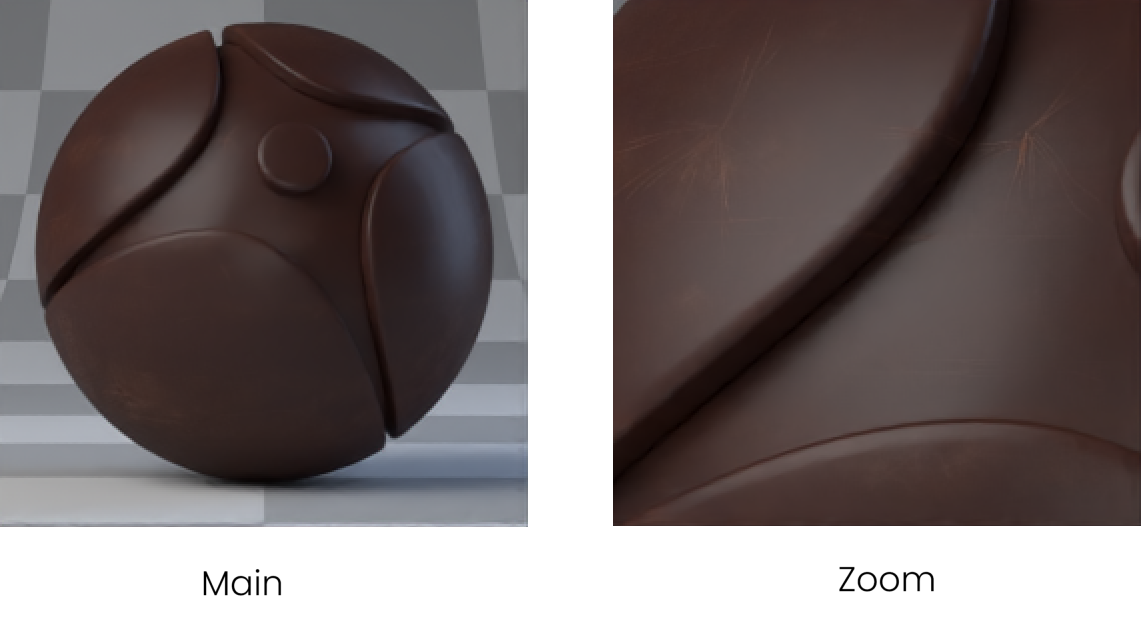
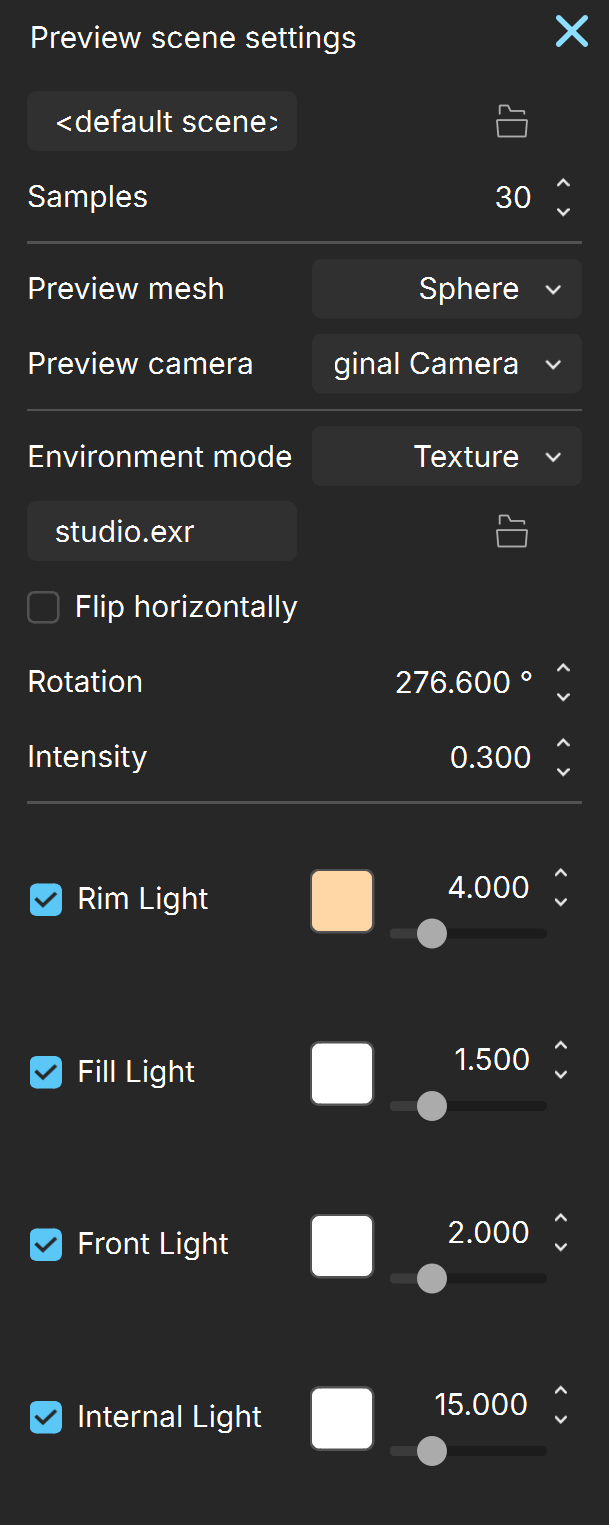
The Preview scene settings dialog contains options to customize how the material thumbnails are rendered.
Load vrscene – Loads a custom vrscene file for the material preview scene.
Click here to expand additional details about the material preview scene...
Samples – Specifies the samples per pixel for refining the material thumbnail. Low values speed up thumbnail generation at the cost of quality.
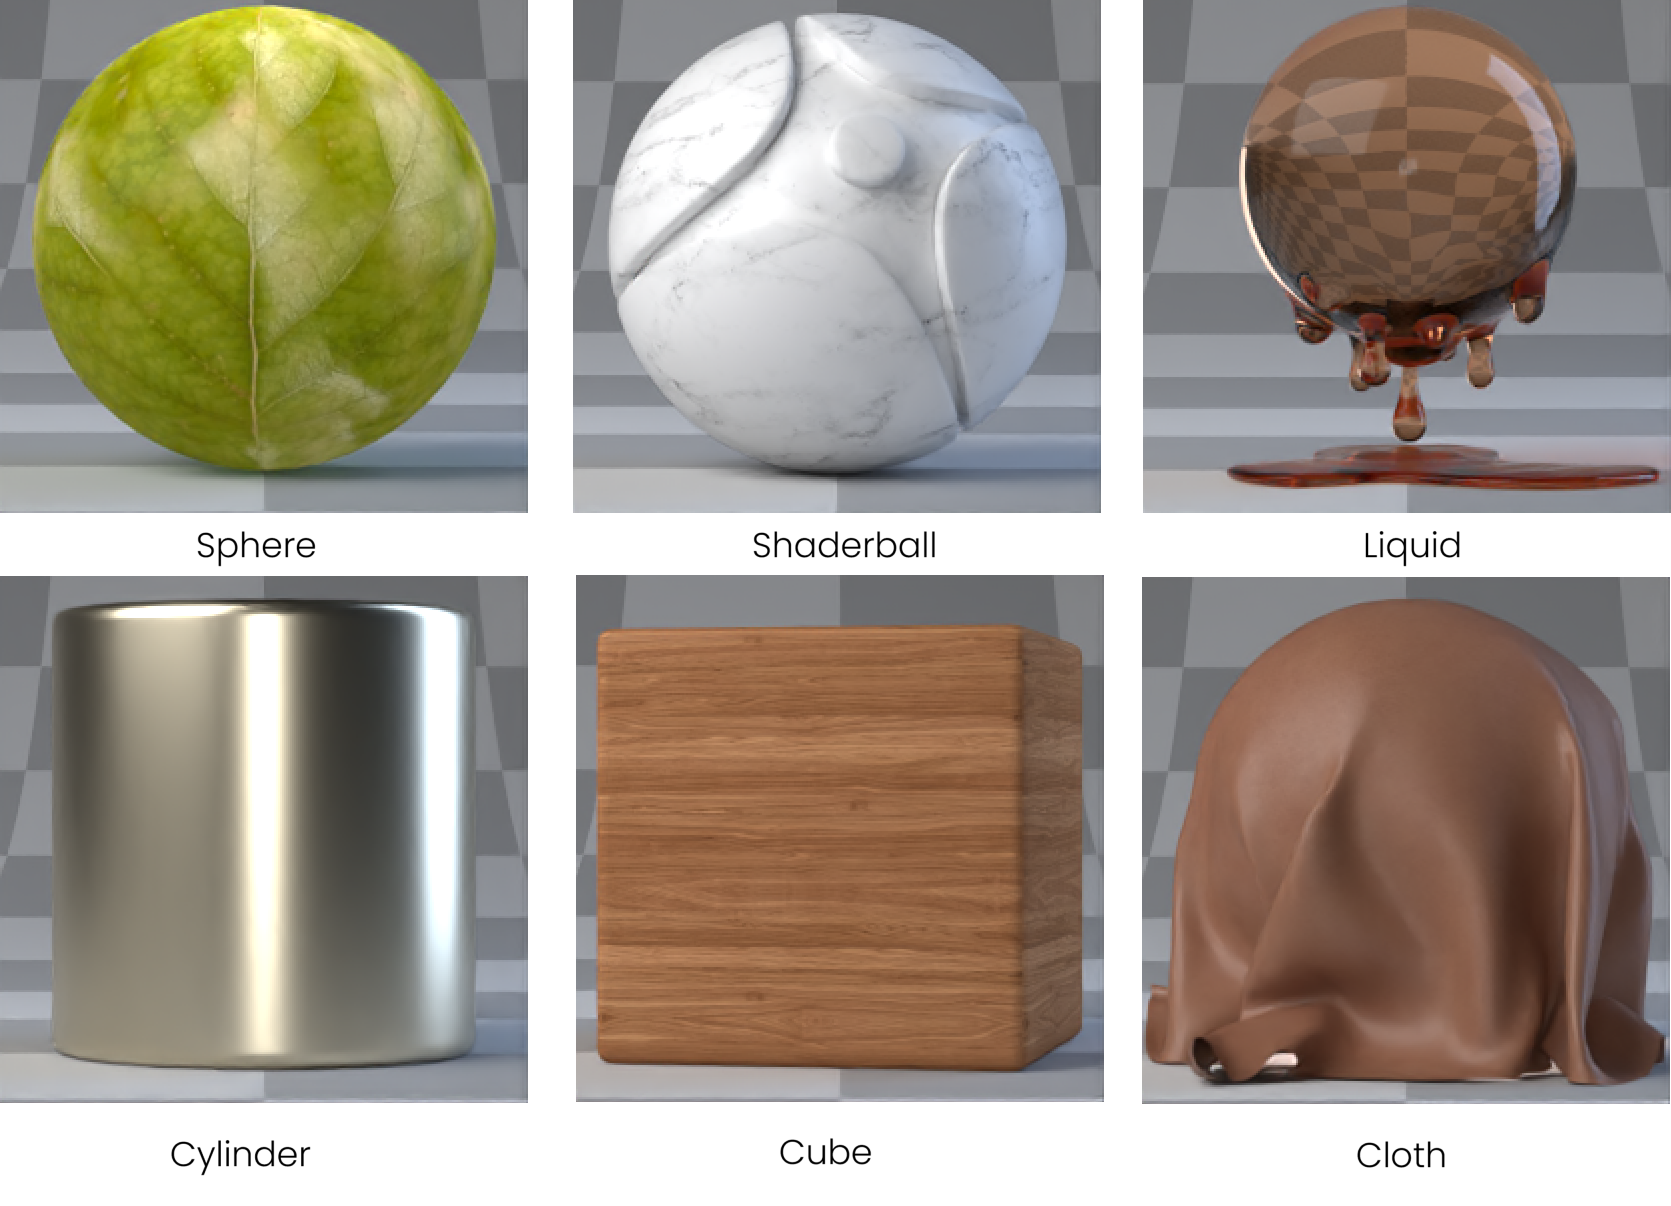
Preview mesh – Specifies the mesh to be used in the material thumbnail:
Preview camera – Specifies the render camera for the material thumbnails:
Environment mode – Specifies the mode which will be used for scene lighting.
Texture – Enables the use of an environment texture for lighting. When this option is selected, Load environment and Rotation parameters appear.
Solid Color – Enables the use of a solid color for lighting. When this option is selected, Environment Color parameter appears.
Load environment – Loads an image for Environment. This option is available only when Environment mode is set to Texture.
Flip horizontally – Flips the environment image horizontally. This option is available only when Environment mode is set to Texture.
Rotation – Specifies a rotation angle in degrees for the Environment texture. This option is available only when Environment mode is set to Texture.
Intensity – Specifies the intensity of the Environment lighting.
Rim Light – Enables/disables and controls the intensity and color of the rim light in the default preview scene.
Fill Light – Enables/disables and controls the intensity and color of the fill light in the default preview scene.
Front Light – Enables/disables and controls the intensity and color of the front light in the default preview scene.
Internal Lights – Enables/disables and controls the intensity and color of the internal light in the default preview scene. Useful for previewing two sided materials.
Close – Closes the Preview scene settings dialog.
Examples
The following examples demonstrate the effect that individual Toon Outline parameters have on the scene. Click on any image to view it at a higher resolution.
Example: Toon Outlines
This example demonstrates the effect of Toon outlines, which appear as black lines when enabled. The line color used here is the default - black. In the third image, the Clay mode is enabled to better showcase the Toon outlines.
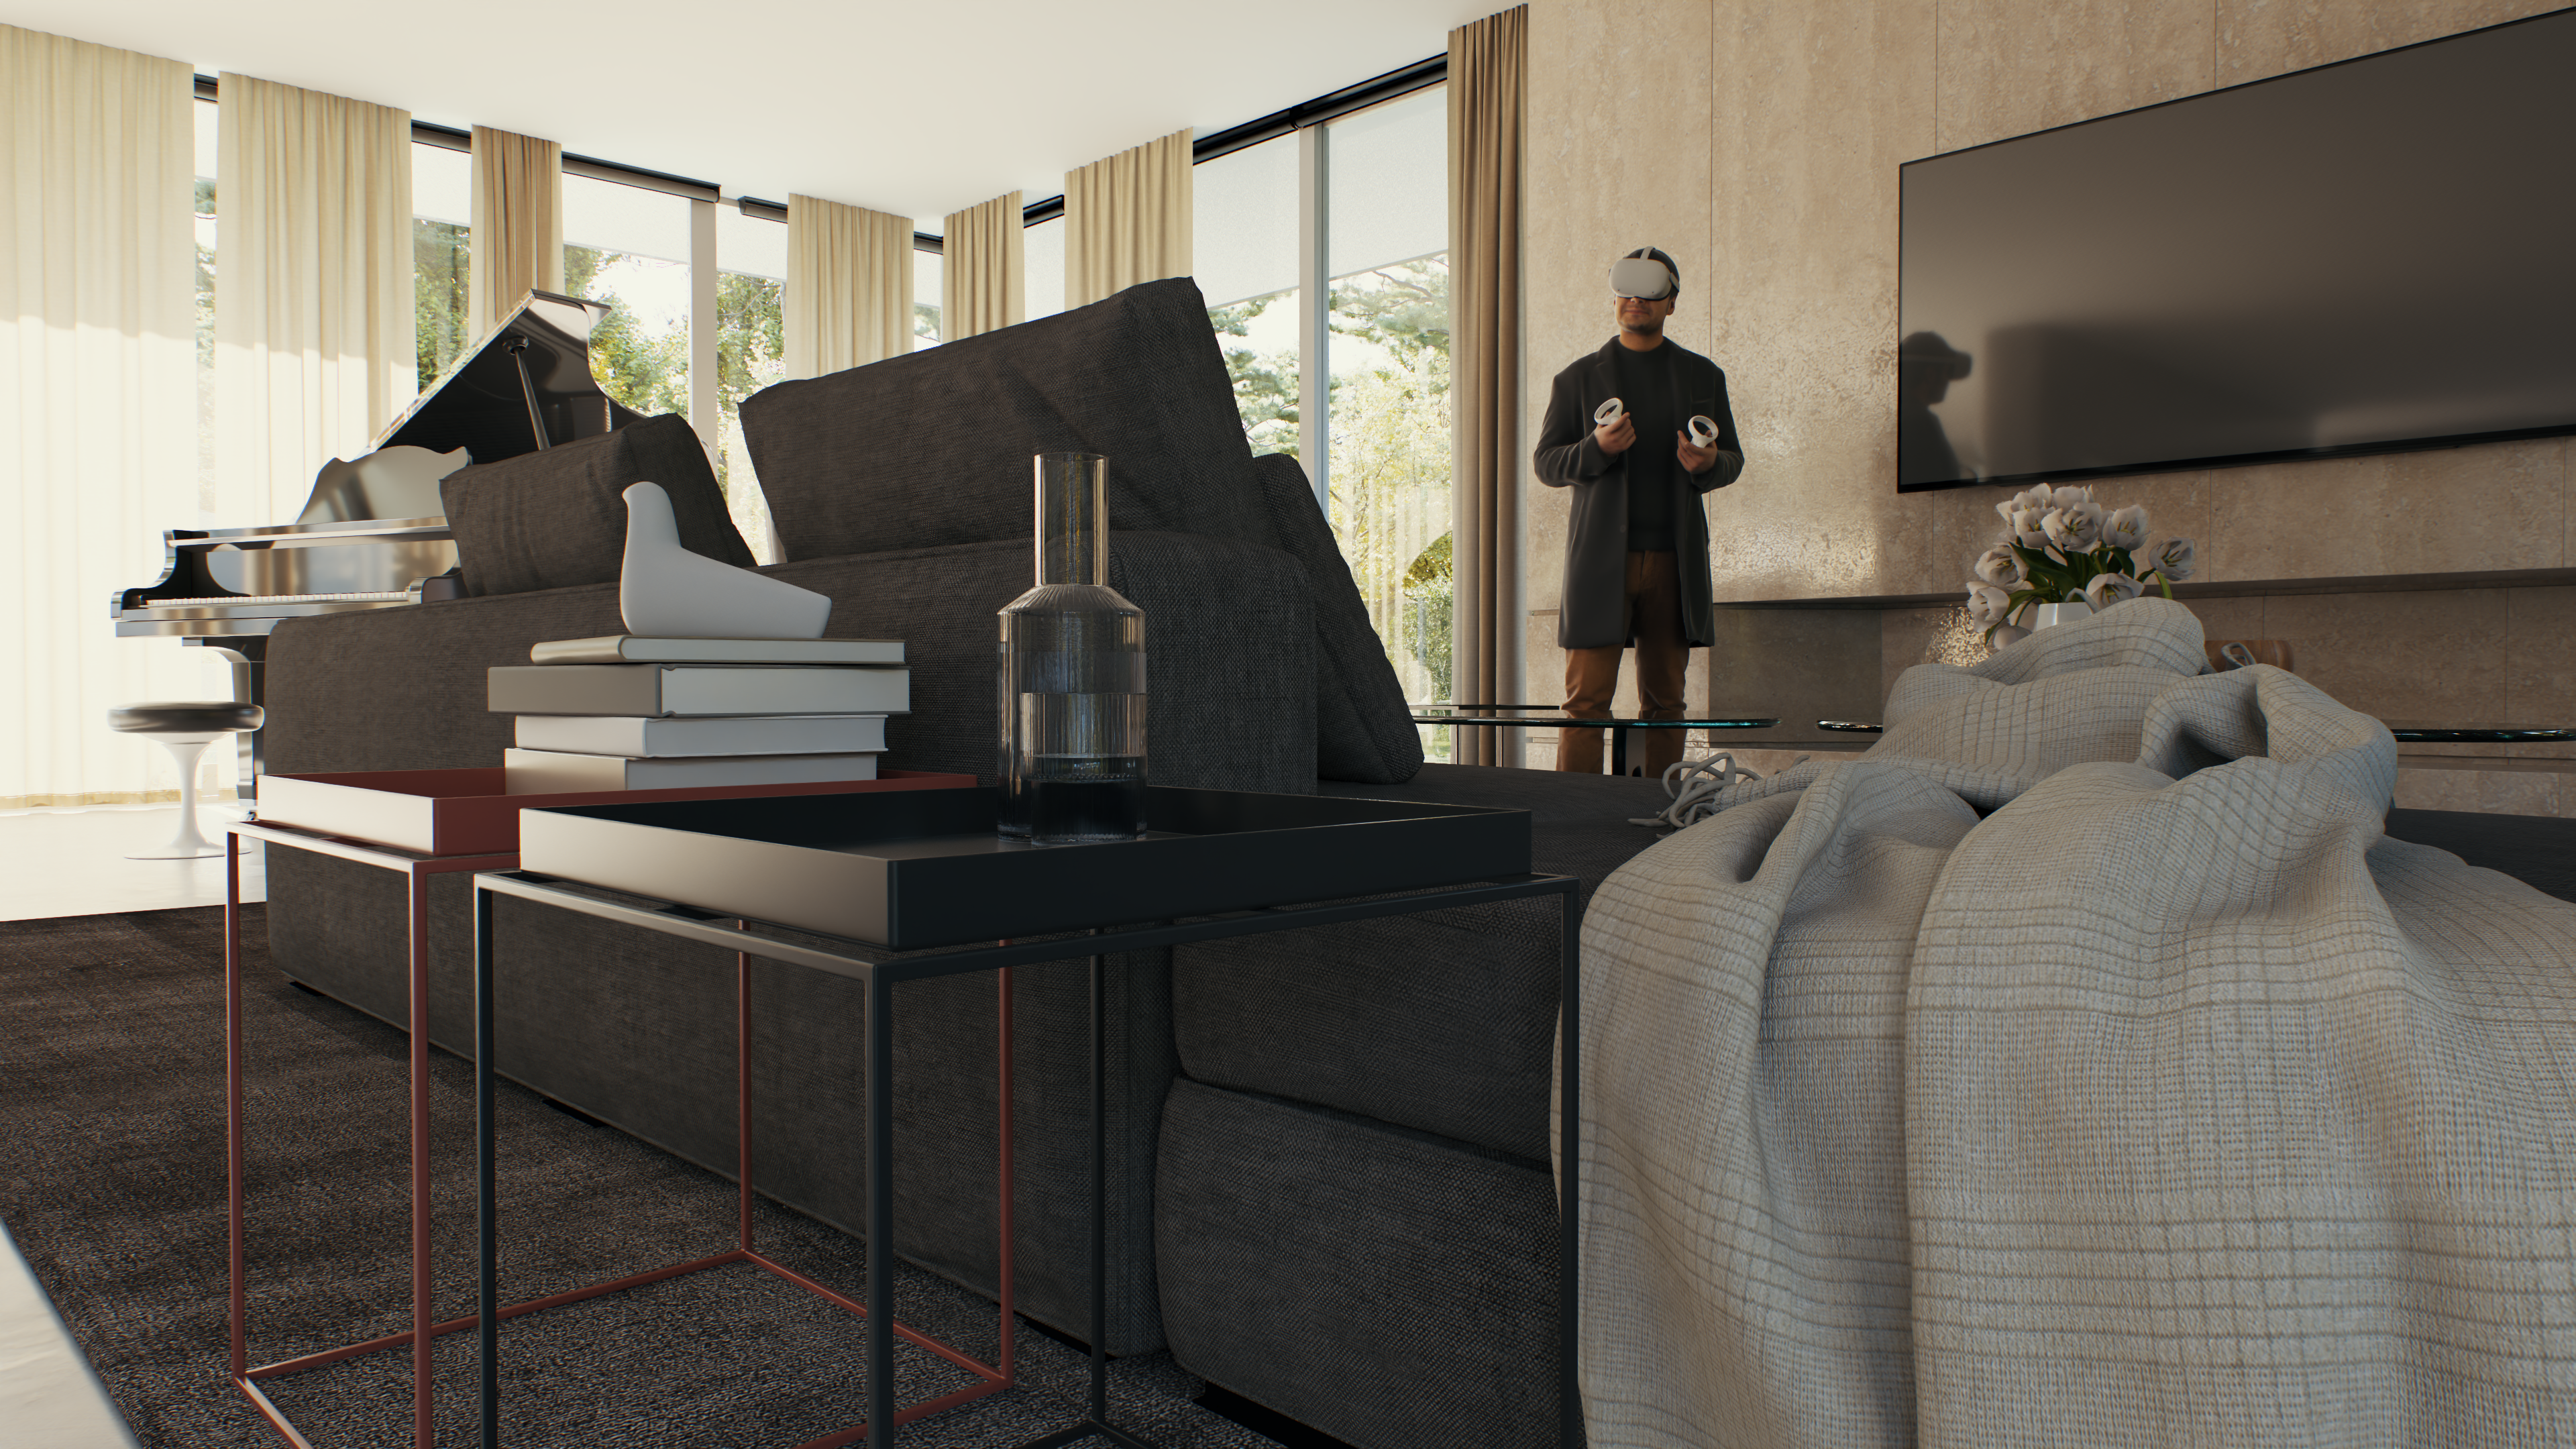
Original image, no Toon outlines are applied
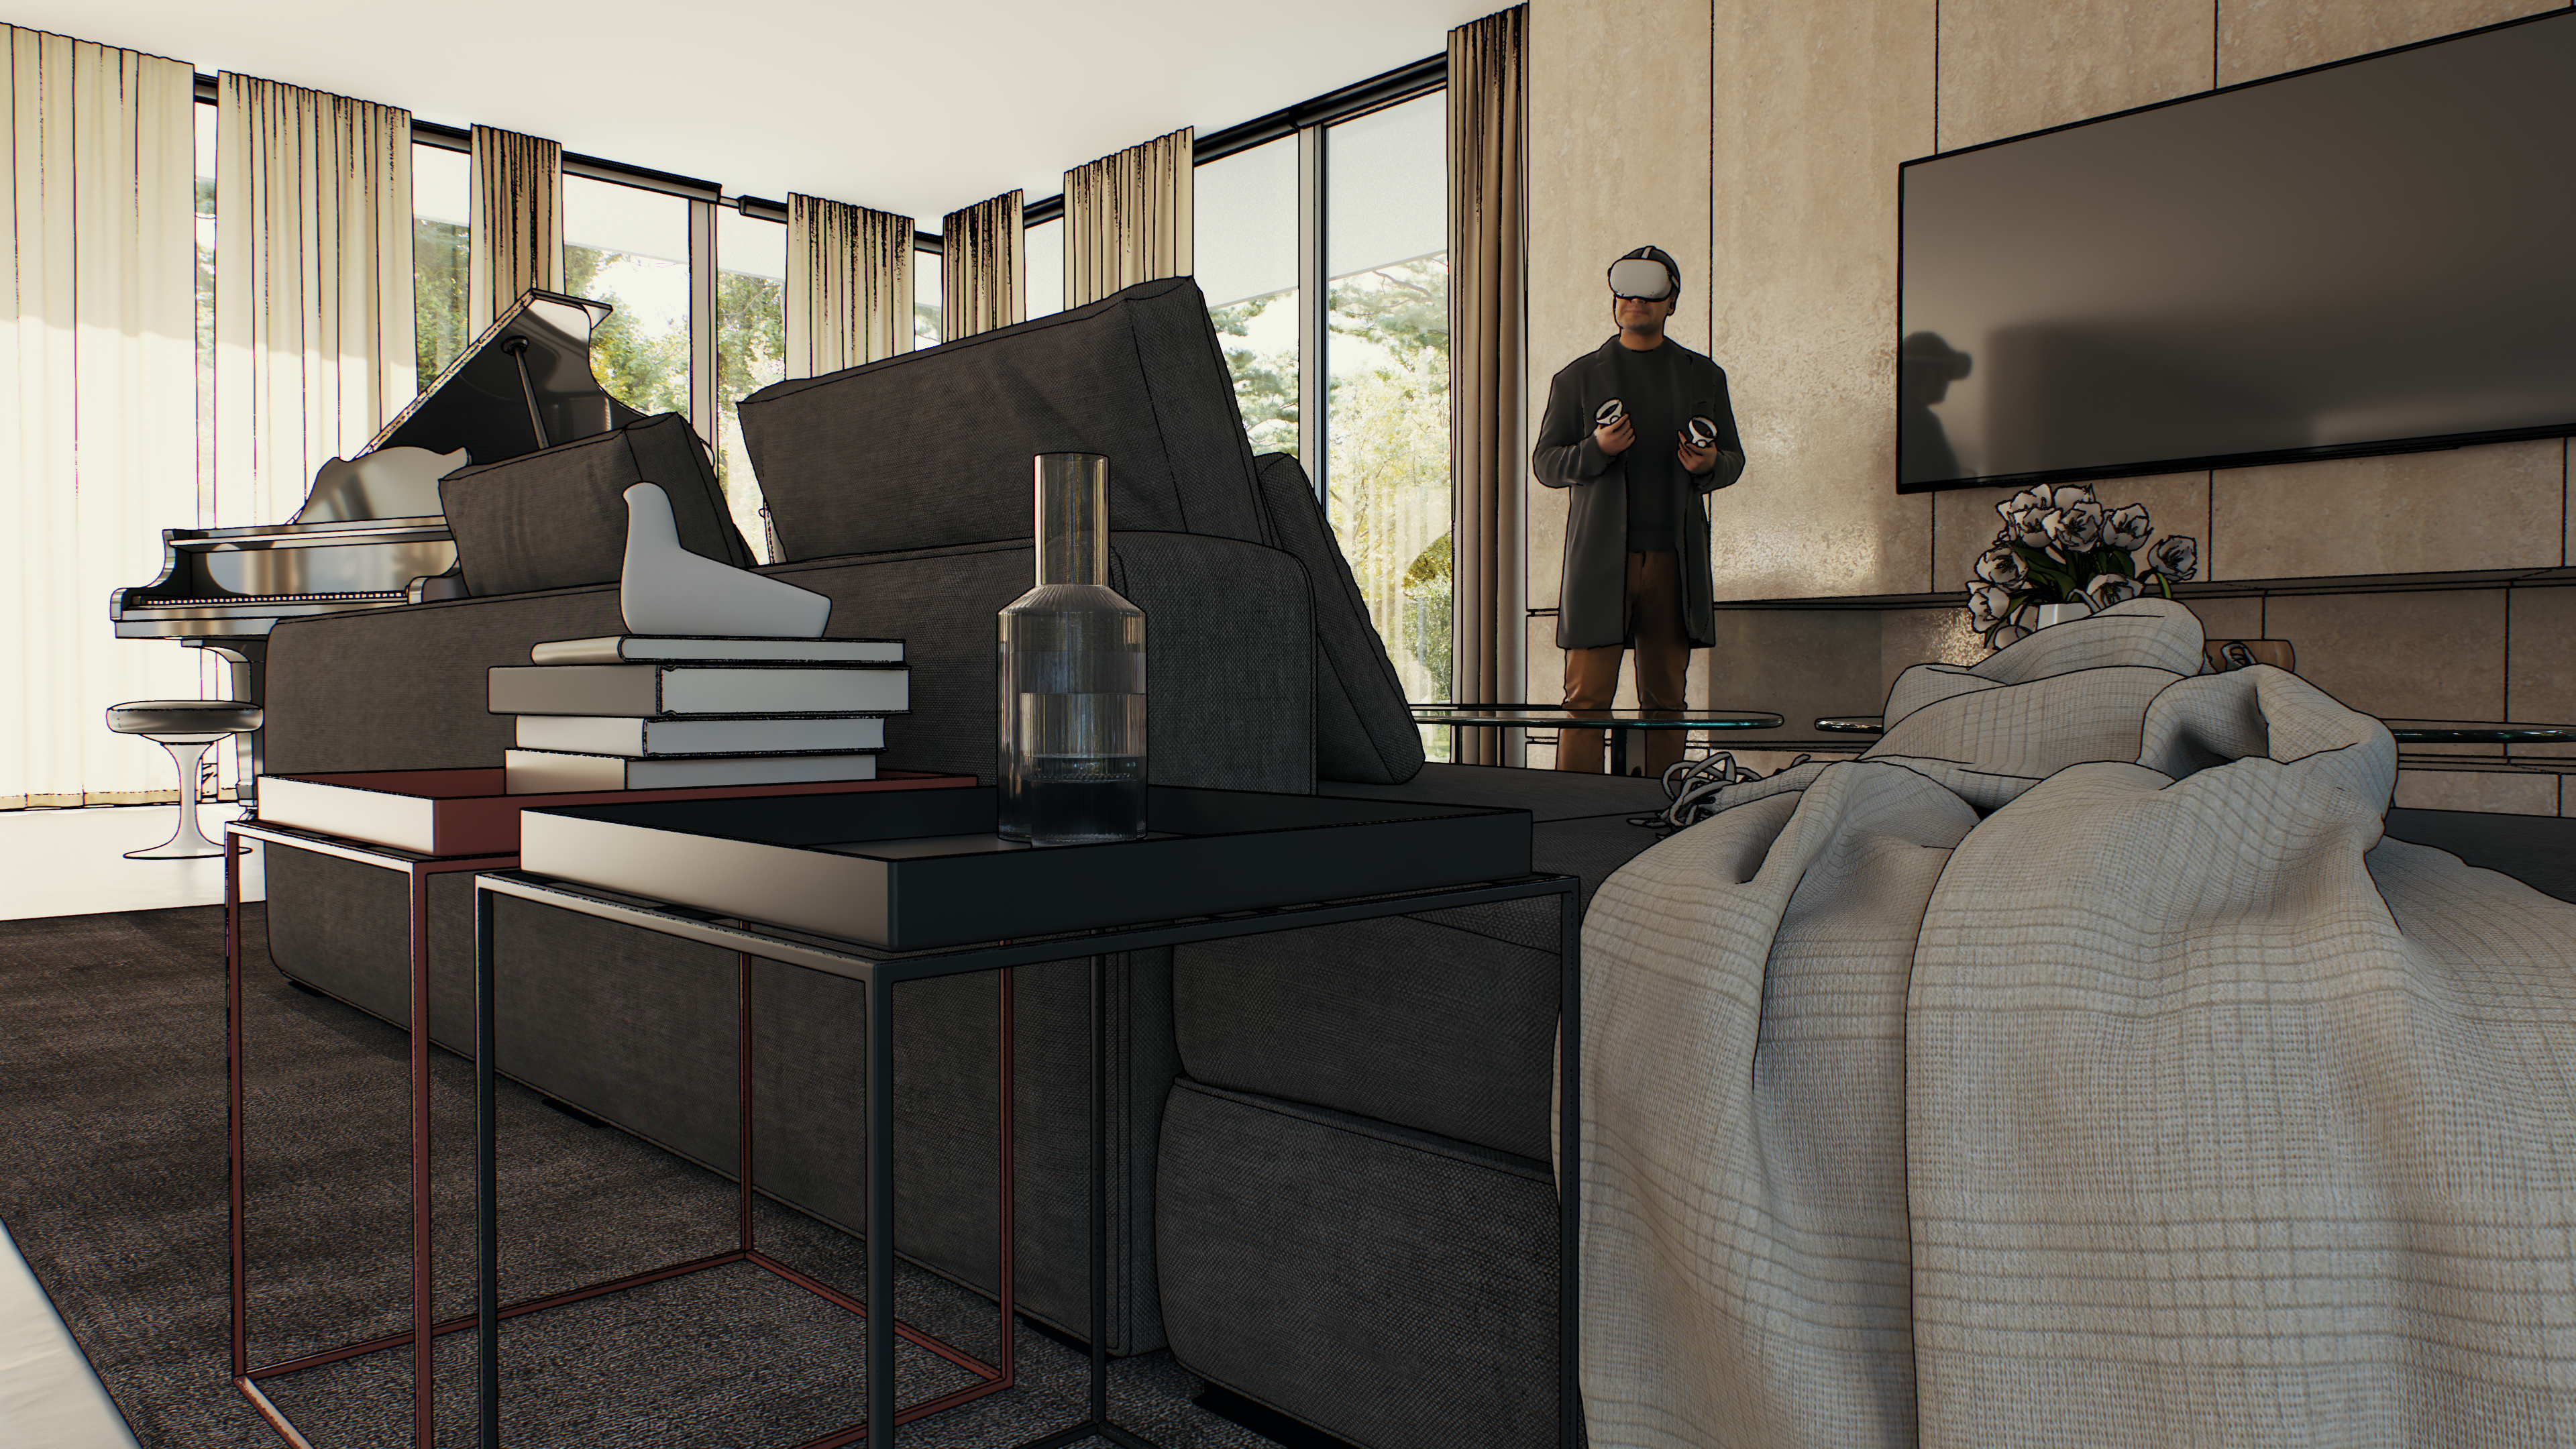
Toon outlines are enabled
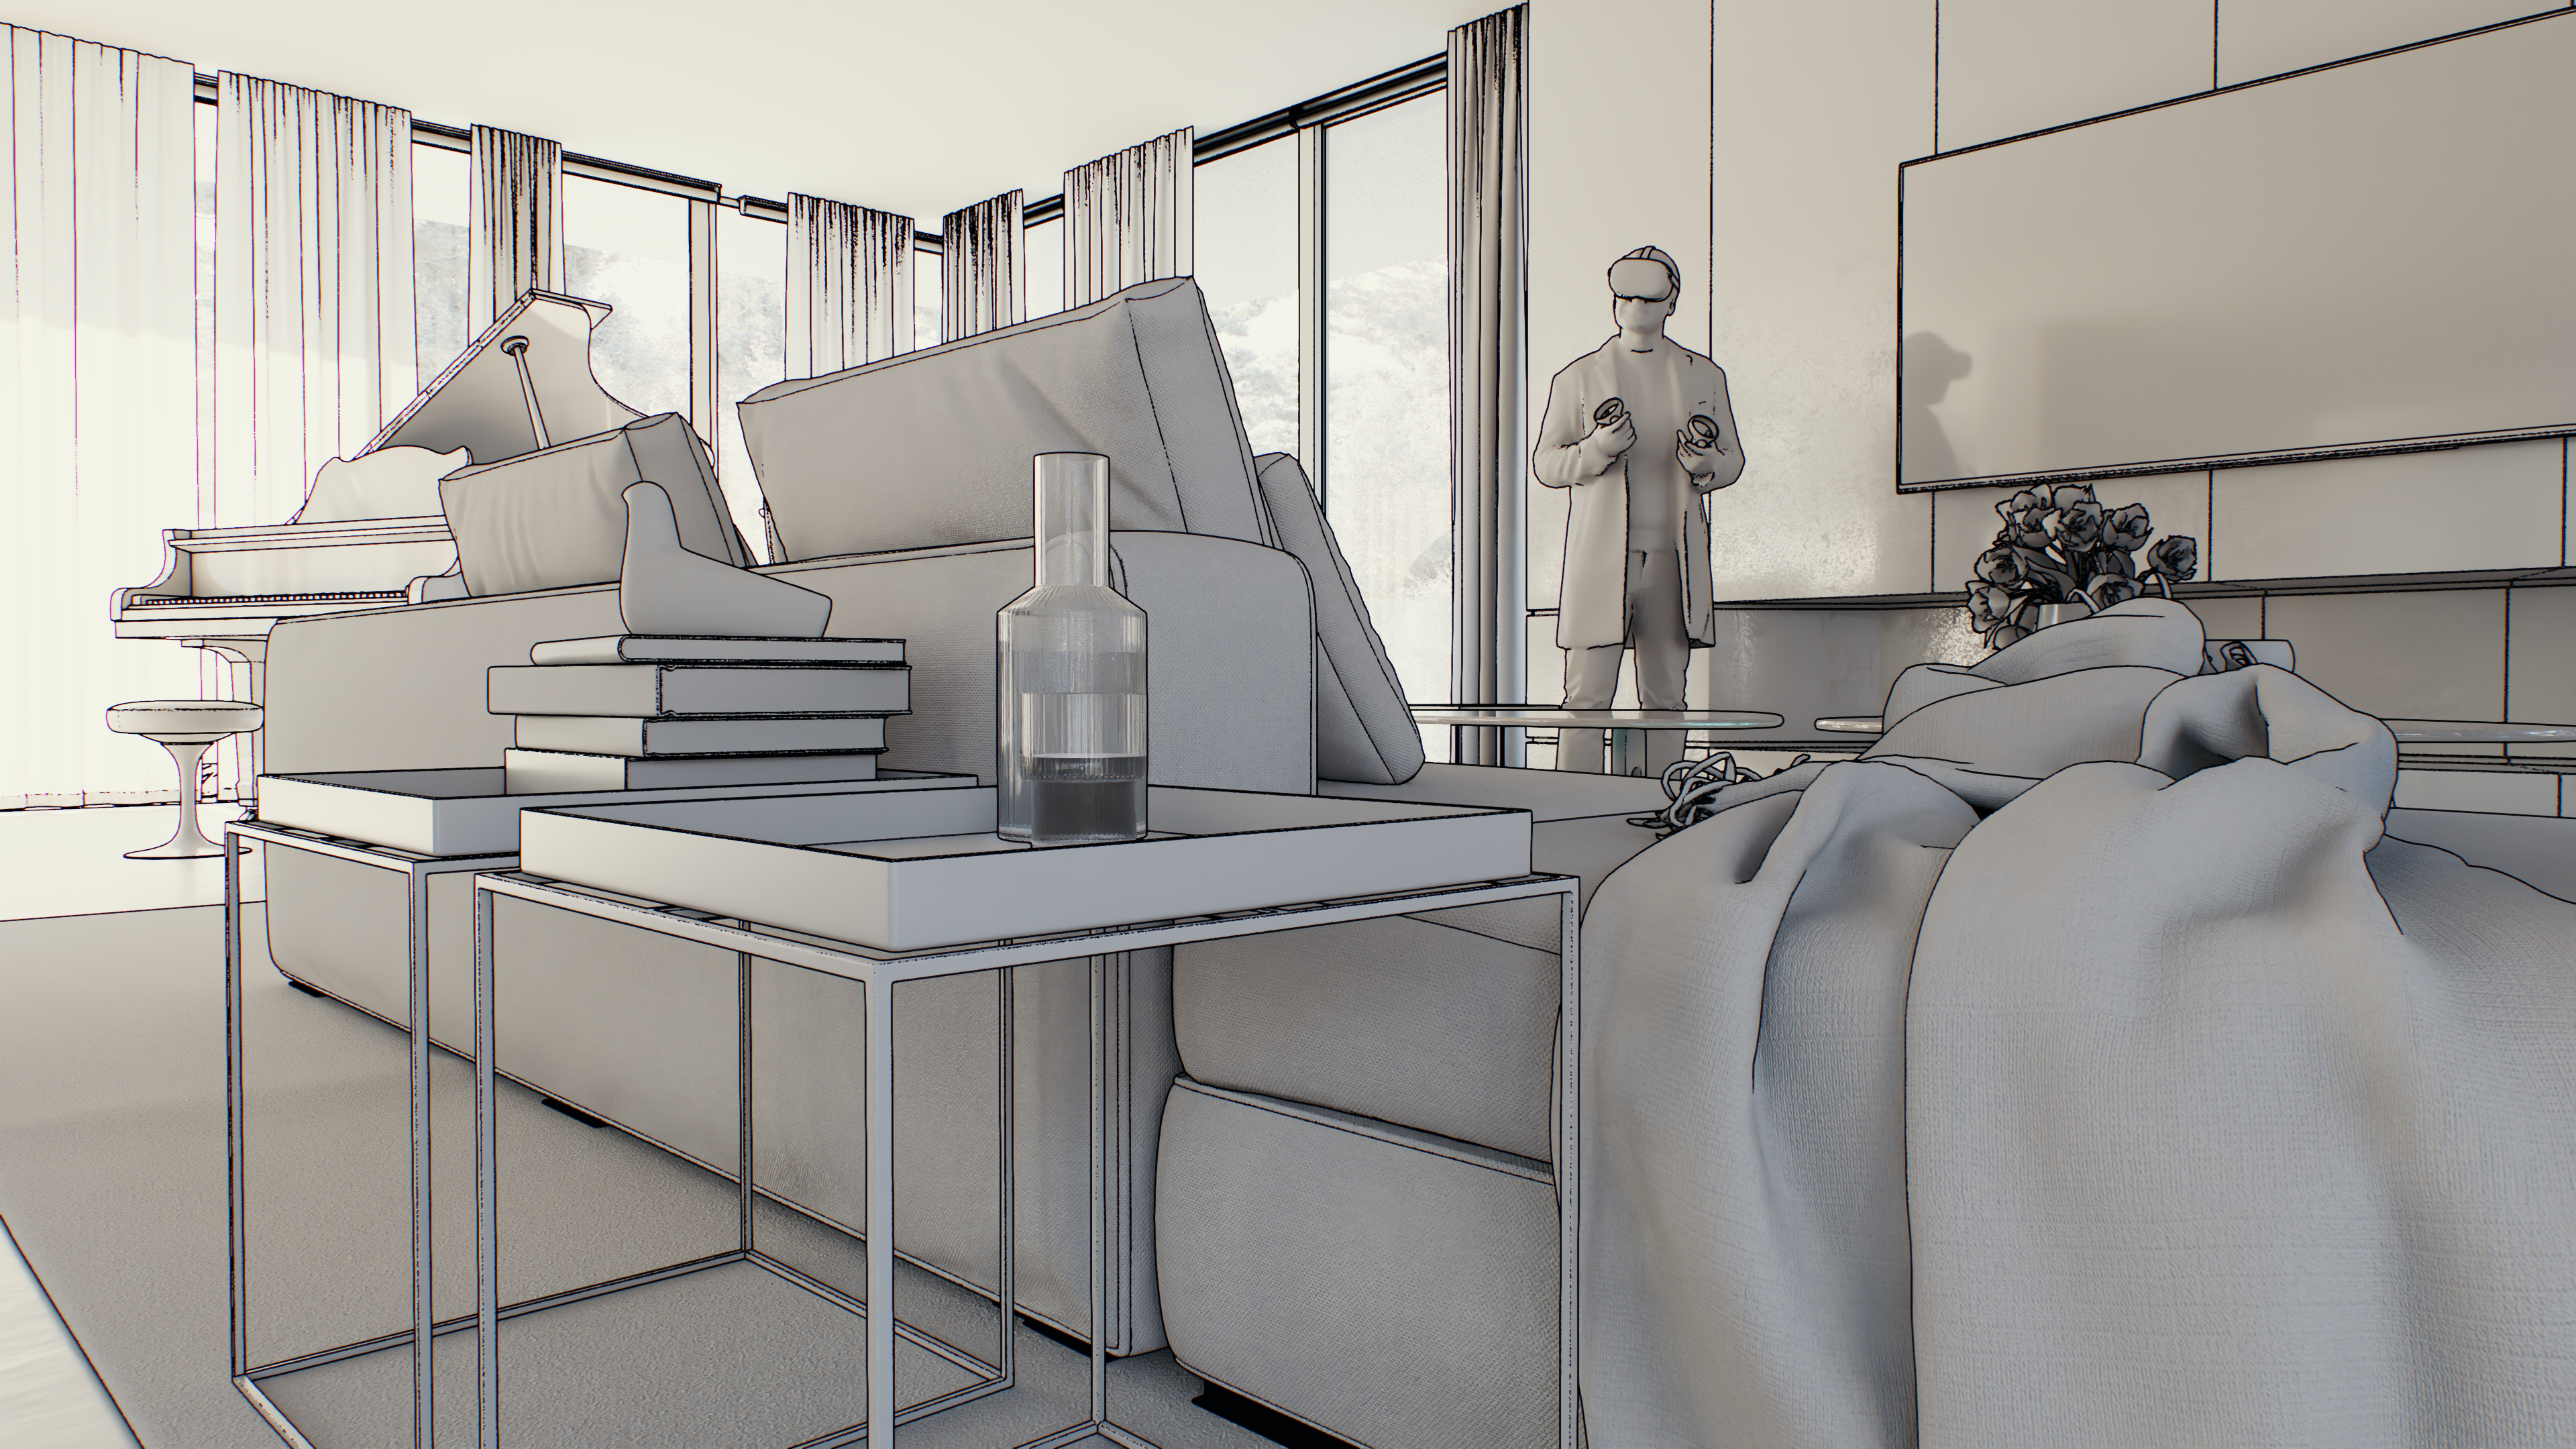
Toon outlines are enabled, Clay mode is enabled
Example: Toon Line Color Brightness
This example shows the effect of the Line color brightness. The Line strength is set to 1 for all renders. The Line color is RGB (0.944, 0.047, 0.272). The Clay mode is enabled to better showcase the Toon outlines.
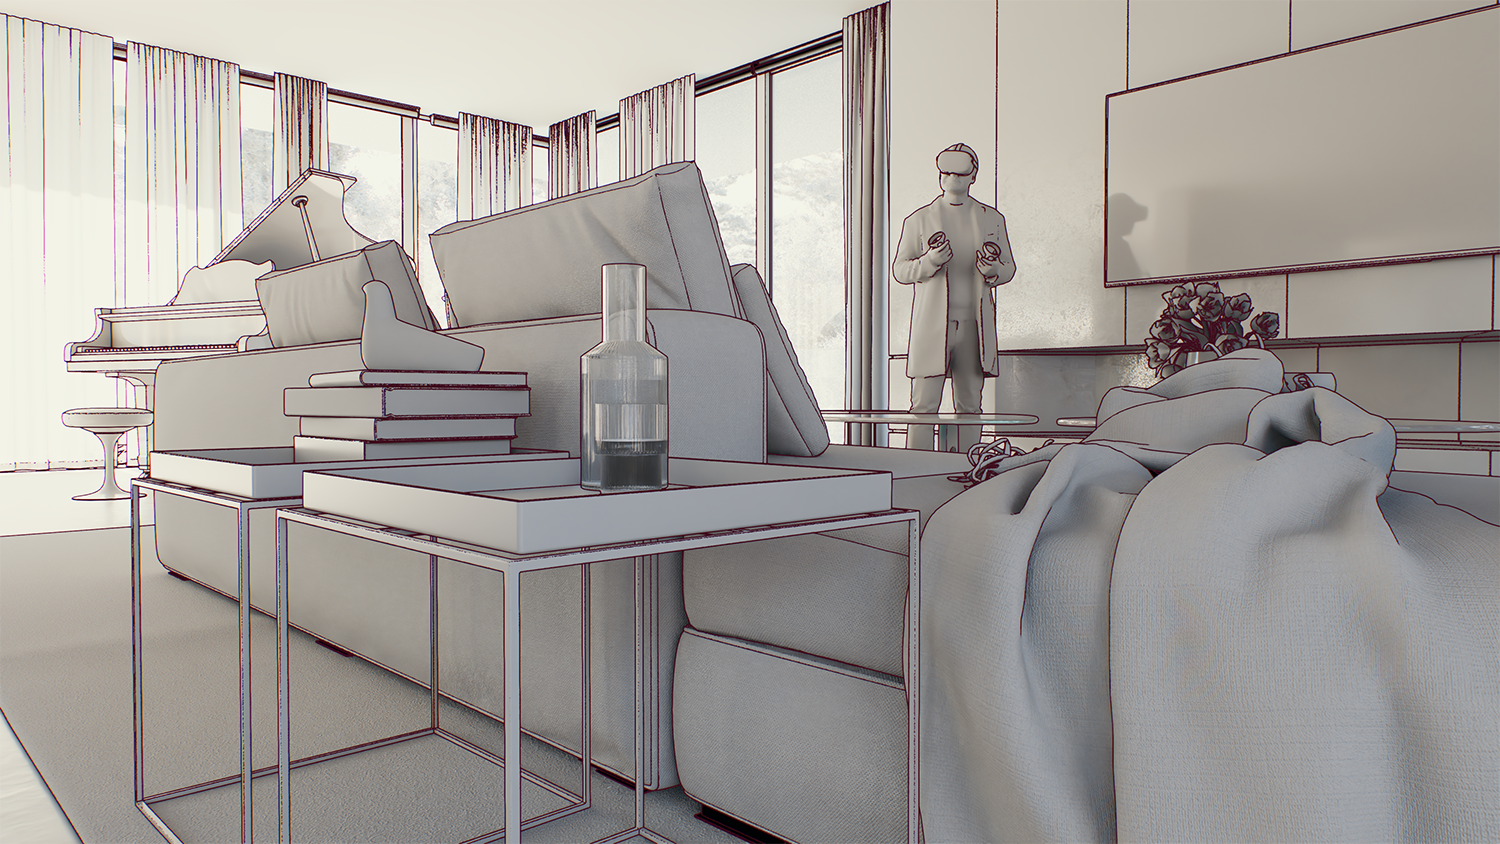
Line color brightness = 0.1
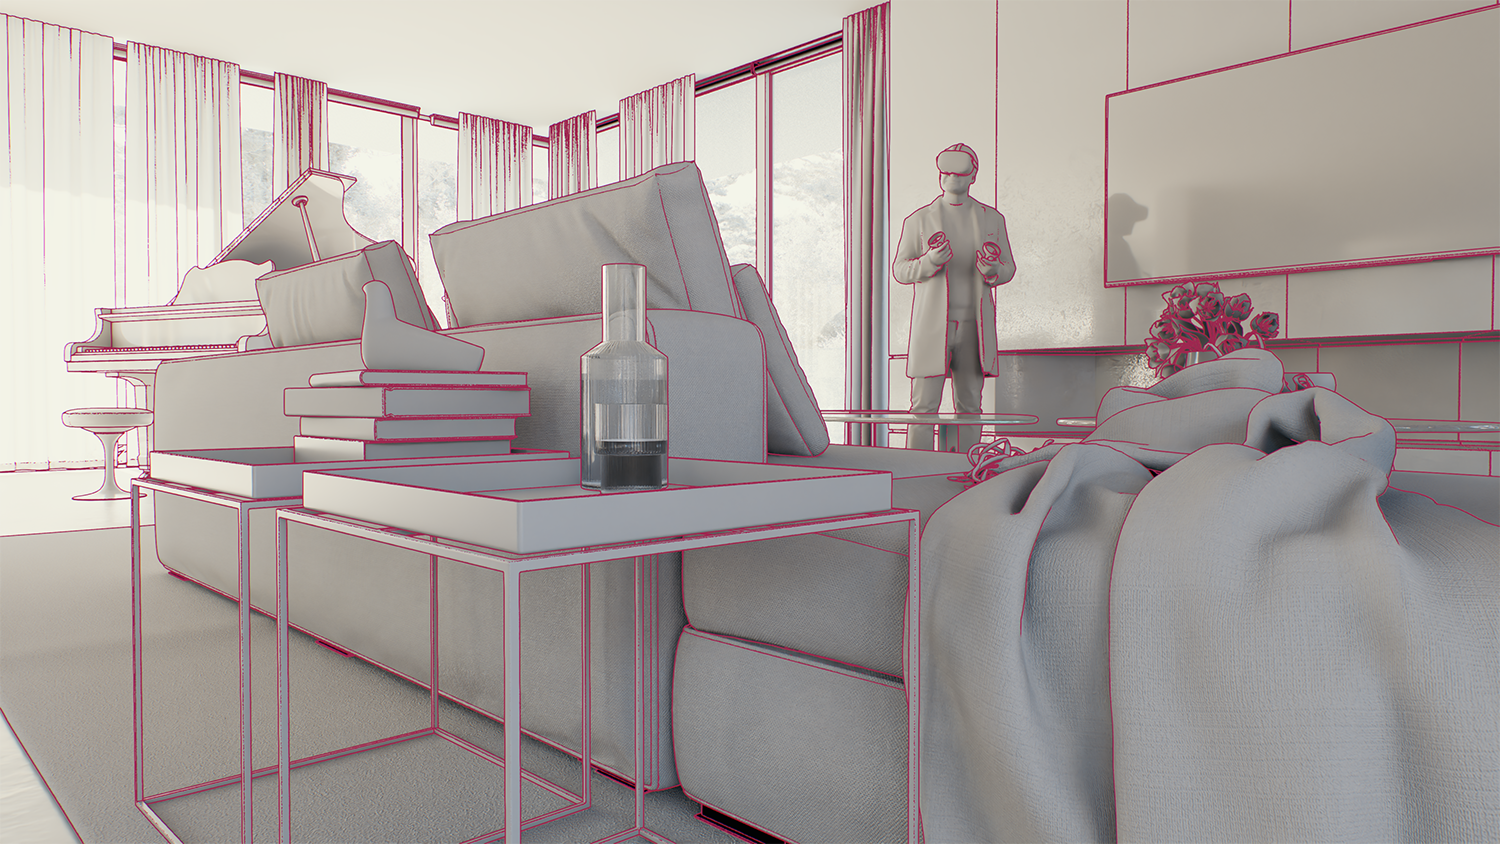
Line color brightness = 0.5
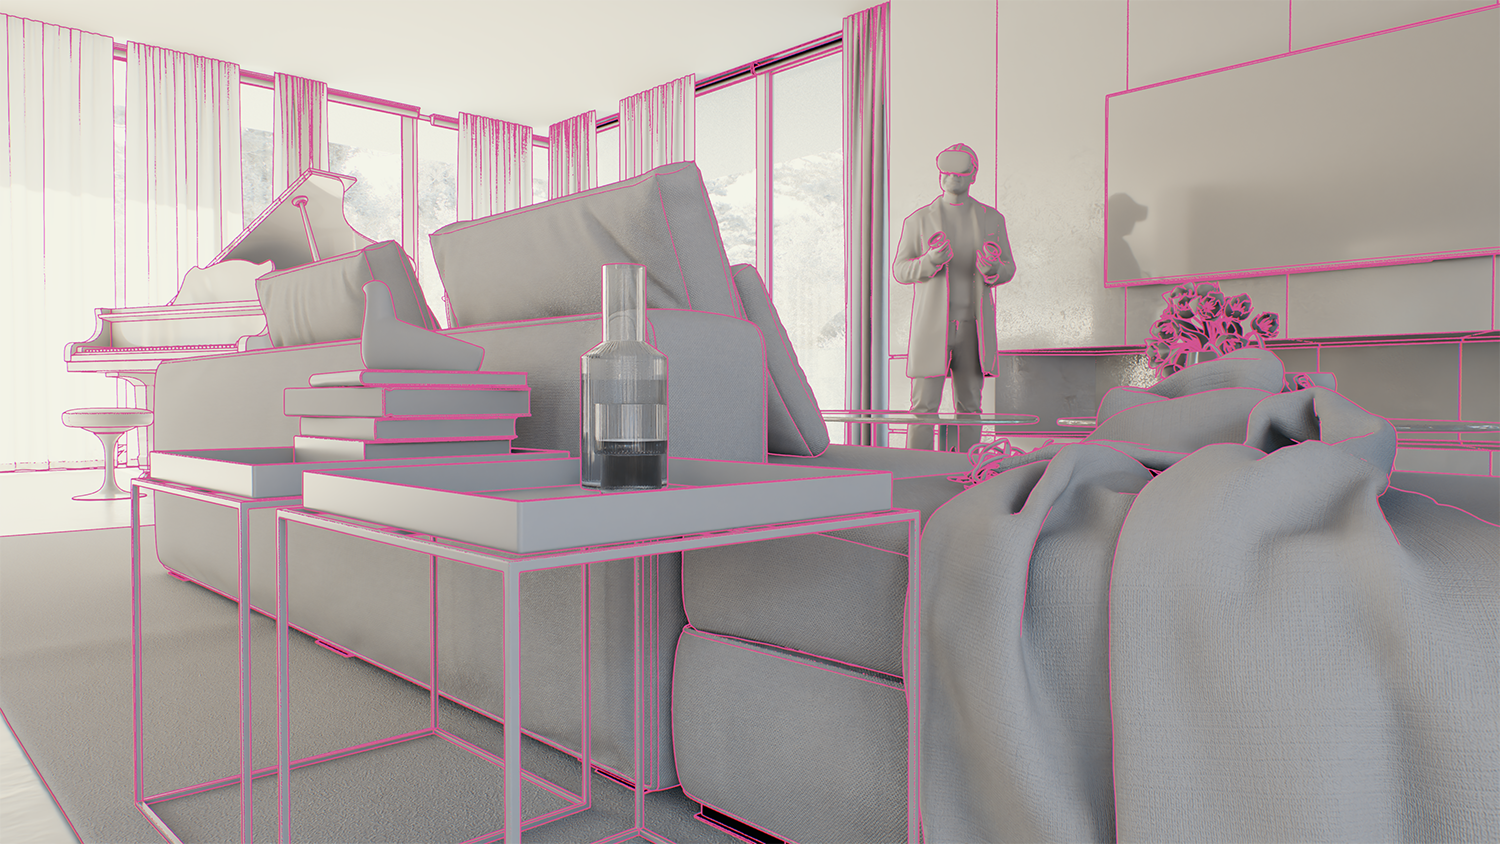
Line color brightness = 1
Example: Line Strength
This example shows the effect of the Line strength. The Line color brightness is set to 0.1 for all renders. The Clay mode is enabled to better showcase the Toon outlines.
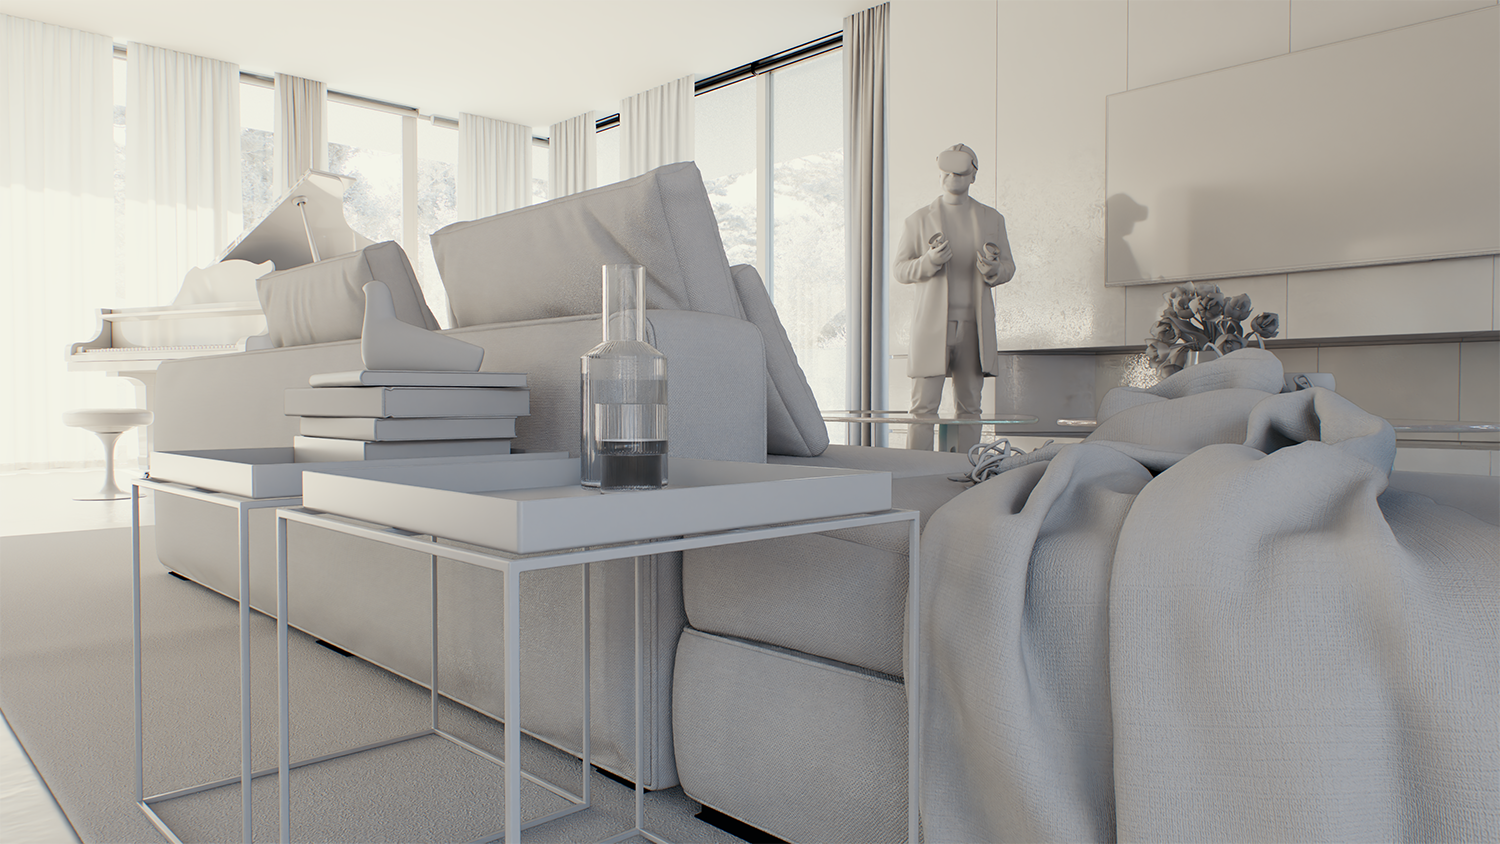
Line strength = 0.1
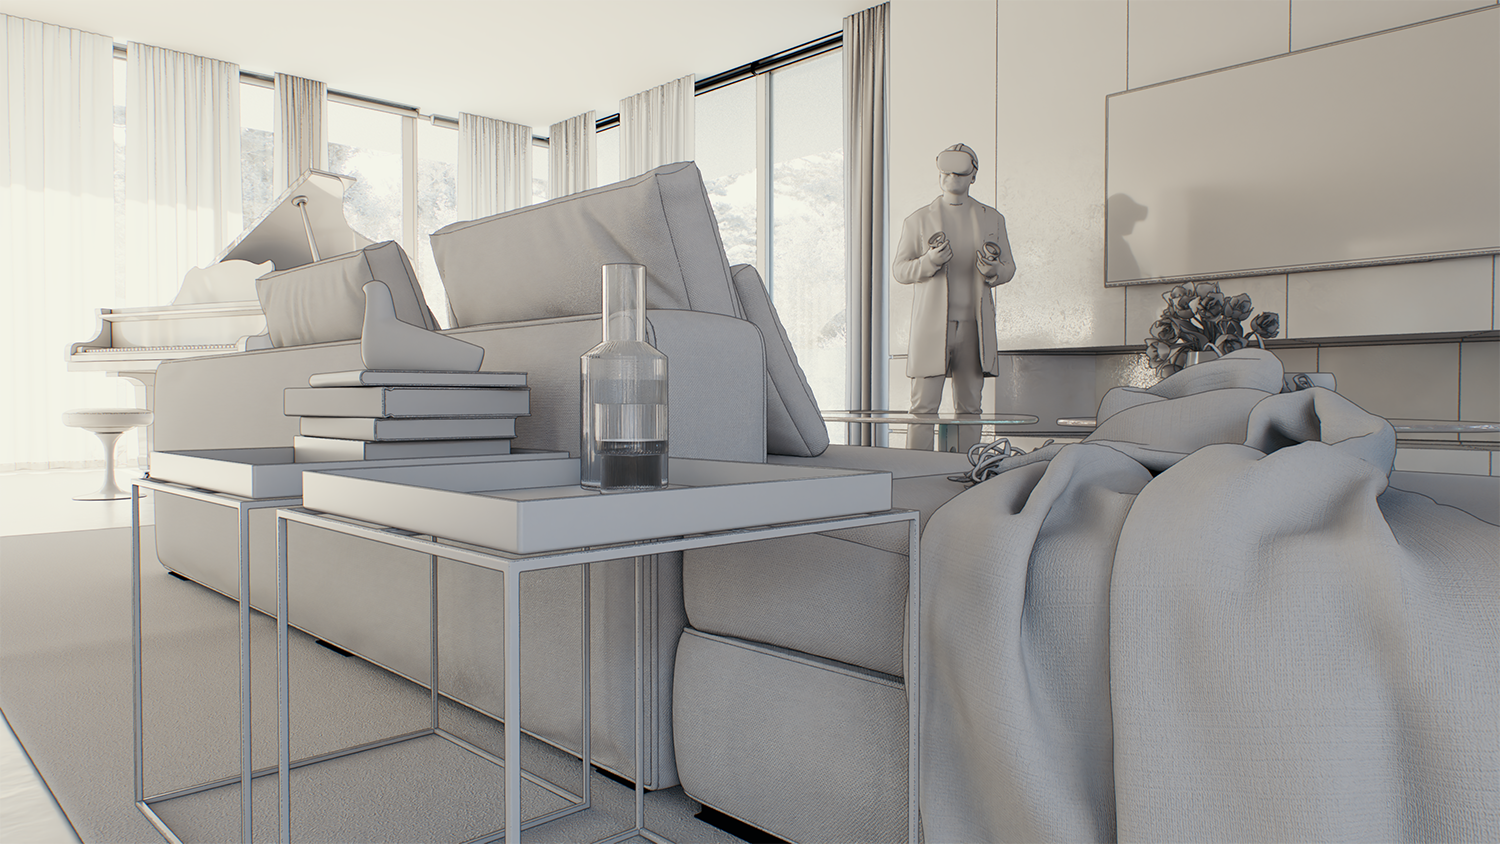
Line strength = 0.5
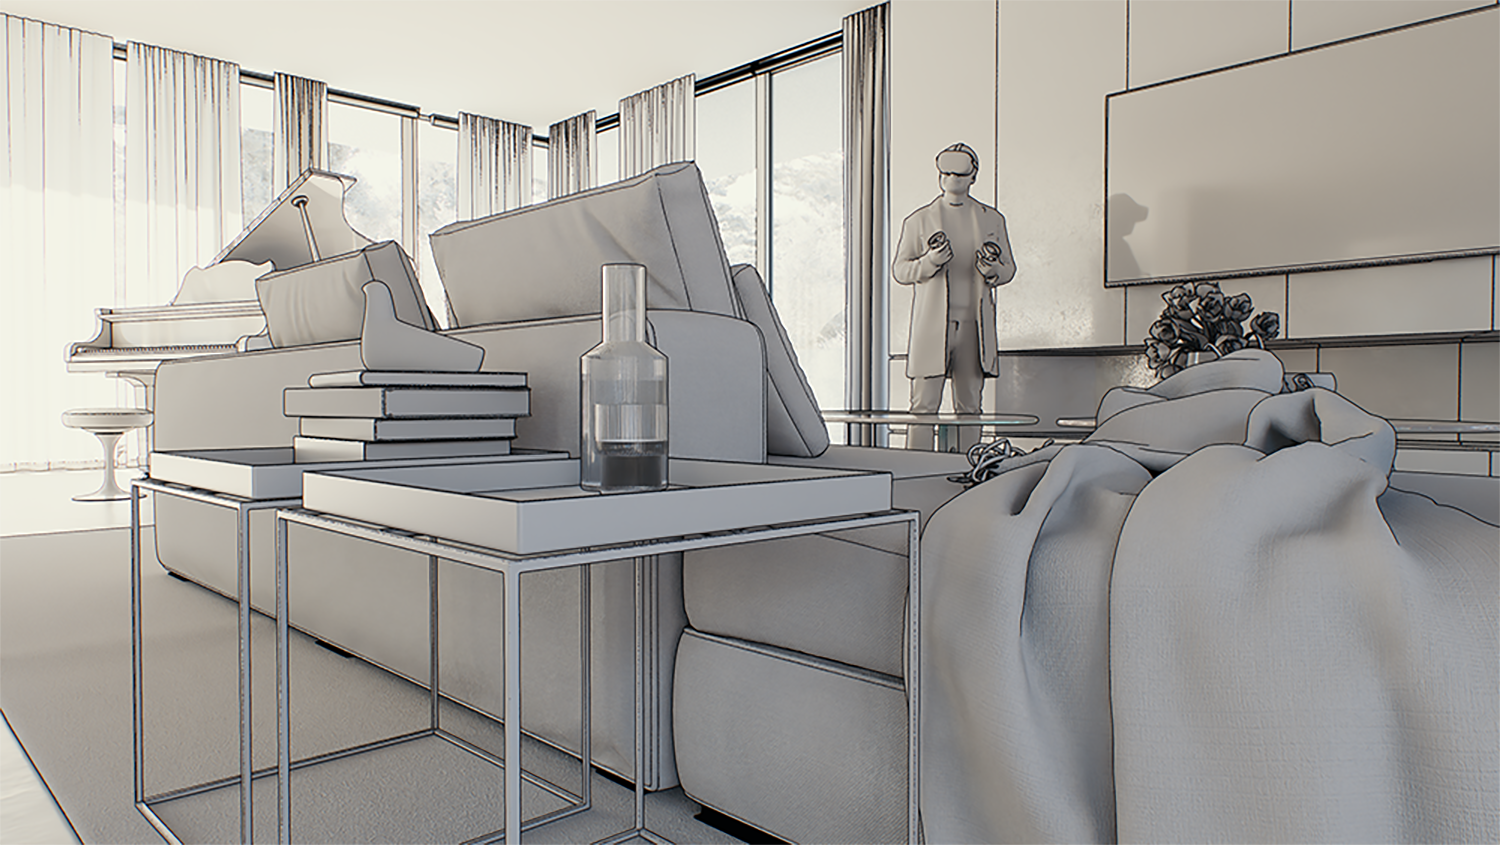
Line strength = 0.9
The following examples demonstrate the effect that individual Clay Mode parameters have on the scene. Click on any image to view it at a higher resolution.
Example: Clay Mode
This example shows the effect of the Clay Mode.

Clay Mode is disabled.

Clay Mode is enabled.
Example: Clay Edges
This example shows the effect of the Clay Edges.
Clay Edges are disabled.
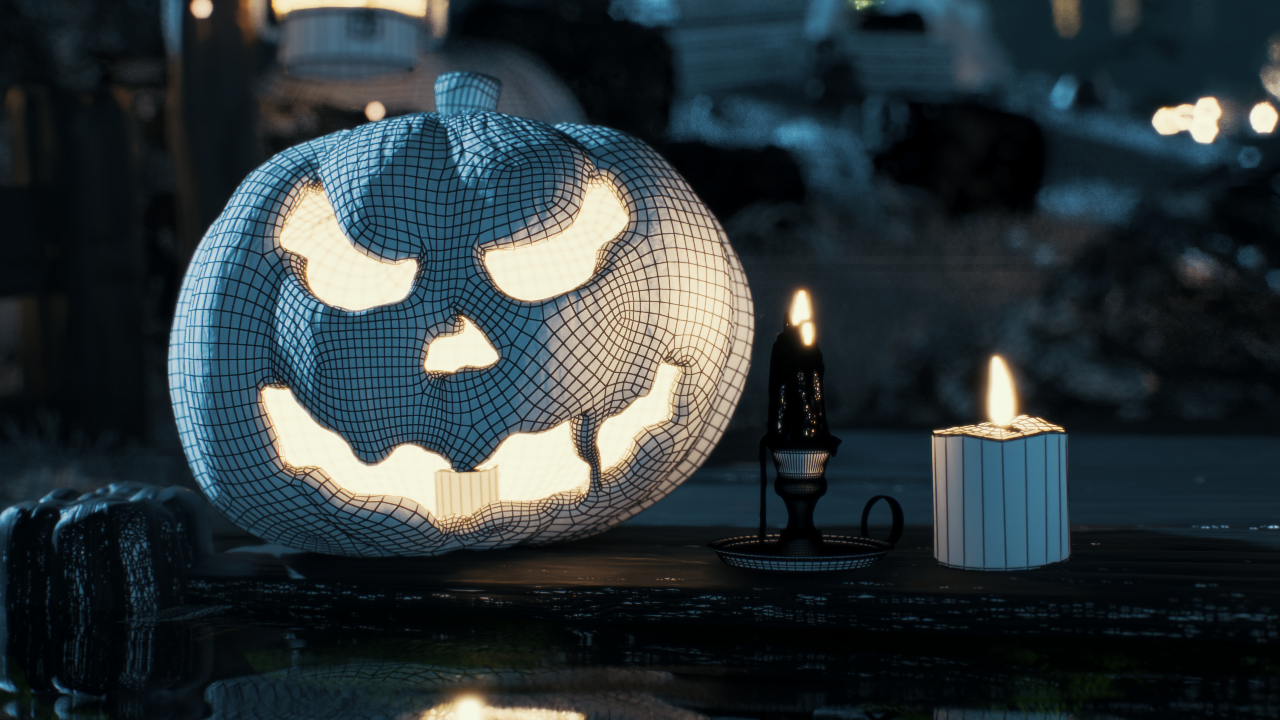
Clay Edges are enabled.
Example: Clay Color
This example shows the effect of the Clay color.

Clay color is red

Clay color is green

Clay color is blue
Example: Clay Edges Color
This example shows the effect of the Edges color.

Edges Color is red

Edges Color is green

Edges Color is blue
Example: Clay Thickness
This example shows the effect of the Thickness parameter.

Thickness = 0.1

Thickness = 0.5
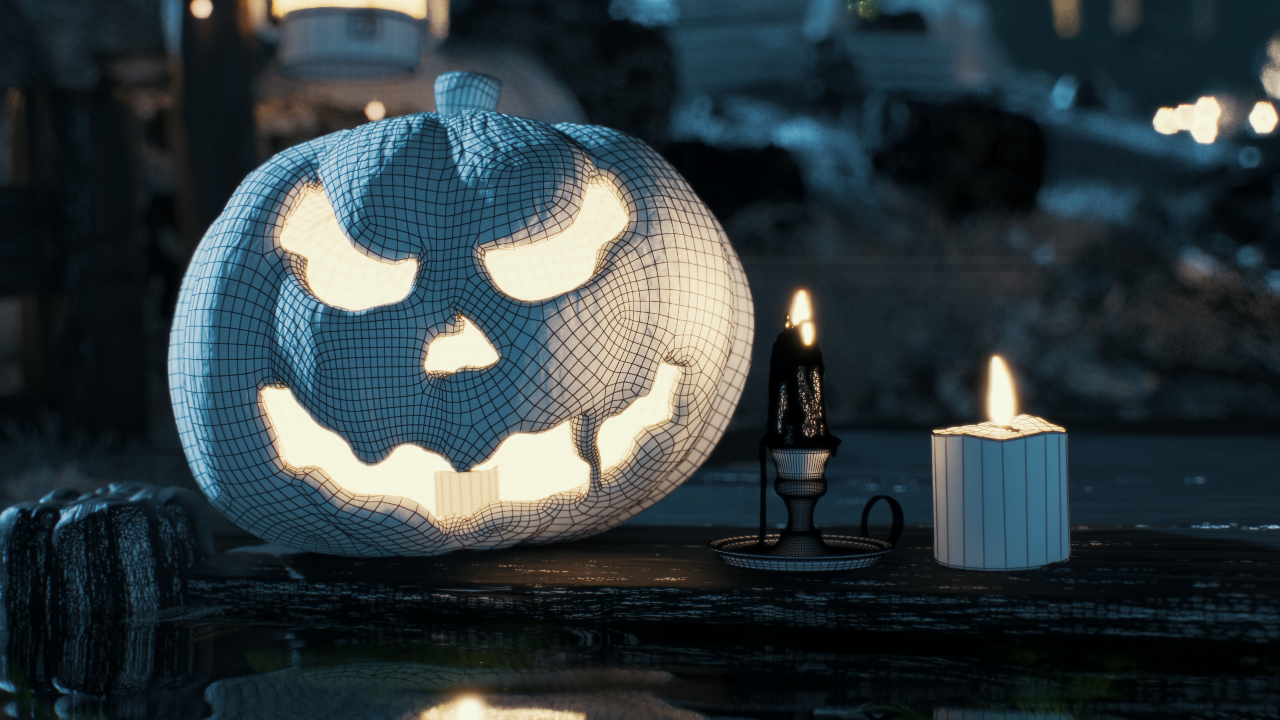
Thickness = 1
Example: Use Bump
This example shows the effect of the Use bump parameter.

Use bump is disabled.
Use bump is enabled.
Example: Use Refraction
This example shows the effect of the Use refraction parameter.

Use refraction is disabled.
Use refraction is enabled.