Enscape for Vectorworks
First Steps
This page covers the installation, setup, and removal of Enscape for Vectorworks.
Last updated 5 May 2026
This page covers the installation, setup, and removal of Enscape for Vectorworks.
Overview
Installing Enscape for the first time is simple and straightforward. For best results, close all CAD software before installing Enscape and verify that the Windows user account has software installation rights. Open and run the Enscape.exe installer from the download location.
If Enscape prior to version 4.0 is already installed, uninstall it first. Move any files to keep to a temporary location before uninstalling. Reboot the machine before running the version 4.1 installer. The installation program automatically uninstalls Enscape version 4.0 or higher when a newer installation is performed.
For deployment of Enscape to multiple machines, see also the Installer Program Options.
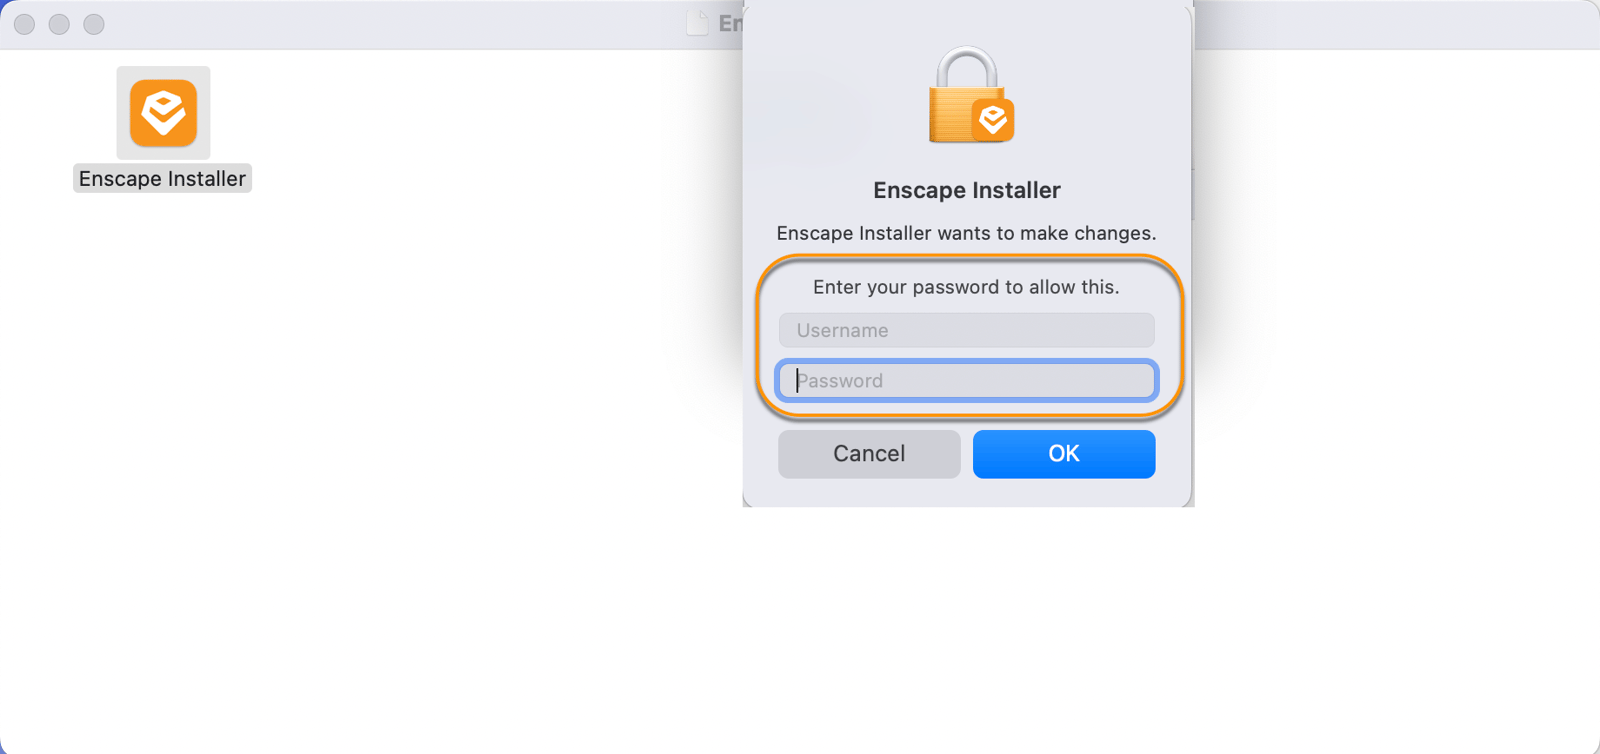
For the best results, we recommend making sure that your CAD software is not running before you install Enscape. You can then simply open and run the Enscape installer from the location on your machine that it was downloaded to. At the beginning of the installation you will be prompted to enter the username and password of an admin account even if you are logged in as that admin. This could be a familiar behaviour to other standard installations.
Installing Enscape
When installing Enscape, a wizard guides through the various steps of the installation process. The wizard prompts for acceptance of the End-User License Agreement (EULA) and the Global Consumer Privacy Policy (GCPP).
Click Next to continue.

Language
The installer prompts for a language selection. English is selected by default. Click Install to continue.

Cloud Licensing
When installing for the first time, Enscape uses Cloud Licensing by default.
Click Install to continue with Cloud Licensing. To connect to a network License Server, click Use License Server.
Chaos products use two licensing models: Cloud Licensing and the License Server. Cloud Licensing offers maximum flexibility. Users sign in with their Chaos Account and access products from any location with an Internet connection. The License Server supports centralized network setups and requires a local network connection or VPN.

Simple Installation
After clicking the Install button once the language has been selected, the installer installs Enscape and all its sub-features, but only for the currently logged-in user.
Enscape installs to the default location: C:\Program Files\Enscape
The installer window shows progress, as in the following screenshots. Enscape identifies any previously installed version and uninstalls it first.

The selected Enscape plug-in version installs.

Once signed in to the Chaos account, a confirmation appears that Enscape is ready.
Sharing telemetry data about usage is optional. These settings can be changed at any time.

In case you are rolling back to an Enscape version before 4.0, you must uninstall Enscape manually before rolling back to avoid issues. When rolling back to an Enscape version before 4.0, uninstall Enscape manually first to avoid issues.
Advanced Installation
The Advanced button becomes available once the license agreement is accepted. The installer then prompts for a Language selection. The Advanced button is available only at this point of the installation process and provides additional options for the Installation Scope. As this option is only available on a fresh Enscape installation, uninstall and reinstall Enscape to access these options again.

Clicking Advanced opens a custom installation location field. Navigate to the desired location by clicking the three dots on the right side of the destination path. Once ready, click Next.

In the next window, specify where the Enscape license is retrieved from. Choose Local to use licenses directly on the system (Fixed-Seat License or Floating License with a local License Server) or Remote to use a network license (Floating License with a remote License Server).
Licensing
In this step, specify whether Enscape uses Cloud Licensing - a direct connection to the Chaos Licensing Service, or the Chaos License Server.
Cloud Licensing enables product use from any location with an Internet connection. Sign in with a Chaos Account to access products.
The License Server is an additional application for setting up centralized network licensing and offline licenses. The License Server can be installed locally on the same device as the product, or remotely - on a centrally accessible network machine within your local network.

After clicking Next, specify whether to install the plug-in for one specific CAD, multiple CADs, or all CADs.

Your chosen version of the Enscape plugin would then be installed.
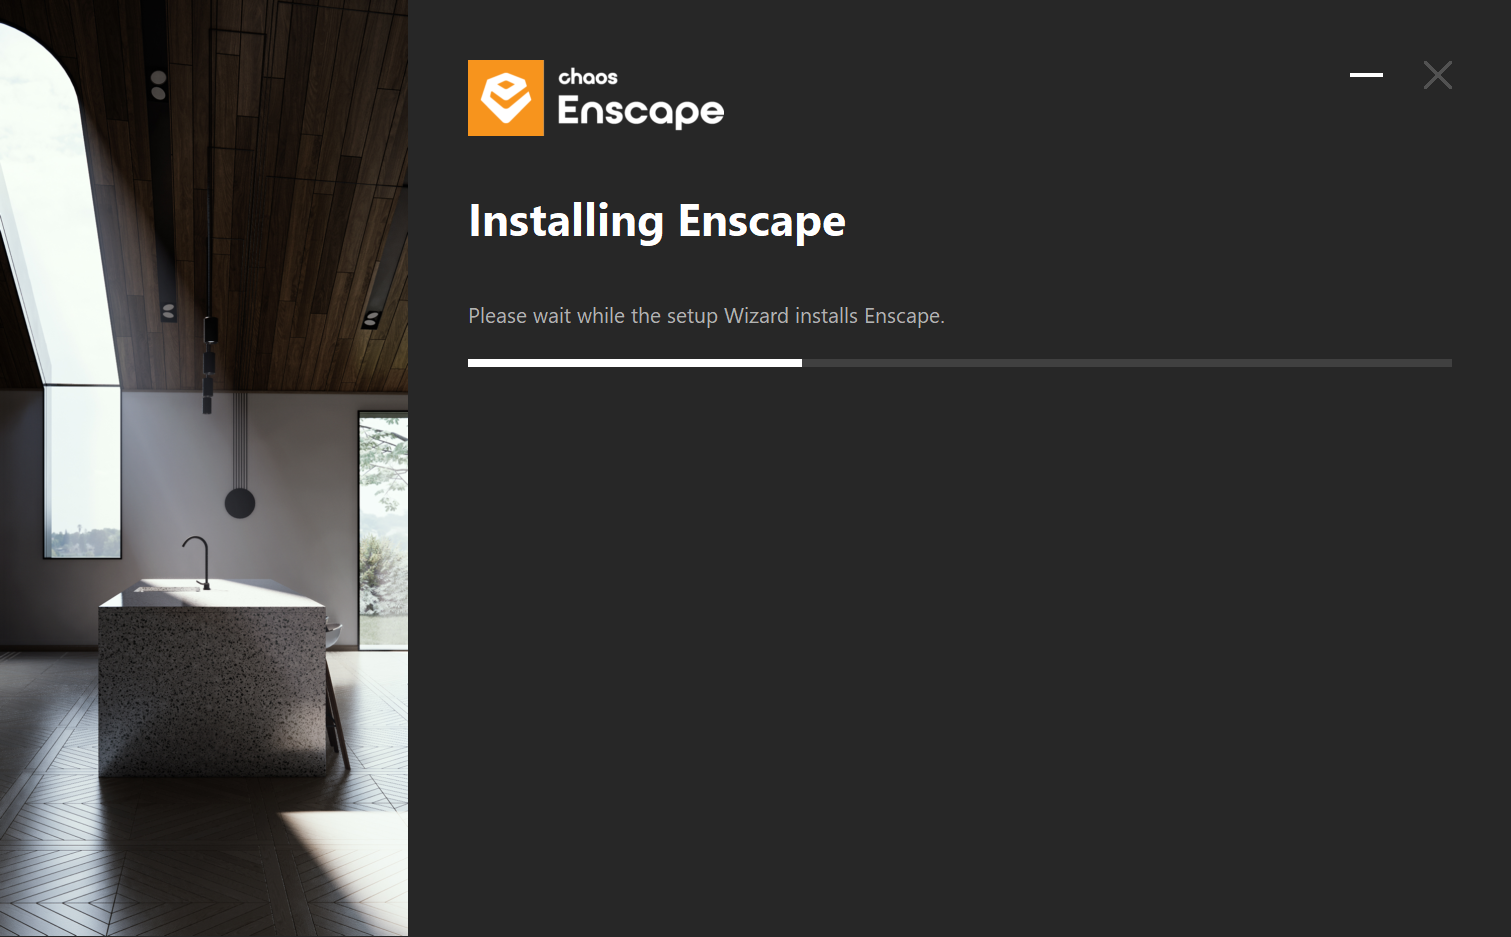
Once signed in to your Chaos account, you will get a confirmation that Enscape is ready.
To further improve your experience with our tools, we kindly ask you here to share some telemetry data about your usage with us. You can change these settings at any time!

You should then be able to open your CAD where you should see Enscape as a top level menu option, or as a Toolbar. If you can not see Enscape as an option in your CAD, then you may need to enable it in the CAD’s workspace.
To understand how to do that, please click here.
In case you are rolling back to an Enscape version before 4.0, you must uninstall Enscape manually before rolling back to avoid issues.
Remote License
Select Remote to define License server(s) before clicking Next.

After clicking Next, you can specify whether to install the plugin for only one specific CAD, multiple CADs, or for all CAD’s.
Your chosen version of the Enscape plugin would then be installed.
After the installation is finished, a confirmation appears that Enscape is ready.
To further improve your experience with our tools, we kindly ask you here to share some telemetry data about your usage with us. You can change these settings at any time!
After installation, Enscape appears as a top-level menu option or as a Toolbar in the CAD. If Enscape is not visible in the CAD, enable it in the CAD's workspace. To understand how to do that, click here. For detailed information on remote licenses, refer to the article.
In case you are rolling back to an Enscape version before 4.0, you must uninstall Enscape manually before rolling back to avoid issues.
Installation Error Messages
If the CAD is open when installing, repairing, changing, or removing Enscape, a warning message appears identifying which CAD is blocking the install process. Close all CAD applications before continuing with the installation.
Once installation is complete, restart the operating system to apply the changes.
Remove Enscape
For Windows
To remove Enscape, open the Windows Add or Remove Programs feature. Find Enscape in the list manually or through the search bar. Click the application and select Uninstall.
For macOS
To uninstall Enscape from Mac, go to the install directory (e.g., /Library/Chaos/Enscape/uninstall) and open the Uninstaller.
A dialog appears, prompting selection of the program to uninstall. Select Enscape and click Uninstall.

The Enscape Uninstaller window opens. Click Uninstall to continue.

The next window confirms that Enscape has been successfully removed from the machine.
Click Done to close the window.

To uninstall Enscape from Mac using Terminal:
- If the installer is not present on the machine, download the current Mac installer to the Downloads folder.
- Go to Applications > Utilities and open the Terminal application.
- Copy and paste the following into the Terminal window:
<code data-v-c2b1f83f=""><span data-v-c2b1f83f="" class="line">cd Downloads</span></code>
Press Enter to execute.
- Copy and paste the following into the Terminal window, then press Enter to execute:
<code data-v-c2b1f83f=""><span data-v-c2b1f83f="" class="line">hdiutil attach Enscape-4.1.0.2288.dmg -mountpoint ./enscape_mountpoint</span></code>
a new image will now appear on the Desktop that you can disregard at this time.
If the dmg has a different name or version, replace it in the command line above.
- Copy and paste the following into the Terminal window, followed by Enter to execute:
<code data-v-c2b1f83f=""><span data-v-c2b1f83f="" class="line">./enscape_mountpoint/Enscape\ Installer.app/Contents/MacOS/Enscape.Installer -gui=0 -auto -uninstallApp="Enscape" -log="/Library/Chaos/Enscape/uninstall/install.log"</span></code>
- Terminal prompts for the administrator password. The cursor/indicator does not move while the password is entered. Don't be surprised by this. Press Enter when complete.
- The Mac executes several steps, which takes a short while. Once finished, the line "Automatic uninstallation was successful!" appears in the Terminal window.
- As a last step, copy and paste the following into the Terminal window, followed by Enter to execute:
<code data-v-c2b1f83f=""><span data-v-c2b1f83f="" class="line">hdiutil detach ./enscape_mountpoint</span></code>
This removes the volume from the Desktop. Enscape version 4.0 is now uninstalled.