V-Ray for Rhino
Dirt
This page provides information on the V-Ray Dirt Texture.
Last updated 20 May 2026
This page provides information on the V-Ray Dirt Texture.
Overview
Dirt is a texture map that can be used to simulate a variety of effects such as dirt around the crevices of an object. It can also be used to produce an ambient occlusion pass.


UI Paths
||V-Ray Asset Editor|| > Textures (right-click) > Dirt
||V-Ray Asset Editor|| > Create Asset (left-click) > Textures > Dirt
Parameters
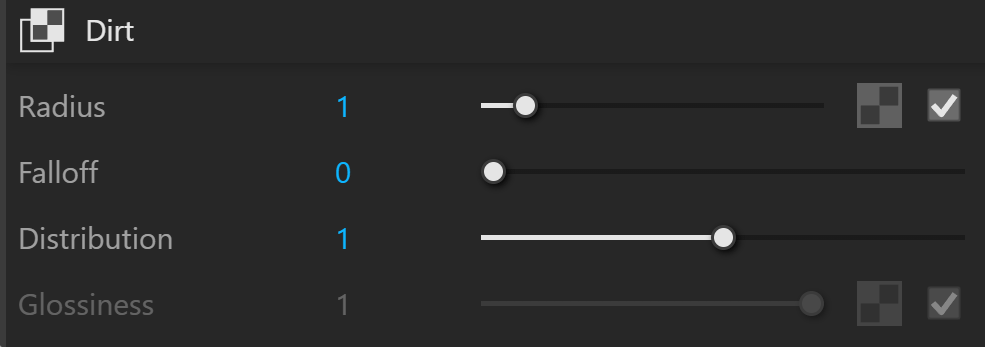
Mode – Specifies the procedural mode that is used to generate texture:
Ambient Occlusion – Normal ambient occlusion is calculated.
Inner Occlusion – Allows the user to invert the effect with respect to surface normals - e.g. instead of crevices, open corners are shaded with the occluded color. This mode changes the direction of tracing the rays. When this mode is selected, the rays are traced inside the surface, otherwise, they are traced outside the surface. See the Inner Occlusion example below.
Ambient + Inner Occlusion – A combination of Ambient Occlusion and Inner Occlusion modes used for enhanced weathering effect.
Reflection Occlusion (Phong, Blinn, Ward) – Reflection occlusion is used. The difference between ambient and reflection occlusion is basically in the direction in which rays are traced. With ambient occlusion rays are traced in all directions uniformly while with reflection occlusion the direction depends on the viewing direction (just as when calculating reflections) and the spread of the rays depends on the Reflection glossiness and BRDF type used.
Unoccluded Color – Specifies the color that is returned by the texture for unoccluded areas. If a texture is selected, it overrides the color as long as the texture checkbox is enabled.
Occluded Color – Specifies the color that is returned by the texture for occluded areas. If a texture is selected, it overrides the color as long as the texture checkbox is enabled.
Radius – Specifies the amount of area (in scene units) where the Dirt effect is produced. If a texture is also used, the Radius value determines the amount of area where the texture blends. See the Radius example below.
Falloff – Controls the speed of the transition between occluded and unoccluded areas. See the Falloff example below.
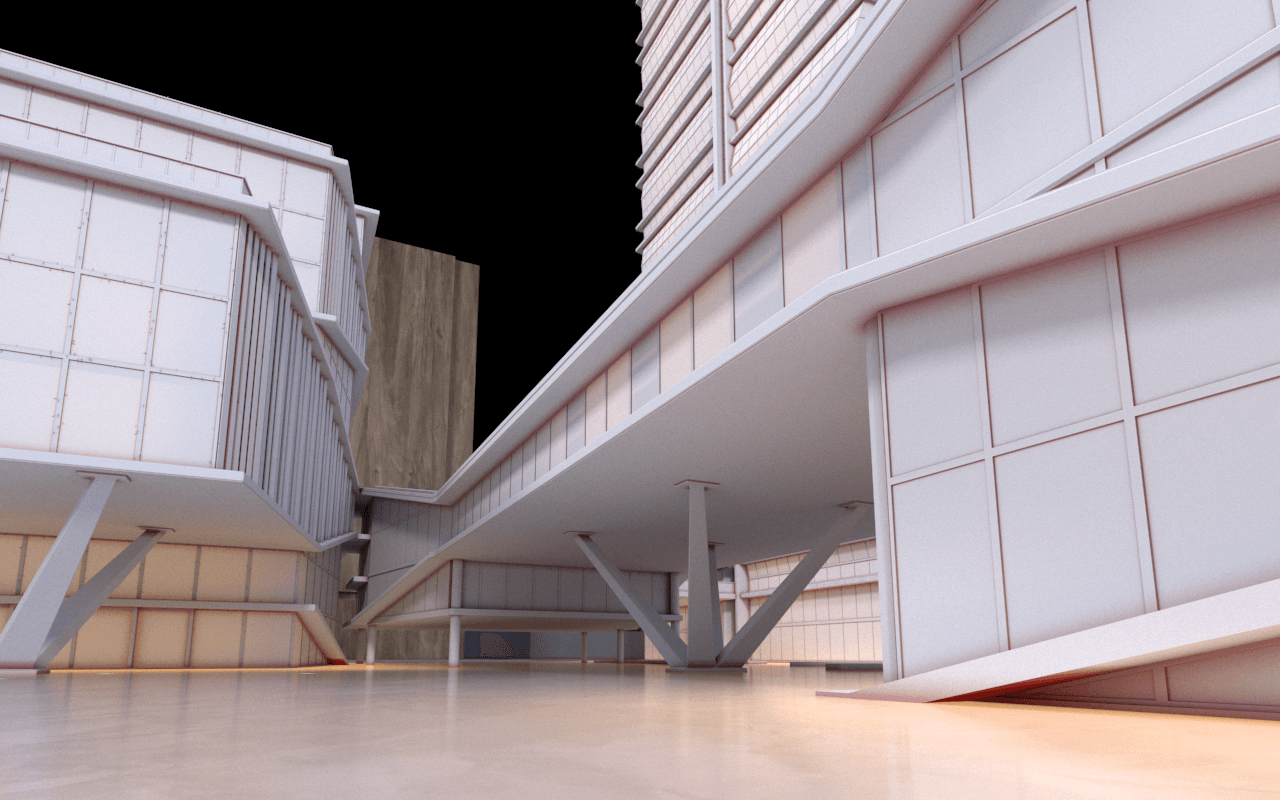
Distribution – Forces the rays to gather closer to the surface normal. The effect is that the dirt area is being narrowed closer to the contact edges. For ambient occlusion, set this parameter to 1.0 to get distribution similar to the ambient lighting on a diffuse surface. See the Distribution example below.
Glossiness – Controls the spread of the rays traced for reflection occlusion. This is only used in Phong, Blinn, or Ward ambient occlusion mode.
Example: Inner Occlusion
It allows the user to invert the effect with respect to surface normals - e.g. instead of crevices, open corners are shaded with the occluded color.

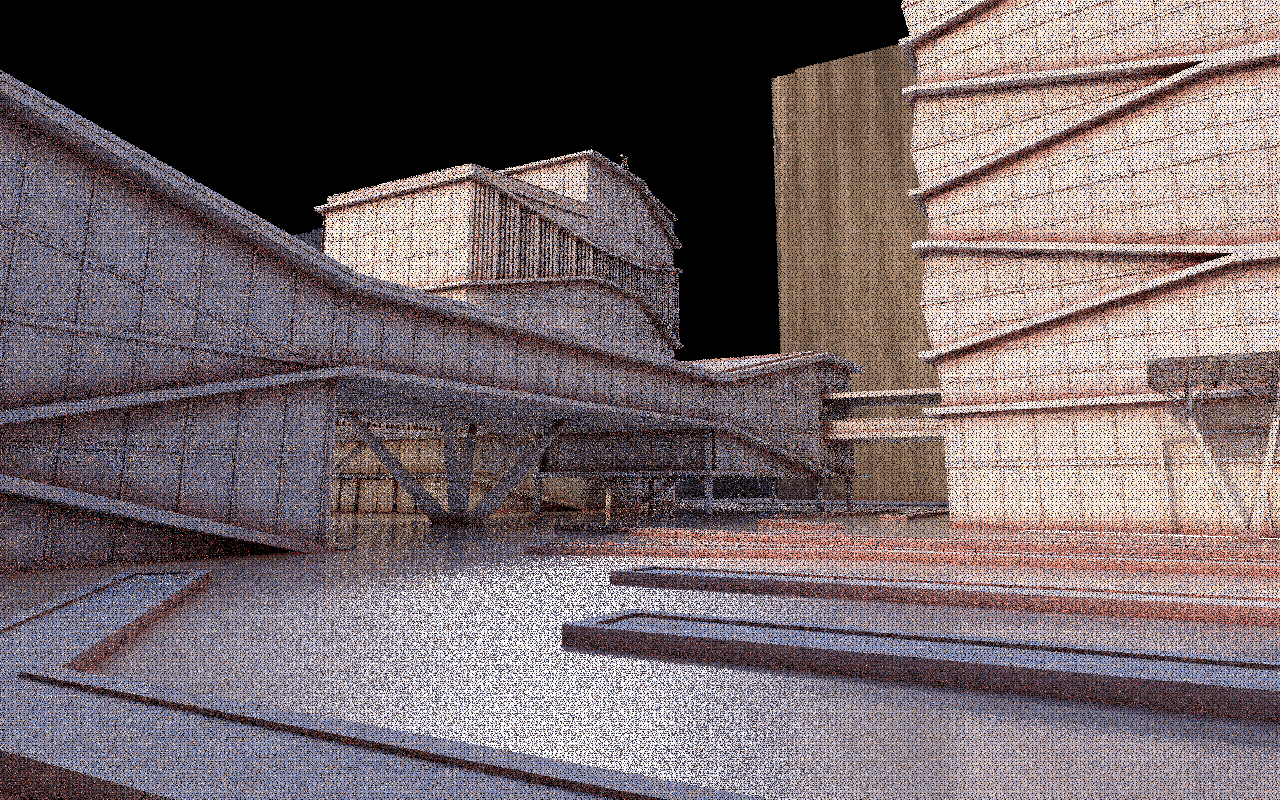
Example: Radius
This parameter determines the amount of area (in units) where the Dirt effect is produced. The Dirt color has been tinted red to clarify the effect. The scene used for these examples is a small paper 1/100th scale-model of the architecture.

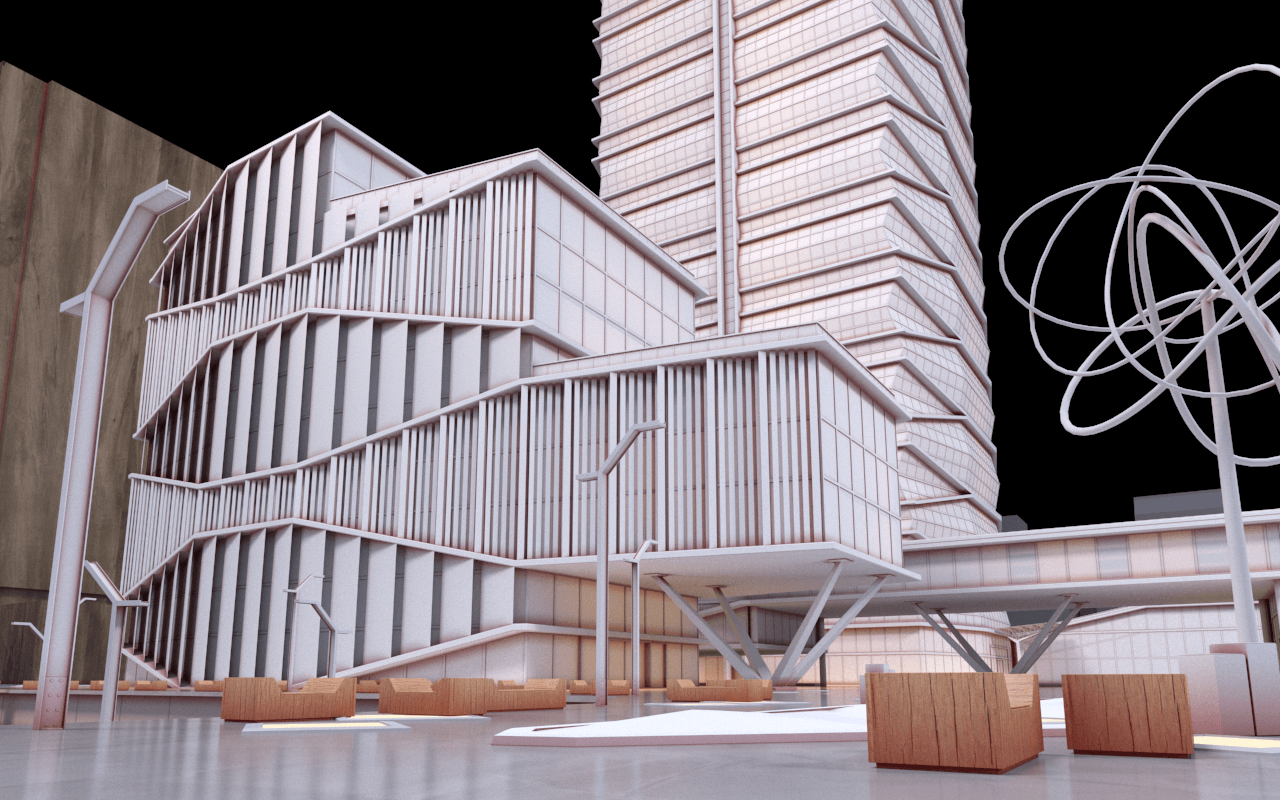

Example: Falloff

Falloff
= 0

Falloff
= 3

Falloff
= 5
Example: Distribution
The Distribution parameter forces the rays to gather closer. The effect is that the dirt area is being narrowed closer to the contact edges.

Distribution
= 1
Distribution
= 3

Distribution
= 10

Rays distribution (X,Y,Z) axis
Equal angle between rays distribution
Distribution parameter = 0.0

Rays distribution (X,Y,Z) axis
Different angle between rays distribution
Distribution parameter > 0.0
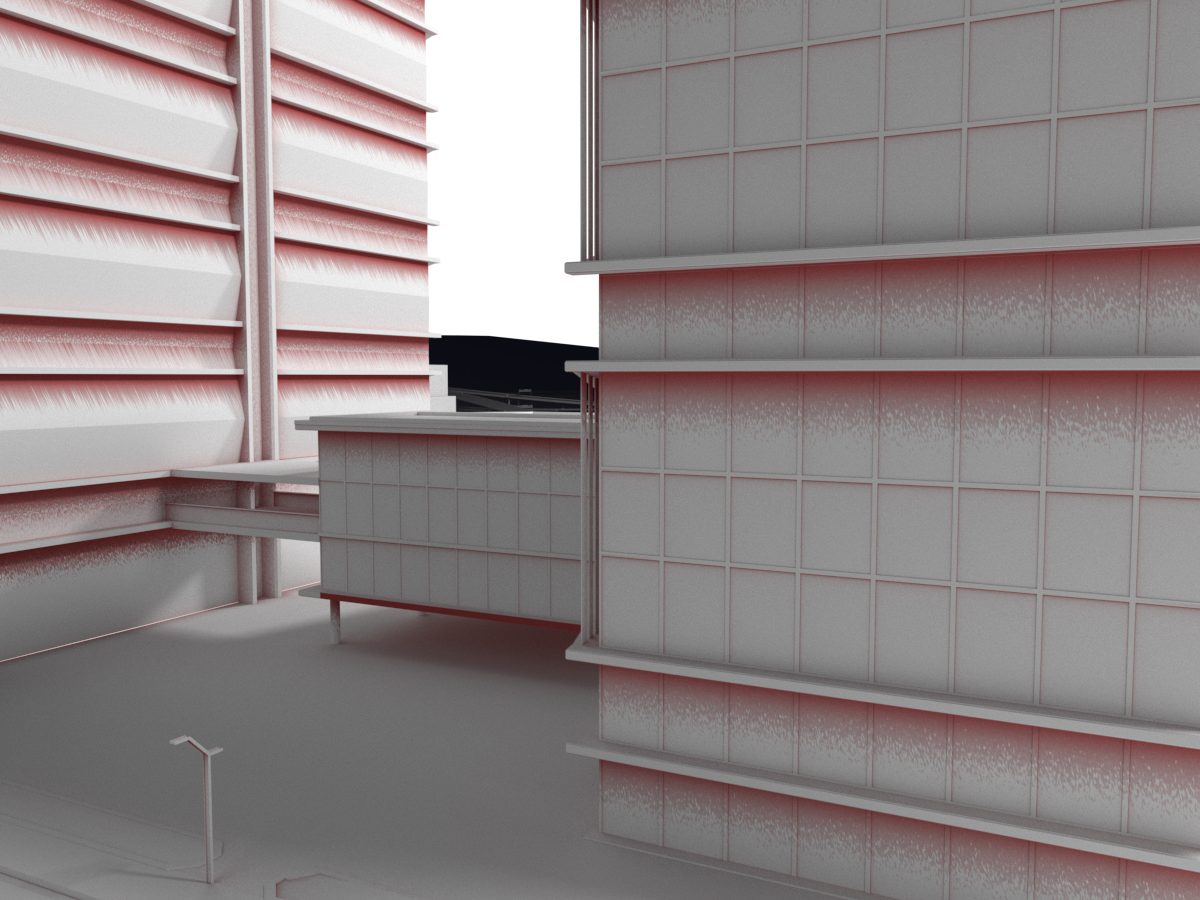
Streaks Ambient – Draws streaks across dirt effect respective to ambient occlusion. Note that a bias direction and value have to be specified for the streaks to appear. See the Streaks Ambient example below.
Streaks Inner – Draws streaks across dirt effect respective to inner occlusion. Note that a bias direction and value have to be specified for the streaks to appear.
Streaks Size – Controls the thickness of all streaks. See the Streaks Size example below.
Streaks Density – Controls the density of the streaks.

Example: Streaks Ambient
The Streaks Ambient parameter is enabled and the Mode is set to Ambient Occlusion. Depending on the values of Bias X and Bias Y, the streaks change. In the first render, the Bias X is set to 0 and the Bias Y is set to -15. In the second render, the Bias X is set to 0 and the Bias Y is set to -7. In the third image, the Bias X gets a value of 10 and the Bias Y is set to -7. The Bias Z has a value of 30 for both renders.
Bias X
=
0
;
Bias Y
=
-15
;
Bias Z
=
30

Bias X
=
0
;
Bias Y
=
-7
;
Bias Z
=
30

Bias X
=
10
;
Bias Y
=
-7
;
Bias Z
=
30
Example: Streaks Size
The Streaks Ambient parameter is enabled and the Mode is set to Ambient Оcclusion. The Streaks Size controls the thickness of all streaks:

Streaks Size
= 1

Streaks Size
= 2

Streaks Size
= 5
Self-occlusion Only – When enabled, the dirt affects only the objects, without including contact surfaces and edges.
Ignore Self-occlusion – When enabled, the object does not occlude itself. It is still occluded by other objects in the scene.
Double Sided – When enabled, the rays needed to generate the dirt map are shot from both sides of the faces (both in the direction of the normals and in the opposite direction).
Thin Mode – When enabled, it enhances the look of thin surfaces by casting less dirt on them. It is available only in Inner Occlusion Mode.

Exclude
Add Objects – Adds objects to the Exclude list. Objects in the list are not affected by the dirt map.
Inclusive – When enabled reverses the meaning of the Exclude list - only objects from the list will be shaded by the dirt map.

Affected By
Add Objects – Adds objects to the Affected By list. Objects in the list affect the calculation of the Dirt map. Excluded objects are considered invisible for the calculations of the Dirt - they don't produce the effect over other objects.
Inclusive – When enabled reverses the result from "Affected By" list - the objects from the list will shade other objects with the dirt map.

Advanced Parameters
Ignore for GI – When enabled, the dirt effect are not taken into consideration for GI calculations. See the Ignore for GI example below.
Use Transparency – When enabled, Dirt takes into account the opacity of the occluding objects. This can be used, for example, to calculate ambient occlusion from opacity-mapped trees etc. When disabled (the default), occluding objects are always assumed to be opaque. Note that working with correct opacity is slower, since Dirt must examine and evaluate the material on the occluding objects.
Env. Occlusion – When this option is switched on, V-Ray uses the environment when calculating the occlusion of areas that are not occluded by other objects.
Affect Refl. Elements – When enabled, the ambient reflection affects the reflection render elements. This can be used to create reflection masks.

Example: Ignore for GI
This check-box determines whether the dirt effect is going to be visible during the GI calculation. Note that the examples show the calculation of the GI (during Light cache calculations), hence the noise.

Ignore for Gi
= on
Ignore for Gi
= off
Bias
Bias X – Biases the normals to the X-axis, so that the dirt effect is forced in this direction. Consider that the parameter can also take negative value for inverting the direction of the effect.
Bias Y – Biases the normals to the Y-axis, so that the dirt effect is forced in this direction. Consider that the parameter can also take negative value for inverting the direction of the effect.
Bias Z – Biases the normals to the Z-axis, so that the dirt effect is forced in this direction. Consider that the parameter can also take negative value for inverting the direction of the effect.
See the Bias example below.
Example: Bias
This parameter biases the normals so that the dirt effect is forced to some of the axis(es).
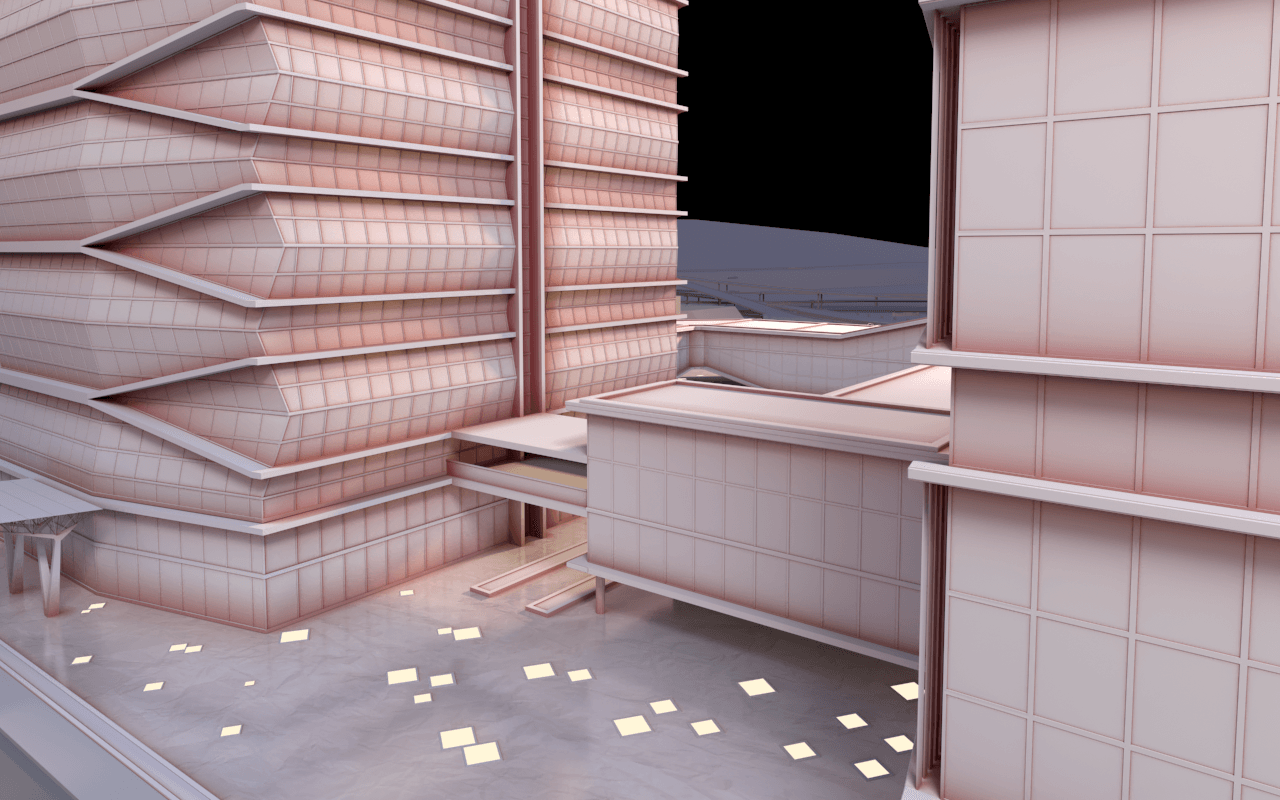
Bias X
= 100

Bias Y
= 100

Bias Z
= 100
Multipliers
Mode – Specifies the multiplication mode of the colors.
Multiplier – The color used for blending is black.
Blend Amount – The color used for blending is the one specified in the color slot.
Unoccluded Color – Controls the intensity of the Unoccluded color. A texture map can be assigned to this channel.
Occluded Color – Controls the intensity of the Occluded color. A texture map can be assigned to this channel.
