V-Ray for Rhino
Global Illumination
This page provides information on the Global Illumination settings in the Asset Editor.
Last updated 1 September 2026
This page provides information on the Global Illumination settings in the Asset Editor.
Overview
Global illumination refers to lighting in a scene/environment that comes from light bouncing around and off objects (or the environment itself). Global Illumination (or GI) refers to the computation of this effect through computer graphics.
V-Ray implements several approaches (called engines) for computing indirect illumination with different trade-offs between quality and speed. Additional rollouts become available depending on the engine(s) specified for Primary and Secondary Rays:
- Brute Force Settings – The default engine for Primary Rays. It can be used for Secondary Rays as well.
- [DEPRECATED]Irradiance Map Settings – This option is deprecated. An alternate engine for Primary Rays only.
- Light Cache Settings – The default engine for Secondary Rays. It can be used for Primary Rays as well.

UI Path
||V-Ray Asset Editor|| > Settings > Global Illumination
Global Illumination
Enabled – Turns indirect illumination on and off.
Primary Rays – Specifies the GI method to use for primary diffuse bounces.
Irradiance map (deprecated) – Causes V-Ray to use an irradiance map for primary diffuse bounces. This is a legacy option that will be removed in the future.
Brute force – Specifies direct computation for primary diffuse bounces.
Light cache – Specifies the light cache for primary diffuse bounces.
Secondary Rays – Specifies the GI method to use for secondary diffuse bounces.
None – No secondary bounces are computed. Use this option to produce skylit images without indirect color bleeding.
Brute force – Specifies direct computation for secondary diffuse bounces.
Light cache – Specifies the light cache for secondary diffuse bounces.

Light Cache/Brute Force
The second rollout of the Global Illumination settings allows adjustment of the Secondary GI engine - either Brute Force or Light Cache. For more information on each, please refer to their respective page.
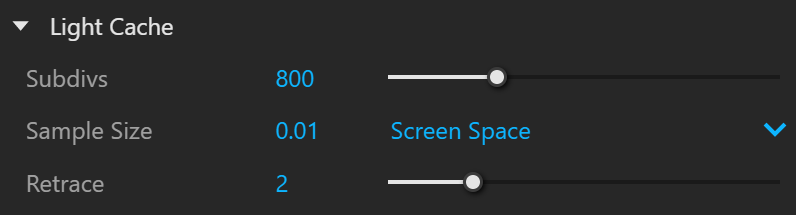
Light Cache as Secondary GI engine

Brute Force as Secondary GI engine
Caustics
V-Ray supports the rendering of caustics effects by using one of the following techniques: photon mapping or progressive.
The new Progressive caustics solver uses advanced sampling techniques, and is able to trace as many photons as required without suffering the memory constraints of traditional Photon Mapping techniques.
It is loosely based on two papers: one on Progressive Photon Mapping from Knaus and Zwicker, and another on Metropolis-guided caustics tracing from Šik and Krivánek.
The other method, Photon Mapping, is a two-pass technique.
The first pass consists of shooting light particles (photons) from the light sources in the scene, tracing them as they bounce around the scene, and recording the places where the photons hit the object surfaces.
The second pass is the final rendering, which is when the caustics are calculated by using density estimation techniques on the photon hits stored during the first pass.
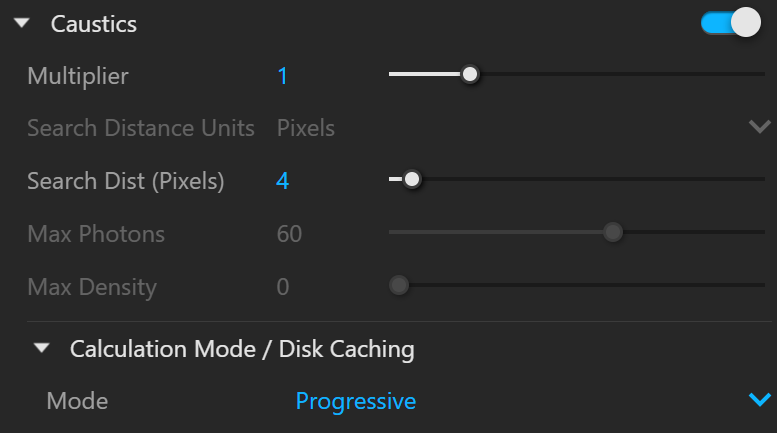
Caustics – Enables or disables rendering of caustics. See the Progressive Caustics examples below.
Progressive Caustics
Multiplier – Controls the strength of the caustics. It is global and applies to all light sources that generate caustics. Should a different multipliers for each light source be needed, the V-Ray properties of each light should be edited. Note: this multiplier is cumulative with the multipliers in the local light settings.
It should also be noted that changing multipliers, while useful for artistic purposes, will result in physically-inaccurate scenes.
Search Dist (Pixels) – Specifies the initial photon lookup radius in pixels. The Progressive mode works only in Pixels.
Example: Progressive Caustics - Caustic Subdivs
(Caustic Subdivs parameter of the Lights' Caustic Photon option)
Multiplier = 20; Search Distance = 100
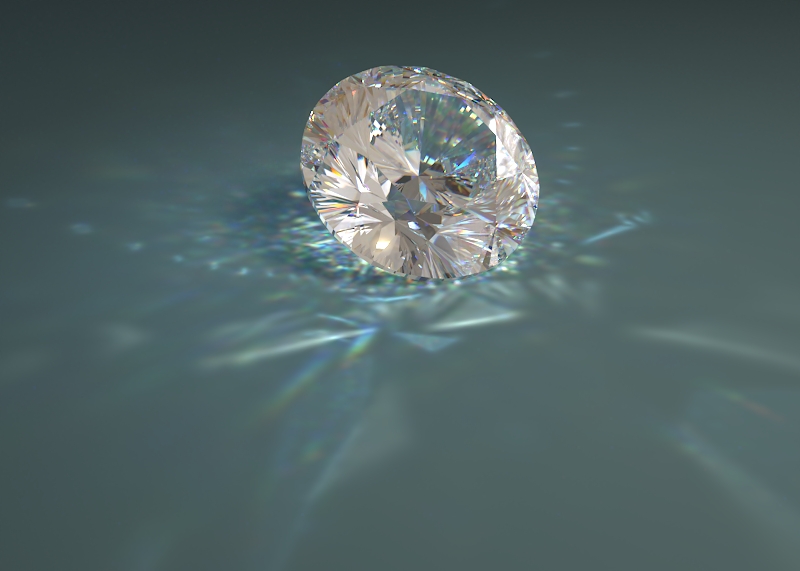
Caustic Subdivs = 3000
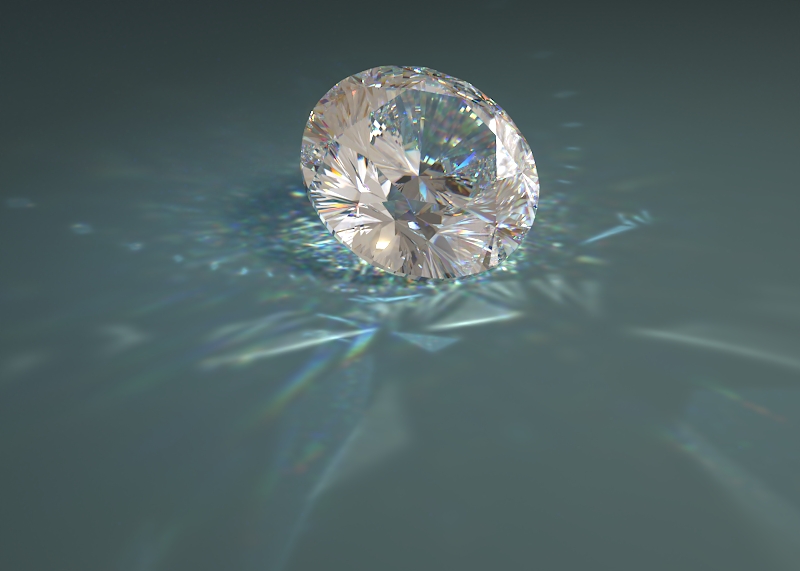
Caustic Subdivs = 4000

Caustic Subdivs = 10000
Example: Progressive Caustics - Multiplier
Caustic Subdivs of the Lights = 6000; Search Distance = 100

Multiplier = 10

Multiplier = 20

Multiplier = 30
Example: Progressive Caustics - Search Distance
Caustic Subdivs of the Lights = 4000; Multiplier = 20

Search Distance = 4

Search Distance = 10
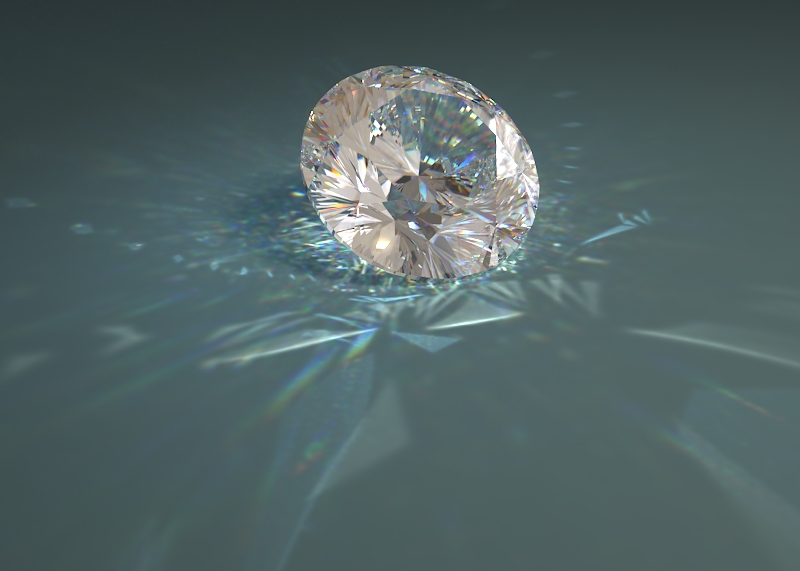
Search Distance = 20
Photon Map Caustics
See the Photon Map Caustics examples below.
Multiplier – Controls the strength of the caustics. This parameter is global and applies to all light sources that generate caustics.
Search Distance Units – Determines in what units the Search distance parameter is specified - World units or Pixels.
Search Dist (World)/(Pixels) – When V-Ray renders the caustics effect at a given surface point, it searches for a number of photons on that surface in the area surrounding the shaded point (search area). The search area in fact is a circle with center the original photon and its radius is equal to the Search distance value. Smaller values produce sharper, but perhaps more noisy caustics; larger values produce smoother, but blurrier caustics.
Max Photons – Specifies the maximum number of photons that is considered when rendering the caustics effect on a surface. Smaller values cause fewer photons to be used and the caustics are sharper, but noisier. Larger values produce smoother, but blurrier caustics. The special value of 0 means that V-Ray uses all the photons that it can find inside the search area.
Max Density – Limits the resolution (and thus the memory) of the caustics photon map. Whenever V-Ray needs to store a new photon in the caustics photon map, it first checks if there are any other photons within a distance specified by Max density. If there is already a suitable photon in the map, V-Ray just adds the energy of the new photon to the one in the map. Otherwise, V-Ray stores the new photon in the photon map. Using this options allows you to shoot many photons (and thus get smoother results) while keeping the size of the caustics photon map manageable. This option is not supported by V-Ray GPU.
Calculation Mode/Disk Caching
Mode – Controls the mode of the irradiance map:
New map – When enabled, a new photon map will be generated. It will overwrite any previous photon map left over from previous rendering.
From file – When enabled, V-Ray will not compute the photon map but will load it from a file. Press the Browse button on the right to specify the file name.
Progressive – Uses advanced sampling techniques and is able to trace as many photons as required without suffering the memory constraints of traditional Photon Mapping techniques.
Keep File – When enabled V-Ray keeps the photon map in memory after the scene rendering has finished. When disabled, the map is deleted and the memory it took is freed. Enabling this option can be especially useful if you want to compute the photon map for a particular scene only once and then re-use it for further rendering.
Auto-Save File – When enabled, V-Ray automatically saves the caustics photon map to the provided file when rendering is completed. Specifies the file location where the caustics photon map will be saved after rendering.

Example: Photon Map Caustics - Caustic Subdivs
(Caustic Subdivs parameter of the Lights' Caustic Photon option)
Multiplier = 20; Search Distance Units = World; Search Distance = 0.5; Max Photons = 5000; Max Density = 0
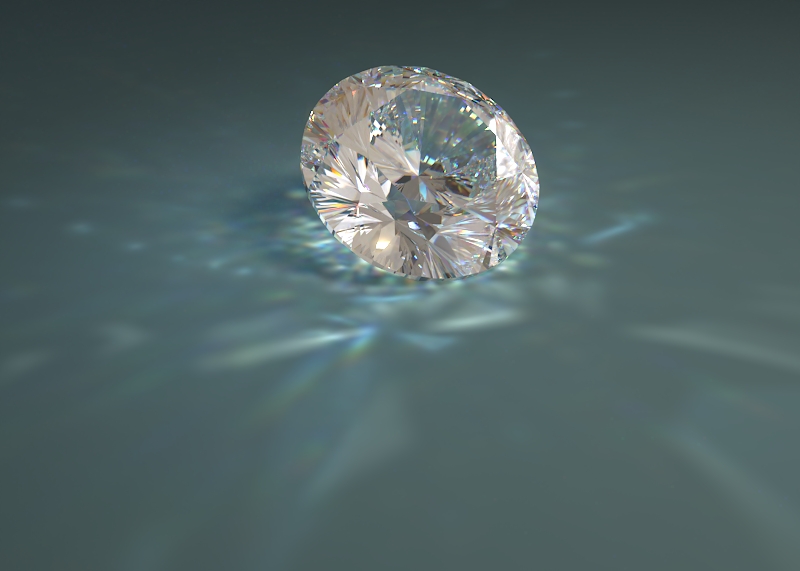
Caustic Subdivs = 4000
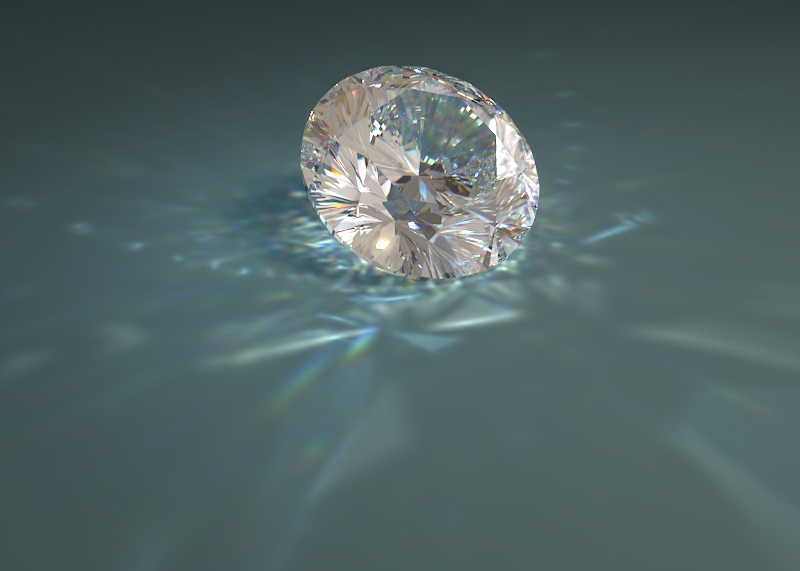
Caustic Subdivs = 6000

Caustic Subdivs = 10000
Example: Photon Map Caustics - Max Photons
Multiplier = 20; Search Distance Units = World; Search Distance = 0.5; Max Density = 0; Caustic Subdivs of both lights = 4000

Max Photons = 500
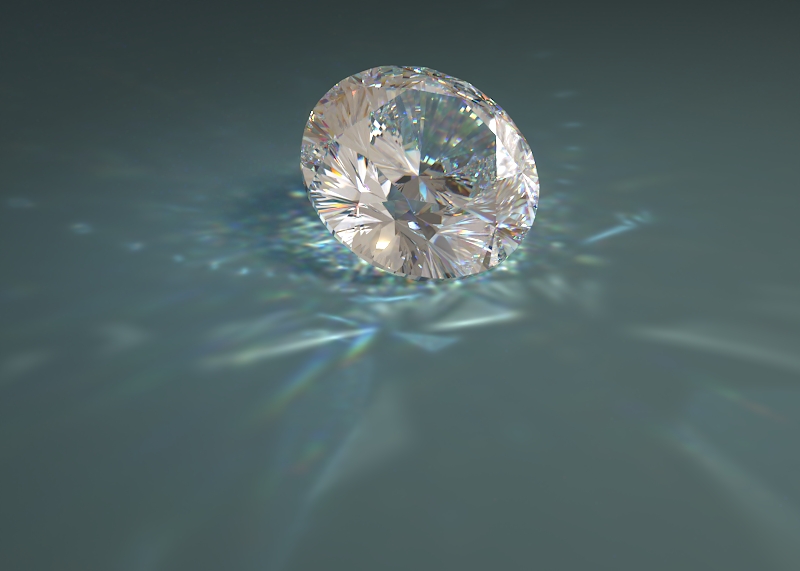
Max Photons = 2000
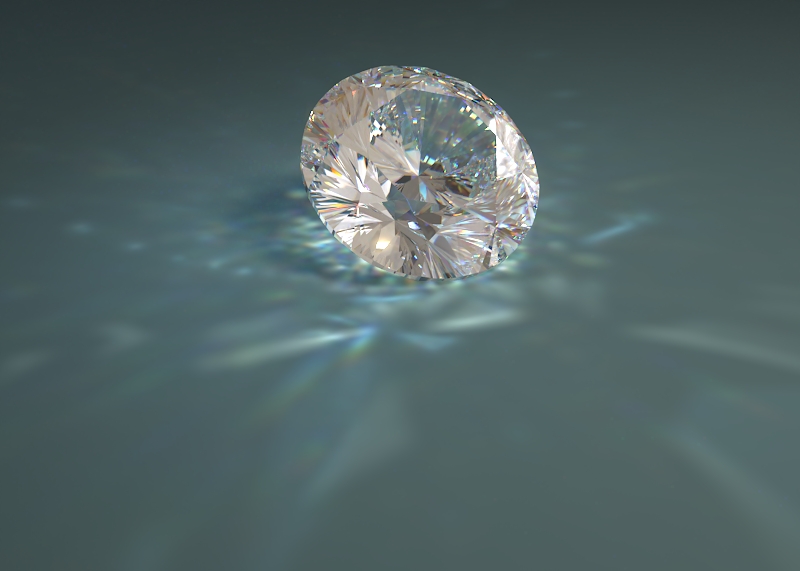
Max Photons = 5000
Example: Caustic Photons of V-Ray Sun - Caustic Subdivs
(Caustic Subdivs parameter of the Lights' Caustic Photon option)
Mode = Progressive; Multiplier = default value; Search Distance = default value; Emit Radius = 1000

Caustic Subdivs = 1000

Caustic Subdivs = 5000

Caustic Subdivs = 16000
Example: Caustic Photons of V-Ray Sun - Emit Radius
Mode = Progressive; Multiplier = default value; Search Distance = default value; Caustic Subdivs = 16000
The scene is in centimeters.

Emit Radius = 350

Emit Radius = 500

Emit Radius = 1500

Emit Radius = 4000
GI Caustics
GI Caustics rollout is available only in Advanced mode.
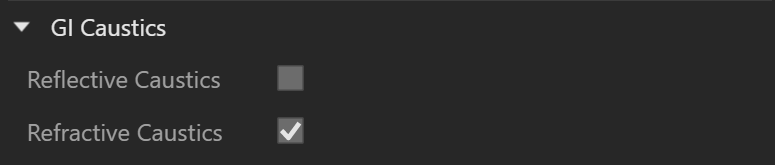
Reflective Caustics – Allows indirect light to be reflected from specular objects like mirrors, etc. Note that this is not the same as Photon Mapped Caustics, which represent direct light being reflected by reflective surfaces.
Refractive Caustics – Allows indirect lighting to pass through a transparent objects like glass, etc. Note that this is not the same as Photon Mapped Caustics, which represent direct light going through transparent objects. You need refractive GI caustics to get skylight through windows, for example.
Ambient Occlusion
These controls allow an ambient occlusion term to be added to the global illumination solution. See the Ambient Occlusion example below.
Enabled – Turns ambient occlusion on or off.
Radius – Determines the amount of area (in Scene units) where the ambient occlusion effect is produced.
Occlusion Amount – Multiplies the amount of ambient occlusion. A value of 0.0 produces no ambient occlusion.

Example: Ambient Occlusion
Note: the scene in this example is from Evermotion. ( http://www.evermotion.org/)
This example demonstrates the effect of the global ambient occlusion options.
The first image to the right is rendered with the Light cache for both primary and secondary bounces, Fixed Filter type for the light cache, and Store direct light off. The second image in the center is rendered with the same light cache settings, but with global ambient occlusion enabled. The third image to the right is rendered without ambient occlusion, with Brute force GI engine for primary bounces, and the Light cache as a secondary engine with Nearest Filter type. The render times include the time for calculating the light cache. Note how ambient occlusion can produce a feeling of a more detailed image, even though the result is not entirely correct.

Ambient occlusion is off - lighting is good, but there is a lack of detail
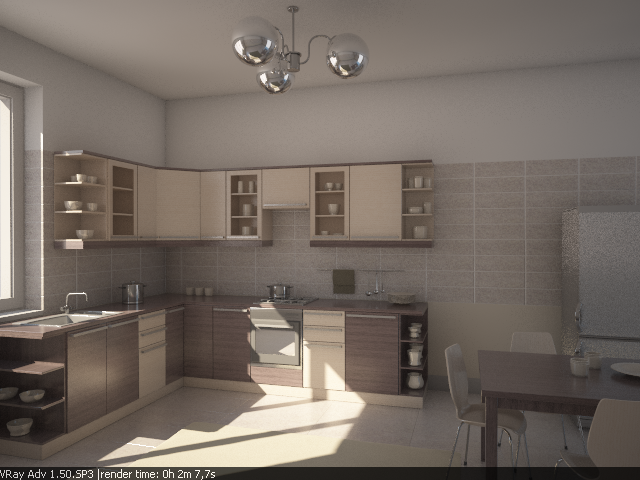
Ambient occlusion is on - details are much more defined

Brute force GI, no ambient occlusion - details are fine, but render times is longer.
Notes
- Since V-Ray Next Update 1.1 some of the render elements are rendered differently than before. The Lighting render element now contains all direct diffuse illumination and the GI element contains all indirect diffuse illumination. Similarly, all direct reflections of lights now go to the Specular element and all indirect reflections go to the Reflection element.
Progressive Caustics Advantages
- they require nearly no setup;
- each cast photon is more useful than those in traditional Photon Mapping;
- the number of photons castable is only limited by time, not memory;
- they can resolve tiny caustic details, compared to the scene size;
- they can resolve caustic details also when a camera is very zoomed in on them;
- statistics about the photon tracing can be found in the VFB2 stats panel;
Progressive Caustics Limitations
- they require the progressive image sampler;
- the image sampler often requires Min. subdivs values much higher than 1;
- it's non-deterministic, meaning that there could be somewhat unpredictable render times, and also tiny differences in the visual results when rendering the same frame twice;
- currently doesn't work with distributed rendering;
- currently not supported by the GPU engine;
- Depending on the scene, the performance might not scale linearly with the number of threads/cores, resulting in inefficient CPU utilization.