V-Ray for Rhino
Gradient
This page provides information on the V-Ray Gradient Texture.
Last updated 1 September 2026
This page provides information on the V-Ray Gradient Texture.
Overview
Gradient is a texture map that can easily create and edit gradients useful in many different situations.


UI Paths
||V-Ray Asset Editor|| > Textures (right-click) > Gradient
||V-Ray Asset Editor|| > Create Asset (left-click) > Textures > Gradient
Parameters
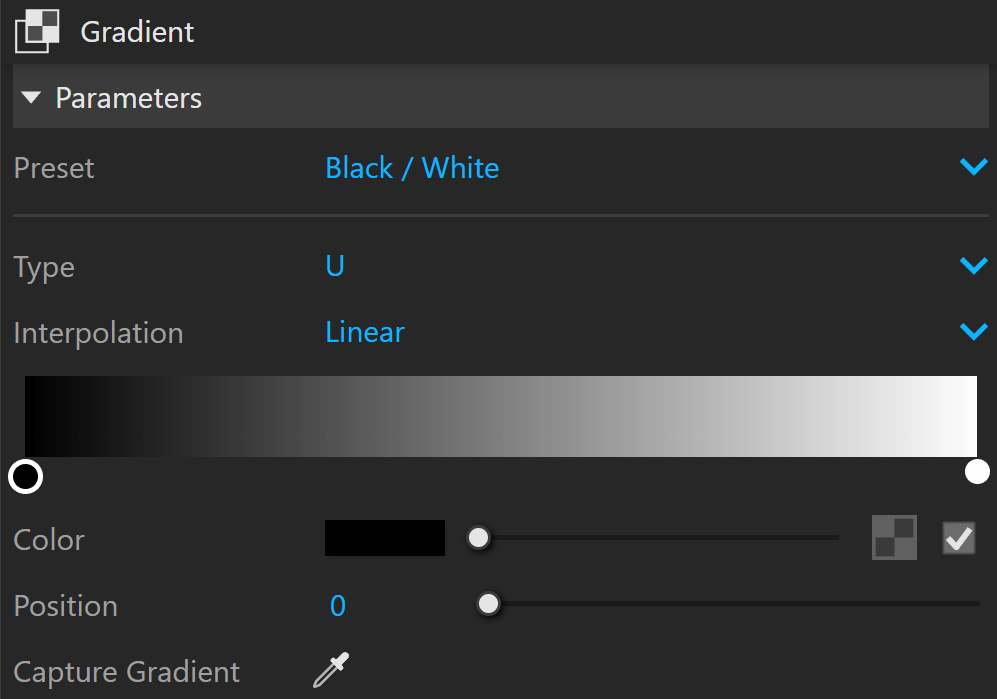
Preset – Applies a gradient preset. When the gradient is manually changed, the Custom preset is automatically selected.
Black/White
Red/ Green/ Blue
Spectrum
Custom
Type – Controls the direction and shape of the gradient ramp. Changing the Type does not affect the color and position of the control points.
V – A gradient changing along the V direction.
U – A gradient changing along the U direction.
Diagonal – A gradient with a diagonal transition.
Radial – A gradient with a radial transition.
Circular – A gradient with a circular transition.
Box – A gradient with a box radial transition.
UV – A gradient changing along both U and V directions.
Four Corner – A gradient that transitions linearly between colors assigned to each corner.
Tartan – Creates a gradient with a plaid pattern.
Interpolation – Changes the color interpolation method. Changing the option changes the color transition curve between the control points.
None – Disables the transition.
Linear – Values are linearly interpolated in RGB color space.
Exponential Up – Values are exponentially interpolated from left to right, each color dominating the area between it and the next one.
Exponential Down – Values are exponentially interpolated from right to left, each color dominating the area between it and the previous one.
Smooth – Values are interpolated along a bell curve, each color dominating the region around it before blending to the next color
Bump – Values are interpolated along a sin curve, based on luminosity values.
Spike – Each color dominates only its immediate area, falling off shortly after.
Color – The color of the currently selected control point.
Position – The float position of the currently selected control point.
Capture Gradient – Captures a gradient from the sampled colors along the cursor’s path from anywhere on your screen. Press the left mouse button and drag the cursor to sample colors. Release the button to complete the process. See the Capture Gradient example below.
Example: Capture Gradient
Noise
Amount – Controls the strength of the noise texture distortion.
Frequency – Controls the noise frequency. Smaller values make the noise pattern appear bigger and vice versa.

Texture Placement
Type – Controls how the texture is positioned on the geometry.
2D (UV Channel) – The texture uses the object UV coordinates.
Environment – This mode is applicable if the map is connected to an Environment slot or a Dome light.
Texture Remapping – Uses UVW values from a color texture or separate grayscale textures.
Mapping Source – The texture uses an external UV placement source.
2D (UV Channel)
UV Channel/Set – Specifies the index of the mapping channel data to use. A value of 1 takes the first available channel.
Repeat U/V – Determines how many times the texture is repeated in the 0 to 1 UV square.
Lock U/V Repeat – Locks the U/V Repeat.
Offset U/V – Controls the texture offset in the U and V direction.
Rotate – Rotates the texture (in degrees).
Tile U/V – Tiles the texture in the U and V direction. If the option is disabled, the Default texture color is used outside the 0 to 1 UV square. Default color is found in Parameters > Color Manipulation.
Mirror U/V – Mirrors the texture in the U and V direction separately. The option cuts the texture in the half flipping one side vertically or horizontally. This can be used to avoid seams in-between non-tileable repeated textures.

2D (UV Channel) Parameters
Environment
Mapping – Specifies the type and shape of the texture.
Angular
Cubic
Spherical
Spherical Inverted
Mirror Ball
Screen
Rotate H – Rotates the environment sphere horizontally.
Flip H – Flips the environment sphere horizontally.
Rotate V – Rotates the environment sphere vertically.
Flip V – Flips the environment sphere vertically. This option is active only in Spherical Mapping.
Ground – Enables ground projection of the texture.
Position X/Y/Z – Offsets the ground projection along the X/Y/Z axis.
Radius – Specifies a projection radius. Can be used to control the scale of the projection.
2d Transformation – see 2D (UV channel) parameters.

Environment Parameters
Texture Remapping
Mode – Determines whether a single or multiple textures should be used for U and V texture coordinates remapping.
UV – The Red input texture channel determines the U sampling coordinate. The Green input texture channel determines the V coordinate.
U – The value of this texture determines the U sampling coordinate.
V – The value of this texture determines the V sampling coordinate.

Texture Remapping Parameters
Mapping Source
UV Placement Source – External UV placement source to be used for the texture placement.

Mapping Placement Parameters
Example: Texture Remapping
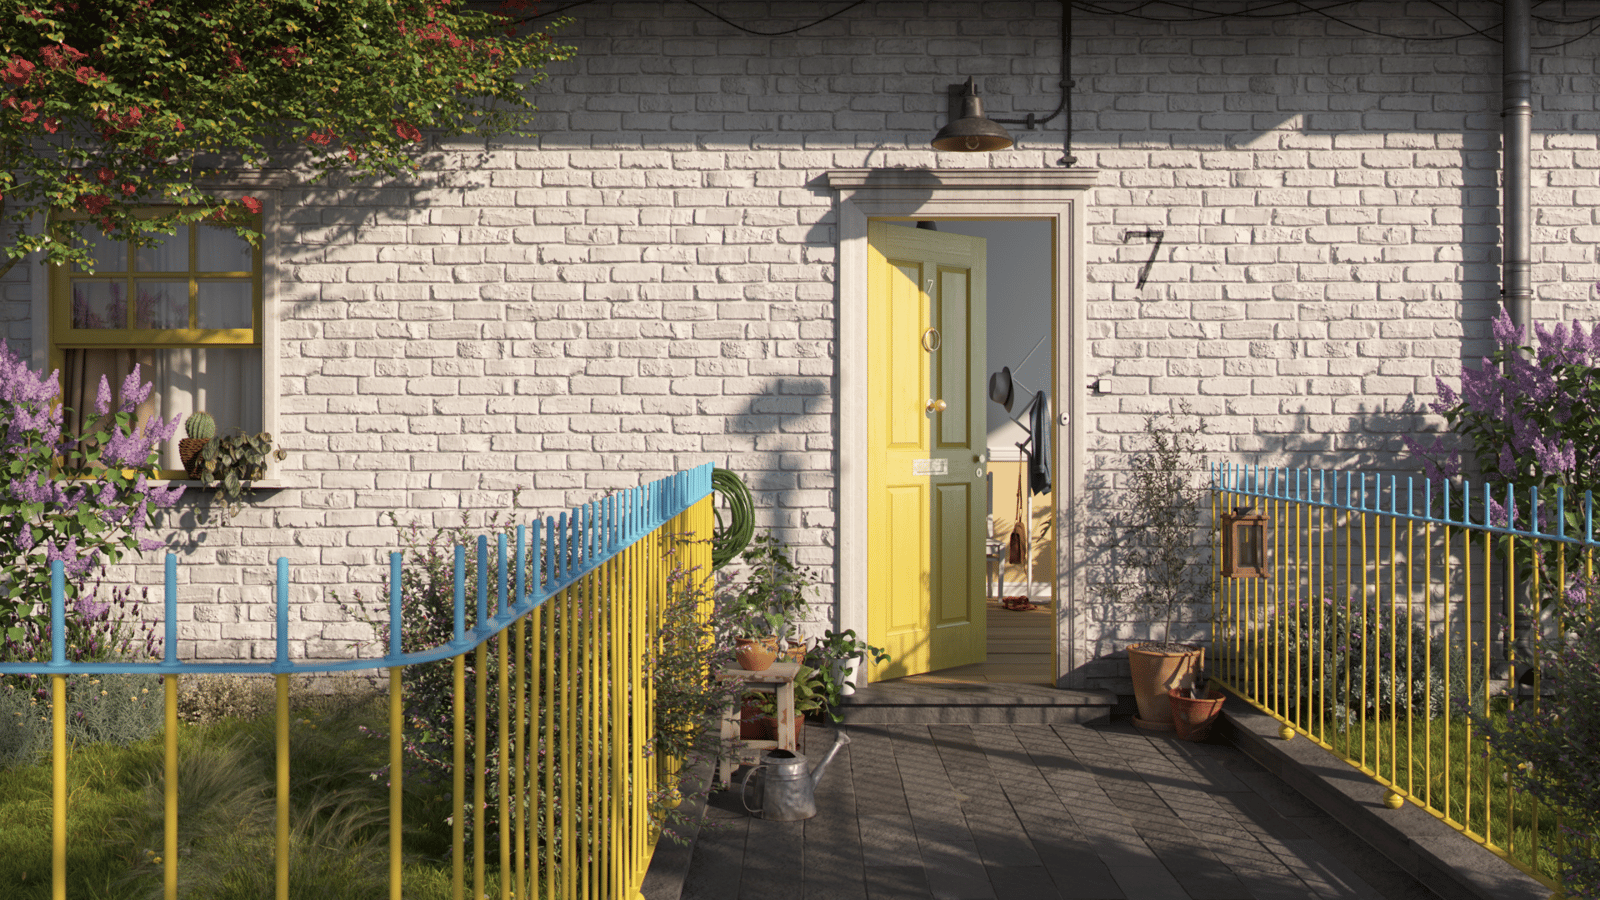
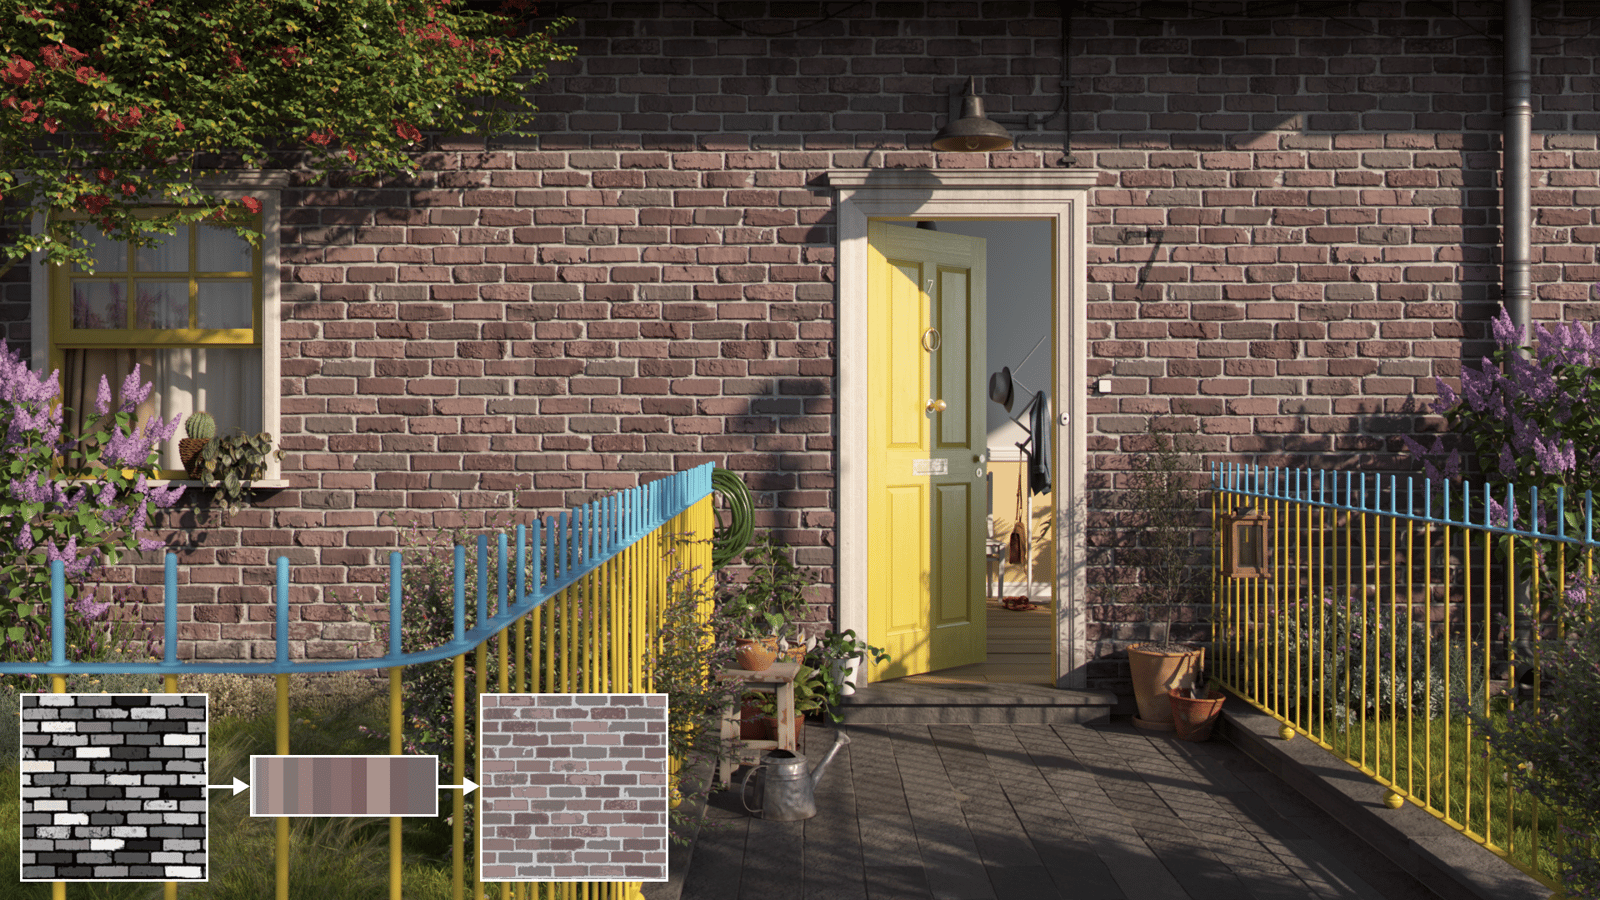
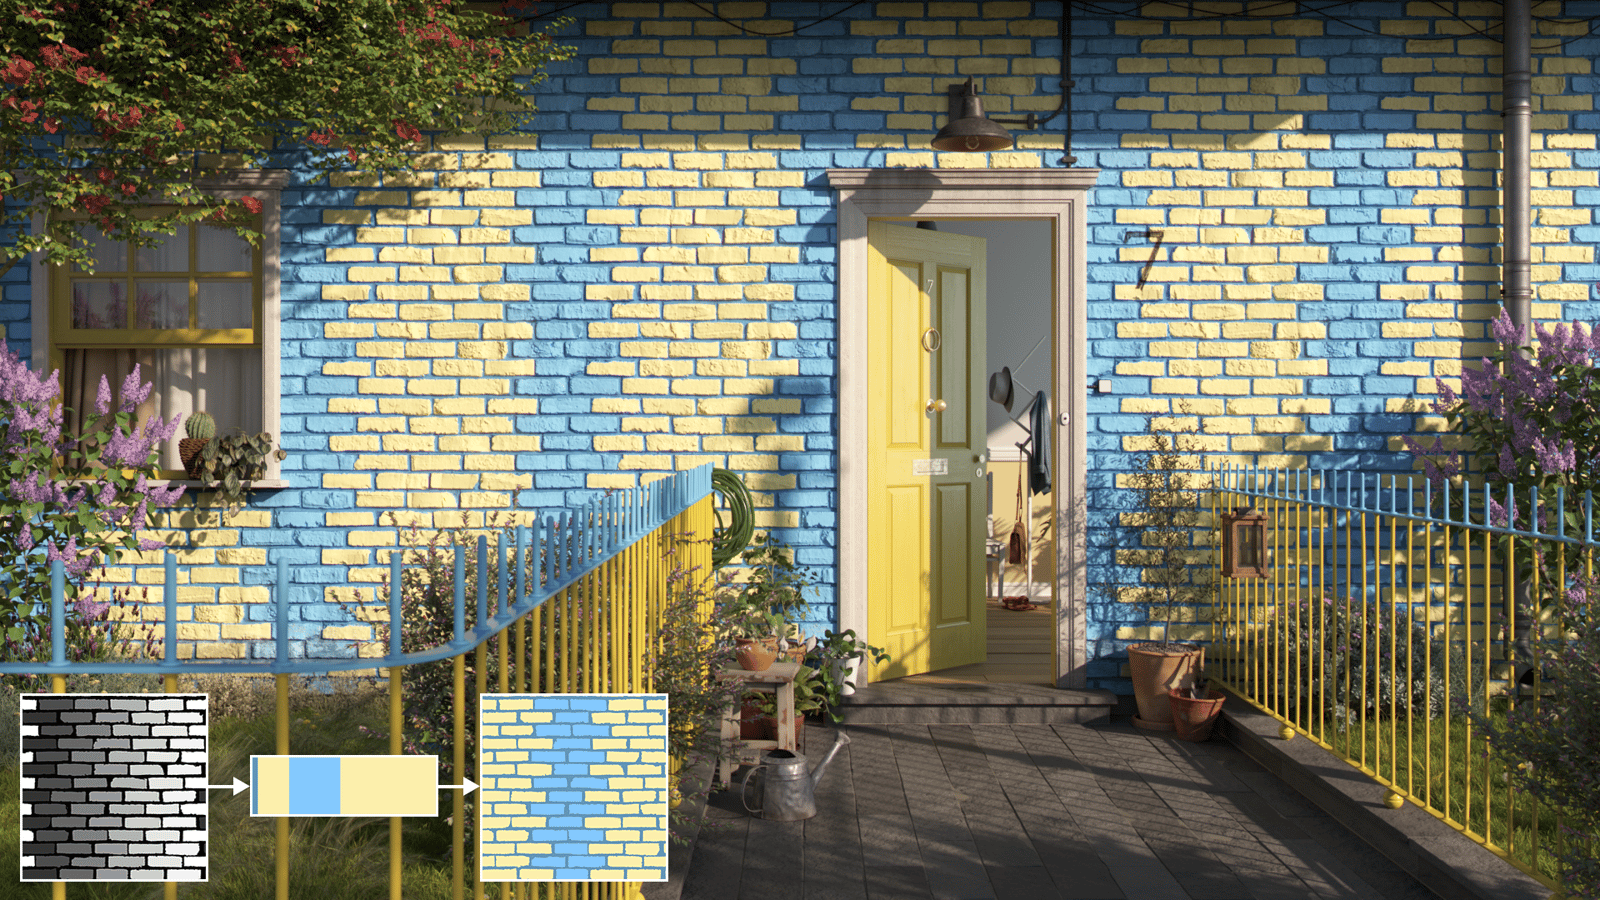
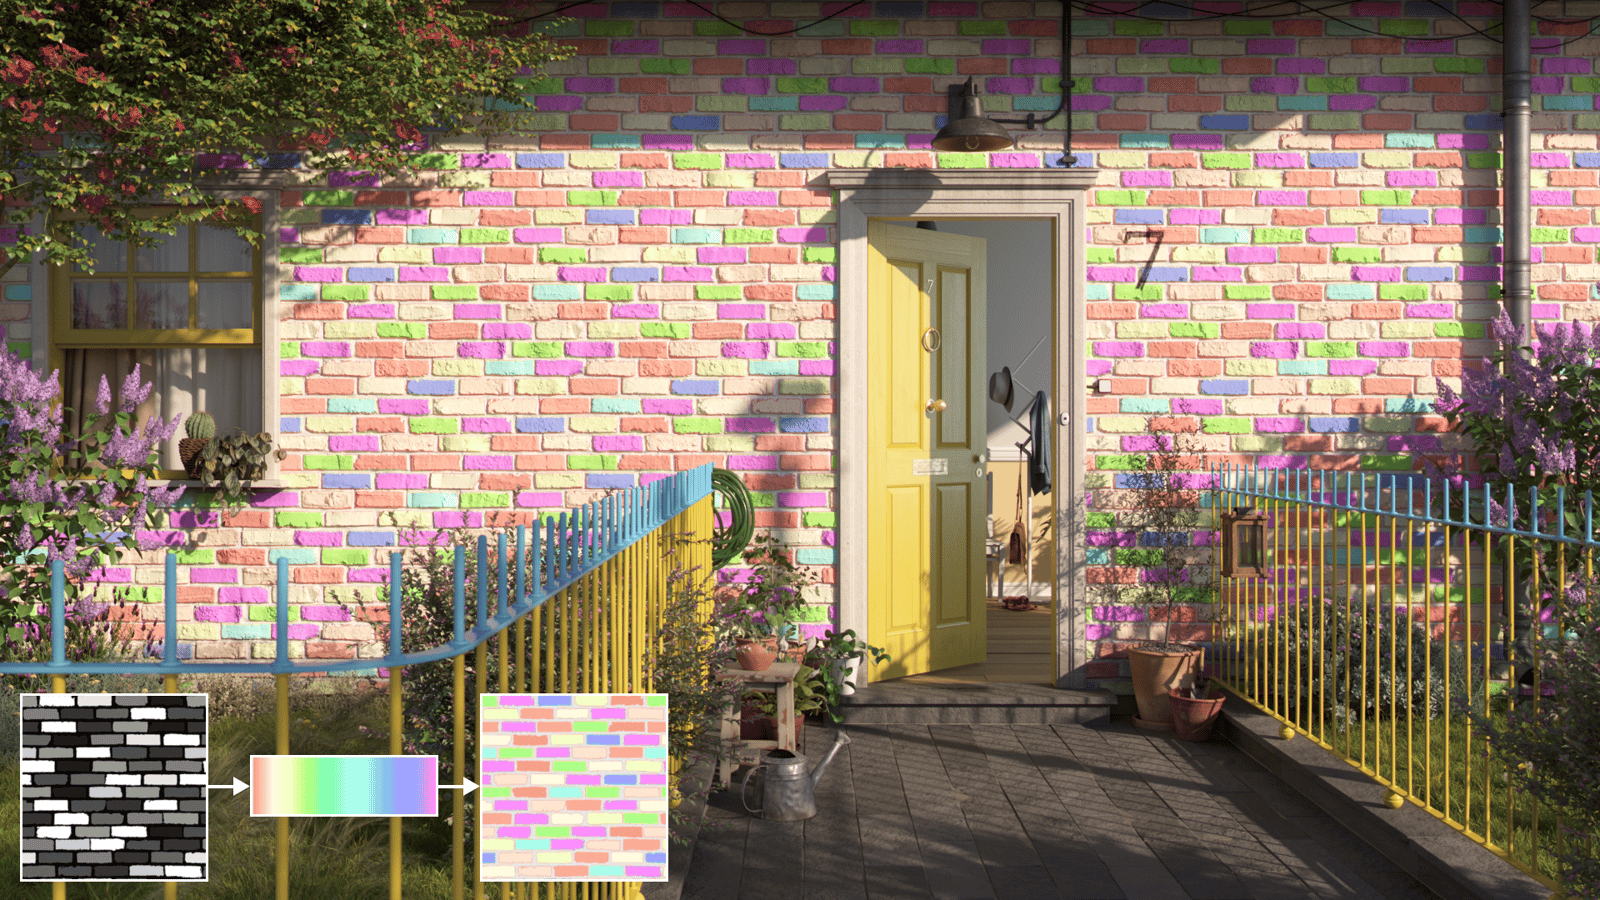
This example shows different colorful patterns, where Gradient texture is used for colorization of the bricks. The material has a Gradient texture in the Diffuse map slot. The Gradient texture’s Texture Placement is set to Texture Remapping with UV Texture mode. The black and white brick texture is set in the UV Texture map slot.