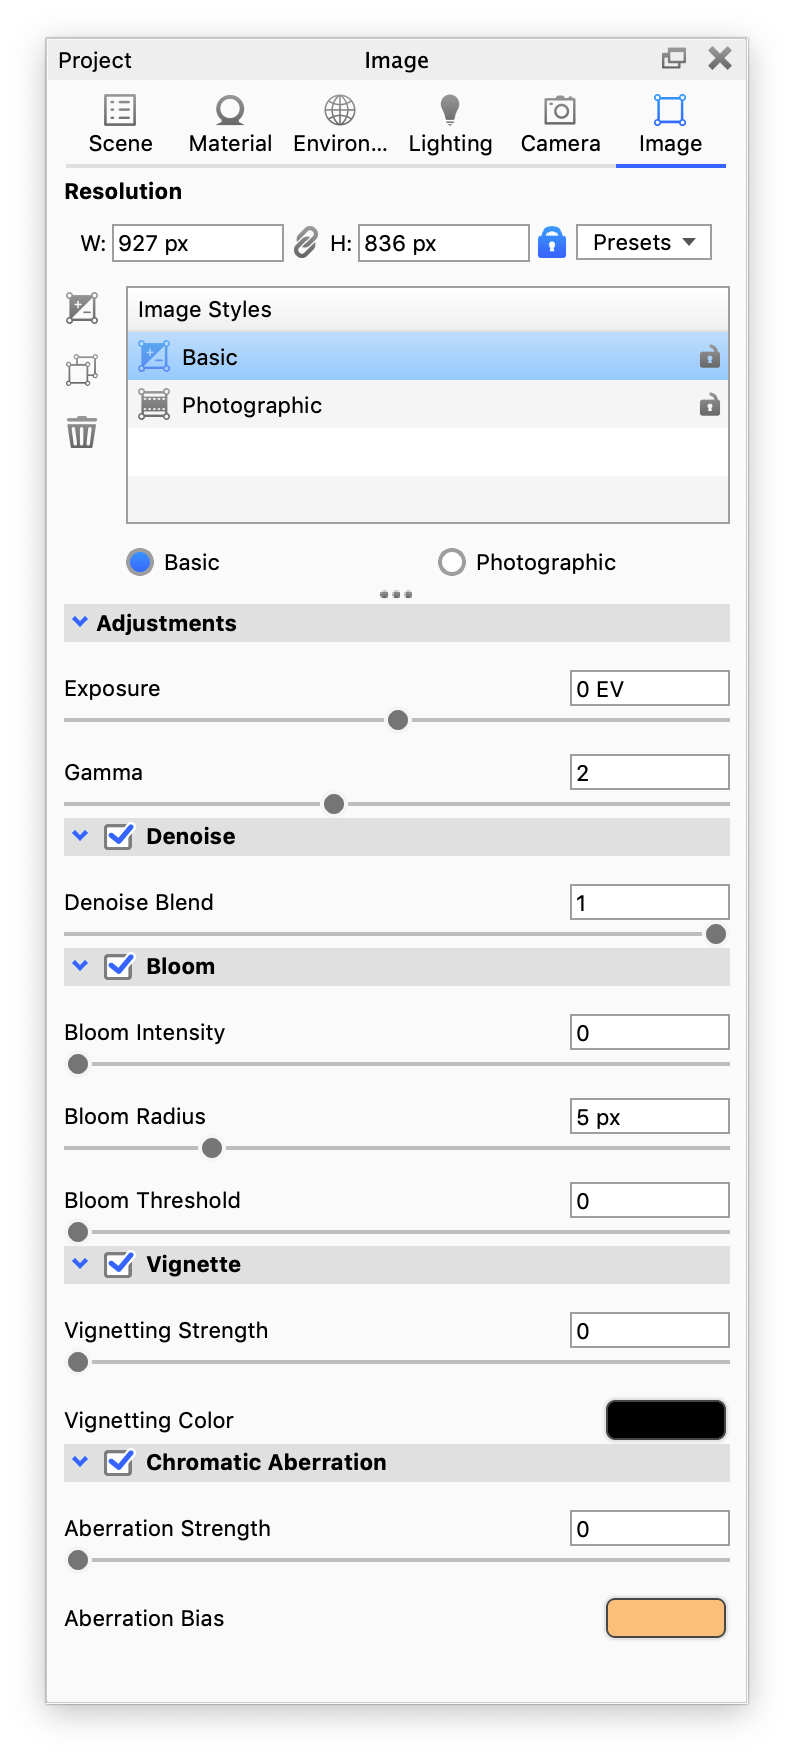
Adjustments
- Exposure controls how much light affects the scene. Increasing the EV (exposure value) by 1 doubles the amount of light in the image.
- Gamma controls the image's intensity. Decrease gamma to darken the image or increase it to lighten the image.
Denoise
Denoising reduces noise in the Real-time View and final render. In the Real-time View, it starts after 1 second and refreshes every 5 seconds. You can change the interval in Preferences and check the Denoise state in the Heads Up Display. You can also turn Denoise on or off from the Ribbon. The button is disabled when your image style is locked.
- Adaptive Progressive Denoising controls which parts of the image receive more samples. Keep Denoise Blend at 1 when this is enabled (recommended). This option is available for Nvidia GPUs only.
- Denoise Blend controls how strongly the denoised image blends with the rendered image. Lower the value to keep more of the original noise. If denoising removes fine details or textures, try lowering the Denoise Blend value.
- Firefly Filter may reduce pixels that stand out in the image. Use the slider to control the filter strength. A high value may remove details you want to keep. If this happens, lower the value.
Sharpen
The Sharpen effect sharpens the edges in your image to make details stand out.
- Intensity makes dark edges darker and light edges lighter to increase contrast at the edges.
- Radius increases the area around edges, making them wider and more noticeable.
Bloom
- Bloom Intensity controls the brightness of the light fringing or glow.
- Bloom Radius controls how far the bloom glow extends in pixels.
- Bloom Threshold controls which bright pixels produce the bloom glow. A value of 0 means no clipping. Higher values limit bloom to the brightest pixels.
Vignette
- Vignette Strength controls the strength of the vignette. Higher values make the vignetting colour more solid in the corners.
- Vignetting Color sets the colour the vignette fades into. The default is black. Click the colour field to open the colour selector.
Chromatic aberration
Chromatic aberration occurs when a camera lens cannot focus all colours at the same point. This creates coloured fringes along object edges. Image styles approximate this effect.
- Aberration Strength controls the strength of the effect.
- Aberration Bias controls the colour of the distortion.