Enscape
Material Types
This page provides information about the different material types in Enscape.
Last updated 28 May 2026
This page provides information about the different material types in Enscape.
Overview
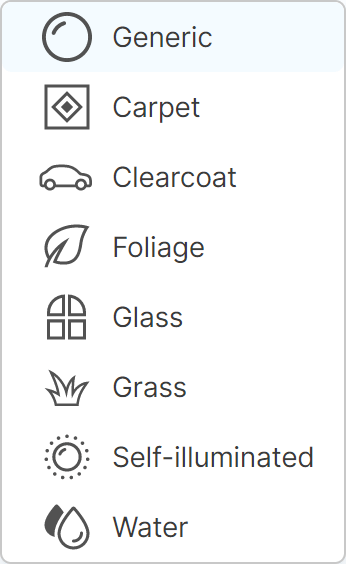
- The Enscape Material Editor provides several Material Types. Each type has a set of pre-built qualities. The available material types go as follows:
- Generic – Suited for any materials that aren’t supposed to be rendered as grass blades, water surface, or have translucency applied.
- Carpet – Contains pre-built strands that act like carpet fibers, which can be adjusted.
- Clearcoat – Imitates car paint.
- Foliage – If the Sun (not artificial lighting) is behind the surface, it is illuminated on both sides, as is common in nature.
- Glass – Transparent material with reflective properties, simulating the appearance of real glass surfaces.
- Grass – Contains strands that represent grass material, which move when not at rest.
- Self-illuminated – Makes a material appear as if glowing, and emitting actual light.
- Water – Acts as a liquid and moves when not at rest.
Material Types
Generic
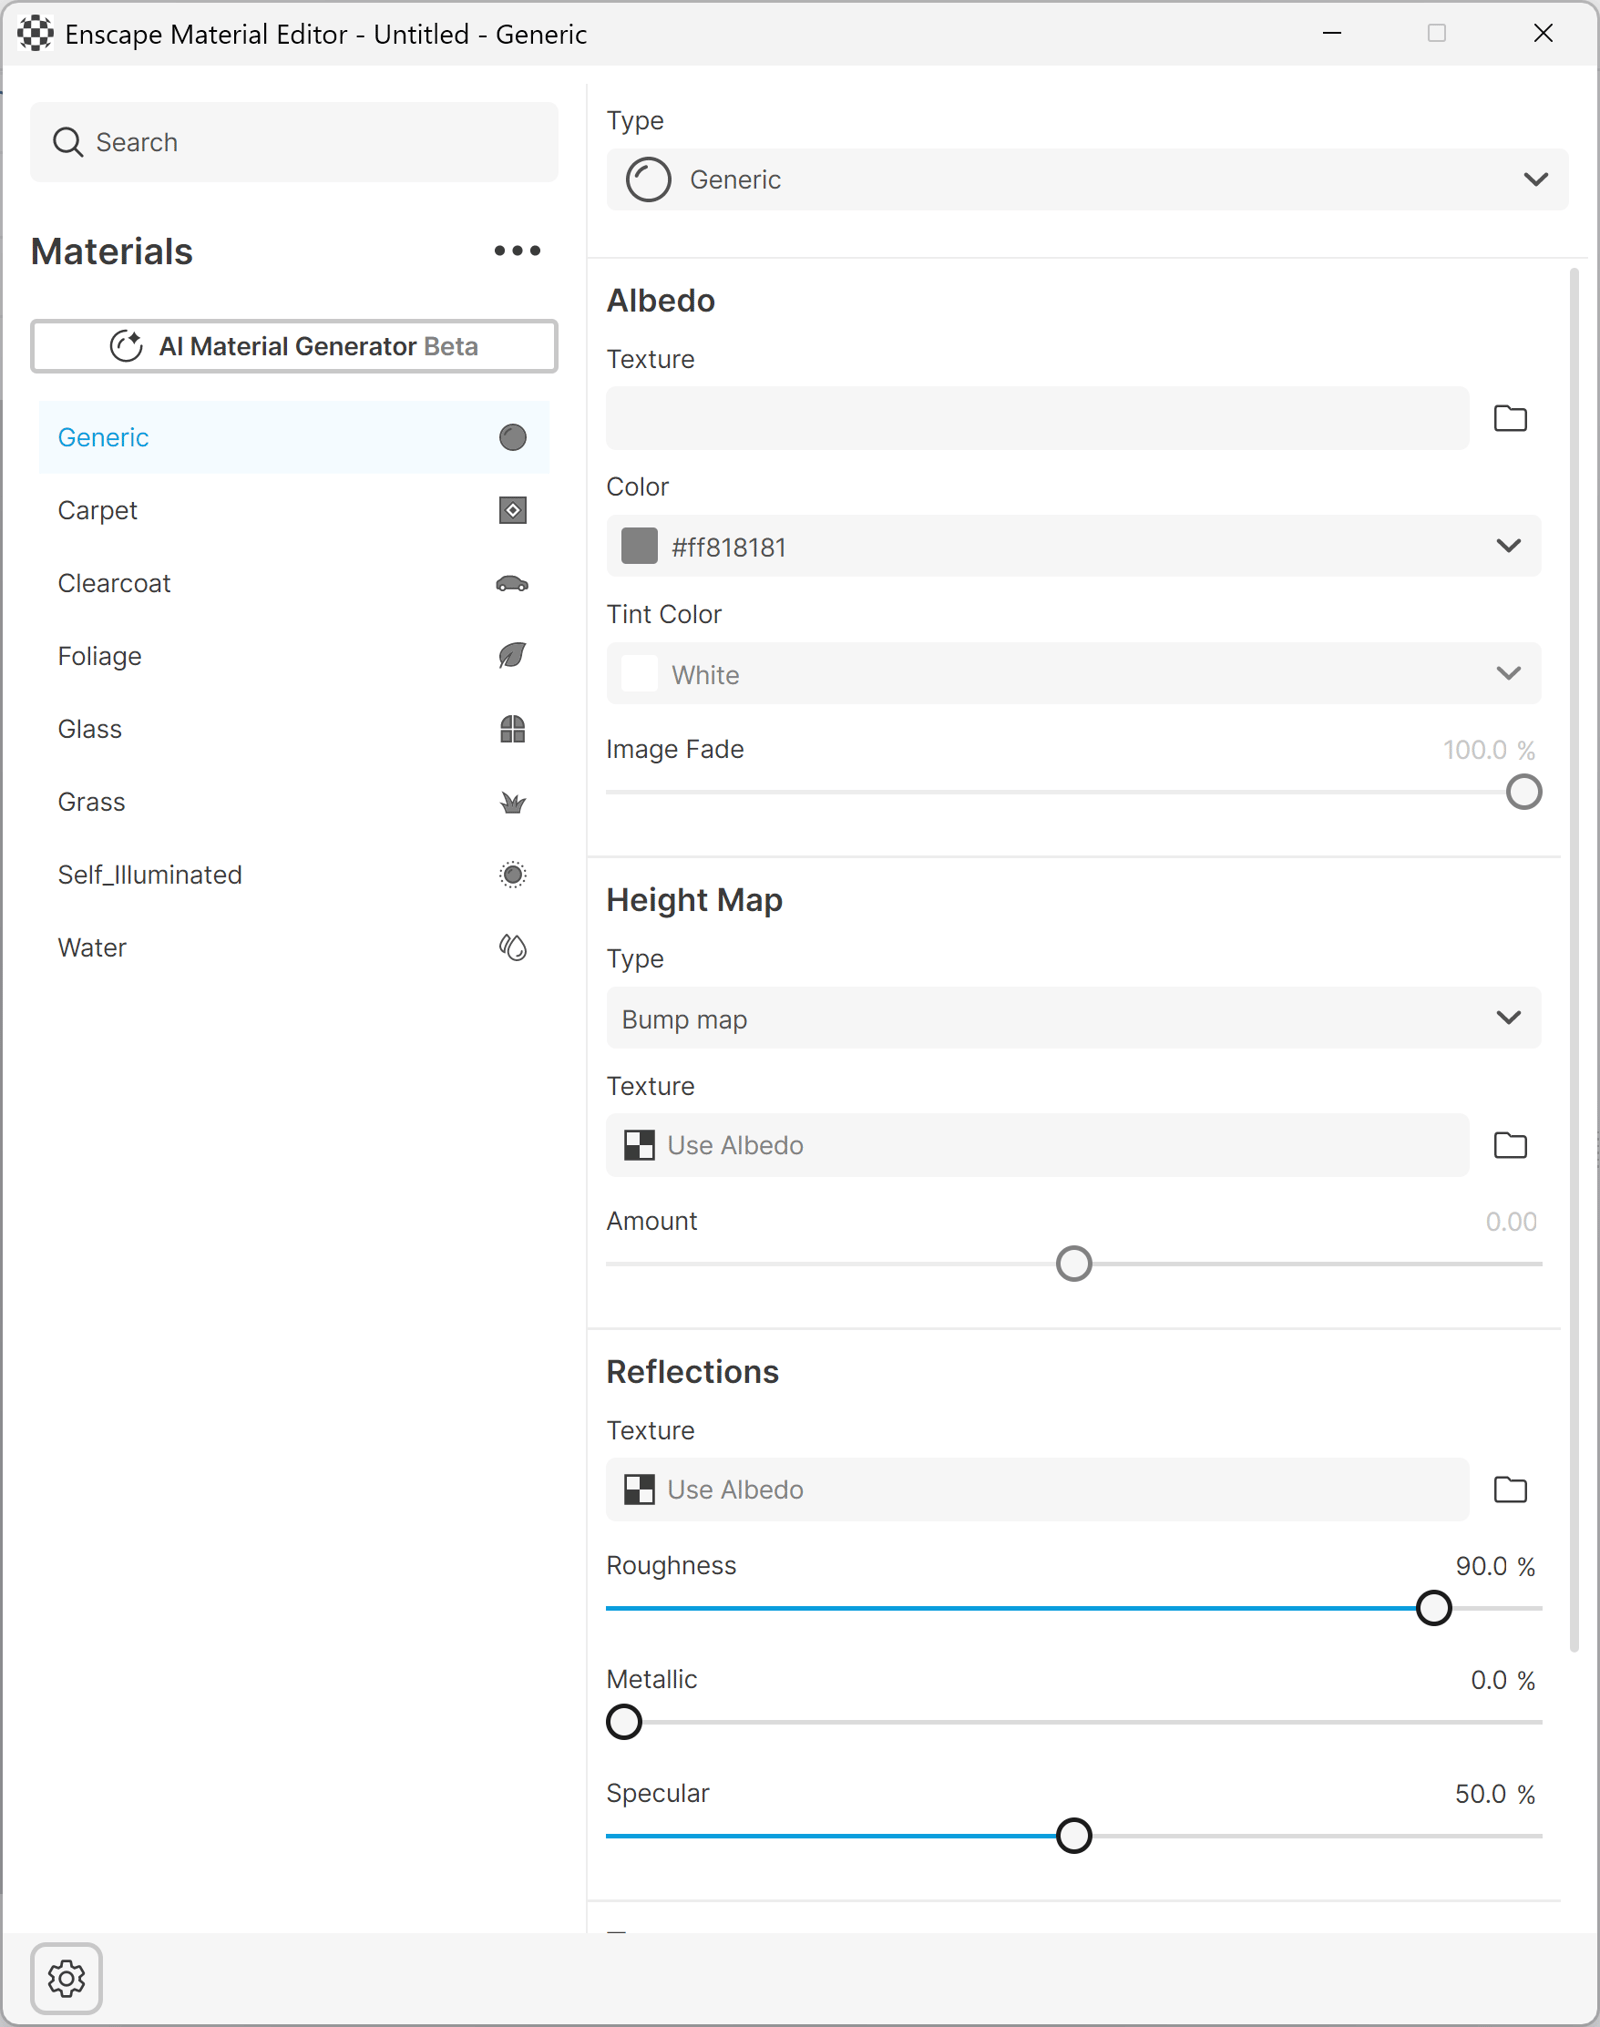
The Generic material type is suited for any materials that aren’t supposed to be rendered as grass blades or a water surface, or that don’t have translucency applied.
It gives you control over the color, reflectivity, transparency, and surface height of your material.
This is the default material type, and it is suitable for most materials.
Generic Material Type
Albedo
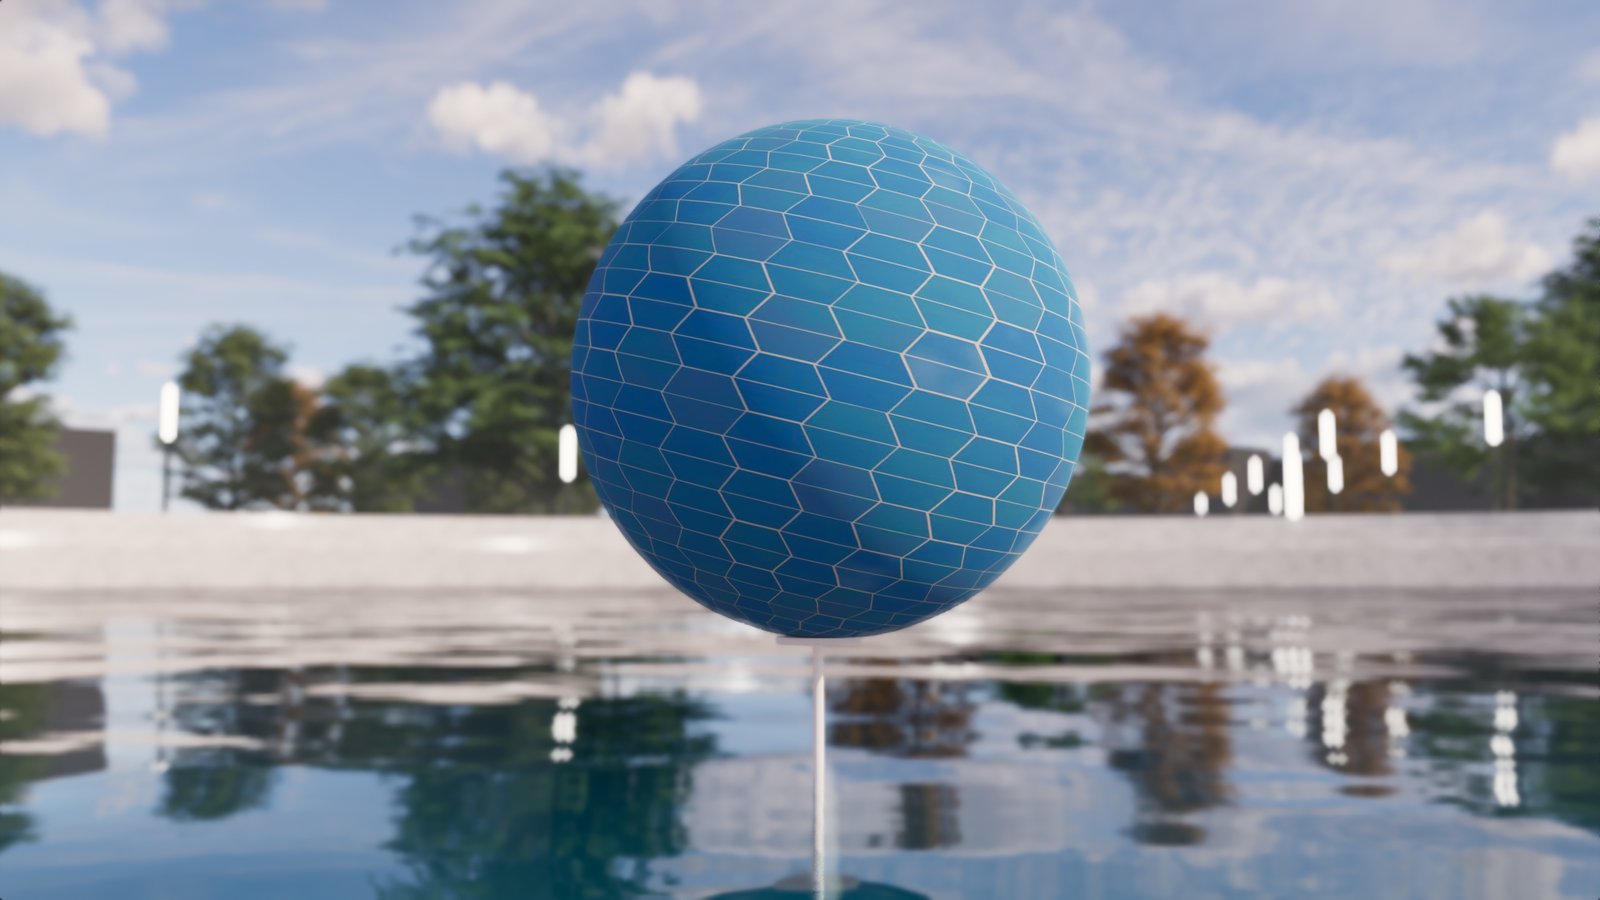
The Albedo area controls the basic color of the surface you’re designing. You can either select a color or choose a texture by clicking the blue folder symbol. If choosing a texture, you’ll also receive a Tint Color menu, allowing you to easily change the color of the used texture. Control the amount of influence on your texture using the Image Fade slider. Note that Enscape uses any UV information (texture placement) that it gets from SketchUp.
Albedo Texture on Sphere
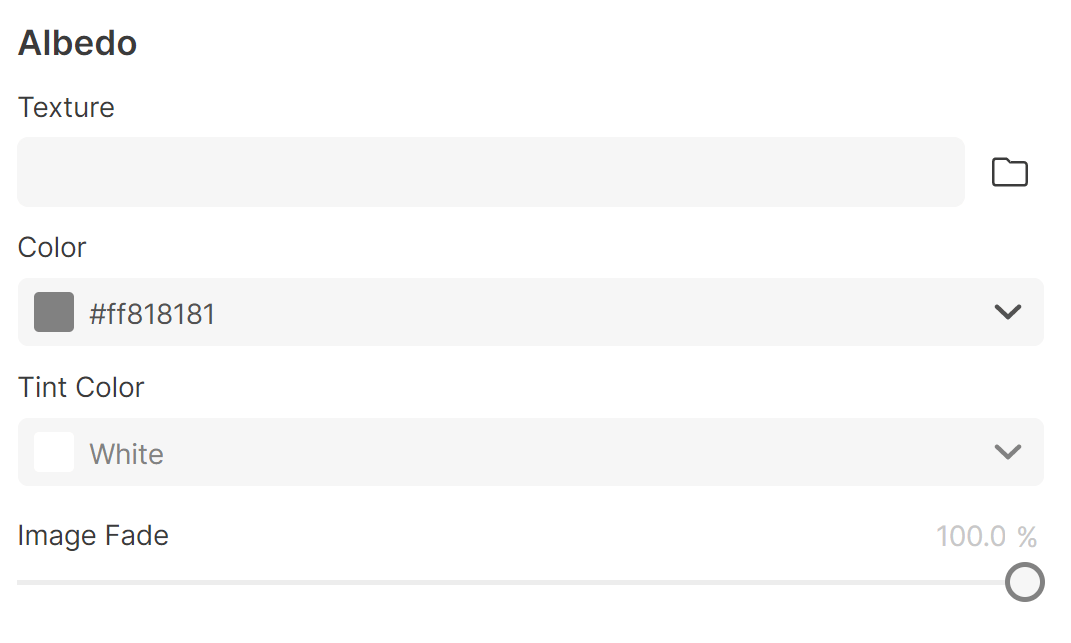
The Albedo area with no texture applied.
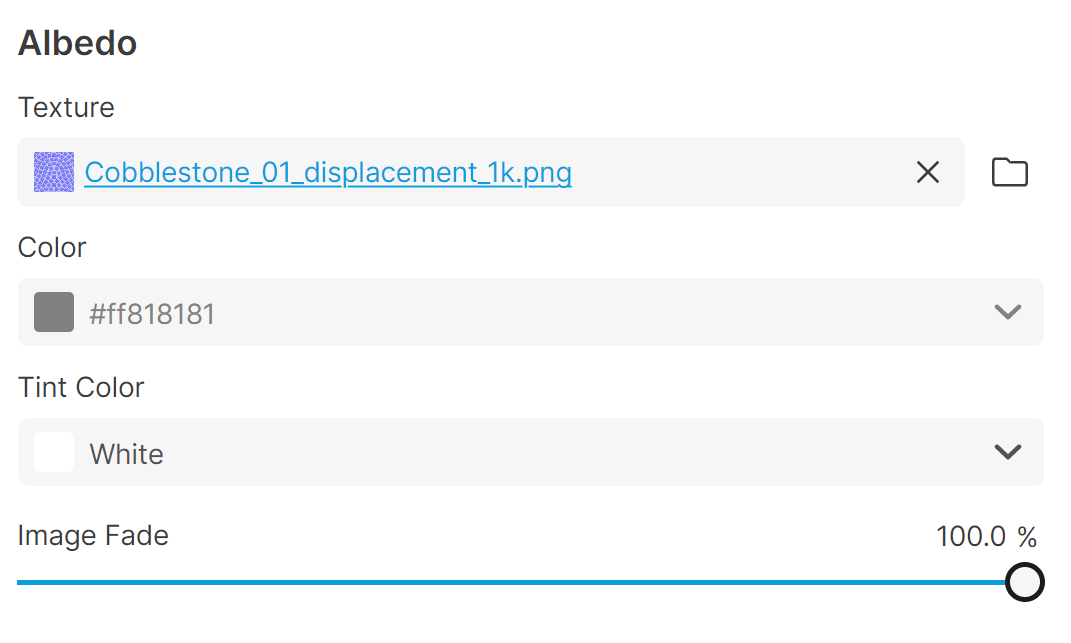
Albedo area with texture applied.
Video Textures
Add a video texture to the Albedo texture slot. The following formats are currently supported: .mp4, .mpg, .m2v, .3gp, .avi, .mov, and .mkv.
When selecting a video file as the Albedo texture, transparency-related material settings are limited to Cutout-Transparency only, which lets you apply a mask texture. Adjusting or inverting the video texture's brightness in the Enscape Texture Editor is not available in this scenario.
matlib_mac_20_4-0
mp4
46 MB
Transparency
The Transparency controls the opacity of your model by adjusting how much light passes through the surface, allowing you to see what’s behind it.
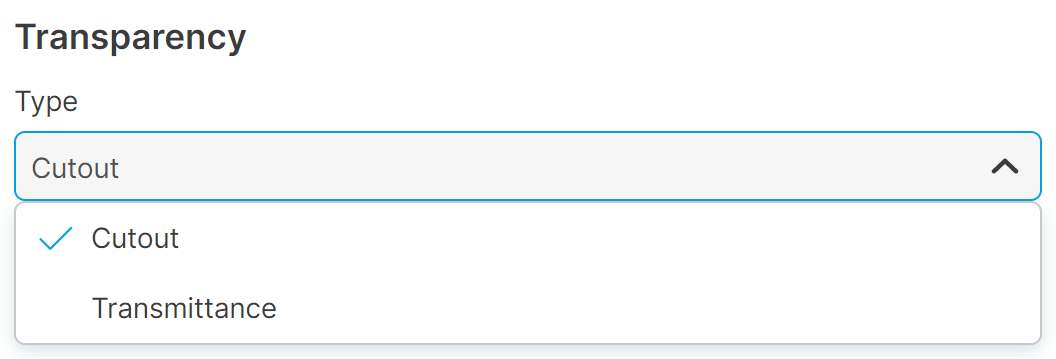
Transparency Options
Texture – The Texture parameter controls transparency using a 2D image (a map). It refers to the Opacity value, so a black area (which equals zero) results in a perfectly transparent portion of the surface, while a white area appears perfectly opaque. Grey areas appear partially transparent, such as glass. If you load a colored image, Enscape automatically converts it to black and white.
Opacity – The Opacity slider controls the overall transparency of the surface. If you’re using it combined with a transparency map, it defines the maximum opacity, so white areas on said map appear as opaque as you’ve set using this slider.
Tint Color – The Tint Color selects a color to be added to any semi-transparent areas of your material, resembling a colored glass.
Refractive Index – The Refractive Index slider determines by which factor light is bent when traveling through a transparent surface. For more information about the Refractive index of different objects, see the Refractive Index Wikipedia article.
Frosted Glass – Blurs what’s visible through the transparent surface. Modify the blur amount from the Roughness value in the Reflections area.
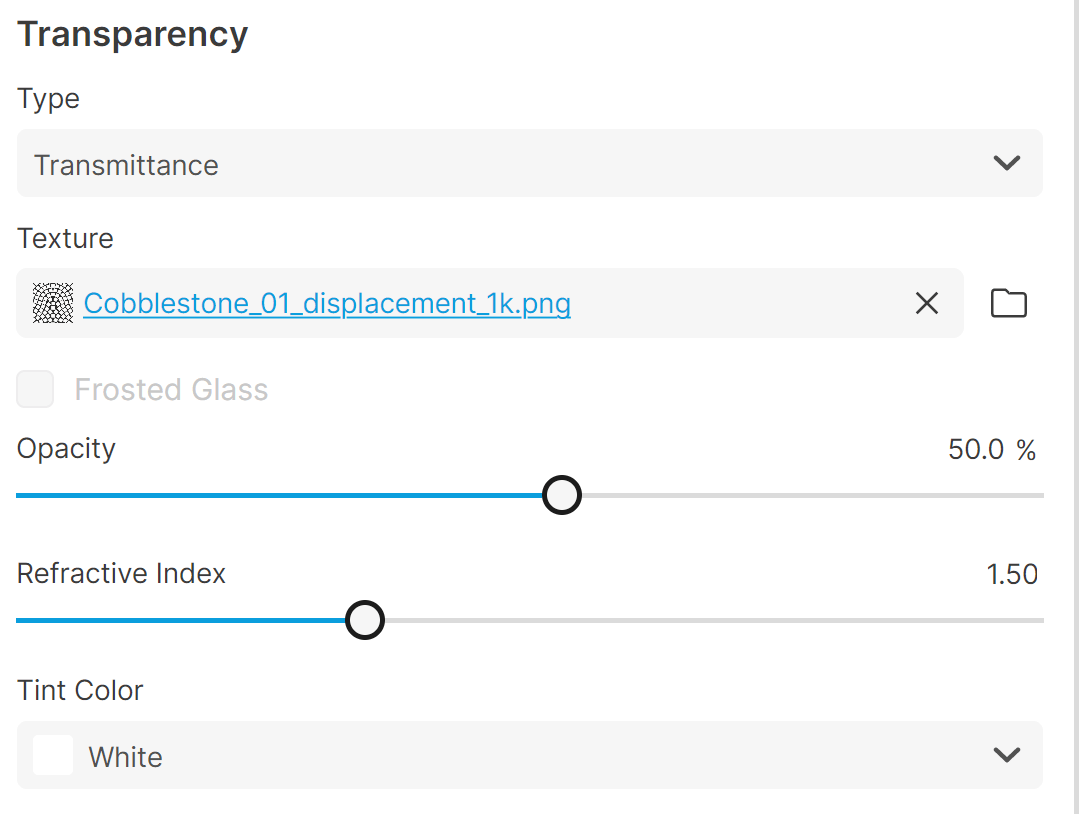
Transparency Transmittance Parameters
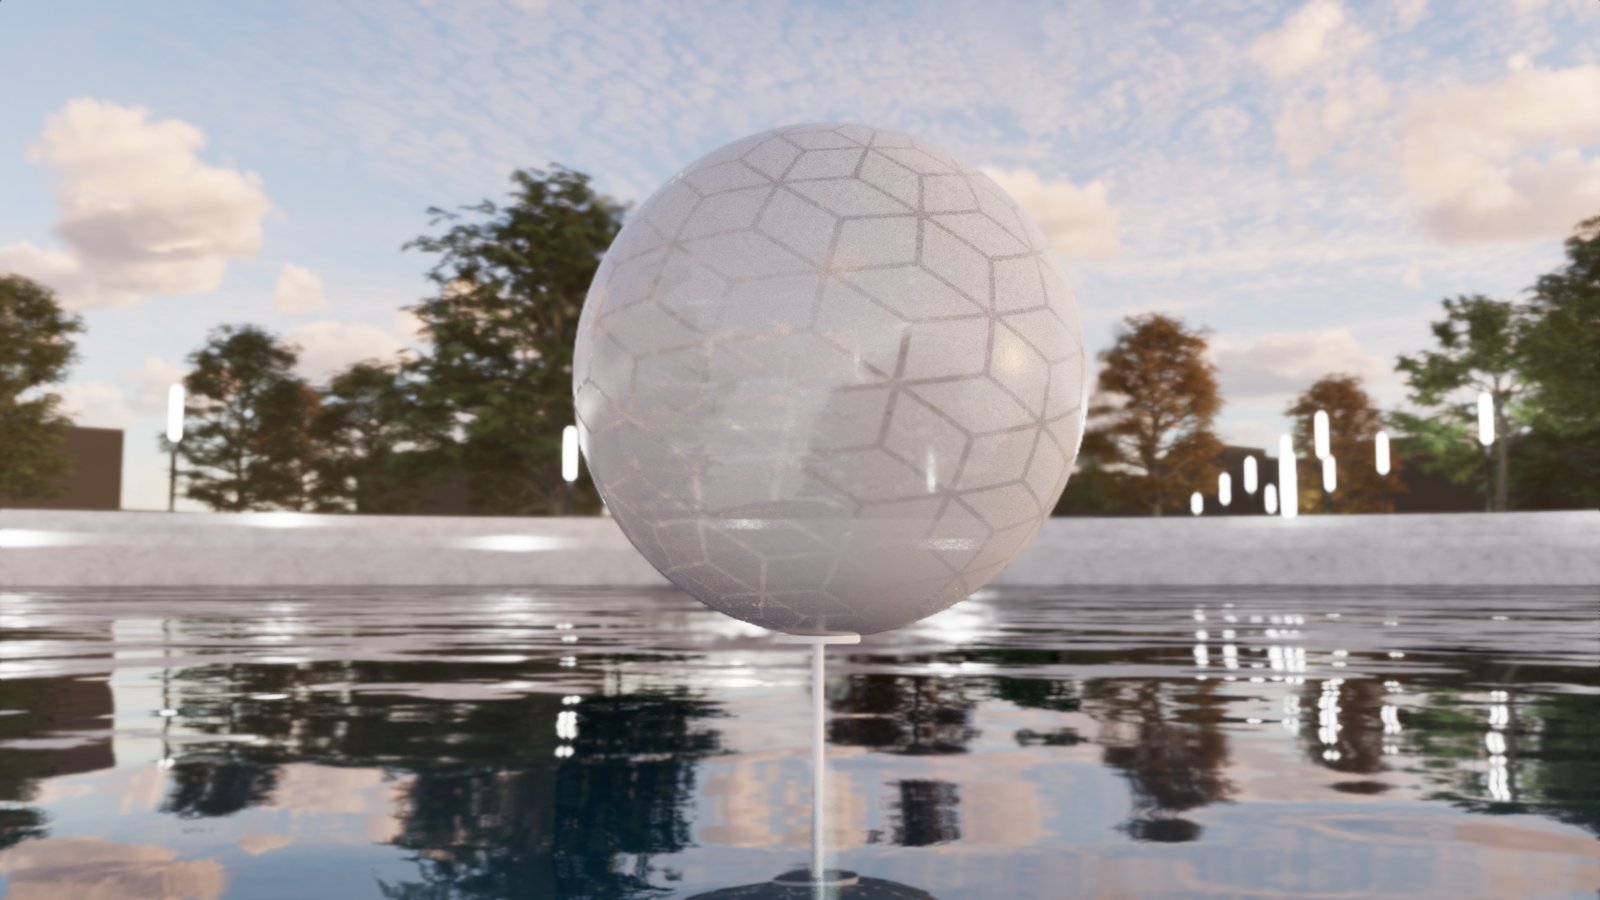
Transition from a transparent sphere to one with transparency texture applied
Height Maps
The Height option in the Enscape Material Editor enables Bump, Normal, or Displacement maps to simulate bumps, wrinkles, and dents, and their lighting.
Bump maps are any black and white 2D images. Enscape interprets a surface with a Bump map as protruding (bright parts of the texture) or recessed (dark parts of the texture).
Applying a Bump map
Normal maps are a type of Bump map that requires an image with RGB values. These RGB components correspond to the X, Y, and Z coordinates.
Applying a Normal map
Displacement maps are an enhancement of the bump mapping or normal mapping techniques applied to textures. An Occlusion Map is the type of image you use for Displacement maps. The actual technique employed in Enscape is called quadtree parallax displacement mapping for optimum performance.
It’s worth noting that Displacement maps are incompatible with transparent materials so the entire Transparency section becomes unavailable where a displacement map has been applied (including mask textures). Furthermore, the brightness of Displacement maps cannot be further adjusted or inverted when editing the texture inside the Enscape Material Editor itself.
Height Maps Usage
Utilize height maps to enhance realism in images. Implement height maps to achieve intricate surface detail and noise without increasing geometry. Apply this feature to add noise to surfaces such as concrete, wood, tile, or full reliefs. This approach significantly improves the perception of realism.
Acquire textures available online, either as paid or free options, which generally include a Normal map, Bump/Height map, and Occlusion map, in addition to the basic Color texture.
Note the implementation of normal-based self-shadowing on material surfaces. This feature enhances the depth perception of materials, especially when using displacement maps. Enable this feature for sunlight when the Rendering Quality level is set to "High." For "Ultra" Rendering Quality, ensure artificial lights also cast normal-based shadows.
Applying a Displacement map
Height Map Setup
Select an image file using the blue folder button. Select any image regardless of the color. Enscape automatically treats colored images as black and white.
Normal Maps must have RGB values.
Switch between using a Bump, Normal, and Displacement map via the Type dropdown option.
Select the Intensity (Bump and Displacement) or Amount (Normal) of the effect, using the respective slider. Negative bump map values invert the effect, causing dark areas to stick out and bright areas to be pushed in.
Displacement maps only adjust the amount in a single direction, either negative or positive, relative to the minimum height value.
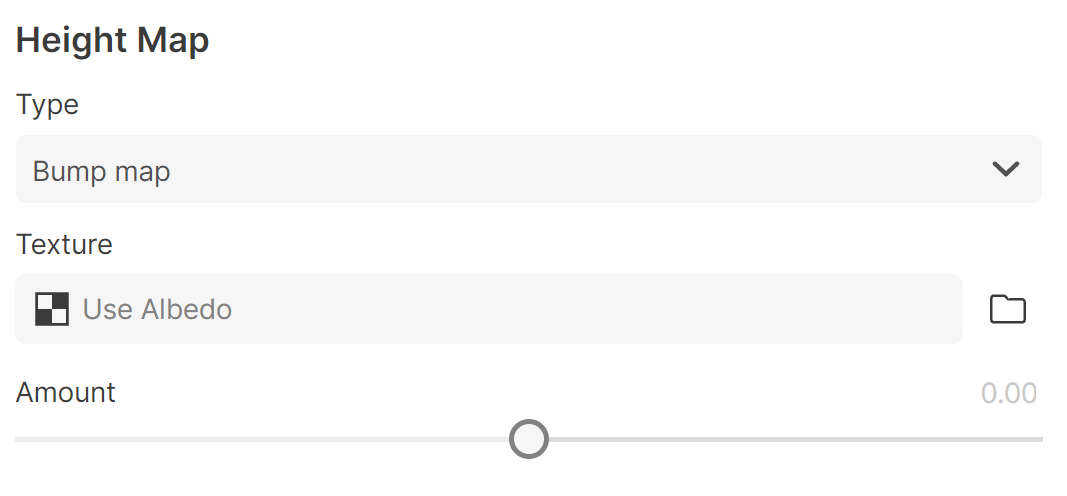
Bump Height Map Parameters
Reflections
Texture – Use 2D Images as a Roughness Map to control the roughness value per location on your surface.
Roughness – Controls the roughness of the material. The smoother the material (Roughness -> 0%), the more strongly it reflects its environment. The rougher the material, the more it scatters incoming light.
Metallic – Controls the reflection model of the material from dielectric (0.0%) to metallic (100%).
Specular – This value controls the amount by which light is reflected when hitting a non-metallic surface at a steep angle, as opposed to light that’s hitting it from the side.
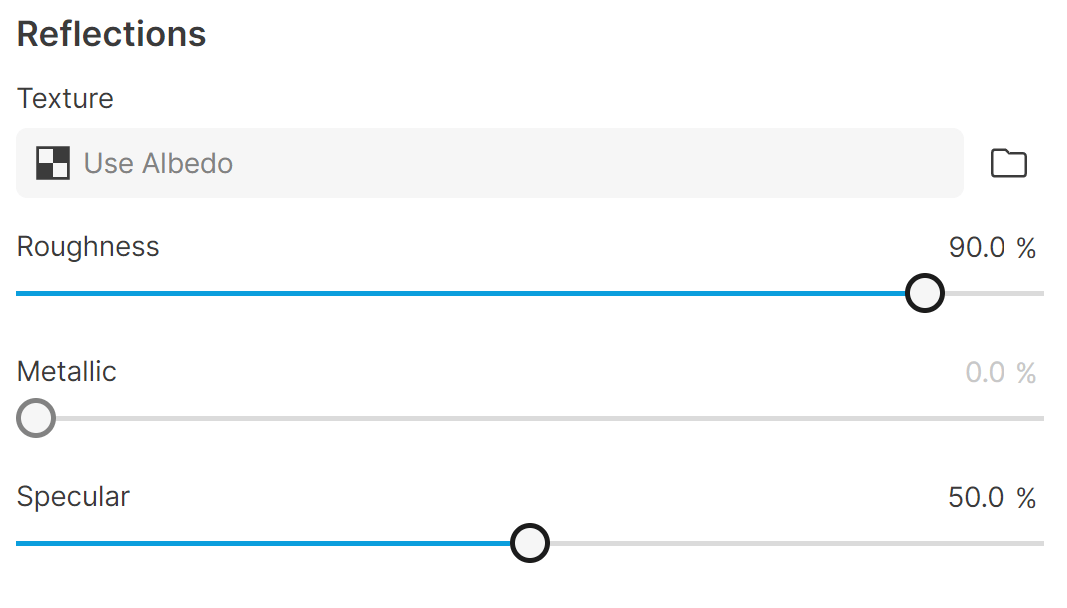
Reflections Parameters
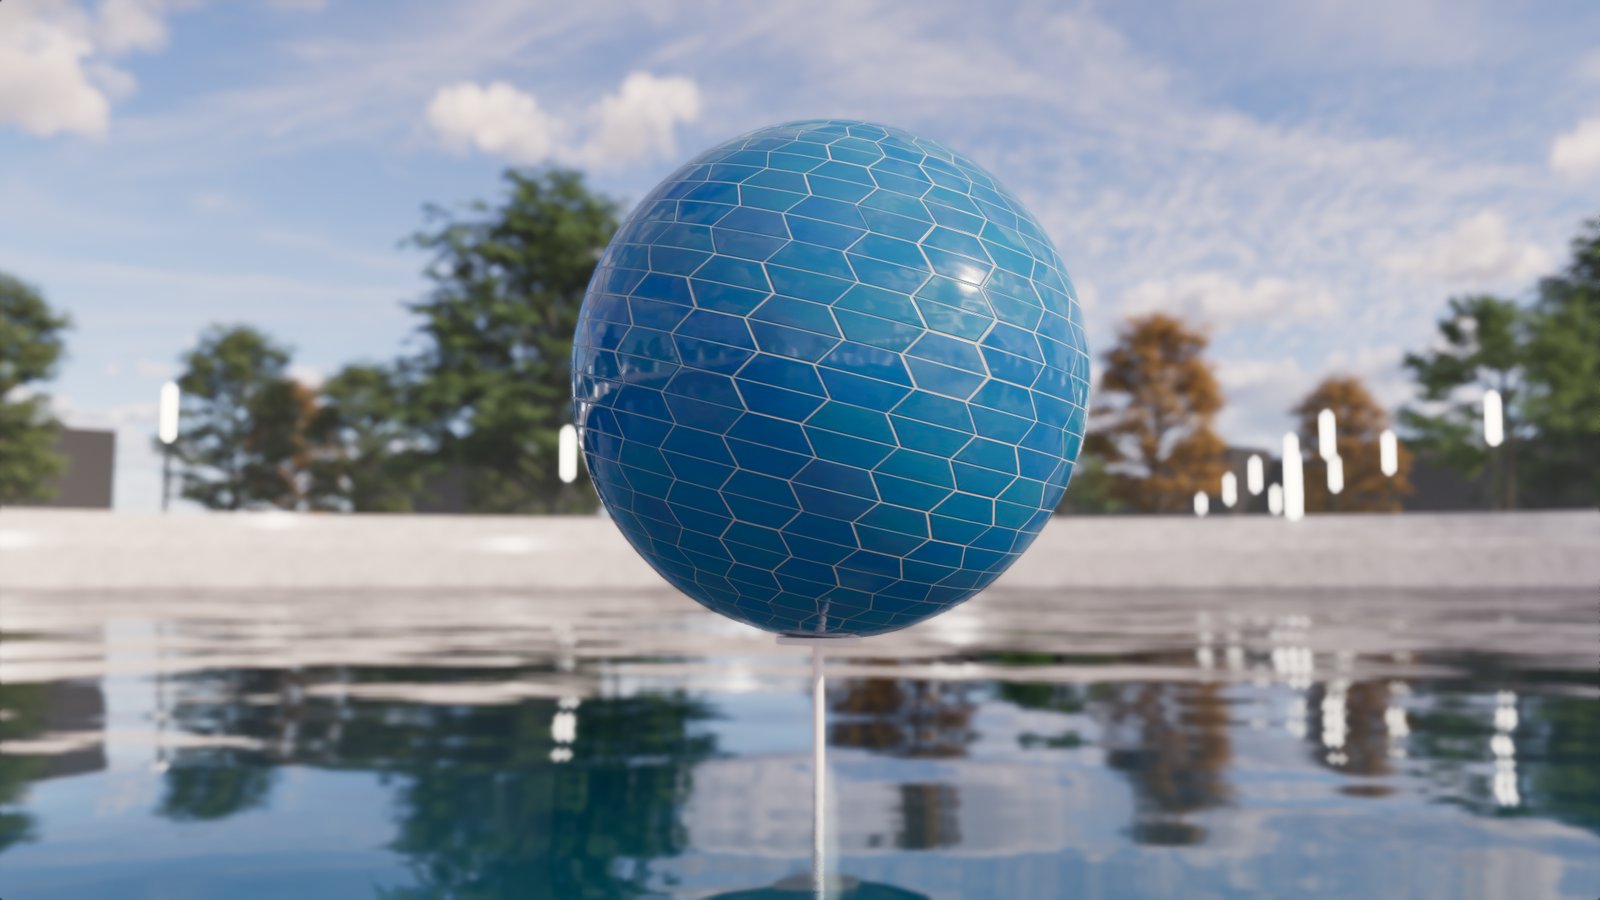
Sphere with texture applied as a Roughness Map
Carpet
The Carpet material acts in the same way as the Grass Material, in that it can be applied to a horizontal surface only, and the Height and Height Variation are controlled in the Enscape Material Editor.
The Height and Height Variation Settings title is amended with Carpet when Carpet is selected as the Type in the Material Editor.
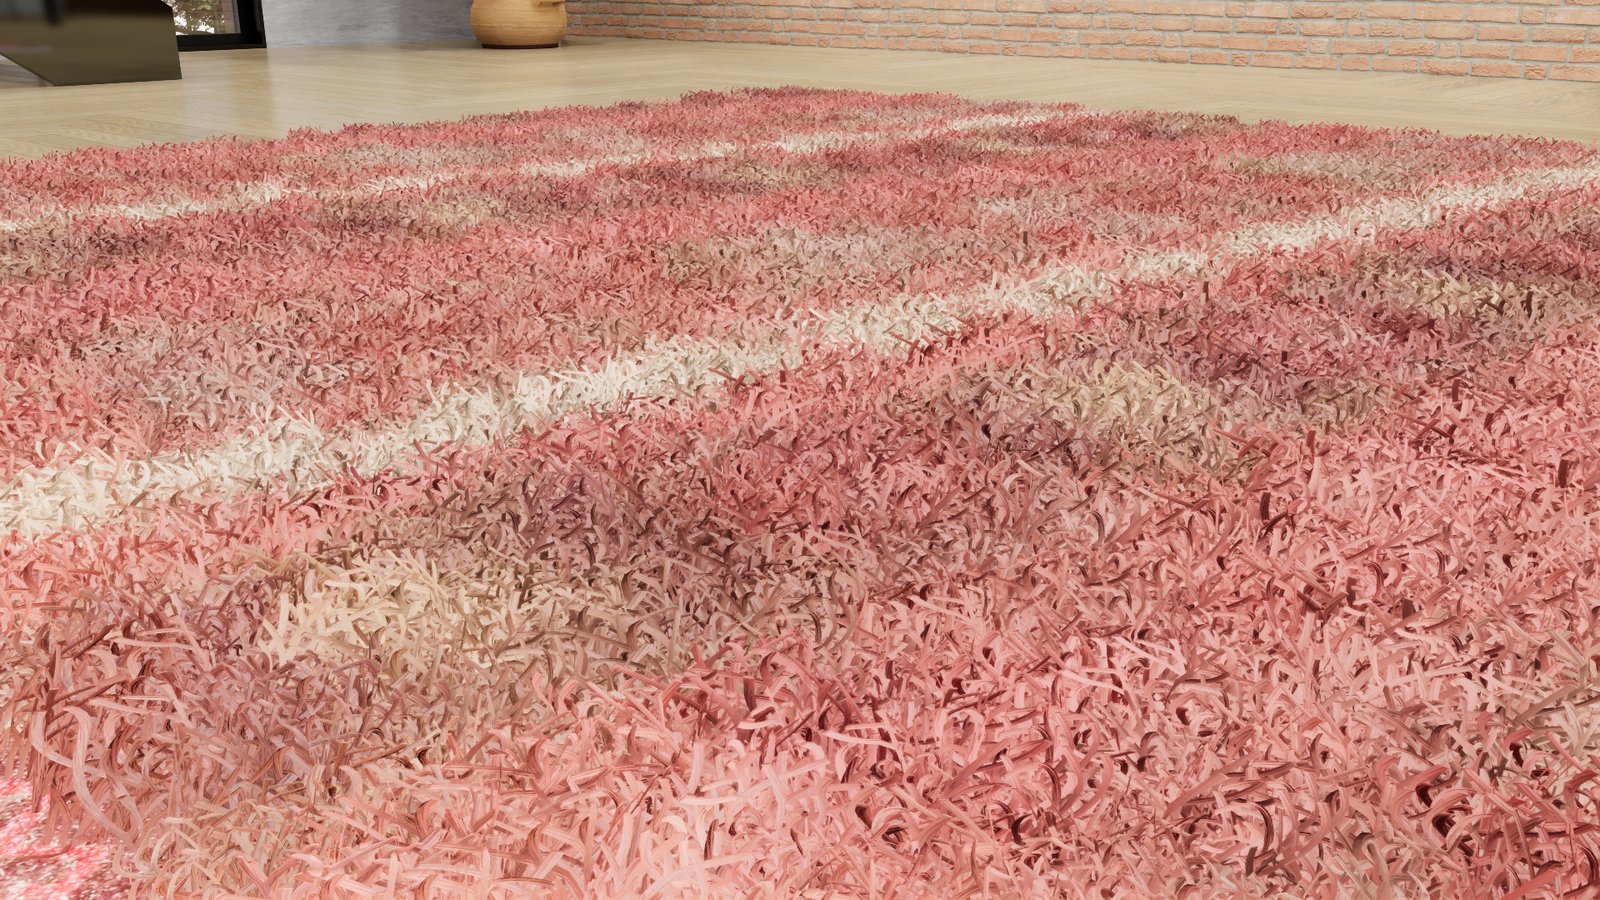
Carpet material applied in the Albedo slot.
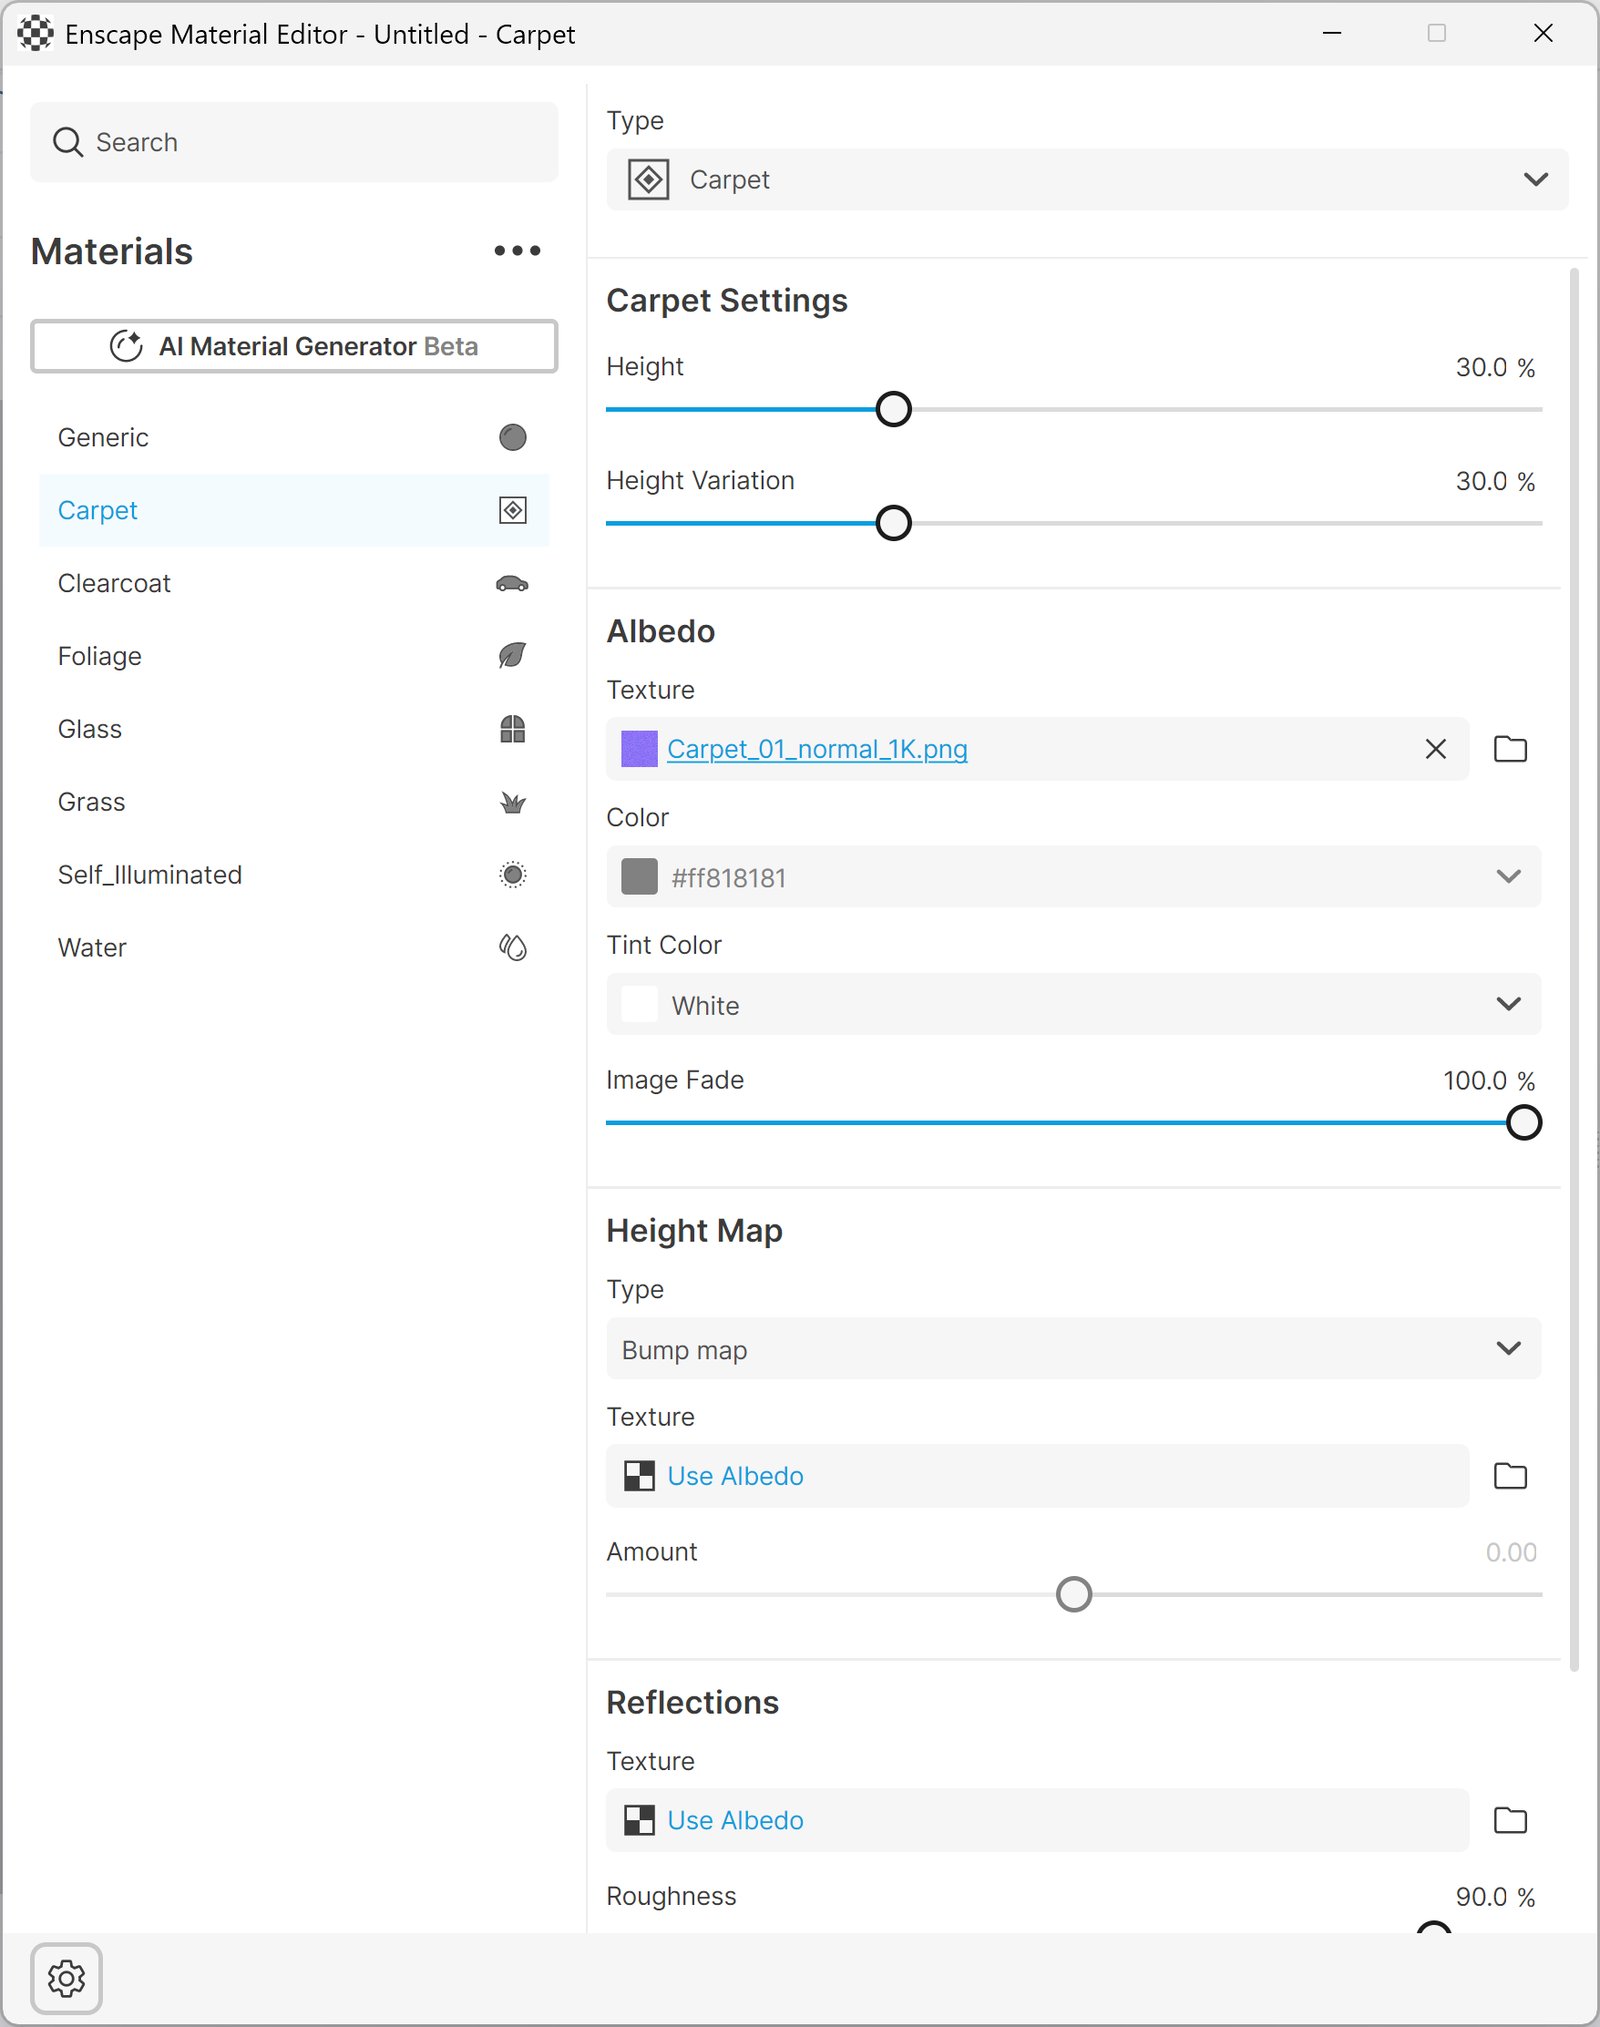
Carpet Settings
Clearcoat
The Clearcoat is a transparent resin material that imitates car paint. Its color is defined via the Albedo option in the Material Editor window.
This material is shiny and reflective by default. Although you do have the option to dial back the reflective properties, as well as add a bump map.
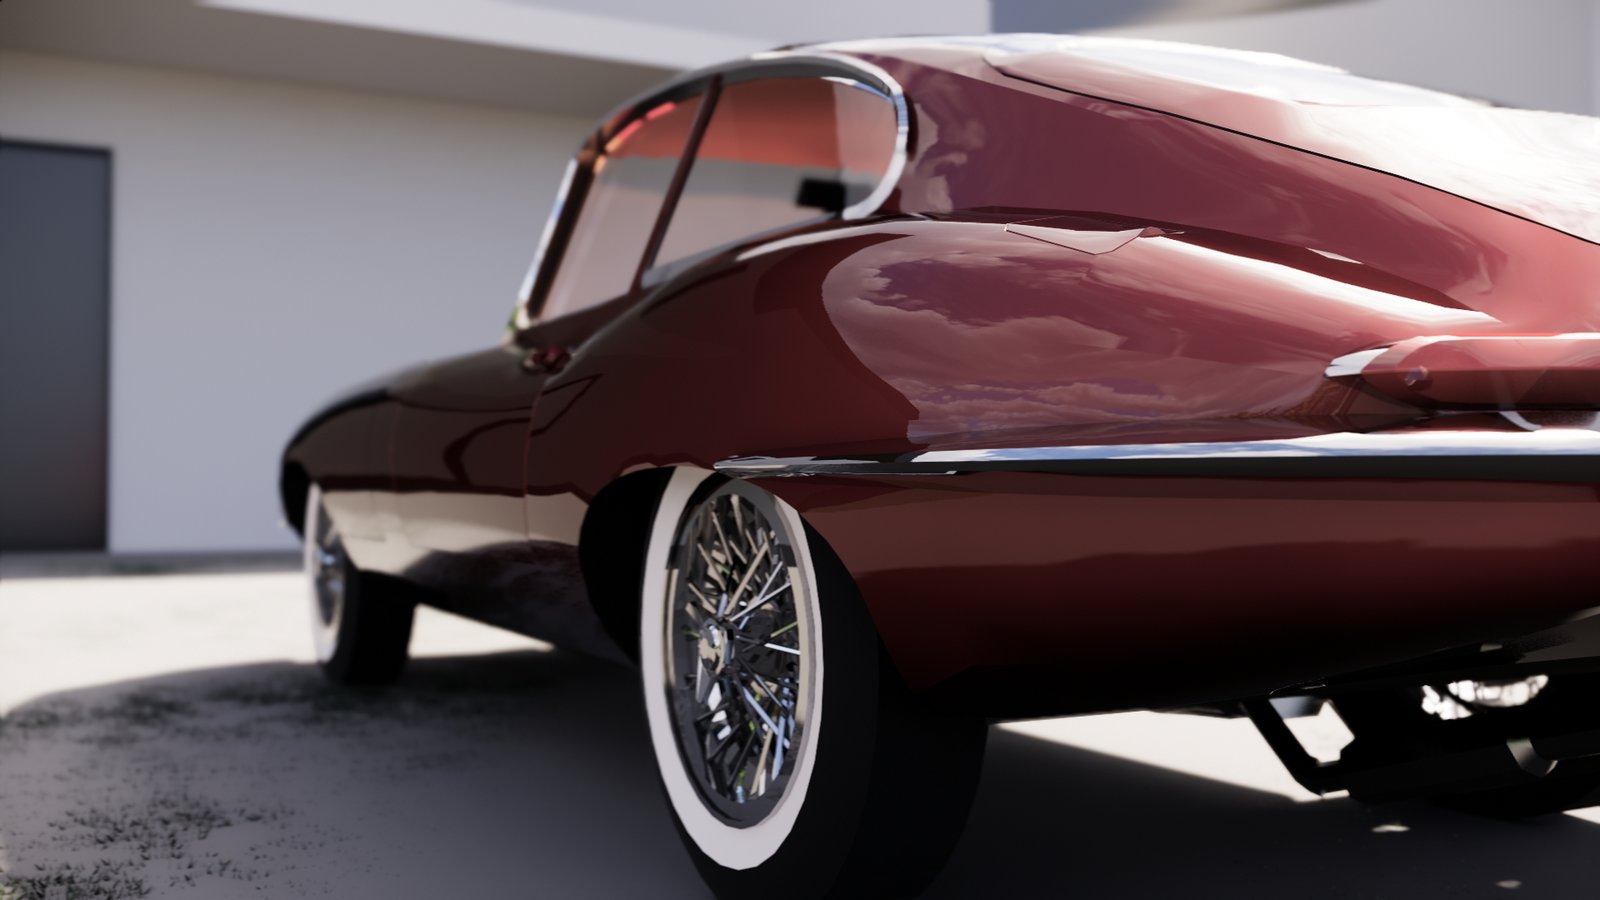
Clearcoat material
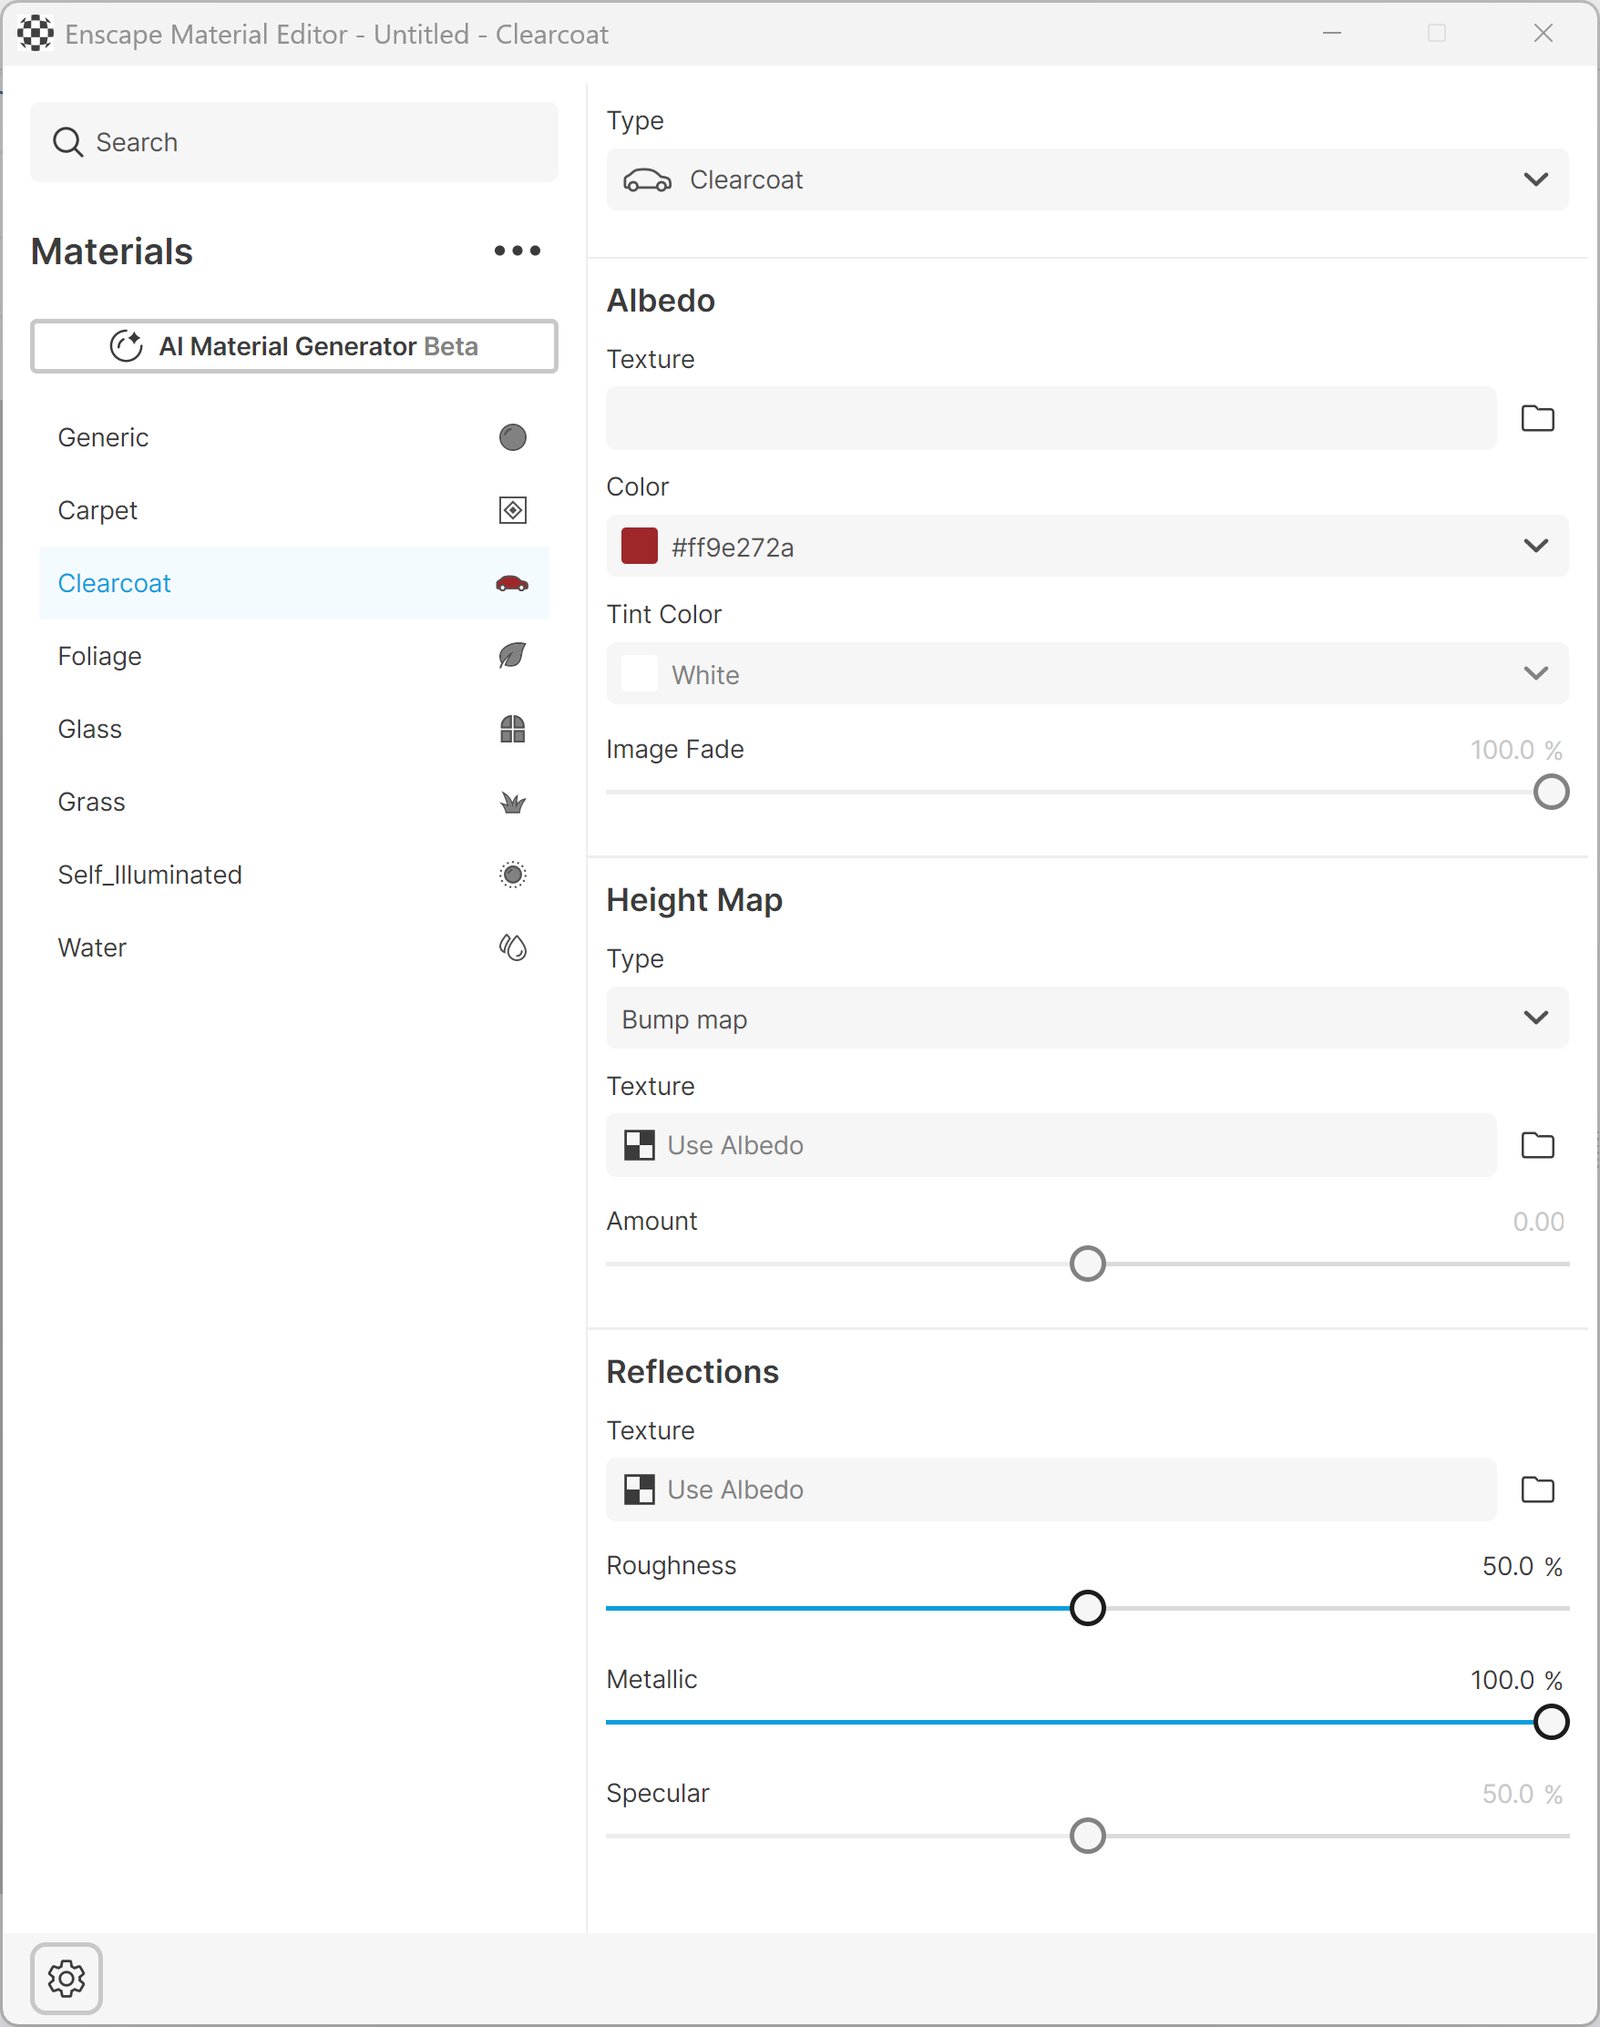
Clearcoat Settings
Foliage
The Foliage material has the same properties as the Generic material.
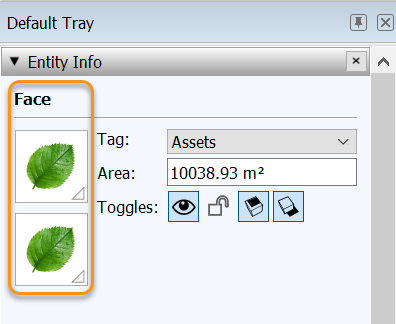
The difference is only visible on single-face objects. Please make sure the object you apply this material to doesn’t have any depth, and also that the material is applied to both sides of the face.
This enables Translucency for objects with the Foliage material applied. If the Sun is located behind the surface, it is illuminated on both sides. This is common in nature, for example, with leaves, which is why this is the most common use case for this type of material.
Sketchup Specific Default Tray
Default Tray Entity Info
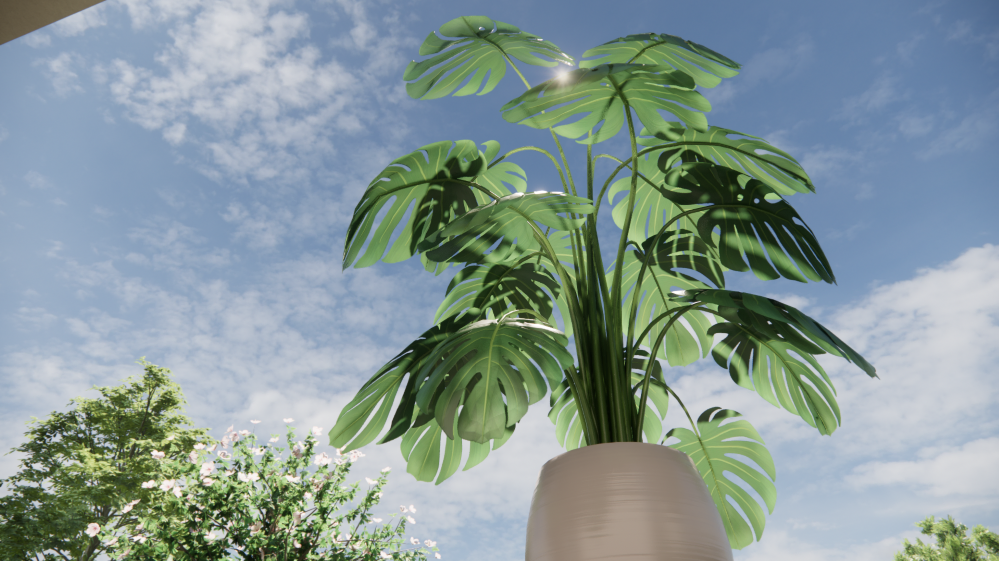
Foliage material leaves
Glass
Selecting the Glass material enables the material’s reflective properties. The Glass material simulates the appearance of real glass surfaces.
There is an option to add a Base Texture to the material. For example, if you want to create stained glass, add a texture and bump/normal map, adjust the opacity, and control reflections. Enable the Frosted Glass option to blur the background based on the material roughness.
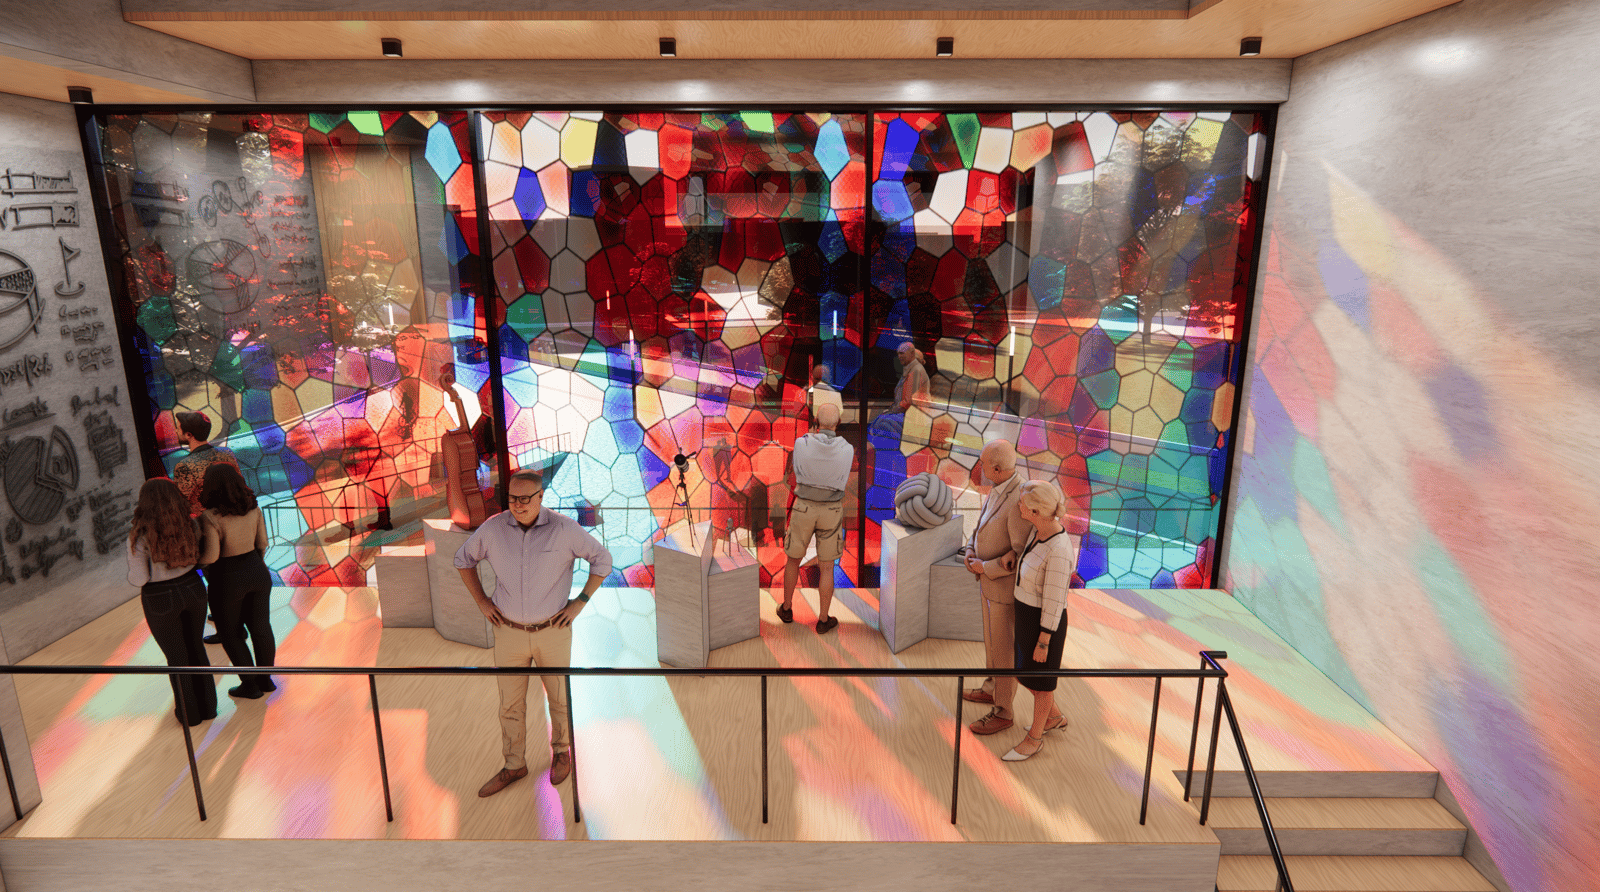
Glass Material with Base Texture
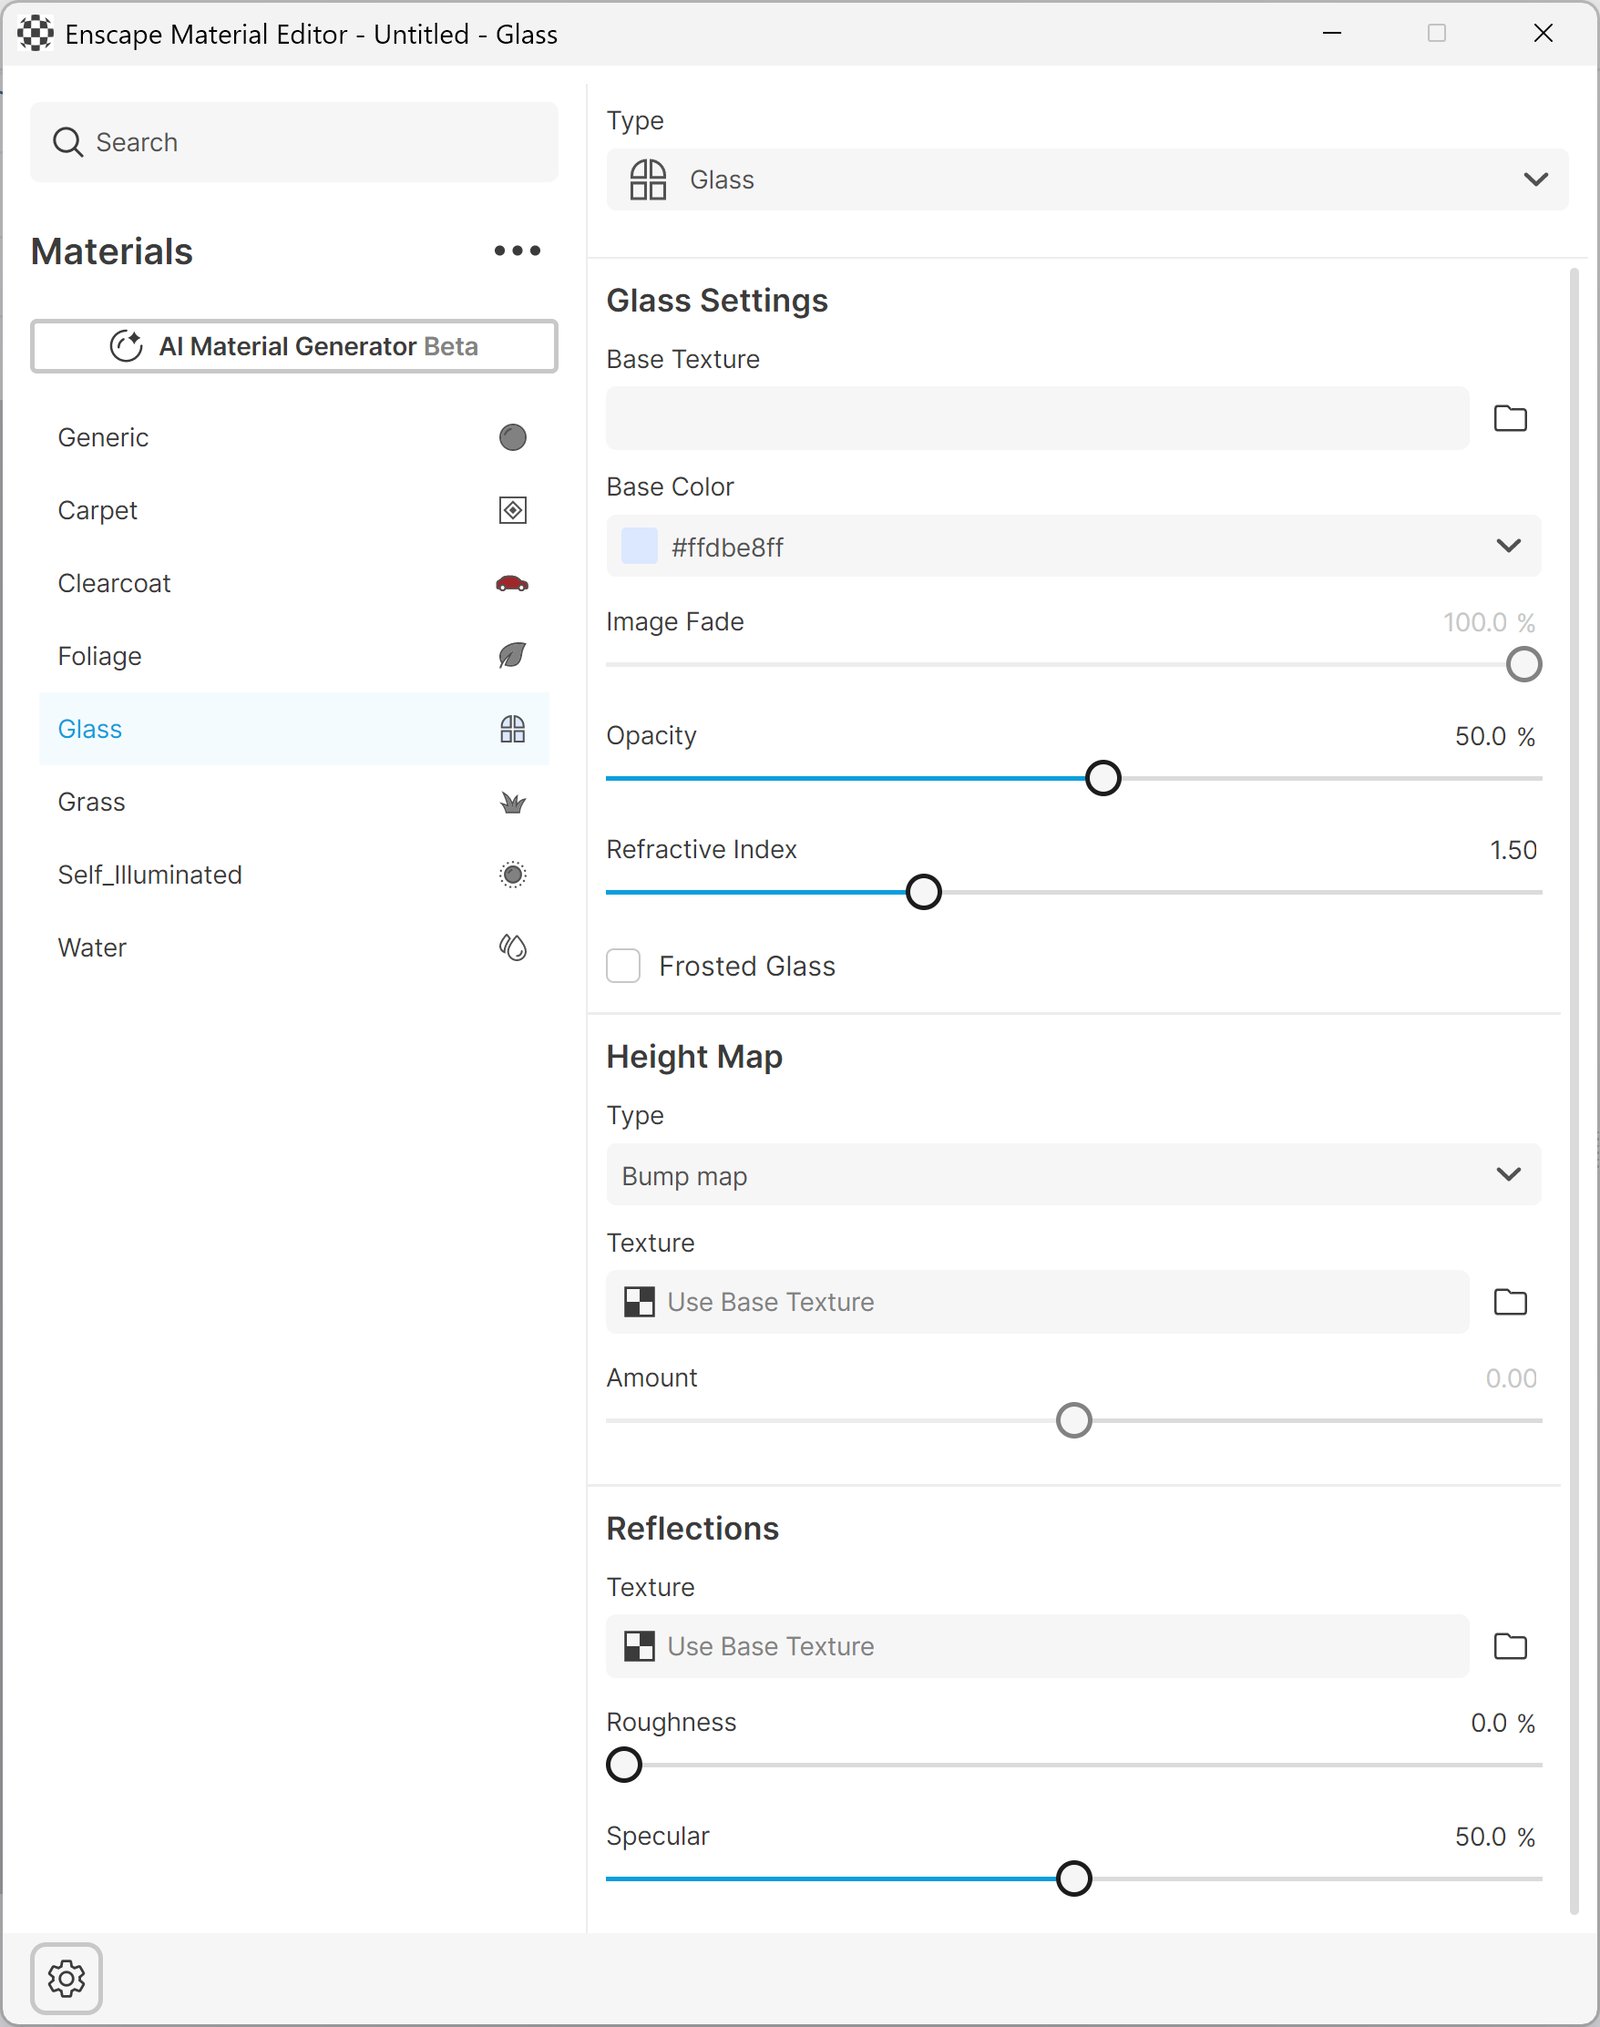
Glass Settings
Grass
The Grass type material, as seen in the material editor, looks almost the same as the Generic type. While it lacks the Transparency options, it features a Grass Settings area instead. Apart from the Albedo area, used to add color to the grass (also using a texture), the Height and Reflections are useful if you plan to toggle the Grass Rendering setting on and off (this can be found in the Enscape General Settings > Performance > Grass/Carpet Rendering option).
Height – Controls the grass length.
Grass Lenght Example
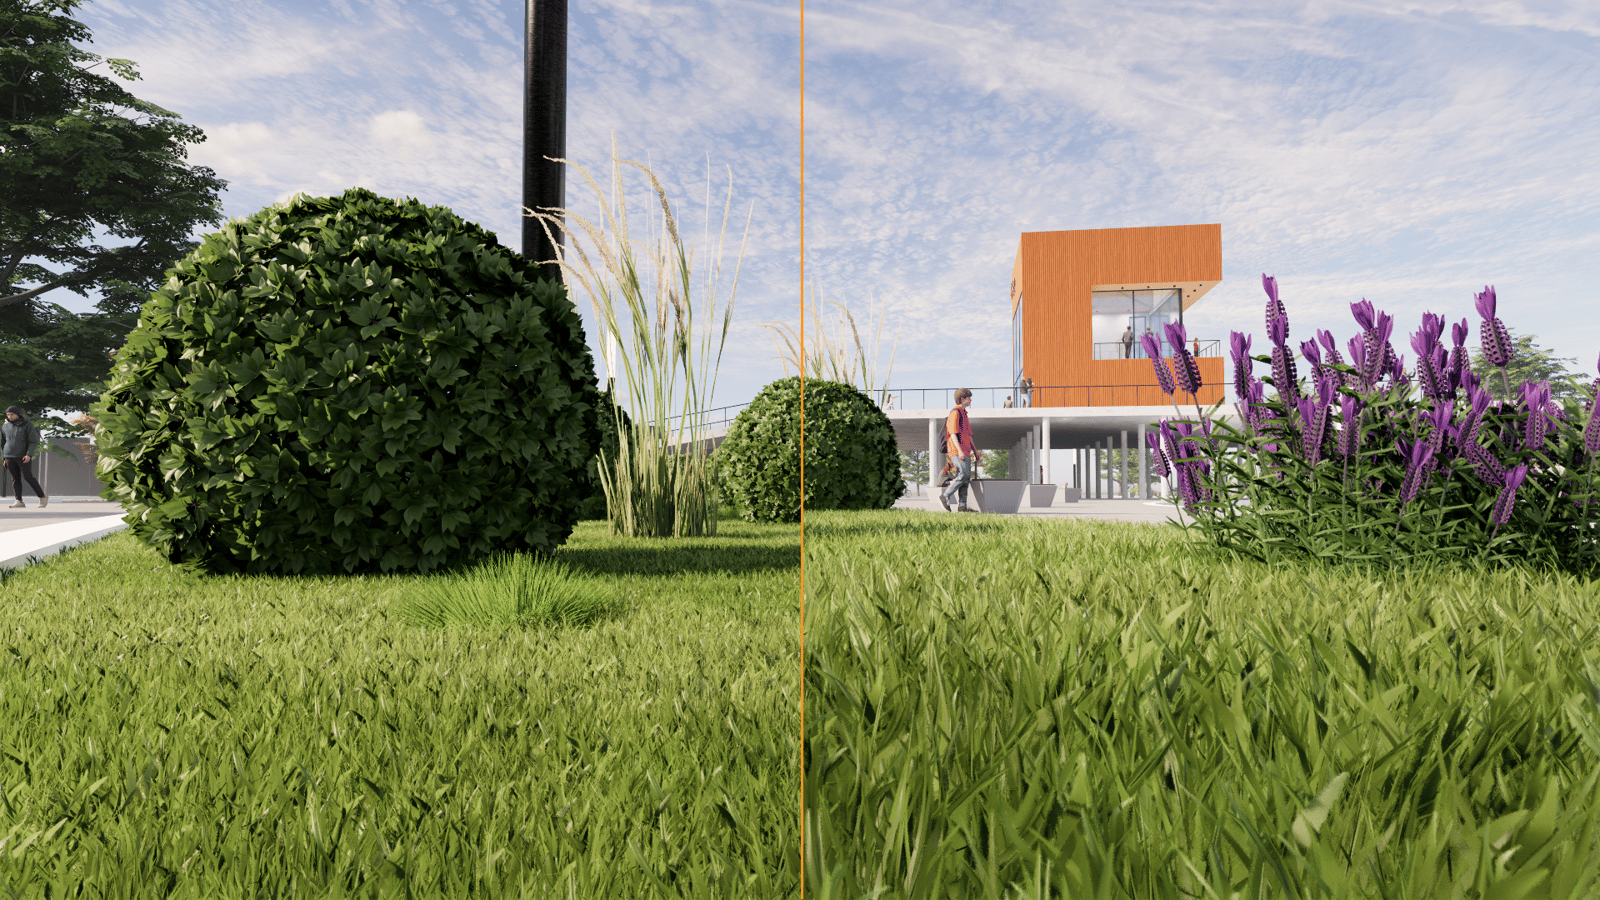
Height Variation – Adds a random factor to the grass height. This makes for a wilder-looking, ragged grass.
Height Variation Example
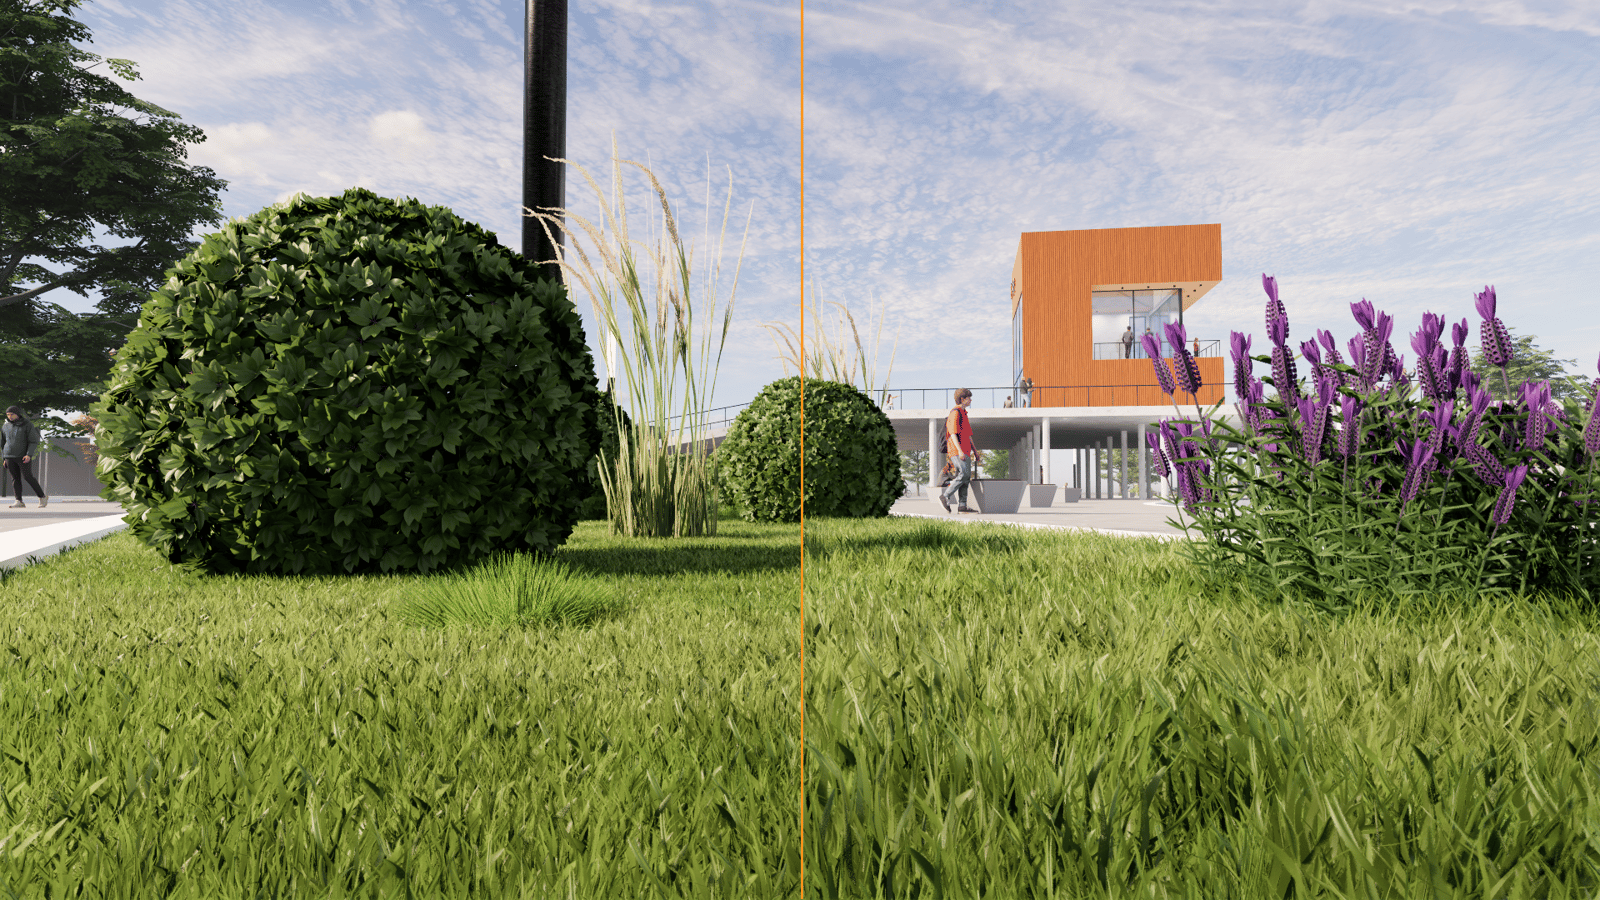
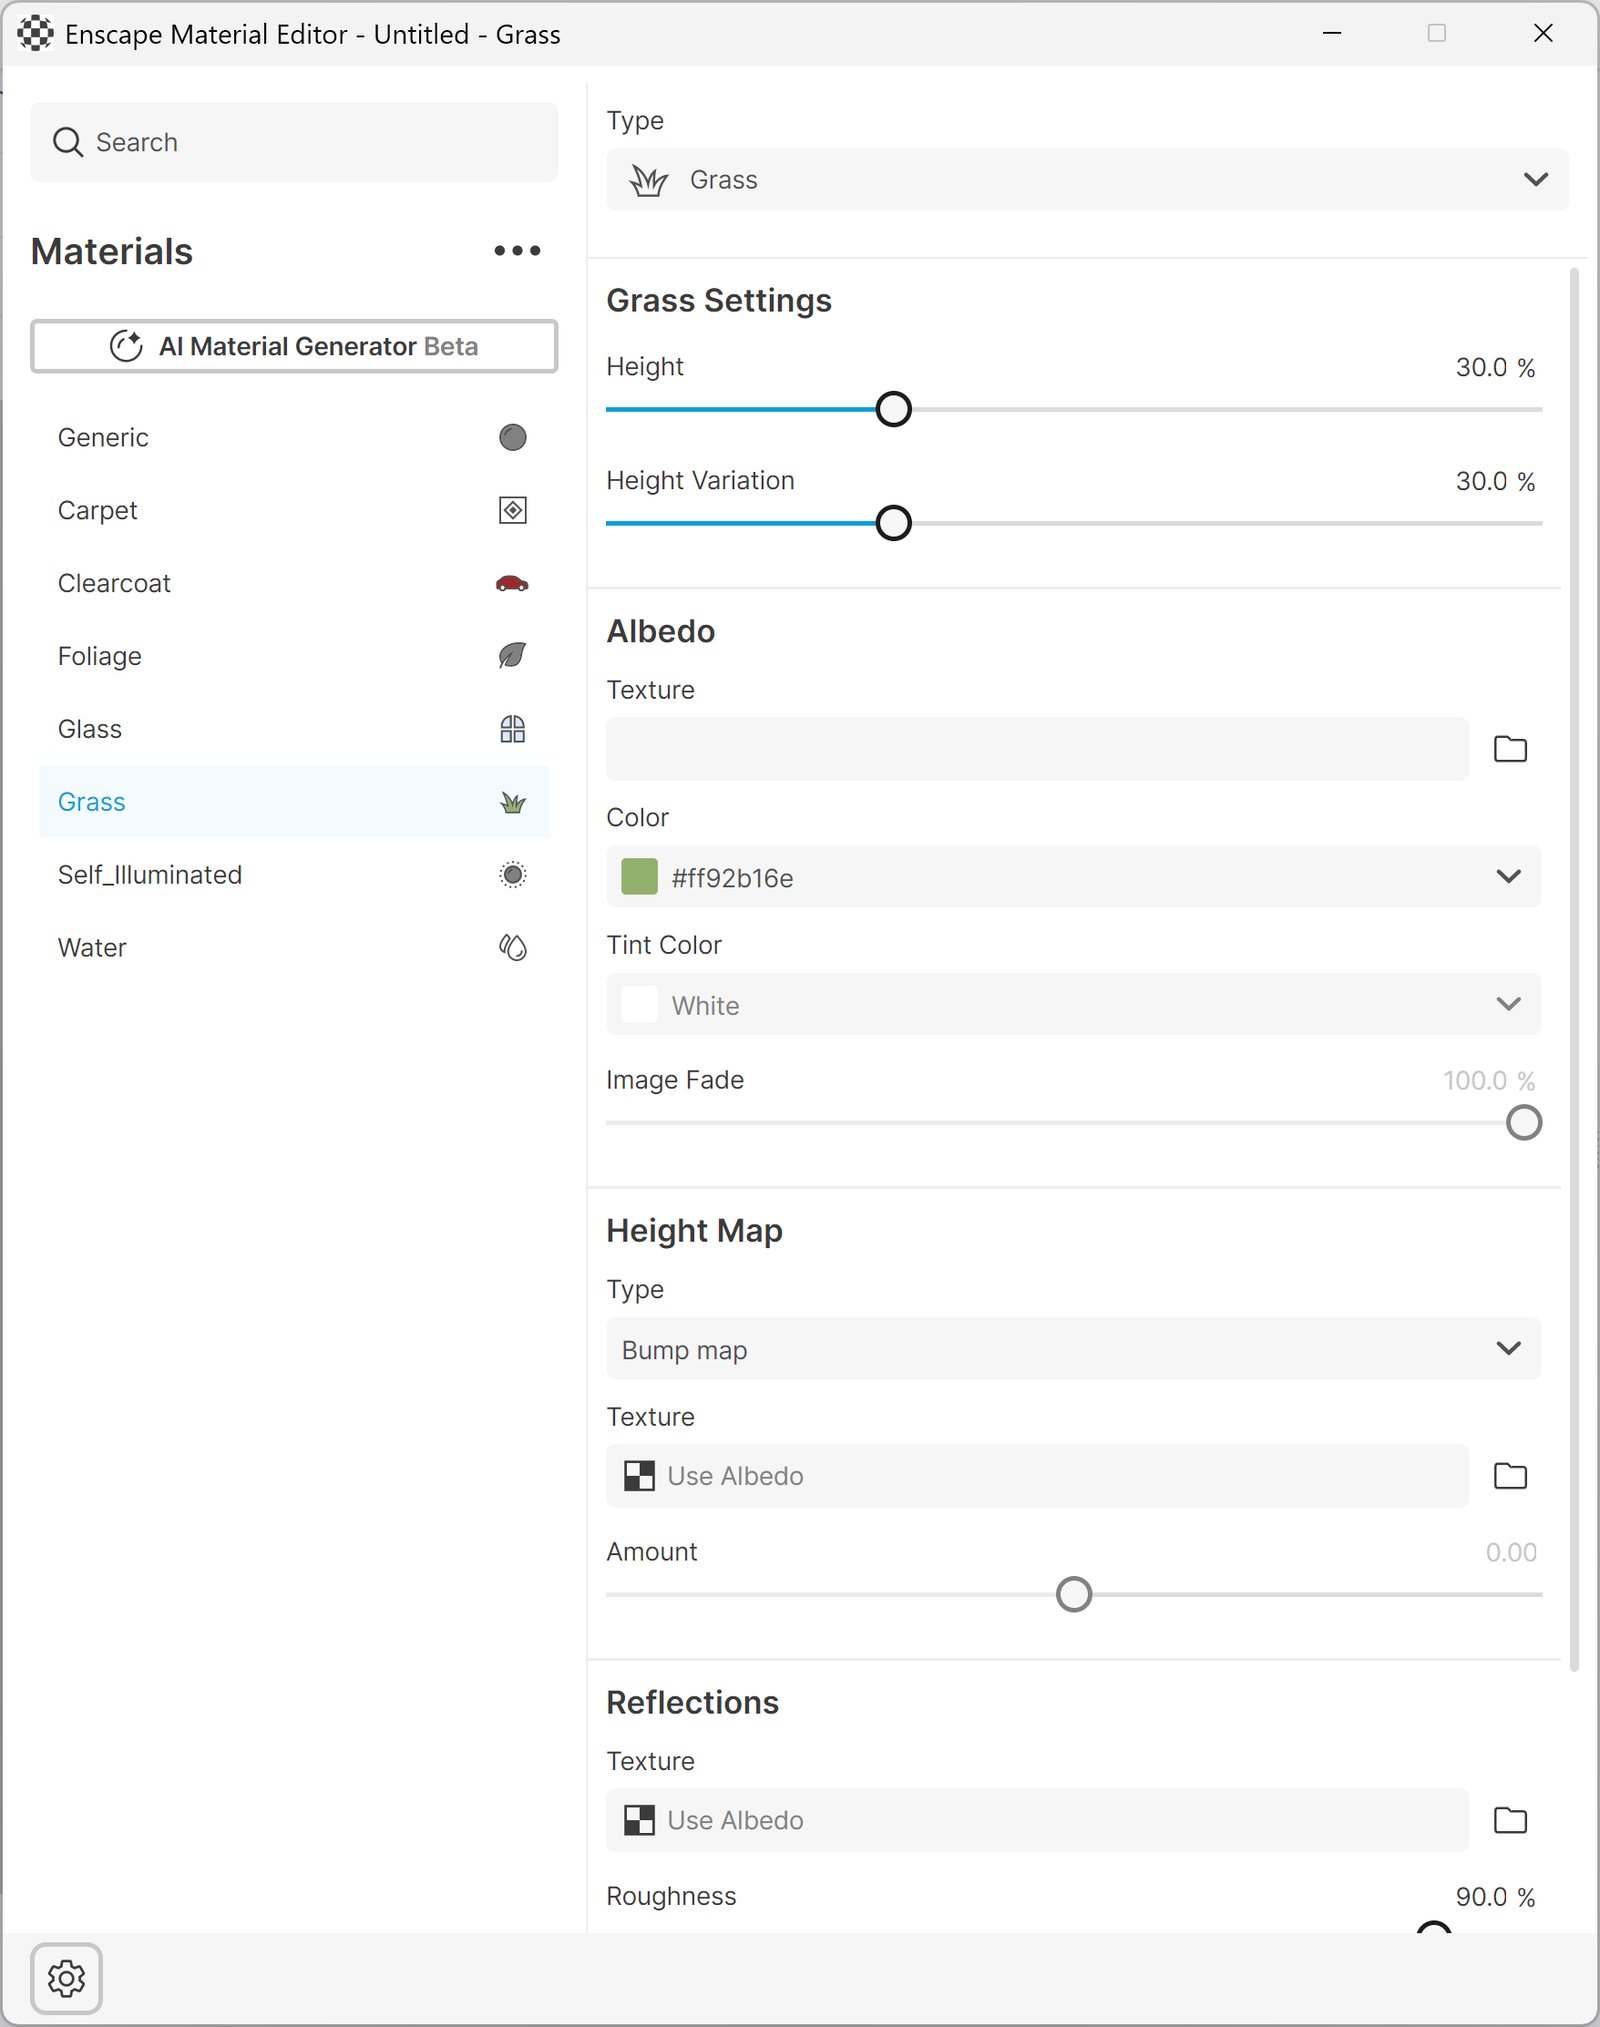
Grass Settings
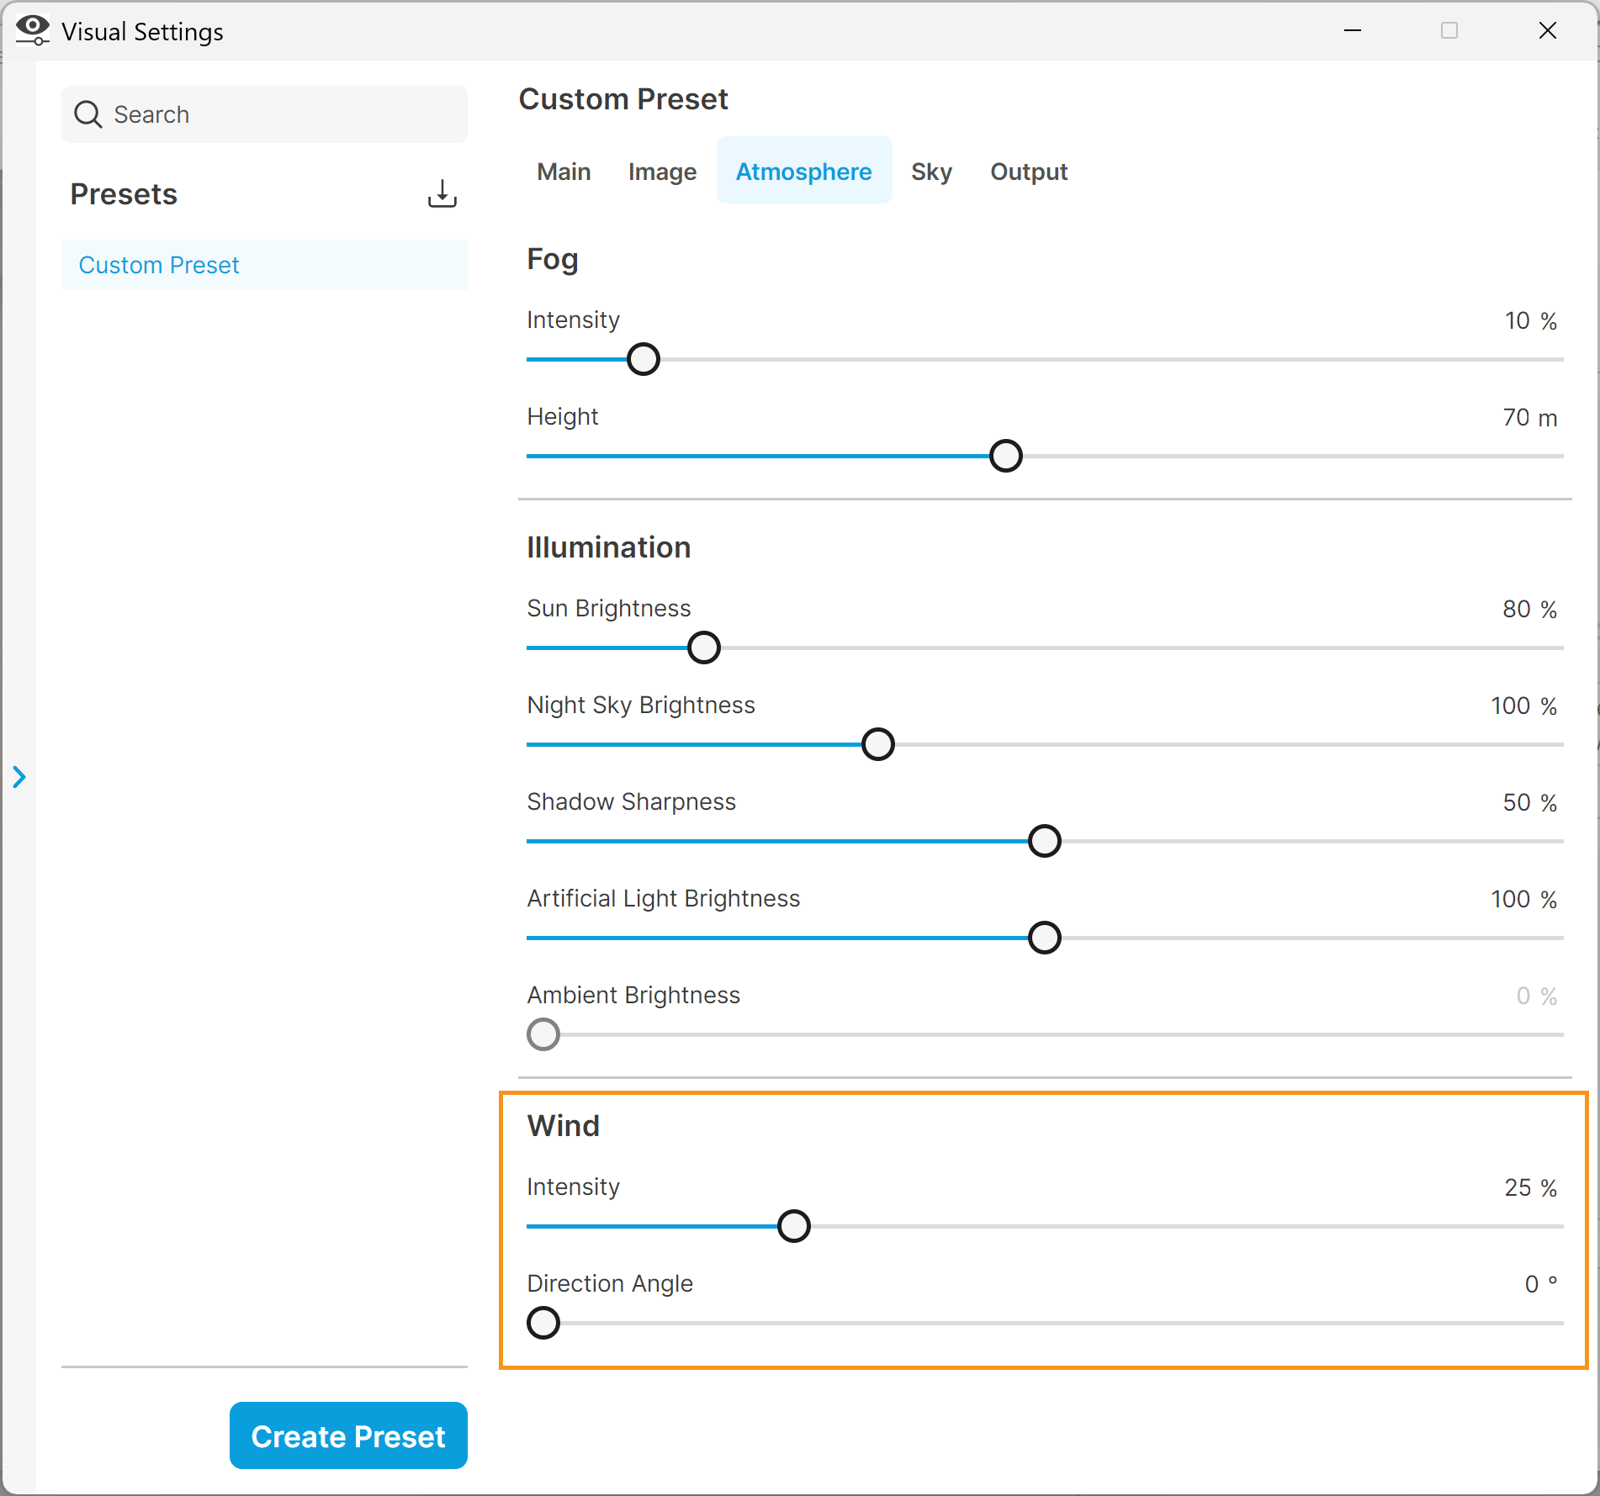
Wind Settings – The Grass material is now also affected by the global Wind setting found in the Visual Settings -> Atmosphere tab. Adjust both the wind Intensity and Direction Angle; this effect is visible when adjusting the Intensity slider, when moving around in the Enscape Viewport, and in Video exports.
Self-illuminated
The Self-illuminated material type represents a glowing material.
Luminance – Adjusts the brightness between 1 and 100000 candela per square meter (cd/m²).
Color – Adjusts the light color.
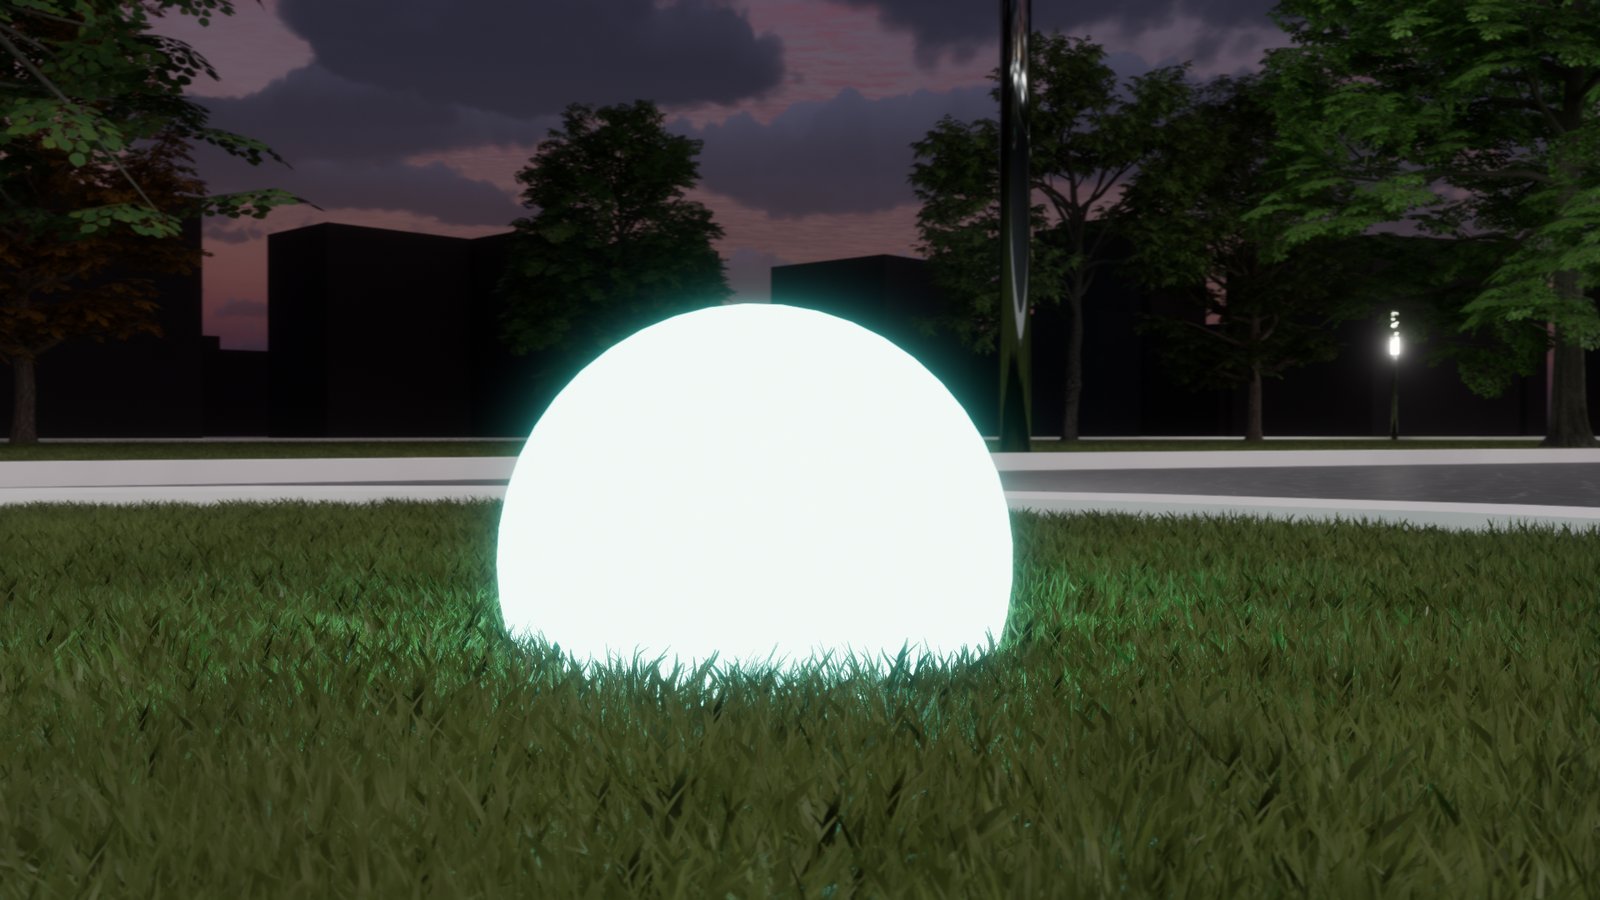
Self-illuminated Material Type
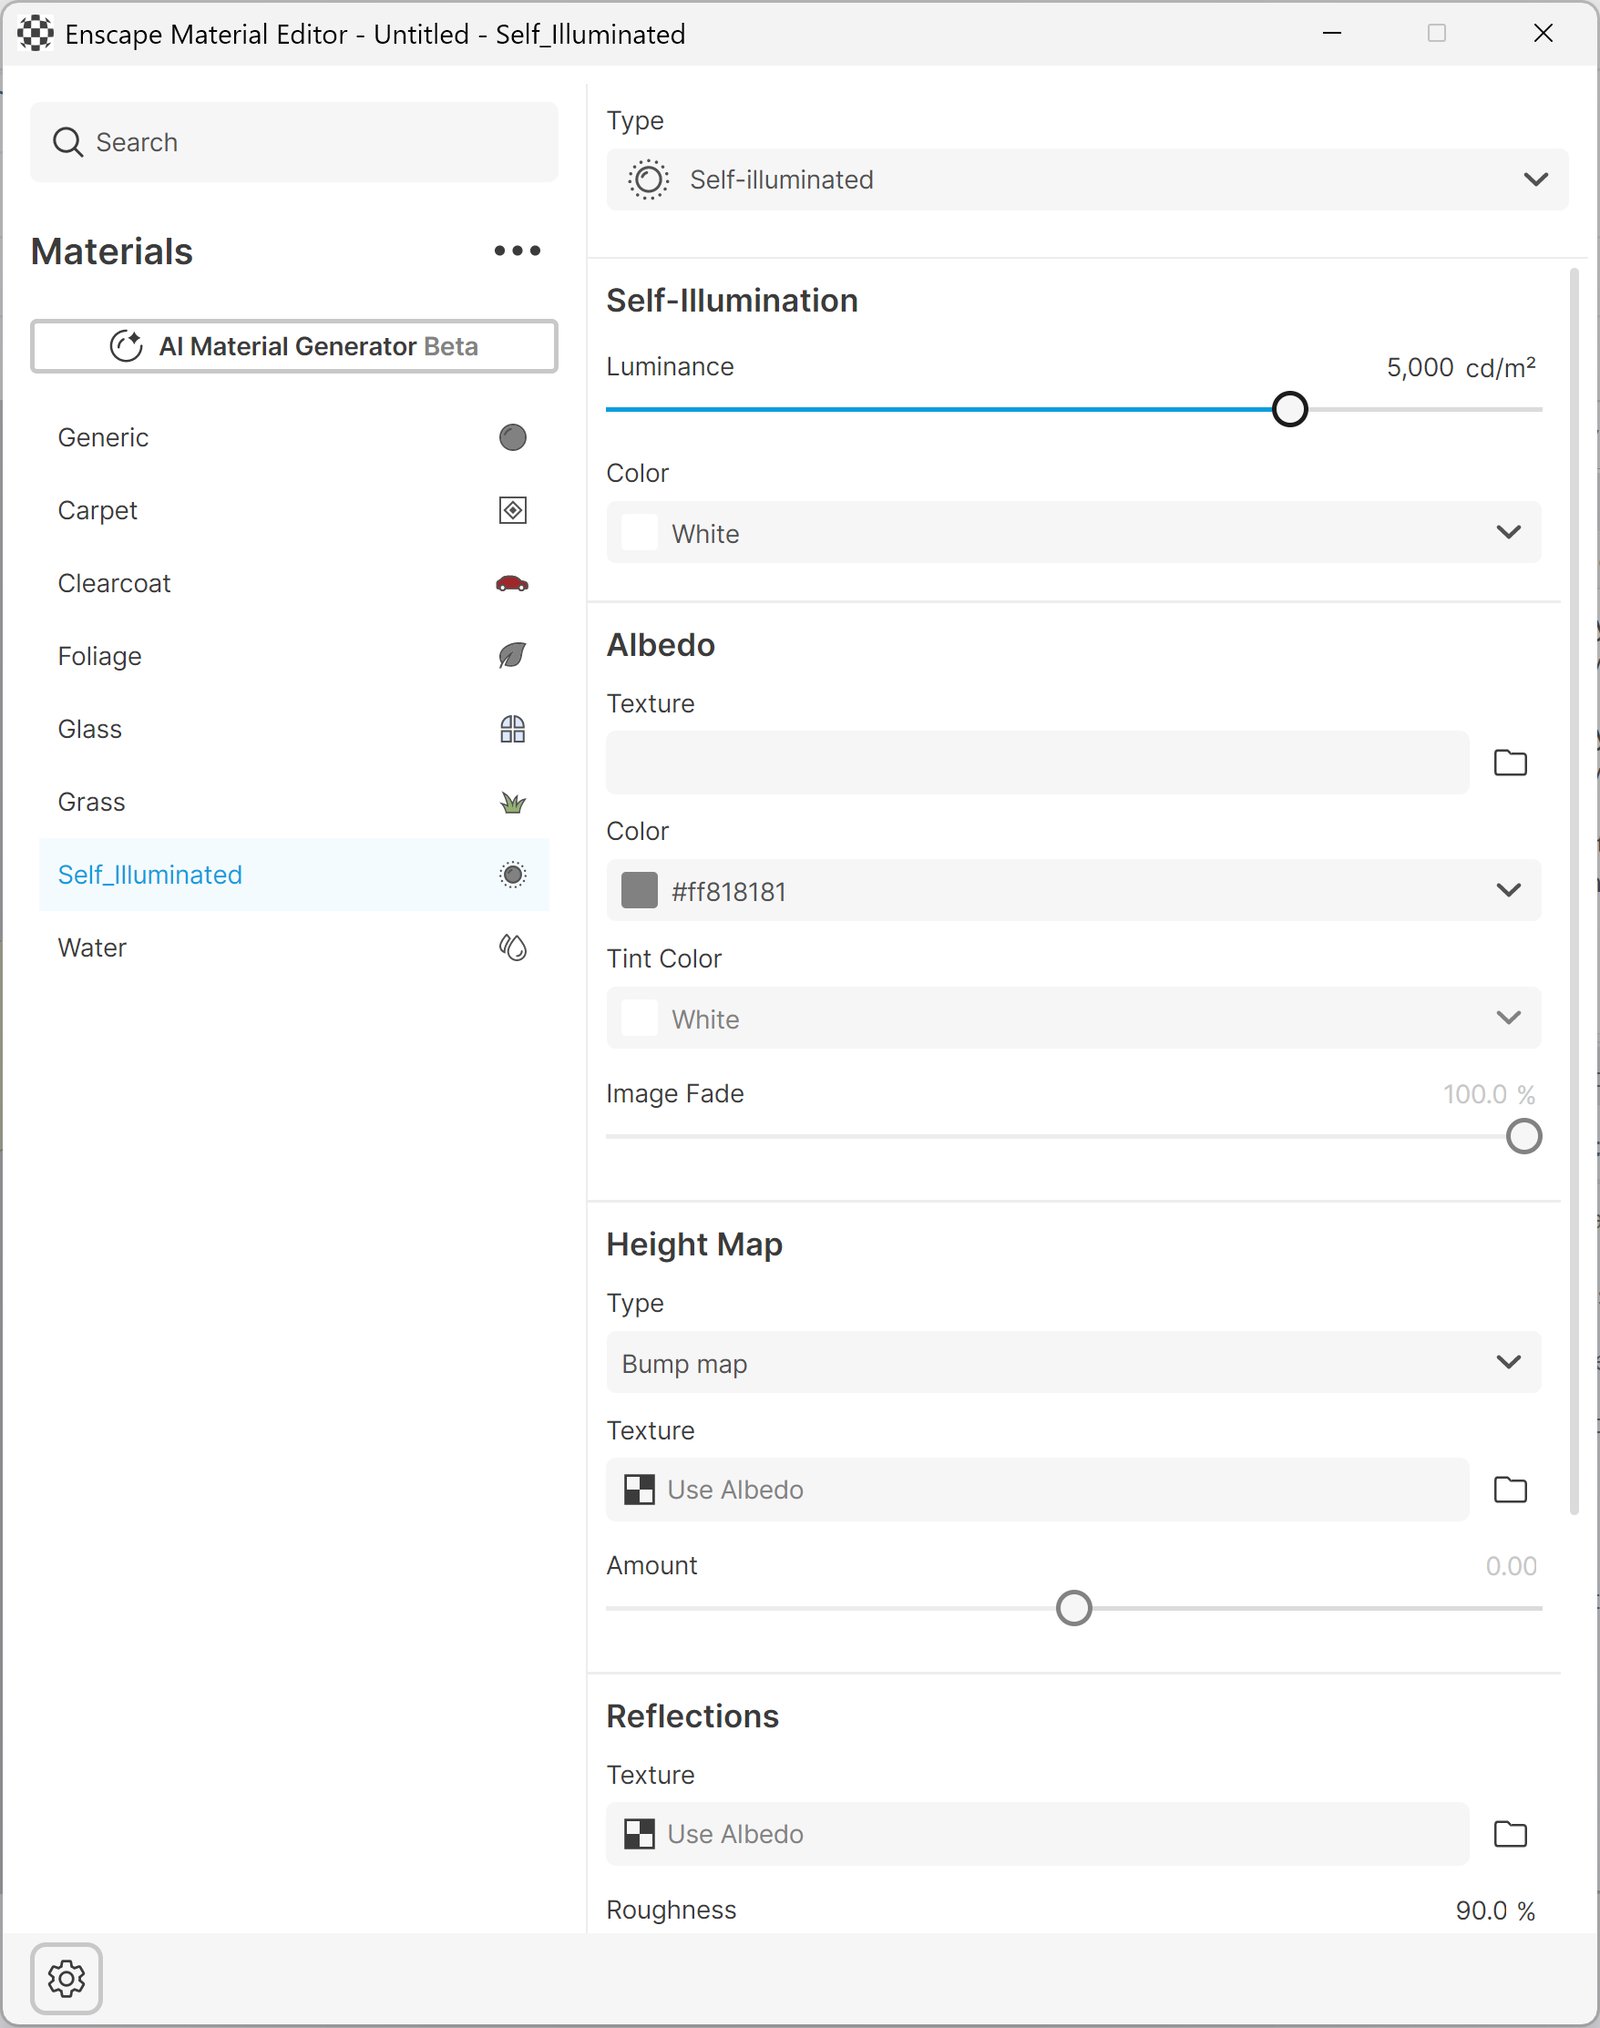
Self-illuminated Settings
Water
Setting the Water Type for a material treats any surface it’s applied to as physical water, including waves & caustics.
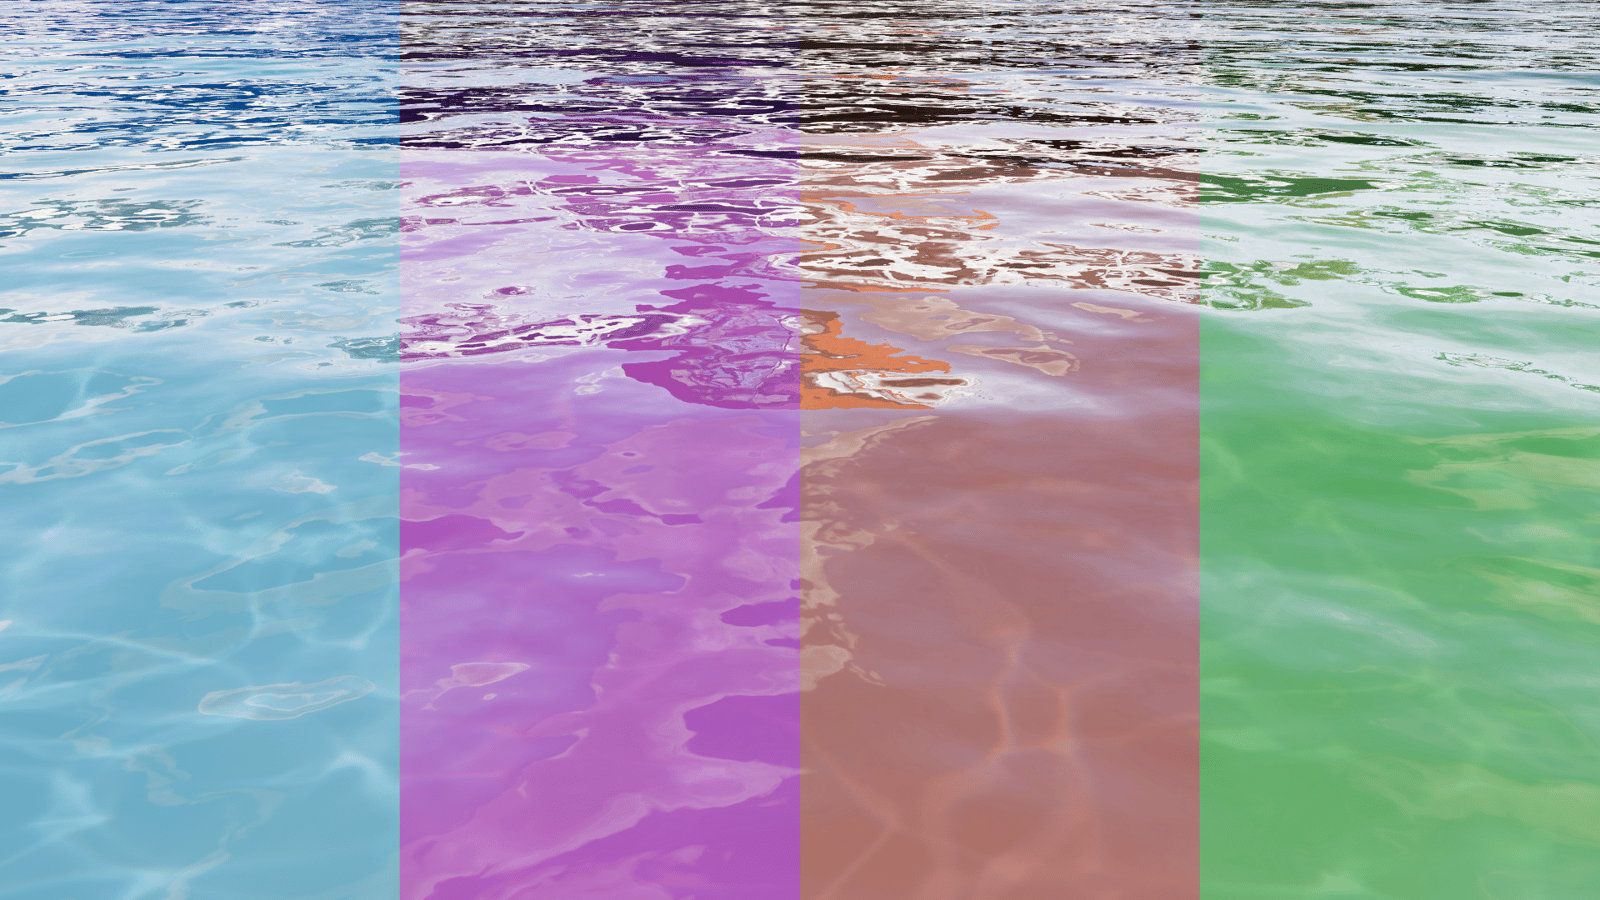
Water Color – Changes the color tint of the Water material. Water color is set cloba;;y and textures are not available.
Water Color Example
Wind Settings
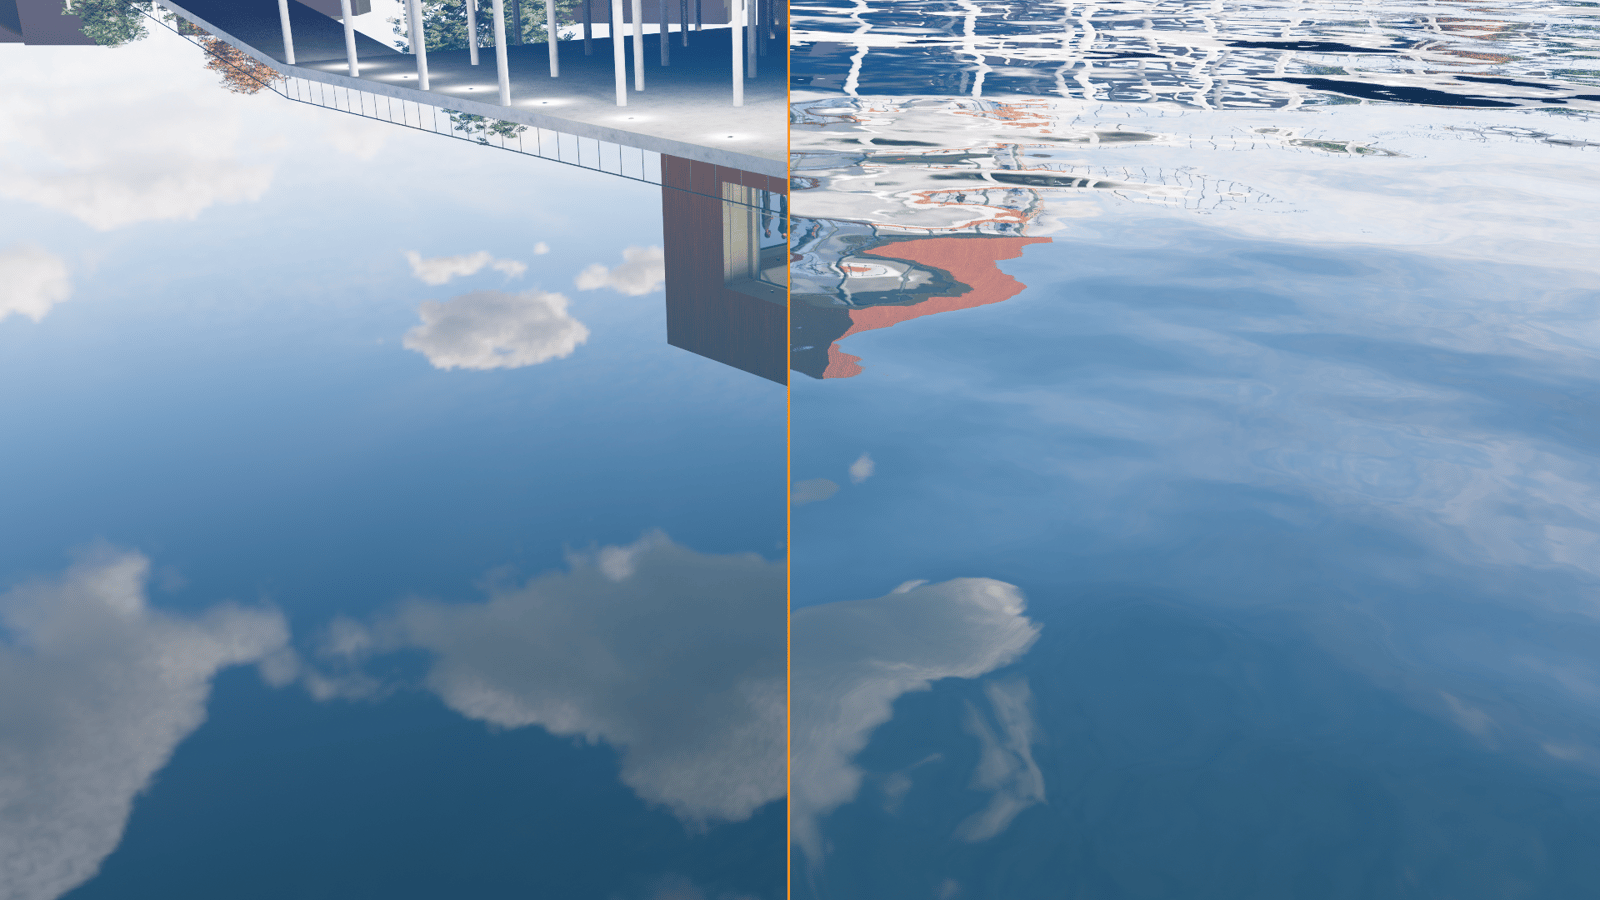
The Wind Settings parameters control the water movement. Adjust the Wind Settings in the Visual Settings-> Atmosphere tab, similarly to the Grass material. These global settings can, however, be overridden for Water, and this override is available in the Material Editor when Water is selected as the material Type.
Intensity – Controls the speed at which the water is flowing.
Direction Angle – Controls the overall direction in which water is moving.
Wave Settings
Fine-tune the look of your waves, whether it’s the overall Scale to match your model's proportions, or just the Height to control whether your water looks wild or calm.
Wave Settings Example
Detail Settings
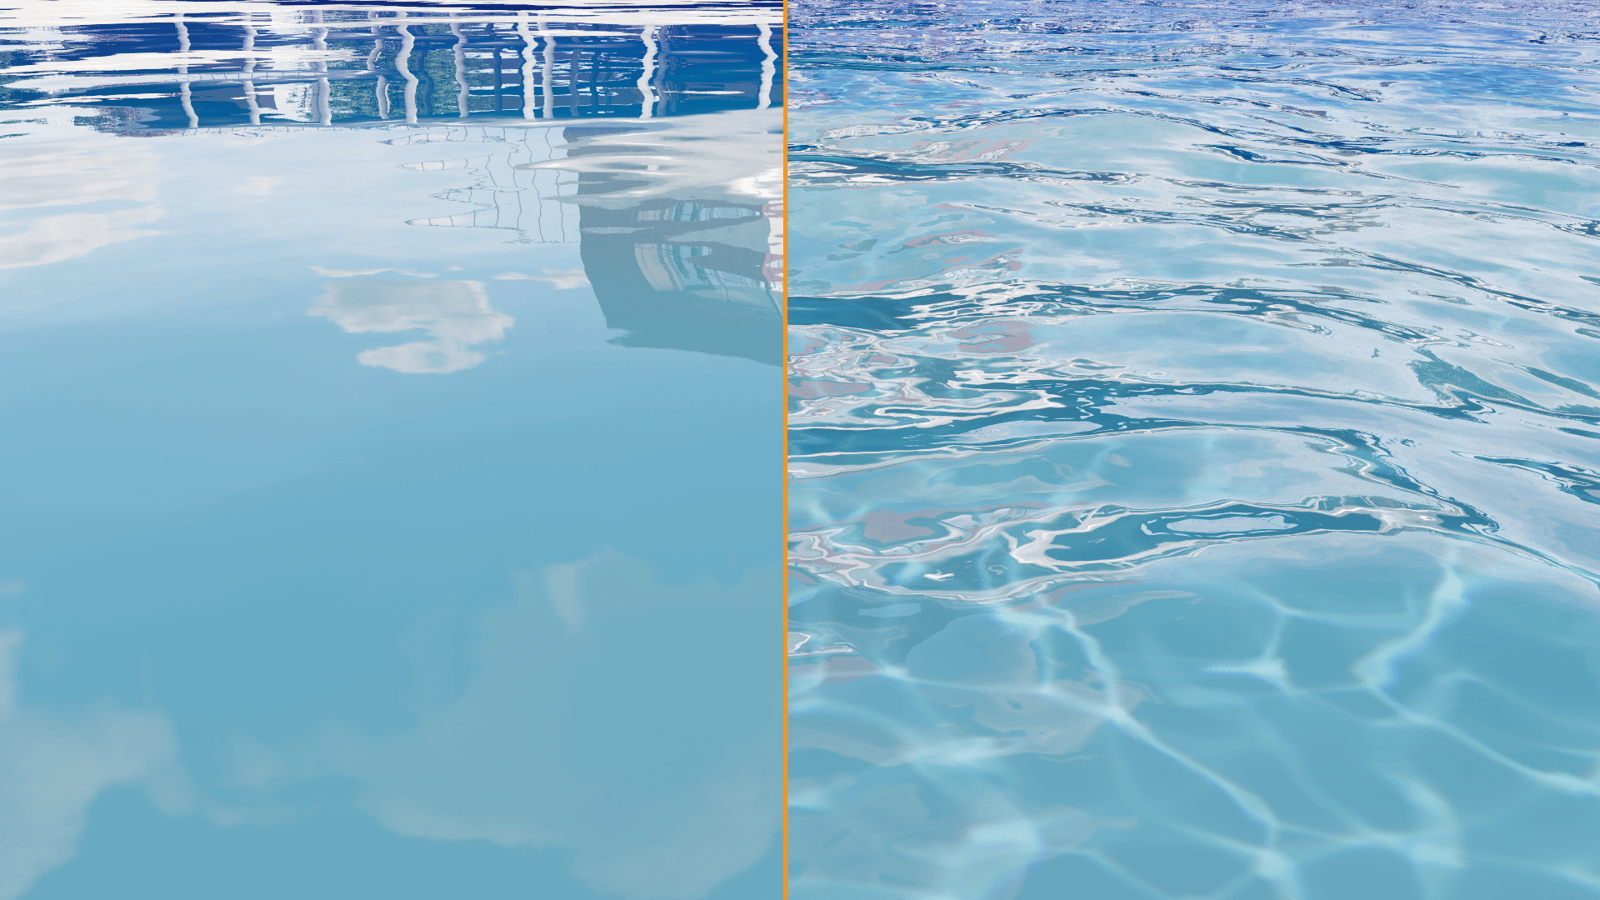
Caustics Intensity – Controls the amount of light that is being refracted through the water waves. Note that this effect is visible only if there is a surface beneath the water for the light to reflect.
Caustic Intensity Example
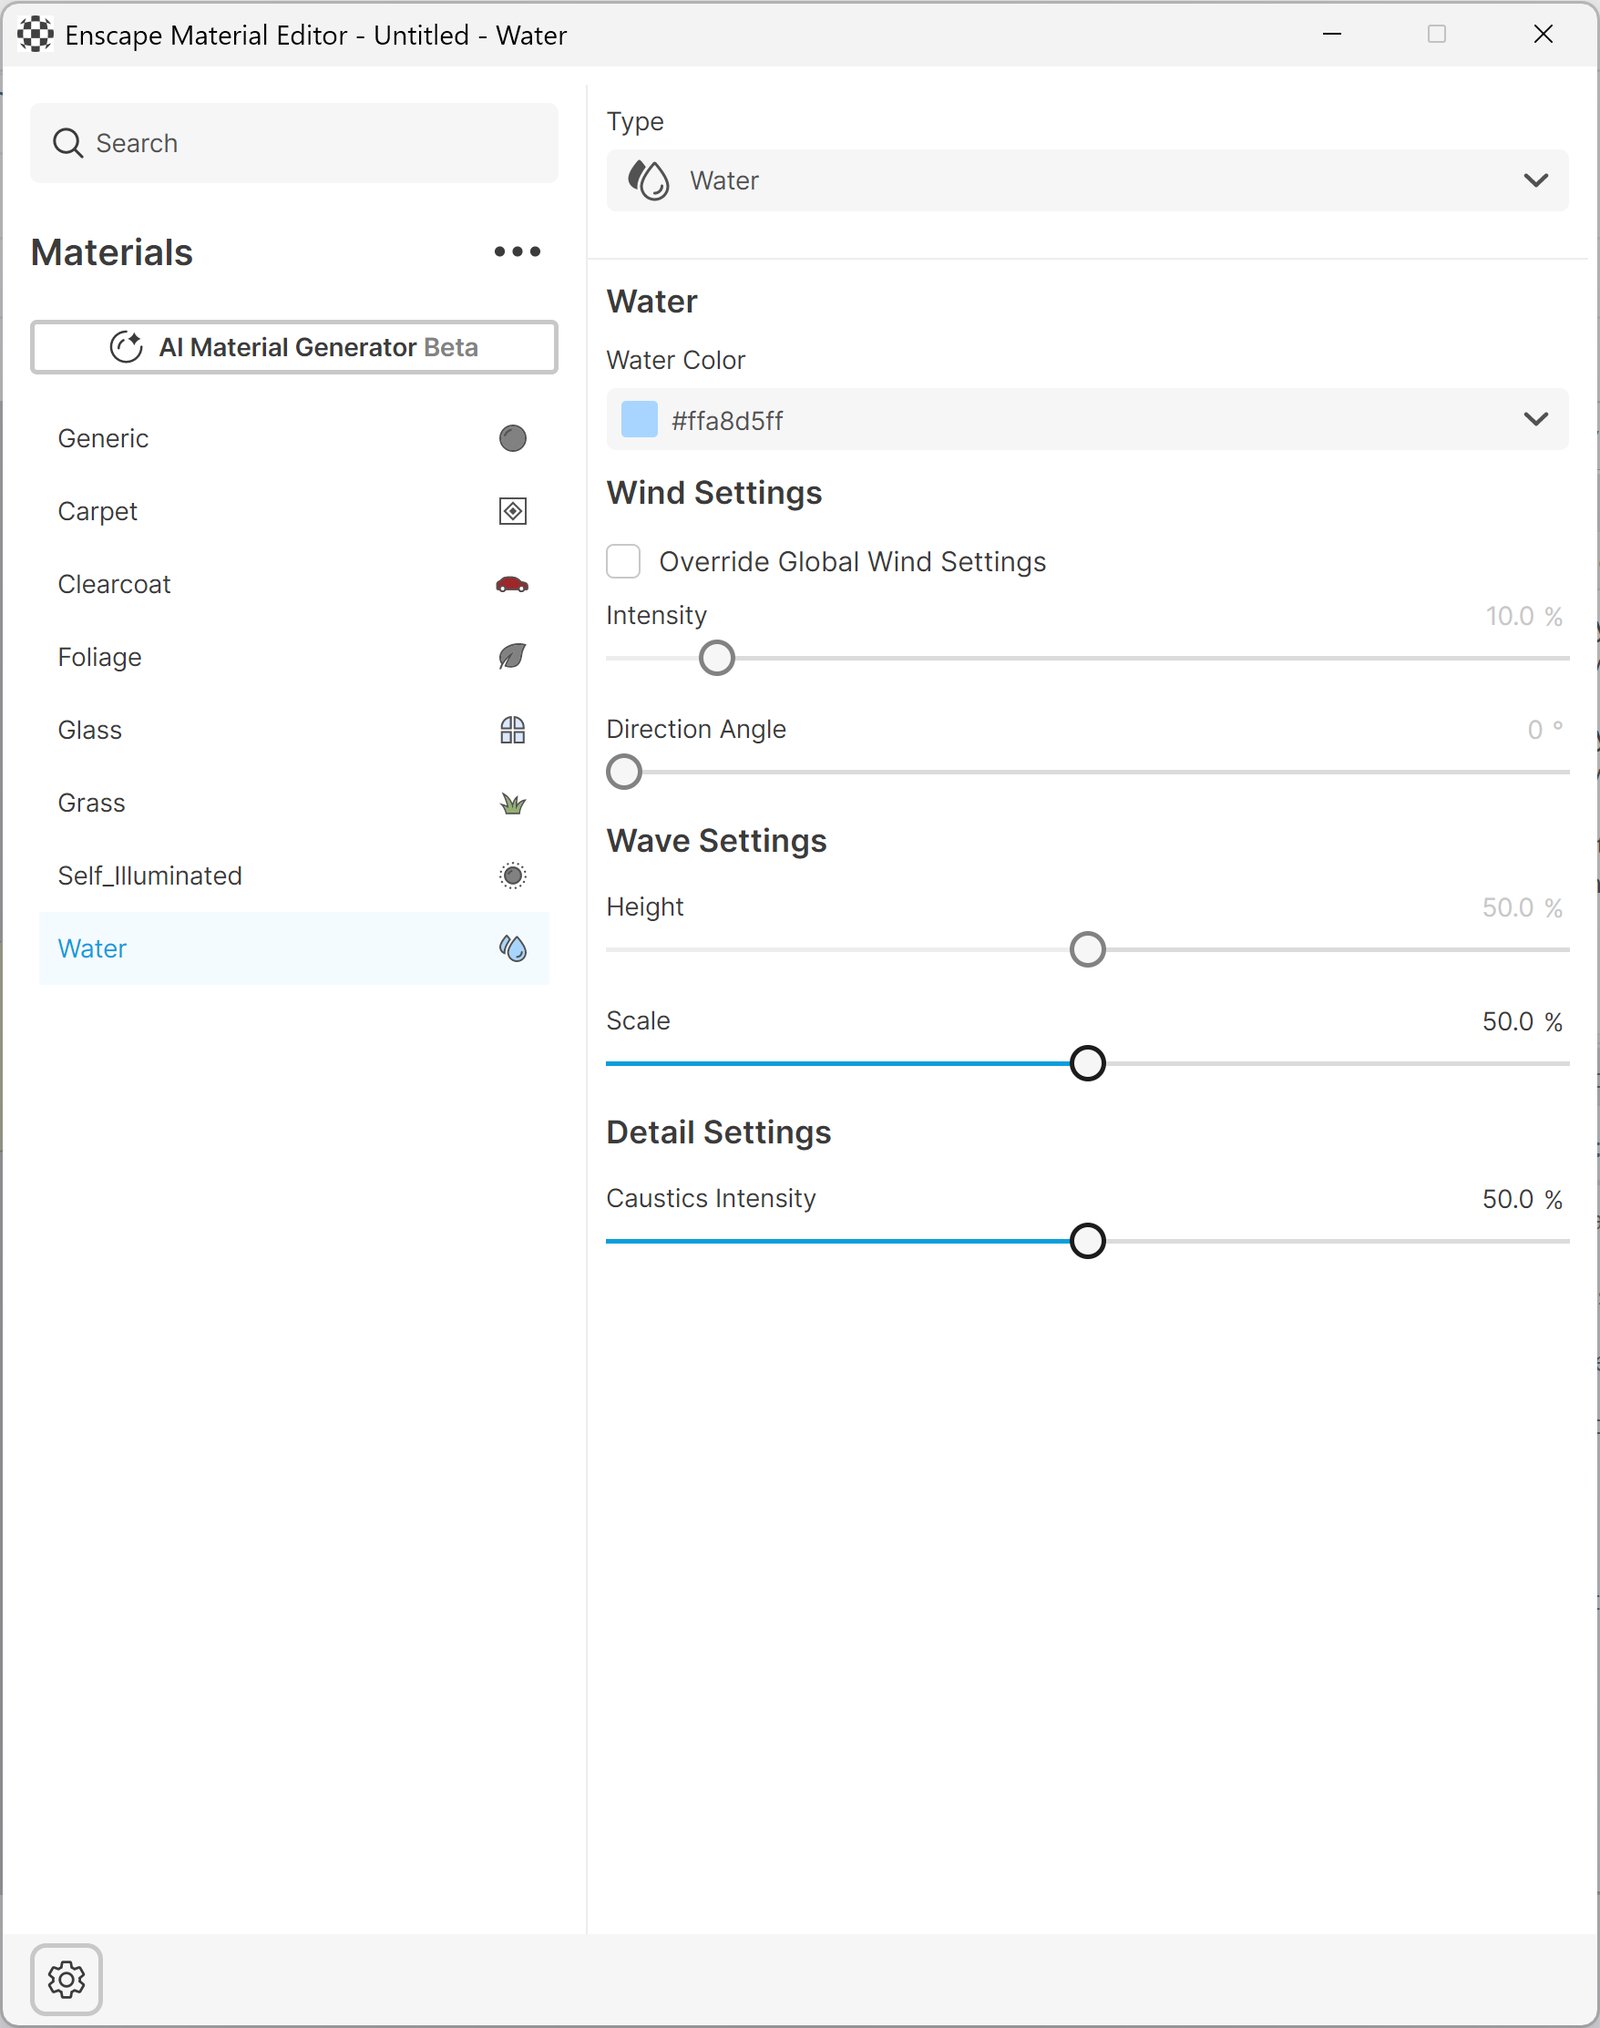
Water Settings