V-Ray for 3ds Max
Caustics
This page provides information on the Caustics rollout.
Last updated 21 May 2026
This page provides information on the Caustics rollout.
Overview
V-Ray supports the rendering of caustics effects by using one of the following techniques: photon mapping or progressive.
The new Progressive caustics solver uses advanced sampling techniques, and is able to trace as many photons as required without suffering the memory constraints of traditional Photon Mapping techniques.
It is loosely based on two papers: one on Progressive Photon Mapping from Knaus and Zwicker, and another on Metropolis-guided caustics tracing from Šik and Krivánek.
The other method, Photon Mapping, is a two-pass technique.
The first pass consists of shooting light particles (photons) from the light sources in the scene, tracing them as they bounce around the scene, and recording the places where the photons hit the object surfaces.
The second pass is the final rendering, which is when the caustics are calculated by using density estimation techniques on the photon hits stored during the first pass.
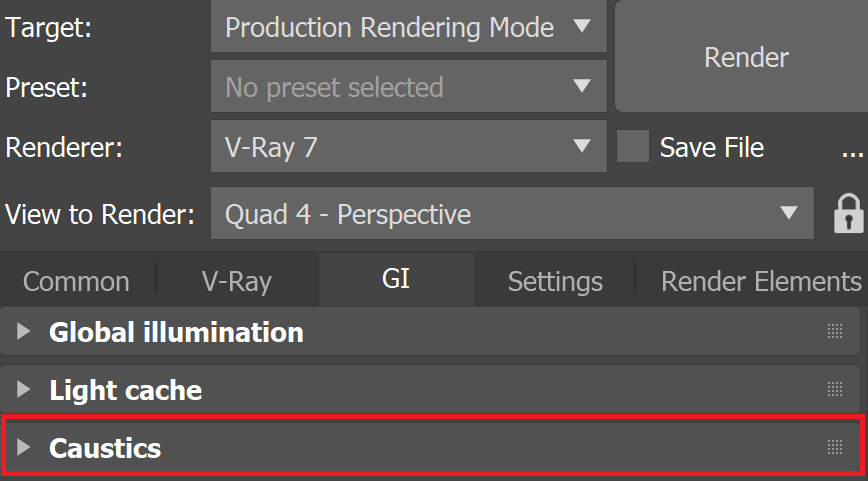
UI Path: ||Render Setup window|| > GI tab > Caustics rollout (Renderer set to V-Ray)
Standard Parameters
The following parameters are visible from the Caustics rollout when set to the Standard Render UI Mode.
Caustics – Turns rendering of caustics on and off.
Calculation method – Specifies whether caustics should be calculated using a traditional Photon map or the new Progressive1 algorithm.
Progressive
The Progressive method doesn't need most of the controls used for traditional Photon Mapping, so the controls are grayed out. Only the Search Dist control in the render settings and the Multiplier V-Ray property in lights, and in the advanced mode of the caustics panel, have an effect on the result.
Search dist – Specifies the initial photon lookup radius in pixels.
Click here to see the Photon Map Mode parameters...

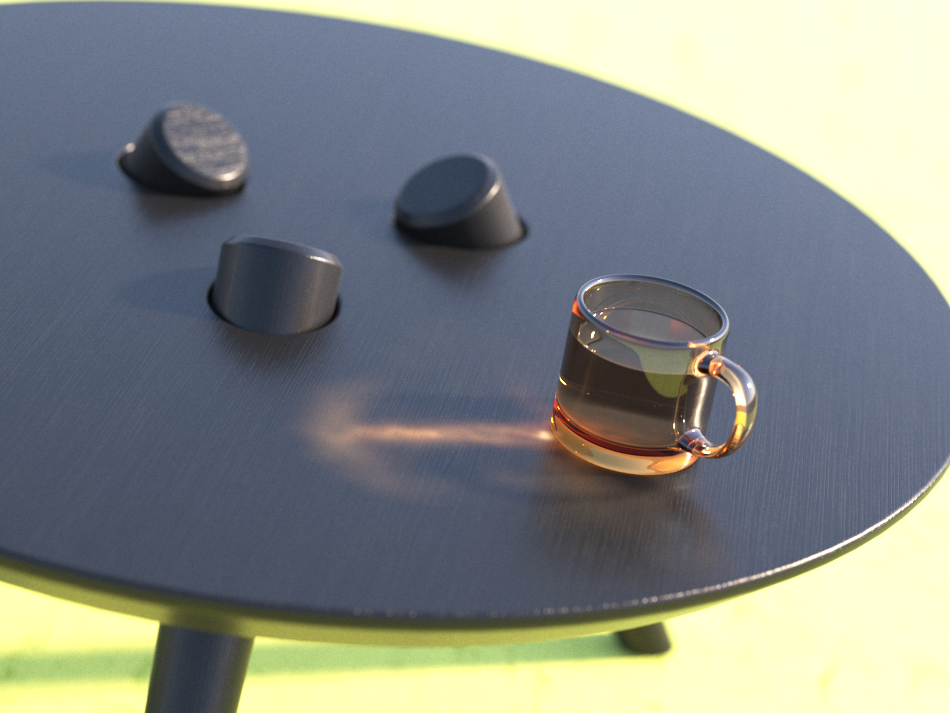
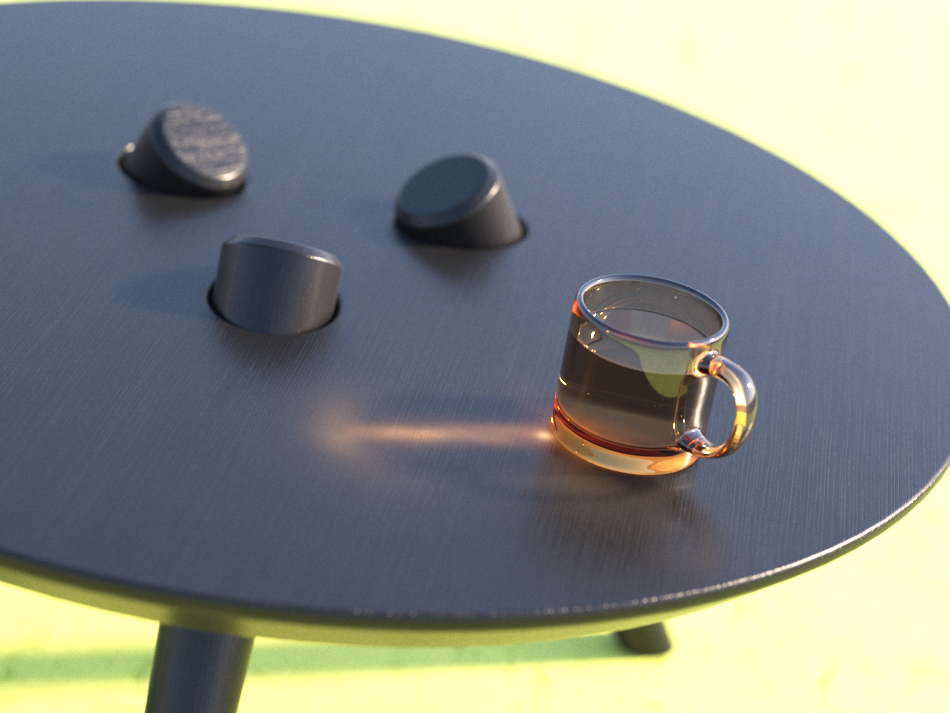
Example: Search Distance
For this example, the Light Caustics Multiplier is 80 (V-Ray Light Properties > Caustics Multiplier) and the rest of the parameters are at their default values. The light used in the scene is VRaySun. The Caustics method is set to Progressive. The Caustics Multiplier (Render Setup > GI tab > Caustics rollout) is set to 15.

Search Distance
= 1
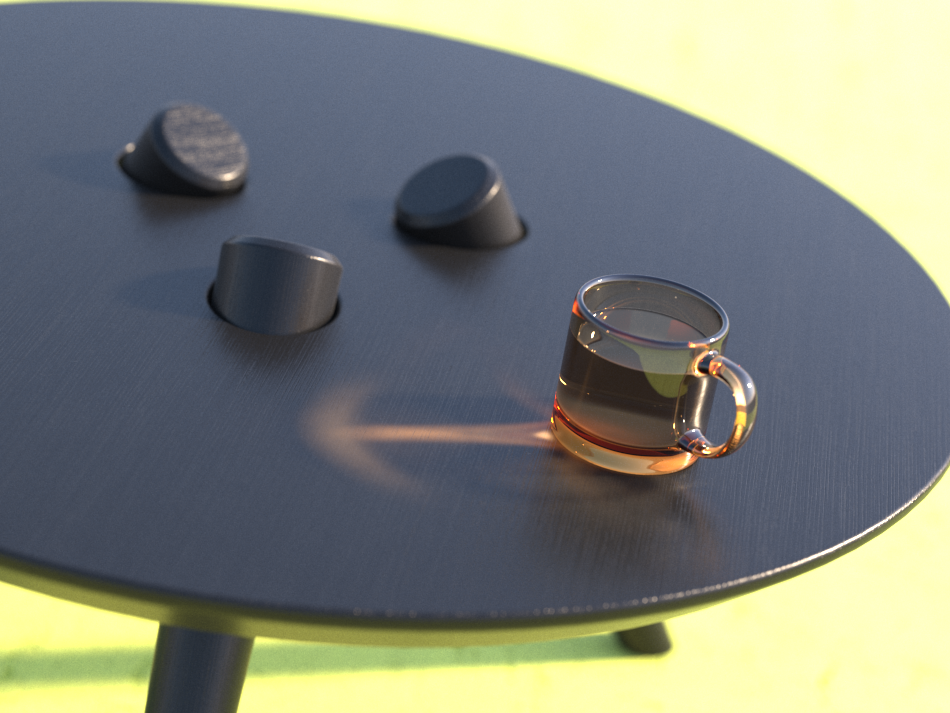
Search Distance
= 10

Search Distance
= 20
Click here to expand the Photon Map Examples...


Example: VRaySun Photon Emit Radius
This example shows how a light's photon emit radius affects the caustics effect. Here we use a VRaySun to light the scene. For this example, the Light Caustics Multiplier is 80 (V-Ray Light Properties > Caustics Multiplier) and the rest of the parameters are at their default values.

Photon Emit Radius
= 5

Photon Emit Radius
= 20

Photon Emit Radius
= 50
Click here to expand the Max Photon Examples...
Example: Max Photons


Advanced Parameters
The following parameters are added to the list of visible settings available from the Caustics rollout when set to the Advanced Render UI Mode.
Progressive Mode
Multiplier – This multiplier controls the strength of the caustics. It is global and applies to all light sources that generate caustics. Should a different multipliers for each light source be needed, the V-Ray properties of each light should be edited. Note: this multiplier is cumulative with the multipliers in the local light settings.
It should also be noted that changing multipliers, while useful for artistic purposes, will result in physically-inaccurate scenes.
Click here for Photon Map Mode parameters...

Progressive Caustics Advantages
- they require nearly no setup;
- each cast photon is more useful than those in traditional Photon Mapping;
- the number of photons castable is only limited by time, not memory;
- they can resolve tiny caustic details, compared to the scene size;
- they can resolve caustic details also when a camera is very zoomed in on them;
- statistics about the photon tracing can be found in the VFB2 stats panel;
Progressive Caustics Limitations
- they require the progressive image sampler;
- the image sampler often requires Min. subdivs values much higher than 1;
- it's non-deterministic, meaning that there could be somewhat unpredictable render times, and also tiny differences in the visual results when rendering the same frame twice;
- currently doesn't work with distributed rendering;
- currently not supported by the GPU engine;
- Depending on the scene, the performance might not scale linearly with the number of threads/cores, resulting in inefficient CPU utilization.