V-Ray for 3ds Max
GPU Camera
This page provides information on the Camera rollout in the GPU Settings tab.
Last updated 21 May 2026
This page provides information on the Camera rollout in the GPU Settings tab.
Overview
The camera rollout controls the way the scene geometry is projected onto the image. Here you can choose a camera type and set parameters for motion blur and depth of field.
UI Path: ||Render Setup window|| > Settings tab > Camera rollout (Renderer set to V-Ray GPU)
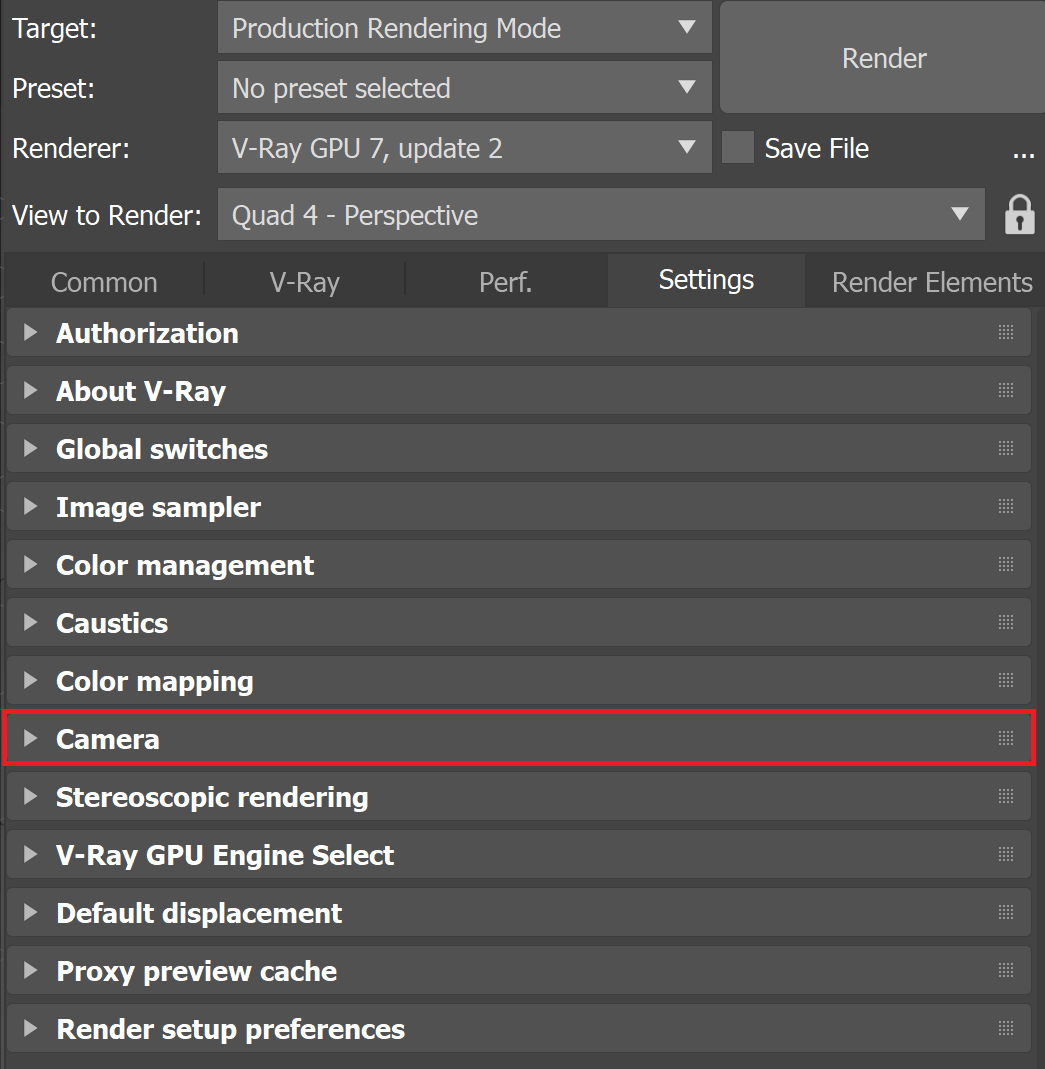
Parameters
Auto exposure – Automatically determines an appropriate exposure value for the render. It requires Light Cache in Single frame mode to be set as the GI engine.
Auto white balance – Automatically determines a suitable white balance value for the image. It requires Light Cache in Single frame mode to be set as the GI engine.
Camera/view – Specifies which camera and/or views to use the automatic exposure and white balance setting.
All cameras/views
Views/cameras without exposure only
Transfer to Camera – (available only if Auto Exposure/Auto white balance is calculated) Lets you transfer the calculations to a selected camera as an ISO correction, keeping the options affecting Depth of Field and Motion Blur unchanged (e.g. shutter speed, f-number). If there is no selected camera, the Select from scene window opens to select a scene camera from the list.
Type – Specifies the type of the camera.
Default – Allows for the current scene camera to be used (usually a pinhole camera).
Orthographic – A camera enabling a non-perspective view similar to the standard Orthographic view in 3ds Max.
Perspective – Overrides the scene camera to force it to be a pinhole camera.
Spherical panorama – A spherical camera with independent horizontal and vertical FOV selection that is useful for generating latlong images for spherical VR use.
Cube 6x1 – A variant of the Box camera with the cube sides arranged in a single row. Unlike the Box camera's output, Cube6x1 does not produce an empty space in the output image and is quite useful in generating cubic VR output.
Override FOV – When enabled, you can override the 3ds Max's FOV angle with the value entered. A possible reason for using this parameter is that some V-Ray camera types can take FOV ranges from 0 to 360 degrees, while the cameras in 3ds Max are limited to 180 degrees.
Vertical FOV – Specifies the field-of-view angle in a vertical direction. Replaces Cylinder height when using a Spherical panorama camera type.
Example: Camera Types
The images show the difference between the different camera types (Note that not all camera types are available with GPU Renderer):
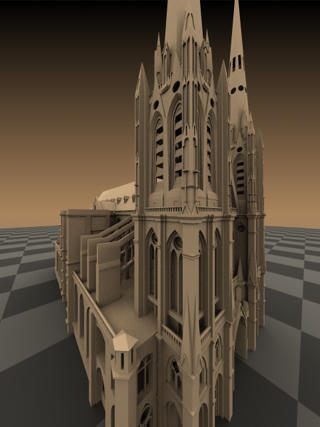
Default camera
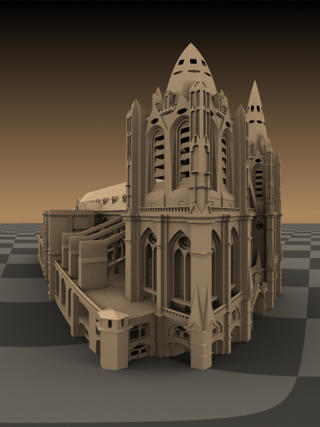
Spherical camera
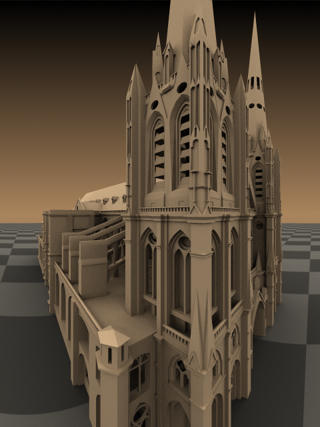
Cylindrical camera
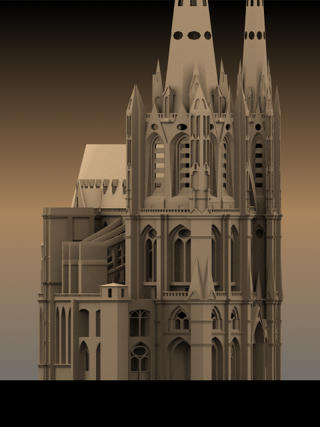
Orthographic camera
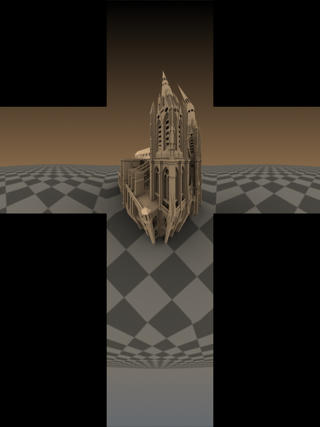
Box camera
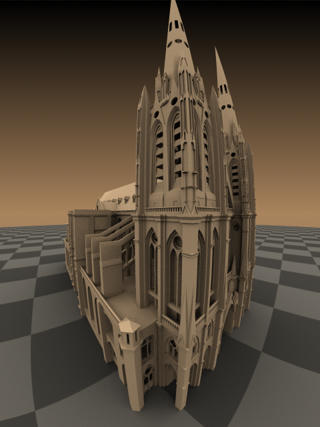
Fish eye camera
Example: Camera Types Explained
This example shows how the rays for different camera types are generated. The red arcs in the diagrams correspond to the FOV angles. Note that not all cameras are available with the GPU Renderer.
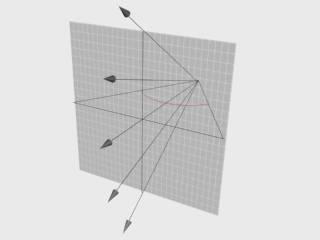
Default FOV
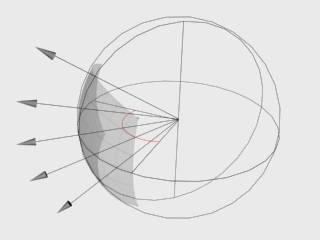
Spherical FOV
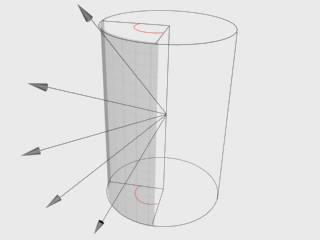
Cylindrical (point) FOV
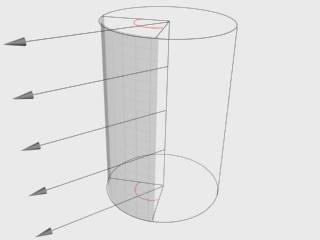
Cylindrical (ortho) FOV
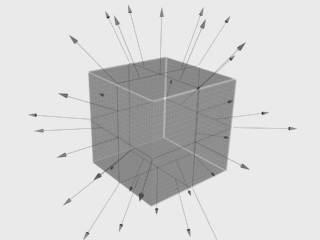
Box FOV
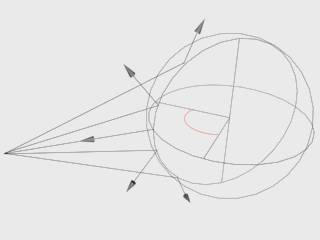
Fish-eye FOV
Motion Blur
Motion blur – Turns Motion Blur on. For more information, see The Motion Blur example.
Duration – Specifies the duration, in frames, during which the camera shutter is open. For more information, see The Duration example.
Interval center – Specifies the middle of the motion blur interval with respect to the 3ds Max frame. A value of 0.5 means that the middle of the motion blur interval is halfway between the frames. A value of 0.0 means that the middle of the interval is at the exact frame position. For more information, see The Interval Center example.
Bias – Controls the bias of the motion blur effect. A value of 0.0 means that the light passes uniformly during the whole motion blur interval. Positive values mean that light is concentrated towards the end of the interval, while negative values concentrate light towards the beginning.
Camera motion blur – Enables the calculation of motion blur due to camera movement (as opposed to object movement).
Shutter efficiency – In real world cameras, the shutter requires some time to open and close which in turn affects the way motion blur looks. This is especially true for lenses with large apertures. To simulate this effect, the shutter efficiency parameter controls how the motion blur samples are distributed over the time interval of the shot. A value of 1 means that the samples are evenly distributed, as if the change from open to shut (or shut to open) is instant. Lower values place more samples towards the middle of the time interval to correspond to the open or close operation taking a small time interval, as occurs in real life.
Geometry samples – Determines the number of geometry segments used to approximate motion blur. Objects are assumed to move linearly between geometry samples. For fast rotating objects, you need to increase this value to get correct motion blur. Note that more geometry samples increase memory consumption, since more geometry copies are kept in memory. You can also control the number of geometry samples on a per-object basis from the Object settings dialog. For more information, see the Geometry Samples example.
Example: Motion Blur
This example demonstrates the various parameters for motion blur.
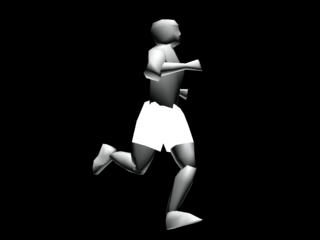
Motion blur is off
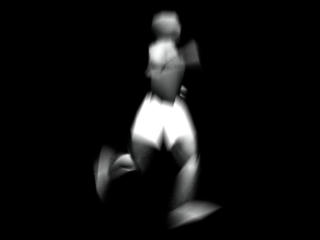
Motion blur is on
Example: Duration
The following scene consists of three-frame animation of a moving cube. In the first frame the cube is on the left. In the second frame it is at the sphere. And in the third frame the cube is on the right.
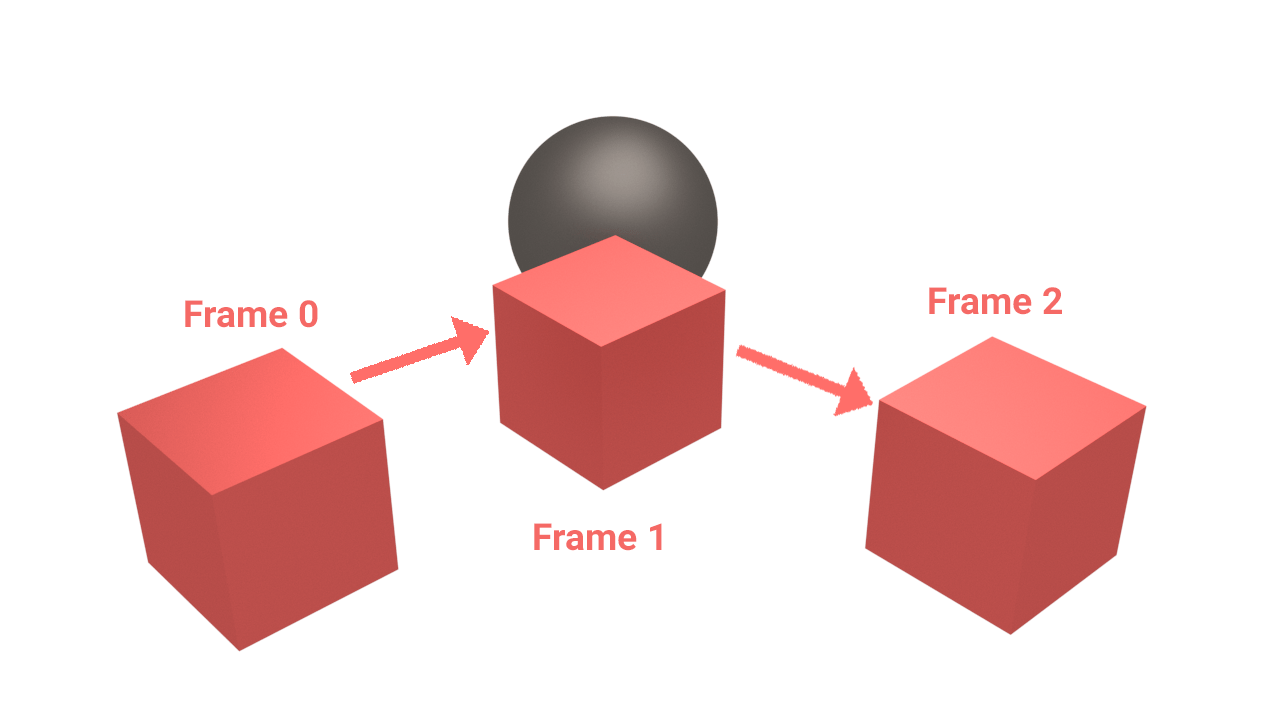
The following images show frame 1 rendered with different duration values:
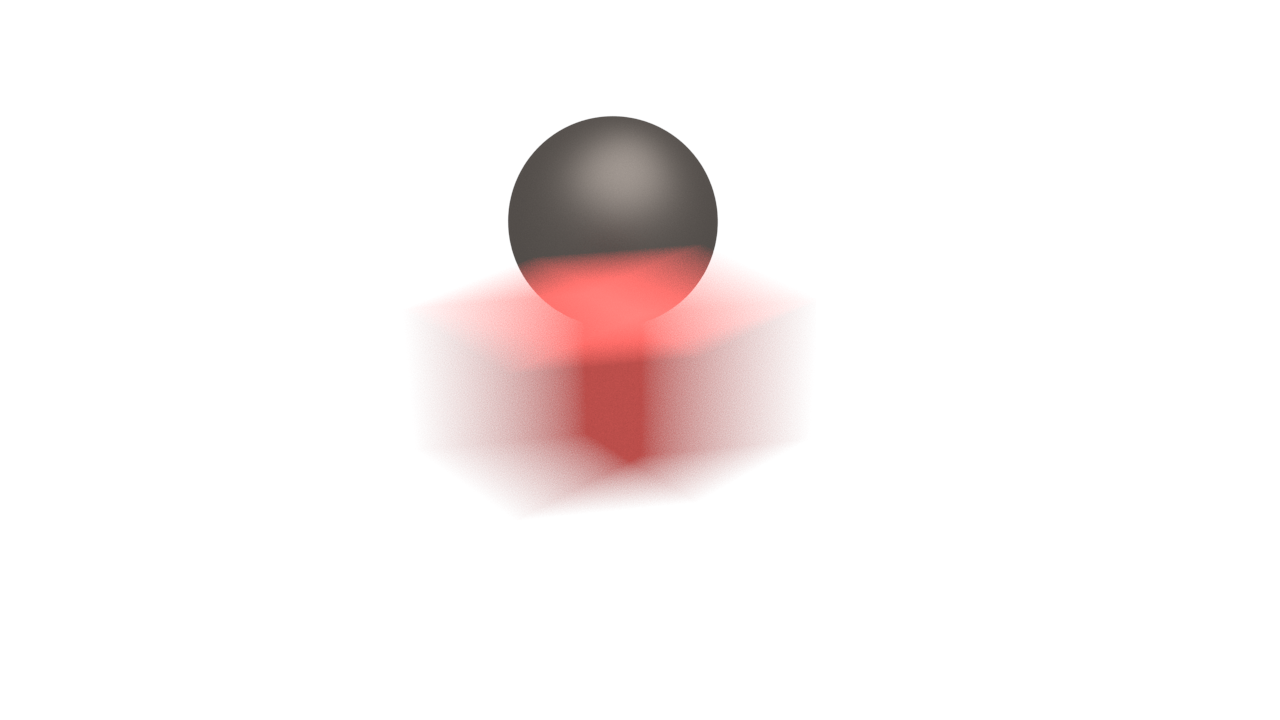
Duration 0.5 (frames)
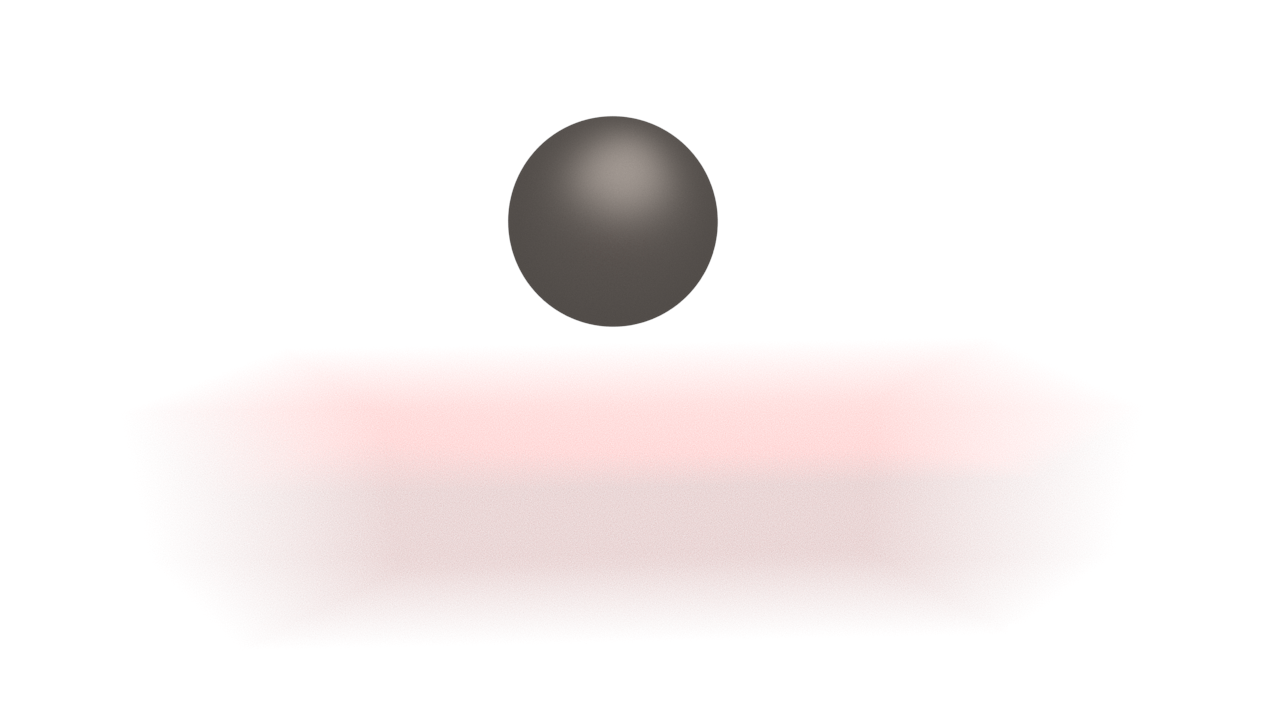
Duration 2.0 (frames)
Example: Interval Center
This example demonstrates the effect of the interval center parameter. The scene is a moving sphere. Here are three sequential frames without motion blur:



Here is the middle frame, rendered with motion blur and three different values for the interval center; the motion blur duration is one frame.

Interval center = 0.0
The middle of the motion blur interval matches the sphere position at the second frame.

Interval center = 0.5
The middle of the interval is halfway between the second and the third frame.

Interval center = 1.0
The middle of the motion blur interval matches the sphere position at the third frame.
Example: Geometry Samples
The following images demonstrate the Geometry samples parameter. Duration (frames) is set to 2. All other parameters are the same as for the previous images. The higher value is set for Geometry samples the more accurate is the estimated object motion. However, excessive increase of this value results in long rendering times:
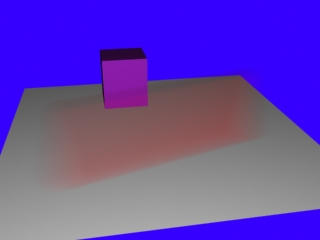
Geometry samples = 2
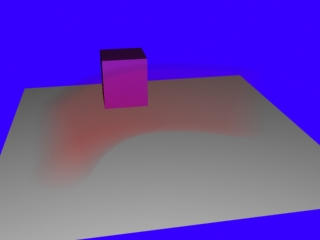
Geometry samples = 8
The geometry samples parameter is useful when motion-blurring complex motions, for example fast-rotating objects. Here is an example with an accelerating airplane propeller:
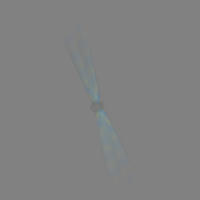
Geometry samples = 2
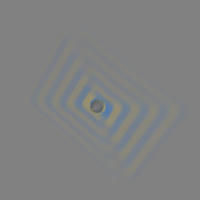
Geometry samples = 3
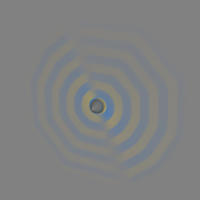
Geometry samples = 6
Geometry samples = 10
Depth of Field
These parameters control the depth of field effect when rendering with a standard 3ds Max camera or with a perspective viewport. The parameters are ignored if you render from a Physical Camera (VRayPhysicalCamera) view.
On – Turns the Depth-of-Field effect on.
Aperture – The size of the virtual camera aperture in world units. Small aperture sizes reduce the DOF effect, while larger sizes produce more blur.
Center bias – Determines the uniformity of the DOF effect. A value of 0.0 means that light passes uniformly through the aperture. Positive values mean that light is concentrated towards the rim of the aperture, while negative values concentrate light at the center.
Sides – Allows you to simulate the polygonal shape of the aperture of real-world cameras. When enabled, the shape is assumed to be perfectly circular.
Get from camera – When enabled, the Focal distance is determined from the camera target if the rendering is done from a camera view.
Focal distance – Determines the distance from the camera at which objects are in perfect focus. Objects closer or further than that distance are blurred.
Anisotropy – Allows the stretching of the bokeh effect horizontally or vertically. If you want the ratio of height to width of the bokeh to be k:1, then the value for anisotropy should be sqrt(1/k)-1. For example, for anamorphic bokeh, which is 2.39:1, the anisotropy value should be -0.353.
Rotation – Specifies the orientation of the aperture shape.