V-Ray for Blender
V-Ray Mtl Coat
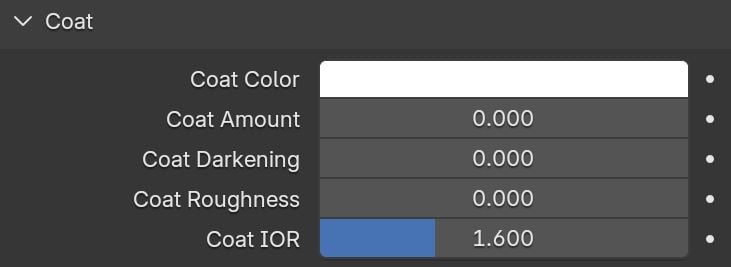
The Coat tab is part of the V-Ray Mtl parameters.
Last updated 12 June 2026
The Coat tab is part of the V-Ray Mtl parameters.
Input Sockets
You can access these sockets, when you roll out the Coat tab of the node. This section describes the input sockets of the node. They can be used to attach external nodes to determine these values.
Coat Color – Allows a color node to determine the color of the coat.
Coat Amount – Allows a float node to determine the amount of coat.
Coat Darkening – Allows a float node to determine the Coat Darkening property.
Coat Glossiness – Allows a float node to determine the glossiness of the coat.
Coat IOR – Allows a float node to determine the index of refraction of the coat.
Coat Anisotropy (-1..1) – Allows an integer-outputting node to determine the shape of the coat highlight. A value of 0.0 means isotropic highlights. Negative and positive values simulate 'brushed' surfaces. The accepted values are in the range from 0.99 to -0.99.
Coat Anisotropy Rotation – Allows an integer-outputting node to determine the orientation of the anisotropic effect in a float value between 0.0 and 1.0 (where 0.0 is 0 degrees and 1.0 is 360 degrees).
Coat Bump Map – This socket is where you can attach a Bitmap texture to determine the coat bump.
Coat Bump Amount – Allows a float node to determine the bump multiplier.

Properties
Coat Color – Determines the coat layer's color. A texture map can be used here.
Coat Amount – Specifies the blending weight of the coat layer. A value of 0 doesn't add a coat layer, while higher values blend the coat gradually.
Coat Darkening – Controls how the coat layer impacts the appearance of the underlying layers, dielectric or metallic. This effect emulates how a clear coat layer slightly darkens the underlying material due to light absorption and scattering, such as the effect you would see when applying a darker lacquer on top of a wooden surface. By adjusting this parameter, artists can create slight color changes, adding depth and making the render look more realistic.
Coat Glossiness – Controls the sharpness of reflection. A value of 1.0 means perfect glass-like reflection; lower values produce blurry or glossy reflections. When the Use Roughness option in the Reflection rollout is enabled, this parameter works as Coat Roughness (a value of 1 produces blurry reflections). When the Mode is set to OpenPBR, this property is renamed to Coat Roughness. It controls the reflections in the opposite way.
Coat IOR – Specifies the Index of Refraction for the coat layer.
Example: Coat Amount
This example shows how the Coat Amount value affects the look of the material. The base Reflection Glossiness is 0.76, and the Coat Glossiness is set to 0.985. Coat IOR is 2.2, and the Coat Color is the default white.

Coat Amount = 0

Coat Amount = 0.5
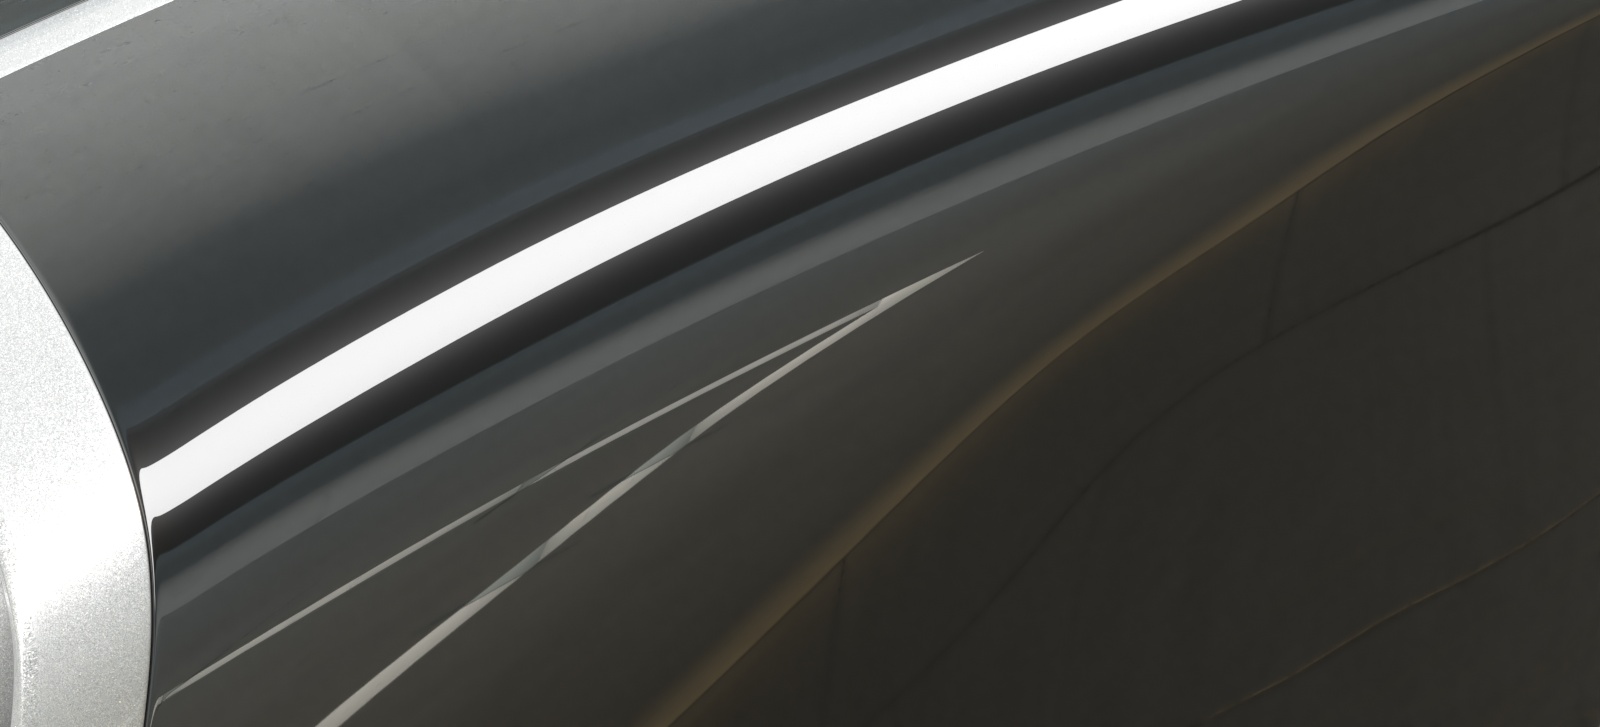
Coat Amount = 1.0
Example: Coat Glossiness
Coat Glossiness controls the sharpness of the coat reflection. In this example, the base Reflection Glossiness is set to 0.76, and the Coat Amount is set to 1. Coat IOR is 2.2, and the Coat Color is the default white. Notice how higher values produce a glossier reflection and lower values make it look blurry.

Coat Glossiness = 0.2
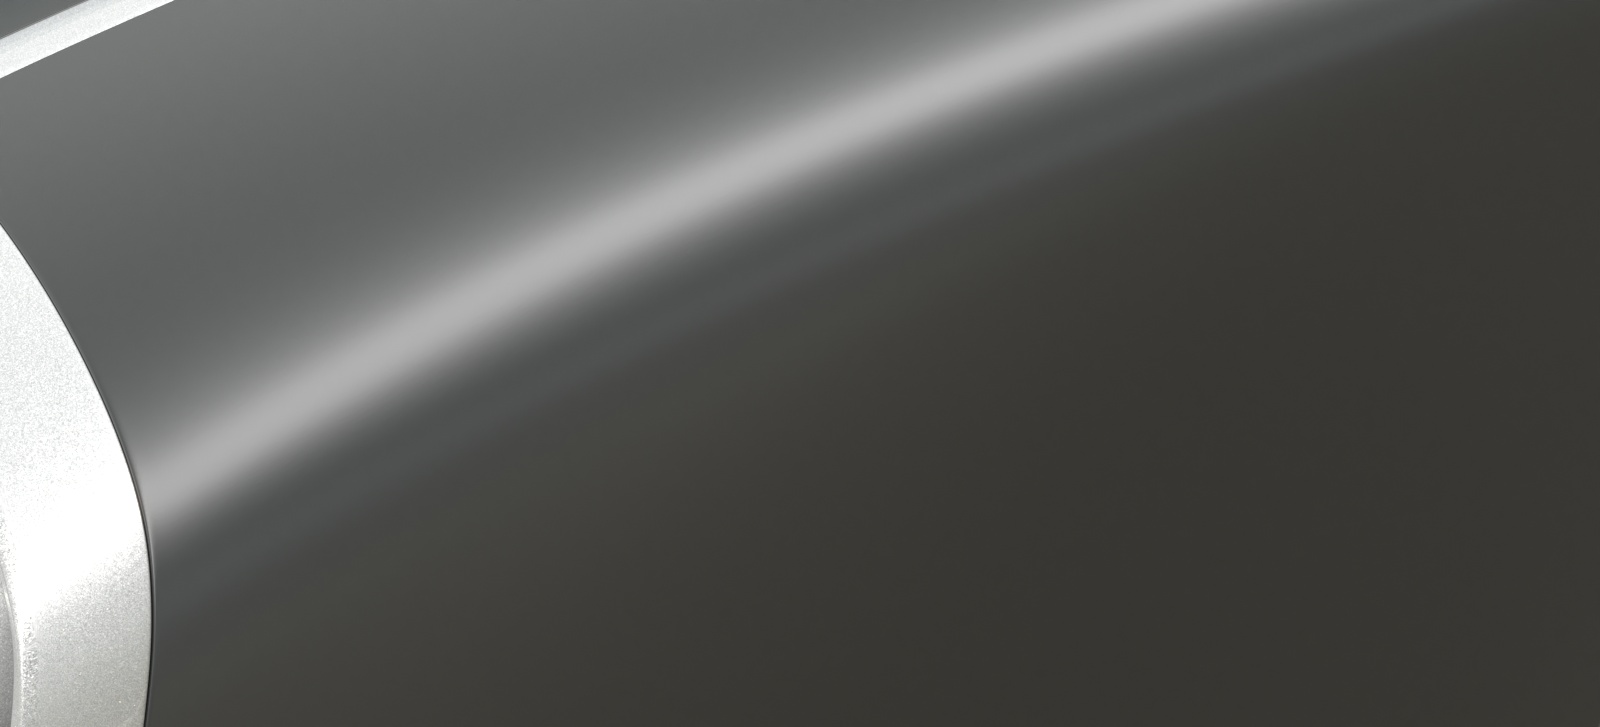
Coat Glossiness = 0.6
Click on the images to view them in full size

Coat Glossiness = 1.0
Bump
Coat Bump Lock – When enabled, it prioritizes the base bump map during rendering over the coat bump map. You can use it to temporarily hide the coat bump.
Coat Bump Amount – A multiplier for the bump effect.
Coat Bump Type – Specifies whether a bump map or a normal map effect is added:
Bump Map – Uses a bump map to determine the bump effect of the material.
Normal Map in tangent space – Uses a tangent normal map to determine the bump effect on the material.
Normal Map in object space – Uses an object space normal map to determine the bump effect on the material.
Normal Map in screen space – Uses a screen space normal map to determine the bump effect on the material.
Normal map in world space – Uses a world space normal map to determine the bump effect on the material.
From texture bump output – Uses the texture bump output to determine the bump effect on the material.
Explicit normal – Sets the normals to adhere to a specific value rather than being dependent on a face. As a result, any changes made to the position of a face do not affect the normals, which remain unchanged.

See Previous: | See Next: |
See Previous: | See Next: |