V-Ray for Cinema 4D
Distributed Rendering
This page provides information on Distributed Rendering (DR2) in V-Ray for Cinema 4D.
Last updated 10 December 2025
This page provides information on Distributed Rendering (DR2) in V-Ray for Cinema 4D.
Overview
Distributed Rendering (DR) is a technique intended to speed up rendering by dividing the rendered image into individual regions (buckets). Each machine on the network is then given a number of regions to render, and the machine that started the process gets the results and combines them into the final image.
In contrast to a regular Render Farm, where the rendering process is sped up by utilizing multiple render nodes to render multiple animation frames in parallel, Distributed Rendering (DR) is used to speed up the rendering of a single frame.
V-Ray uses the following convention to refer to the render nodes on the network:
- Render Client – The machine from which the rendering is started. It divides the frame into rendering regions and spreads it across the network. It distributes data for processing and collects the results.
- Render Server – One of the nodes on the network that does the rendering work. A Render Server requests render data from the Render Client, processes it, and sends the result back. If any of the servers fail, you will get a notification, and the Render Client will try to reassign the buckets to another server.
- Render Dispatcher – This can be the Render Client or another machine. The Render Dispatcher distributes the render regions to the Render Servers.

Distributed Rendering Setup
For information on Distributed rendering settings in Cinema 4D, please see the Common tab page.
The complete setup follows these steps:
- Install only the Standalone version of V-Ray for Cinema 4D on each render server machine. Start the Installer and choose the Advanced option. Select the Standalone only option as shown in the screenshot.

- Now that everything is set and ready to go, we need the additional computers to start listening for render jobs on the network.
- On Windows, you can start the executable by navigating to the Start menu and selecting the Launch V-Ray render server tool for V-Ray for Cinema 4D.
Alternatively, enter the command:
<code data-v-c2b1f83f=""><span data-v-c2b1f83f="" class="line">C:\Program Files\Maxon Cinema 4D XXXX\plugins\V-Ray\res\libs\win64\vray.exe -server</span></code>
Replace XXXX with your version of Cinema 4D.
- On macOS, you can start the executable from /Applications/Chaos/V-Ray/Cinema 4D XXXX/vray/bin/vrayserver.Alternatively, enter the followind command in Terminal:
<code data-v-c2b1f83f=""><span data-v-c2b1f83f="" class="line">/Applications/Maxon Cinema 4D XXXX/plugins/V-Ray/res/libs/osx/vray.bin -server</span></code>
Replace XXXX with your versions of V-Ray and Cinema 4D.
- Set the Render Dispatcher. The Dispatcher can be the localhost or another machine. In principle, the Client doesn't participate in rendering. Depending on the setting (if Remote Dispatcher is enabled or not), only the Dispatcher and the Servers do.
If you want to run the Dispatcher headless on a separate machine from the Client machine, use the following command:
- For Windows:
<code data-v-c2b1f83f=""><span data-v-c2b1f83f="" class="line">C:\Program Files\Maxon Cinema 4D XXXX\plugins\V-Ray\res\libs\win64\vray.exe -run-dispatcher=2</span></code>
- For macOS:
<code data-v-c2b1f83f=""><span data-v-c2b1f83f="" class="line">/Applications/Maxon Cinema 4D XXXX/plugins/V-Ray/res/libs/osx/vray.bin -run=dispatcher=2</span></code>
Value of 1 starts in server mode with the ability to act as a DR Dispatcher. A value of 2 uses the Dispatcher to also help with the actual rendering as a server. This host, however, cannot be used as a server with someone else's Dispatcher.
If you want your local machine to act as both the Dispatcher and the Client, you don’t need to do any extra steps. Everything can be done on the Client side. The Dispatcher can’t be changed during rendering.
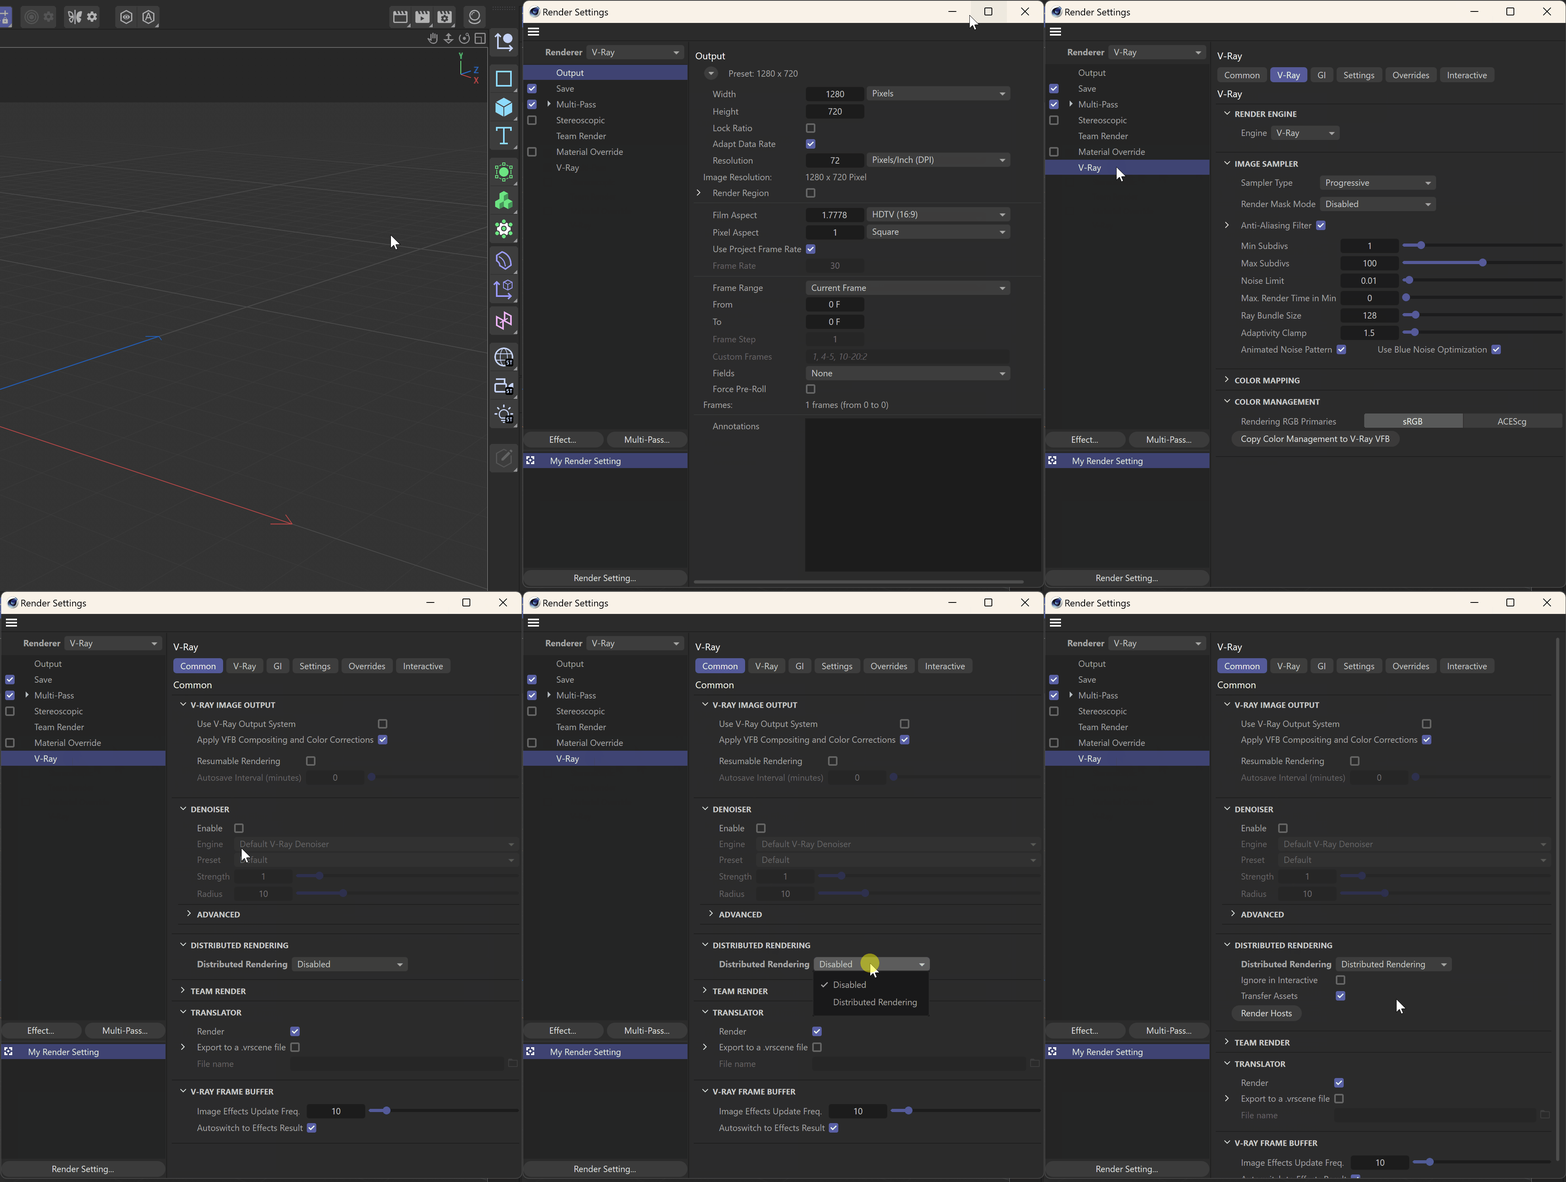
- Now we can set the Distributed Rendering settings on the host machine. Open the Render Settings > V-Ray > Common and scroll to find the Distributed Rendering sub-menu. To enable Distributed Rendering, select Distributed Rendering from the dropdown menu. The default values of the revealed properties work fine in most scenarios. If you would like to learn more about them, see the Common Tab page.
To set the Render Servers and Render Dispatcher, click on the Render Hosts button. This opens the V-Ray Distributed Rendering window.
- In the Distributed Rendering window, you can set whether you will use a Remote Dispatcher, the Hosts, and whether you want to render on the current machine.
Render on Local Machine – When enabled part of the render is also distributed to the current machine. This option is not available if Remote Dispatcher is enabled. If you are using a Remote Dispatcher, the render is always distributed to the current machine.
Remote Dispatcher – When enabled, the render is dispatched using the specified machine. Enter the IP address or the Name of the machine in the network which will dispatch the render job to the Hosts. Leave the Port number at its default value of 20209.
When you enter a Host IP or Name in the corresponding field, click Add Server to add that machine to the server list. Leave the Port number at its default value of 20209. You can later edit, include, or exclude from Distributed Rendering (using the Toggle button), or Remove that server from the list.

DR Check tool
The DR Check tool can be used to query the state of render servers, the number of processors on the server machine and the V-Ray version of the server.
Location:
Depending on your OS, the vraydr_check executable is located as follows:
Windows – Start Menu > All Programs > Chaos Group > V-Ray for Cinema 4D nn > Tools or alternatively start the .exe in a command-prompt from C:\Program Files\Chaos Group\V-Ray\Cinema 4D nnnn\bin
Note: nn is the Cinema 4D version
Usage:
<code data-v-c2b1f83f=""><span data-v-c2b1f83f="" class="line">vraydr_check -host=IP -port=num</span></code>
Note: IP is the IP address of the machine that is running a V-Ray render server and num is the number of the port (by default it's 20207). Example: vraydr_check -host=10.0.0.100 -port=20207
Return values:
- The state of the server: busy or ready, depending on whether the server machine is currently rendering or it's available for new render tasks.
- The number of CPU threads on the server machine. Example: Num processors: 8.
- The version of V-Ray installed on the server machine. Example: V-Ray version info: Rev 26840 Jun 29 2016.
- The V-Ray core version. Example: V-ray core version: 3.25.01.
In case a connection cannot be established with the server, the tool prints this message: Failed to connect to server 1.0.0.100:20207
This could mean that either something is blocking the connection, or the server is not running at all on the specified IP address.
Notes
- When you cancel a DR rendering, it might take some time for the render servers to finish working and they might not be immediately available for another render.