V-Ray for Cinema 4D
How to Use Matte Objects
This tutorial explains how you can make any object a shadow catcher.
Last updated 19 September 2025
This tutorial explains how you can make any object a shadow catcher.
Overview
The Shadow Catcher is a Matte object that is not directly visible in the scene but shows the received shadows. This is ideal for adding 3D geometry to an image. The shadows create the illusion that the object is actually placed inside the image.
For this tutorial, we use a car geometry from the Chaos Cosmos Browser and a Dome Light with an HDRI texture applied, sourced from Poly Haven. This is how the render looks before and after adding a matte object.
Want to follow along but don’t have a license?
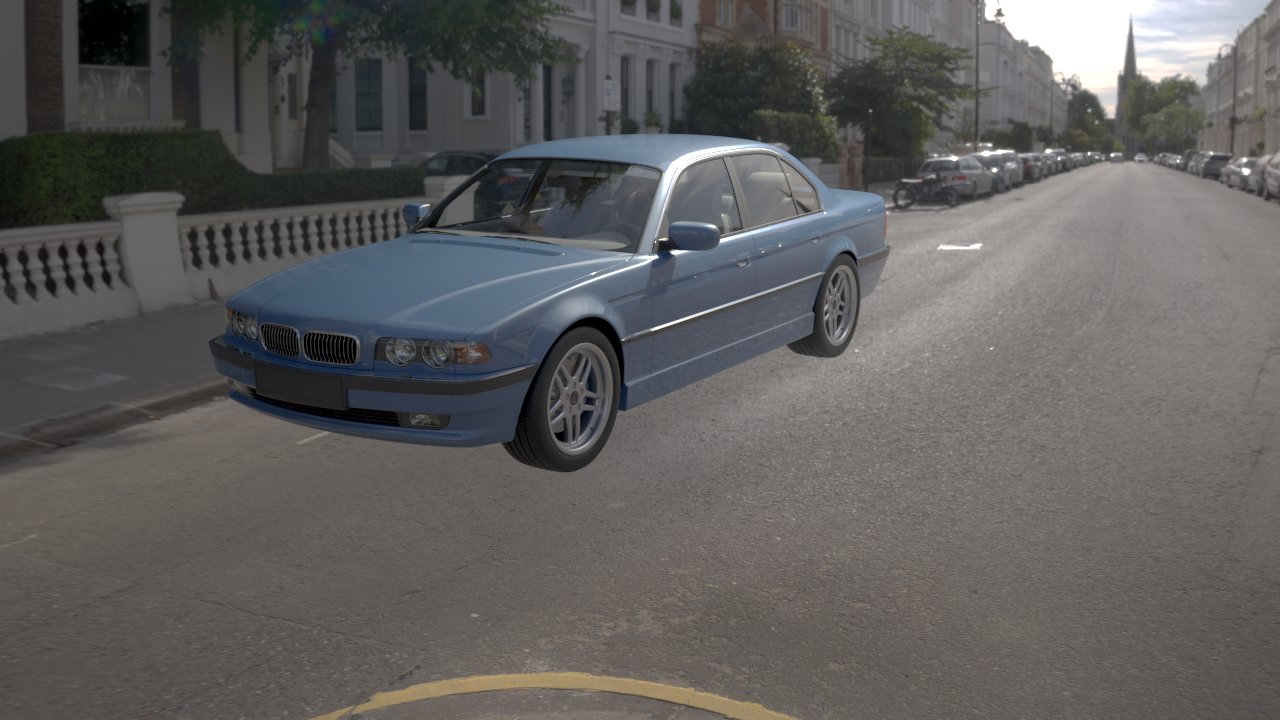
Without Shadow Catcher
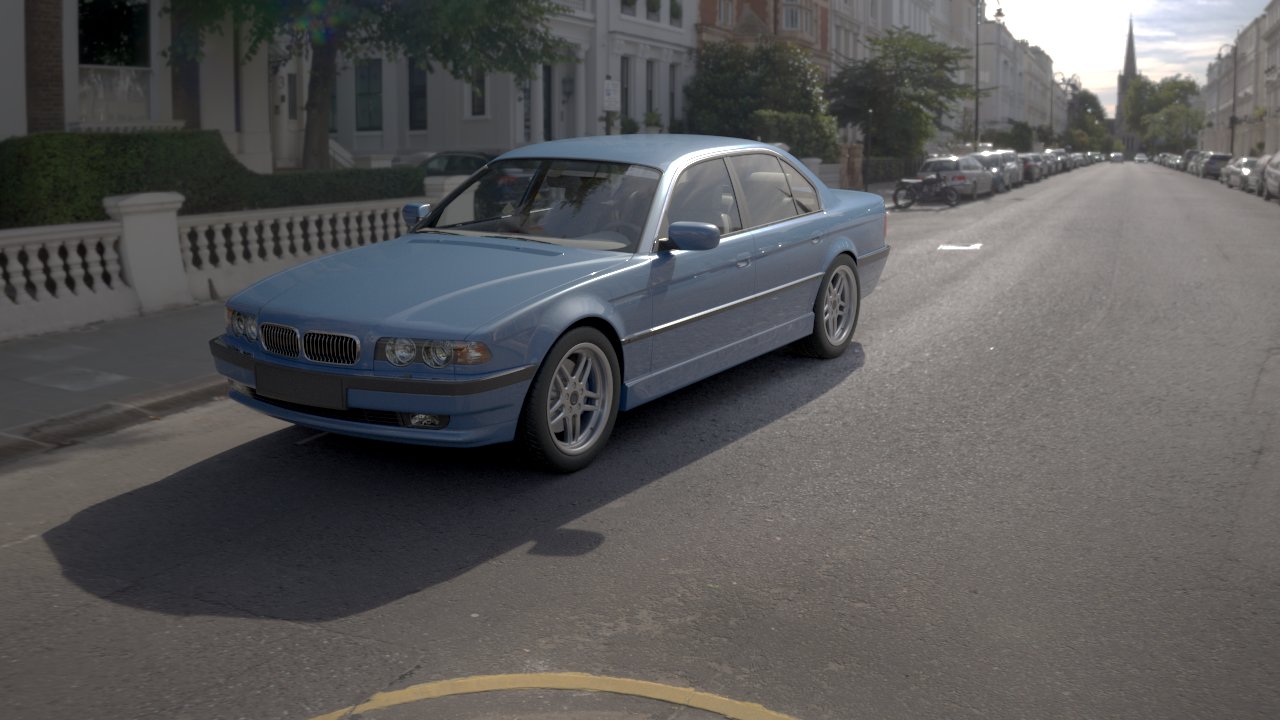
With Shadow Catcher
Steps
There are two methods for making an object a Shadow Catcher:
- Setting the options manually
- Using the Make Shadow Catcher tool from the V-Ray menu.
The Make Shadow Catcher tool automatically adds the VRayObjectProperties settings, which we will explore in step 2. However, setting these options manually gives you greater control, allowing some more artistic effects.
For this tutorial, we will go through the physically-accurate settings, but feel free to adjust the options to your liking.
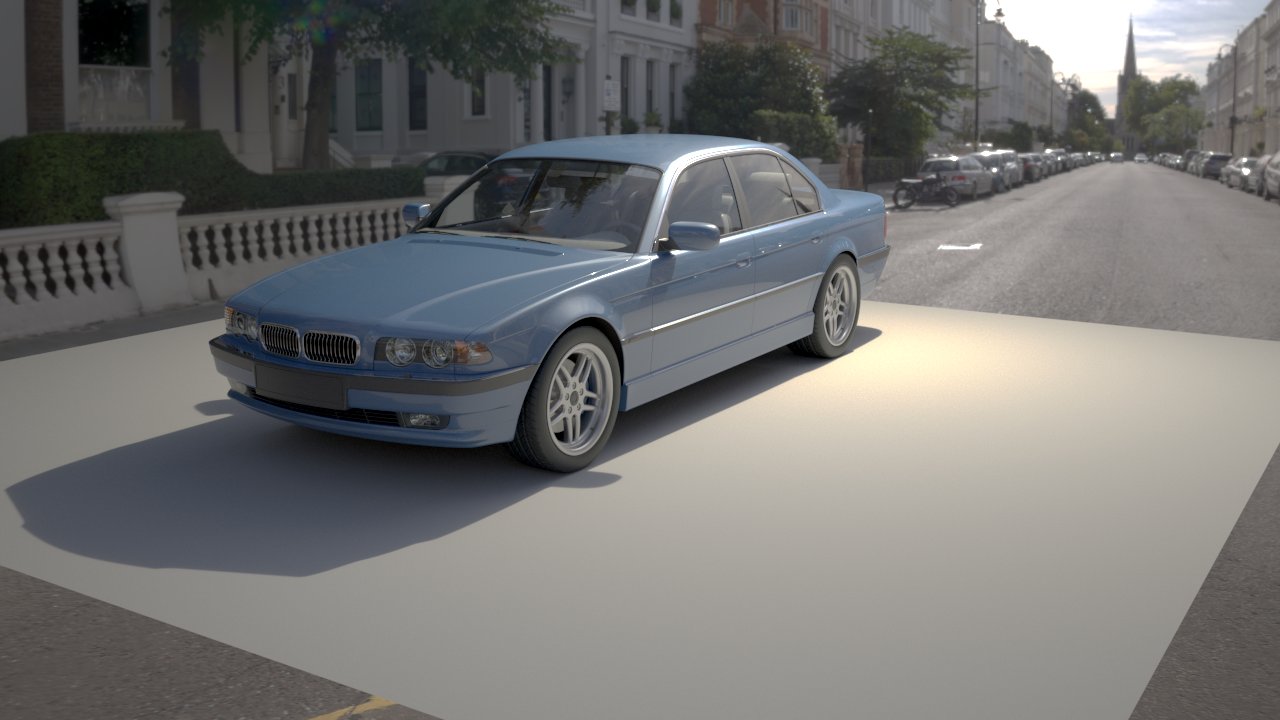
- Add a Plane geometry and place it under the object that is casting the shadow. The geometry can be any shape; a Plane is used, as we are creating a shadow on the 'ground' of the HDRI.
You can see that now the object is casting a shadow, but the plane is visible, so it does not look like the car is on the street.

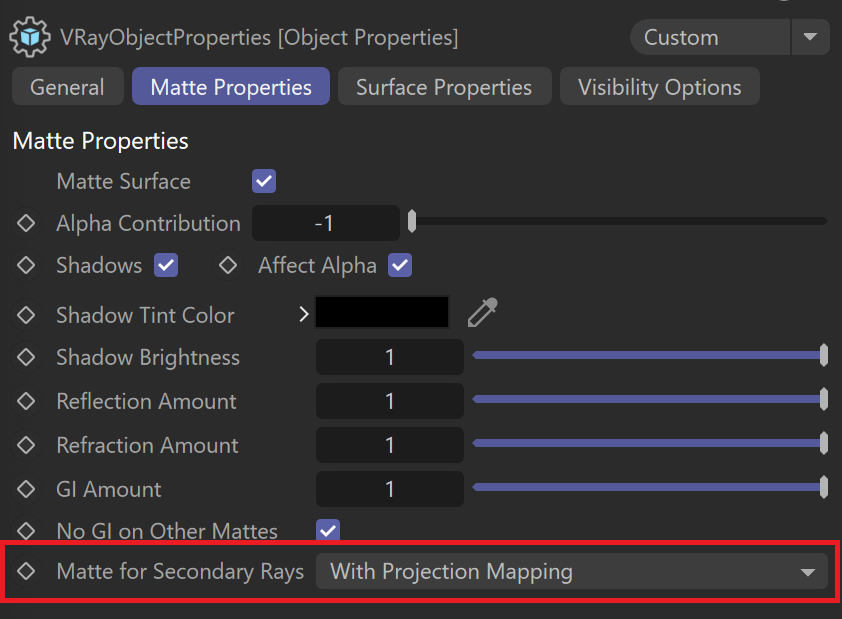
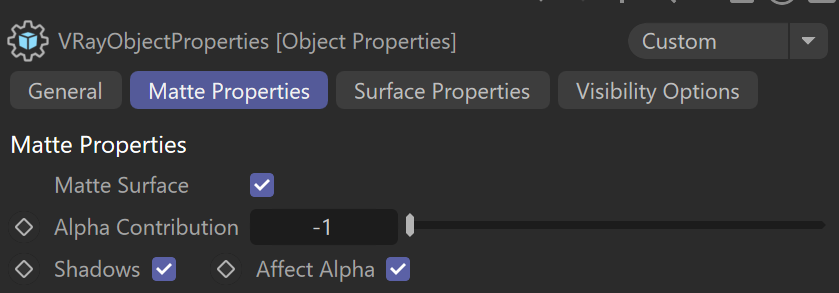
2. In the Objects Manager, select the car geometry and go to Tags > V-Ray Tags > Object Properties. You can now find the icon in the car's tags list. Open the VRayObjectProperties attributes, go to Matte Properties, and set the following values:
- Enable Matte Surface
- Set Alpha Contribution to -1. This allows the received shadows to take away from the alpha information for later compositing.
- Enable Shadows. This allows the object to receive shadows.
- Enable Affect Alpha. This option determines whether the received shadows affect the alpha. The Alpha Contribution specifies whether to add to the alpha when set to 1.0. When the option is set to -1.0, it takes away from the alpha. When set to 0.0, it leaves the alpha unchanged.
These settings turn the object into a matte object, meaning that it is not visible in the scene but only receives shadows.
This is how the render looks with the Plane as a Shadow Catcher. This is the result that the Make Shadow Catcher tool renders also. Now, the car geometry looks like it is actually placed in the image.
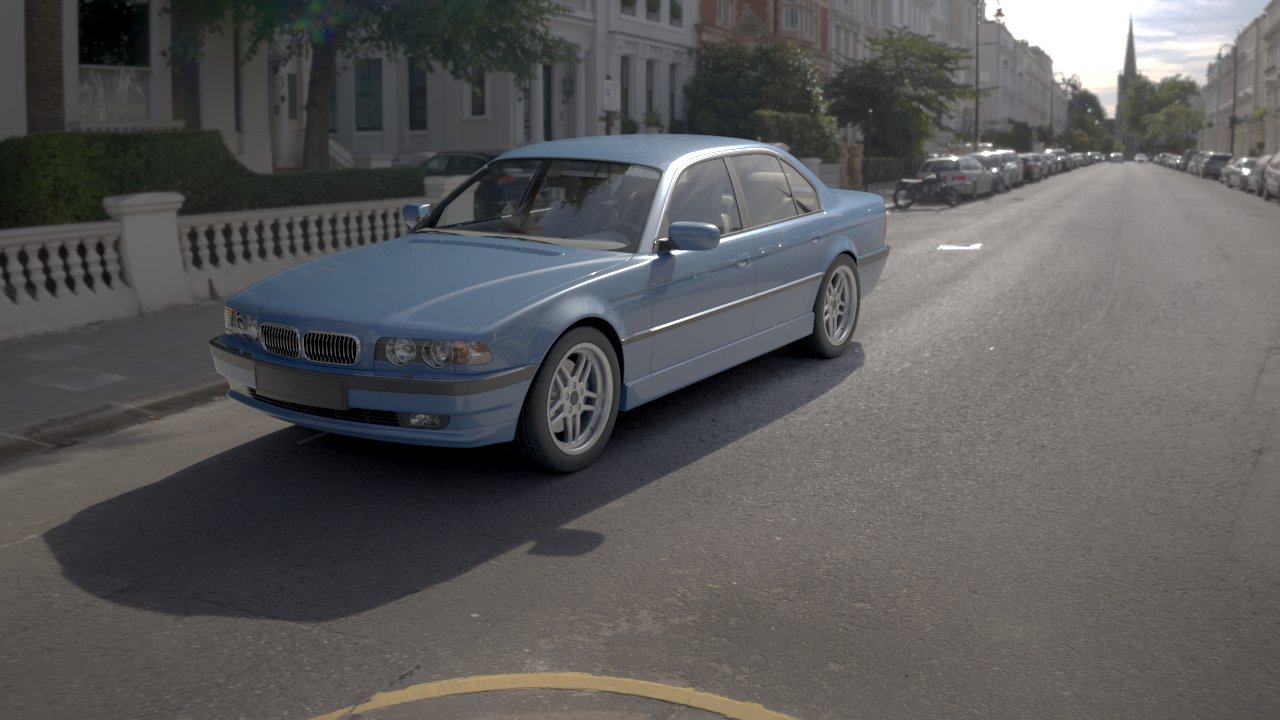
3. For added realism, set the Matte for Secondary Rays option in the Matte Properties to With Projection Mapping. This enables the matte object to project the environment back onto the objects in the scene. This option is not set automatically by the Make Shadow Catcher tool, so consider adding it manually to the Object Properties. Now, we can see that the side of the car reflects the road, not the plane geometry.