V-Ray for Cinema 4D
Node Textures
This page provides information about the Texture nodes in V-Ray for Cinema 4D.
Last updated 10 July 2026
This page provides information about the Texture nodes in V-Ray for Cinema 4D.
Overview
V-Ray Node Space offers a number of nodes and node categories. Some of the nodes are texture nodes, used as utility or surface maps.
Nodes
V-Ray Node Textures have several categories - Color, Context, Material Generator, and Math. See the table for links and descriptions of each node.
Color
Node | Description |
|---|
Node | Description |
|---|---|
Converts a normal or bump map into a glossiness map. | |
Assigns a flat color. | |
Extracts only one color channel out of a given texture. | |
Applies various color corrections to a Bitmap node. | |
Remaps textures from an old range to a new range of values. | |
Converts a color or texture into a floating point value. | |
Multiplies a texture with a color. | |
Multiplies a texture with a float value. | |
Composes a color output from the basic channels of a color. | |
Converts the input scalar texture to a grayscale color. | |
Inverts the texture colors. | |
Outputs the inverted result of a float input texture. | |
Stacks multiple textures on top of each other in order to mix their output. | |
Wraps a color texture and outputs its luminance. | |
Adds a mask to a texture. | |
Blends between two colors or textures. | |
Distributes multiple textures to many objects. | |
Reads a normal map from a file. | |
Applies OpenColorIO (OCIO) color transformations to textures to manage their look. | |
Generates a random float or color value based on an input seed value. | |
Gives a material a different color or texture when it is viewed through shadows, GI, reflections, and refractions. | |
Remaps different types of values. | |
Converts a color from an RGB color model to an HSV color model. | |
Allows quick assignment of Bitmaps and other 2D textures on objects that don't have suitable UV coordinates. | |
Converts UVW coordinates, provided by a Context node, to color. |
Context
Node | Description |
|---|
Node | Description |
|---|---|
Adjusts the pattern of various maps according to the UVW of other maps. | |
Specifies which UV channel from the loaded Bitmap node is read. | |
Changes the object's UV position, scale, sheer, and rotation. | |
Adjusts the placement, rotation, and repetition of 2D material generator nodes. | |
Controls the UVW placement of the Bitmap node. | |
Applies random offset, rotation, and scale to texture nodes assigned to a single object with different Face IDs or different objects. | |
Adjusts a Bitmap Node in position, rotation, scale, and sheer. |
Math
Node | Description |
|---|
Node | Description |
|---|---|
Performs an arithmetic operation between two colors/textures. | |
Compares two float values. | |
Performs mathematical operations on float values. | |
Performs multiplication operations on two vectors. |
Material Generator
Node | Description |
|---|
Node | Description |
|---|---|
Loads image files into the scene. | |
Creates a procedural effect that mimics closely packed cells. | |
Generates a procedural checkerboard texture. | |
Samples the underlying mesh for curves and creates a grayscale model of it. | |
Simulates a variety of effects: for example, dirt around the crevices of an object, or produces an ambient occlusion pass. | |
Returns a different color based on a point's distance to objects specified in a selection list. | |
Outlines all the edges of the geometry, achieving an effect similar to the Lines shading in the viewport. | |
Produces a gradient texture based on the angular falloff of the surface of the geometry | |
Blends two colors or maps based on the angle of view and an Index of Refraction. | |
Generates a procedural grid pattern using custom colors. | |
Provides extra output options, which can be used when shading hair. | |
A V-Ray implementation of the Noise texture found natively in Cinema 4D. | |
Generates a procedural noise texture. | |
Add toon-like outlines to node materials. | |
Create the illusion of depth to simulate interiors. | |
Reads the attributes of the particle system and outputs the data to a material node. | |
Creates different types of gradients. | |
Provides information about the scene, with the choice to show any of various aspects as color blocks. | |
Generate a procedural texture that gives a smoke-like effect. | |
Can be used in a V-Ray light to create the illumination coming from a Soft Box light source. | |
Creates a procedural effect that mimics a splatter, similar to the way paint can splatter onto a surface. | |
Creates a procedural effect that produces a surface similar to an uneven, almost dented stucco surface. | |
Loads Open Shading Language OSL shader code files (.osl) or OSL object code files (.oso). | |
Generates a versatile procedural tile texture. | |
Reads user-defined object properties from the current material and converts them to a color value. | |
Reads and returns a single integer value from the currently shaded object as a result. | |
Reads and returns a single number value of the currently shaded object as a result. | |
Allows you to use vertex color mapping with a mesh. |
How to Create Node Textures
For Cinema 4D version R25 and later
Make sure V-Ray is your Renderer. This is done through Render Settings > Renderer.
Go to the Material Manager and from Create > Materials, select New Node Material.
Alternatively, go to V-Ray > V-Ray Node Materials and select a V-Ray surface material from the list. If the Separate menu for V-Ray materials option in the Preferences is disabled, go to Create > V-Ray > V-Ray Node Materials.
The Node editor opens and you can now work with all available V-Ray nodes.
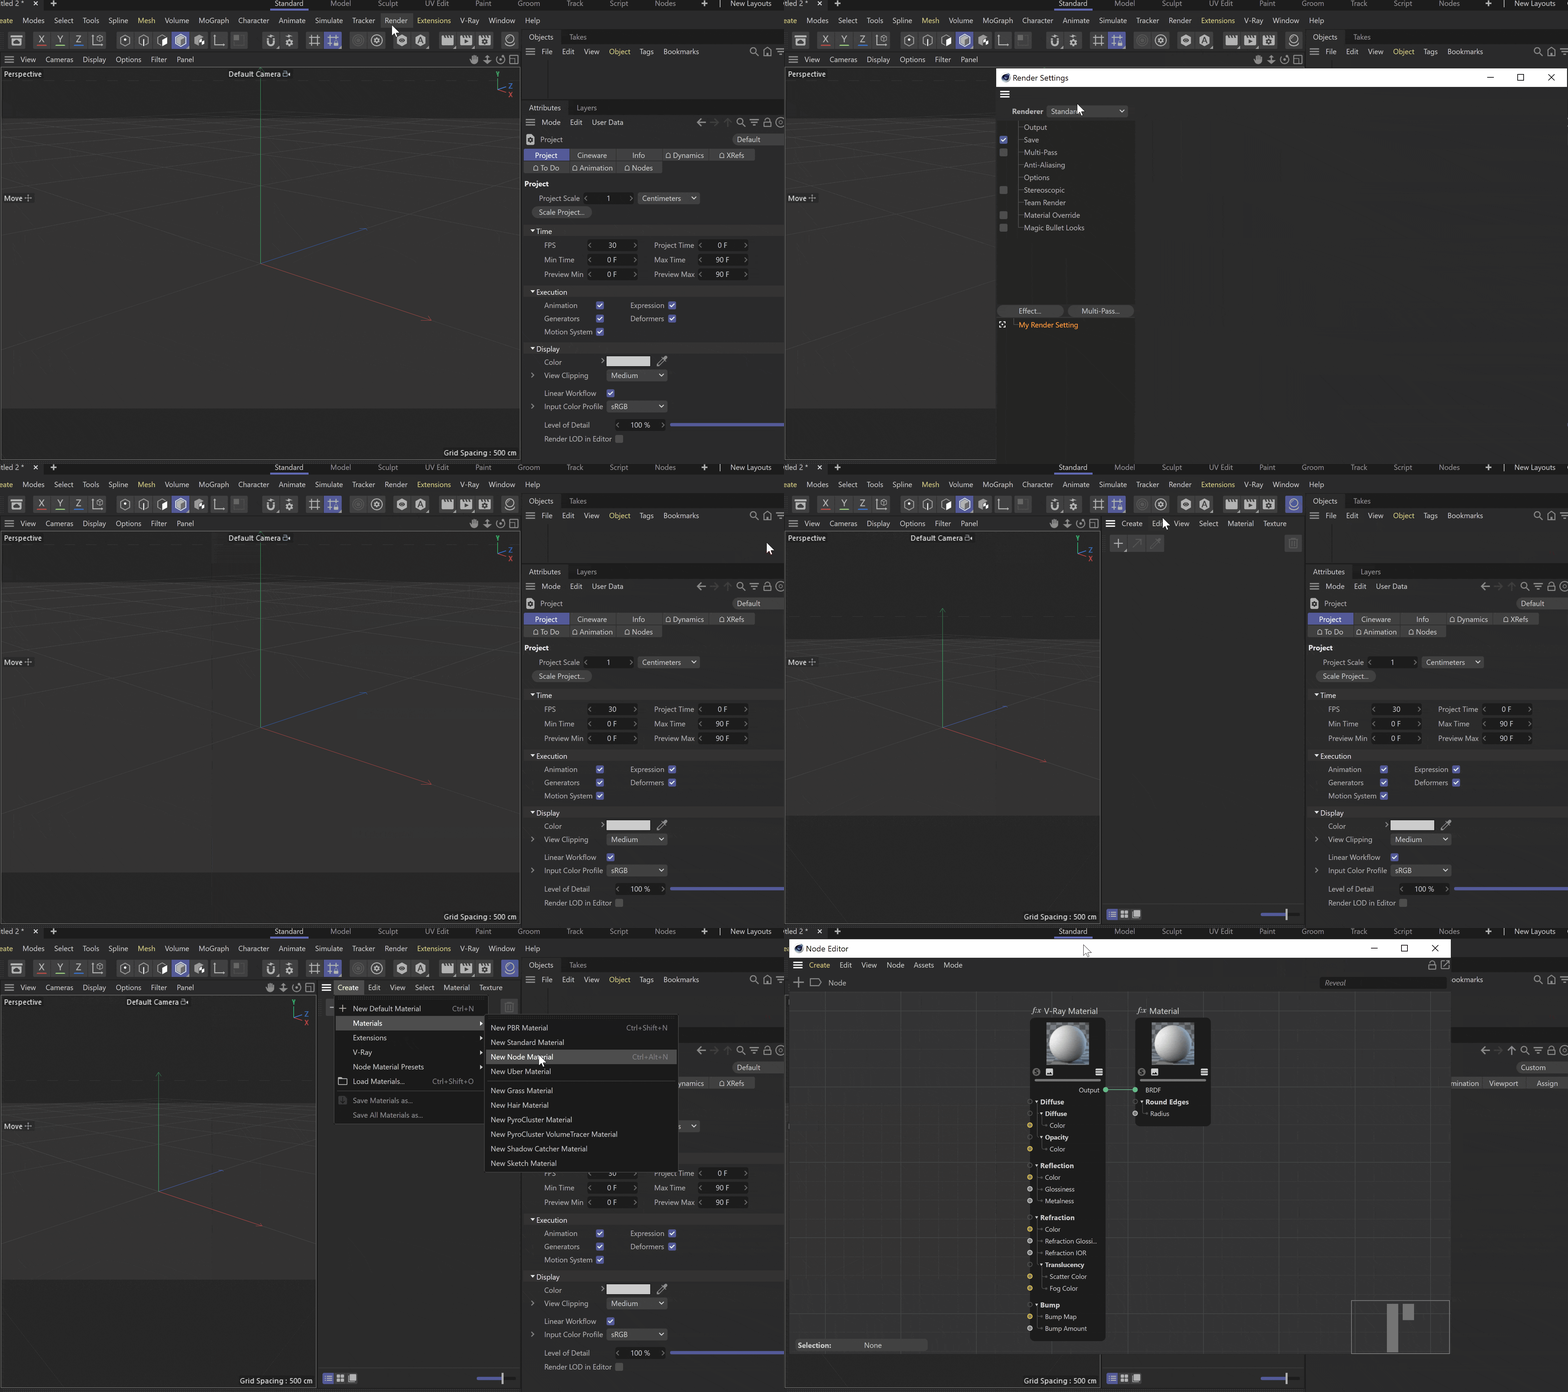
Click on the GIF to view it in full size
For Cinema 4D up to version S24
First, make sure you work in the V-Ray Node Space. You can select it from the drop-down menu of the Node Space option.
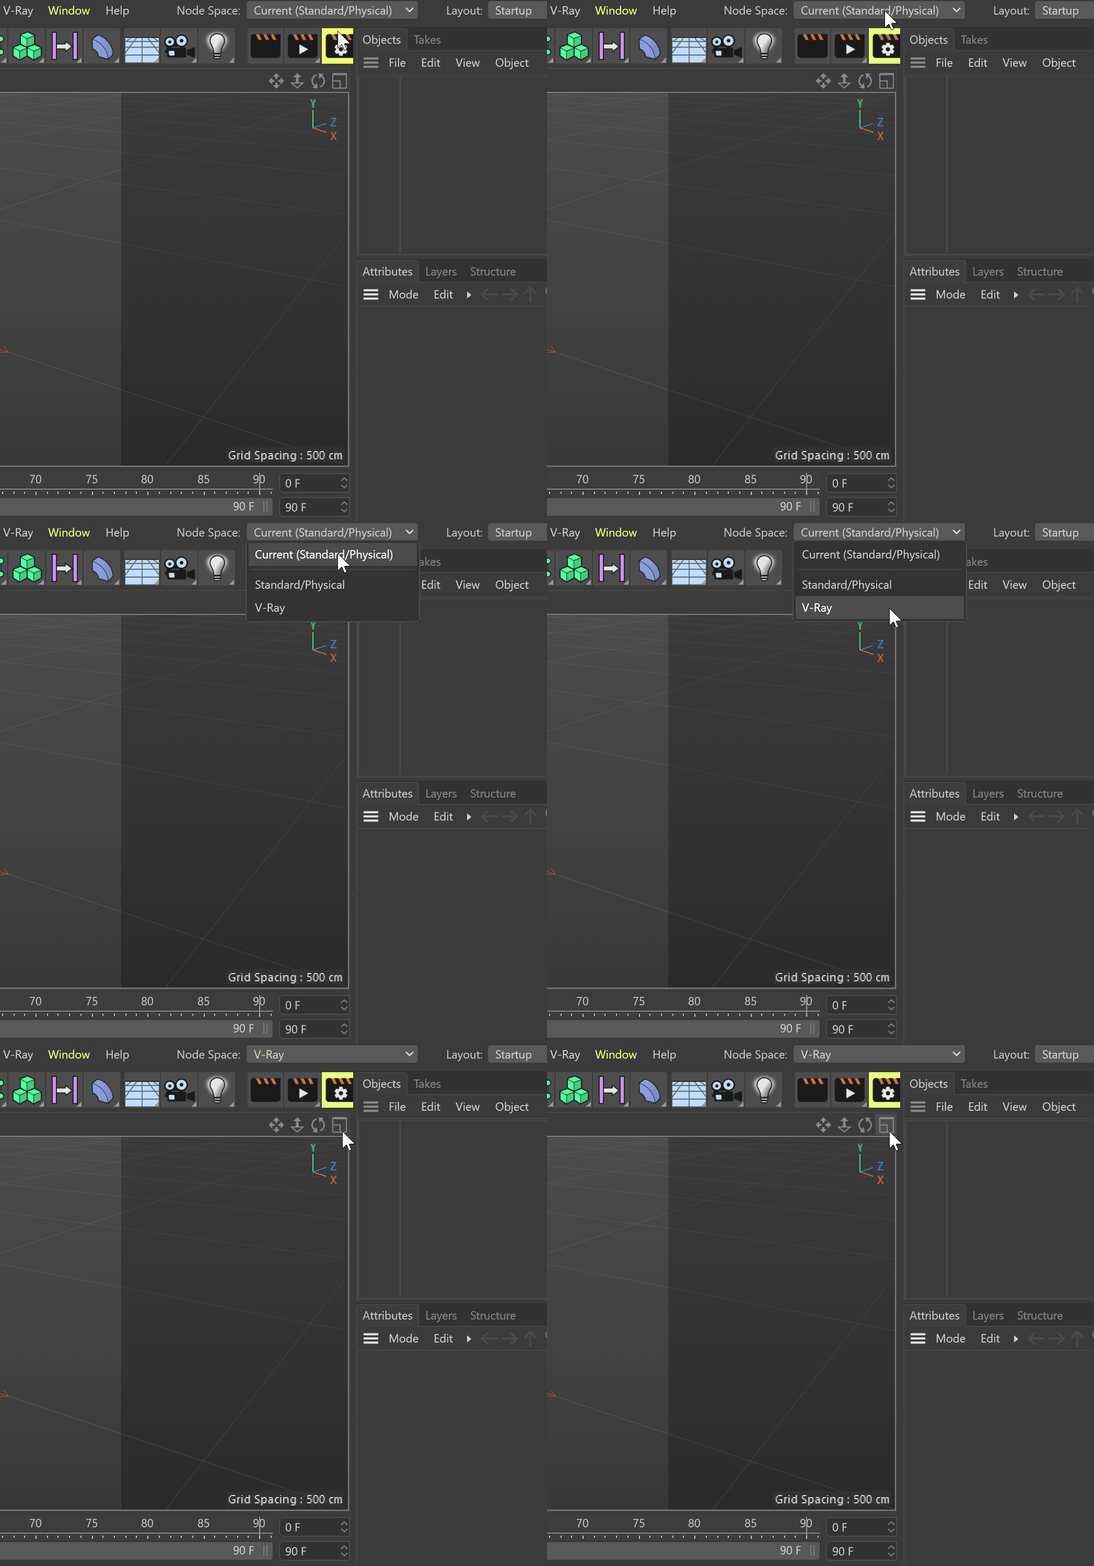
Click on the GIF to view it in full size
Then, go to the Create menu > Materials and select New Node Material option.
New Material node is created. When double-clicked on it, the Node Editor is opened. Now you can work within the Node Editor by creating and adjusting V-Ray nodes.
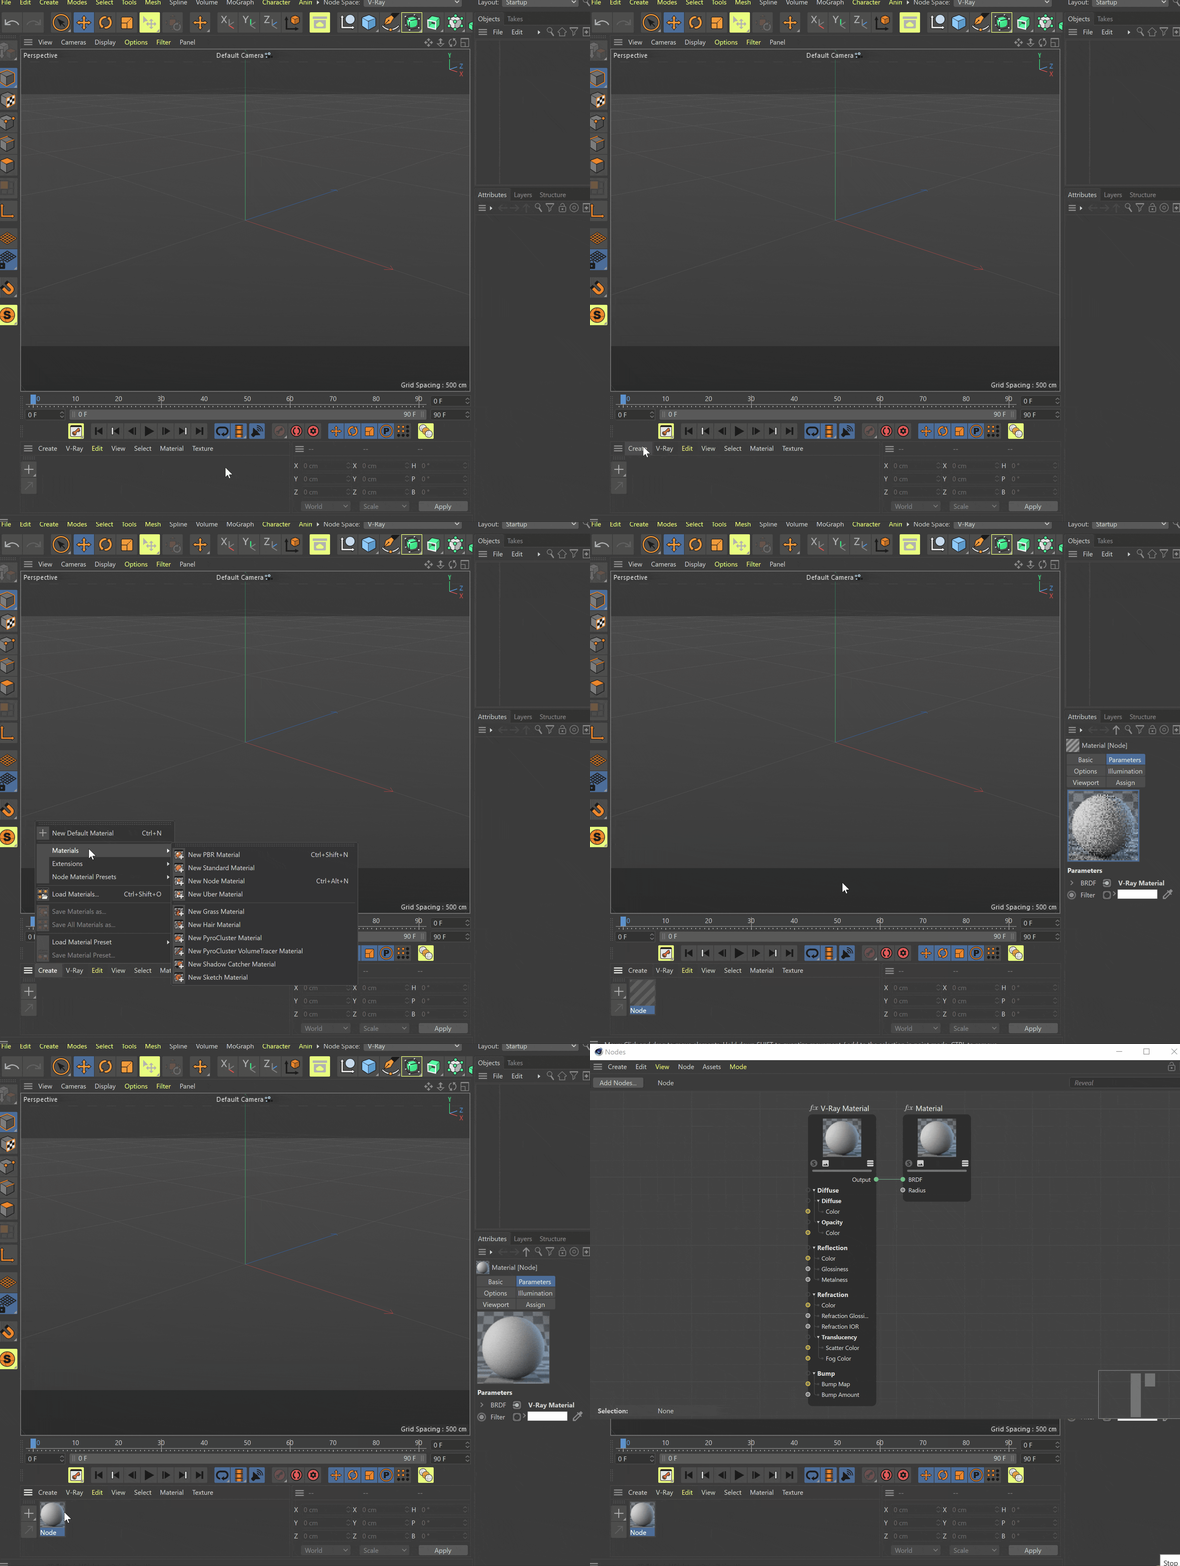
Click on the GIF to view it in full size
IO Nodes
- If you are working with Floating IO nodes, note that they are not compatible with V-Ray. When you transfer a scene from Cinema 2025 to Cinema R26, an extra node Group is added. To work around this, delete the Group and link the node directly to the V-Ray Material.
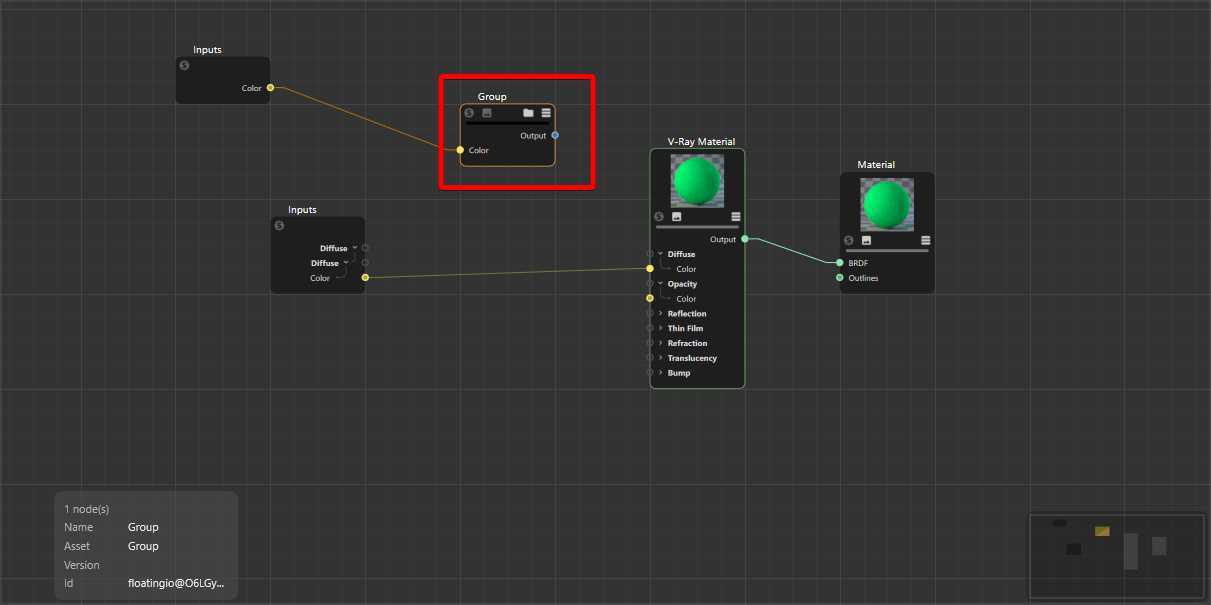
Node Editor in Cinema R26