V-Ray for Maya
Chaos Scatter
This page provides information about Chaos Scatter integration in V-Ray for Maya.
Last updated 2 July 2026
This page provides information about Chaos Scatter integration in V-Ray for Maya.
Overview
Chaos Scatter is a powerful instancing and distribution tool that allows you to easily populate scenes with selected objects. This is especially useful for outdoor scenes that need to be filled with greenery, rocks, grass, etc.
See the video for an example workflow.
When working with multiple Scatter geometries, utilize the Chaos Scatter Lister. It provides general controls for all the Scatter geometries in the scene, allowing for easy management. For more information, see the Scatter Lister section of this page.
youtu.be
UI Paths
UI Path: V-Ray menu > Chaos Scatter > Create Chaos Scatter
UI Path: V-Ray menu > Chaos Scatter > Chaos Scatter Lister

UI Path: V-Ray shelf > Chaos Scatter button

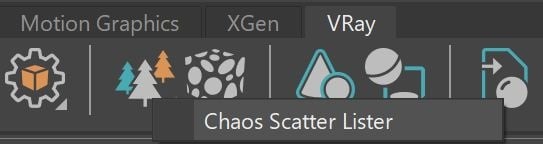
Right-clicking on the toolbar icon reveals the additional option to open the Chaos Scatter Lister.
Workflow
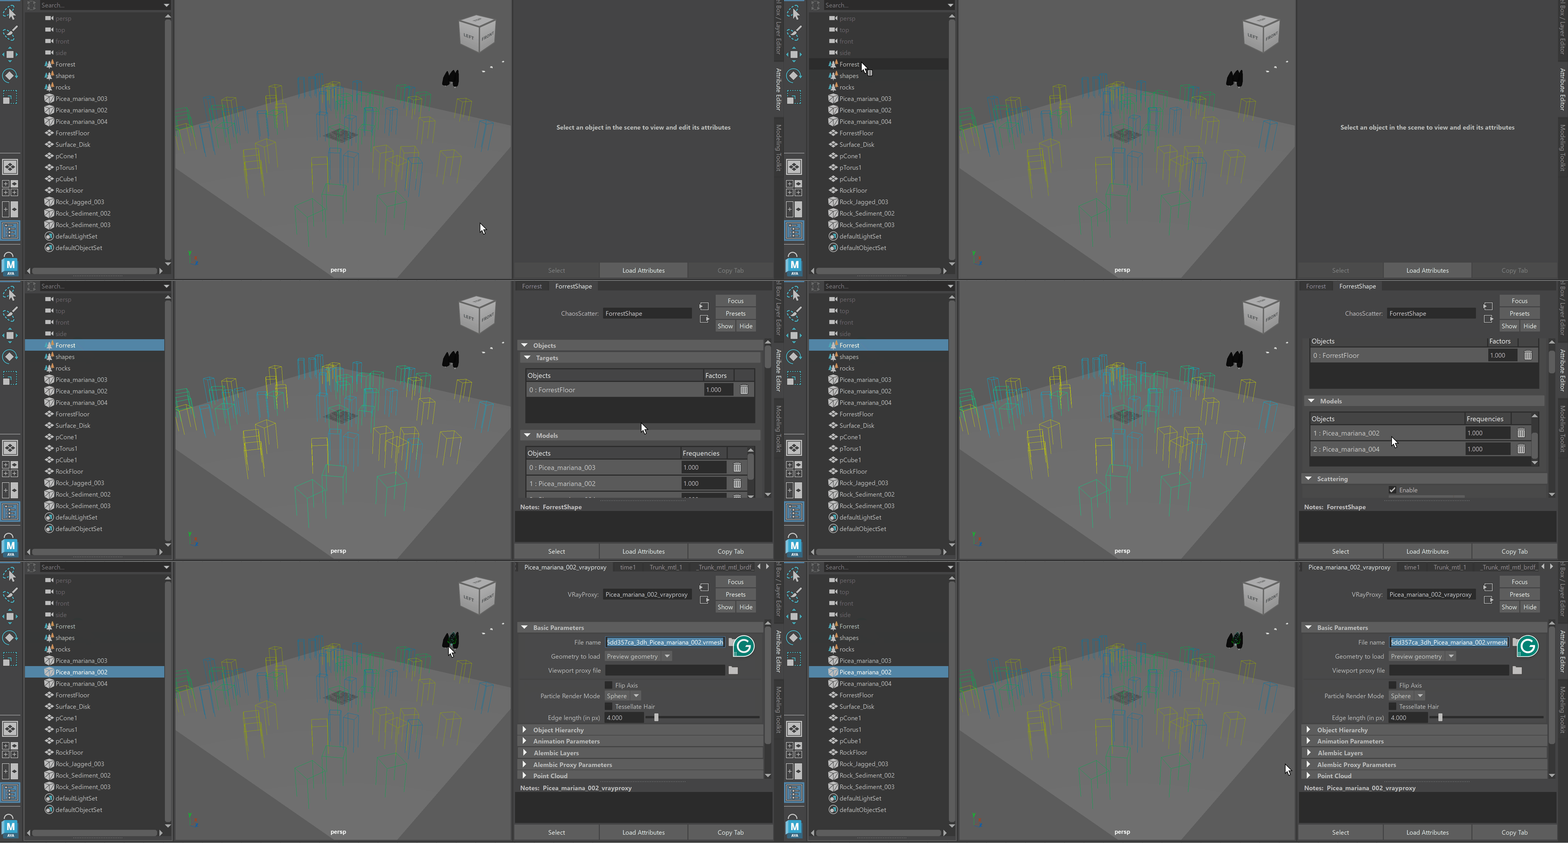
To use Chaos Scatter within Maya, go to the V-Ray shelf and click the Chaos Scatter button.
Add your target object in the Targets Objects field. These are the objects that have models scattered over them.
Then, add the scattering object into the Models field - this is the model that scatters over.
You'll see the result immediately in the viewport.

Objects
Targets * – Specifies the object(s), on which the instances are scattered. Targets can be mesh objects, curves (including splines) and proxies.
Factors – This option is only available when On Surfaces scattering is set to Random distribution or the scattering mode is set to 3D - In Bounding Box. Determines how many instances are scattered on the currently selected Targets object(s). Note that for the Factors option to work correctly, you need at least two target objects.
Models * – Specifies the objects which are scattered on the Targets object(s). Models can be mesh objects, proxies, Volume Grid, and lights.
Frequencies – This option is only available when there are more than one Models objects. Determines the frequency of the currently selected instanced object in relativity to the others.

Double-clicking on an object in the Models list switches the Attribute Editor selection to that object.
Scattering
Enable – Enables scattering.
Scatter Type – Specifies in which mode scattering is applied.
1D - On Curves – Scattering mode where objects are scattered along curves. Open or closed curves can be used for this.
2D - On Surfaces – Scattering mode where objects are scattered on surfaces. It doesn't matter if the surface is horizontal, vertical, or part of a complex 3D object. Closed splines can also be used in this mode. In that case, instances are distributed in the area enclosed by the spline.
3D - In Bounding Box – Scattering mode, where objects are scattered inside the object's bounding box. Keep in mind that bounding boxes are cube-shaped; therefore, using this mode on a round object scatters instances in a cube around it. This mode is useful when scattering dust particles inside a room, fish in an aquarium, books on a bookshelf, and similar objects.
Seed – Determines the random distribution used. Changing this value causes random permutations of the scattered objects(s).
Temporal Consistency – When enabled, instances are scattered in the selected Rest-pose Frame and stick to the surface, even if they get deformed in other frames. Otherwise, instances get scattered in each frame separately, which might cause anomalies. Note that Temporal Consistency does not work in IPR yet.
Rest-pose Frame – Determines the initial frame, where the instances are scattered for all following frames. The specified frame with Rest-pose must correspond to the first frame of the animation.
Avoid Collisions – When enabled, instances colliding with each other get discarded. This results in no overlaps between instances. Note that enabling this option might lower the number of instances.
Avoid Collisions Spacing – Controls the bounding boxes' size to detect collisions. Smaller values result in denser instances with some collision; higher values result in larger distances between instances. Values above 1 mean the distance between objects is larger than their bounding boxes.
Convert to Maya instances – Instanced geometry is converted into separate, modifiable objects by pressing this button. It is compatible with Maya geometry and lights, V-Ray lights and proxy meshes. After conversion, all objects are grouped in the Outliner, allowing for individual selection.
Convert to Maya instances

Viewport
Preview Type – Determines the way the instances are displayed in the viewport. This is not reflected when rendering.
None – Nothing is displayed in the viewport.
Point – Displays each instance as a point.
Wire Box – Displays each instance as a wireframe of a box.
Random Color by Model – Every model is assigned a random color, which is then used for every instance of that model.
Preview Instance Limit – Specifies the maximum number of instances displayed in the viewport.

System
Instance Count Limit – Limits the maximum number of instances. Note that this option does not determine how many instances are created. Instead, it serves as a measure to avoid scattering too many instances and causing a crash.
Use Local Rayserver – Changes the scatter type internally. In certain use cases, when displacement is used, it can make rendering faster.

Other Property Panels
Scatter Lister
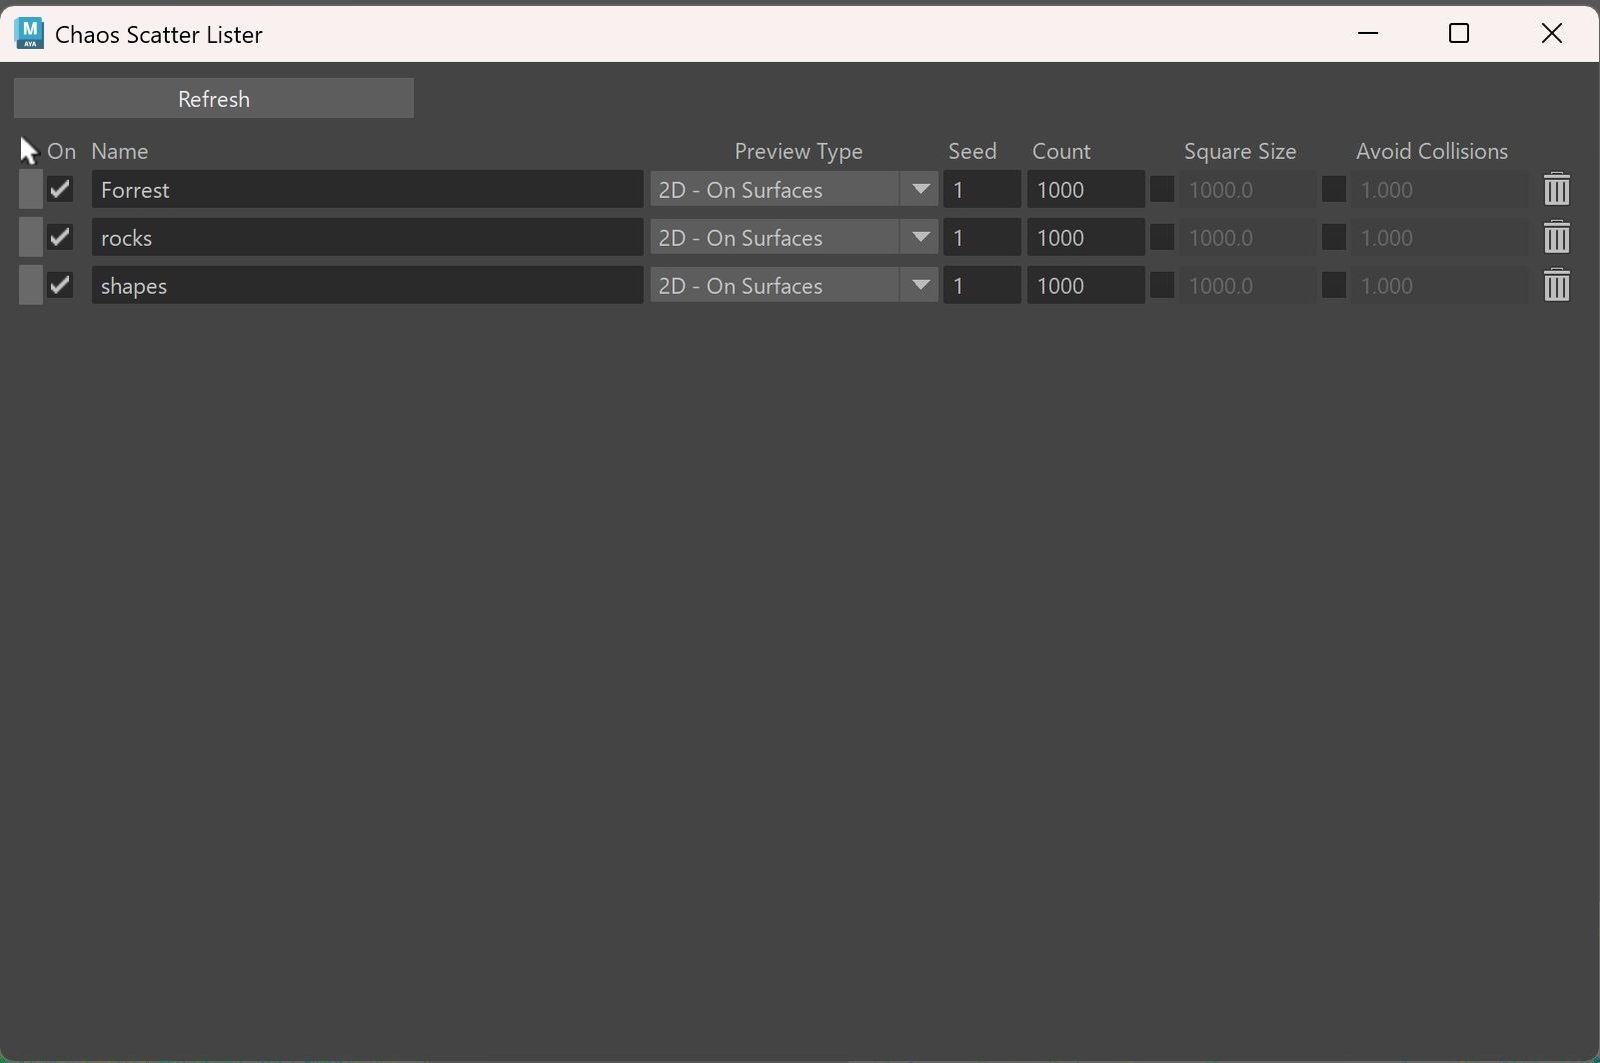
The Scatter Lister tool provides a single control point for all the Scatter geometry in the scene. If you have multiple Scatter geometries, this is a great tool to keep track of them and make minor adjustments.
The Selection column selects the corresponding Scatter geometry in the scene. Selecting a geometry highlights its selection box in green. Selecting a Scatter geometry from the Outliner or the viewport overrides the selection, but the column highlight is not affected. |
The Selection column selects the corresponding Scatter geometry in the scene. Selecting a geometry highlights its selection box in green. Selecting a Scatter geometry from the Outliner or the viewport overrides the selection, but the column highlight is not affected. | |
The On column overrides the Enable feature of the Scatter geometries, toggling it on and off. | |
The Name column allows renaming of all the Scatter geometries in the scene. |
The remaining columns can override the corresponding properties from the Scattering rollout of each Scatter geometry in the scene.

Use the button to delete Scatter geometries from the scene.
Notes
- If you are using groups (of objects) for Models or Targets, it is recommended to bake the pivots first.