V-Ray for Maya
Opacity Cutout
This page provides information about the Opacity Cutout tool in V-Ray for Maya.
Last updated 19 September 2025
This page provides information about the Opacity Cutout tool in V-Ray for Maya.
Overview
The Opacity Cutout tool converts low-poly opacity mapped objects to actual geometry cutouts. Actual geometry renders faster than opacity mapped objects, but increases both the poly-count and scene file size.
The Opacity Cutout tool preserves instances, as well as transformation and deformation. This tool is ideal for converting broad-leaved trees or other similar types of vegetation for faster rendering, but can be generally used for any type of object.
Currently, only Maya meshes are supported. Opacity JPG and PNG texture files are supported.
Opacity Cutout Options
Detect Texture – Automatically detects the opacity texture from the assigned material. The opacity texture should be attached to either VRayMtl or VRayMtl inside VRayMtl2Sided material. Disable this option to manually specify a texture path on disk.
Invert – Inverts the opacity texture, which results in an inverse cutout image.
Texture – Specifies a texture path on disk when Detect Texture is disabled.
UV Set – The UV set is detected by default, so this field can be left empty. If a mesh has multiple UVs and the one used for the opacity map is not the default, specify the correct UV set name here.
Cutout – Specifies how precisely to cut the gray areas of the opacity map. A value of 0.1 cuts out the darker gray areas, while a value of 0.8 allows lighter gray shades to remain uncut.
Quality Preset – Controls the subdivision of the cutout mesh. The higher the quality, the more triangles the mesh is subdivided into. See the Quality Preset example below for more information. You can choose from the following presets:
Low
Medium
Medium-High
High
Create Cutout – Creates a cutout in the geometry according to the opacity map.
Detach Opacity Texture – Detaches the opacity texture from the assigned material and brings the opacity value to its default.

Cutout Workflow
To create an opacity cutout of a single object:
- Select the geometry with the opacity map attached.
- Open the Opacity Cutout tool.
- Adjust the settings (optional).
- Press the Create Cutout button.
- Detach the opacity map from the object by pressing the Detach Opacity Texture button.
To create an opacity cutout of multiple objects:
- Select the geometry objects with the opacity map attached.
- Open the Opacity Cutout tool.
- Adjust the settings (optional).
- Press the Create Cutout button.
- Press the Detach Opacity Texture button to automatically remove the opacity map attached from all objects altogether.
Example: Quality Preset
Using a higher preset makes the geometry subdivided into more triangles.

Quality Preset: Low

Quality Preset: Medium
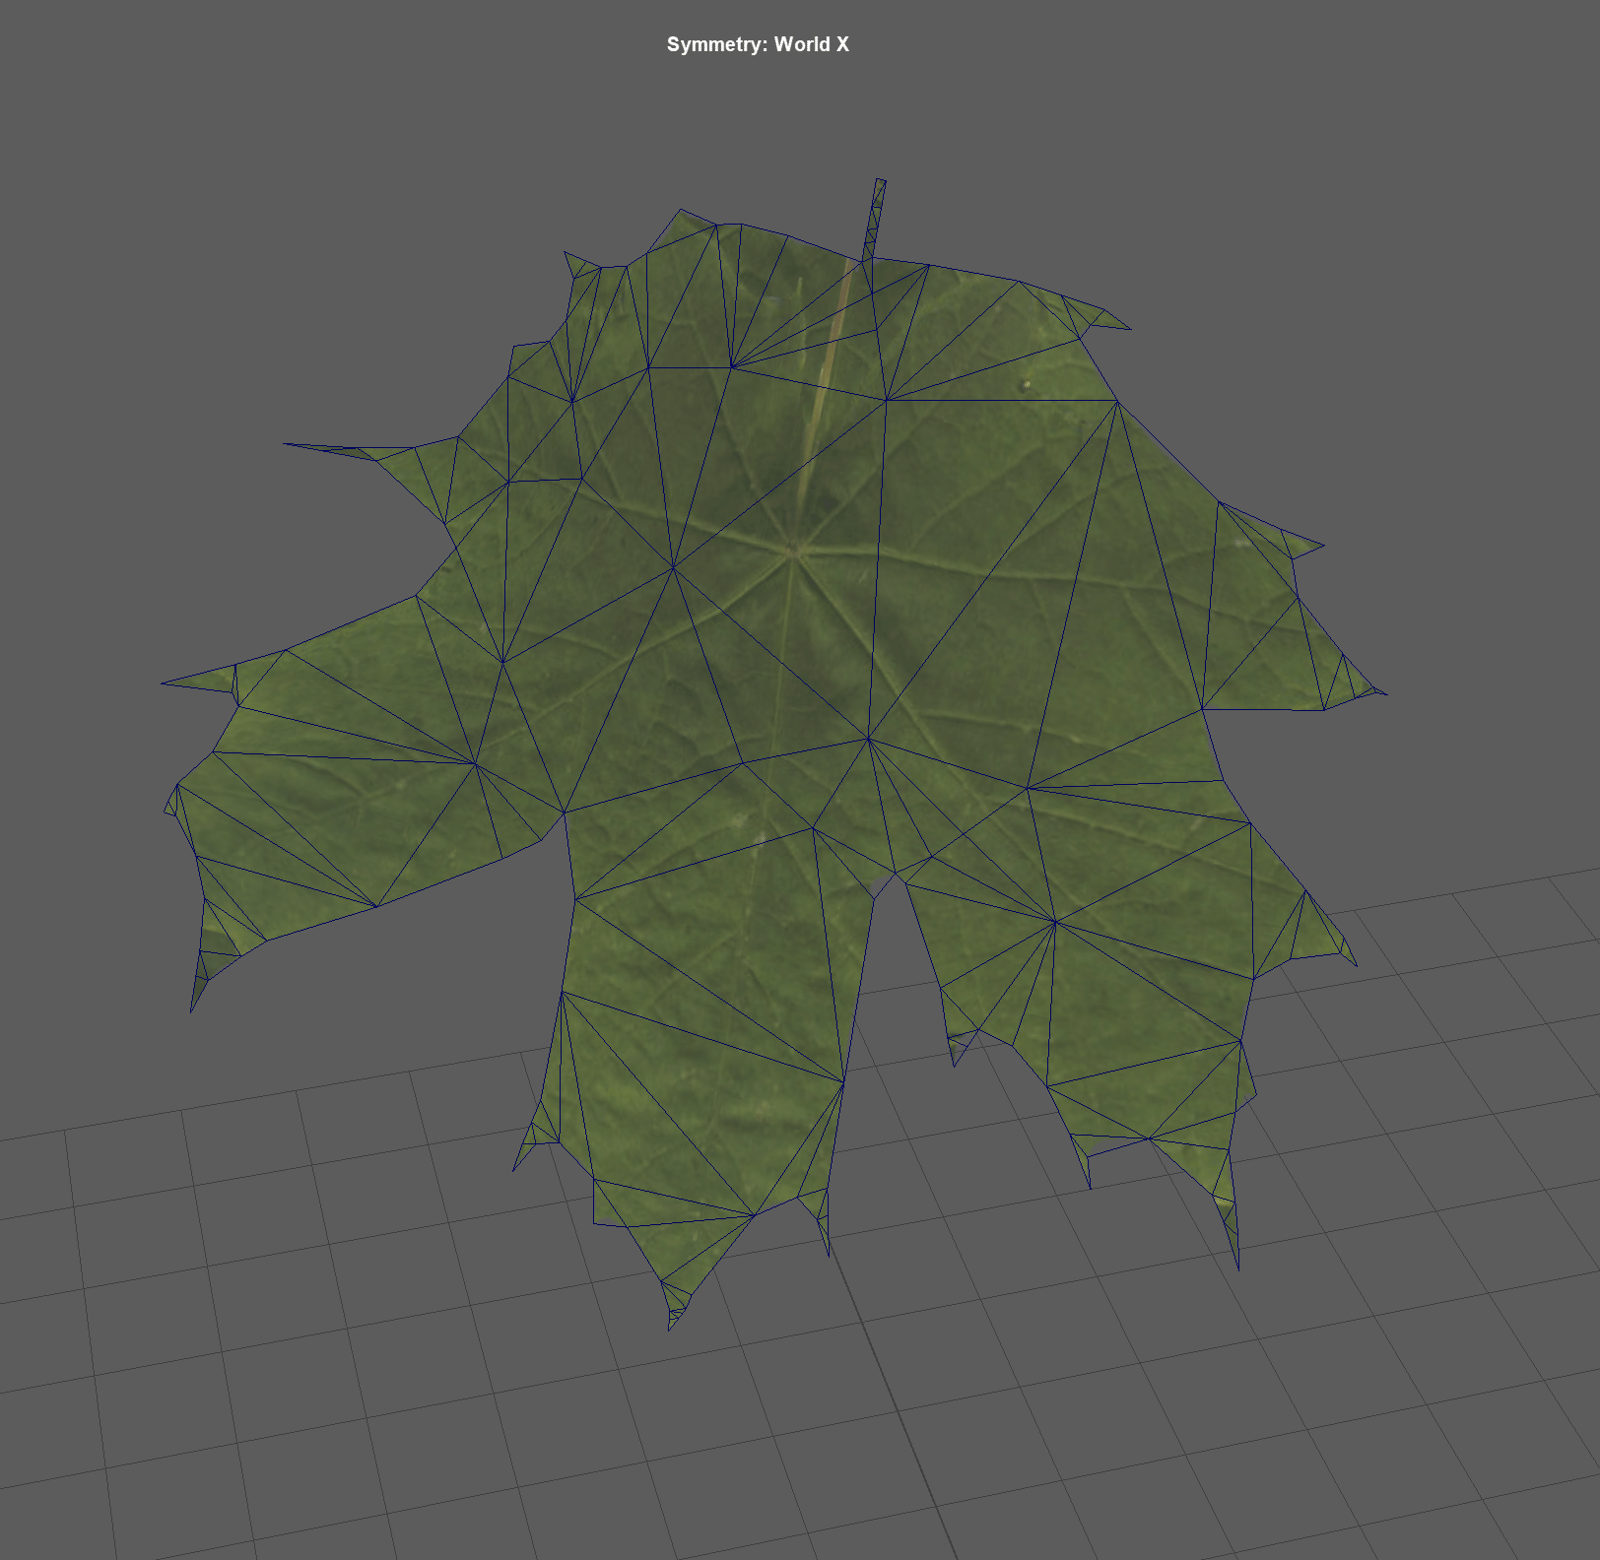
Quality Preset: Medium-High

Quality Preset: High
Example: Opacity Mapped vs Cutout Geometry
The first pair of images compares the render time when using an opacity map and the cutout geometry.
Note that small differences in the rendered result are expected after conversion, but in most cases they are negligible.
This set of images shows the difference in the wireframe of a mapped geometry and a cutout one.
Limitations
- Large texture image sizes are not supported
- UDIM textures are not supported
- Layered textures are not supported
- Texture detection does not work when the texture is not directly connected to the material (e.g. if there are remap, colorCorrect nodes)
- Texture detection only works for objects with VRayMtl or VRay2SidedMtl with a connected VRayMtl
- Per-face materials are not supported