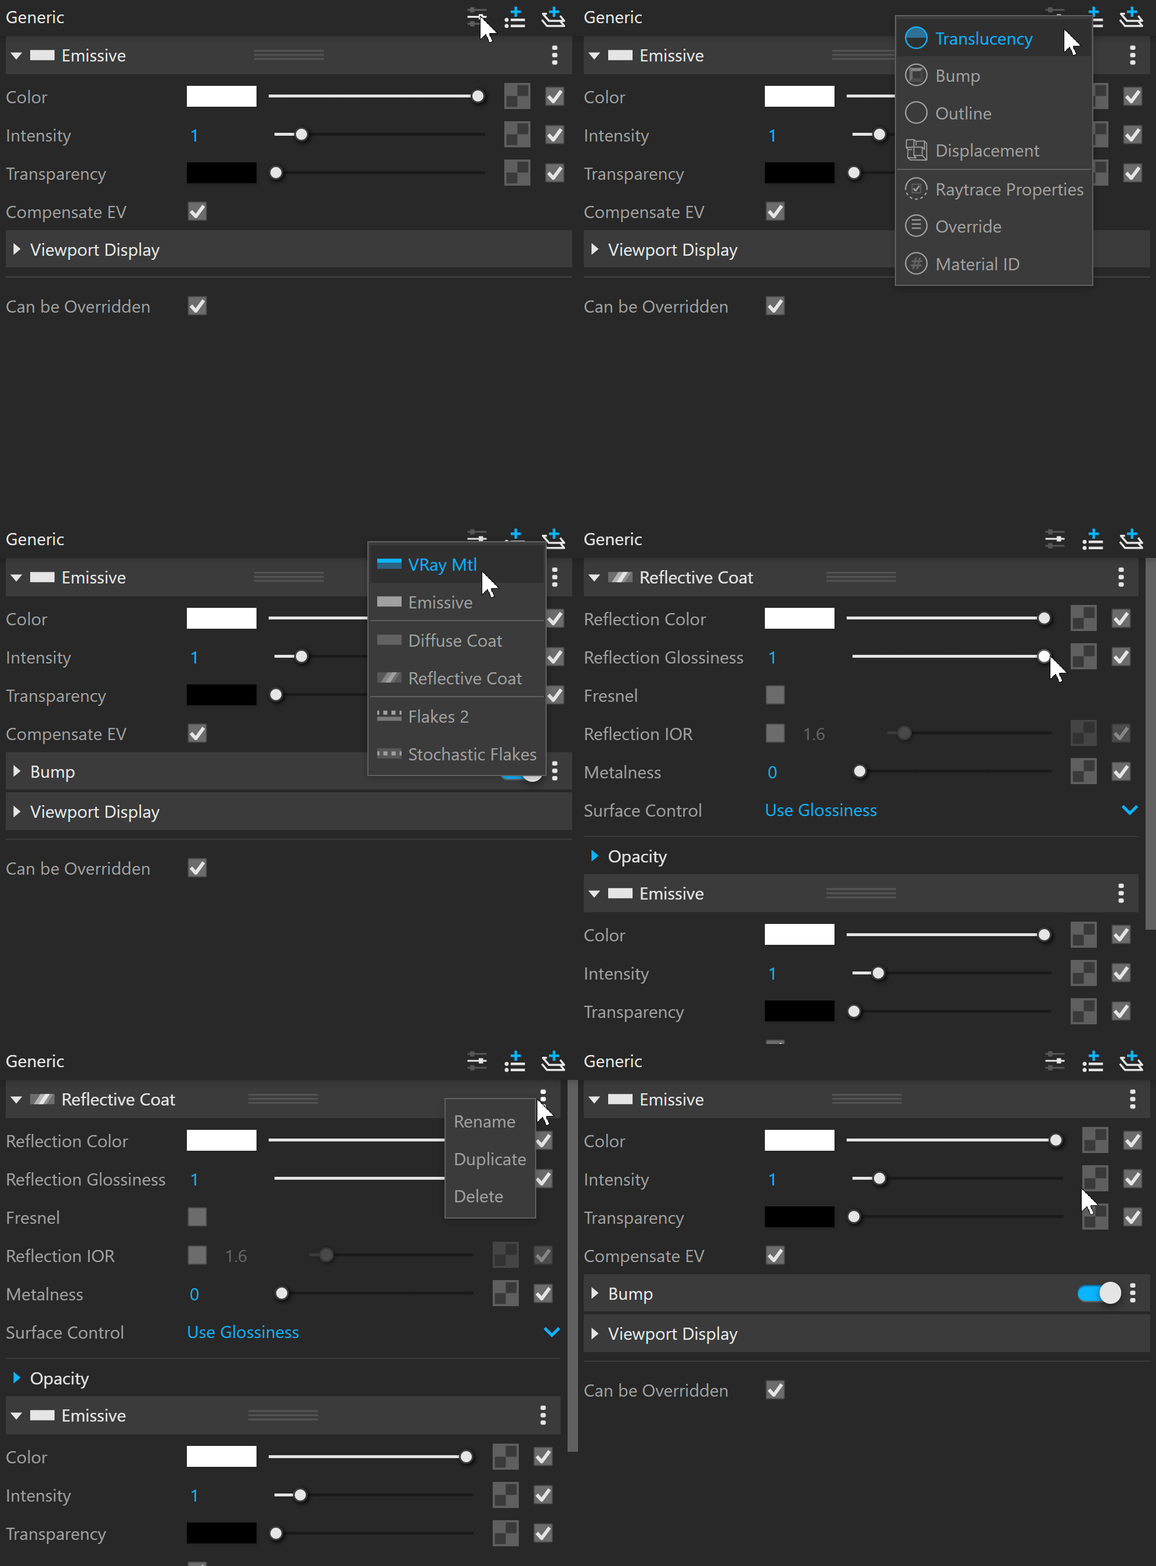
The Emissive material settings are organized in Basic and Advanced modes. Switch the mode from the toggle button under the Preview Swatch or globally from the Configuration rollout of the Settings tab.
The Add Layer and Add Attribute buttons are provided for some V-Ray materials, including Emissive. For more information, see the Add Attribute and Add Layer sections.
The context menu of the Color slot provides options to Copy and Paste, as well as to Reset the color.
A Reset option is provided in the context menu of each Number Slider.
Emissive
Some options are available only in Advanced mode.
Color – Specifies the color of the light. A texture can be specified as well. See the Color and Texture examples below for more information.
Intensity – Controls the strength of the light.
Transparency – Specifies the color that is transparent. For this parameter black stands for opaque and white for transparent color. A texture can be specified as well. See the Transparency Texture example below for more information.
Emit On Back Side – When enabled, the object emits light from its back side as well. When disabled, only the front side emits light, and the material renders as black on the back sides. See the Emit On Back Side examples below for more information.
Compensate EV – Used when rendering with the V-Ray Physical Camera. When enabled, the intensity of the material is adjusted to compensate for the camera exposure.
Color *Opacity – When enabled, the color of the light material is multiplied by the opacity texture. Otherwise, the color and opacity act independently (so-called additive transparency).
Example: Color and Texture, Intensity, Emit On Back Side
Here are some examples showing the difference in Intensity, the Emit On Back Side turned on and off and using an image in the Color Texture slot. Click on an image to enlarge it.
Intensity
= 1
Color
= White
Emit On Back Side
= Off
Intensity
= 5
Color
= White
Emit On Back Side
= Off
Intensity
= 1
Color
= White
Emit On Back Side
= On
Intensity
= 5
Color
= White
Emit On Back Side
= On
Intensity
= 5
Image loaded in the Color Texture slot.
Emit On Back Side
= on
Example: Transparency Texture On/Off
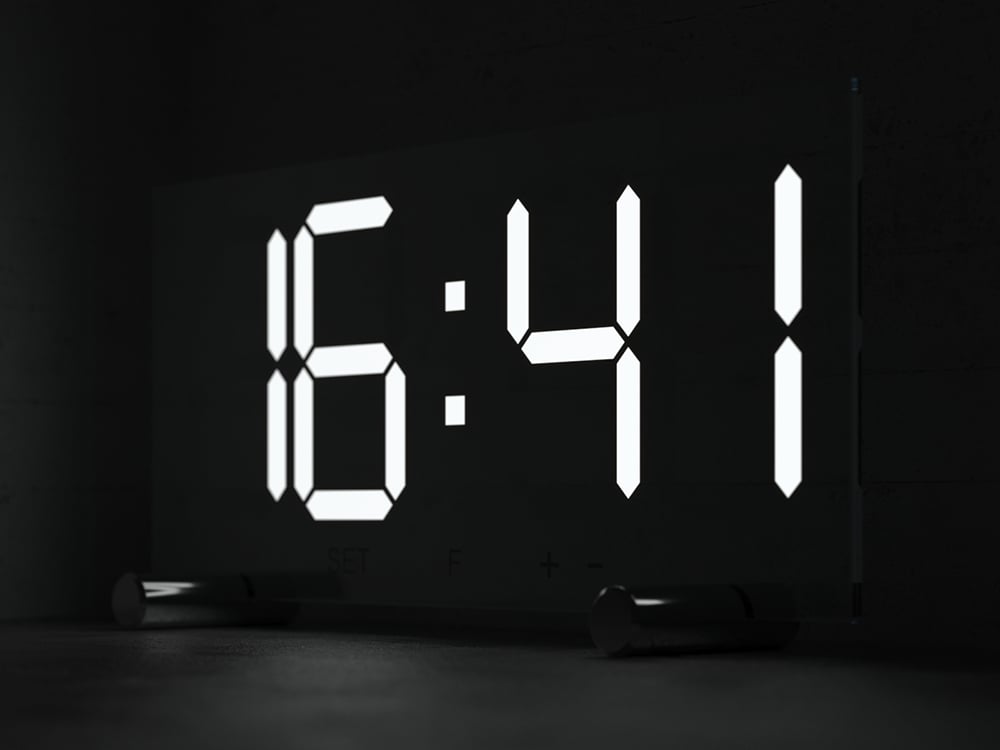
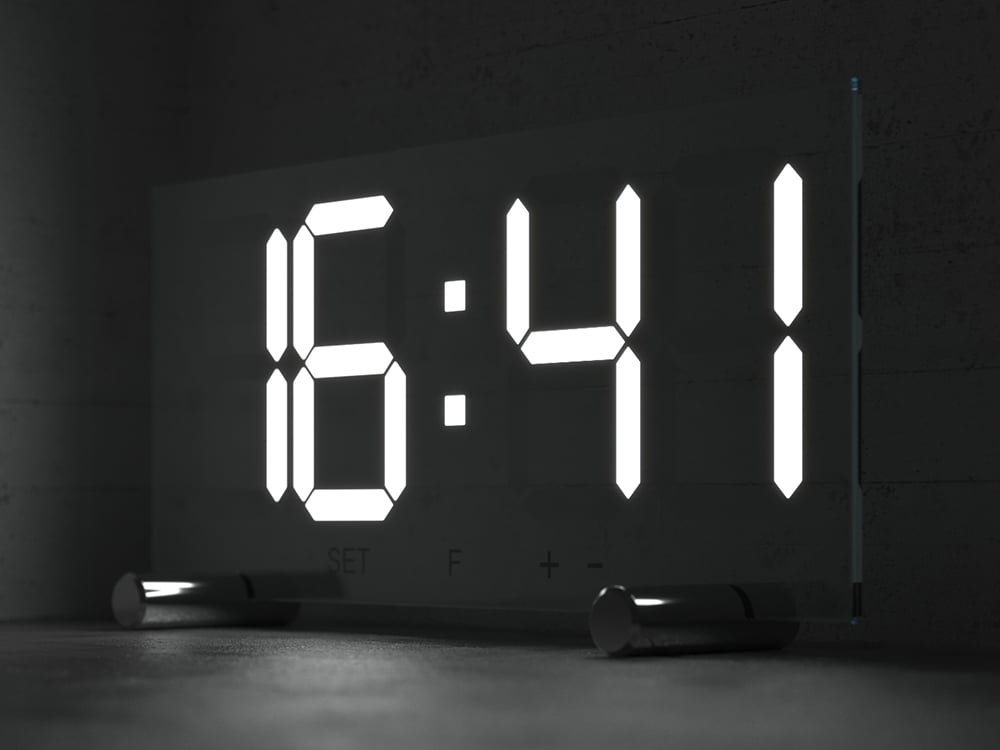
This example shows the usage of an image in the Transparency Texture slot. Both renders have the Emit On Back Side function turned on as well. The intensity is set to 10.
Multipliers
This rollout is available only in Advanced mode.
Mode – Specifies one of the following methods for adjusting textures.
Multiply – Multipliers can be specified to adjust colors and textures. Blend Amount – Blend amounts can be specified to adjust colors and textures.
Color – Controls the intensity of the Emissive Color (light color).
Intensity – Controls the strength of the light.
Transparency – Controls the intensity of the Transparency Color, which determines the color that is transparent.
Viewport Display
Viewport Texture – The selected texture is displayed in the viewport.
Override Control
Can be Overridden – When enabled, the material can be overridden by the Material Override option in the Settings.
Attributes
The attributes from the following expandable menus are available for the Emissive material.
Translucency
Translucency
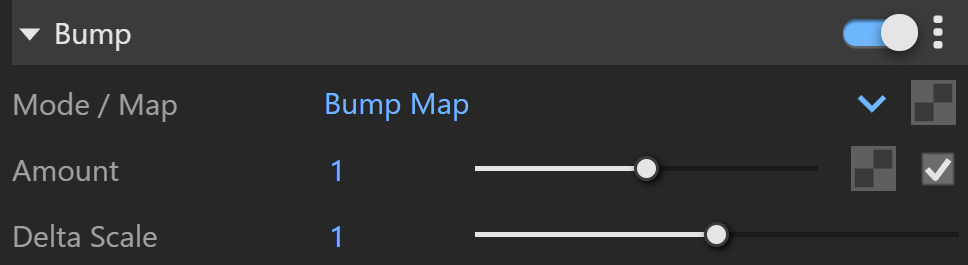
Bump
Bump
Contour
Outline
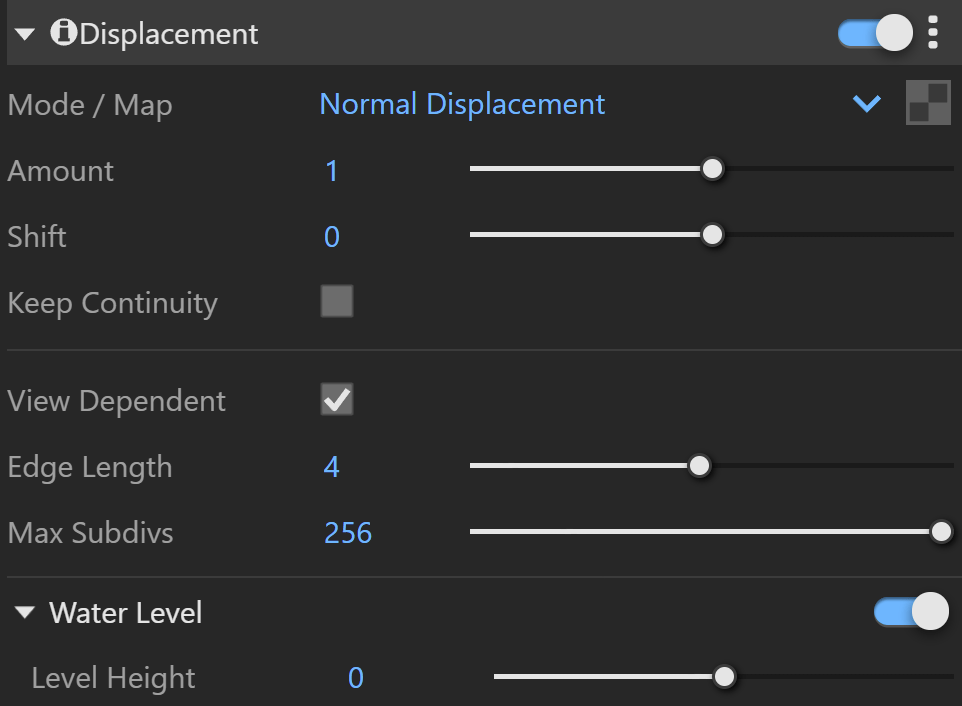
Displacement
Displacement
Raytrace Properties
Raytrace Properties
Override
Override
Material ID
Material ID
Layers
The Layers available for the Emmisive material are as follows.
VRay Mtl
Emissive
Diffuse Coat
Reflective Coat
Flakes 2
Stochastic Flakes
Notes
You can use the Emissive material as a light source assigned to an object. Increasing the Value of the color will affect the GI solution and will produce more light. Note that overbright colors may look the same as pure white but the GI results will be different.
If you know the photometric power of a self-illuminated object in lumens (e.g. 1700 lm for a 100-watt bulb) you can calculate the multiplier for Emissive material if you divide the lumens by the surface area of the object in meters, provided that the self-illuminated color is pure white.
The direct illumination options currently only work properly if the Emissive material is the only material applied on the object. They will not work if the material is part of a complex material like a Blend material. This restriction will probably be removed in a future release.
The 2D mapping (landscape) method only supports one UV mapping channel.