V-Ray for Rhino
V-Ray Toolbar
This page provides details on the V-Ray Toolbar.
Last updated 1 September 2026
This page provides details on the V-Ray Toolbar.
Overview
V-Ray includes a toolbar with easy shortcuts to some of the most commonly used V-Ray components. To access the V-Ray Toolbar, the current renderer must be set to V-Ray (Render menu > Current Renderer > V-Ray for Rhino). Some toolbar buttons perform different actions when clicked with the right mouse button.

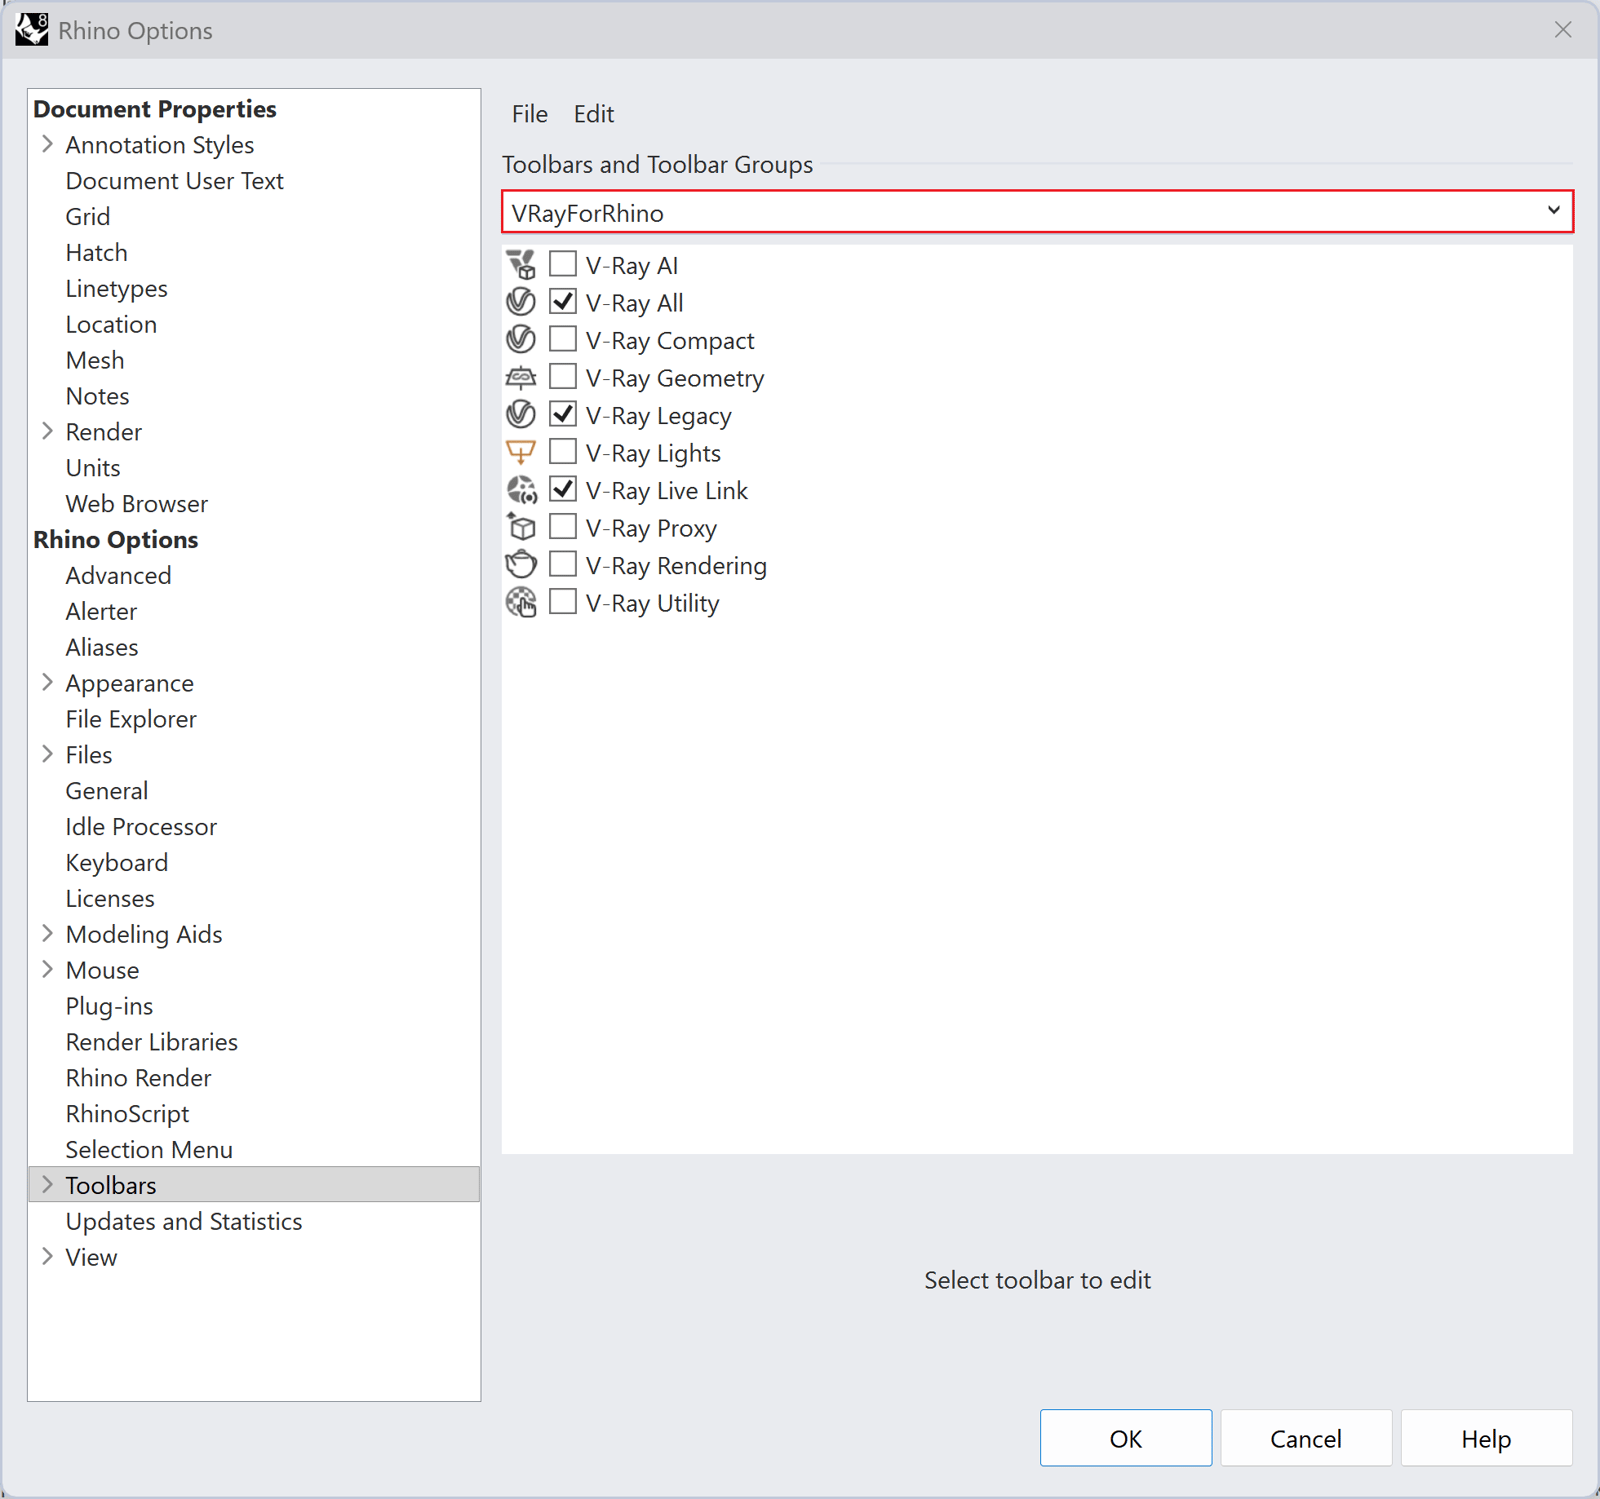
Toolbar Functions
The V-Ray toolbar provides the functions listed below. Note that all buttons check if V-Ray (or respectively V-Ray Interactive) is the current renderer, and if not, will prompt you to set the renderer to V-Ray. When you click on the V-Ray (or respectively V-Ray Interactive) button in the toolbar, the icon background changes color. The render buttons can be clicked again to stop the rendering process.
Button | Description |
|---|
Button | Description | |
|---|---|---|
V-Ray All | V-Ray Asset Editor Left-click – Shows the Asset Editor window. Right-click – Shows the File Path Editor. | |
V-Ray Node Editor (Beta) Left-click – Shows the V-Ray Node Editor window. | ||
Chaos Cosmos Browser – Shows the Chaos Cosmos window. | ||
V-Ray Frame Buffer – Shows the V-Ray Frame Buffer (VFB). | ||
Batch Render – Starts or stops a Batch Render. This iterates through all scenes of the Rhino project and renders them one by one. | ||
Light Gen – Starts V-Ray Light Gen. | ||
V-Ray Rendering | Render – Starts or stops a non-Interactive render. Left-click – Renders the current view with the V-Ray production renderer. Right-click – Allows the user to specify a section of the current view to render with the V-Ray production renderer. | |
Render Interactive – Starts or stops an Interactive Render. | ||
Chaos Cloud render/upload – Starts a Render on the Cloud. | ||
V-Ray Lights | Rectangle Light – Activates the Rectangle Light tool. Specify three points in the viewport to define the rectangle and create the light. | |
Sphere Light – Activates the Sphere Light tool. Click in the viewport to define the sphere and create the light. | ||
Spot Light – Activates the Spotlight tool. Click and select a point in a viewport to create the light. | ||
IES Light – Activates the IES Light tool. Click and drag in a viewport to create the light. | ||
Omni Light – Activates the Omni Light tool. Click in a viewport to create the light. | ||
Dome Light – Activates the Dome Light tool. Click in a viewport to create the light. Left-click – Creates a Dome Light at a specified point. Right-click – Creates a spherical Dome Light. Rhino will then prompt the user to specify a dome light texture. | ||
Mesh Light – Creates or removes a Mesh Light. Left-click – Creates a Mesh Light from a specified mesh. Click a mesh in the viewport to turn it into a Mesh Light. Right-click – Removes a Mesh Light from a specified mesh. Click a Mesh Light in the viewport to turn it back to a regular mesh. | ||
V-Ray Sun – Creates a V-Ray Sun. Launches a Sun Angle Calculator, then allows the user to specify the sun position. | ||
Directional Light – Creates a Directional Light. Click in the viewport to define the light direction. | ||
V-Ray Geometry | Infinite Plane – Creates an Infinite Plane object. Click in a viewport to create the object. | |
Export Proxy – Exports the selection as a .vrmesh file. Optionally, replaces the selection with the created V-Ray Proxy. | ||
Import Proxy – Imports a .vrmesh file as a V-Ray Proxy object in the scene. | ||
Fur – Creates a V-Ray Fur Object. Specify an object in the viewport that the fur is applied to. Left-click – Adds Fur to the selection. Right-click – Removes Fur from Selection. | ||
Clipper – Creates a Clipper Plane. Converts the selection into a V-Ray Mesh Clipper object. Left-click – Adds a Clipping plane. Right-click – Makes a Clipper. | ||
Displacement – Adds V-Ray Displacement to the selection. Left-click – Adds Displacement properties to the selection. Right-click – Removes the Displacement properties from the selection. | ||
Decal – Creates V-Ray Decal that projects one material on top of another. The first selected point is the lower-left corner of the decal image. The second point is the upper right corner. The line next to the arrow points to the top of the decal texture. | ||
Enmesh – Adds V-Ray Enmesh to the selected Group or Component. Left-click – Makes Enmesh from the selection. Right-click – Removes the Enmesh properties from the selection. | ||
Scatter Left-click – Makes Scatter host from the selection Right-click – Removes the Scatter host properties from the selection | ||
V-Ray Utility | Material Editor Left-click – Edits selected V-Ray asset. Right-click – Creates a V-Ray Material from the Rhino material of a selected object. | |
Camera Vertical Tilt – Modifies the Camera Vertical Tilt. Not usable in any default orthogonal view. | ||
Camera Focus – Sets camera focus distance based on a point in the model. | ||
Lock Camera Orientation – Locks camera position and orientation during Interactive Rendering. | ||
Notification Center – Opens the Notifications window. | ||
V-Ray Live Link | Chaos Vantage – Starts a Vantage. Left-click – Starts a Vantage live session. Right-click – Configures and starts a Vantage live session. | |
Vantage Viewport Render Left-click – Starts the Vantage Viewport Render, a real-time rendering session in the viewport. | ||
V-Ray AI | Viewport to AI Visualization Left-click – Opens the AI Visualization window (Veras) and sends a viewport screenshot to be used as a generation source. | |
Render to AI Visualization Left-click – Opens the AI Visualization window (Veras) and sends the latest render to be used as a generation source. | ||
V-Ray Legacy | V-Ray Vision – Starts V-Ray Vision. Left-click – Starts V-Ray Vision and begins a session. * Right-click – Configures V-Ray Vision before starting and beginning a session. |
Notes
* Note that Vision is a legacy feature no longer under active development and is planned for removal in the future.