V-Ray for SketchUp
Bezier Curve Correction
This page provides information about the Bezier Curve Correction texture in V-Ray for SketchUp.
Last updated 1 September 2026
This page provides information about the Bezier Curve Correction texture in V-Ray for SketchUp.
Overview
The Bezier Color Correction texture is one of the three available Color Correction textures along with Color Correction and Spline Color Correction. The Bezier Curve texture allows remapping any other texture color values using RGB or Luminance curve controls.

UI Paths
||V-Ray Asset Editor|| > Textures (right-click) > Bezier Curve
||V-Ray Asset Editor|| > Create Asset (left-click) > Textures > Bezier Curve
Parameters
Input – Specifies a color or texture to be bezier corrected. When a texture is selected, it overrides the color as long as the texture checkbox is enabled.
Mode – Changes the set of beziers used for color remapping. You can select between Mono or RGB mode.
RGB – Red, Green, and Blue curves are used for remapping the separate image channels.
Mono – The texture luminance is remapped based on a single curve.
Tangent Type – Specifies the type of the selected curve control point.
None – No handles.
Free – The Bezier handles are unlocked.
Locked – The handles' angle and length are locked.
Position – The position of the selected curve control point. The position cannot surpass neighboring points or their tangent handle positions.
Value – The value of the selected curve control point.
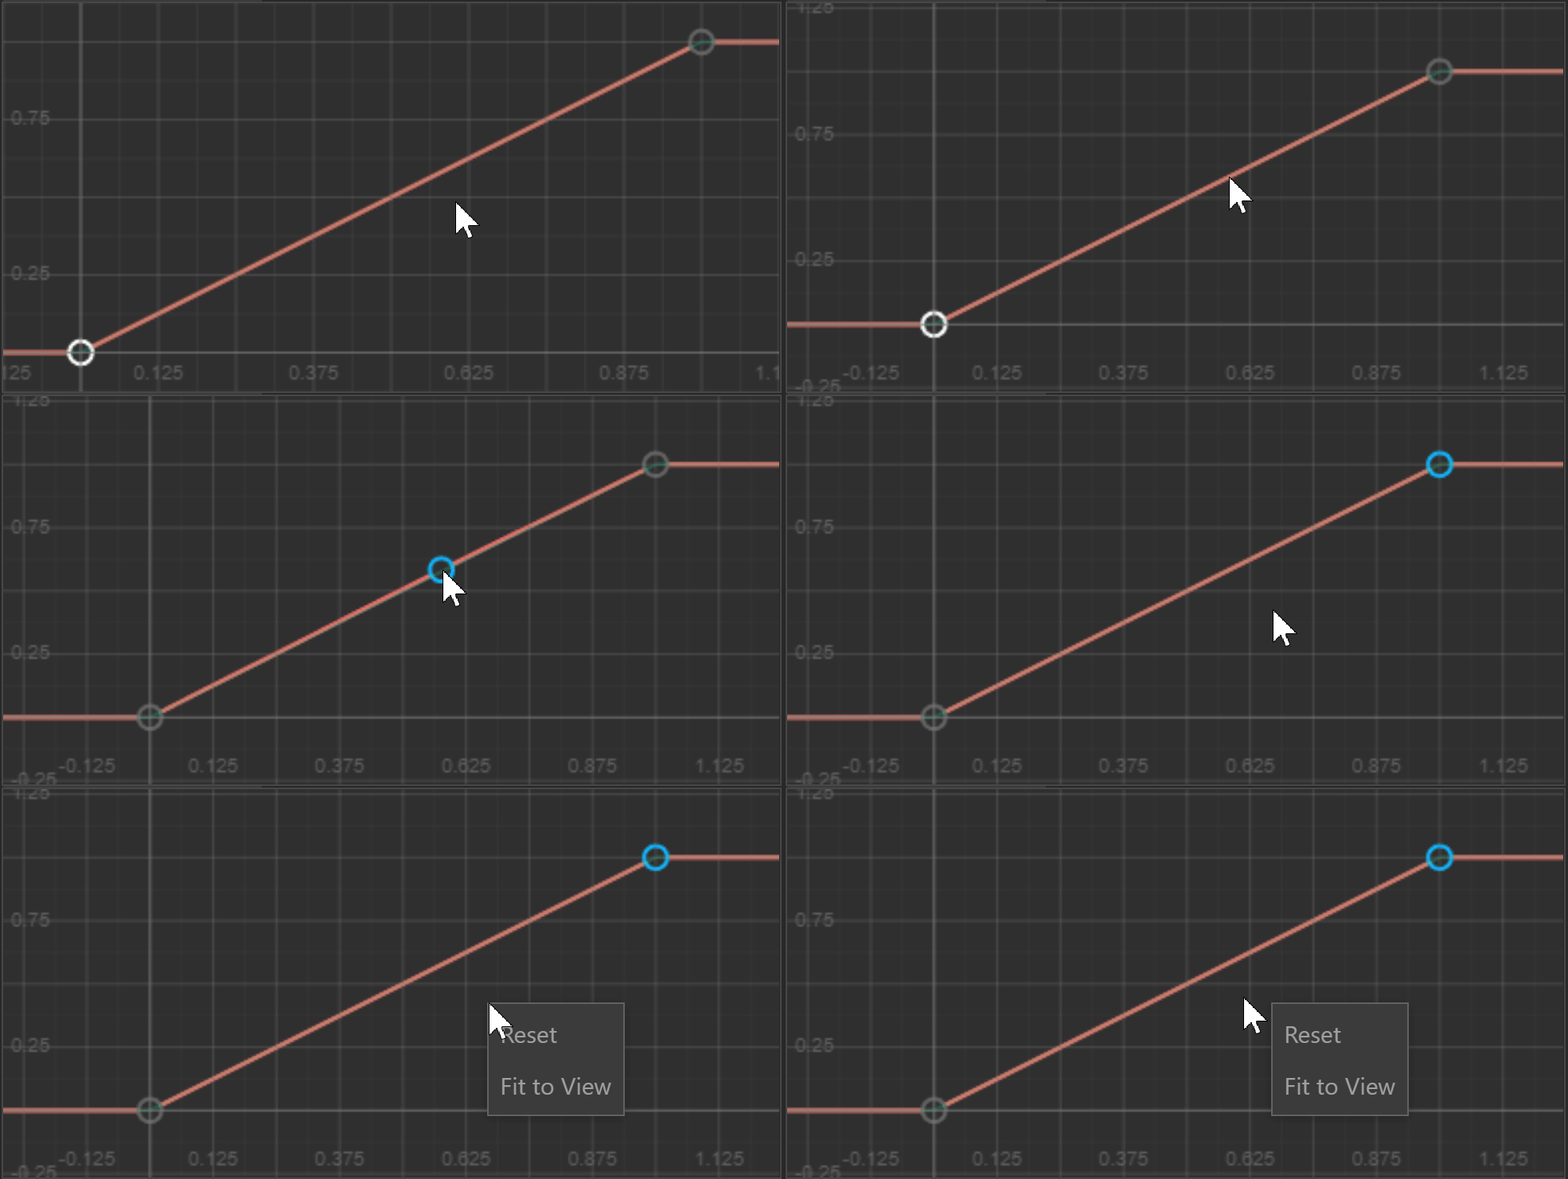
See the context menus here.