Use resumable rendering in V-Ray for SketchUp to save render progress and continue an interrupted render.
Overview
Resumable rendering lets you continue an incomplete render from where it stopped. You can resume after a power failure, an interruption on a render farm or a manual stop.
For details on resumable rendering settings, see Render Output.
How it works
Resumable rendering works with both Bucket and Progressive image sampling modes.
With Bucket rendering, V-Ray writes an additional .vrimg file to store data from completed buckets. When you resume, V-Ray reads this file and renders the remaining buckets. The partial image file also stores the light cache, so V-Ray does not need to recalculate it.
With Progressive image sampling, V-Ray saves render progress in an additional .vrprog file, similar to the .vrimg file used for Bucket rendering. For Progressive renders, set Autosave Interval in the Resumable Rendering rollout higher than 0. This lets V-Ray save .vrprog files during rendering so you can resume after an unexpected stop. Setting Autosave Interval too low, for example below a couple of minutes, can slow rendering.
If V-Ray finds a .vrprog file or a partially completed .vrimg file for the current frame, it resumes from where the render stopped. Otherwise, V-Ray starts a new render and saves a resumable file.

Render after 1 pass

Render after 21 passes
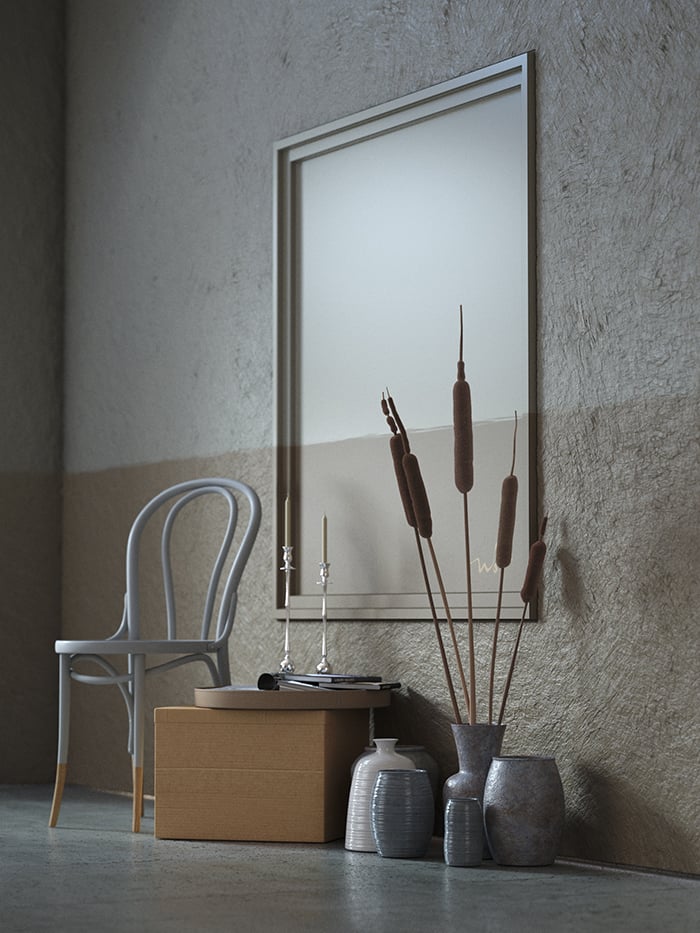
Render after 61 passes
Workflow
Set File Path under Settings > Render Output > Save Image. You can use any available File Types: .png, .bmp, .tga, .hdr, .sgi, .jpg, .exr, .pic, .tiff, and .vrimg.
Resumable Rendering is available only after you set the output file path.

Before you start rendering, enable Resumable Rendering under Settings > Render Output > Resumable Rendering. If you use the Progressive sampler, set Autosave Interval higher than 0. This saves partial files and helps protect your render progress if SketchUp crashes before V-Ray creates or updates a .vrprog file.
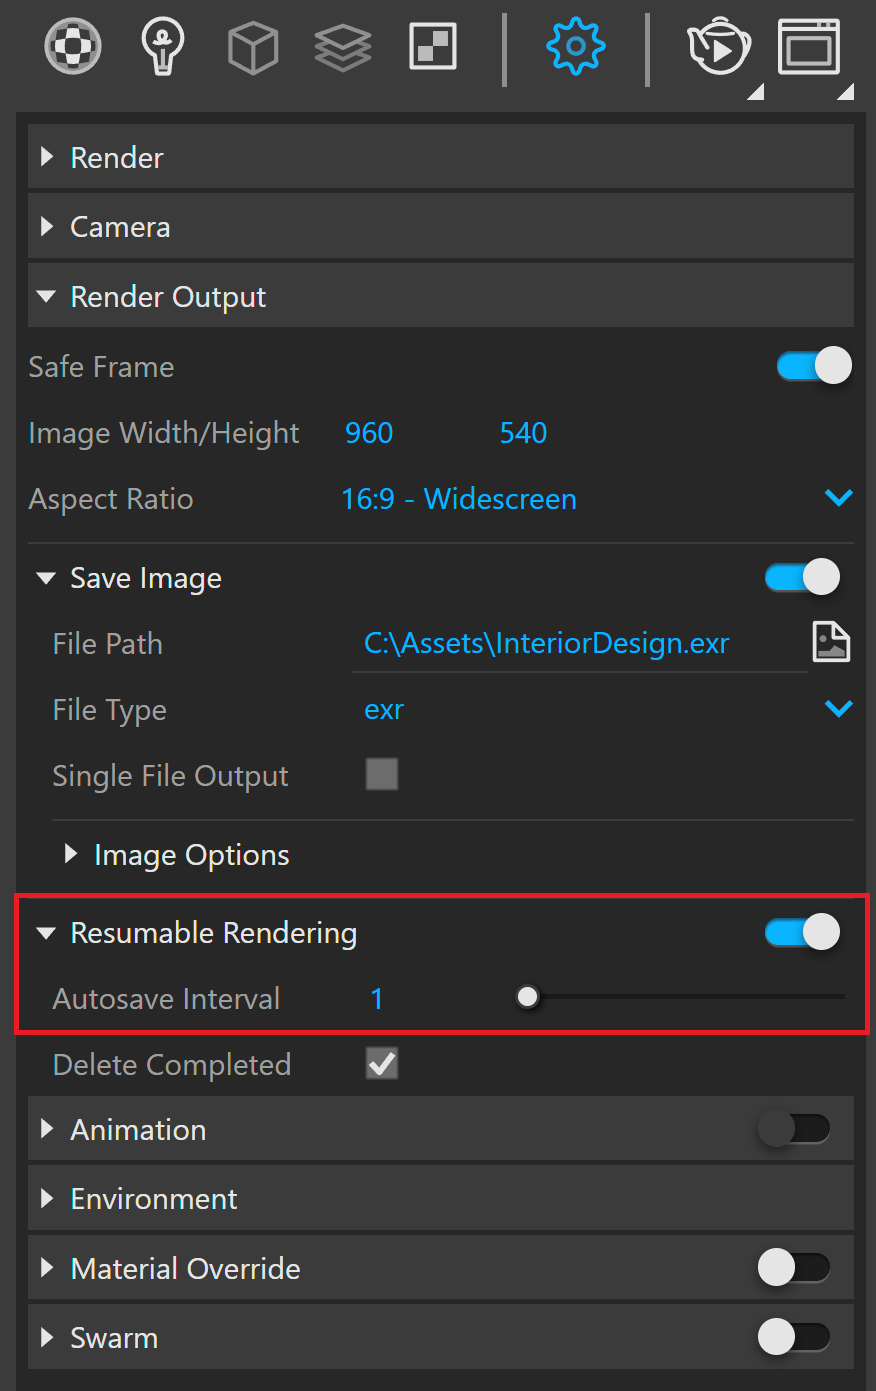
Start rendering your image. V-Ray calculates passes for a Progressive render or renders buckets for a Bucket render. You can stop the render at any time. V-Ray uses the .vrimg or .vrprog files to resume it later.
To resume a stopped render on another computer or in another location, copy the .vrimg or .vrprog file with the rest of your project. Avoid changing Settings between stopping and resuming a render. You can change only the Progressive sampling parameters (Min. subdivs, Max. subdivs, Render time, Noise threshold). Changing settings such as output resolution or render elements causes an error and prevents the render from resuming.
Notes
- To safely start a new resumable render without using previous progress, change the file path under ||AssetEditor|| > Settings > Render Output > Save Image > File Path.