V-Ray for SketchUp
V-Ray Batch Render
This page describes the use of Batch Rendering and Cloud Batch Rendering in V-Ray for SketchUp.
Last updated 5 June 2026
This page describes the use of Batch Rendering and Cloud Batch Rendering in V-Ray for SketchUp.
Overview
The V-Ray Batch Render tool is useful when multiple scenes need to be rendered with different rendering views or objects that may change between scenes. With Batch Render, scenes can be set with tabs and rendered with one button.
UI Paths
||V-Ray for SketchUp Toolbar|| > Batch Render (Note: the icon is grey until multiple scene tabs are created.)

||Extensions|| > V-Ray > Rendering > Batch Render
Using the Batch Render
In order for Batch Render to become active, several SketchUp Scene tabs must be created. A new Scene can be created from View > Animation > Add Scene.
After adding a Scene in SketchUp, the Batch Render icon becomes active. By default, the location of the Batch Render outputs is set from Asset Editor > Output > File Path. If you have not set the File Path, a prompt asking for a location for the outputs of the Batch Render appears.
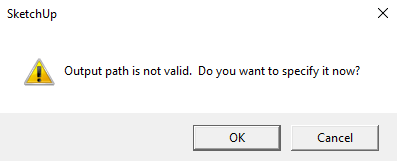
Select OK, and after choosing the output path the render begins.
The following examples were created by assigning the footstool to its own layer. This layer was hidden for Scene 2.
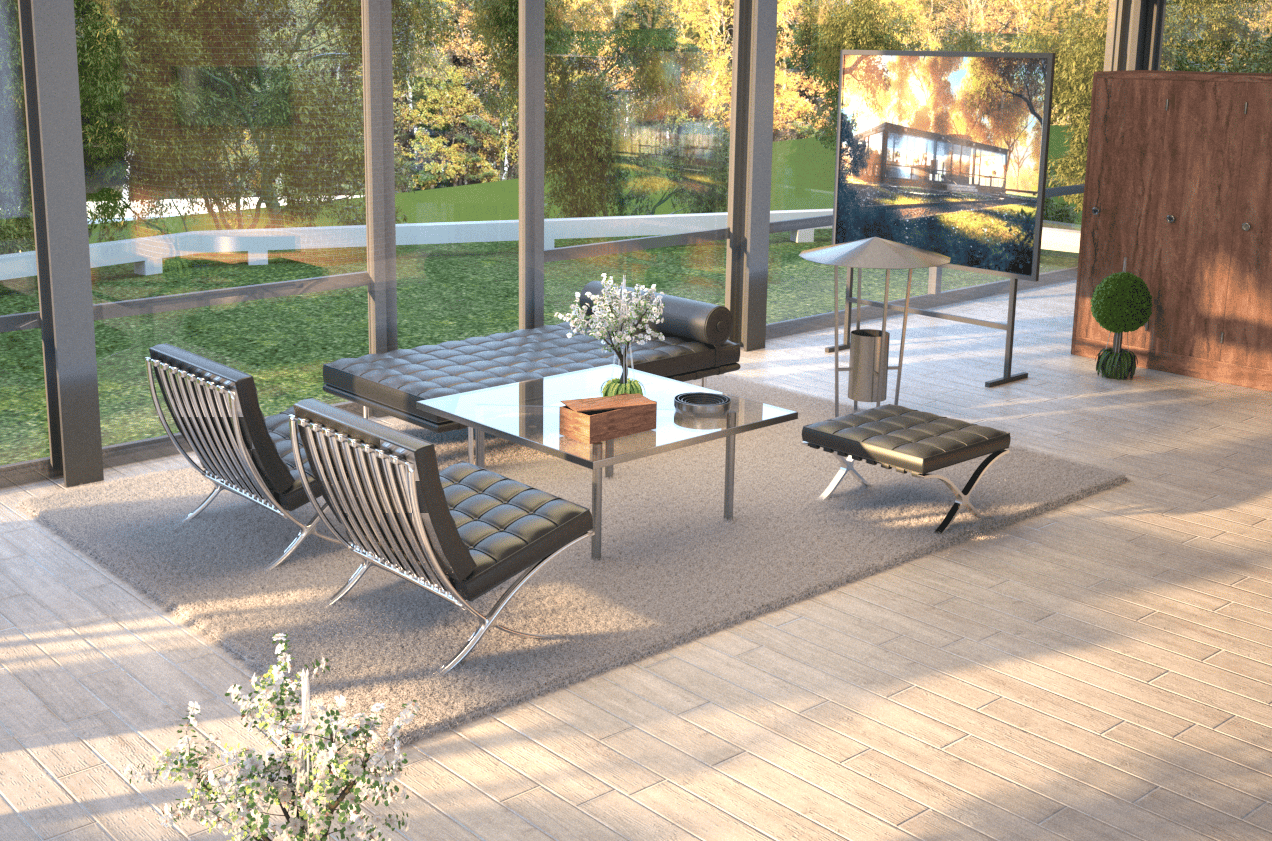
Scene 1: Footstool layer visible
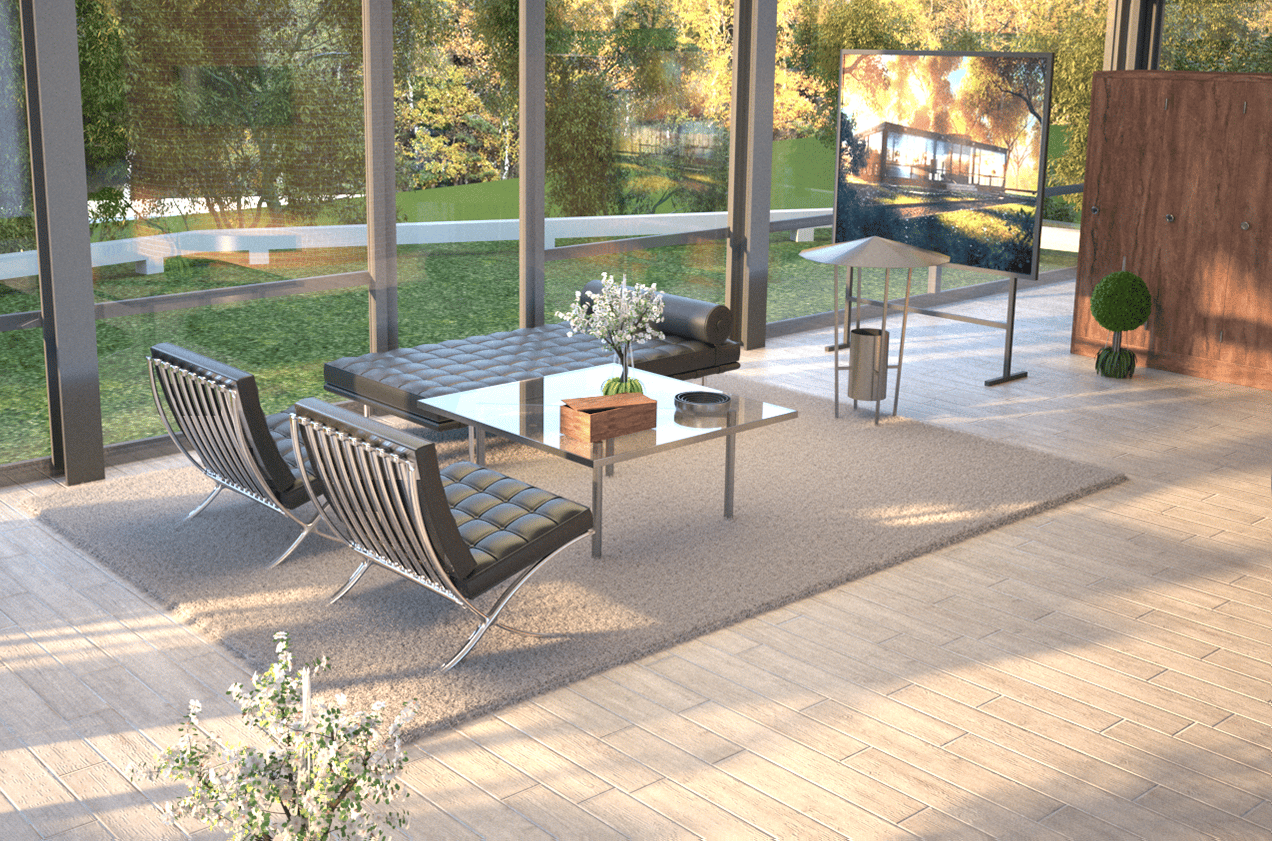
Scene 2: Footstool layer hidden
Excluding Scenes from Batch Rendering
You can disable certain scenes from Batch Rendering by the SketchUp's Scenes tray menu.
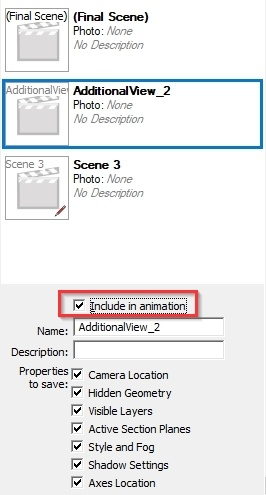
Disabling the Include in animation option omits the selected scene(s) from being batch rendered.

Notes
- Currently only the SketchUp camera parameters (perspective mode, field of view, and position) are kept separately between scenes.
SketchUp's Scenes tray allows multiple selection of scenes which can then be excluded with a single click.