V-Ray for Unreal
Preparing a Project for Light Baking
This page provides information about preparing a project for light baking.
Last updated 24 February 2026
This page provides information about preparing a project for light baking.
Overview
This quick guide covers the best practices how to prepare a project for light baking inside Unreal Engine. As an example, we show a project created in 3Ds Max, which is exported as a .vrscene. The principles outlined in this tutorial are valid for all 3D platforms that can modify UV sets.
The light baking process requires that all objects in the scene must have clean unique UV mapping.
That is why, preparing the UV maps upfront is important.
Want to follow along but don’t have a license?
www.youtube.com
Step 1: Channel UVs
In 3Ds Max, you can select an object and check its UV channel from Tools > Channel Info.
Note that there are channels created by default (marked in red) and channels that you create marked in green.

Step 2: Check the UVs
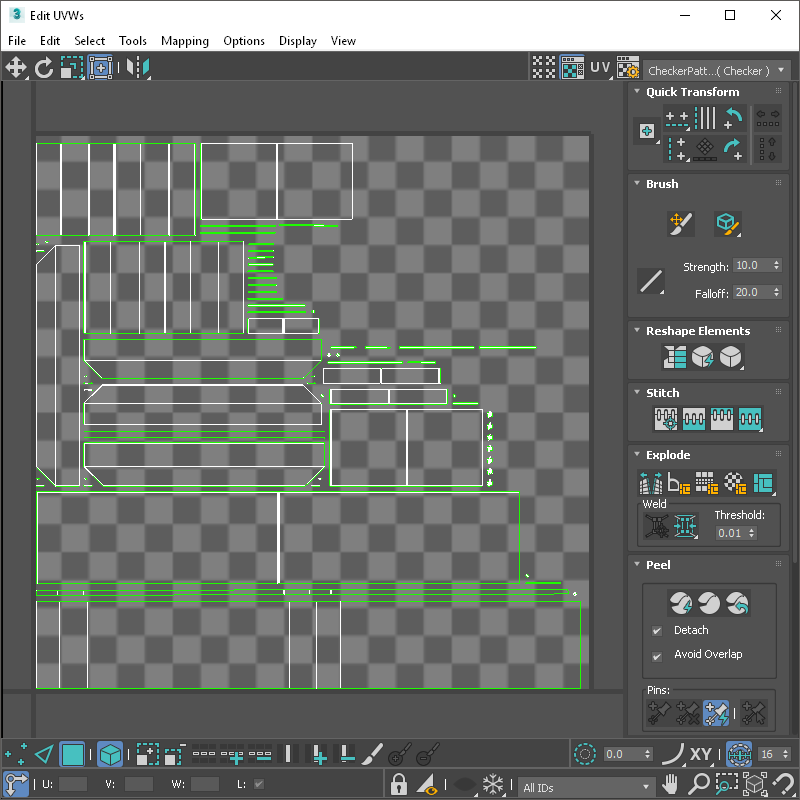
We have to first check the last available UV channel for problematic UVs such as:
- Overlapping UVs
- UVs that go outside the 0 - 1 UV space range
If the channel does not contain any of the forementioned issues then this static mesh is suitable for light baking.

Step 3: Creating new UVs
If, however, overlapping and/or out the 0-1space range UVs are present then you should create a new UV channel that will be used for the light maps. In the new channel create clean UVs. Do the same procedure for all objects in the scene to ensure a smooth light baking process.