Editing a Component with Solid Tools
When you edit a component with the Solid tools, the steps are little different than the steps for editing components with the other drawing tools.
Last updated 17 July 2026
When you edit a component with the Solid tools , the steps are little different than the steps for editing components with the other drawing tools.
The following steps explain how to edit a component with the Solid tools, using the fence model as an example:
- Edit the component with a Solid tool In this example, the Subtract tool cuts a hole in the Picket component. In the Entity Info panel, notice that the name of the component instance changes from Picket to Difference.
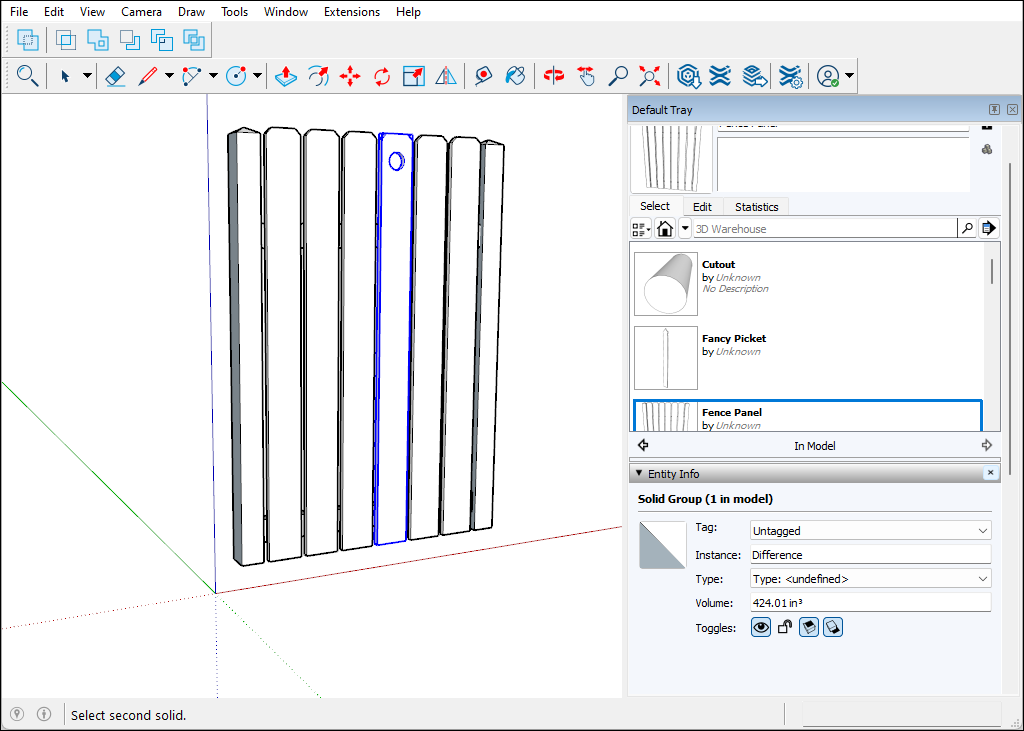
- To update the component definition so that all pickets reflect your changes, context-click the modified picket and select Make Component.
- In the Create Component dialog box, make sure the component Definition matches the original component name. In this example, that name is Picket.
- Click the Create button. A dialog box asks whether you want to replace the component definition.
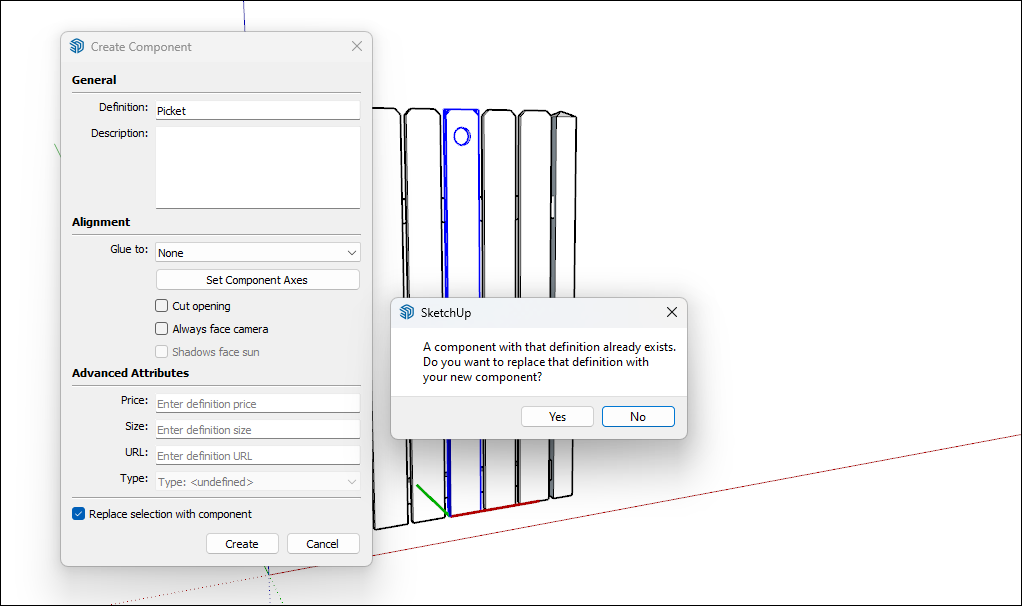
- Click Yes. All instances of your component reflect the change you made with the Solid tool or tools.
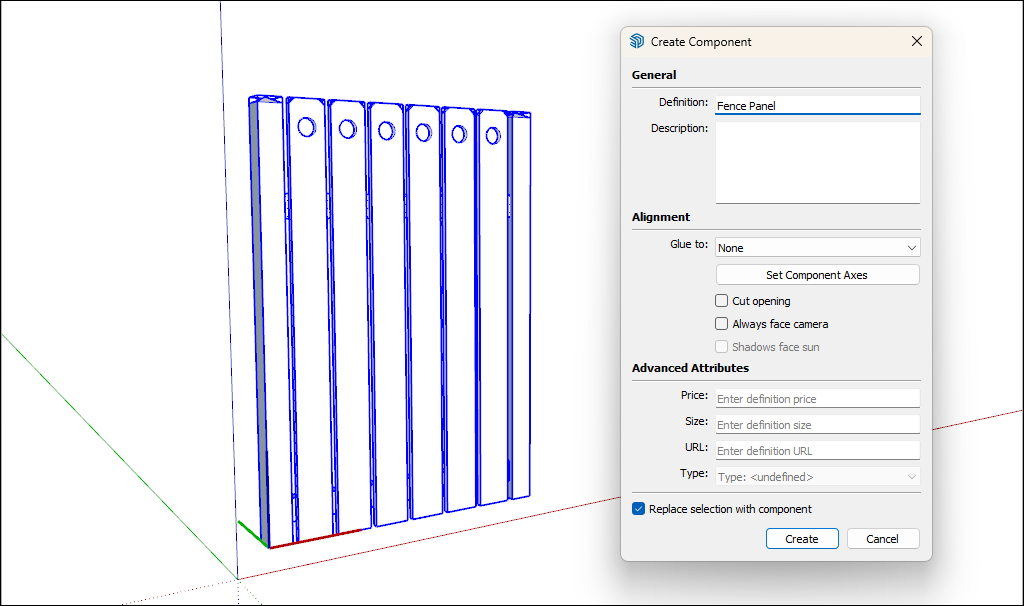
- (Optional) If you exploded a component to access subcomponents, you can re-create the component. For example, select all the entities in the updated fence and re-create the Fence Panel component.
Still need help?
Technical support from our New Zealand team is available to customers with a current Procadsys SketchUp Plus subscription: Pro Plus, Pro Scan Plus, Pro Civil Contractor Plus, Advanced Workflows Plus or Studio Plus. Self-help articles are public.
Contact SketchUp support