Set up Corporate Sign In to Chaos services with Microsoft Entra ID (formerly known as Azure AD).
Overview
Connect your Microsoft Entra ID identity provider to Chaos so your employees can use Corporate Sign In.
Before you start, contact Chaos to request the Corporate Sign In feature.
Initial configuration by Chaos Support
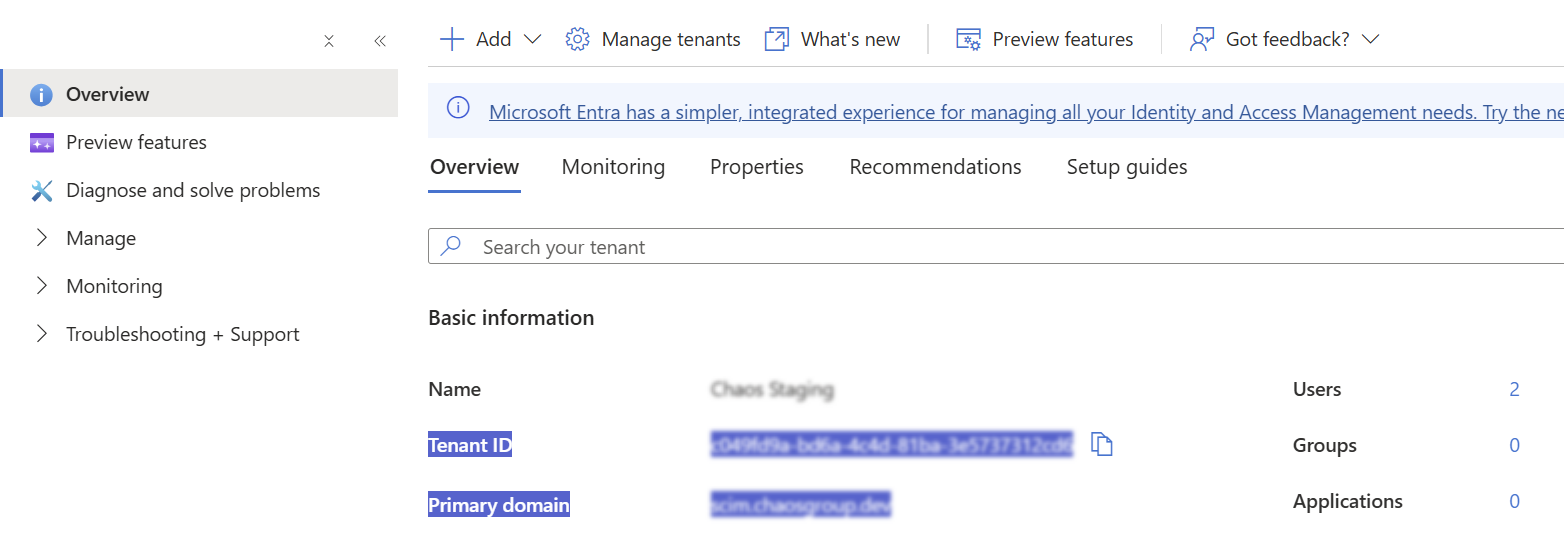
Chaos Support needs your Tenant ID and Domain for the initial configuration.
- Sign in to your Azure portal and open the Microsoft Entra ID service.
- On the Overview page, copy the Tenant ID and Domain fields into your request. Also provide the account email you will use to manage your Chaos licences.
- Wait for Chaos Support to complete the initial configuration before you continue.
Add the Chaos application to Microsoft Entra ID
- Sign in to your Azure portal and open the Microsoft Entra ID service.
- From the left menu, select Manage > Enterprise applications.
- Select New application.
- Search for the Chaos application and select it.

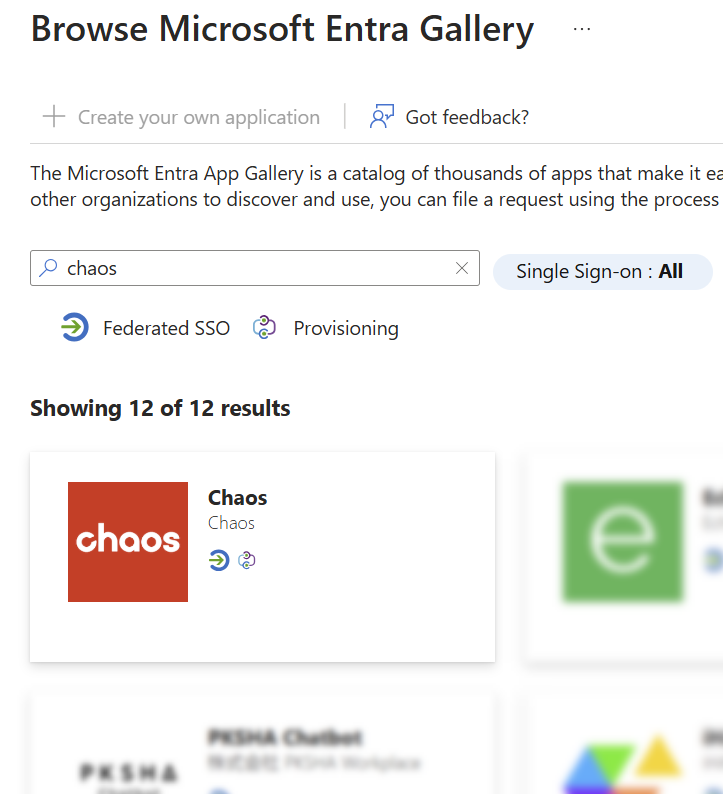
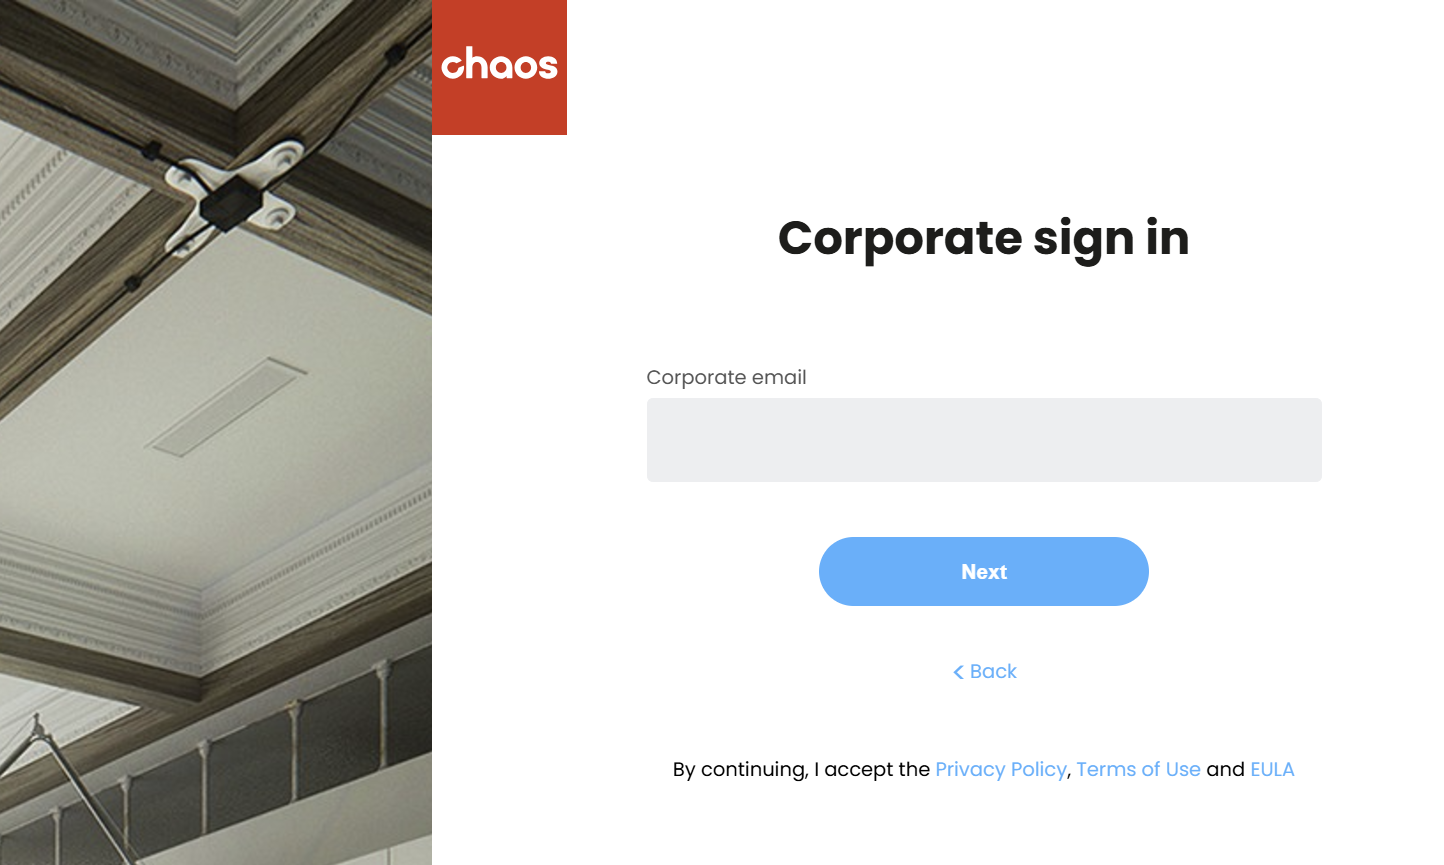
5. In the sidebar, select Sign up for Chaos. The Chaos Corporate Sign In page opens.
6. Sign in with your company credentials for the account you provided in the initial request.
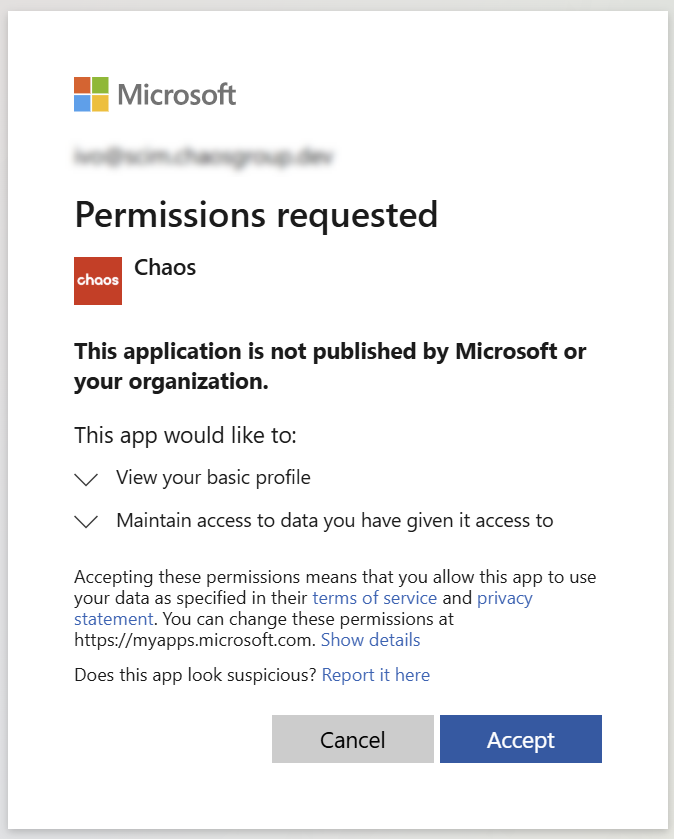
7. In Microsoft's Permissions Request prompt for the Chaos app, select Accept to grant the permissions.
8. After you sign in, the My Chaos portal opens. If your profile is incomplete, enter your First Name, Last Name and Country.
Set up single sign-on
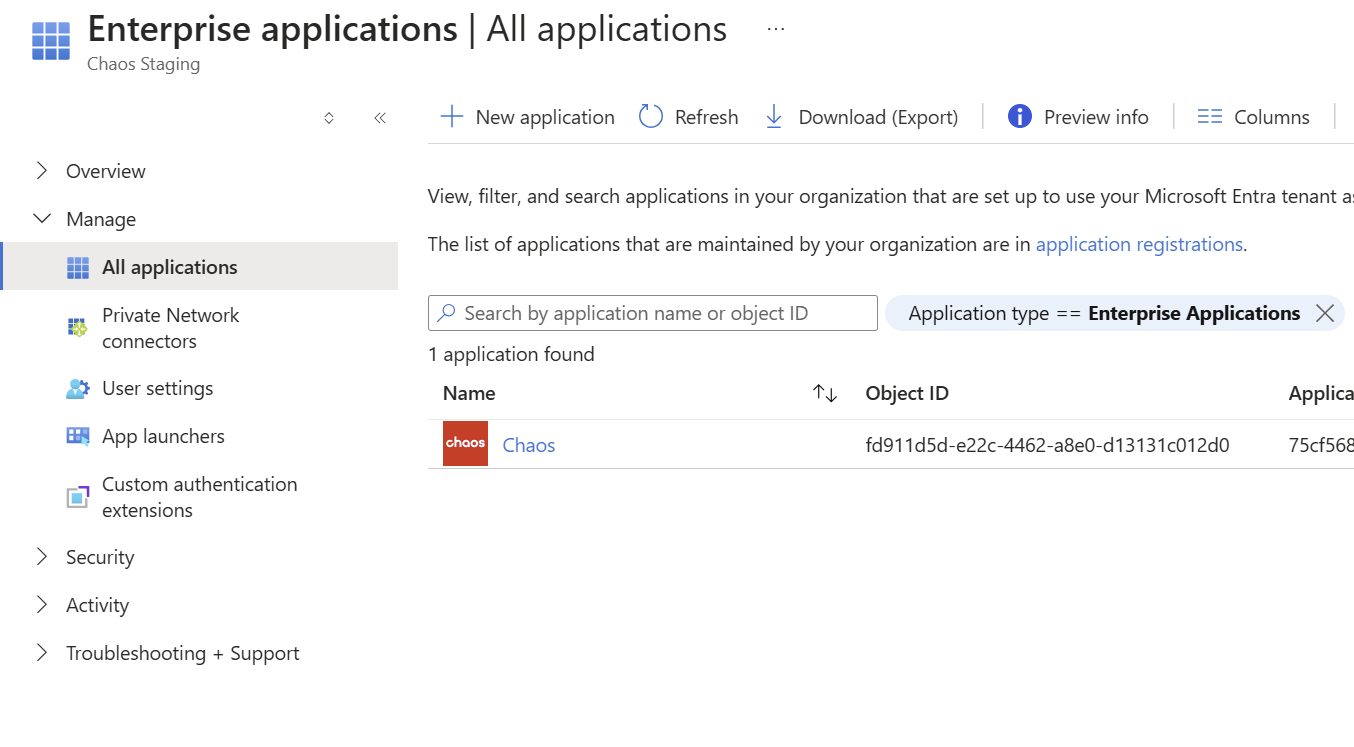
- On the Enterprise applications page in Microsoft Entra ID, open the Chaos application from the list.
2. From the left menu, select Manage > Properties.
3. Check that Enabled for users to sign-in is set to Yes.
4. Set User assignment required? to Yes.
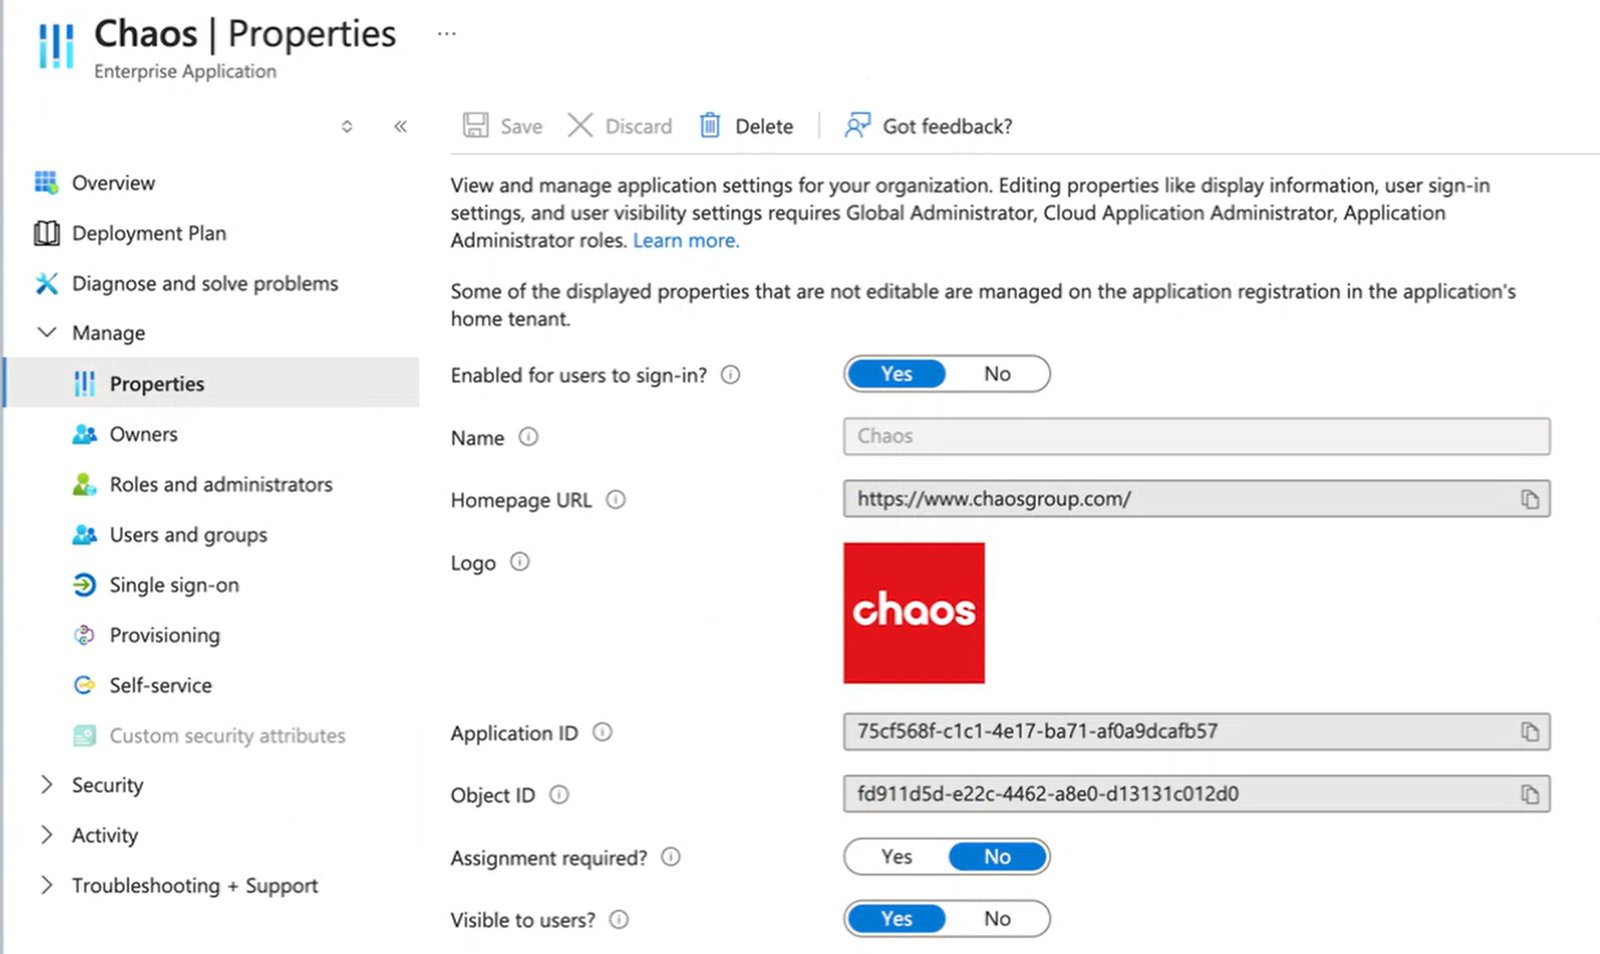
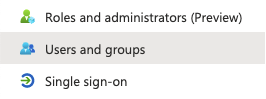
5. Open the Users and Groups menu.
6. Select Add user/group to add users and groups to the Chaos application. These users and groups can sign in to Chaos with Corporate Sign In. This setting also affects provisioning.
7. Corporate Sign In is now enabled. Users can sign in to their Chaos products with their corporate email. They are not automatically added to your Chaos Organization. You must add them before they can access your organisation's licences.
- To add users to the Organization manually, use the Self-Service Portal.
- To provision users automatically, follow the next section.
Enable automatic provisioning
1. On the Enterprise applications page in Microsoft Entra ID, open the Chaos application from the list.
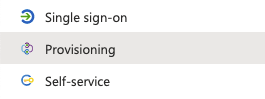
2. From the left menu, select Manage > Provisioning.
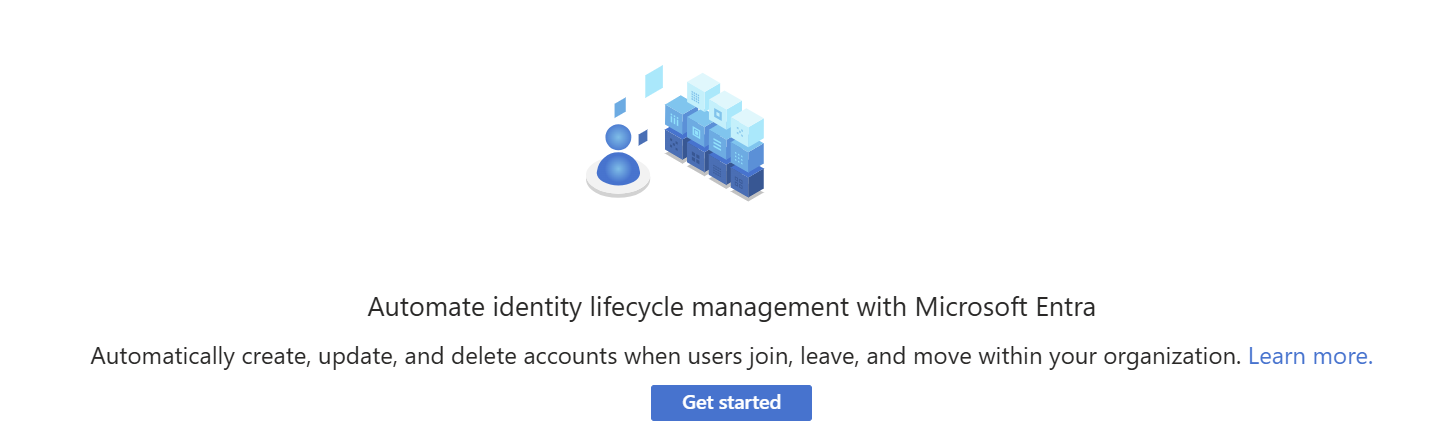
3. Select Get started.
4. Set the provisioning mode to Automatic.
5. Under Admin Credentials, enter the Tenant URL and Secret Token. Chaos Support provides these during the onboarding process.
6. Select Test Connection to check the configuration.
7. Select Save to save the configuration.
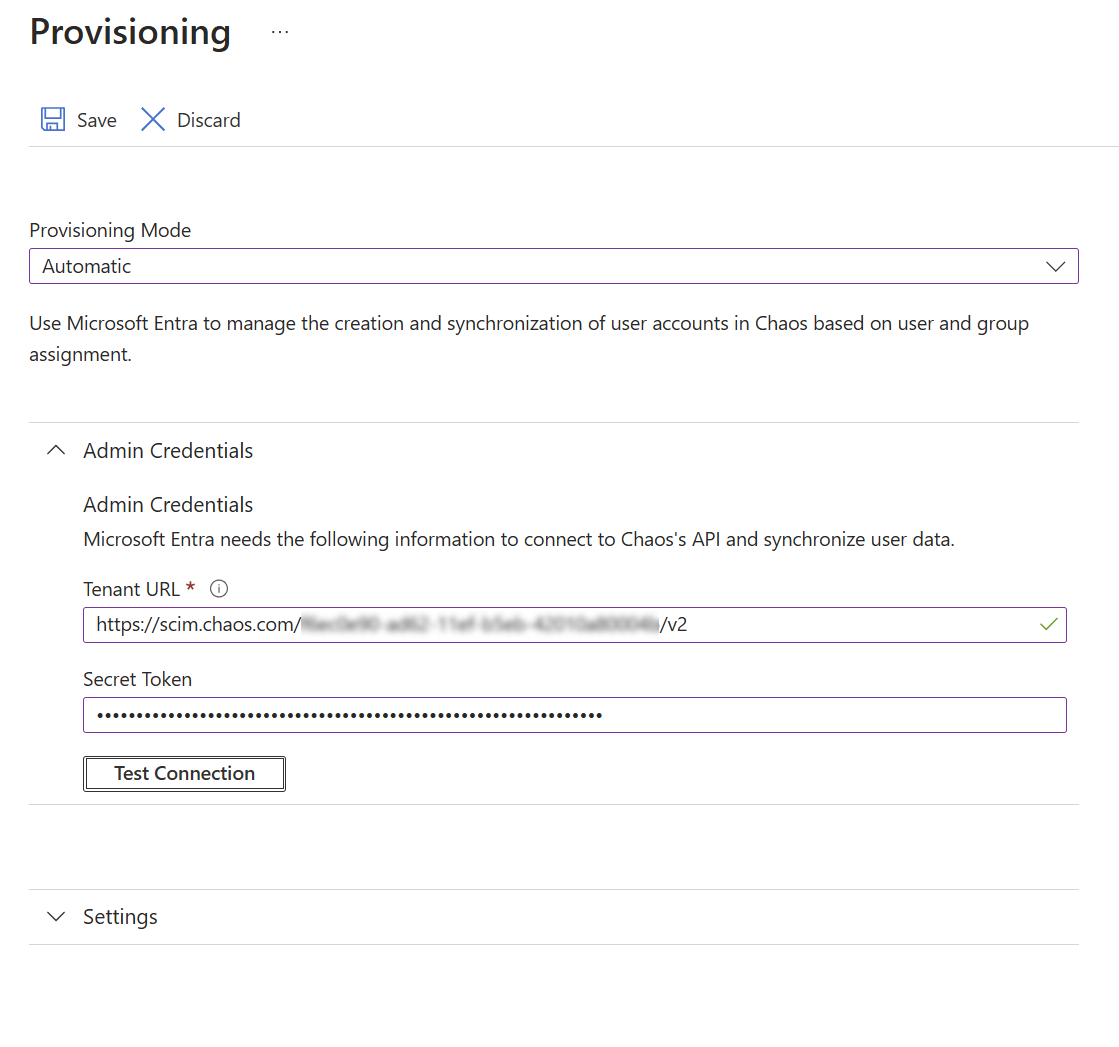
8. Expand the Mappings section.
9. Chaos provisions only user objects, so you can safely disable any group mapping shown. To disable group mapping:
a. Select Provision Microsoft Entra ID Groups.
b. Disable the Group mapping and select Save.
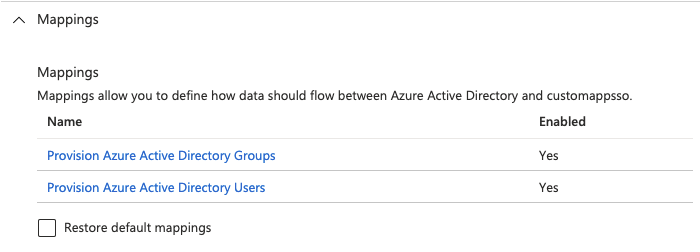
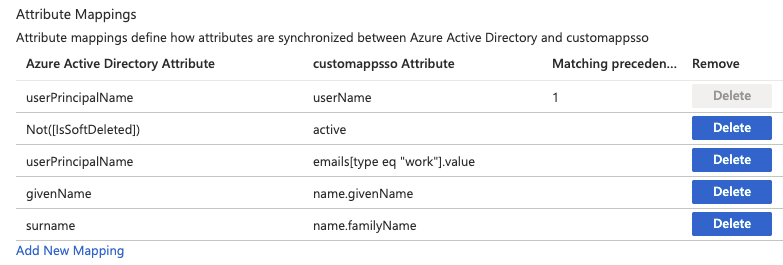
10. Return to the Mappings section and select Provision Microsoft Entra ID Users. Check that the Attribute Mappings table matches the table below. Save any changes.
11. Expand the Settings section. Check that Scope is set to Sync only assigned users and groups.
12. Set Provisioning Status to On.
13. Save the Provisioning Settings.
14. Provisioning is now enabled. Check that it works in the Chaos application's Provisioning menu.