Corona for 3ds Max
Corona Bitmap
This page provides information on the Corona Bitmap loader, its settings and usage.
Last updated 30 March 2026
This page provides information on the Corona Bitmap loader, its settings and usage.
Overview
Corona can load bitmap textures using two supported nodes in the material editor:
- Corona Bitmap
- 3ds Max native Bitmap
Both of them produce almost identical results; however there are some advantages of using the Corona Bitmap over the 3ds Max Bitmap node:
- Corona Bitmaps render faster.
- Corona Bitmaps use less RAM thanks to the out-of-core Rendering feature.
- Corona Bitmap has a simplified UI and controls and additional options for texture mapping and tiling.
- Additional “Dome” mapping lets you have ground projected environment maps, with controls on placement, size, and camera position.
- Environment maps can be transformed using a scene node.
- Additional tiling mode "Clamp" continues the pixels at the edges of the texture.
Click here to learn more about converting between 3ds Max Bitmaps and Corona Bitmaps...

Settings
UVW Mapping
Use Real-World Scale – When turned on, applies the map to objects using the real-world Width and Height values instead of UV values.
Map Channel – Allows to specify a map channel.
Offset (U;V) – Controls a horizontal/vertical offset.
Tiling (U;V) – Controls a horizontal/vertical tiling.
Tiling Mode:
No Tiling – For UV coordinates outside of [0,1] range the bitmap returns black color.
Repeat Tiling – The bitmap is periodically repeated outside of [0,1] range (i.e. for UV coordinates u = 0, v = 1.2 it will have the same value as u = 0, v = 0.2).
Mirrored Tiling – The bitmap is periodically repeated, but each odd repetition is mirrored (i.e. for UV coordinates u = 0, v = 1.2 it will have the same value as u = 0, v = 0.8). This means the repetition is seamless.
Clamp – For UV coordinates outside of [0,1] range the bitmap has the value of the closest valid pixel in the range (i.e. for UV coordinates u = 0, v = 5 it will have value of u = 0, v = 1). Often called "clamping".
Lock Icon – Lock the set width (U) and height (V) ratio.
Fit To Bitmap – Sets the height according to the aspect ratio of loaded bitmap. If cropping is enabled, cropped aspect ratio is taken.
W Rotation [deg] – Rotates the map in Z axis.
Use Triplanar Mapping – When enabled, the texture is projected from three directions (X, Y, and Z axes) instead of relying on the object’s UVs. This helps remove visible seams and stretching on objects that have poor or missing UV mapping.
Blending – Controls how smoothly the projections from different directions blend together. Lower values make the transitions sharper, while higher values create smoother blending.
Scale – Adjusts the overall scale of the triplanar projection across all axes.

Environment mapping
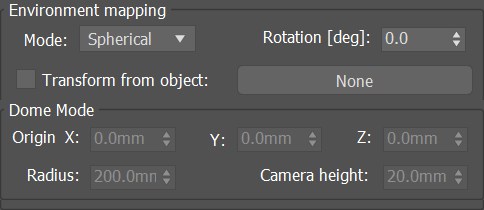
Mode:
Spherical – Most common format of environment bitmaps, bitmap pixel coordinates correspond to spherical coordinates.
Screen – Tries to map bitmap in such a way that it is mapped parallel to the camera sensor.
Dome – Similar to spherical, but the sphere is not infinite, it has a given center and size.
Cross – Common format from computer games - bitmap stores environment as unfolded cube.
Mirror Ball – Mapping computed from rays reflecting from perfect mirror sphere (quite uncommon, but it was requested by the users).
Rotation [deg] – Rotates the map in X axis.
Transform from object – If used, the bitmap rotation in the environment slot (and dome origin, if dome mapping is used) is controlled by transform from a selected scene object. The other bitmap rotations are still applied on top of this.
Dome Mode
Origin X/Y/Z – Sets the centerpoint of the virtual dome in the scene, using the units specified in 3ds Max.
Radius – Sets the size of the virtual dome, using the units specified in 3ds Max. The value should be at least a bit larger than the scene size, or unexpected results may occur. A good practice is to use a value similar to the scale of the environment in the image.
Camera height – Controls how much of the image is on the "floor" of the virtual dome, and how much is on the dome itself. If you know the height of the camera when the image was taken, use that value. If you do not know the height of the camera, adjust this by eye to minimize distortion on the floor of the dome.
Crop/Place
On – Makes crop/place active.
Crop – Makes Crop active.
Place – Makes Place active.
View Image – Opens a window that shows the bitmap surrounded by a region outline with handles at its sides and corners
U/V – Crops/Places the bitmap by UV coordinates.
Width/Height – Crops/Places the bitmap by width/height values.

Channel Outputs
Alpha – When map is used together with constant color, alpha determines how they are mixed (alpha = 1 - only map is used, alpha = 0 only color is used.). Here the user can select how is the alpha computed:
None (Opaque) – Alpha is always 1.
RGB Intensity – Alpha is computed from RGB color.
Image Alpha – Alpha is taken from image (if present, e.g. in TGA/PNG) or set to 1 if missing.
Mono – When the output of map is supposed to be a single channel (e.g. for material roughness), this is how we compute it.
RGB Intensity – Computed from RGB color.
Image Alpha – Single channel is taken from image (if present, e.g. in TGA/PNG) or set to 1 if missing.
RGB – Actual color output when map is used for color inputs (e.g. diffuse color in material).
RGB – Actual color stored in bitmap.
ImageAlphaasgray – Gray color is computed from alpha stored in the image.

Color Space
Selects the color space of the input texture. The texture values are transformed from the selected space to the space in which the material tree is evaluated. It is a Linear sRGB with the Gamma workflow or current rendering space with the OCIO workflow.
RGB Primaries:
Linear sRGB – Classic color space with a limited gamut.
ACEScg – ACES linear color space with AP1 primaries, it was designed for computer graphics operations.
Raw – the pixel values are used without any transformations, it is intended, for example, for normal maps.
Auto – One of the three spaces above is selected based on the file name(e.g. ''_acescg'' suffix leads to selection of the ACEScg option). In OCIO workflow, the rules are defined in the config file.

Bitmap
Load Map – Selects the bitmap using the standard file browser.
Reload – Reloads the bitmap file using the same name and path. You don’t need to use the file browser to reload the bitmap after you've updated it in your paint program. Clicking reload for any instance of the map updates the map in all sample slots and in the scene.

Filtering
Blur – Controls the blurriness of the image.
Interpolation – defines how a color is sampled from a bitmap image using UV coordinates. A bitmap is made of pixels, each with a single color, while UV coordinates can refer to any point within the image. When a UV coordinate does not fall exactly on a pixel center, the color is calculated from nearby pixels. This process is called interpolation.
Nearest Neighbor (low quality, fastest) – Selects the pixel closest to the UV coordinate and uses its color. This can result in a blocky or pixelated appearance.
Bilinear (faster) – Blends the colors of the four nearest pixels based on their distance to the UV coordinate. This produces smoother results than Nearest Neighbor interpolation.
Bicubic (smoother) – Uses a larger set of surrounding pixels to compute the final color. This results in smoother appearance and higher visual quality.

Examples
The following examples demonstrate the effect that individual Corona Bitmap Map parameters have on the scene. Click on any image to view it at a higher resolution.
Tiling
This example shows the effect of the Tiling (U, V) parameter.

U: 0.25, V: 0.25

U: 0.5, V: 0.5

U: 1.0, V: 1.0

U: 2.0, V: 2.0
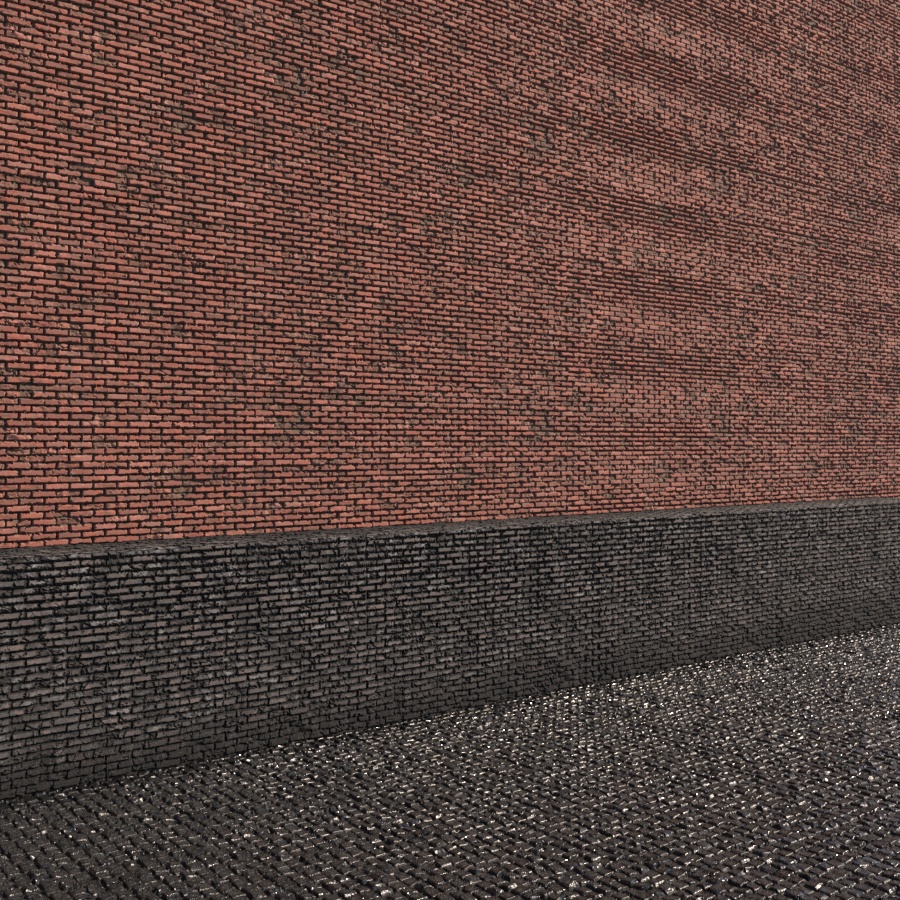
U: 4.0, V: 4.0
W Rotation
This example shows the effect of the W Rotation [deg] parameter.

0 degree
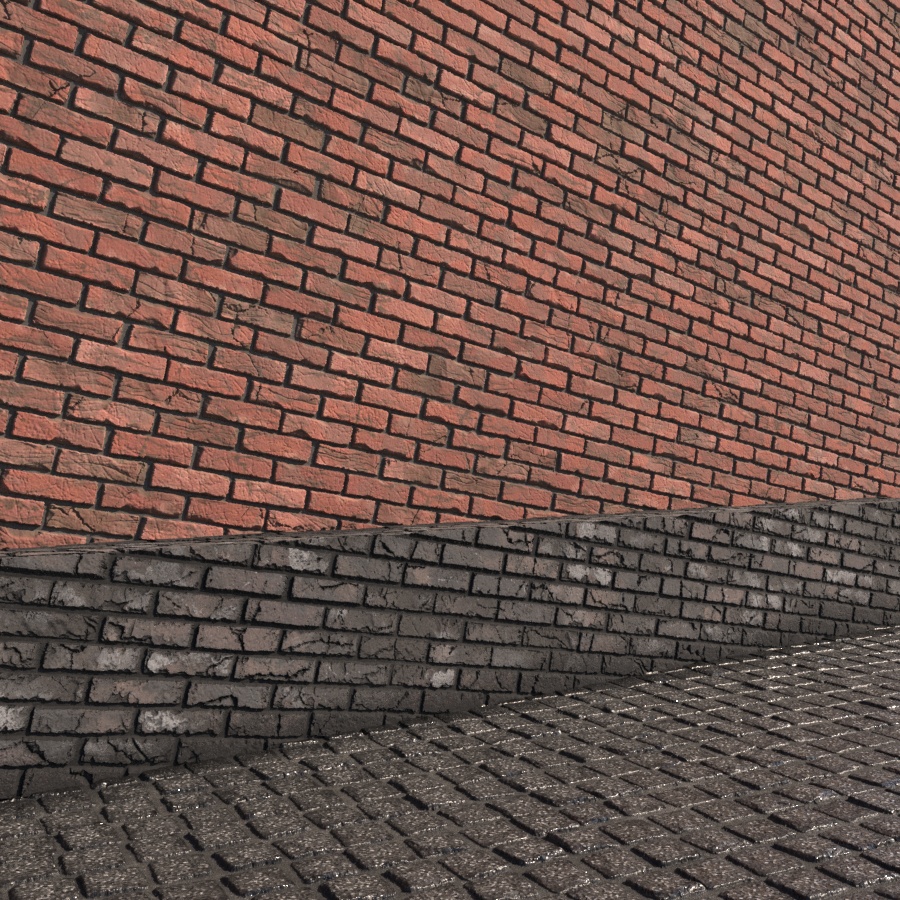
10 degrees

20 degrees

45 degrees

75 degrees
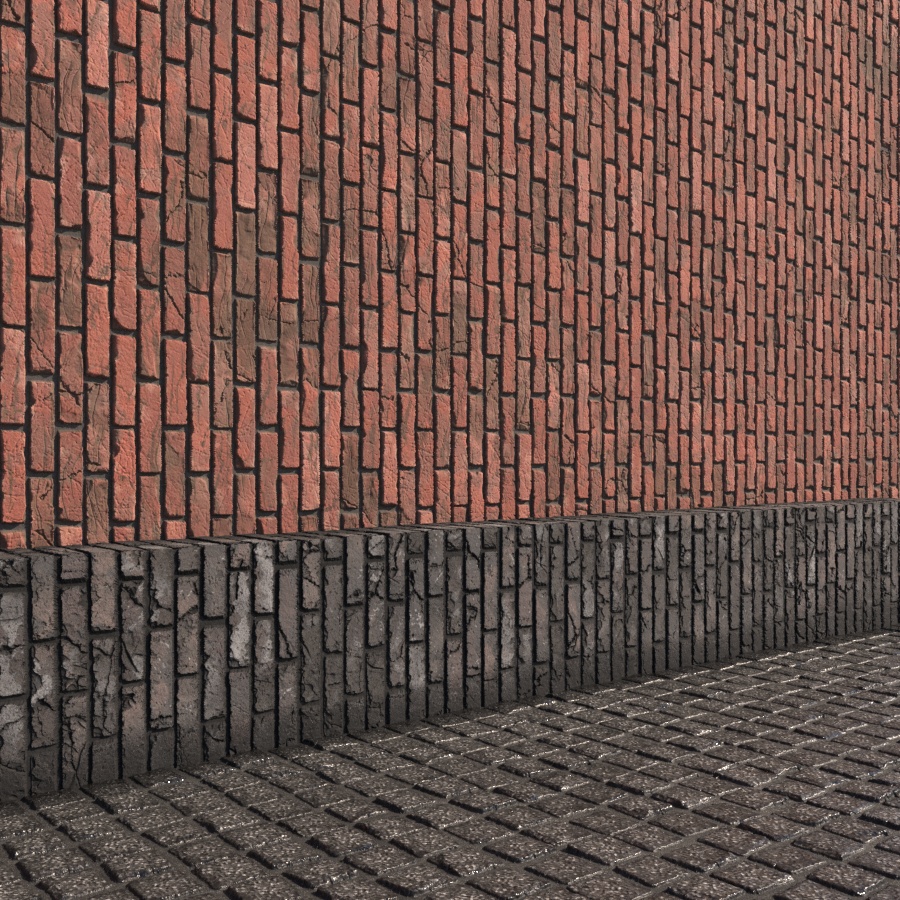
90 degrees
Tiling modes
This example demonstrates the different tiling modes.

Repeat Tiling

No tiling
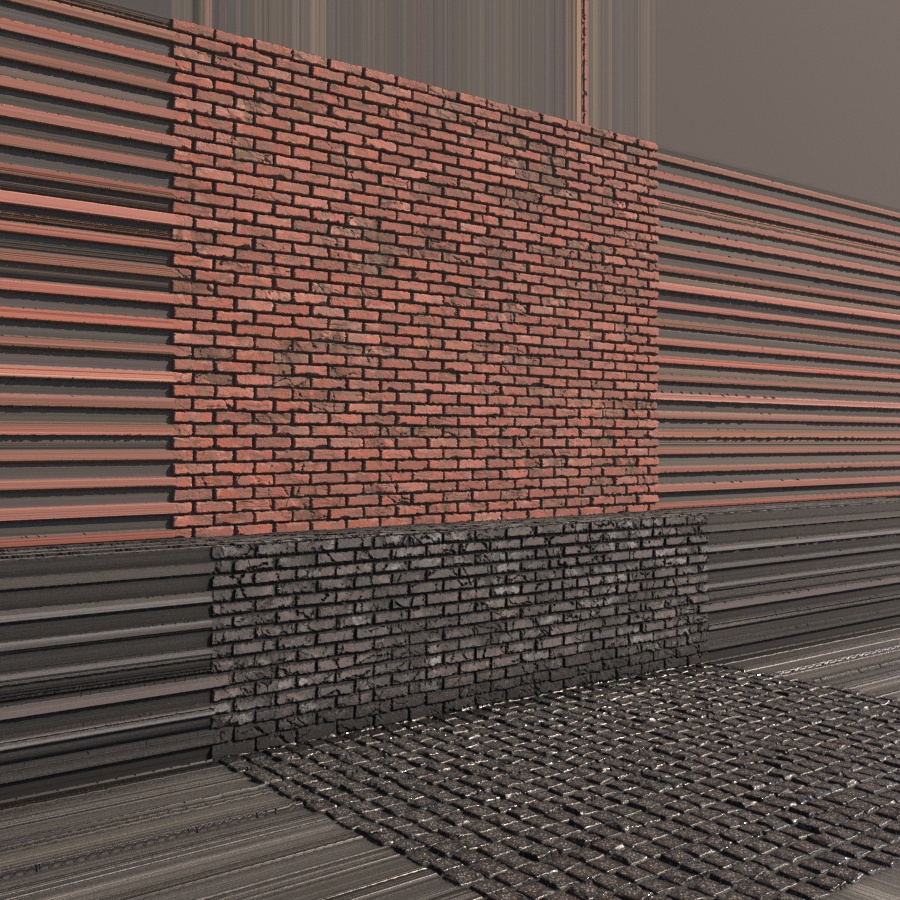
Clamp
Environment Mapping
The following example demonstrates the different environment mapping modes.
Spherical Mapping

Rotation (deg): 0

Rotation (deg): 10

Rotation (deg): 20
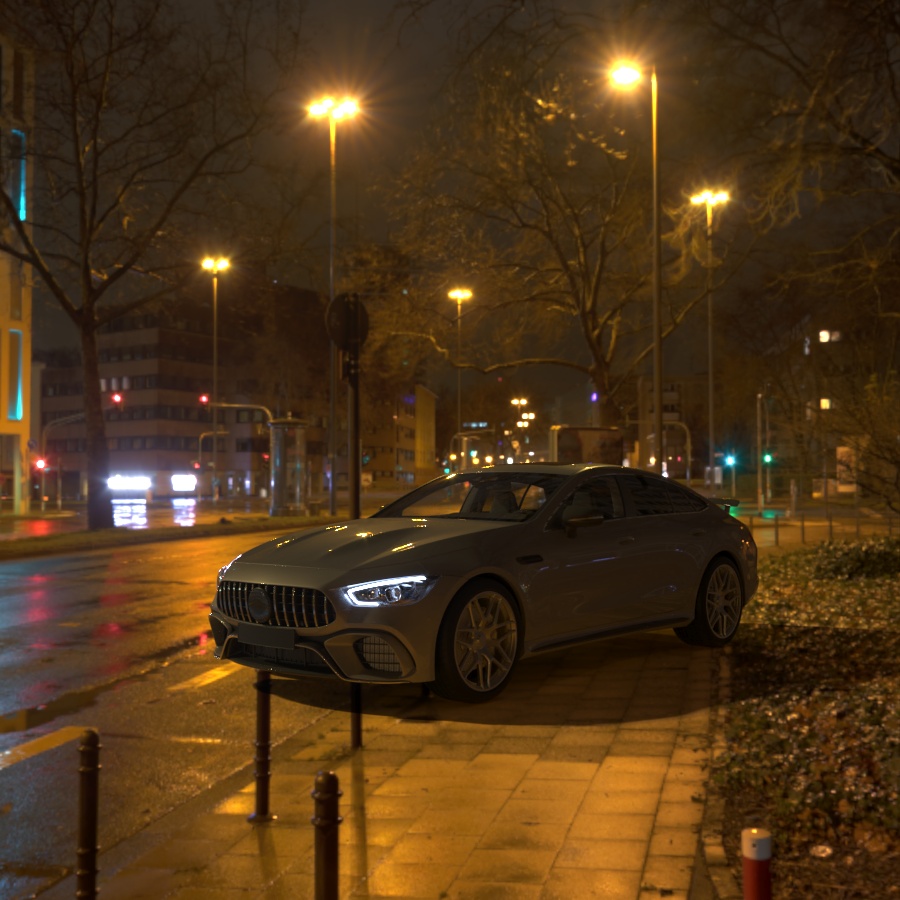
Rotation (deg): 30
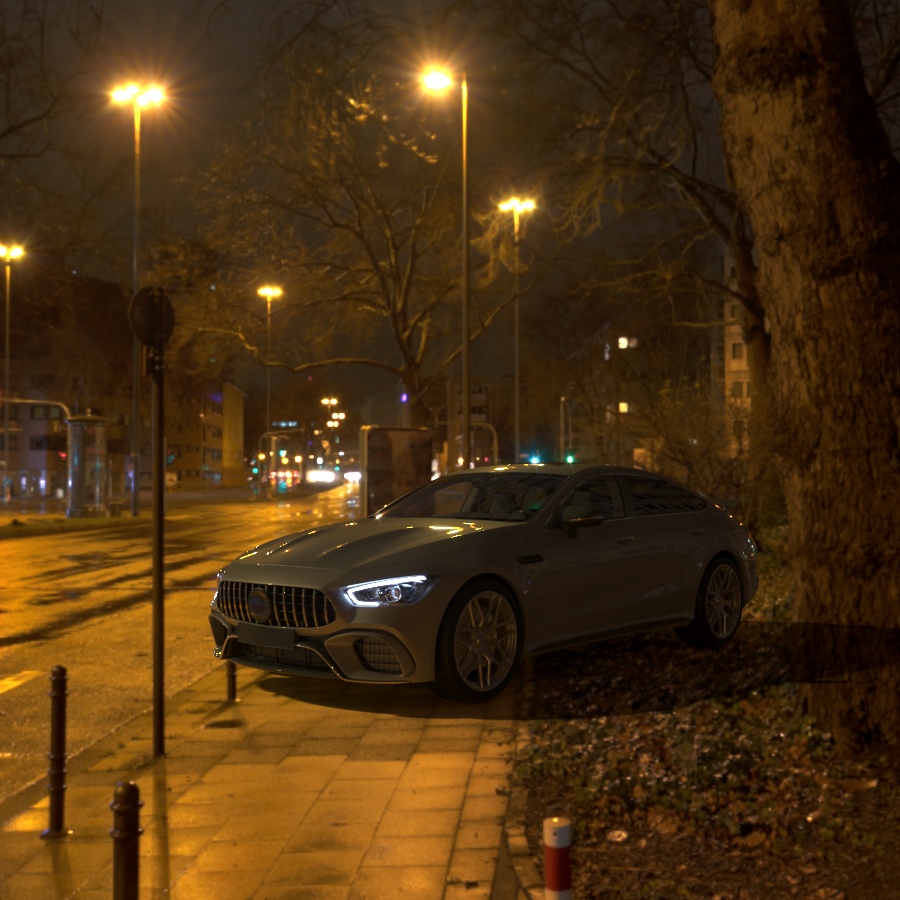
Rotation (deg): 40
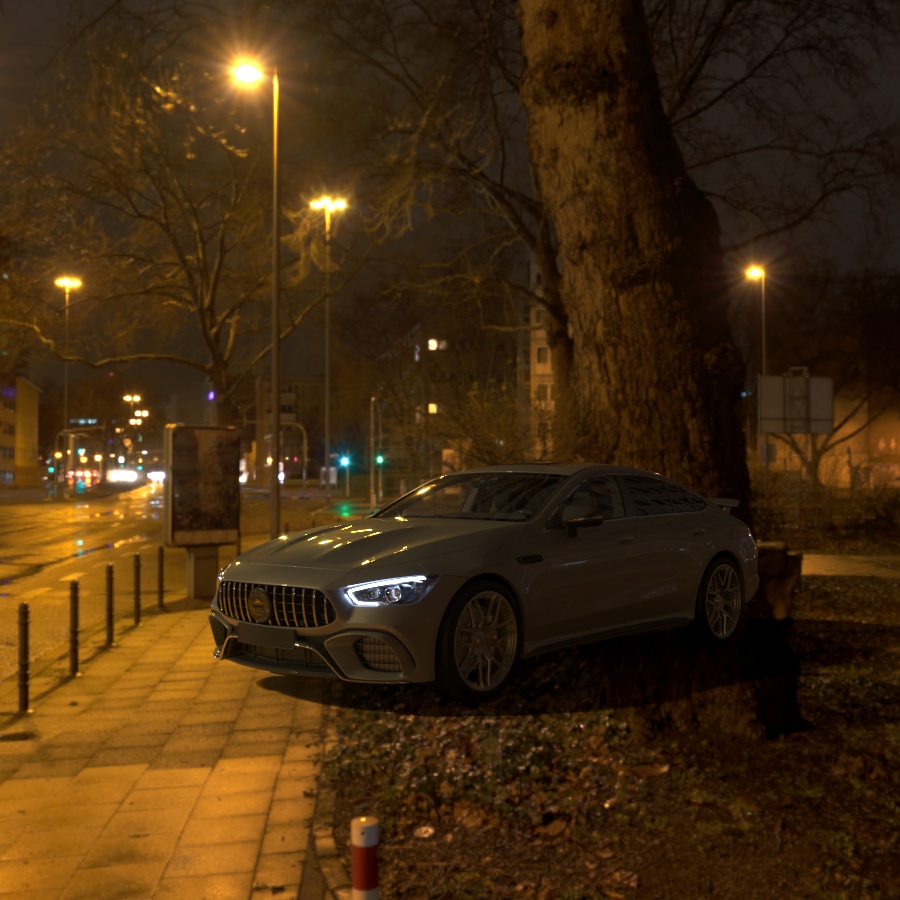
Rotation (deg): 50

Rotation (deg): 60
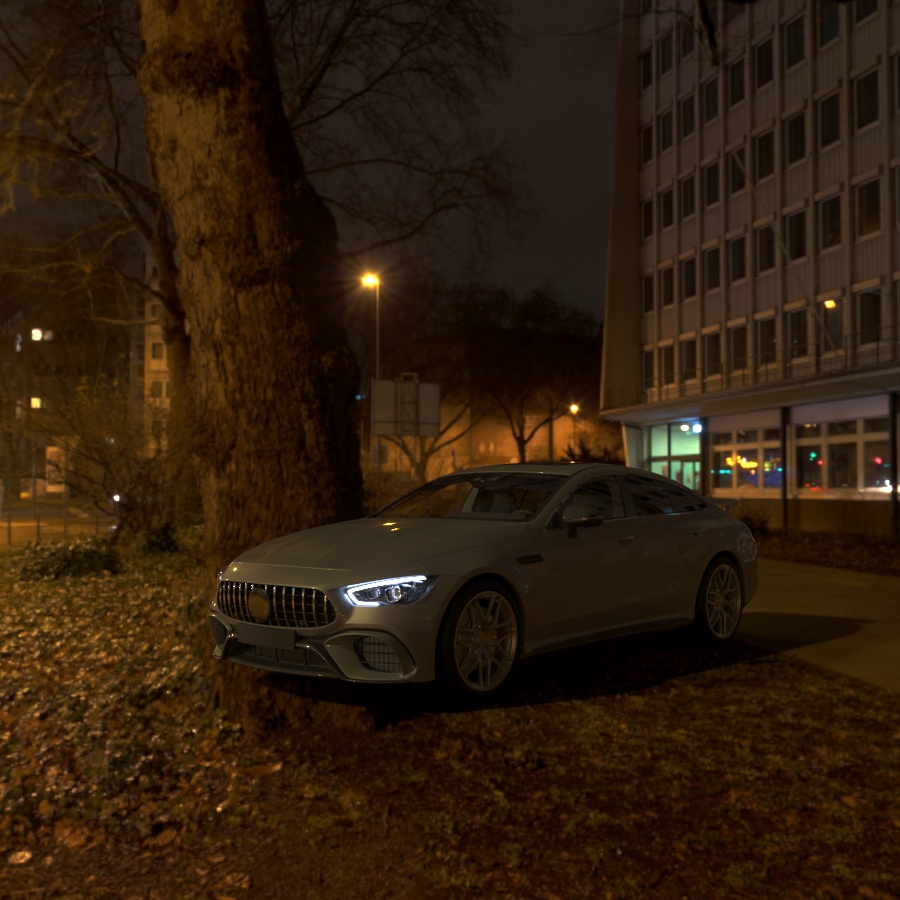
Rotation (deg): 70
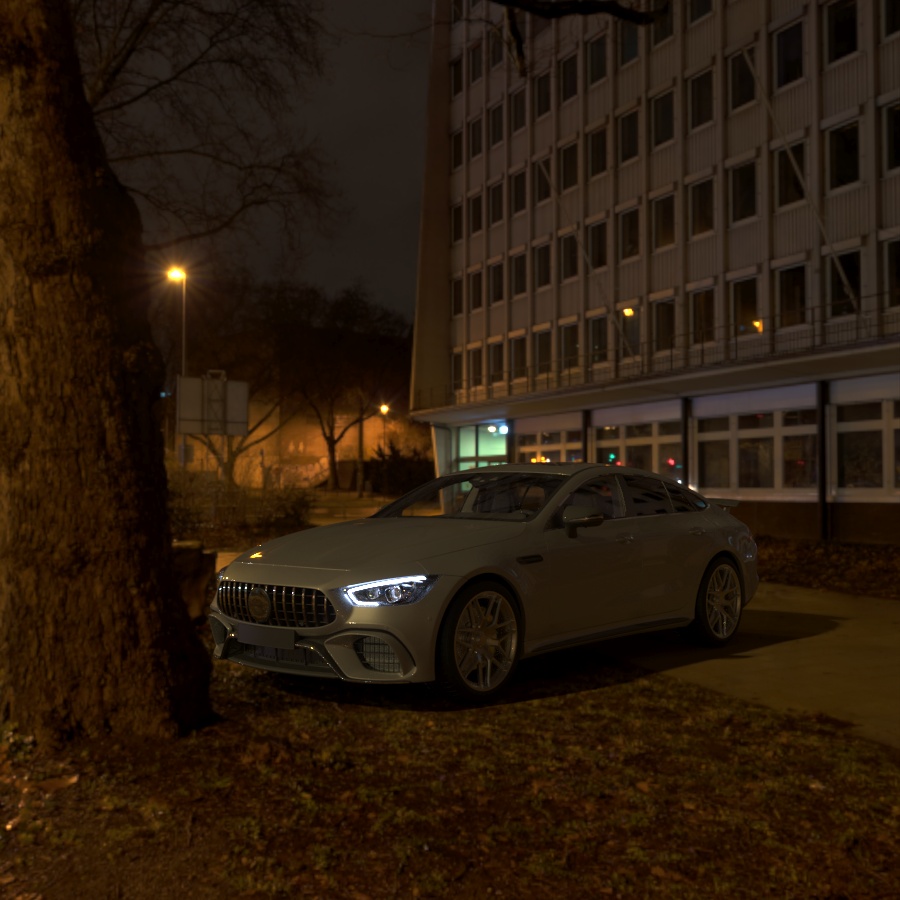
Rotation (deg): 80
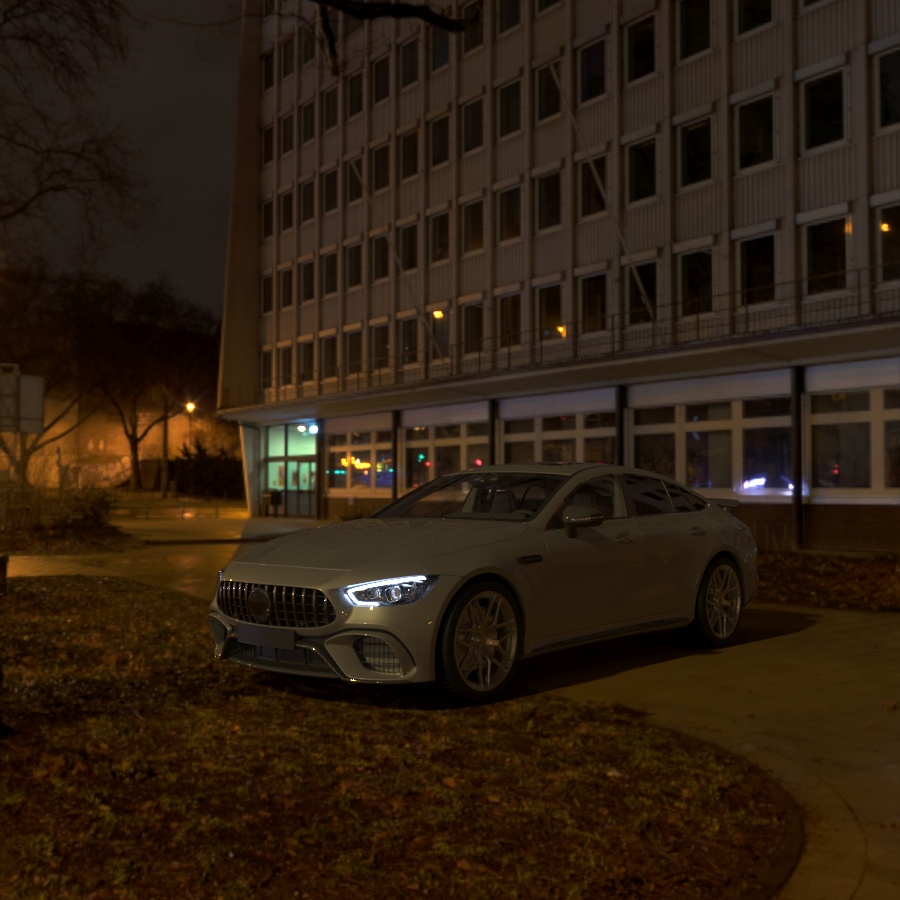
Rotation (deg): 90
Dome Mapping
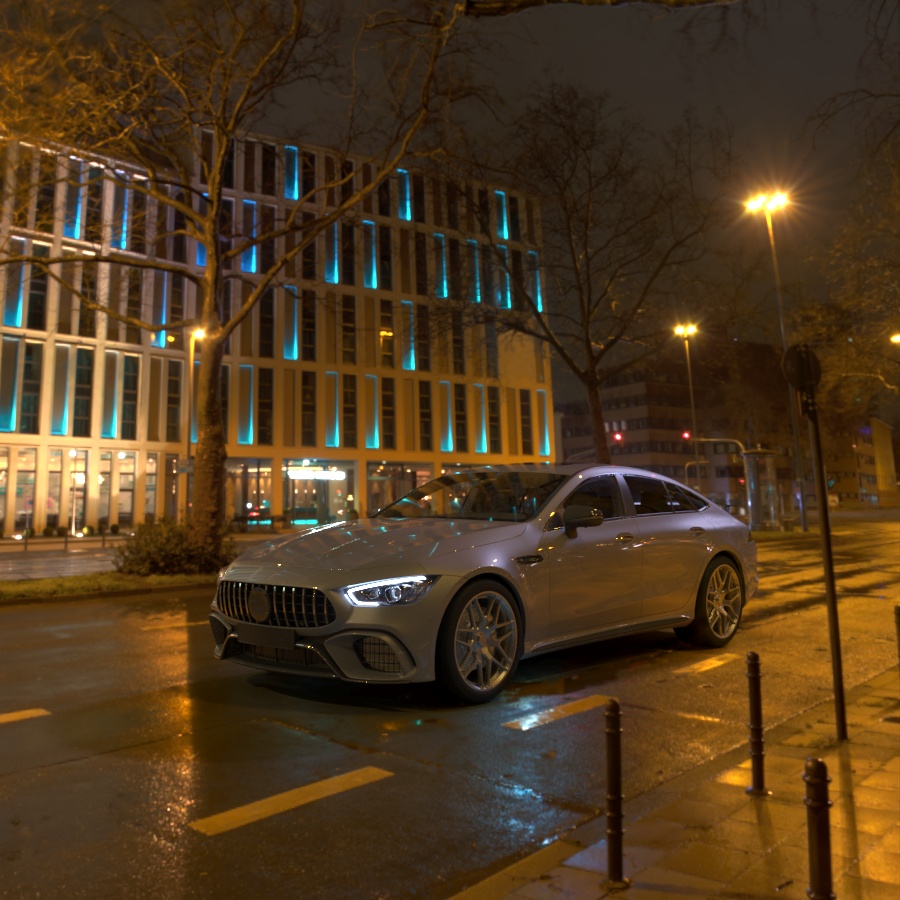
Radius: 10m

Radius: 15m

Radius: 25m

Radius: 40m
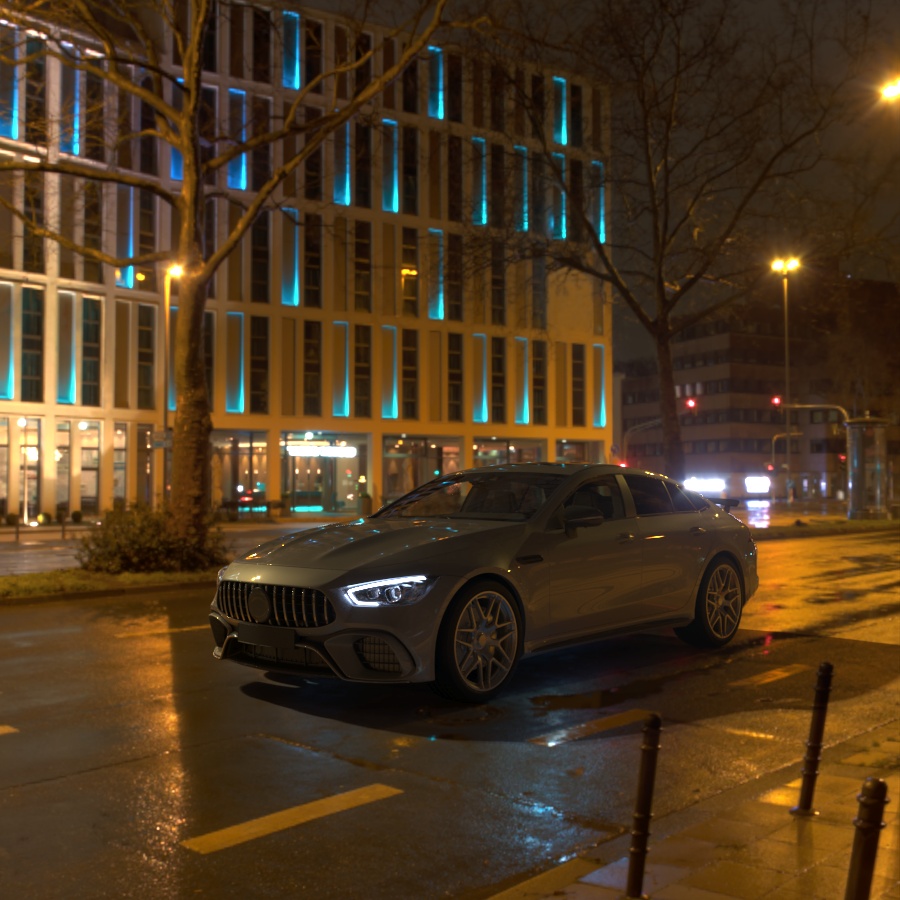
Radius: 100m
Filtering
The following examples demonstrate different filtering options.
Blur

Blur: 1,0

Blur: 2,0

Blur: 4,0

Blur: 8,0

Blur: 16,0
Interpolation
Bicubic vs Bilinear

Bicubic
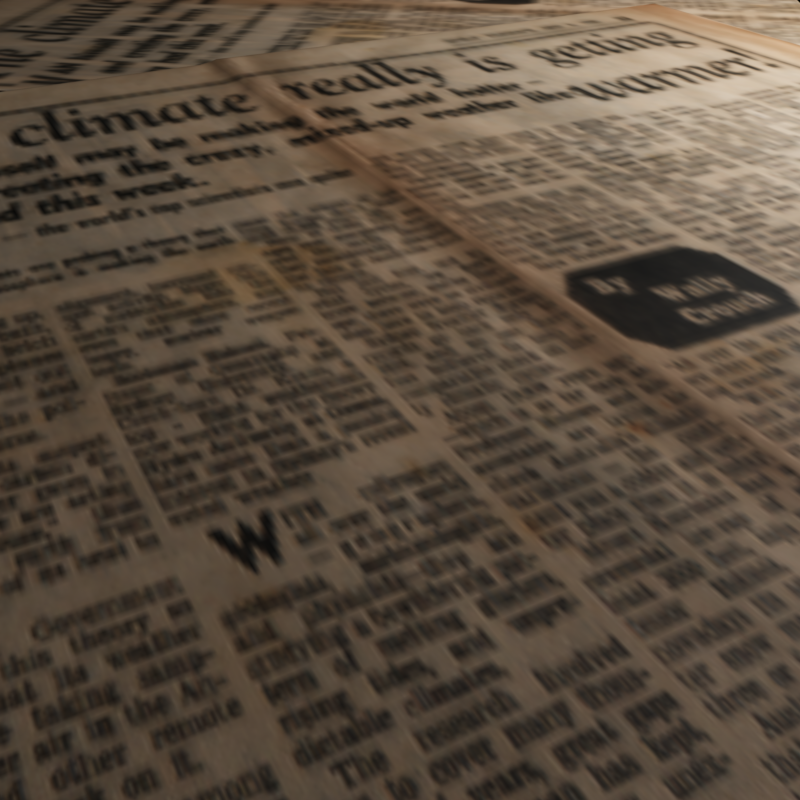
Bilinear
RAM usage difference - Corona Bitmap vs 3ds Max native Bitmap
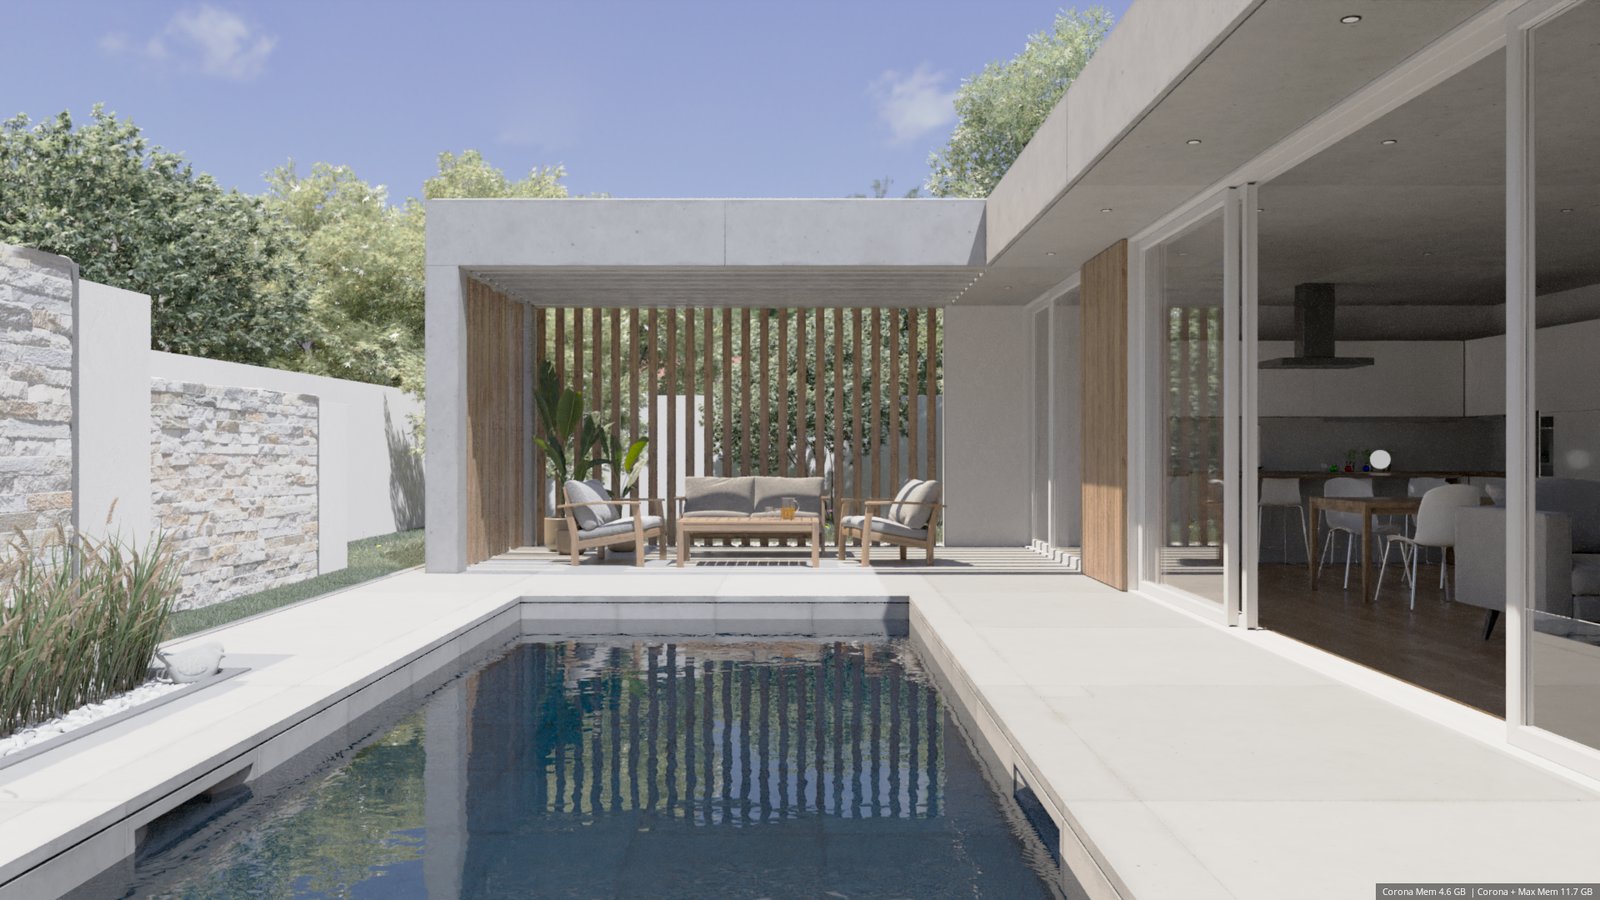
Bitmap 4.6 GB
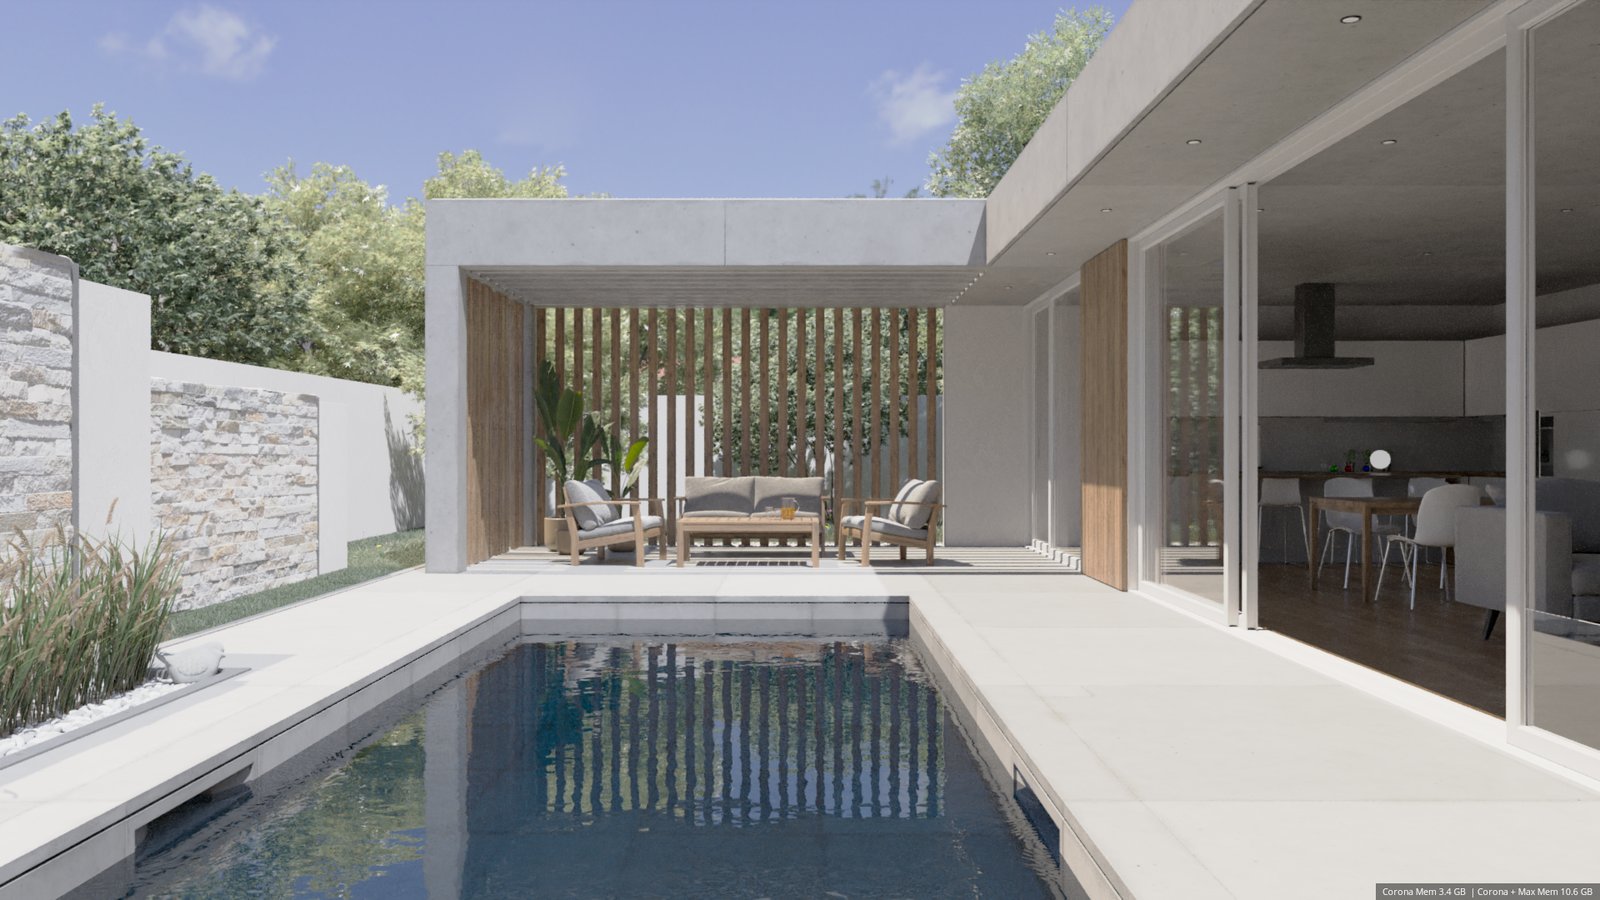
Corona Bitmap 3.4 GB
Use Triplanar Mapping

Use triplanar mapping is off

Use triplanar mapping is on
