Enscape Envision
Scatter
This page provides information about the Scatter tool in Enscape Envision.
Last updated 27 May 2026
This page provides information about the Scatter tool in Enscape Envision.
Overview
Scatter is a powerful distribution tool that allows you to easily populate projects with models of your choice. This is especially useful for outdoor projects that need to be filled with greenery, rocks, grass, etc. The Scatter tool creates instances of specified models on the surfaces of other objects or lines (paths).
Scatter Creation
Scatter Buttons
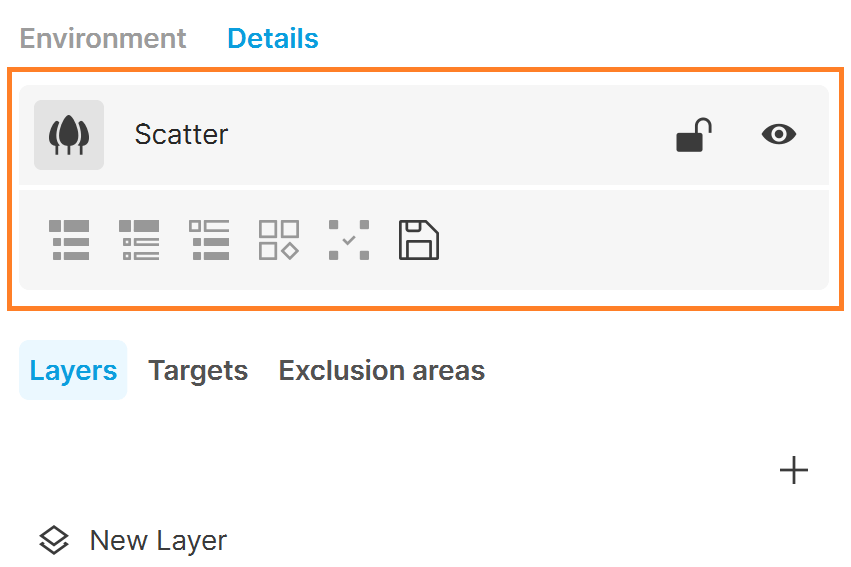
The following parameters are located in the Details tab and are available upon selection of any Scatter object from the Objects tab.
A field showing the name of the selected Scatter object, allowing you also to rename it. |
A field showing the name of the selected Scatter object, allowing you also to rename it. | |
Lock – Disables the transformation options for the selected Scatter object - position, rotation, and scale. Click to enable the options for manipulation again. | |
Hide – Toggles the visibility of the Scatter object on and off. Invisible objects are indicated by and aren't rendered. | |
Select hierarchy All – Selects the parent and all children of the current selection from within the scene hierarchy. | |
Select hierarchy Parent only – Selects only the parent of the current selection from within the scene hierarchy. | |
Select hierarchy All children – Selects the rest of the children in the scene hierarchy group the current selection belongs to. | |
Make instance unique – Excludes the selection from the rest of its instances and makes it unique. The action is disabled if the selection has no instances. | |
Select all instances – Selects all instances the selected Scatter object has in the project. | |
Save as Scatter preset in the local library – Saves the current settings as a Scatter preset. |
Scatter Tabs
The models to be scattered and their distribution are specified in the Layers tab. While a single layer can contain multiple models, multiple layers can also be used to split and organize the scattered models depending on the sought visual result.


To add a layer, use the Add new layer button (). To delete a layer, use the Remove button () which appears when hovering over a layer.
The areas where the models are to be scattered are specified in the Targets tab. To exclude parts of these areas, use the Exclusion areas tab.
For both types of areas, Target and Exclusion, you can either pick existing objects, or create native Envision objects using the Create geometry or Path tools.

Scatter Setup
Select the Cosmos models you want to scatter and drop them onto the Models section of the Scatter layer settings.
Models can be scattered either over a surface, or over a path. For more information, check the Scatter Workflows article.
Scattering over a surface
Density – Defines the density of the scattered models in the number of instances per 100 square meters. See the Density example below.
Max angle to up vector – Defines the maximum angle of the surface on which the models are scattered. A value of 0 means that the models can only be scattered on horizontal surfaces. A value of 180 means that the models can be scattered on any possible surface angle.
Detect collisions – Prevents the scattered models from colliding with each other. See the Detect Collisions example below.
Models – The list of models used in the currently selected Scatter. Click on a model and move the slider to set its Frequency. See the Frequency example below.
Click here to see the Frequency option.


Edit individual instances () – Select scattered instances in the viewport to make adjustments.

Remove () – Removes either the selected models, or all the models if none are selected.

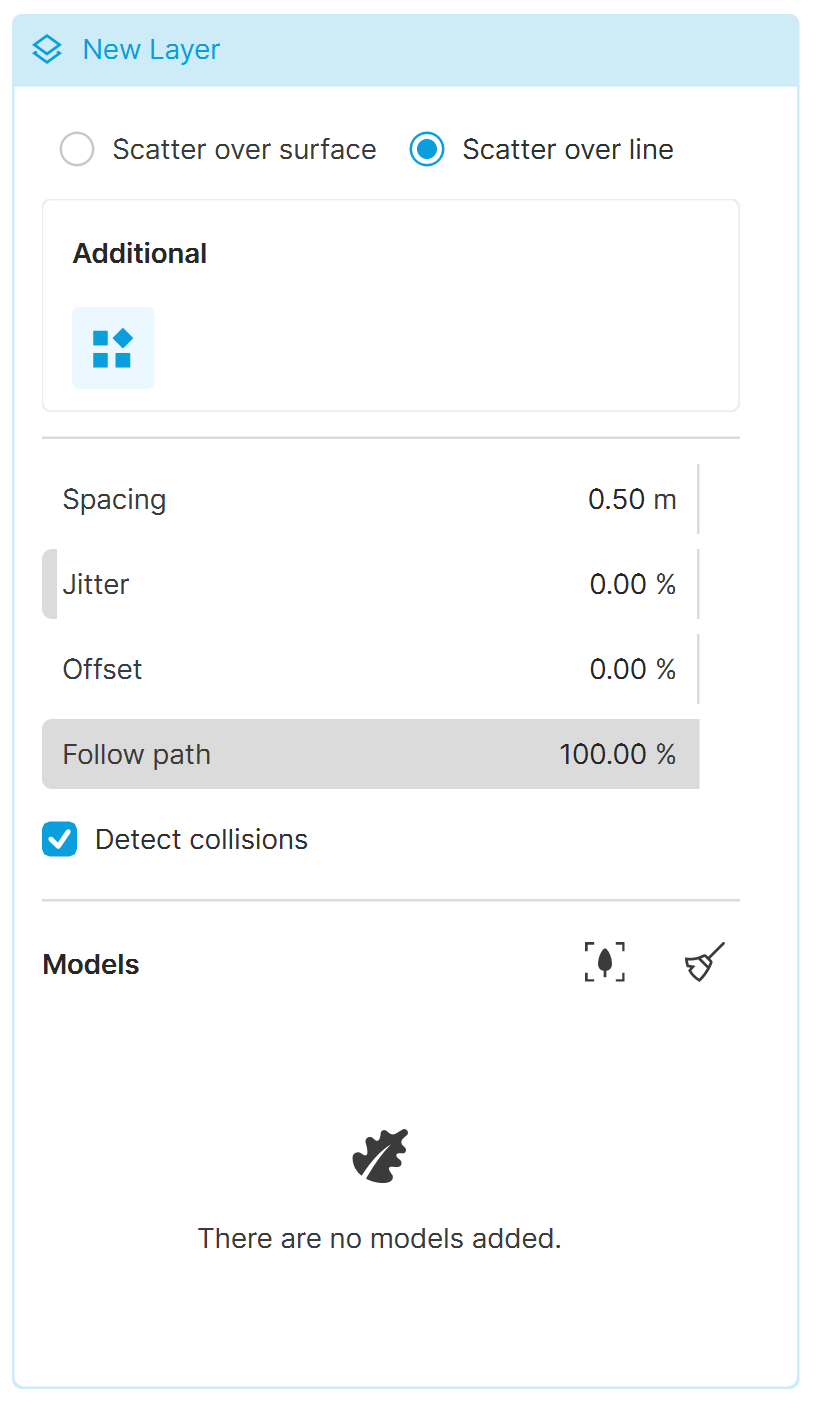
Scattering over a line
Spacing – Determines the spacing between instances in meters. See the Spacing example below.
Jitter – Randomly jitters instances along the path. Each instance has Spacing applied on both its sides, except the instances at the end of the path. The Jitter value is divided between those two Spacings.
Offset – Determines what percentage of the Spacing the instances are offset in one direction of the path. When set to 100%, all instances replace the one after them, as the offset is equal to the whole value of the Spacing. See the Offset example below.
Follow path – Determines how scattered instances are oriented along the path. Assigning a value of 100%, makes instances follow the path and are oriented along the local tangent direction.
Detect collisions – Prevents the scattered models from colliding with each other. See the Detect Collisions example below.
Models – The list of models used in the currently selected Scatter. Click on a model and move the slider to set its Frequency. See the Frequency example below.
Click here to see the Frequency option.
Edit individual instances () – Select scattered instances in the viewport to make adjustments.
Remove () – Removes either the selected models, or all the models if none are selected.
Randomization
The controls in this panel add randomization to the scattered models position, rotation and scale, allowing you to achieve more natural and realistic look of the scattered models.
Translation – Moves the instances From the given distance To the given distance on the corresponding axis. See the Randomization: Translation example below.
Rotation – Rotates the instances From the given degrees up To the given degrees continuously. See the Randomization: Rotation example below.
Scale – Scales the instances From the given value To the given value continuously. When Uniform scale is enabled, the X axis values are applied on the whole target object. See the Randomization: Scale example below.
Uniform scaling – When enabled, all instances in all axes are scaled according to the values of the X axis. See the Randomization: Scale example below.

Examples
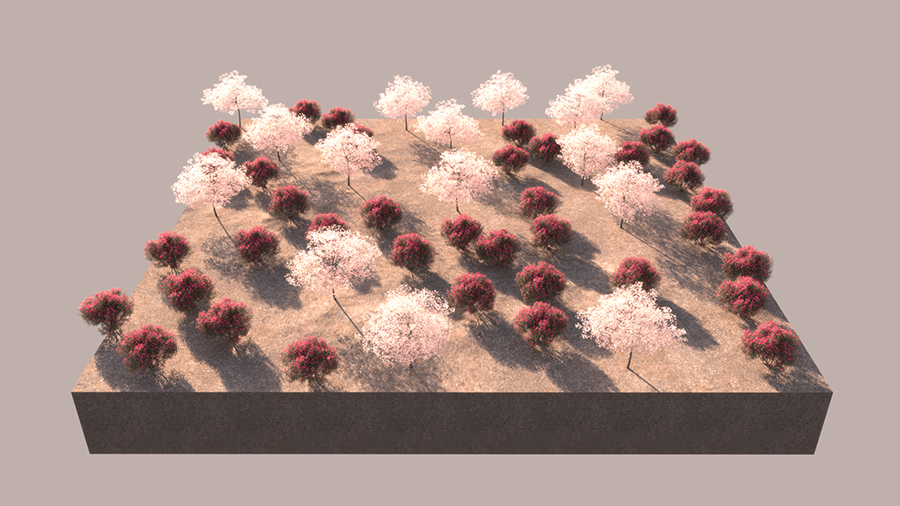
Scatter on surface

Scatter on line
Density
The objects are scattered onto a surface.

Density = 1

Density = 10

Density = 100
Spacing
The objects are scattered onto a line.

Spacing = 0.25m
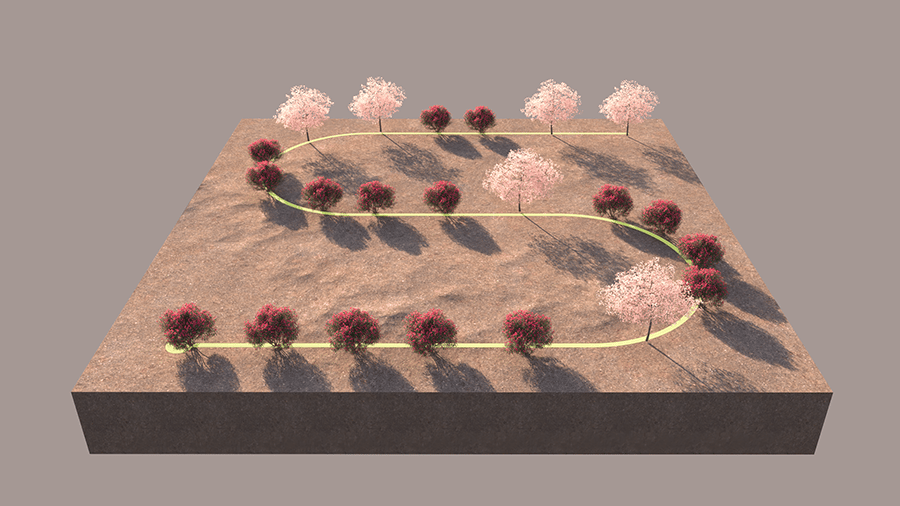
Spacing = 0.5m

Spacing = 1m
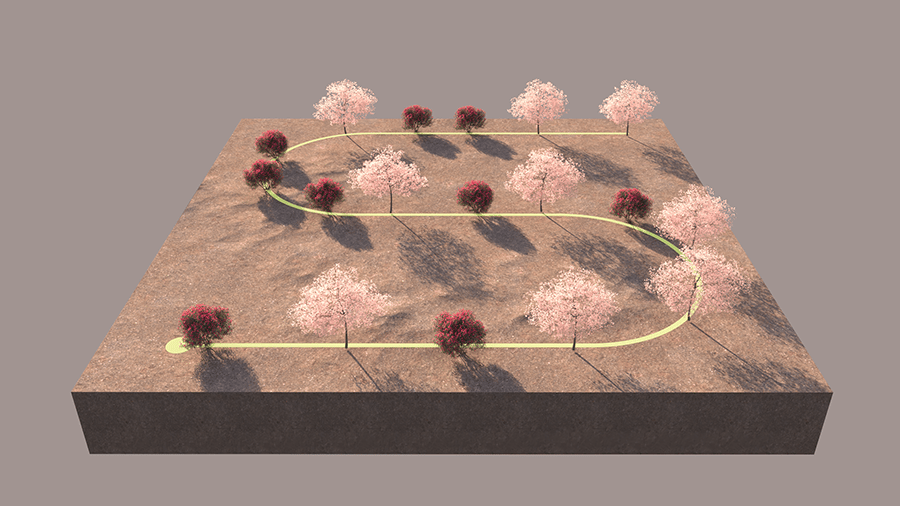
Spacing = 2m

Spacing = 3m
Detect Collisions
The objects are scattered onto a surface.

Detect collisions is off

Detect collisions is on
The objects are scattered onto a line.
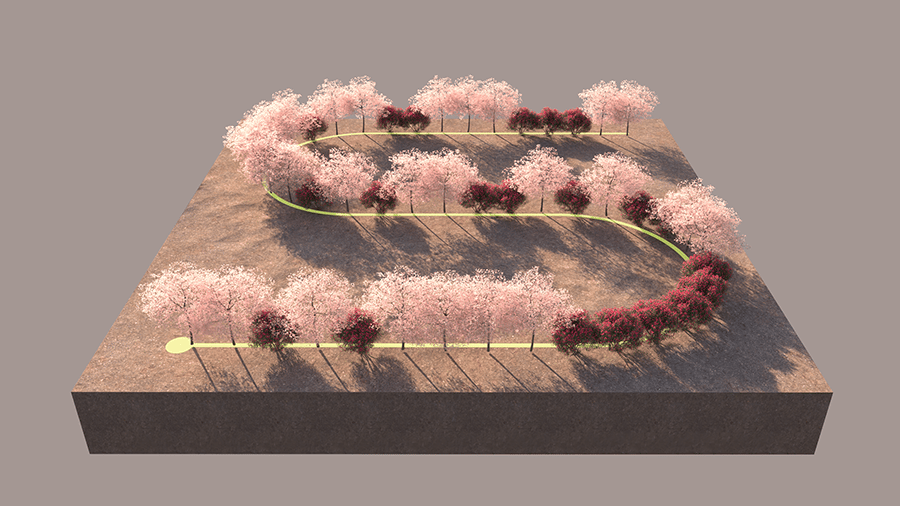
Detect collisions is off
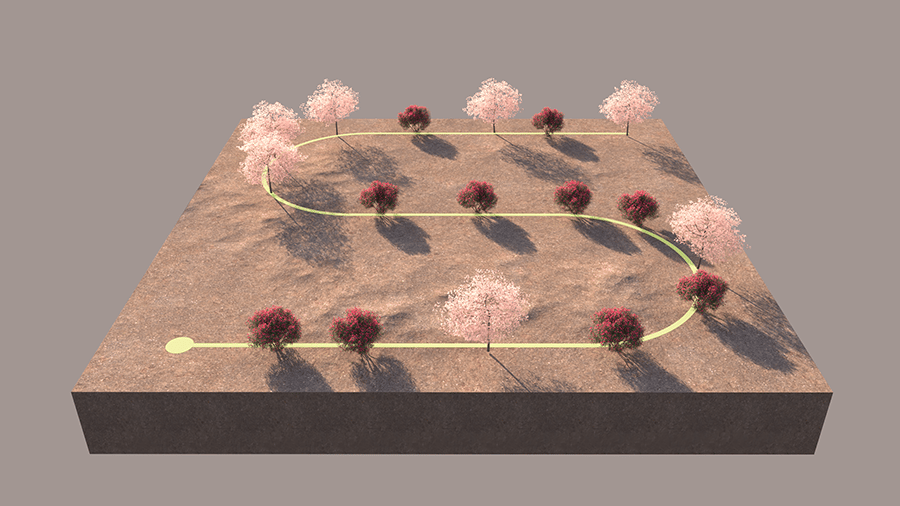
Detect collisions is on
Frequency
The objects are scattered onto a surface.

Frequency of both models is set to 100

Frequency of pink model is set to 0.2
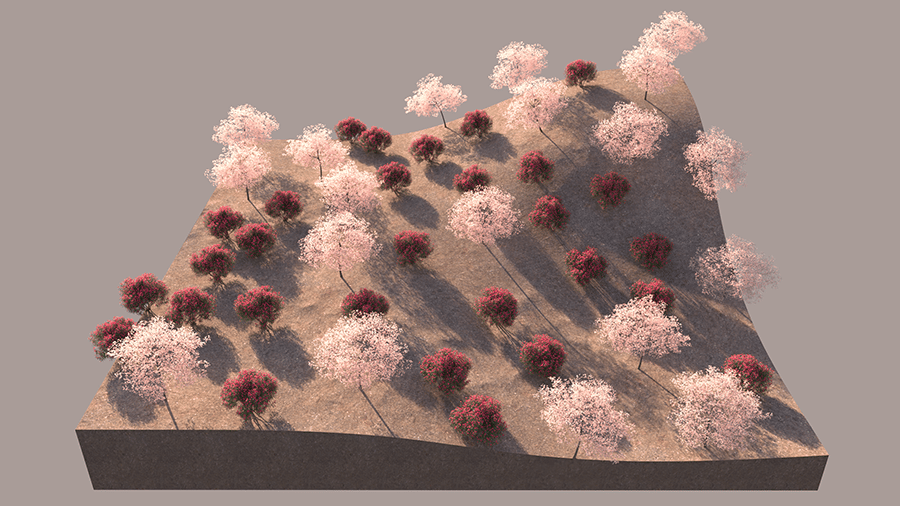
Frequency of red model is set to 0.2
Offset
The objects are scattered onto a line.
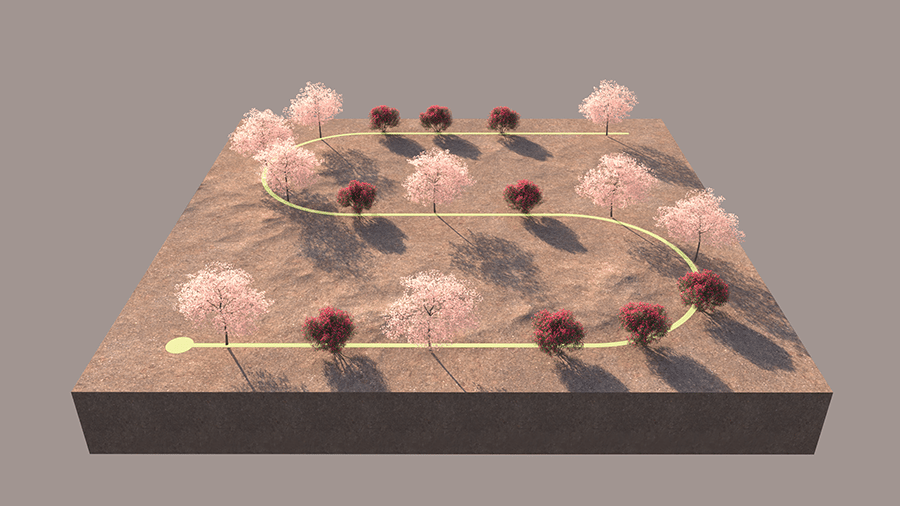
Offset = 0%

Offset = 50%

Offset = 100%
Randomization: Scale
The objects are scattered onto a surface.

Uniform scaling is on, Scale is 100%
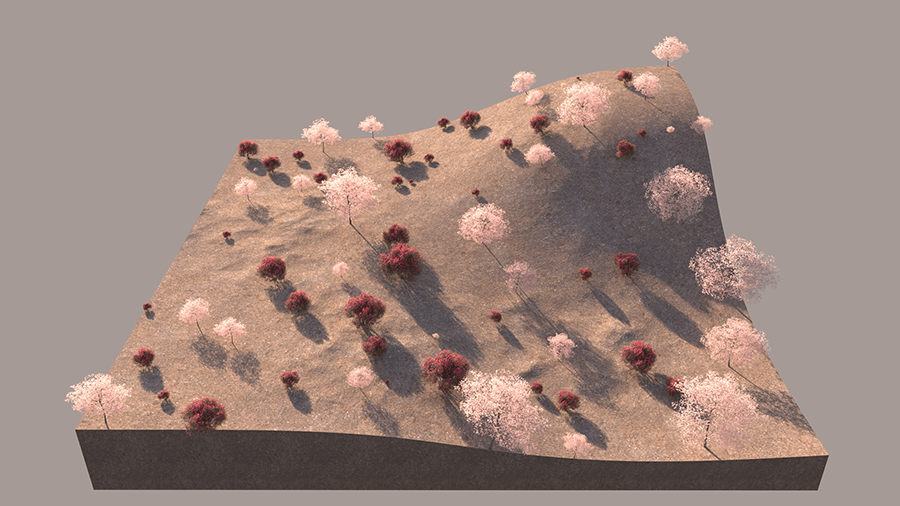
Uniform scaling is on, Scale X is 5%-100%
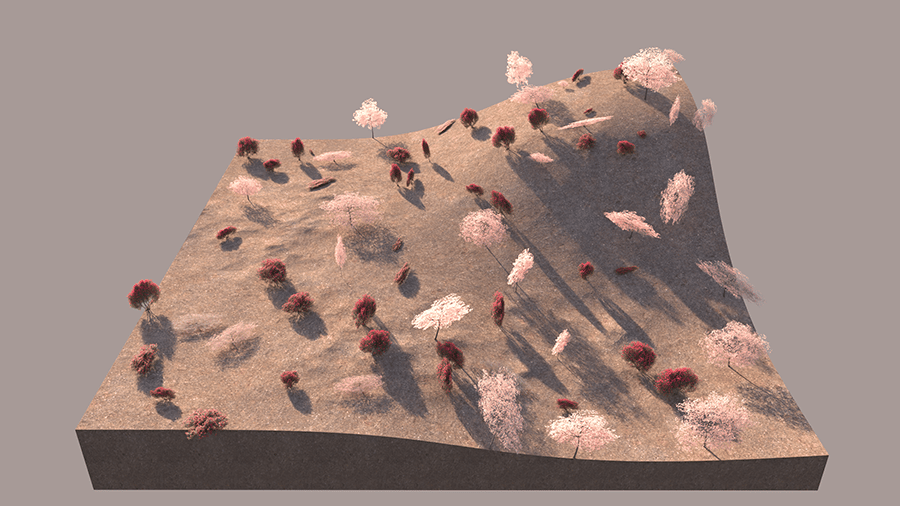
Uniform scaling is off, Scale X is 5%-100%
Randomization: Rotation
The objects are scattered onto a line.

Rotation is 0 degree

Rotation Z is 0-360 degrees

Rotation Z is 0-360 degree, Rotation Y is 0-90 degree
Randomization: Translation
The objects are scattered onto a surface.

Translation X = 0-0, Y = 0-0, Z = 0-0

Translation X = 0-0, Y = 0-15, Z = 0-0

Translation X = 0-15, Y = 0-0, Z = 0-0

Translation X = 0-0, Y = 0-0, Z = 0-15

Translation X = 0-10, Y = 0-15, Z = 0-0
See also: