This page provides information on managing Views in Enscape.
Last updated 1 September 2026
This page provides information on managing Views in Enscape.
Overview
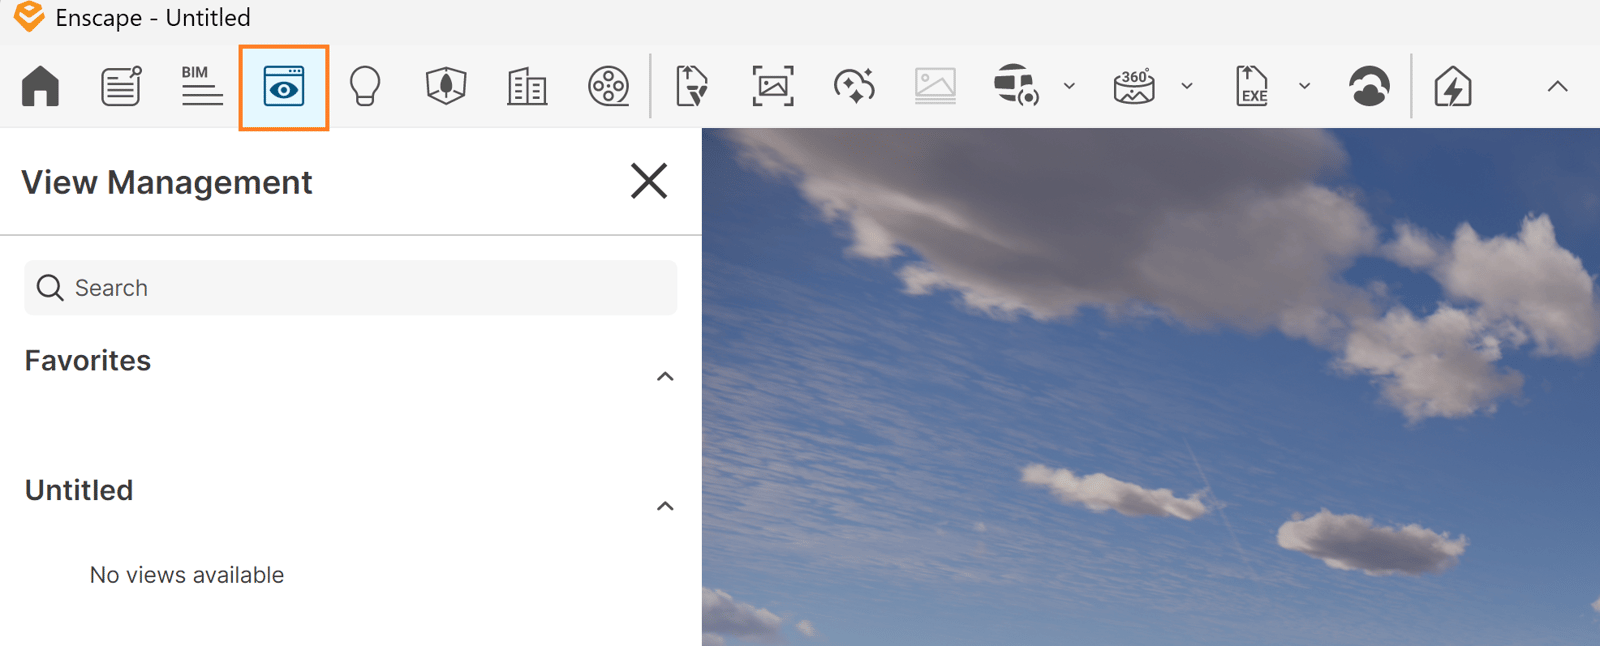
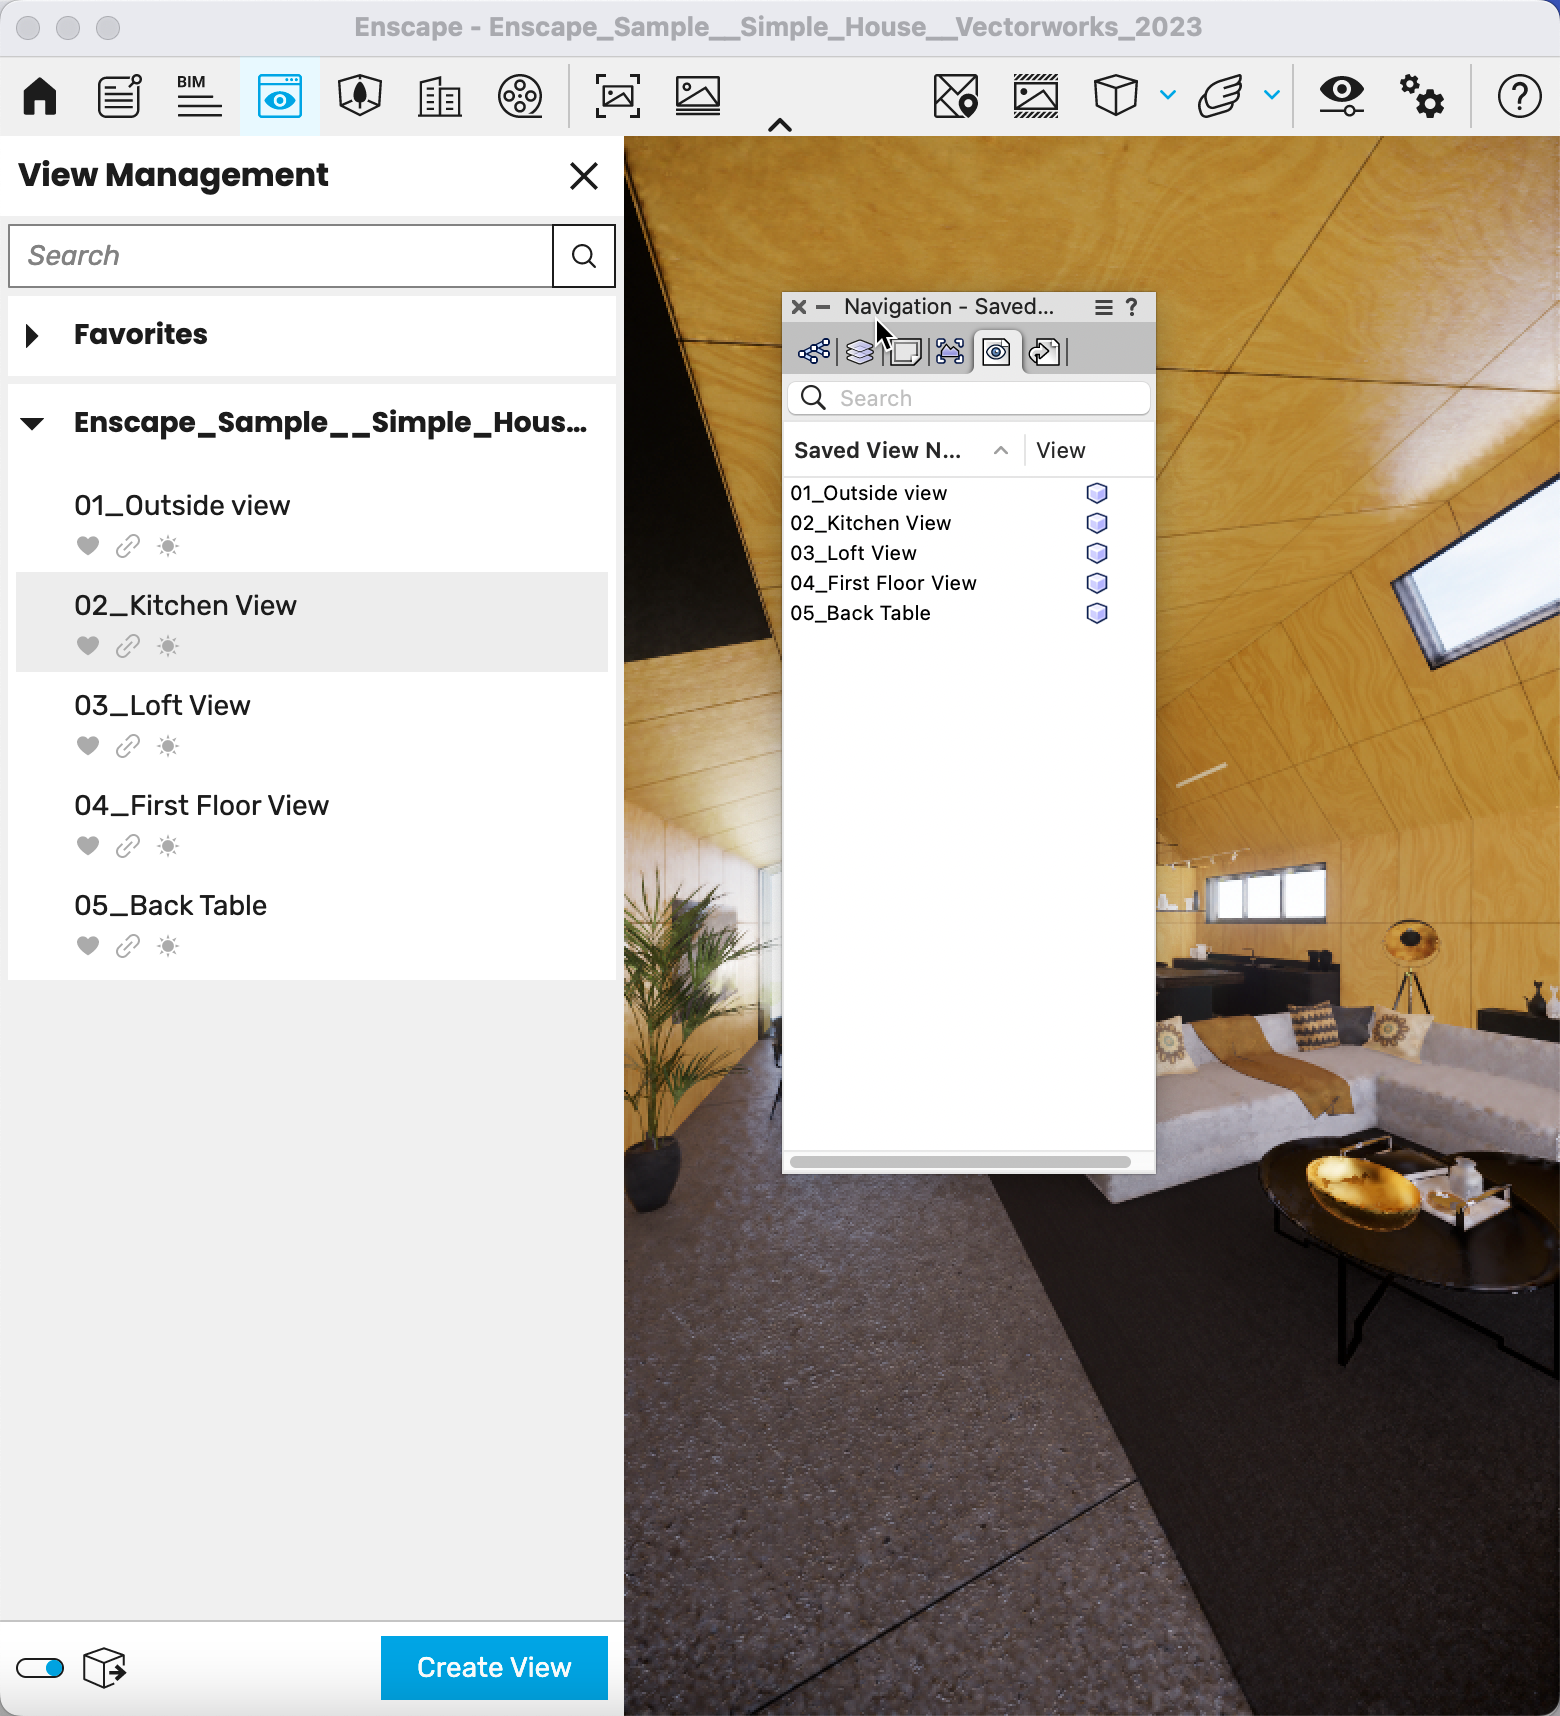
The View Management button () in the Enscape user interface opens the View Management panel. The panel handles creation, renaming, updating, and linking of Views to a Visual Settings Preset. View deletion is performed in the associated CAD/BIM application.
In the View Management list, hover over the View and click the Edit button.
Add a new name in the CAD View Name field.
Click Save to return to the View Management list.
Mark a View as Favorite
To mark a View as Favorite:
In the View Management list, hover over the View and click the Edit button.
Click the heart icon next to the CAD View Name field to add or remove the View as a Favorite. A solid grey heart indicates a Favorite; an outlined heart indicates a standard View.
Click Save to return to the View Management list.
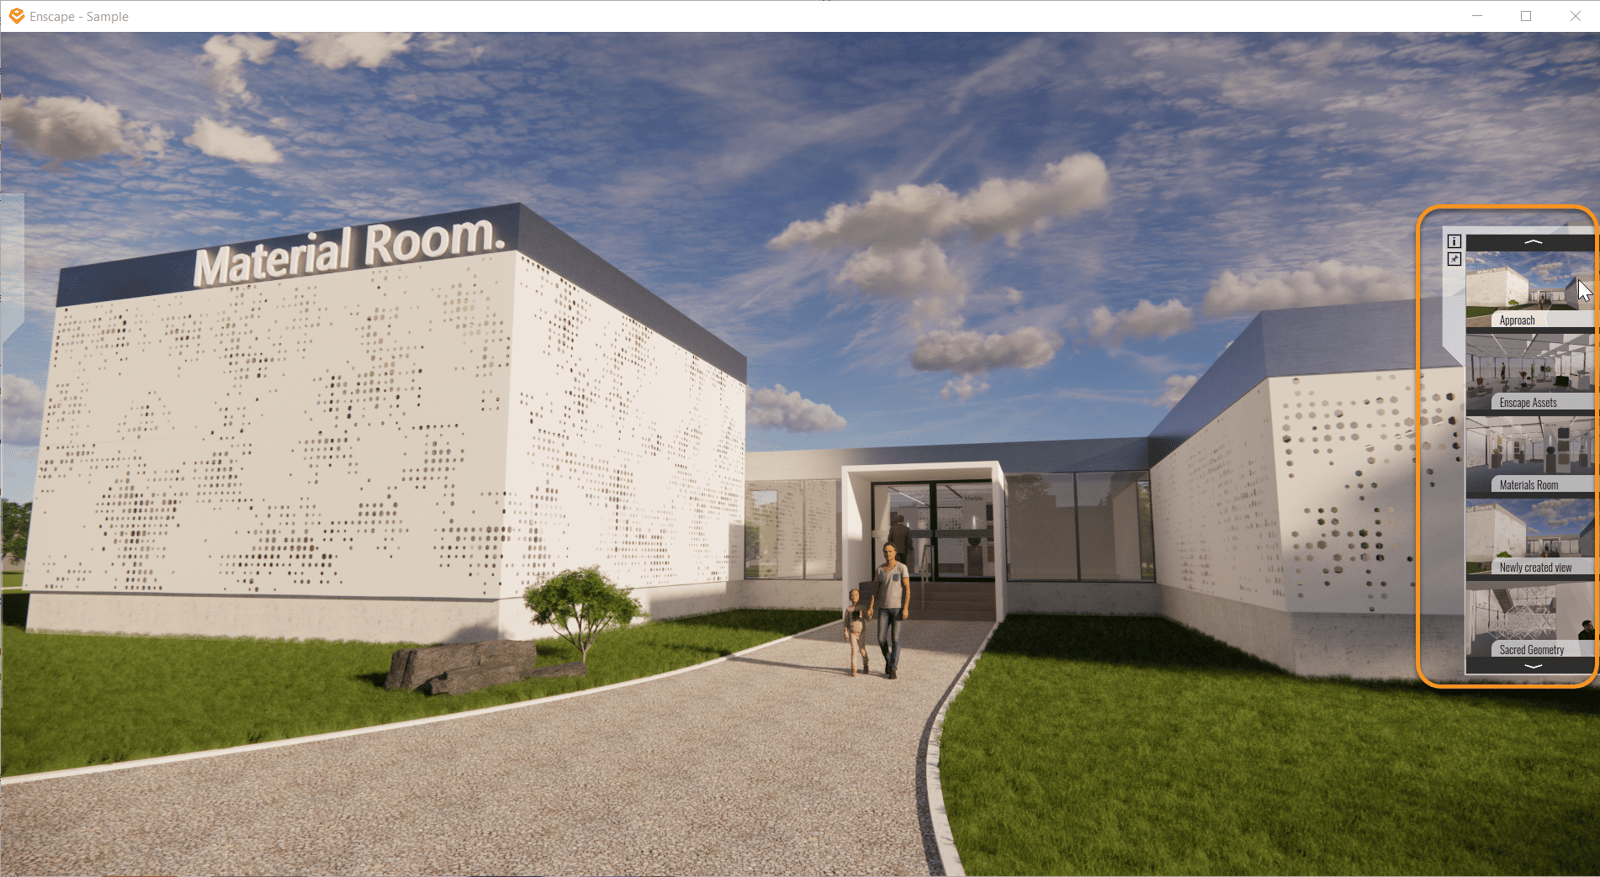
Favorite Views appear under the Favorites rollout. When hovering over a favorite View, a filled grey heart indicator appears.
A View is selected and updated either in Enscape or in the host CAD/BIM application.
Select and Update Views in Enscape
To update a View with a new camera position in Enscape:
In the View Management list, hover over a View and click its Edit button.
Locate the Camera section, which contains the X, Y, Z, Orientation, Pitch, and Yaw values.
Pitch sets the degree up and down.
Yaw sets the degree in rotation.
Navigate within the Enscape window to the new desired position. The Camera values update automatically.
To revert the change, click the Undo button to restore the original position.
Click Save to apply the new position. The change is also reflected in the design application.
To close the Edit View panel, click the left-pointing chevron to the left of Edit View to return to the View Management panel, or click the X to the right of Edit View to close the View Management panel entirely.
Select and Update Views in CAD/BIM
Each host application has its own workflow for selecting and updating views. Expand the relevant section below for step-by-step instructions.
Select and update views in SketchUp
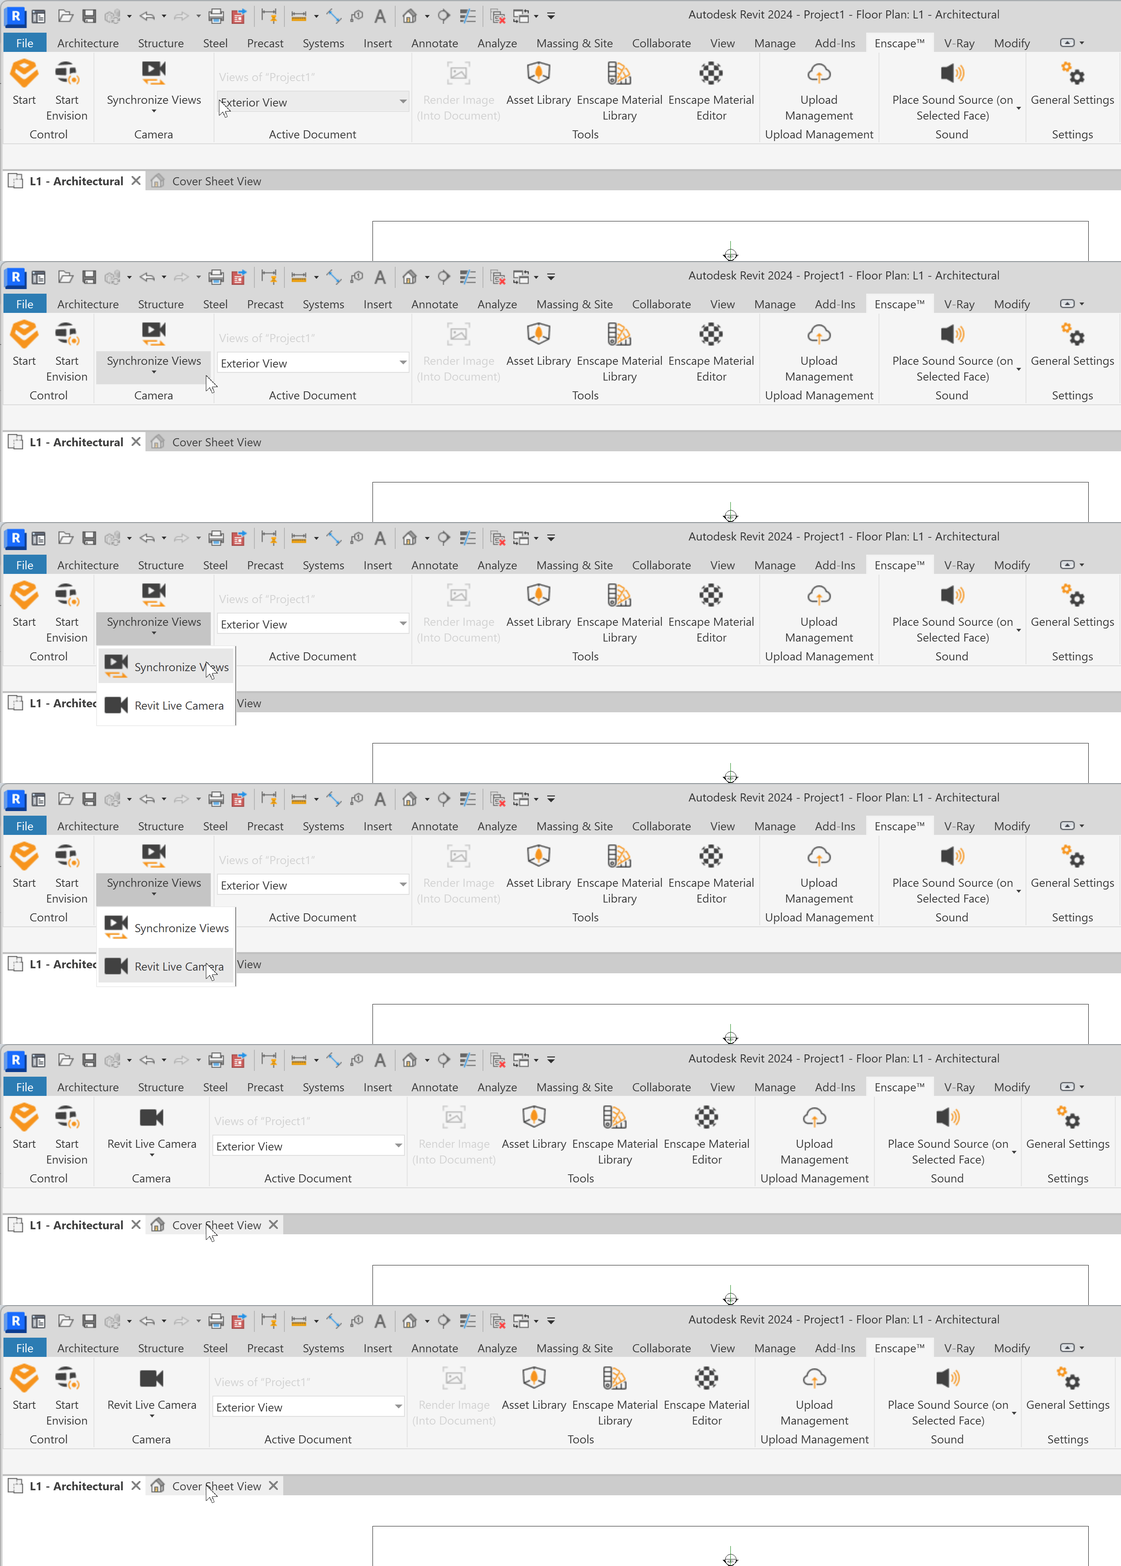
Select and update views in Revit
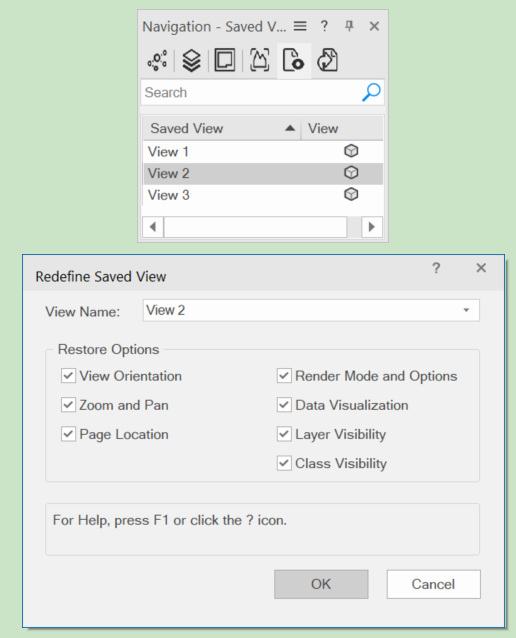
Select and update views in Rhino
Select and update views in ArchiCAD
Select and update views in Vectorworks
Geometry Update Setting
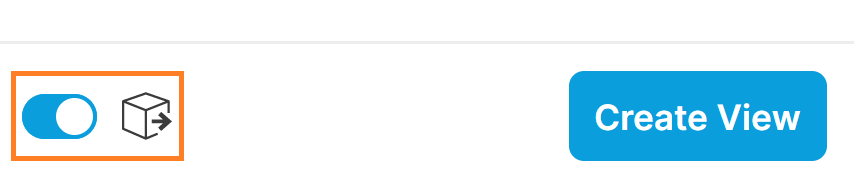
The Geometry Update Setting option is located at the bottom of the View Management dialog. The option controls whether geometry reloads when switching between Views. When disabled, geometry doesn't reload each time a different View is selected.
Deleting Views
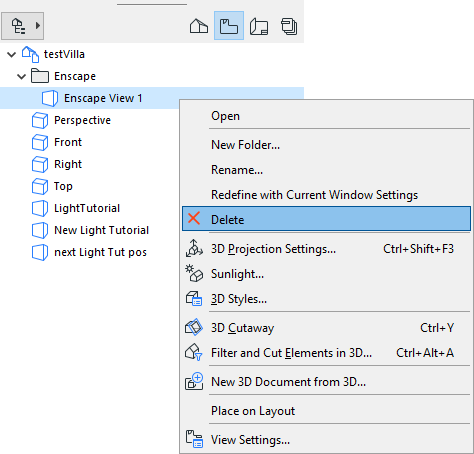
View deletion is performed in the host CAD/BIM application. The View is automatically removed from the Enscape View Management panel.