V-Ray for 3ds Max
3ds Max Hair and Fur Modifier
This page gives information on using the Max Hair and Fur Modifier and rendering the results within V-Ray.
Last updated 5 May 2026
This page gives information on using the Max Hair and Fur Modifier and rendering the results within V-Ray.
Overview
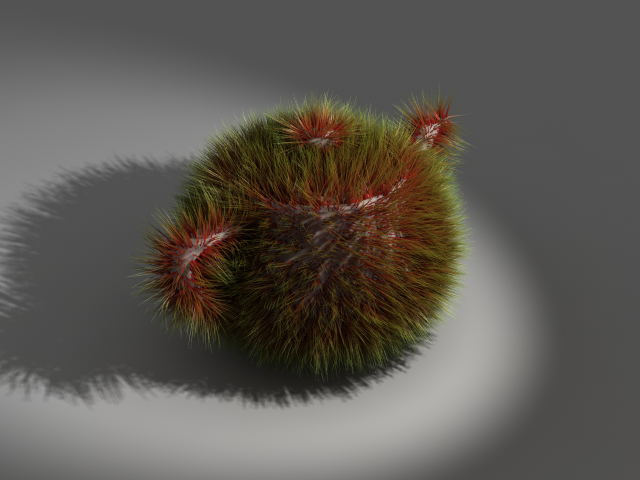
V-Ray supports native rendering of the 3ds Max Hair and Fur world-space modifier.
Tips and Tricks
Here are some suggestions on how to make the implementation work best.
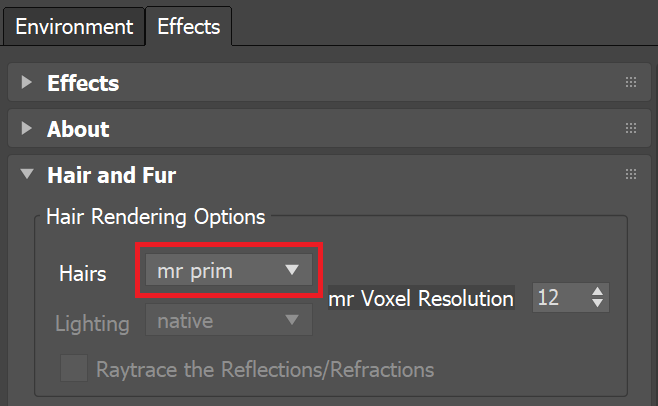
To enable native rendering of the Hair and Fur modifier, in the Environment and Effects dialog under the Effects tab, select the mr prim option for the Hairs parameter in the Hair and Fur rollout:
Note: In order to have the correct mapping of bitmaps used for shading hair and fur, the Hairs mode in the Effects panel should be set to geometry instead of mr prim. In this case, the shading material must also be applied to the base geometry. This allows the hair material to properly receive the mapping.
In order to render the hair geometry with three-dimensional motion blur, set the motion blur mode for the hair source to Object in the Object Properties window:

Note: The duration and position of the motion blur interval for the Hair and Fur effect are controlled from the Hair and Fur render effect, rather than from the respective V-Ray settings.
To speed up the rendering of the hair, you can turn off the Tip Fade parameter in the Material Parameters rollout of the Hair and Fur modifier. V-Ray works fine with this option on, but render times might be increased substantially because of the semi-transparent tips of the hairs:

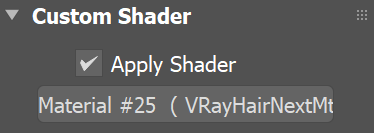
To apply a custom V-Ray material to the hair, enable the Apply mr Shader option in the mr Parameters rollout and choose the material: