V-Ray for 3ds Max
V-Ray Render Settings
This page provides details on the render settings used to adjust the V-Ray renderer.
Last updated 21 May 2026
This page provides details on the render settings used to adjust the V-Ray renderer.
Overview
The 3ds Max Render Setup window hosts many V-Ray settings for both V-Ray and V-Ray GPU. Choosing the V-Ray GPU engine changes the available settings. For more information about the V-Ray GPU render settings, follow the link.
This section provides information on render setup with the V-Ray engine.
The Common tab contains no custom or unique V-Ray settings. For more details on the parameters found under this tab, please refer to the 3ds Max help documentation.
UI Paths



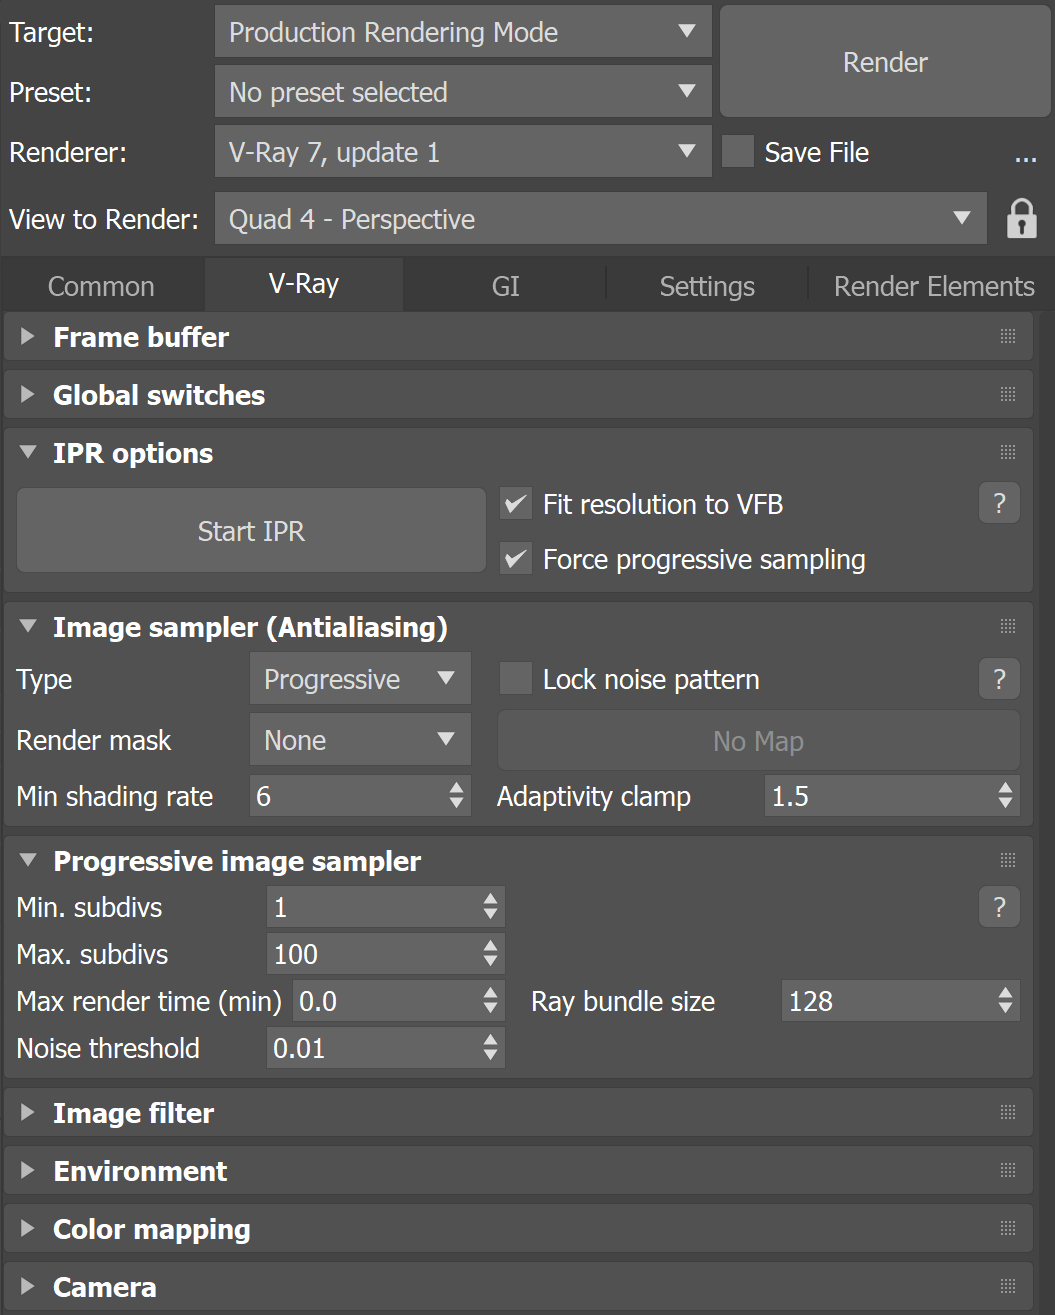
Selecting V-Ray as the Renderer
In order to use V-Ray, you must first select one of its renderers as your current renderer.
- Open the Render Setup window from Main Toolbar > Render Setup button.
- At the top of the Render Setup window, choose Production Rendering Mode as the Target.
- For Renderer, choose V-Ray.
Render Settings Tabs
In V-Ray, the two tools that most greatly impact the balance of render quality vs. speed are the image sampler (under the V-Ray tab) and GI engine(s) (under the GI tab). Learning the basics of how these two features work will greatly enhance your ability to adjust settings in V-Ray and maximize image quality while keeping render times to a minimum. See the linked pages for explanations on how these features work.
V-Ray follows 3ds Max’s conventions for right-click actions on parameter spinners. Right-clicking a parameter spinner sets its value to the minimum allowed. Ctrl + right-click resets the value to its default. Right-clicking a parameter value opens a dropdown menu with an option to reset it to its default value.
V-Ray parameters are under several tabs in the Render Setup window. Additionally, each tab is divided into several rollouts.