V-Ray for Blender
Outdoor Nighttime Scene
This tutorial continues the outdoor scene series.
Last updated 6 January 2026
This tutorial continues the outdoor scene series.
Overview
This tutorial is the successor of the Outdoor Daytime Scene tutorial. If you've skipped it, we recommend going back and finishing that tutorial first, as we are picking up at the last step of the Outdoor Daytime Scene workflow.
In this tutorial we will be hiding the Sun; revealing some of the hidden geometry and lights in the scene; and we will be adding a V-Ray Environment Fog effect to make the spotlight under the flying saucer more visible and to add atmosphere.
Download the scene to follow along
The downloadable file includes three scene instances - the Start scene is in the initial state of the Daytime tutorial, the EndOfDay scene is the starting point for this tutorial. It is also the final state of the scene after completing the Daytime workflow. The End scene file is the final setup of the scene, after completing this workflow.

Steps
Initial Setup
Detach the V-Ray Volume Aerial Perspective node from the V-Ray Effects Container, as we'll use fog for the Night scene. Then, move the VRaySunLight down to the position dummy Suzanne_SunPosition_Night. You can copy and paste the Location properties of the dummy onto the Sun. Turn the Sun light off by disabling Enabled in the VRaySun's Object Data Properties. We'll use only the Sky as a background environment light in this scenario.
Initial_Night
mp4
37 MB

Find the House_Lights Collection in the Outliner (it contains all the lights for the House). Click on the eye and the camera icons () next to the House_Lights Collection to enable its visibility in the viewport and in the render.
Select the Windows_Glass object. Change the V-Ray Node Editor back to the Shader Node Tree. For the materials Glass_01_Mtl and Glass_03_Mtl, connect the corresponding existing V-Ray Light Mtl to the V-Ray Material Output node of each material.
Repeat the same procedure for the Lantern_Glass_01 object and the Glass_02_Mtl.
MaterialsNight
mp4
34 MB

Using the same workflow, disable the viewport and render visibility of the Cow_Eating, Flower_Cow_Lunch and Grass_Cow_Lunch objects, i.e., their visibility icons should be greyed out like this: . Also, enable both visibility options of the Cow_Abducted object.
Enable the viewport and render visibility for the rest of the objects from the Flying Saucer & Cow Collection. Also, enable the viewport and render visibility of the Flying Saucer Lights Collection. All of these lights have predefined settings, which you can explore.
Now that we've transformed the scene, when you render, it should look like this:

Add V-Ray Environment Fog
We see there is a light under the flying saucer, surrounding the cow, but we don't really see the entire beam. Let's add some fog, to improve this.
To create the fog effect, switch the V-Ray Node Editor back to the World Node Tree. There, add a V-Ray Environment Fog node and connect it to the Effect 2 slot of the V-Ray Effects Container. This will apply a fog effect to the entire scene.

Now, when we render the scene, we can see that the light beam is more visible. However, the fog has made the scene too dark. We need to make some adjustments.

Adjustments to the Fog and Lights
The default Fog settings produce a very thick and dark fog effect.
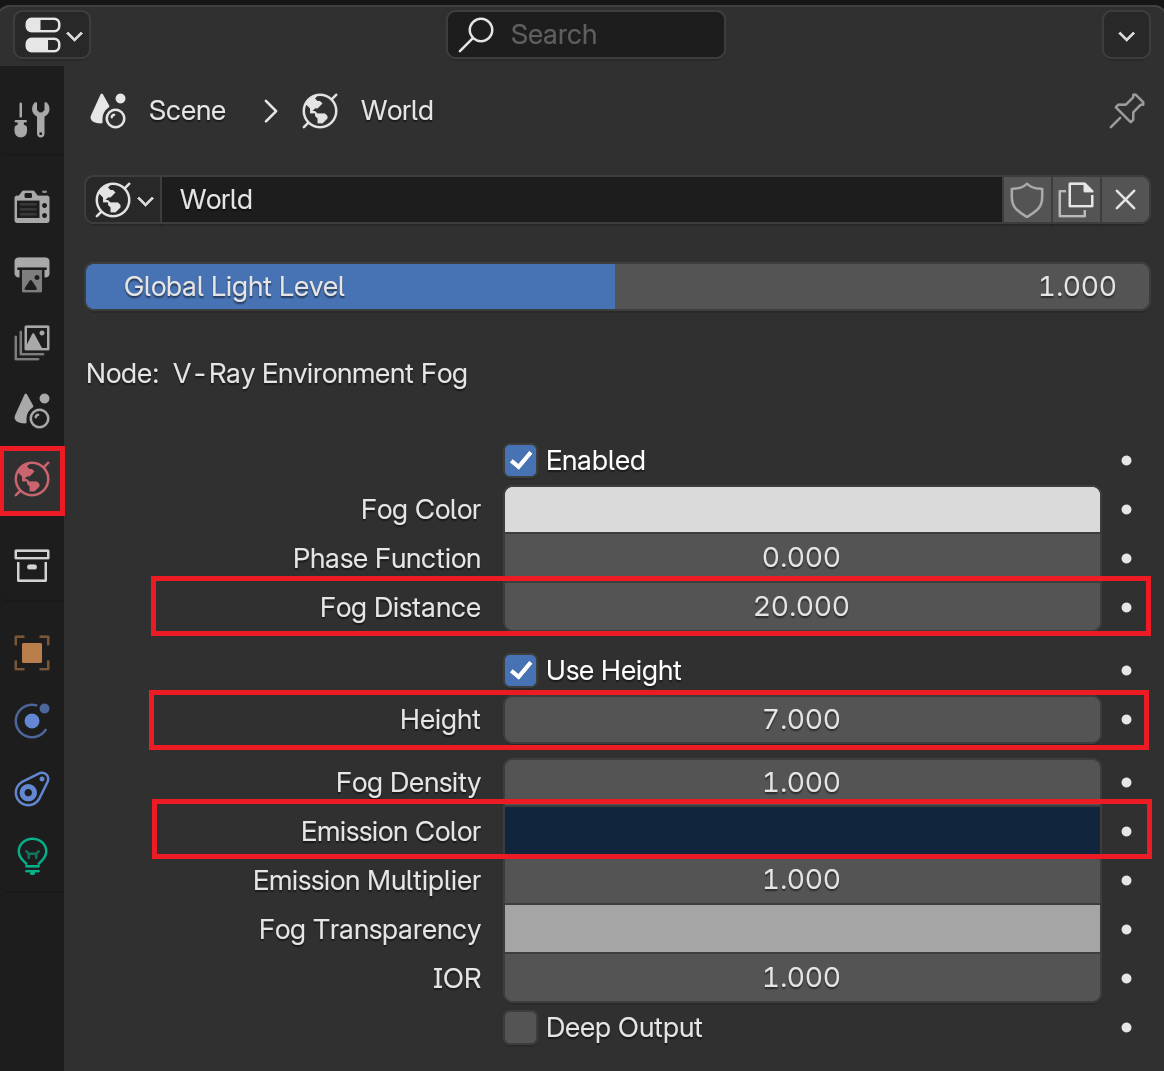
Select the V-Ray Environment Fog node. You can find its settings in the World Properties tab. Set the following properties:
- Fog Distance = 20 (values below this will make the Fog denser and vise versa)
- Height = 7
- For the Emission Color, set a dark blue color (HSV: 0.61; 0.88; 0.045).
Using Emission is necessary to be able to make the scene lighter, as we will be enabling Scatter GI in a later step. Scatter GI does not work without an Emission Color value different than pure black.
Select the VRayRectLight_FSaucerExhaust, either from the Viewport or the Outliner. Go to the Light Object Data Properties and open the Options dropdown. Set the Atmospheric Contribution to 5. With this workflow we can adjust the individual light's contribution to the fog effect.
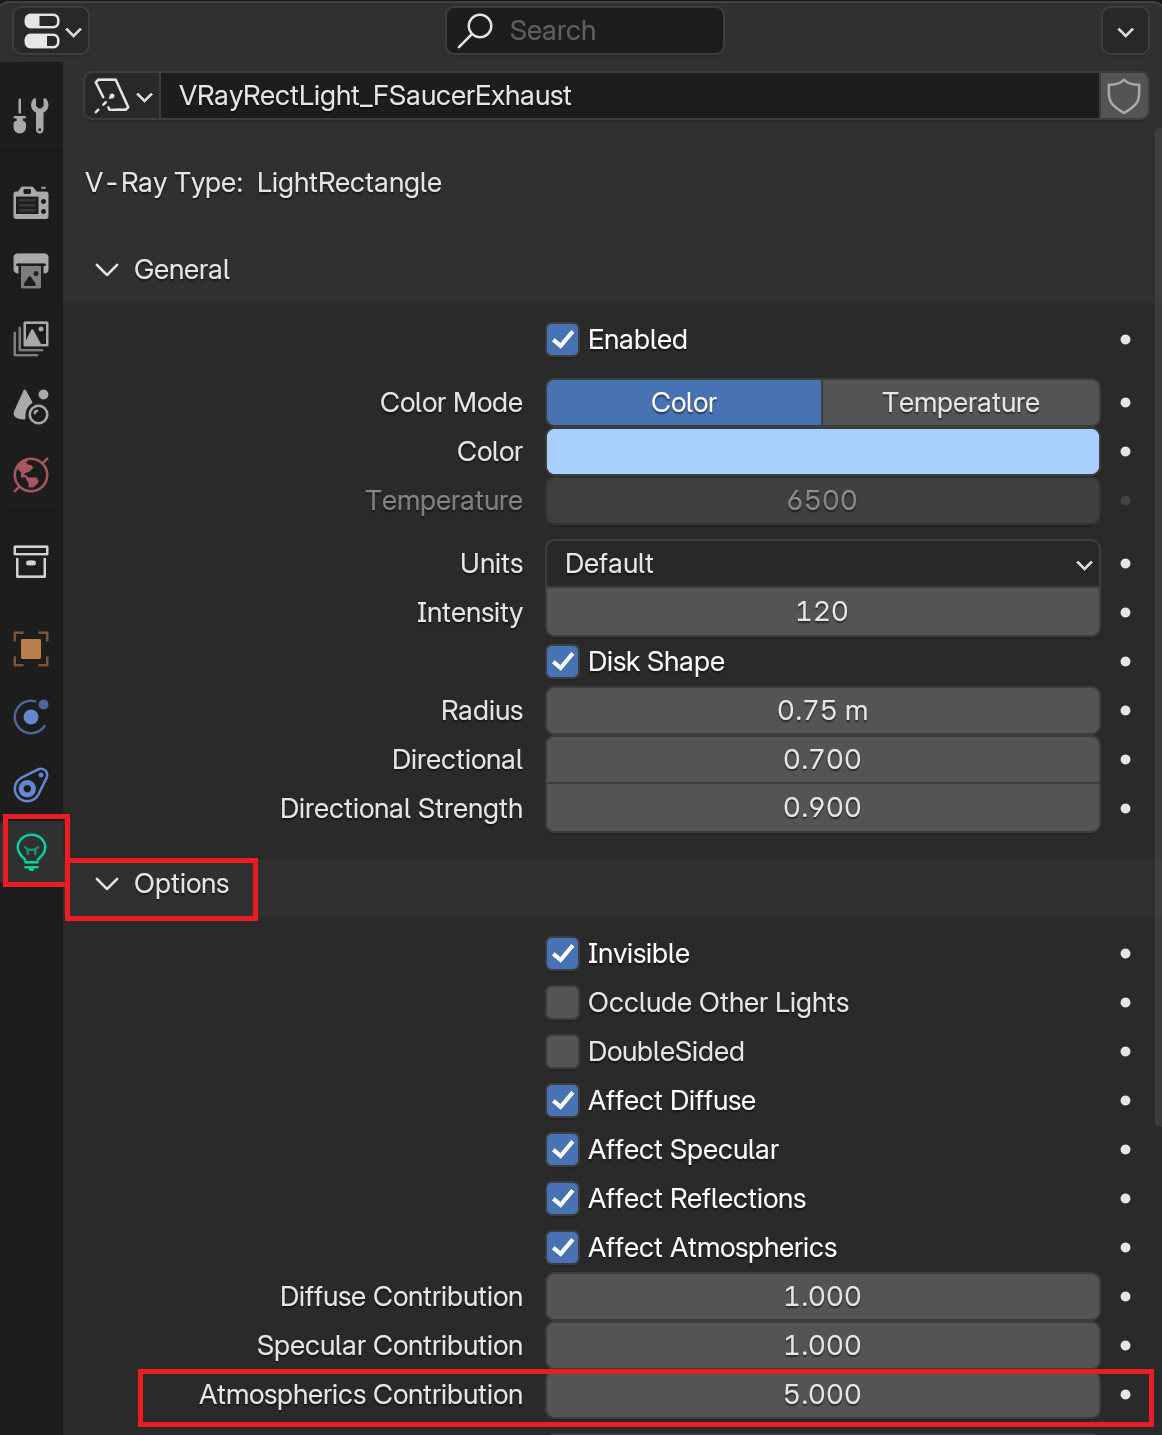
We will now adjust the Atmospheric Contribution for a number of other lights. The workflow is the same - you can find them in the Viewport, or more easily, search for them in the Outliner.
FSaucer Lights:
- VRaySphereLight_FSaucerLampSmall - Set the Atmospheric Contribution to 100.
- VRaySphereLight_FSaucerWindowSmall - Set the Atmospheric Contribution to 30.
- VRaySphereLight_FSaucerWindowMain - Turn off the light's Atmospheric Contribution. This excludes the light from interacting with the Fog.
House Lights:
- VRayRectLight_Chimney - Set the Atmospheric Contribution to 3.
- VRayRectLight_Window_Circle - Set the Atmospheric Contribution to 2.
- VRayRectLight_Window_01 - Set the Atmospheric Contribution to 2.
- VRayRectLight_Lantern_01 - Set the Atmospheric Contribution to 5.
We can now render the scene.
It looks much better now, but it's still a bit dim. Lets enable Scatter GI for a brighter look.

Fog with Scatter GI
Go back to the V-Ray Node Editor and select the V-Ray Environment Fog node. Open its properties in the World Properties tab. In the Global Illumination dropdown turn on the Scatter GI option. Leave the bounces at their default value.

Final Render
Here is the final render of our scene. We've added a fog effect for a better atmosphere, but we've compensated its darkening effect with light adjustments and Scatter GI. Use this workflow in other scenes and add atmosphere to your liking!
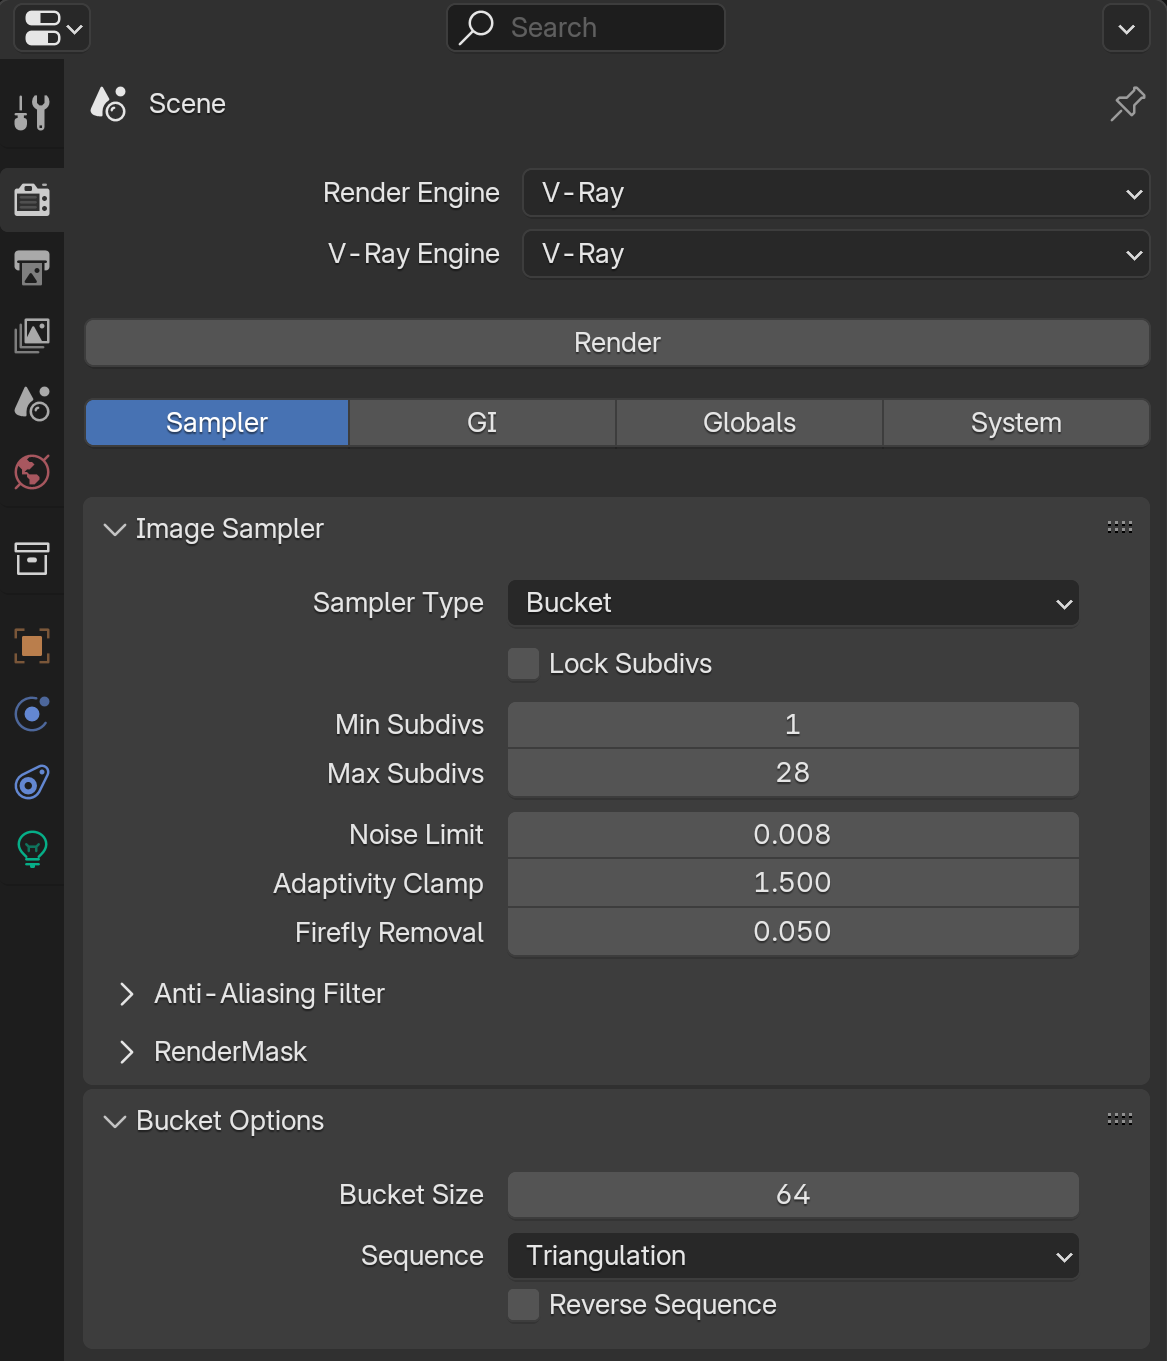
This scene has preset render settings. You can explore them in the Render Settings tab. Make sure to start a Production Render for your final result, for the best quality.