V-Ray for Blender
Shading Hair
This tutorial shows you how to shade hair particle systems with the V-Ray Hair Next Mtl.
Last updated 18 September 2025
This tutorial shows you how to shade hair particle systems with the V-Ray Hair Next Mtl.
Overview
The V-Ray Hair Next Material is designed for rendering hair and fur. Its settings provide a workflow based on the physiology of real hair. See the Hair Next Mtl page for more information and examples.
In this scene, the hair is created using a baked Particle System of a Hair particle type.
Download the scene to follow along

Steps
1 Initial Setup
We will be shading the Monster_Body geometry's hair. You can find it under the Fur collection in the Outliner. Select it and expand the Editor at the bottom of the viewport. Set the Editor type to the V-Ray Node Editor. Then, switch it to the Shader node tree. Click on the New button to create a new V-Ray Mtl in the editor.
Optionally, you can rename the material for ease of use. Proper naming is a good habit to develop. You can rename any item in the shader from the field at the top of the V-Ray Node Editor.

2 Create the V-Ray Hair Next Mtl
In the V-Ray Node Editor, delete the automatically-created V-Ray Mtl. Then, using Shift + A open the Add menu and search for V-Ray Hair Next. Add it and connect it to the Material input of the Material Output node.
3 Set Material Properties
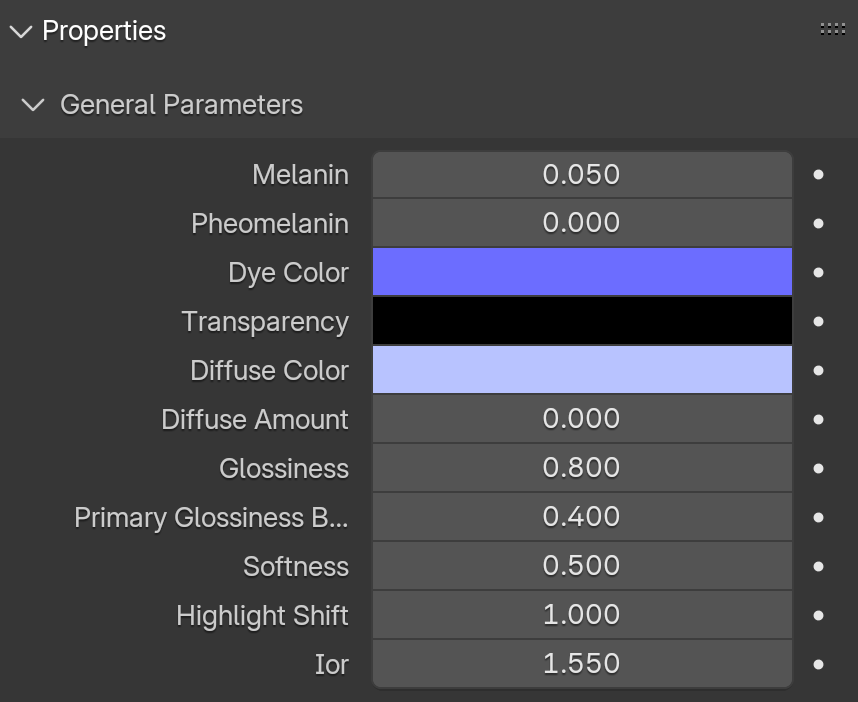
In the General Properties of the Hair Next Mtl, set the following properties:
- Set the Melanin value to 0.050. We want the hair to be a bit brighter, as we will be dying it in a dark purple color, and the default melanin value will make it too dark.
- Set the Dye Color to HSV: 0.670, 0.850, 1.0.
- Set the Diffuse Color to HSV: 0.646, 0.521, 1.0.
- The Glossiness needs to be a bit higher than the default, set it to about 800 to give the hair an artificial look.
- As the hair on the toy is not very long, reduce the Highlight Shift to 1. This will move the highlight closer to the root of the hair, making sure we see it in our case.
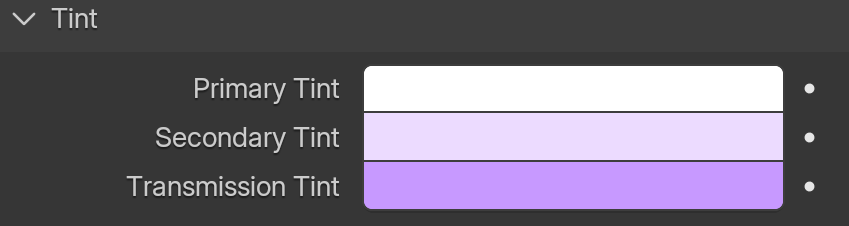
In the Tint rollout, set the following properties:
4 Final Render
This scene has preset render and camera settings. You can explore them if you like.
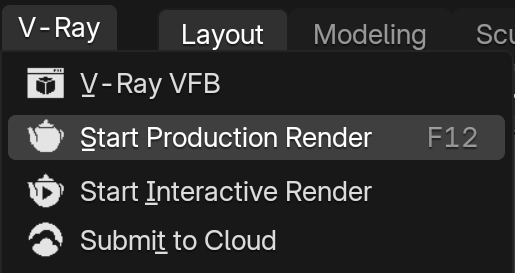
You can start a render from a number of places, mainly in the Render Properties tab, or from the V-Ray Menu. You need to start a Production Render to get the best result.
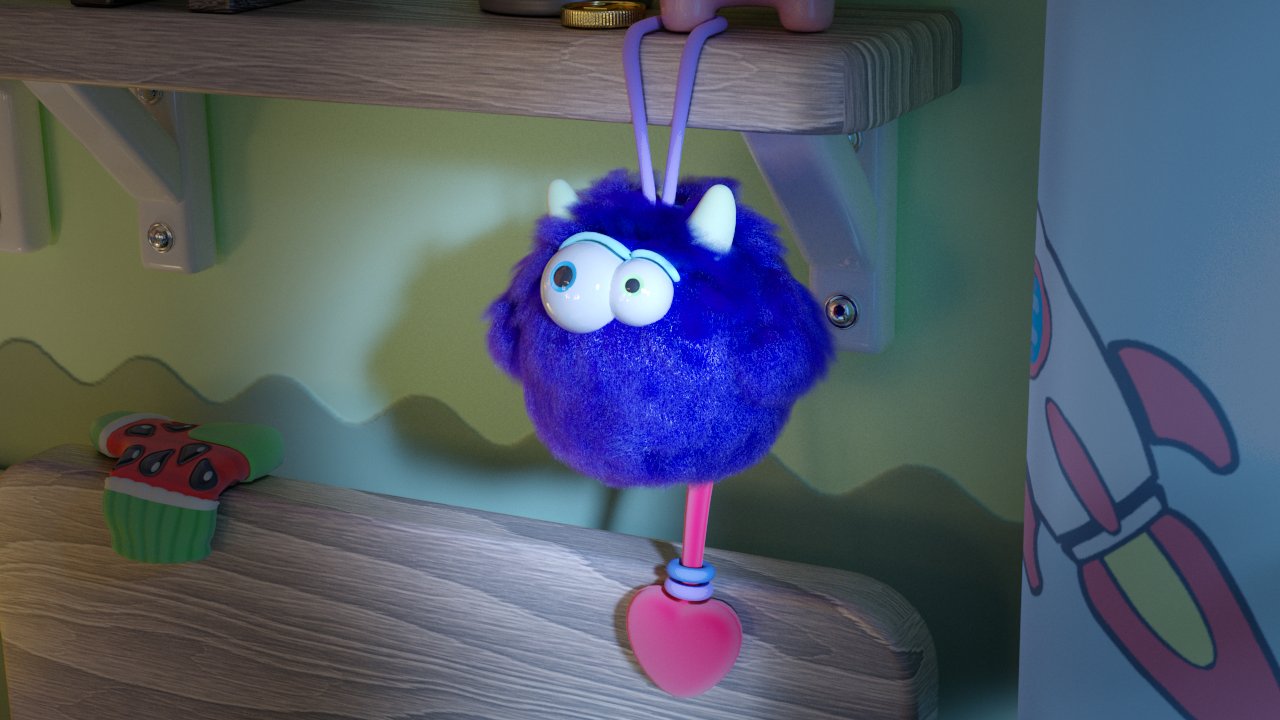
Here is the final result. The V-Ray Hair Next material has allowed us to realistically recreate the artificial hair on the monster toy. Feel free to explore other options and see the different result you can achieve with this material.