V-Ray for Maya
How to Make Skin with VRayAlSurface
This tutorial covers how to make a skin material with VRayAlSurface material.
Last updated 1 September 2026
This tutorial covers how to make a skin material with VRayAlSurface material.
Overview
In this tutorial, we take a look at the VRayAlSurface material, an incredibly realistic looking skin shader, and explore how to use it.
The V-Ray AL Surface shader is V-Ray’s implementation of Anders Langland’s ALsurface Shader, which is designed to reproduce the appearance of skin. The current V-Ray version takes into account diffuse, two levels of reflection, and subsurface scattering.
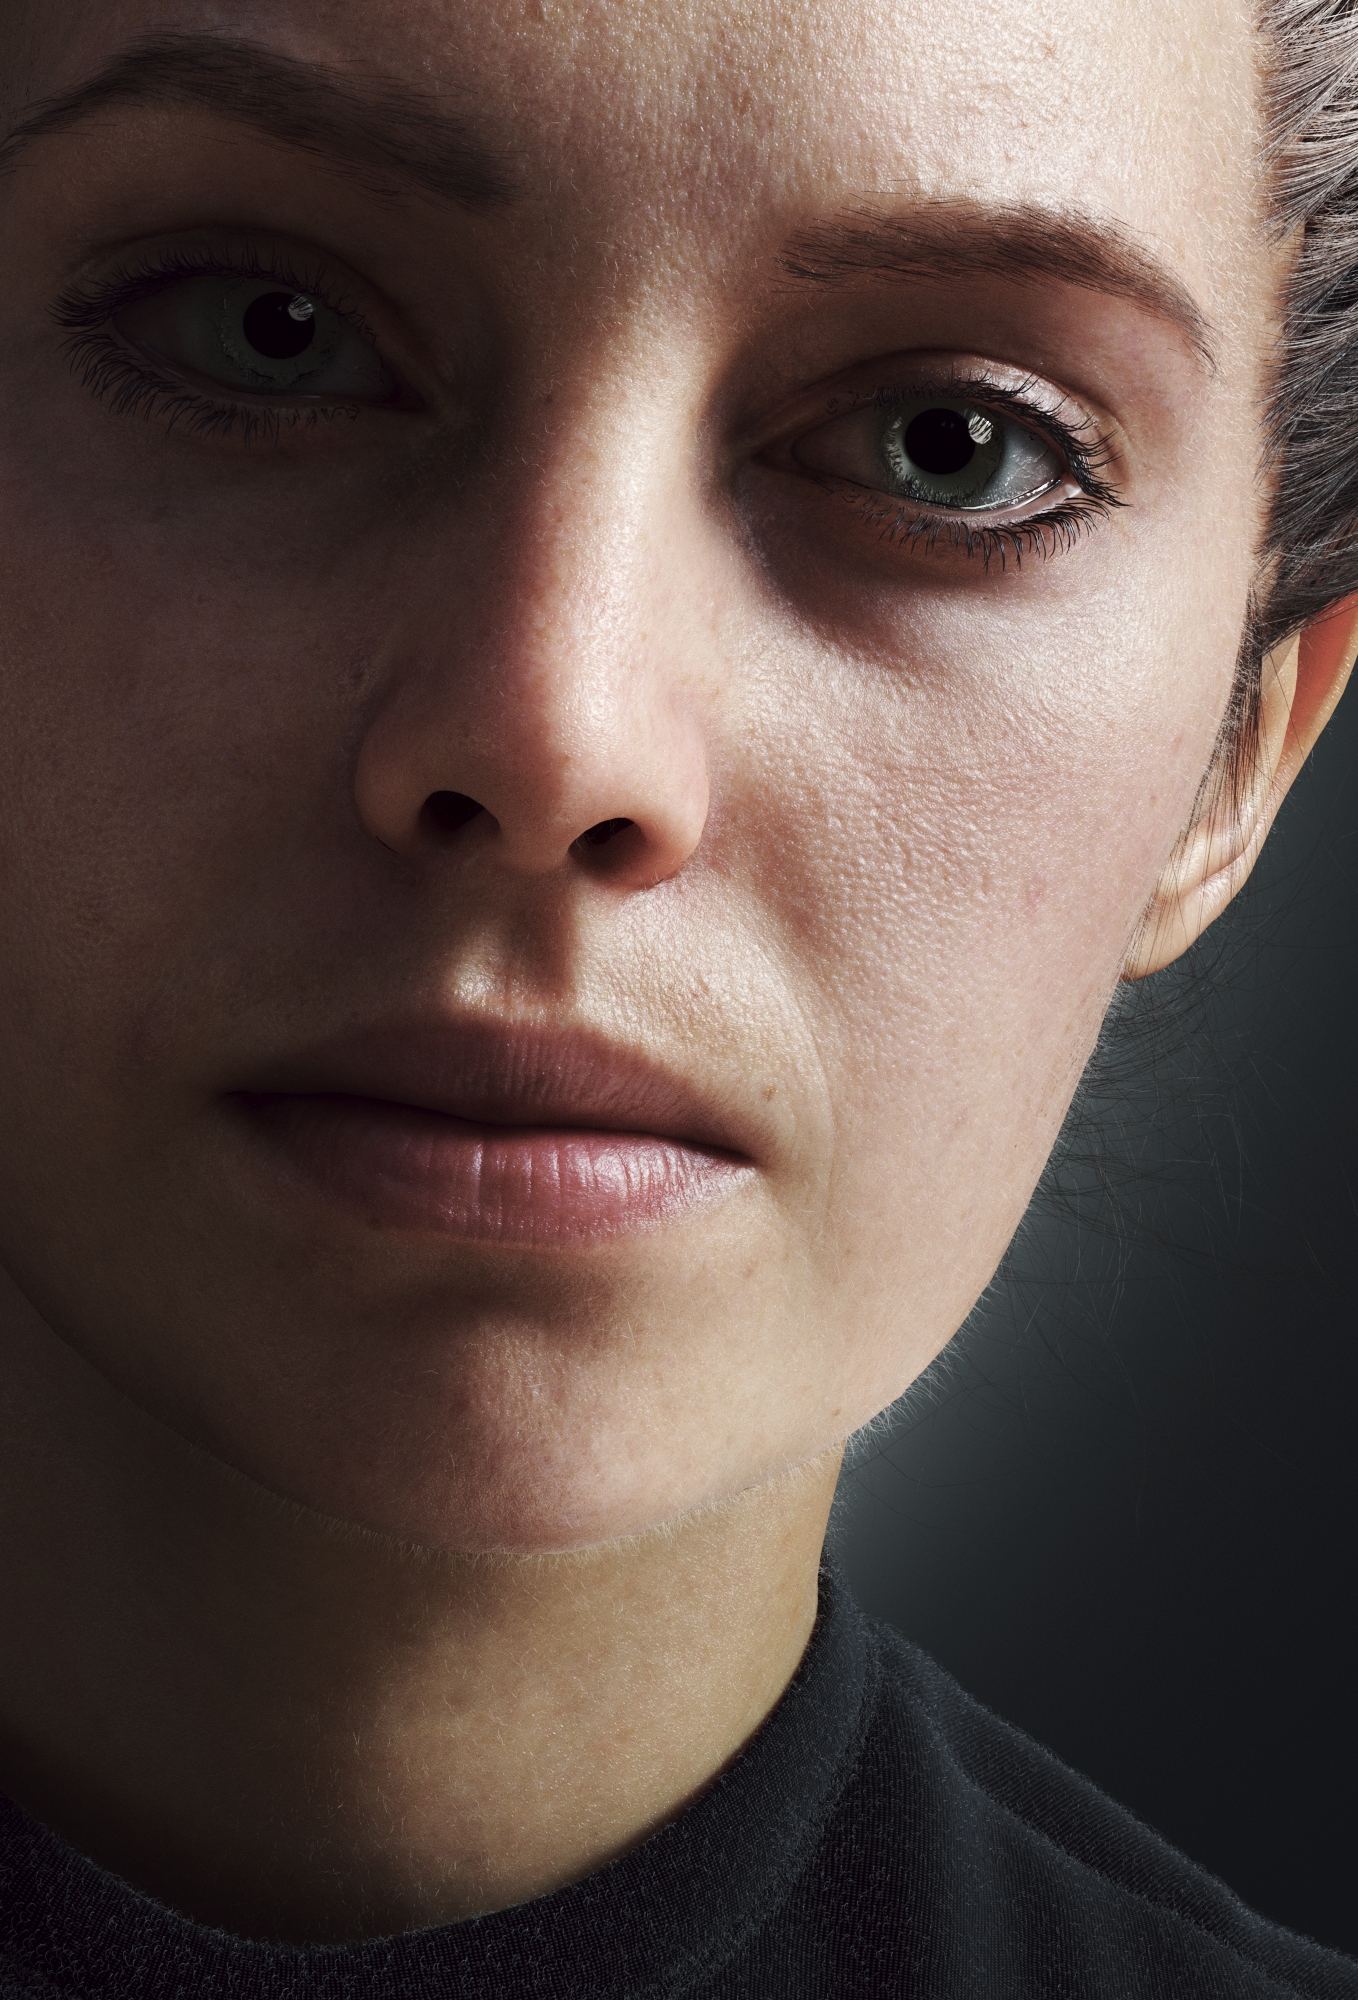
In this scene we have a model of a female head and some preset studio lighting setup. The shaders for the eyes and hairs are already applied, and we have displacement on the base mesh of the head for finer details.
Step I: VRayAISurface material general setup
Open the Hypershade and create a VRayAlSurface material. Then assign it to the face geometry.
For an easier workflow, set the Diffuse color to a darker gray by lowering its Value. Here we set it to 0.80. This way the reflections will be more visible during the development process.
Make sure that the SSS Mix value is set to 0.
Change the Reflection 1 Strength to 0. Thus, just the Diffuse information is coming from the shader.
Starting with a simple setup like this, it is easier to build up our shader and understand how each parameter affects the overall result as it increases in complexity.

Step II: Control bumps
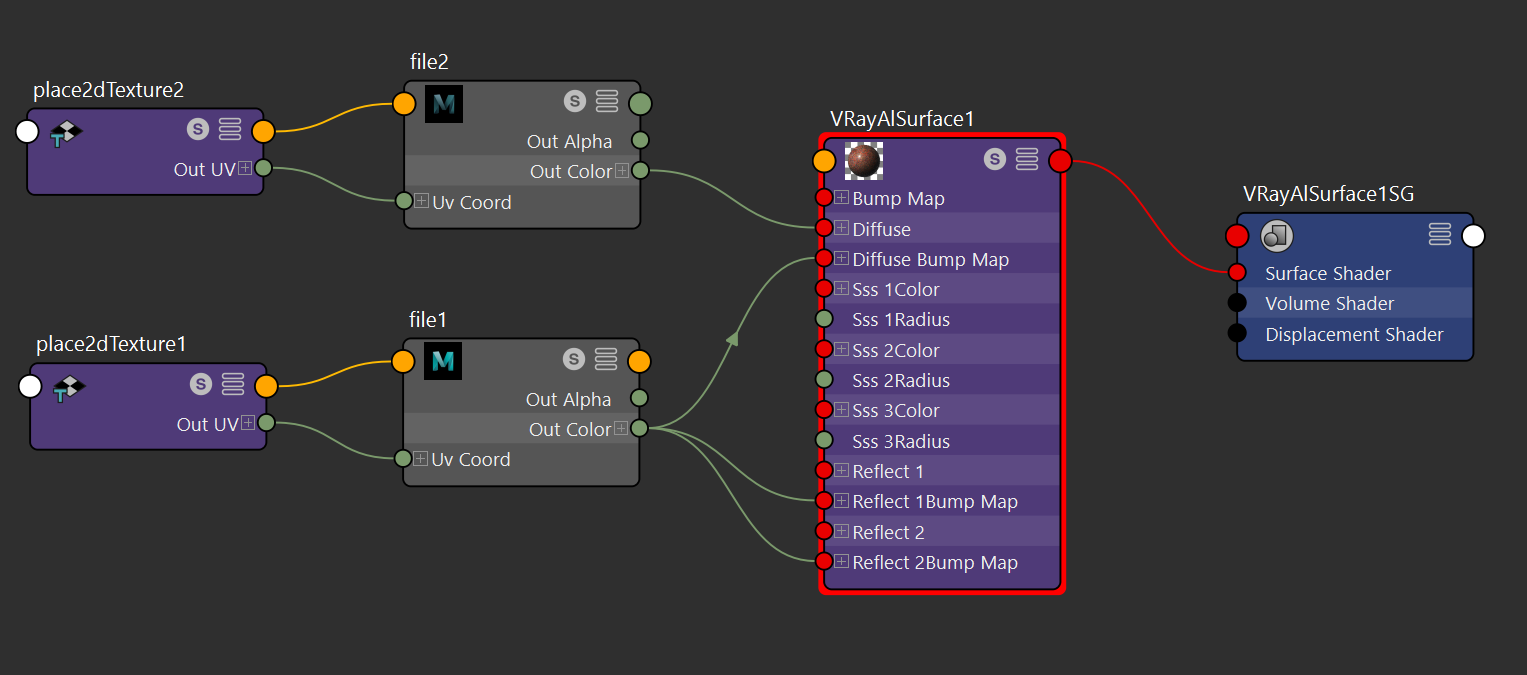
Create a File Texture for the skin bumps and load a Displacement exr file. Map the texture to the Diffuse Bump Map slot for a greater control over the skin bumps.
Lower the Diffuse Bump Amount a little. Here we set it to 0.1.
Also lower the Bump Amount to the same value as the Diffuse Bump Amount.

Step III: Setup reflections
We use both reflection layers to better simulate the skin surface. Let’s start with Reflection 1.
Set the Reflection 1 Strength to 1.
Set the Reflection 1 Roughtness to 0.65.
Set the Reflection 1 IOR to 1.6.
Also switch the Reflection 1 Distribution type to GGX to recreate a surface with micro imperfections that better suits our skin material.
Add some bump by connecting the File texture from our previous Step to the Reflection 1 Bump Map slot. Set its value to 0.1 from the Reflection 1 Bump Amount parameter.
The reflections are a little too blurry, so let’s reduce the Reflection 1 Roughness further to 0.55.
Also lower the Reflection 1 Strength to 0.8 as the reflections are too strong at the moment.
Now let’s move to the second reflection layer - Reflection 2 - which simulates the thin oil layer that the skin has.
Set its Reflection 2 Strength to 1, as this layer must look shinier.
Set the Reflection 2 Roughness to 0.4, and the Reflection 2 IOR to 1.6 again.
Switch the Reflection 2 Distribution type to GGX.
We need bumps for this layer as well, so link the File texture to the Reflection 2 Bump Map slot. We want the reflections to be spread out a little more than on the first layer, so lower the Reflection 2 Bump Amount to 0.15.
The glossy effect of the layer is lost now, so lower the Reflection 2 Roughness further to 0.3.
The reflection layer is too strong, so we have to reduce the Reflection 2 Strength to 0.4.

In the first image, we’ve tweaked just Reflection 1 layer. The skin looks dryer and does not have the typical oily layer on it. In the second image, the skin has a natural glossy look thanks to the Reflection 2 layer.


Step IV: Setup Subsurface Scattering
Let’s configure the SSS layer which affects how the light scatters underneath the skin surface.
To see the SSS layer effect, set the SSS Mix to 1. This smoothes out the surface of the shader and a reddish glow appears, which is controlled by the SSS color parameters below.
Also we get a sense of the skin thickness in different areas, especially in the thinner parts such as around the nostrils.
The default values of the SSS layers are good enough to achieve a realistic skin look.

In the first image, SSS Mix is set to 0 and has no effect on the image. In the second image, its value is 1.

Step V: Setup Diffuse texture
Create a File texture and link it to the Diffuse color of the VRayAlSurface material.
Result