V-Ray for Nuke
V-Ray Material | VRayMtl
The VRayMtl is a very versatile material that allows for better physically correct illumination (energy distribution) in the scene, faster rendering, and more convenient reflection and refraction parameters. This material can be easily set up to simulate a wide variety of surfaces such as plastics, metals, glass and...
Last updated 18 September 2025
Overview
The VRayMtl is a very versatile material that allows for better physically correct illumination (energy distribution) in the scene, faster rendering, and more convenient reflection and refraction parameters. This material can be easily set up to simulate a wide variety of surfaces such as plastics, metals, glass and more by adjusting a handful of parameters.
Furthermore, with the VRayMtl you can apply different texture maps, control the reflections and refractions, add bump and displacement maps, force direct GI calculations, and choose the BRDF to determine how light interacts with the surface material.

Inputs
Main Parameters Tab
Example: Sheen Glossiness
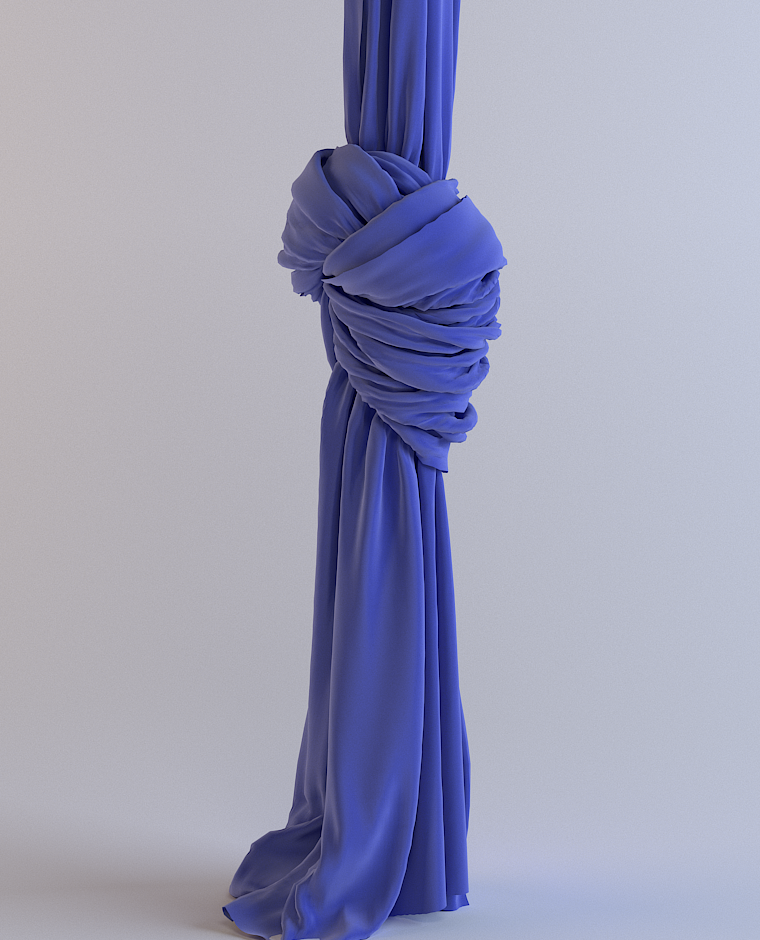
Glossiness = 0.1
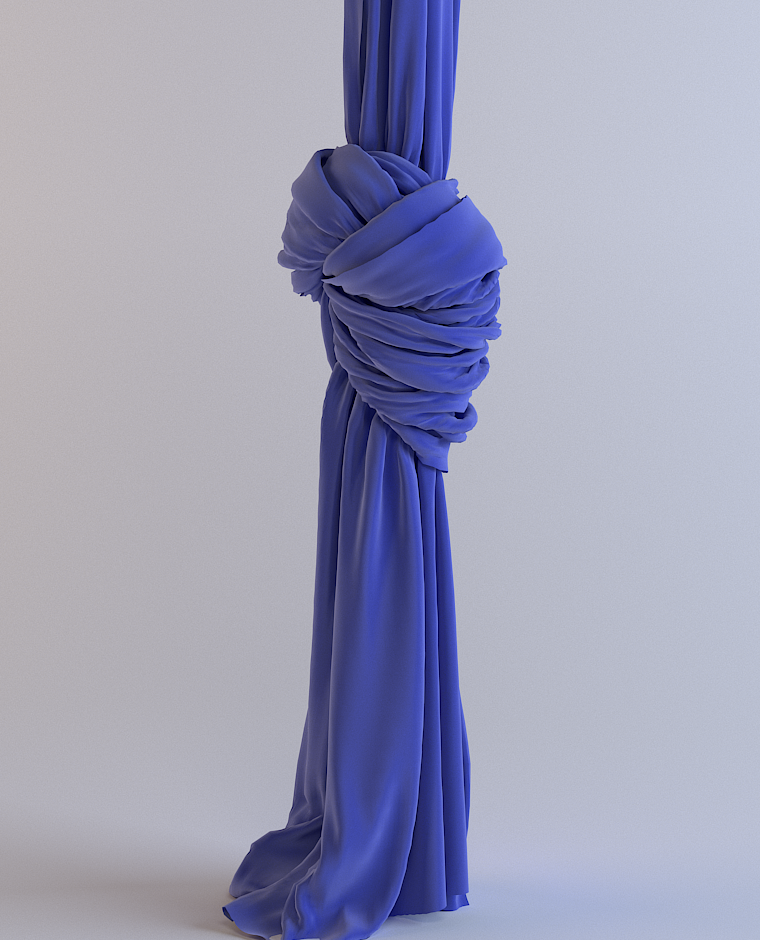
Glossiness = 0.3

Glossiness = 0.6

Glossiness = 0.8
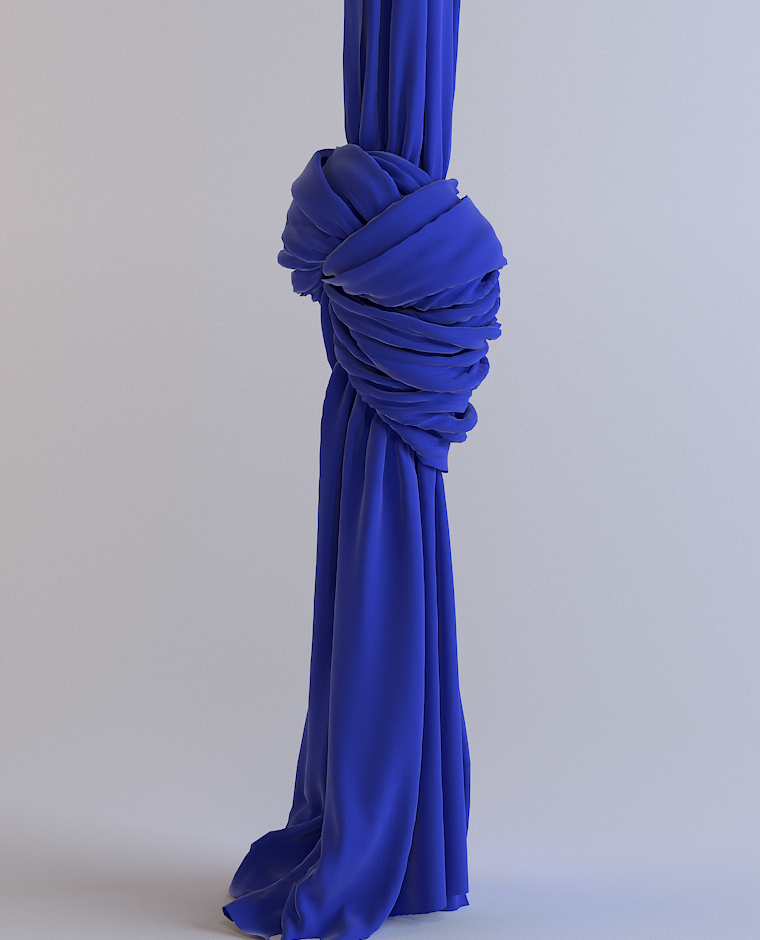
Glossiness = 0.9
Example: Coat Amount
This example shows how the Amount value affects the look of the material. The base Reflection Glossiness is 0.76 and the Coat glossiness is set to 0.985. IOR is 2.2 and the Coat Color is the default white.
Example: Coat Glossiness
Coat glossiness controls the sharpness of the coat reflection. In this example, the base Reflection Glossiness is set to 0.76 and the Coat Amount is set to 1. IOR is 2.2 and the Coat Color is the default white. Notice how higher values produce glossier reflection and lower values make it look blurry.

Coat amount = 0
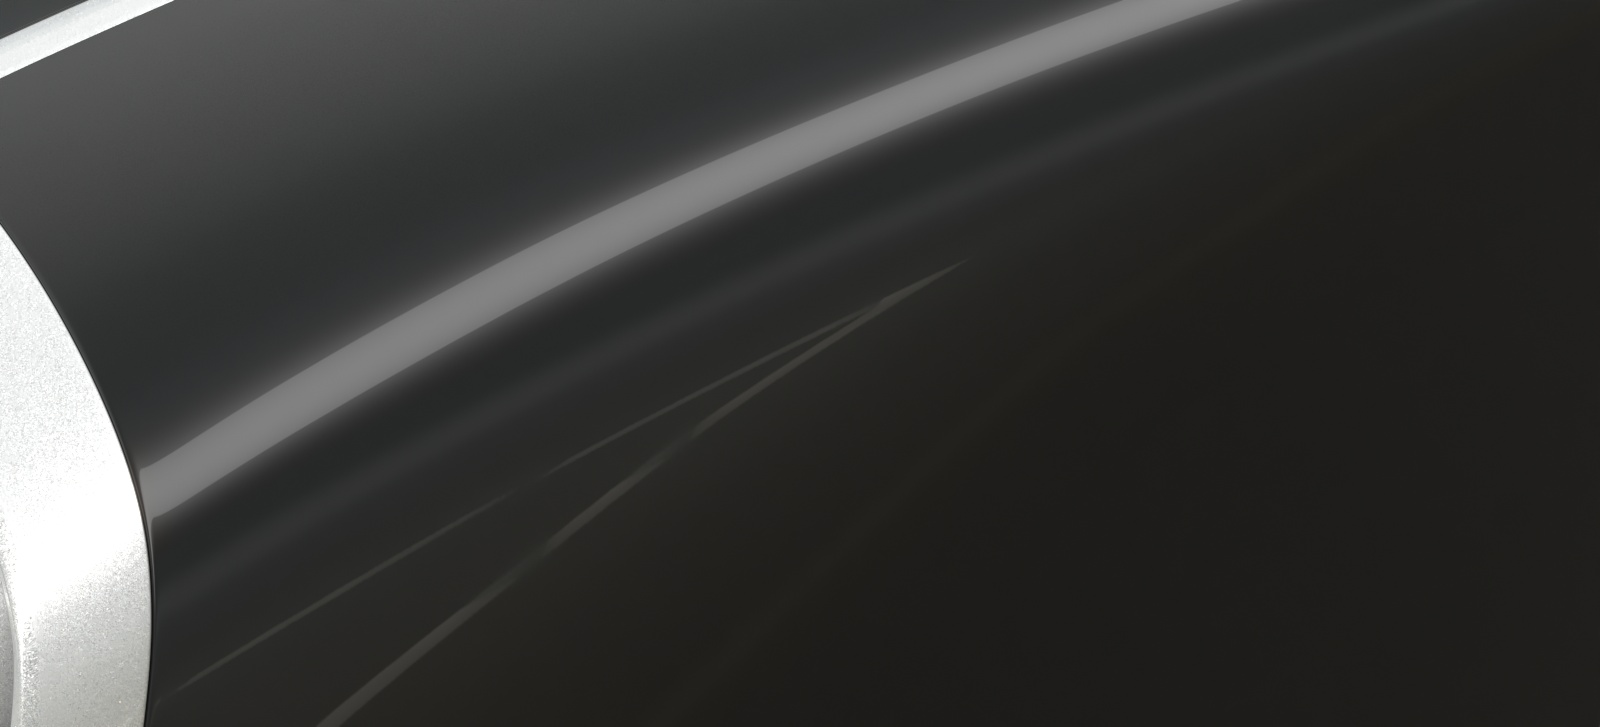
Coat amount = 0.1

Coat amount = 0.3

Coat amount = 0.5

Coat amount = 0.7

Coat amount = 1.0
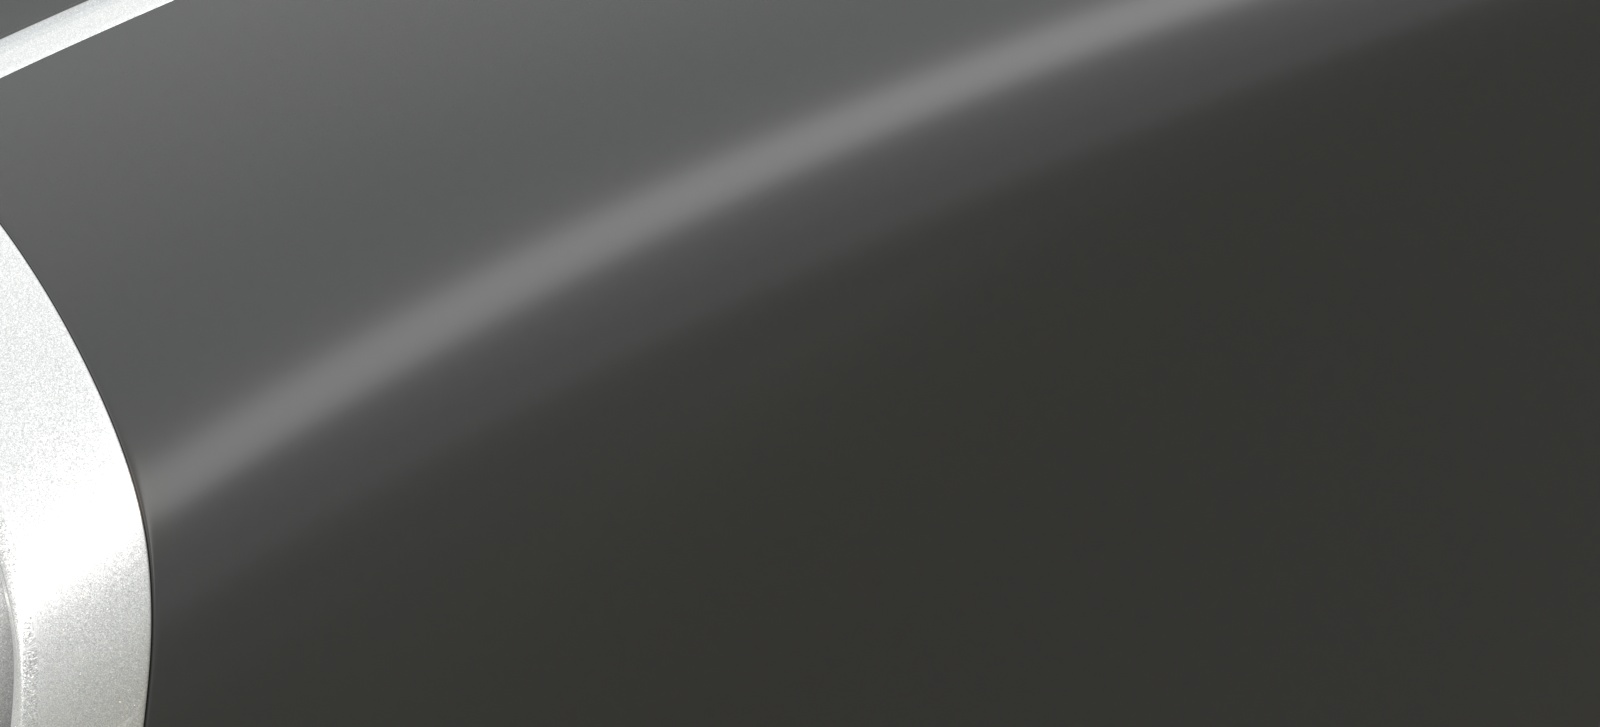
Coat Clossiness = 0.2

Coat Glossiness = 0.4

Coat Glossiness = 0.6

Coat Glossiness = 0.8
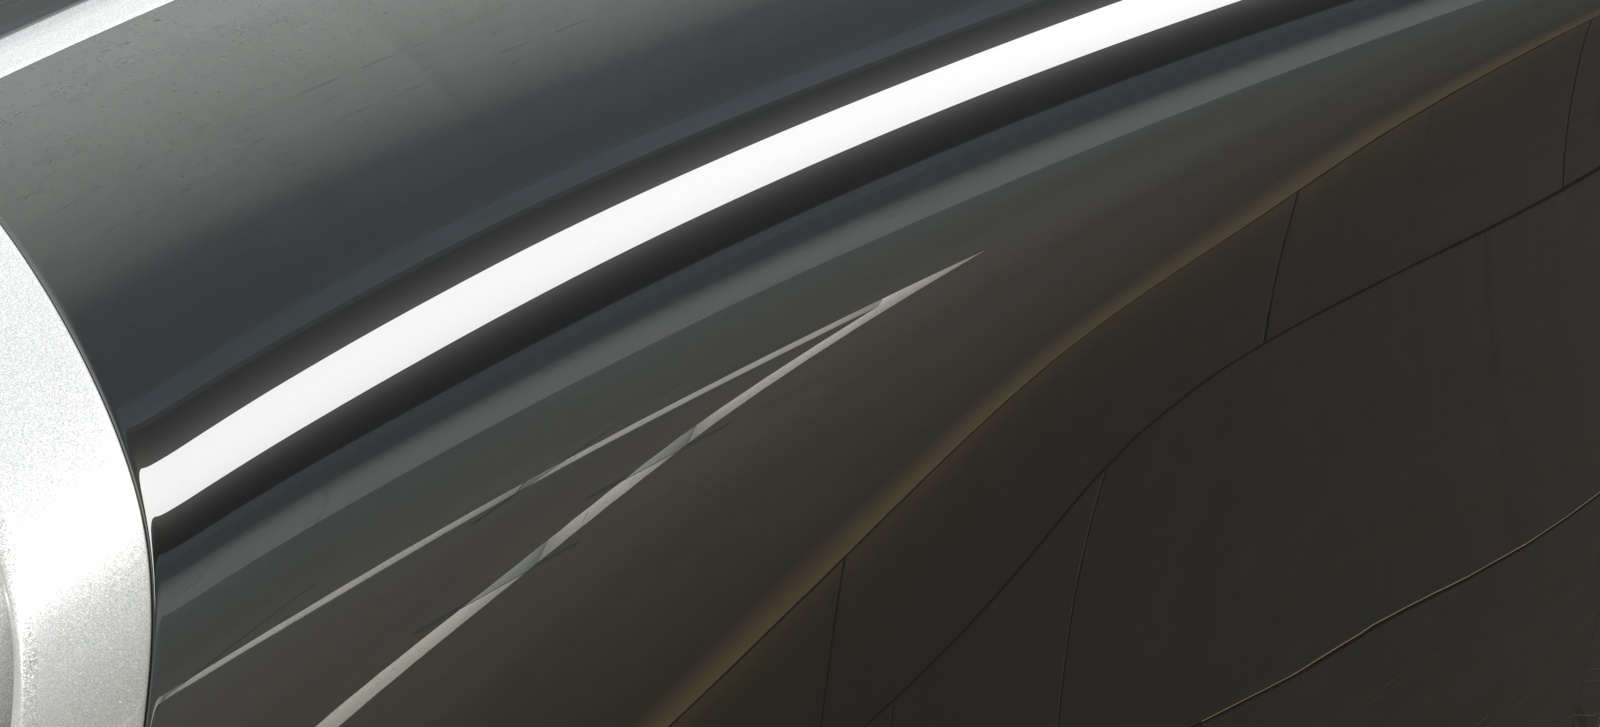
Coat Glossiness = 1.0
Coat amount = 1.0
Coat Clossiness = 0.2
Coat Glossiness = 0.4
Coat Glossiness = 0.6
Coat Glossiness = 0.8
Coat Glossiness = 1.0
Options Rollout

Double sided – When enabled, V-Ray will flip the normals for back-facing surfaces with this material assigned. Otherwise, the lighting on the "outer" side of the material will be computed always. You can use this to achieve a fake translucent effect for thin objects like paper.
Reflect on back – When disabled, V-Ray will calculate reflections for the front side of objects only. Checking it will make V-Ray calculate the reflections for the back sides of objects too.
Glossy Fresnel – When enabled, uses glossy Fresnel to interpolate glossy reflections and refractions. It takes the Fresnel equation into account for each "microfacet" of the glossy reflections, rather than just the angle between the viewing ray and the surface normal. The most apparent effect is less brightening of the grazing edges as the glossiness is decreased. With the regular Fresnel, objects with low glossiness may appear to be unnaturally bright and "glowing" at the edges. The glossy Fresnel calculations make this effect more natural.
Use Roughness – When enabled, highlights/reflections will be determined by the material's Roughness, otherwise highlights/reflections will be determined by the material glossiness.
Fix dark edges – Enabling will fix dark edges that sometimes appear on objects with glossy materials.
Cutoff Threshold – This is a threshold below which reflections/refractions will not be traced. V-Ray tries to estimate the contribution of reflections/refractions to the image, and if it is below this threshold, these effects are not computed. Do not set this to 0.0 as it may cause excessively long render times in some cases.
Glossy rays as GI – Specifies on what occasions glossy rays will be treated as GI rays:
Never – Glossy rays are never treated as GI rays.
GI rays only – Glossy rays will be treated as GI rays only when GI is being evaluated. This can speed up rendering of scenes with glossy reflections and is the default.
Always – Glossy rays are always treated as GI rays. A side effect is that the Secondary GI engine will be used for glossy rays. For example, if the primary engine is irradiance map, and the secondary is light cache, the glossy rays will use the light cache (which is a lot faster).
Energy mode – Determines how the diffuse, reflection, and refraction color affect each other. V-Ray tries to keep the total amount of light reflected off a surface to be less than or equal to the light falling on the surface (as this happens in the real life). For this purpose, the following rule is applied: the reflection level dims the diffuse and refraction levels (a pure white reflection will remove any diffuse and refraction effects), and the refraction level dims the diffuse level (a pure white refraction color will remove any diffuse effects). This parameter determines whether the dimming happens separately for the RGB components or is based on the intensity:
Color – Causes dimming to be performed separately on the RGB components. For example, a pure white diffuse color and pure red reflection color will give a surface with cyan diffuse color (because the red component is already taken by the reflection).
Monochrome – Causes dimming to be performed based on the intensity of the diffuse/reflection/refraction levels.
Use input format from – Sets the material aspect ratio based on the input format of a connected texture file. This only affects 2D Card nodes that have image aspect enabled.
Opacity mode – Controls how opacity is sampled. For more information, see the Opacity mode parameter example below.
Normal – (Legacy) The opacity map is evaluated as normal: the surface lighting is computed and the ray is continued for the transparent effect. The opacity texture is filtered as normal.
Clip – (Very fast) The opacity texture is not filtered and it is clipped to either fully opaque or fully transparent based on the mid-point value. Useful when there are many transparent surfaces one behind the other like leaves.
Stochastic – (Optimal) The opacity texture is filtered and the surface is randomly shaded as either fully opaque or fully transparent for a correct average appearance.
Example: Opacity mode parameter

Opacity mode = Normal
Because the opacity texture is filtered the result is nice and smooth but very slow.

Opacity mode = Stochastic
The texture is still filtered, so the result is smooth but render times are greatly improved.

Opacity mode = Clip
The texture is forced to black or white; the render time is very fast, but the result is sharper which may increase flickering in animation.
The renders below show a blow-up of the tree to better show the effect of the different modes. Note that in the first two renders the opacity is blurry because of the texture filtering.
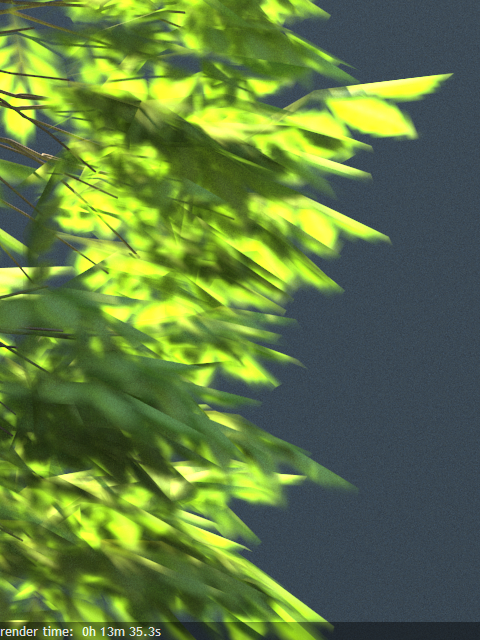
Opacity mode = Normal
Because the texture is filtered, this makes the normal-sized render smoother and reduces flickering in animation, but the render time is very slow.

Opacity mode = Stochastic
The texture is still filtered, which keeps the normal-sized render smooth, and the render time is much better.

Opacity Mode = Clip
Because the opacity map is forced to either full black or white, the result is sharp. The render time is very good, but the increased sharpness can increase flickering in animations.
Reflection Parameters Tab
Read more...
Example: The BRDF Type

BRDF type is Phong

BRDF type is Blinn

BRDF type is Ward
Example: The Reflection Color Parameter

Reflection color is black (0, 0, 0)
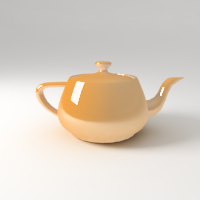
Reflection color is medium gray (128, 128, 128)

Reflection color is white (255, 255, 255)
Example: The Reflection Glossiness Parameter

Reflection/highlight Glossiness is 1.0
(perfect mirror reflections)

Reflection/highlight glossiness is 0.8
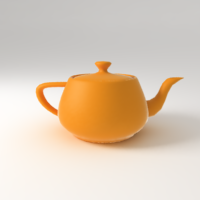
Reflection/highlight glossiness is 0.6
Example: The Use Fresnel Option

Fresnel is off
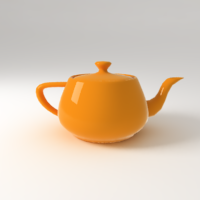
Fresnel is on, IOR is 1.3
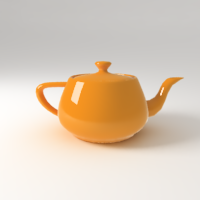
Fresnel is on, IOR is 2.0

Fresnel is on, IOR is 10.0
Anisotropy Rollout
Example: The Anisotropy Parameter

Anisotropy is -0.9

Anisotropy is -0.45

Anisotropy is 0.0 (no anisotropy)

Anisotropy is 0.45

Anisotropy is 0.9
Example: The Anisotropy Rotation Parameter

Anisotropy rotation is 0 (0.0 degrees)
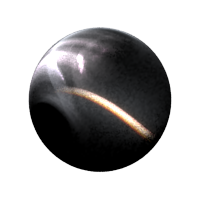
Anisotropy rotation is 0.125 (45.0 degrees)
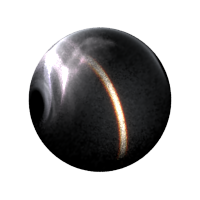
Anisotropy rotation is 0.25 (90.0 degrees)

Anisotropy rotation is 0.375 (135.0 degrees)

Bitmapped Anisotropy rotation
Refraction Parameters Tab
Example: The Refraction Color Parameter

Refraction color is black (0, 0, 0) (no refraction)

Refraction color is light gray (192, 192, 192)

Refraction color is white (255, 255, 255)
Example: The Refraction Glossiness Parameter

Refraction glossiness is 1.0

Refraction glossiness is 0.9

Refraction glossiness is 0.8
Example: The Refraction IOR Parameter
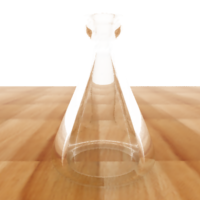
Refraction IOR is 0.8

Refraction IOR is 1.0

Refraction IOR is 1.3

Refraction IOR is 1.8
Example: The Fog Color Parameter

Fog color is white (255, 255, 255) (no light absorption)
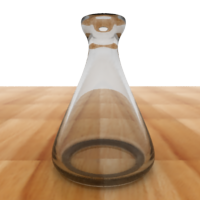
Fog color is gray (128, 128, 128)

Fog color is green (116, 190, 102)
Example: The Fog Multiplier Parameter
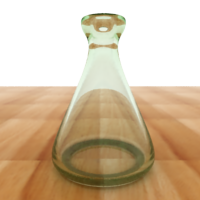
Fog multiplier is 0.5

Fog multiplier is 1.0

Fog multiplier is 1.5