V-Ray for SketchUp
Fur
This page provides information about V-Ray Fur in V-Ray for SketchUp.
Last updated 1 September 2026
This page provides information about V-Ray Fur in V-Ray for SketchUp.
Overview
V-Ray Fur is a very simple procedural fur plugin. The fur is generated only during render time and is not actually present in the scene, thus making the viewport faster. V-Ray Fur is more commonly used for simulating grass cover or textile fibers.

UI Paths
||V-Ray Asset Editor|| > Geometries (right-click) > Fur
||V-Ray Asset Editor|| > Create Asset (left-click) > Geometries > Fur
SketchUp Menus Ribbon
||Extensions|| > V-Ray > Objects > Add Fur to Selection
||V-Ray Objects Toolbar|| > Add Fur to Selection

Preview Overlay
Select V-Ray Object previews to be displayed in the SketchUp viewport from ||V-Ray|| > Overlays > Preview Overlay.
Enable or disable all previously selected V-Ray Object previews from ||Window|| > Default Tray > Overlays > V-Ray Preview.


Creating V-Ray Fur
The V-Ray Fur button is inactive until a group or component object (sometimes referred to as closed geometry) in the scene is selected. The V-Ray Fur tool does not support nested groups or components and will stay grayed out if a group or component contains other nested groups or components.
When you select a group or component in the scene the V-Ray Fur button will become active.
Alternatively, you can create Fur from the Extensions menu > V-Ray > V-Ray objects > Apply Fur to Selection or from the Asset Editor > Geometry > Fur and use the Apply to Selection context option.
After creating a V-Ray Fur object, a bounding box with a V-Ray Fur icon will appear in the viewport around the selected group or component. The bounding box and icon represent the newly applied V-Ray Fur object properties.
The Fur object can be copied between groups or components by placing then inside a new group or component. The object will then receive all associated object properties.
By applying a material to the group or component, the fur object will absorb the applied material and use that applied material and UV Mapping for the Fur.
Note that V-Ray Fur will ignore back-face materials.

Fur

– Enables or disables V-Ray Fur.

Grass Presets
The Grass Presets feature allows users to quickly create predefined grass geometry. When a preset is applied, the current asset configuration is fully overridden. All parameter values are replaced with those from the chosen preset. Any child assets (such as linked textures) are disconnected or deleted depending on their hierarchy level. A Hair material will be created for every grass preset that is applied.

Choose a preset – Shows the available assets:
- Grass
- Stripes
- Patches
- Tail
- Dry
- Short

Parameters
Distribution – Specifies how the density of strands is determined over the source object:
Per Face – Every face will generate the specified number of fur strands. Specifies the number of fur strands per face of the source object.
Per Area – The number of strands for a given face is based on the size of that face. Smaller faces have fewer strands, larger faces have more strands. Every face has at least one strand.
Count (Area) – The number of strands for a given face is based on the size of that face. Smaller faces have fewer strands, larger faces have more strands. Every face has at least one strand. See the Count Area example below.
Density Map – The map is a multiplier for the strand density. Black portions of the map correspond to zero density (effectively, no fur is generated in these areas). White represents the normal strand density, as specified by the Distribution parameter.

Example: Count Area

Count Area
= 86.40

Count Area
= 345.60

Count Area
= 1382.40
Length 1 – Specifies the length of the fur strands. See the Length example and the Maps example below.
Thickness 1 – Specifies the thickness of the fur strands. It measures the strand radius. See the Thickness example and the Maps example below.
Taper – Adds a taper to the individual strands of fur. Increasing this value will make each strand thinner at its upper end and wider at its base. See the Taper example below.
Gravity – Controls the force that pulls fur strands down along the Z-direction. See the Gravity example and the Maps example below.
Bend – Controls the elasticity of the fur strands. When set to 0.0, all the strands are stiff and straight lines. Greater values cause the strands to bend (e.g., under the influence of the Gravity parameter). See the Bend example and the Maps example below.

Example: Length

Length
= 0.16

Length
= 0.5
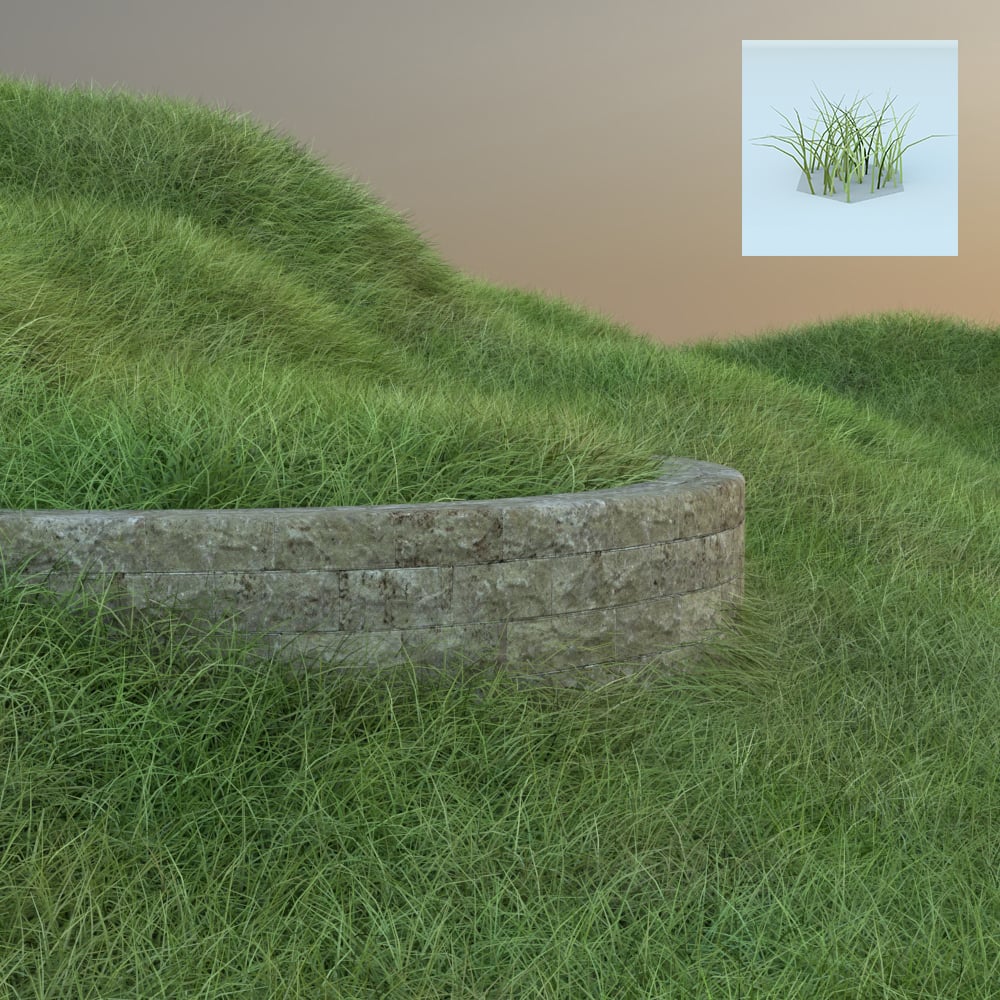
Length
= 0.83
Example: Maps

Default Parameter
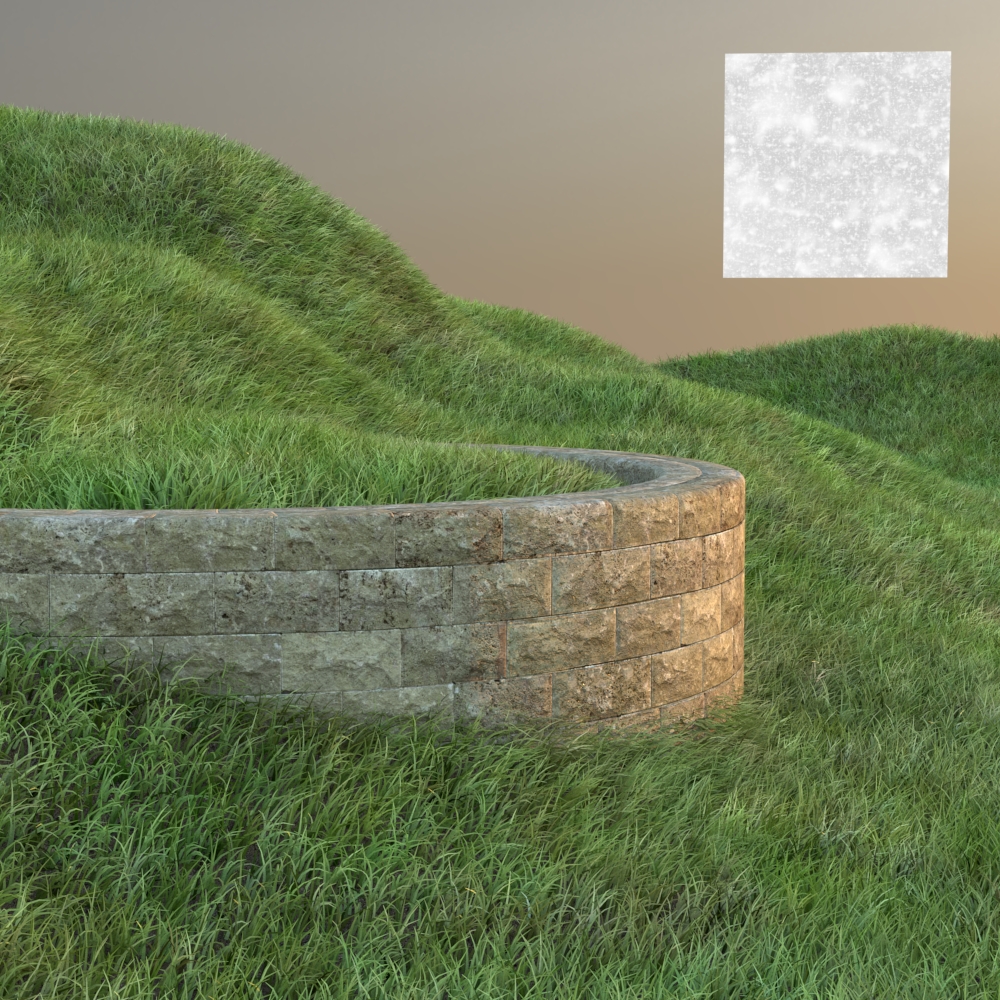
Bend Map

Density Map
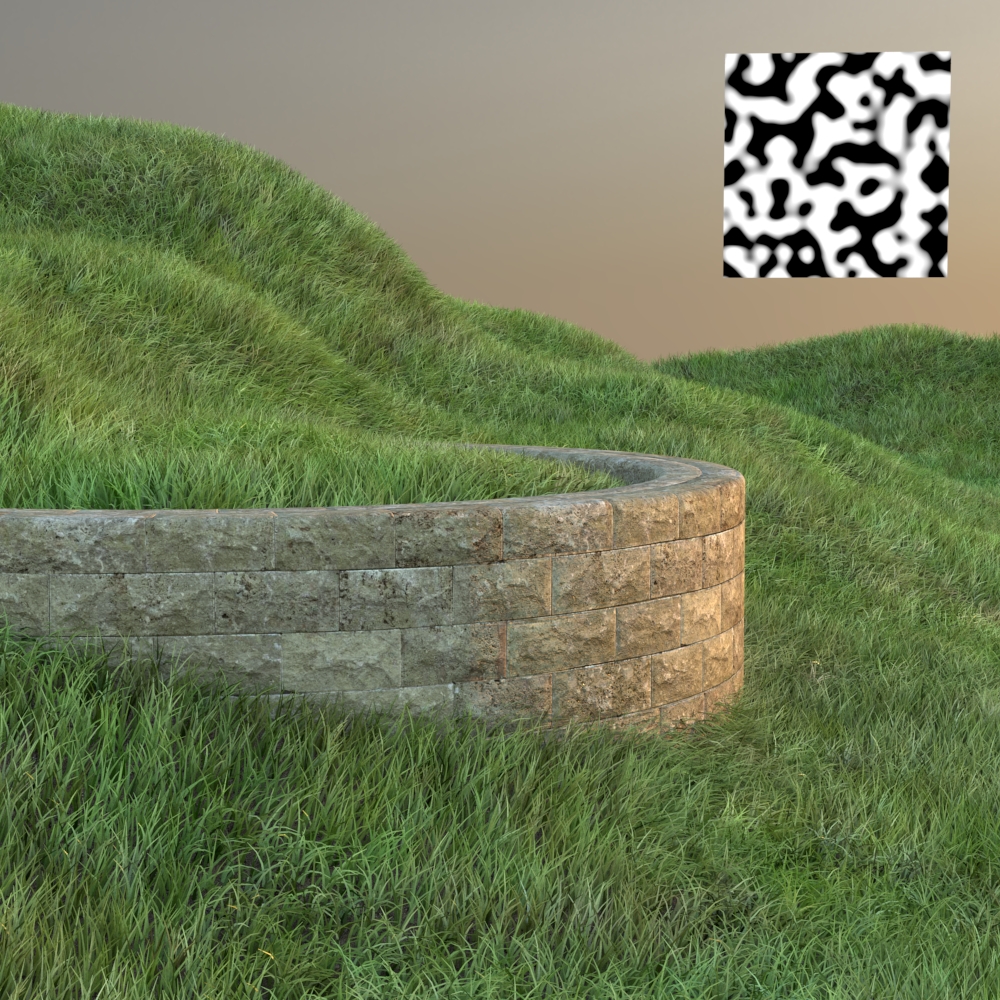
Gravity Map
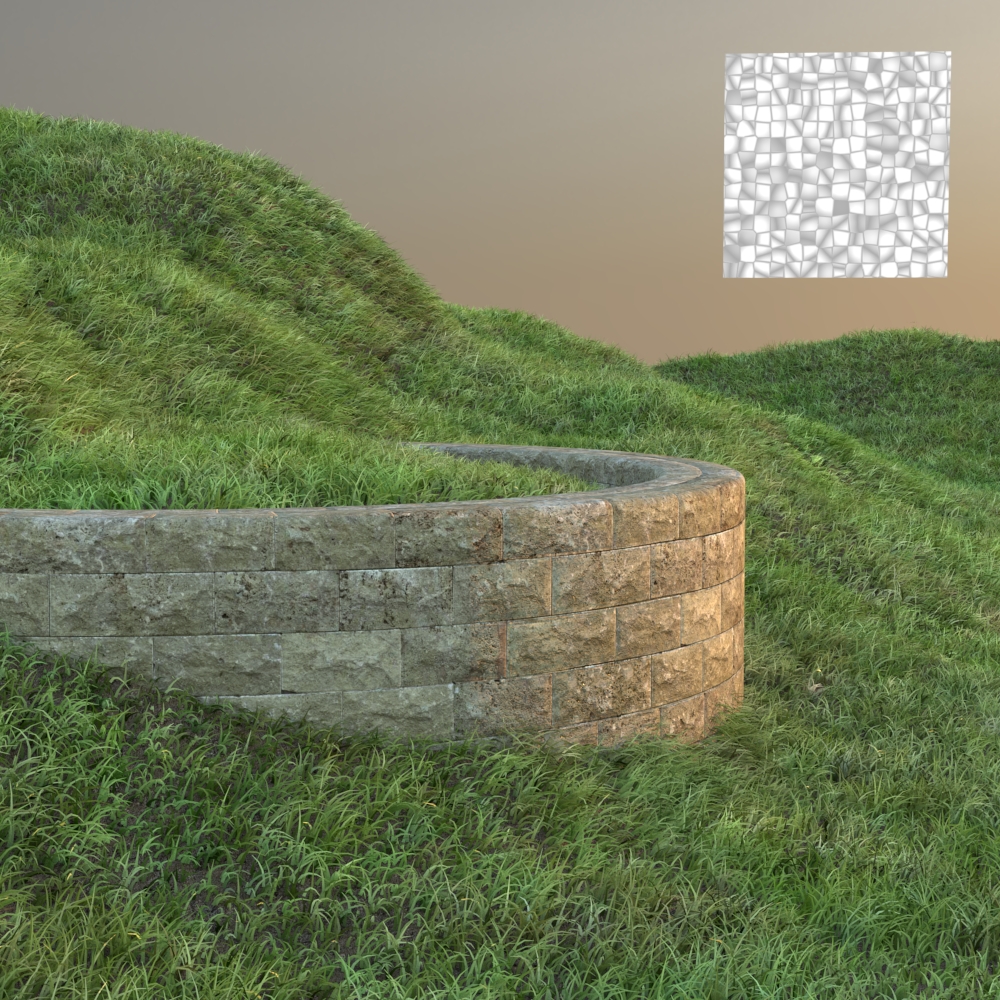
Length Map

Thickness Map
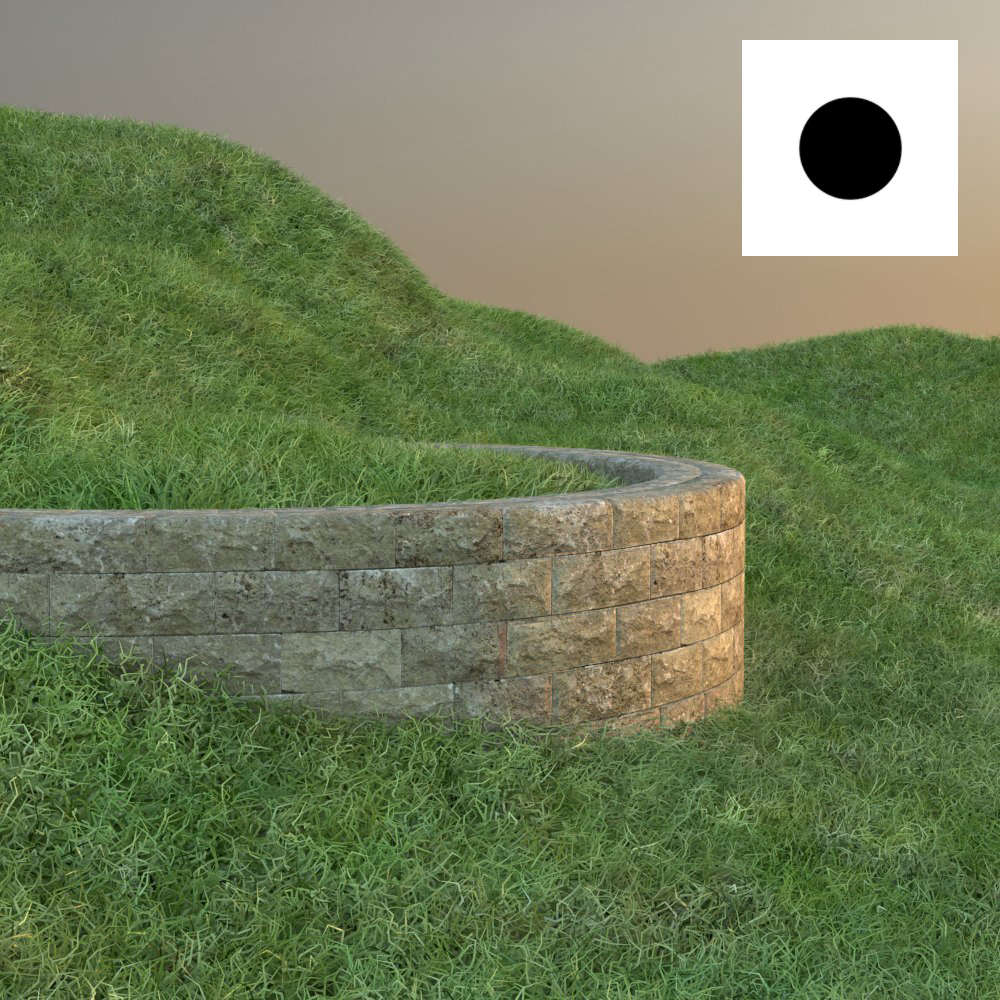
Curl Map
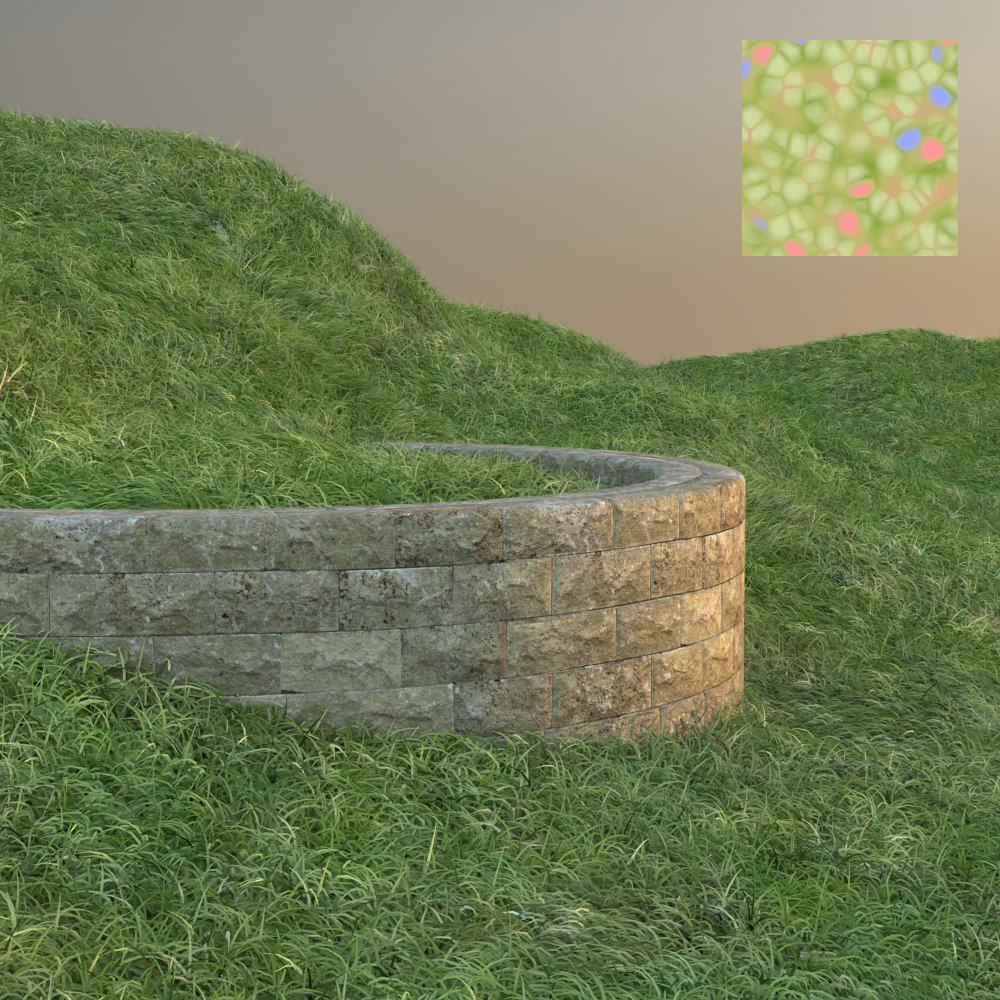
Bend Direction Map

Initial Direction Map
Example: Thickness
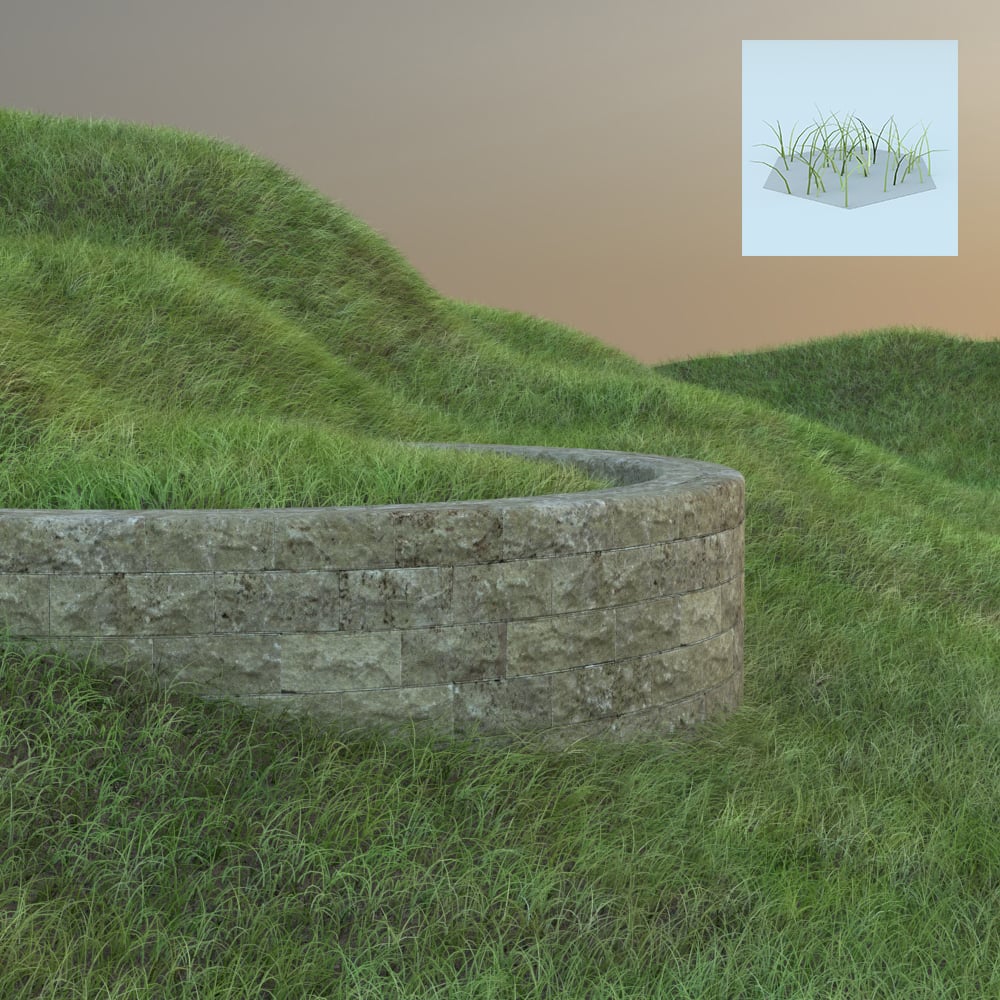
Thickness
= 0.05

Thickness
= 0.2

Thickness
= 0.8
Example: Taper

Taper
= 0.1
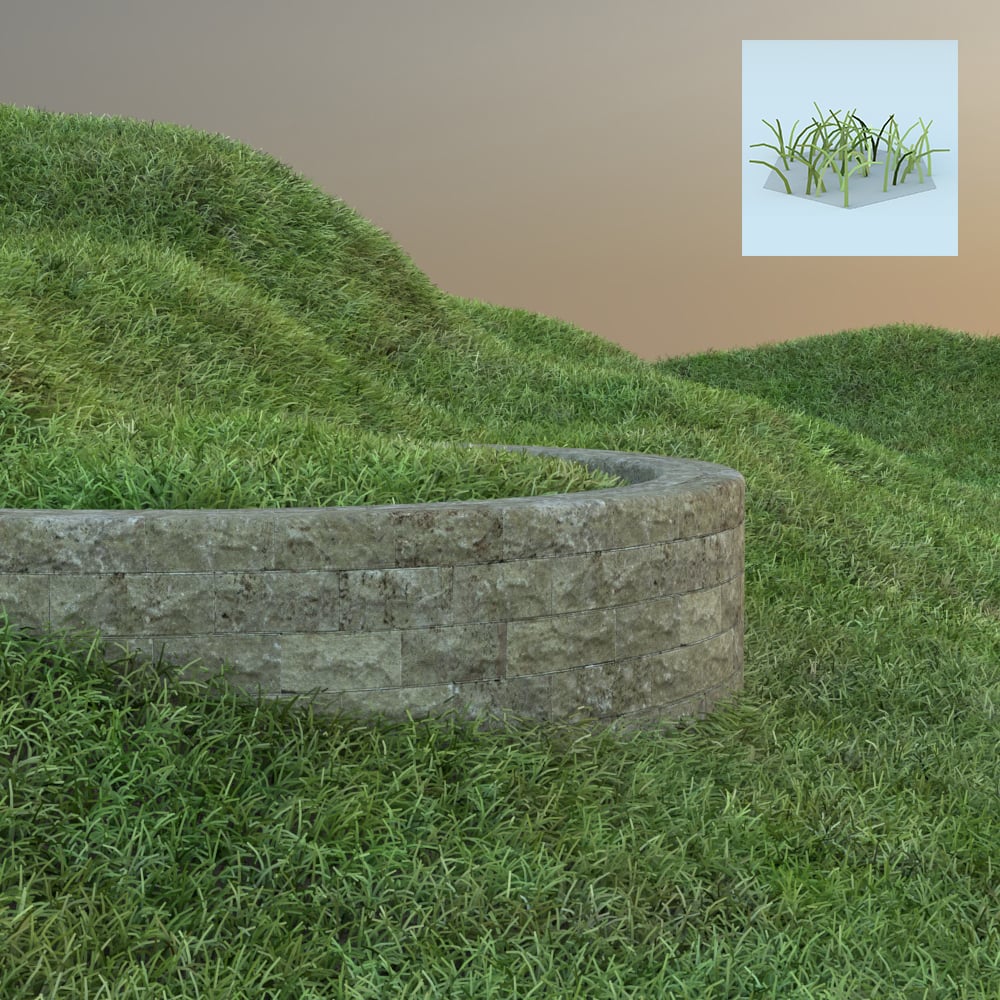
Taper
= 0.5

Taper
= 1
Example: Gravity

Gravity
= -6

Gravity
= -3

Gravity
= 0
Example: Bend
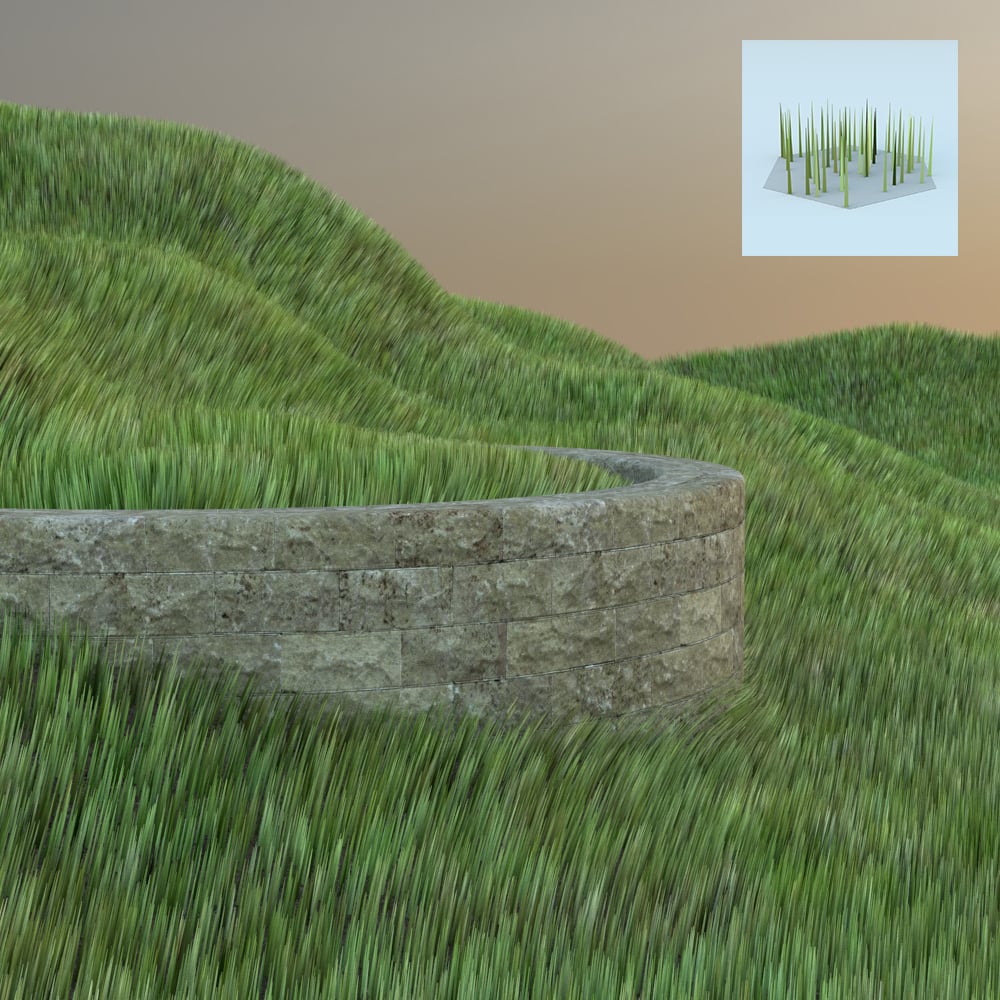
Bend
= 0
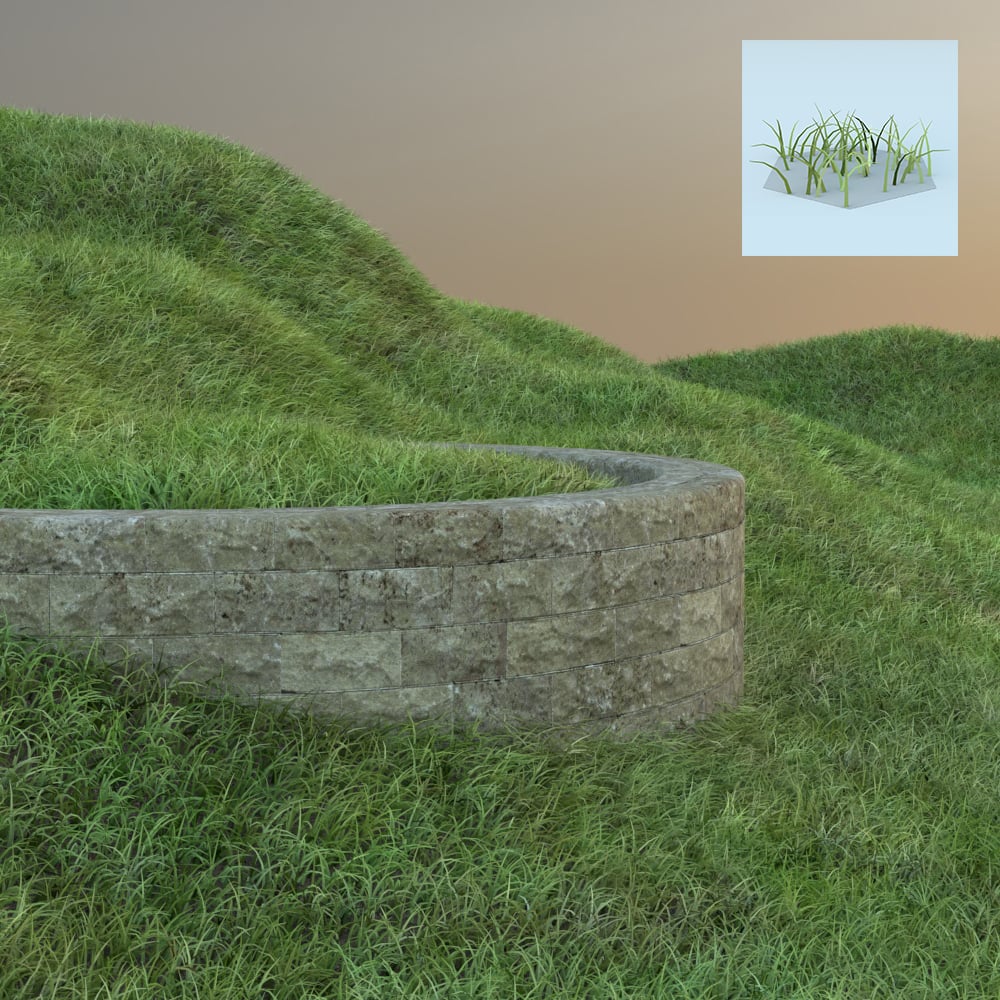
Bend
= 0.5

Bend
= 1
Global Scale – Globally controls the scale of the fur in the scene. See the Global Scale example below.
Knots – Controls the number of connected straight segments that the fur strands are rendered in. See the Knots example below.

Example: Global Scale

Global Scale
= 0.1

Global Scale
= 0.5

Global Scale
= 1
Example: Knots

Knots
= 3
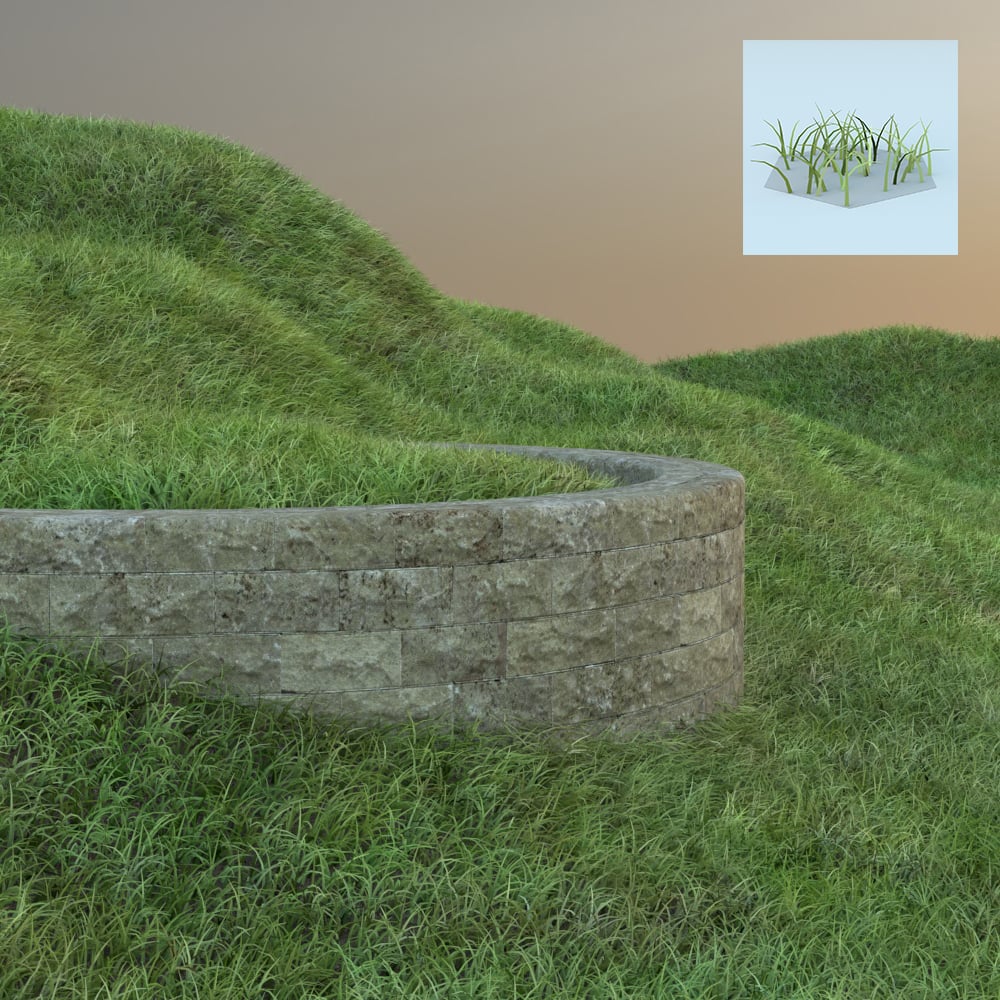
Knots
= 5

Knots
= 7
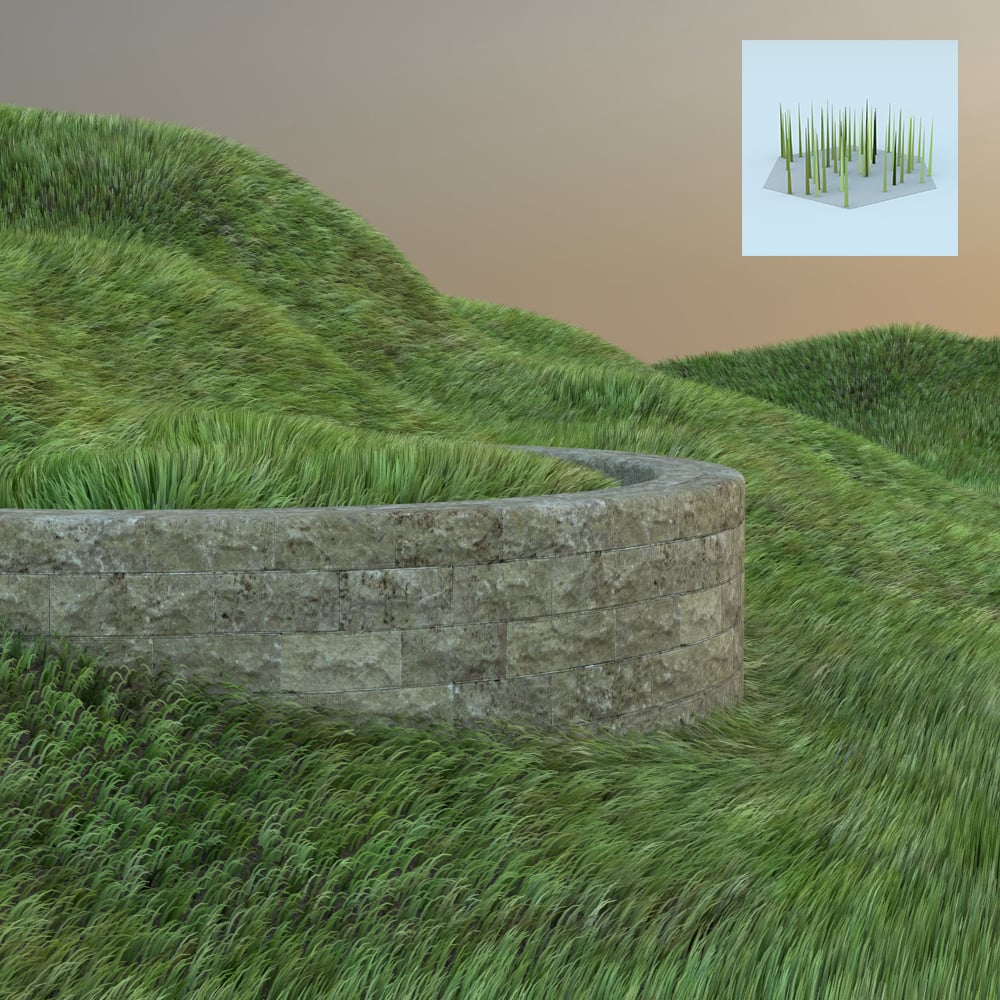
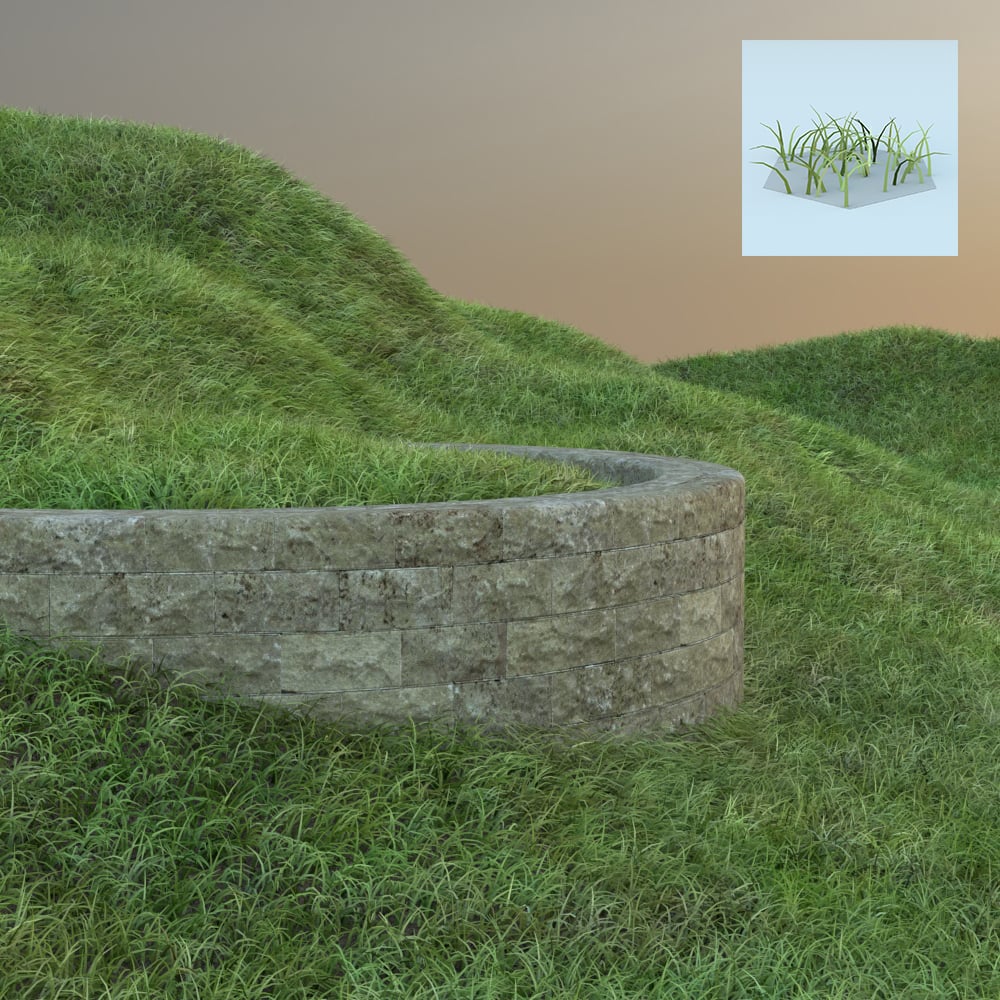
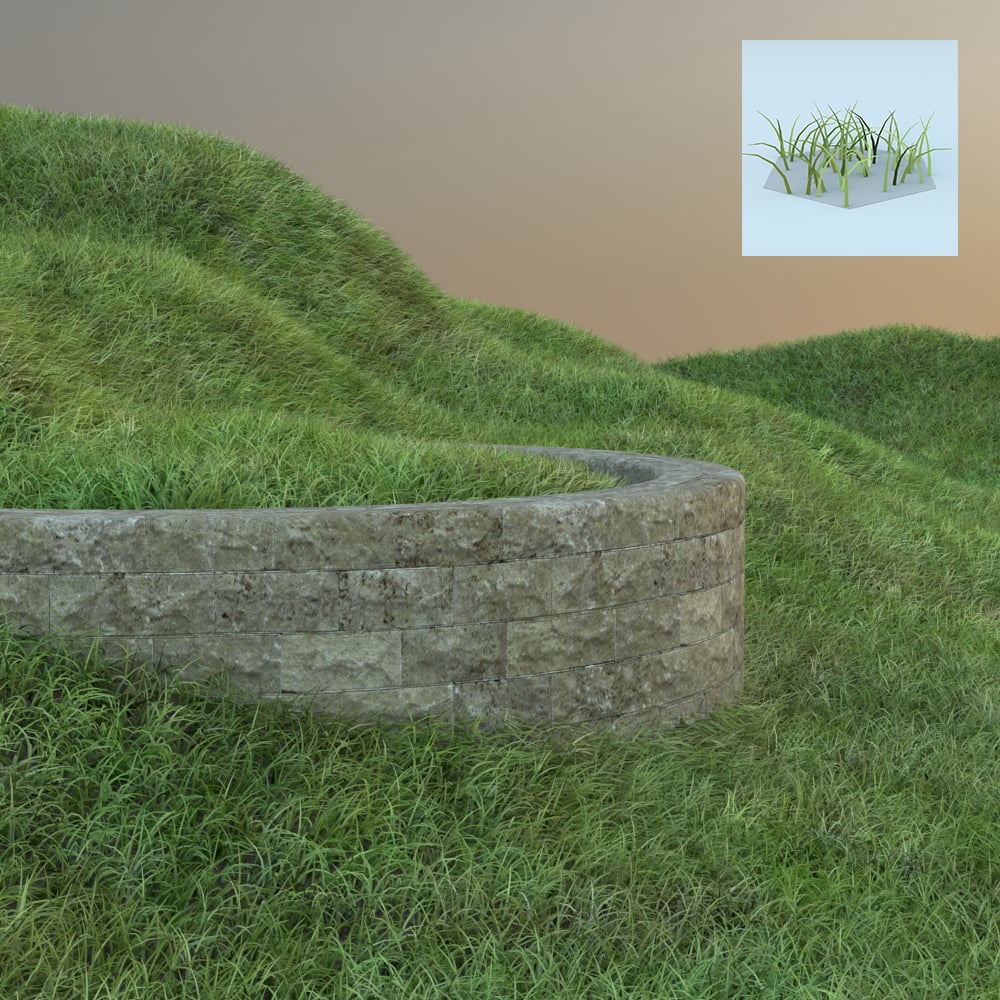
Variance
The Direction, Length, Thickness and Gravity parameters in this rollout add variation to their corresponding parameters from the Parameters rollout. Values range from 0.0 (no variation) to 1.0. See the Variance examples below.
Bend Direction Map – Specifies a bend direction of the fur strands. This is the direction the fur strands are curved to (the amount of curvature is also controlled by the Bend parameter). The red component of the texture is offset along the U texture direction, the green component is offset along the V texture direction, and the blue component is offset along the surface normal.
Initial Direction Map – Specifies the initial direction of the fur strands. The red component is offset along the U texture direction, the green component is the offset along the V texture direction, and the blue component is the offset along the surface normal.
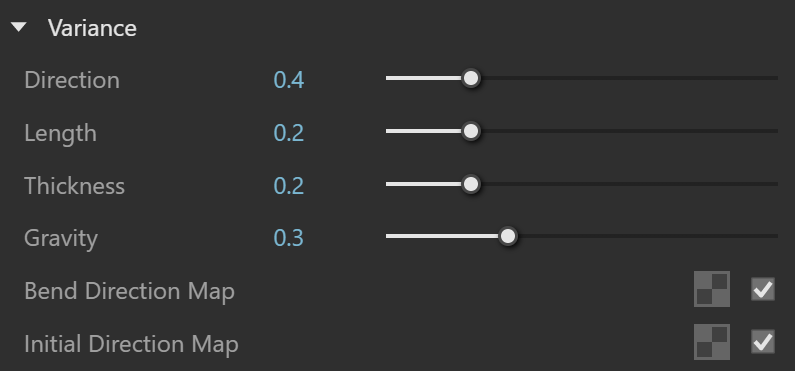
Variance Direction

Variance Gravity

Variance Length
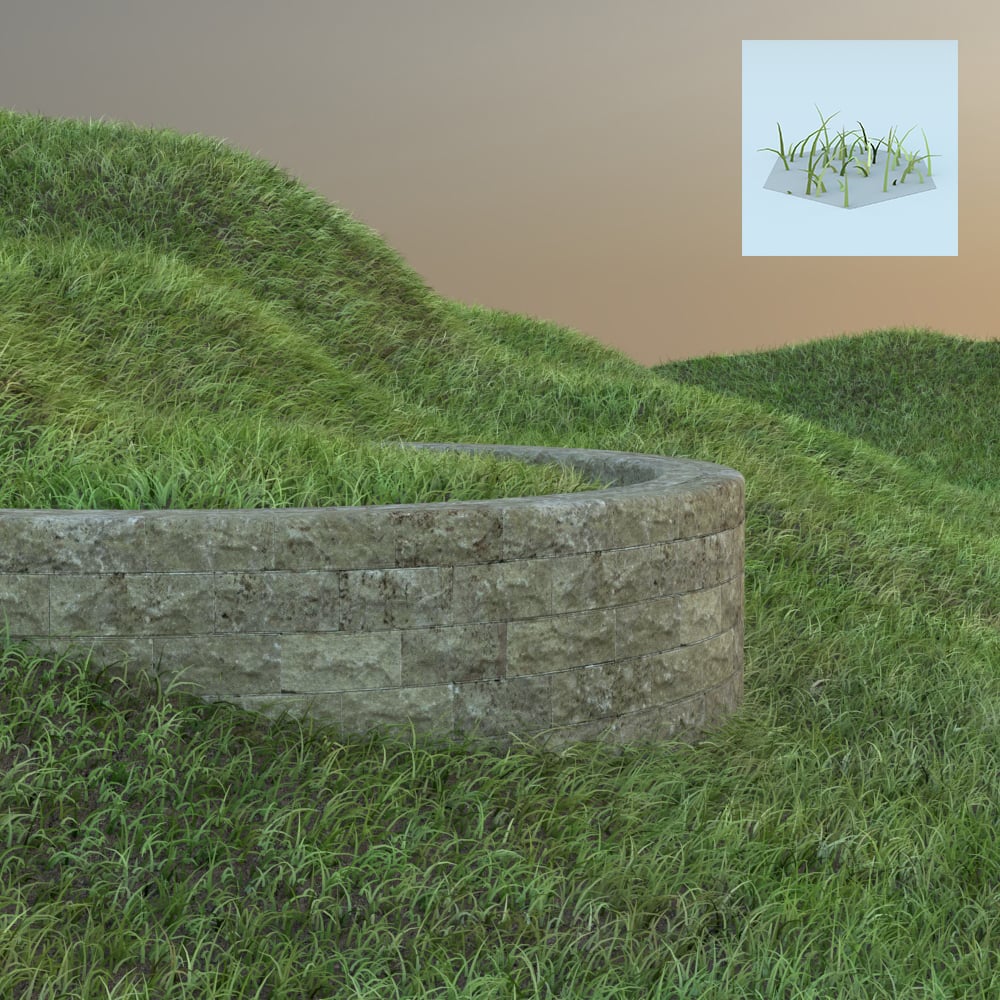
Variance Thickness


Curl
Curl – When enabled, adds curls to the fur.
Curl Radius 1 – Specifies the radius of an individual curl. See the Curl Radius example below.
Curl Radius Variation – Allows you to add variation to the curl radius of the fur strands. See the Curl Radius Variation example below.
Number of curls – Specifies the number of curls on a strand. See the Number of Curls example below.
Curl Map – This map is a multiplier for the strand Curl. Black portions of the map correspond to no curl, and white represents the set curl, as specified by the Distribution parameters. See the Maps example below.

Example: Curl Radius
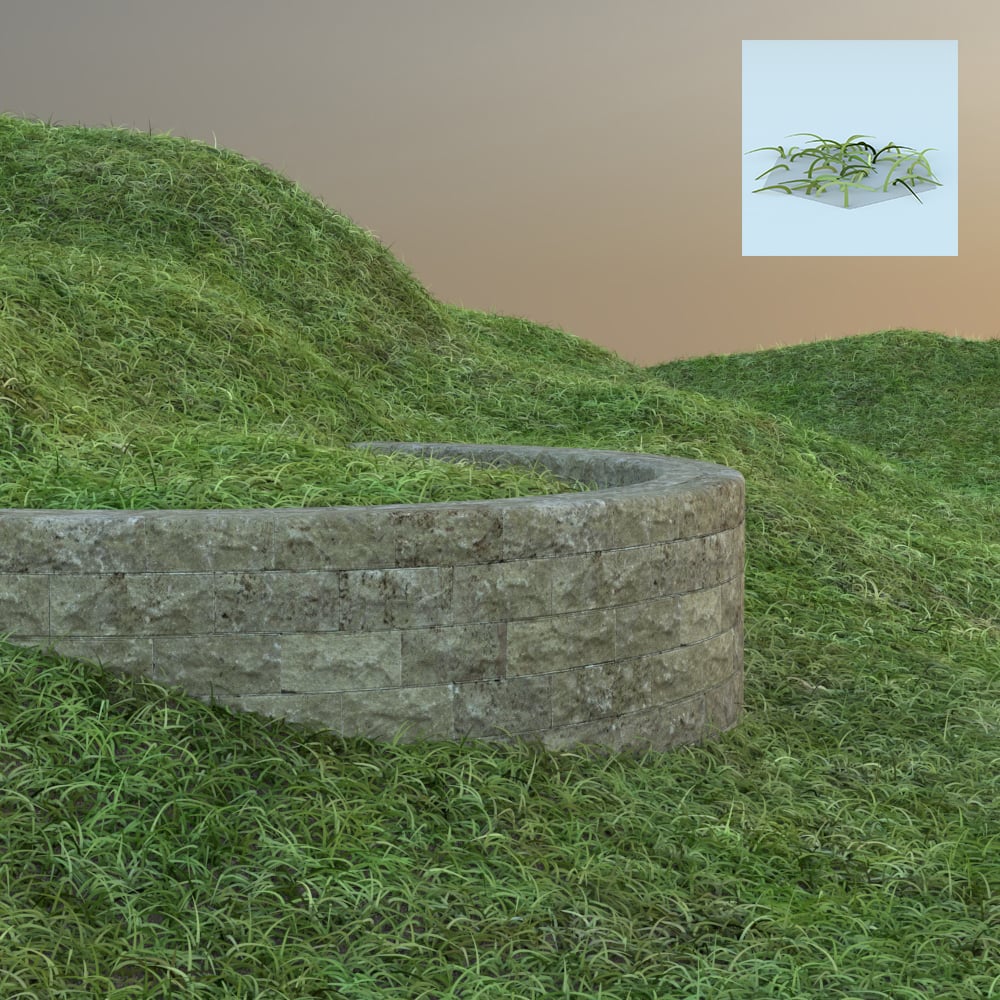
Curl Radius
= 0

Curl Radius
= 0.08

Curl Radius
= 0.16
Example: Curl Radius Variation

Curl Radius Variation
= 0

Curl Radius Variation
= 0.50
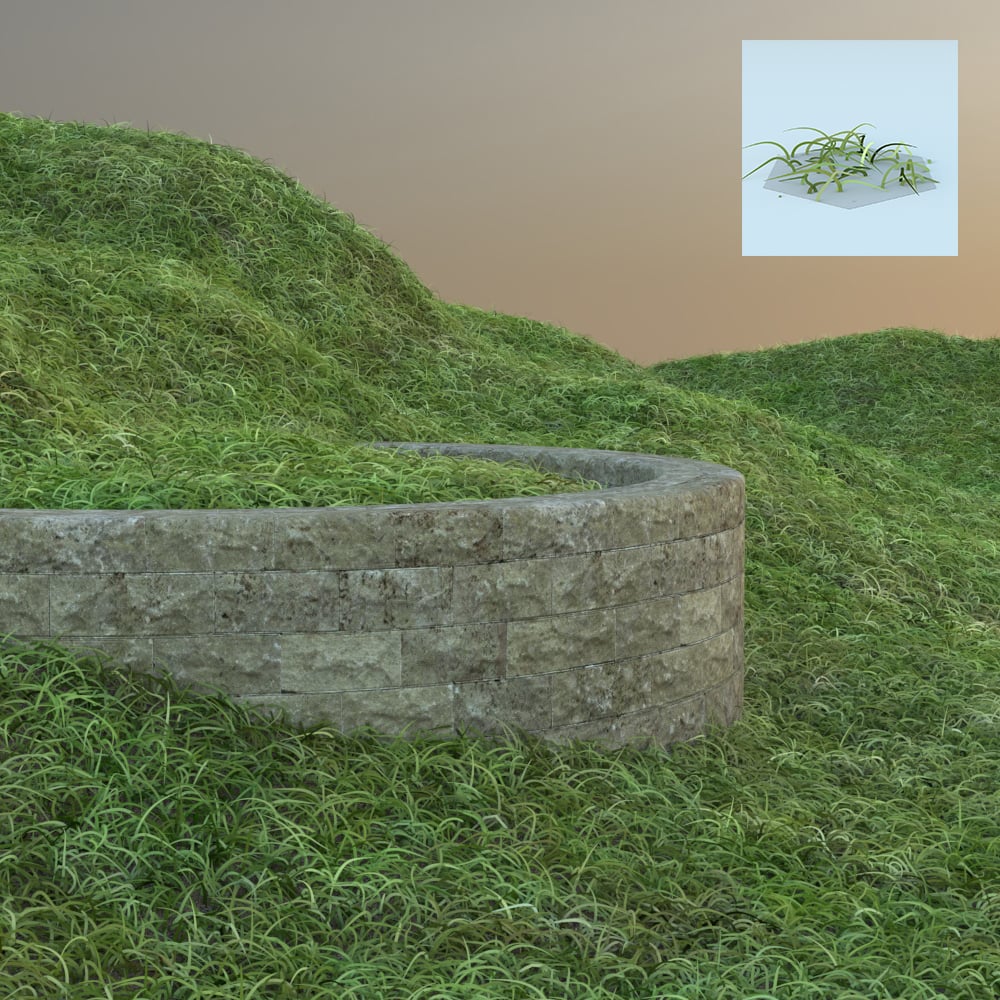
Curl Radius Variation
= 1
Example: Number of Curls

Number of Curls
= 0

Number of Curls
= 2

Number of Curls
= 4
Level of Detail
Level of detail – When enabled, V-Ray will generate less fur geometry for parts of the scene that are far away from the camera. This is done by decreasing the density of the fur strands and increasing their thickness. The level of detail function helps for two things. One, it conserves memory by decreasing the detail where it is too far to be visible, and two, it helps to reduce animation flickering of very fine fur strands when they are far from the camera.
Start Distance 1 – Specifies the distance from the camera at which V-Ray will start implementing the Level of detail adjustment. Up to this distance the fur will be generated as specified by the user. After that V-Ray will decrease the density and increase the thickness of the strand by a factor of two for every n units of space specified by the Rate parameter. See the Start Distance example below.
Rate 1 – The rate at which the Level of detail adjustment is applied. Starting from the distance specified in the Start distance parameter, V-Ray decreases the density and increases the thickness of the strands by a factor of two for every n units of space specified by the Rate parameter. See the Rate example below.

Example: Start Distance

Start Distance
= 50

Start Distance
= 200

Start Distance
= 800
Example: Rate

Rate
= 15

Rate
= 60
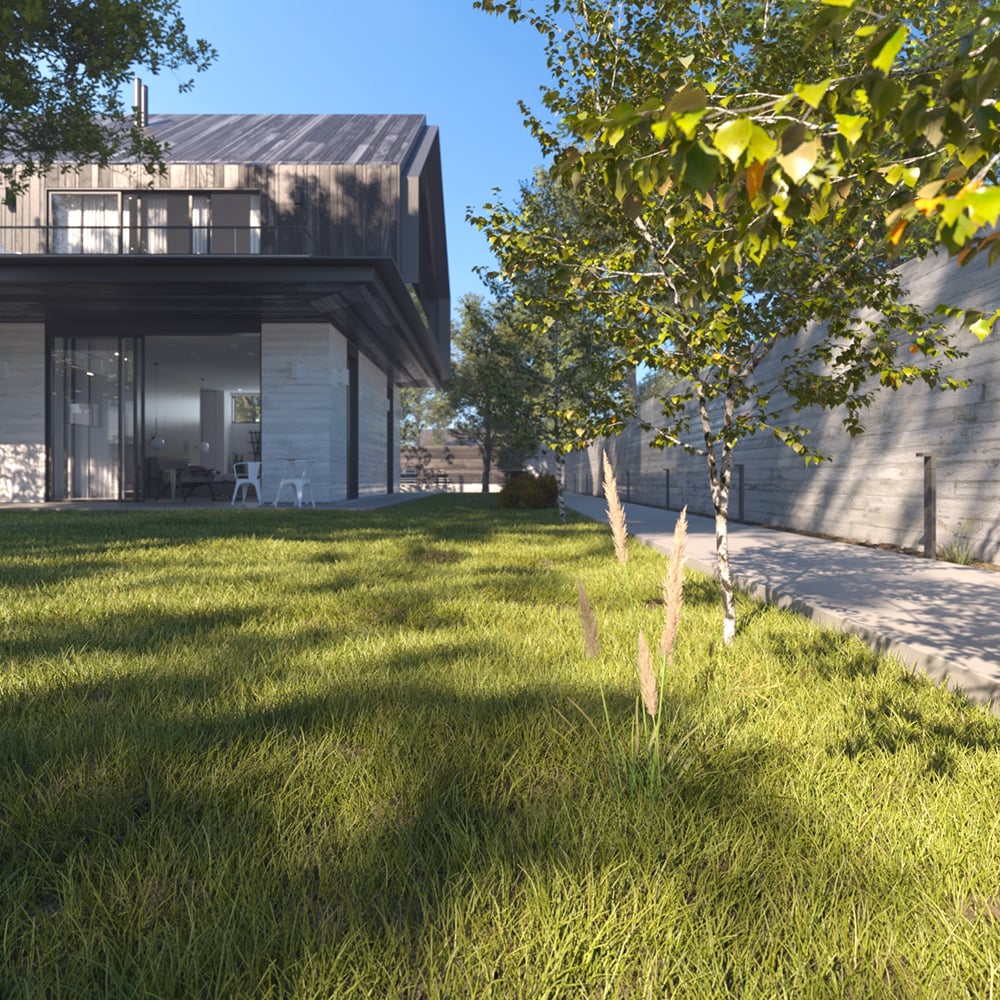
Rate
= 240
Material
Material toggle – When disabled, the V-Ray Fur uses the front-face material of the base mesh for shading. When enabled, it allows you to assign a different material.
Material selector – Specifies a scene material that is applied to the fur geometry. If a texture is used in this material, the texture placement will be based on the base mesh UVs/ placement.

The input slot () of the Material has a context menu available if a material is slotted. Note that materials can also be drag-and-dropped into the slot. When you right-click on it, you can Copy, Cut or Clear the selected material. If you left-click on it, the Asset Editor jumps to the slotted material.

Options
Gravity Direction – Manually specifies the gravity vector.
Preview Percentage – Determines the percentage of strands that are displayed in the viewport. Setting this value to 100% shows all strands. Decrease the value to optimize the preview.

Example: Preview Percentage

Footnotes
1 – Calculated in the default SketchUp unit - inches.
- If a Fur object is applied to one instance of a component, it is automatically applied to all other instances as well. To apply it to a single instance of a component (out of many), first select the instance, right-click on it, choose Make Unique, and then apply the Fur object
- Special objects can be removed from geometry by double clicking on the group/component, selecting the special object's widget and then selecting the Erase option from the context menu (right-click to open the context menu).
- When Mesh Light or Clipper are applied, no other special objects are allowed.