Use the V-Ray Gradient Texture to create and edit gradients.
Overview
Gradient is a texture map for creating and editing gradients.

UI paths
||V-Ray Asset Editor|| > Textures (right-click) > Gradient
||V-Ray Asset Editor|| > Create Asset (left-click) > Textures > Gradient
Parameters
Preset applies a gradient preset. If you change the gradient manually, Custom is selected automatically.
Black/White
Red/ Green/ Blue
Spectrum
Custom
Type controls the direction and shape of the gradient ramp. Changing Type keeps the colours and positions of the control points.
V creates a gradient along the V direction.
U creates a gradient along the U direction.
Diagonal creates a diagonal transition.
Radial creates a radial transition.
Circular creates a circular transition.
Box creates a box-shaped radial transition.
UV creates a gradient along both U and V directions.
Four Corner creates a linear transition between colours assigned to each corner.
Tartan creates a gradient with a plaid pattern.
Interpolation sets the colour interpolation method. It changes the colour transition curve between control points.
None disables the transition.
Linear interpolates values linearly in RGB colour space.
Exponential Up interpolates values exponentially from left to right. Each colour dominates the area between it and the next colour.
Exponential Down interpolates values exponentially from right to left. Each colour dominates the area between it and the previous colour.
Smooth interpolates values along a bell curve. Each colour dominates the area around it before blending into the next colour.
Bump interpolates values along a sine curve based on luminosity values.
Spike limits each colour to its immediate area, with a sharp falloff beyond it.
Colour sets the colour of the selected control point.
Position sets the floating-point position of the selected control point.
Capture Gradient creates a gradient from colours sampled along the cursor's path anywhere on your screen. Hold the left mouse button and drag the cursor to sample colours. Release the button to finish. See the Capture Gradient example below.


Example: Capture Gradient
Noise
Amount controls the strength of the noise texture distortion.
Frequency controls the noise frequency. Smaller values make the noise pattern appear larger. Larger values make it appear smaller.

Texture placement
Type controls how the texture is positioned on the geometry.
2D (UV Channel) uses the object's UV coordinates.
Environment applies when the map is connected to an Environment slot or a Dome light.
Texture Remapping uses UVW values from a colour texture or separate greyscale textures.
Mapping Source uses an external UV placement source.
2D (UV Channel)
UV Channel/Set specifies the index of the mapping channel data to use. A value of 1 uses the first available channel.
Repeat U/V sets how many times the texture repeats in the 0 to 1 UV square.
Lock U/V Repeat locks the U/V Repeat.
Offset U/V controls the texture offset in the U and V directions.
Rotate rotates the texture in degrees.
Tile U/V tiles the texture in the U and V directions. If disabled, the Default texture colour appears outside the 0 to 1 UV square. Find the Default colour in Parameters > Color Manipulation.
Mirror U/V mirrors the texture separately in the U and V directions. It divides the texture in half and flips one side vertically or horizontally. Use it to help avoid seams when repeating textures that do not tile.

2D (UV Channel) parameters
Environment
Mapping sets the type and shape of the texture.
Angular
Cubic
Spherical
Spherical Inverted
Mirror Ball
Screen
Rotate H rotates the environment sphere horizontally.
Flip H flips the environment sphere horizontally.
Rotate V rotates the environment sphere vertically.
Flip V flips the environment sphere vertically. It is available only in Spherical Mapping.
Ground enables ground projection of the texture.
Position X/Y/Z offsets the ground projection along the X/Y/Z axis.
Radius sets the projection radius. Use it to control the projection scale.
For 2d Transformation, see the 2D (UV channel) parameters.

Environment parameters
Texture Remapping
Mode sets whether a single texture or multiple textures remap the U and V texture coordinates.
UV uses the Red input texture channel to set the U sampling coordinate. The Green input texture channel sets the V coordinate.
U uses this texture's value to set the U sampling coordinate.
V uses this texture's value to set the V sampling coordinate.
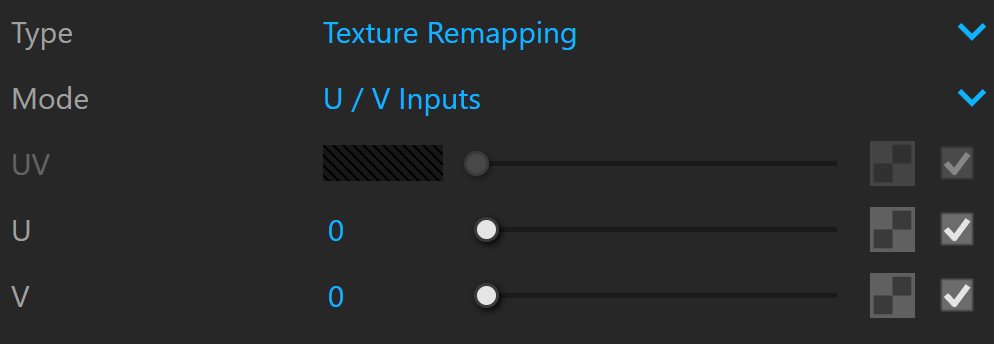
Texture Remapping parameters
Mapping Source
UV Placement Source sets the external UV placement source for the texture.

Mapping Placement parameters
Example: Texture Remapping
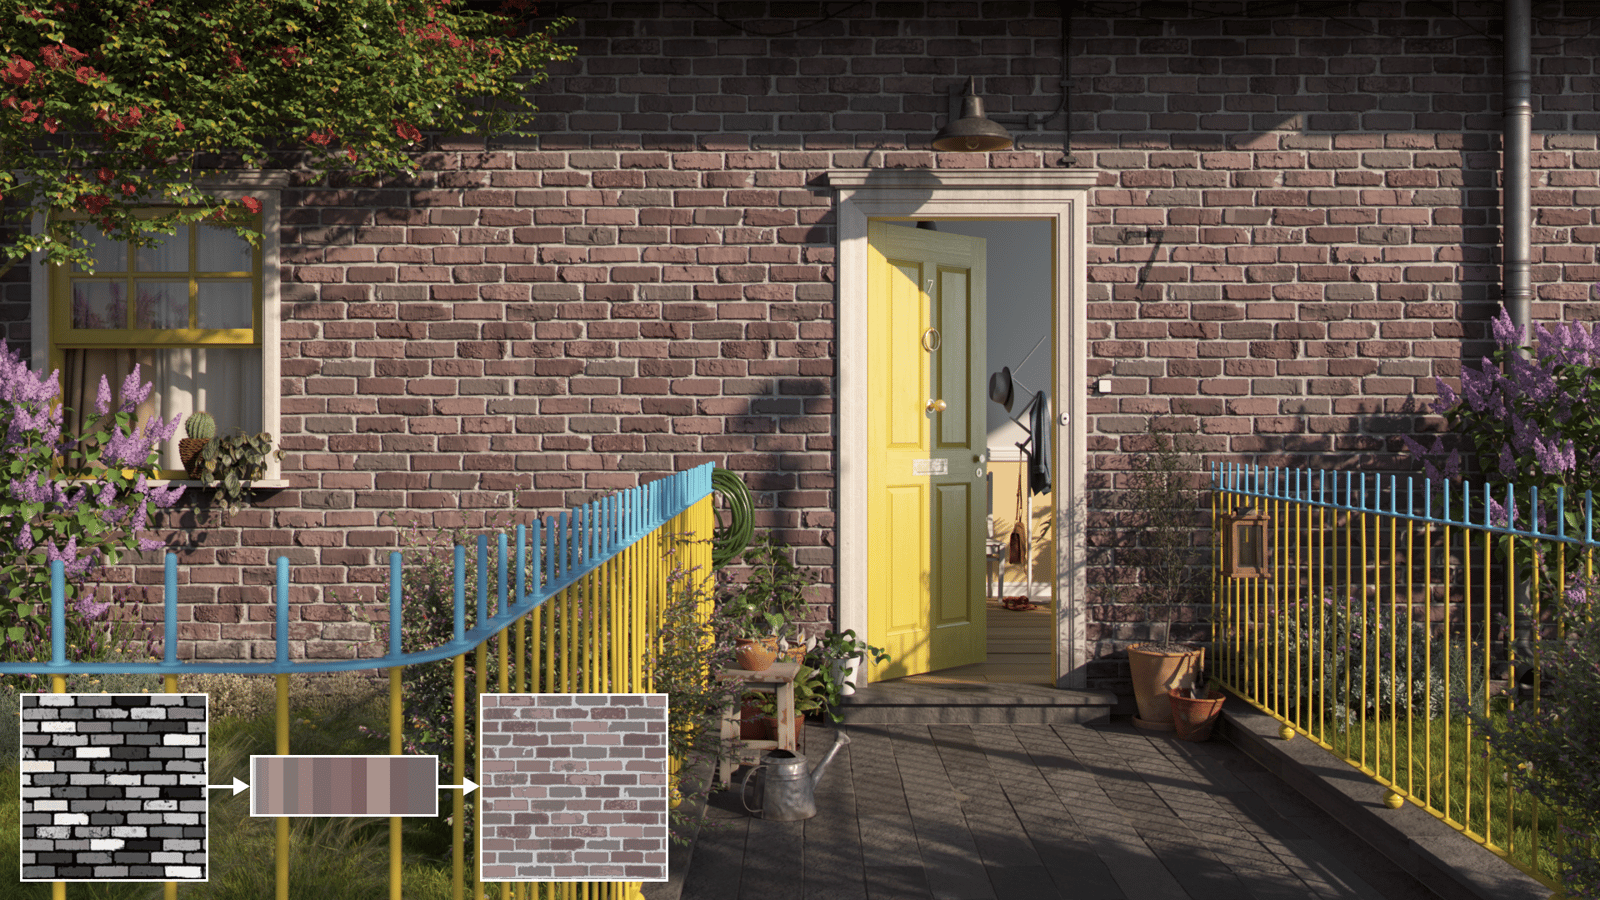
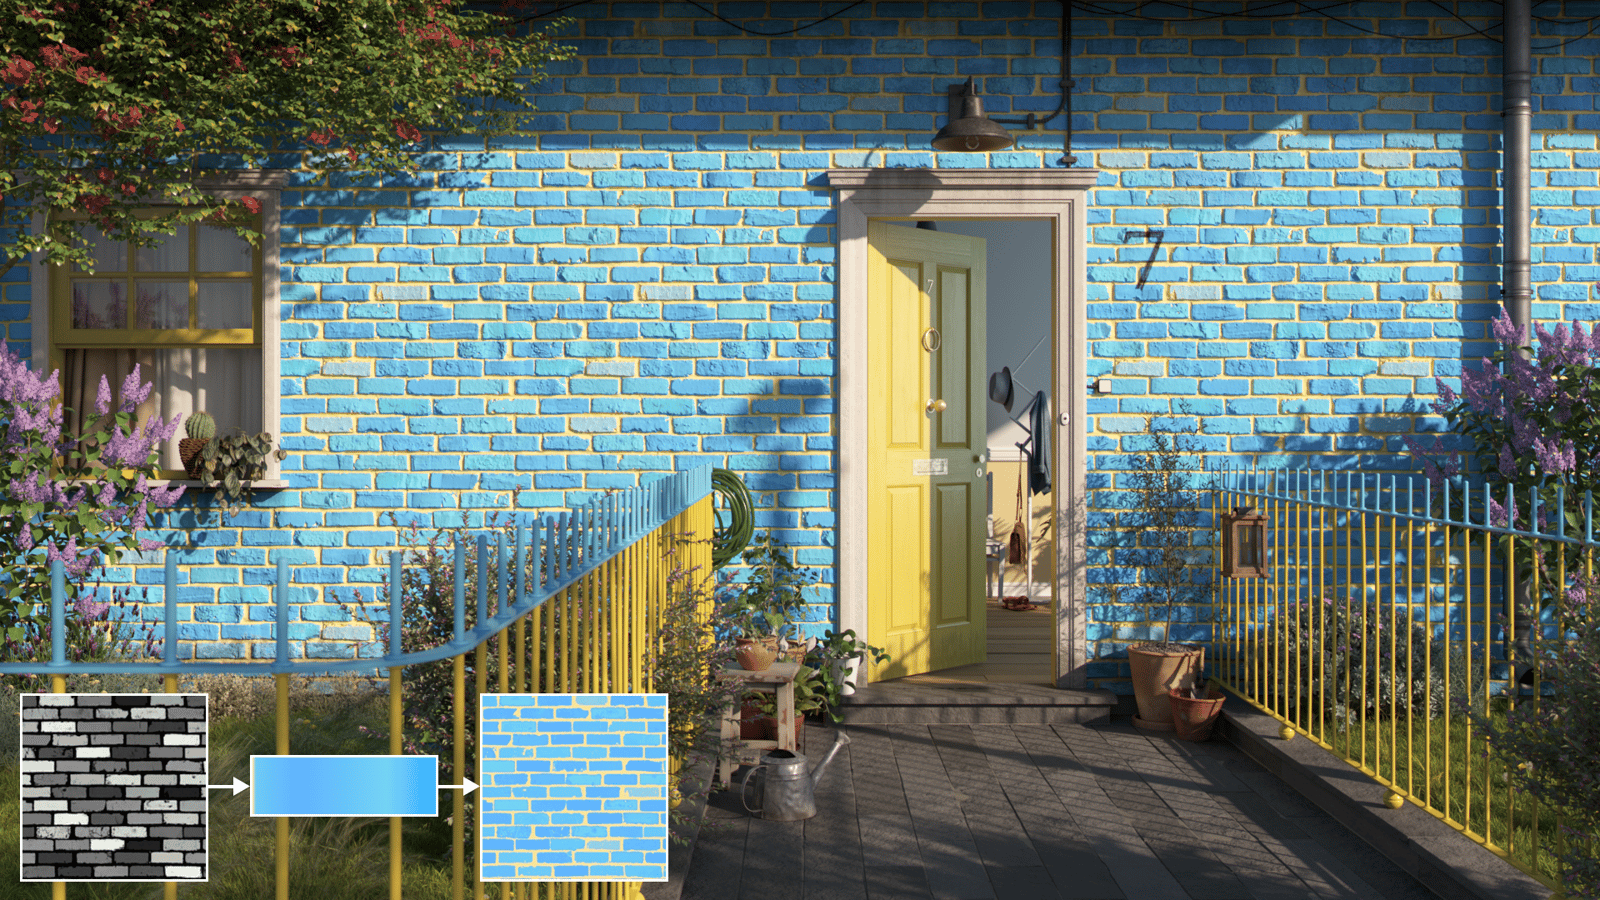
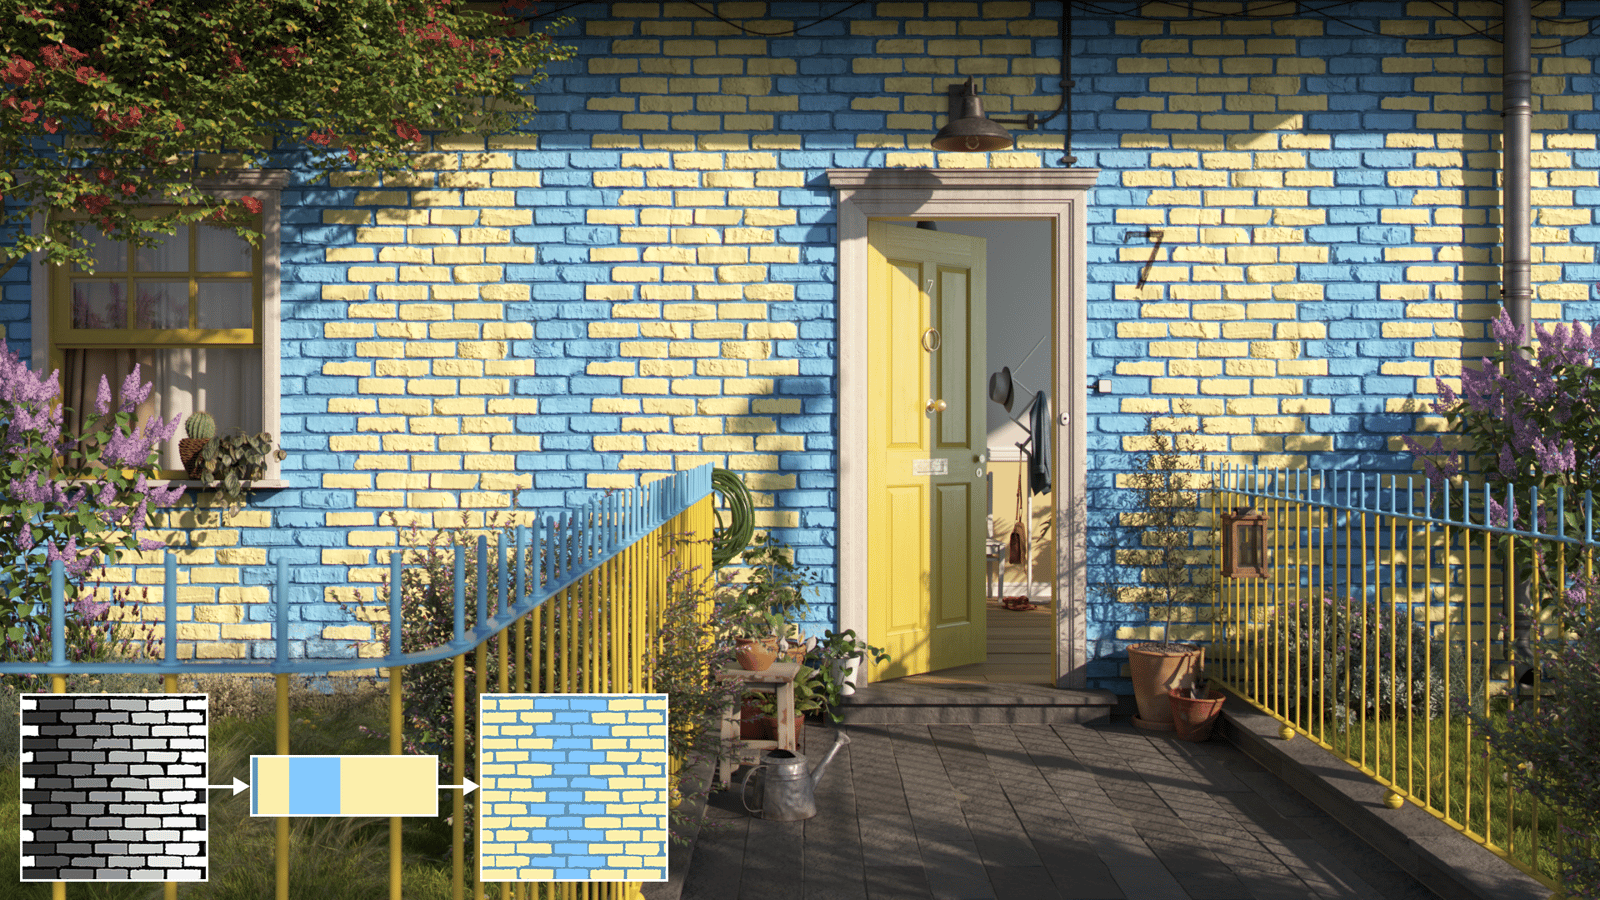
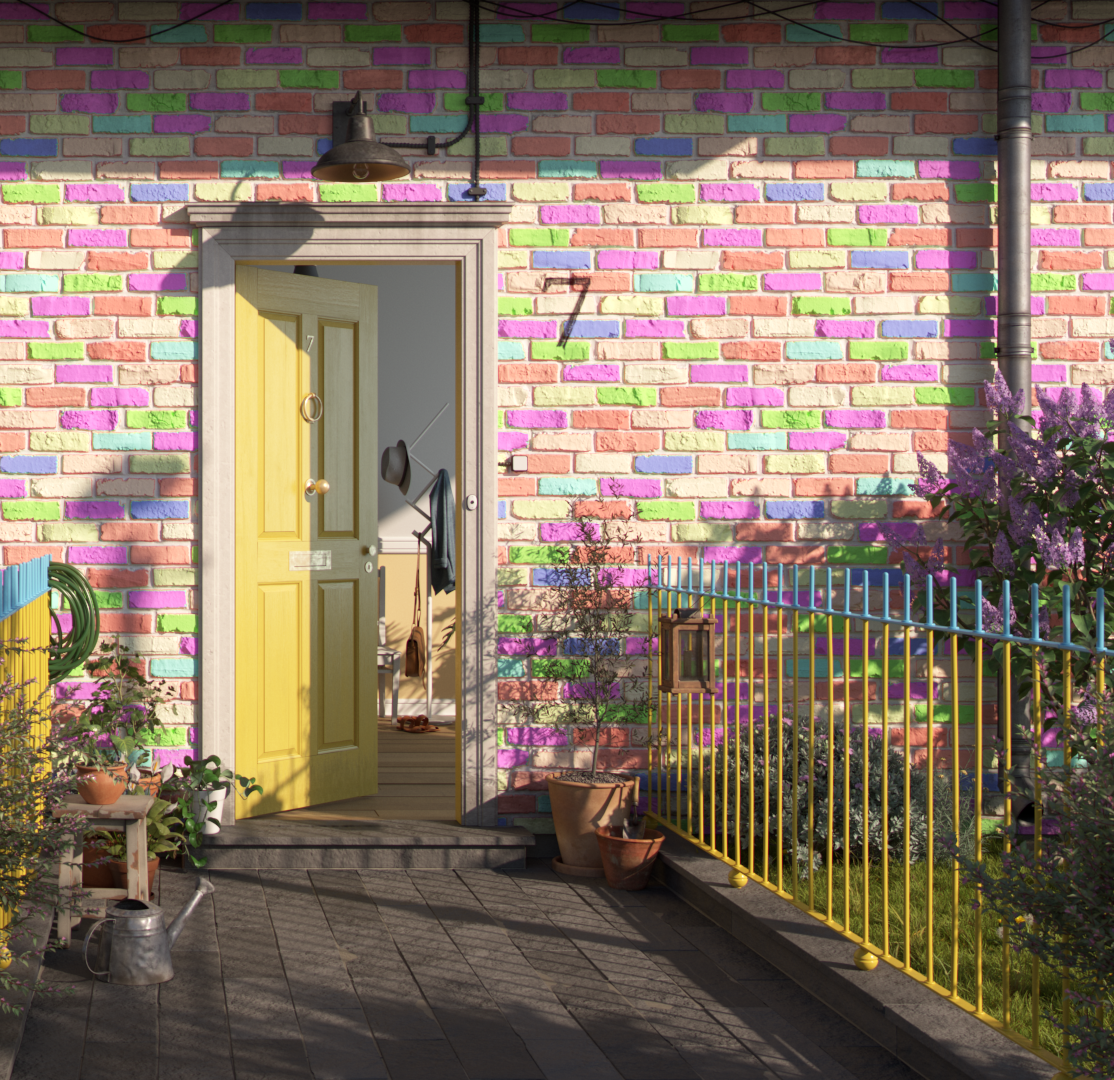
This example uses a Gradient texture to colour bricks in different patterns. The material has a Gradient texture in the Diffuse map slot. The Gradient texture's Texture Placement is set to Texture Remapping with UV Texture mode. A black and white brick texture is set in the UV Texture map slot.