V-Ray for SketchUp
Layered
This page provides information on the V-Ray Layered Texture.
Last updated 1 September 2026
This page provides information on the V-Ray Layered Texture.
Overview
The V-Ray Layered Texture lets you stack multiple textures on top of each other to mix their output. The result of each layer depends on the blending mode with the next layer in the stack. You can also use a mask to control which parts of each texture are visible in the final render.
Keep in mind that the “upper” layers have higher numbers. For example, Layer[1] is the bottom layer.
UI Paths
||V-Ray Asset Editor|| > Textures (right-click) > Layered
||V-Ray Asset Editor|| > Create Asset (left-click) > Textures > Layered
Parameters
Add Layer – Adds a layer in the stack.
Color/Texture – Select the color or texture to be used in the layer.
Blending/Opacity – Specifies how the layer blends with the result from all layers below it.

Blend Mode | Description |
|---|
Blend Mode | Description |
|---|---|
Normal | Displays the current layer (FG) on top of all layers (BG) without blending. This is the default. |
Average | The average of the current layer (FG) and the result from the layers below it (BG). |
Add | Adds the FG to the BG. |
Subtract | Subtracts the FG from the BG. |
Darken | Compares the FG to the BG and takes the darker pixel values of the two. |
Multiply | Multiplies the FG by the BG. |
Color Burn | The color of the FG is applied to darker pixels in the BG. |
Linear Burn | Same as Color Burn but with less contrast. |
Lighten | Compares the FG to the BG and takes the lighter of the two. |
Screen | Makes both light and dark areas lighter. |
Color Dodge | The color of the FG is applied to lighter pixels in the BG. |
Linear Dodge | Same as Color Dodge but with less contrast. |
Spotlight | Same as Multiply, but with twice the brightness. |
Spotlight Blend | Same as Spotlight, but additionally brightens the BG. |
Overlay | Darker pixels become darker where the BG is dark and brighter pixels become brighter where the BG is bright. |
Soft Light | Darker pixels become darker where the FG is dark and brighter pixels become brighter where the FG is bright. |
Hard Light | Spotlight is applied to pixels where the FG is dark and Screen is applied to pixels where the FG is bright. |
Pinlight | Replaces the BG colors depending on the brightness of the FG color. |
Hard Mix | Adds the FG to the BG and for each color component returns a value of 255 if the result is 255 or greater, |
Difference | Compares the pixels in the BG and FG and subtracts the darker pixels from the brighter ones. |
Exclusion | Same as Difference but with less contrast. |
Hue | Uses the hue from the FG , while the value and saturation are taken from the BG. |
Saturation | Uses the saturation from the FG, while the value and hue are taken from the BG. |
Color | Uses the hue and saturation from the FG, while the value is taken from the BG. |
Value | Uses the value from the FG, while the hue and saturation are taken from the BG. |
Examples
The following example illustrates a Layered texture used as a Diffuse map in the Brick wall material.

Layered texture with a Base layer only.
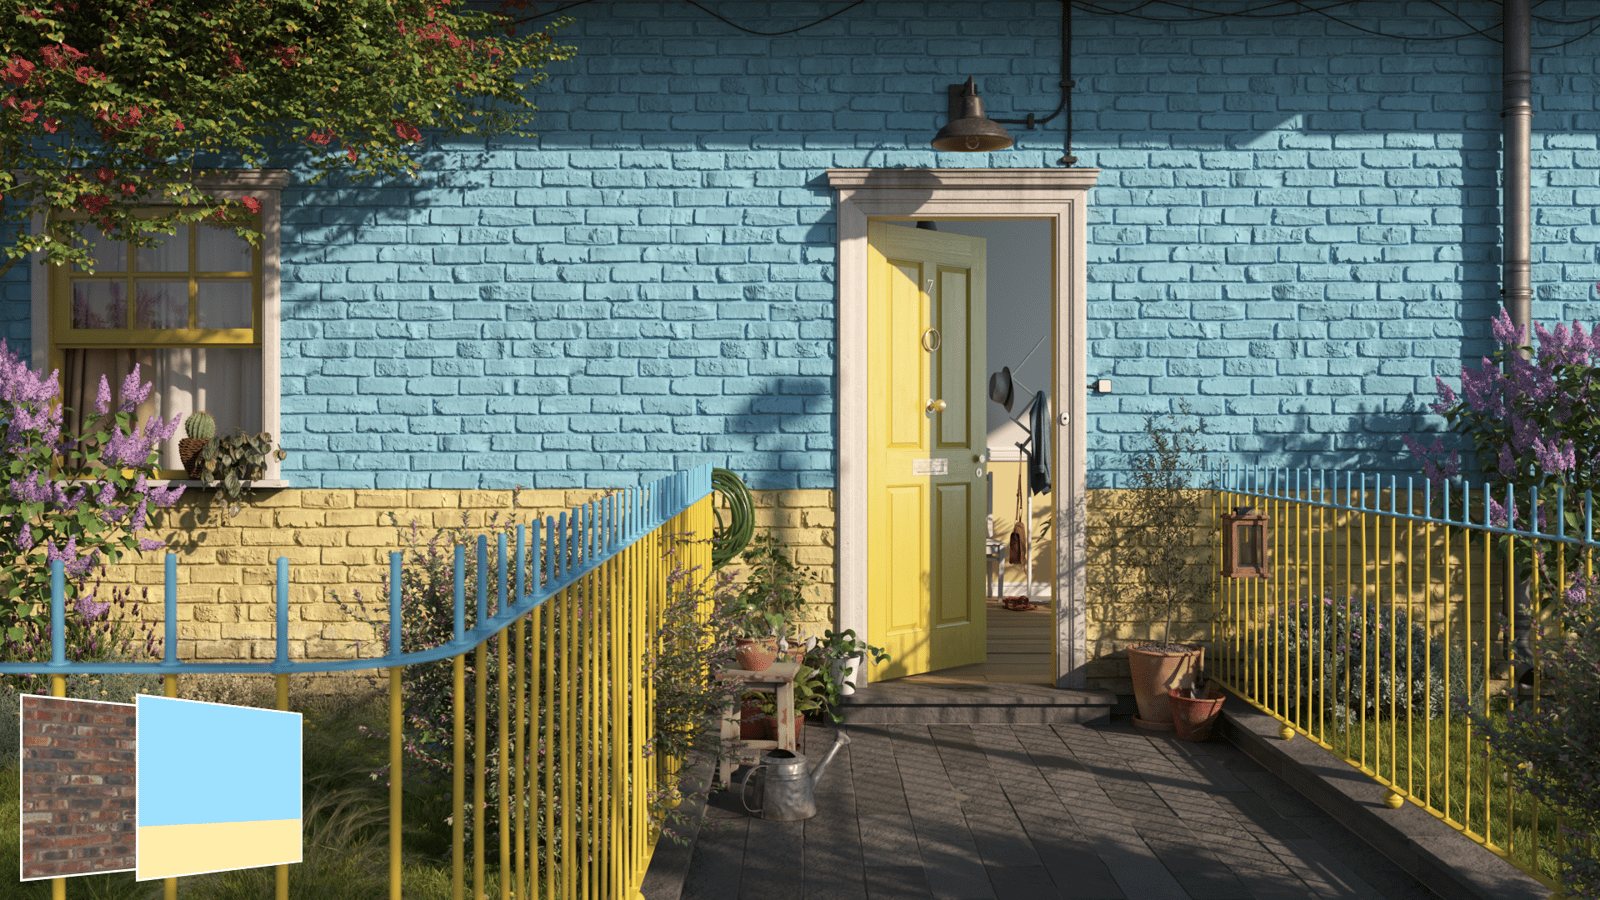
Additional layer with a Gradient map
Blending Mode
= Color,
Opacity
= 1
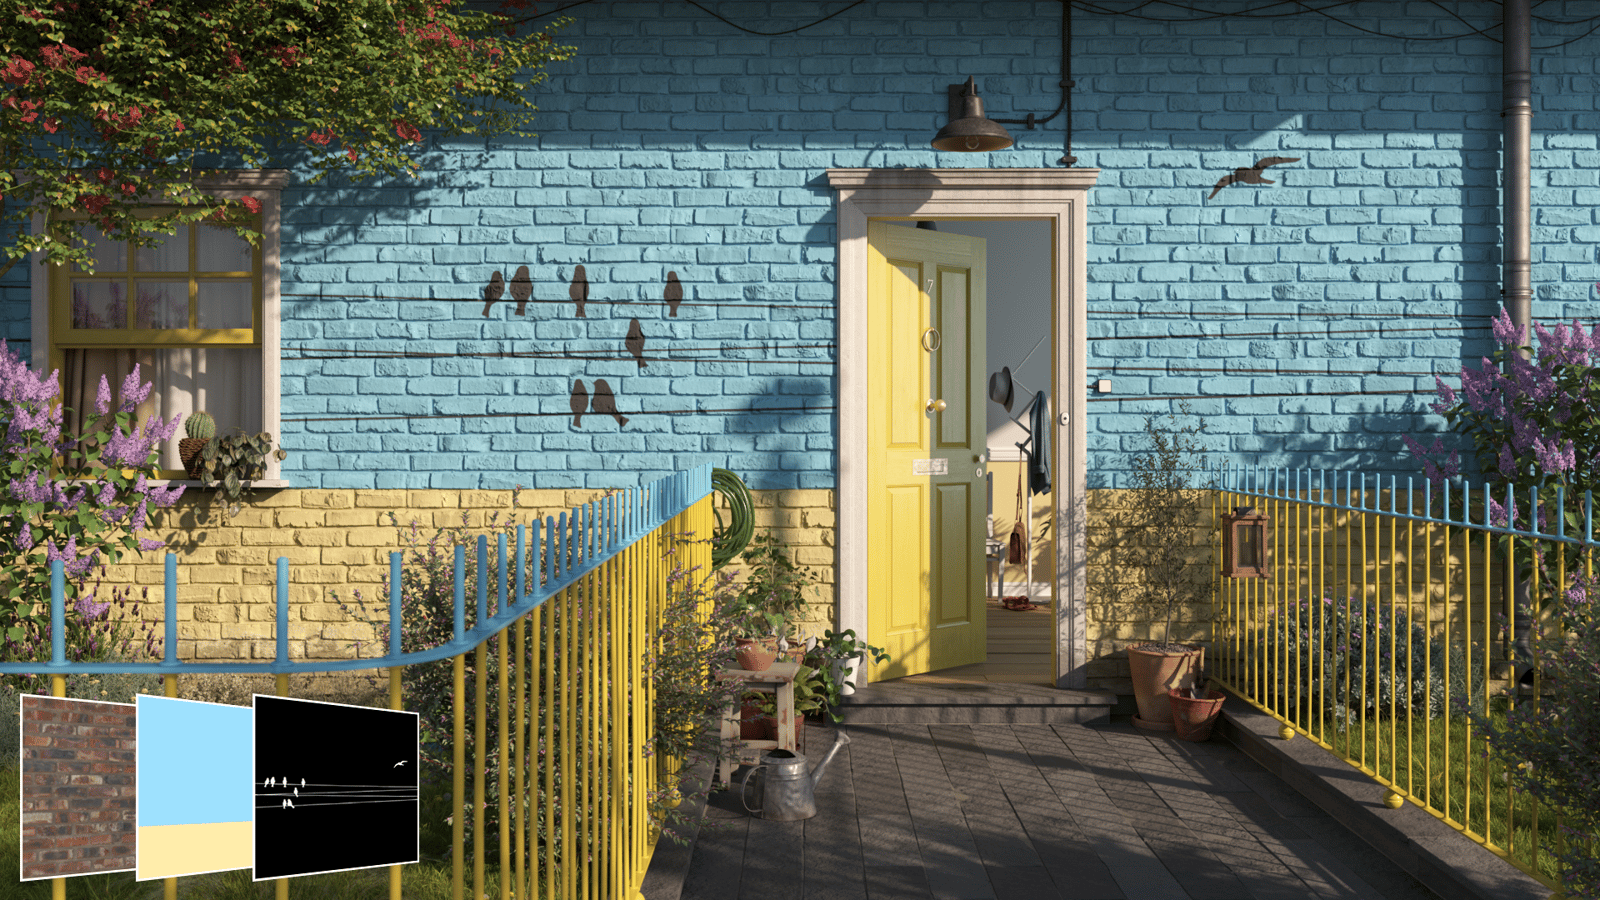
Additional layer with a grey color and an Opacity map
Blending Mode
= Darken
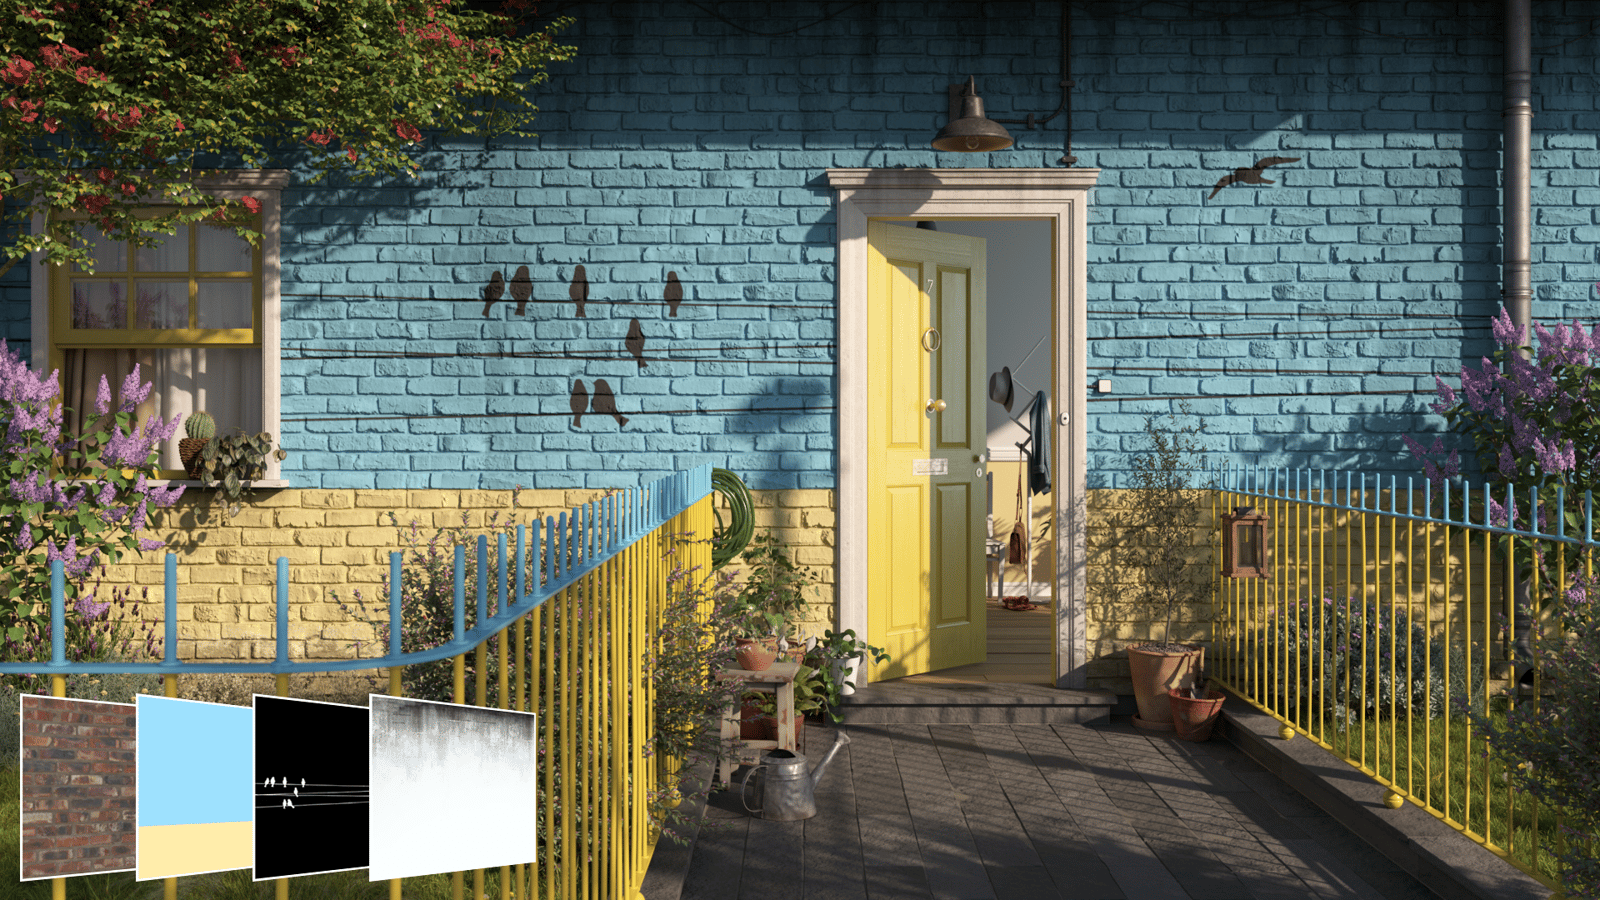
Additional layer with Dirt texture
Blending Mode
=
Multiply, Opacity
= 0.85