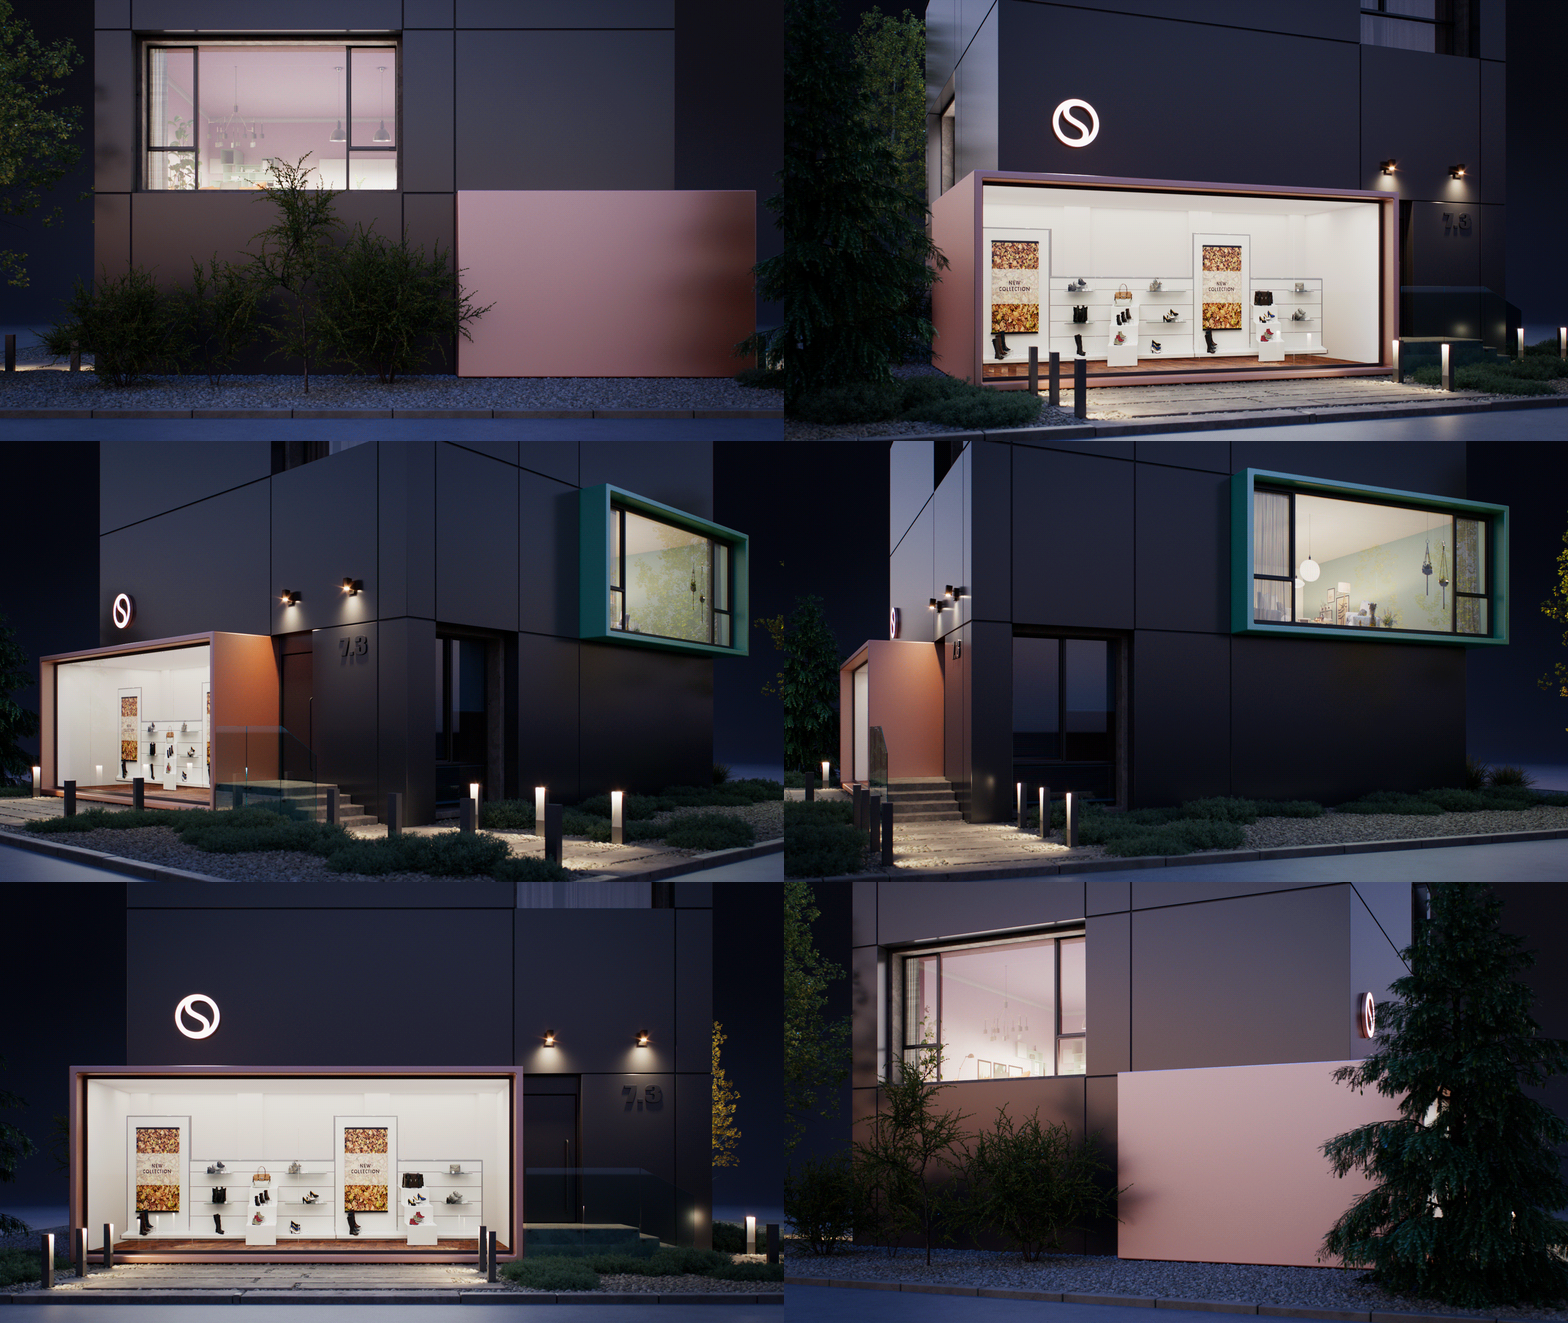
Use the Parallax texture in V-Ray for SketchUp to create the appearance of depth without adding polygons.
Overview
The Parallax texture uses shading to make a surface appear to have depth without adding polygons. Adjust the middle layer depths to change how deep the surface appears.
UI paths
||V-Ray Asset Editor|| > Textures (right-click) > Parallax
||V-Ray Asset Editor|| > Create Asset (left-click) > Textures > Parallax
Parameters
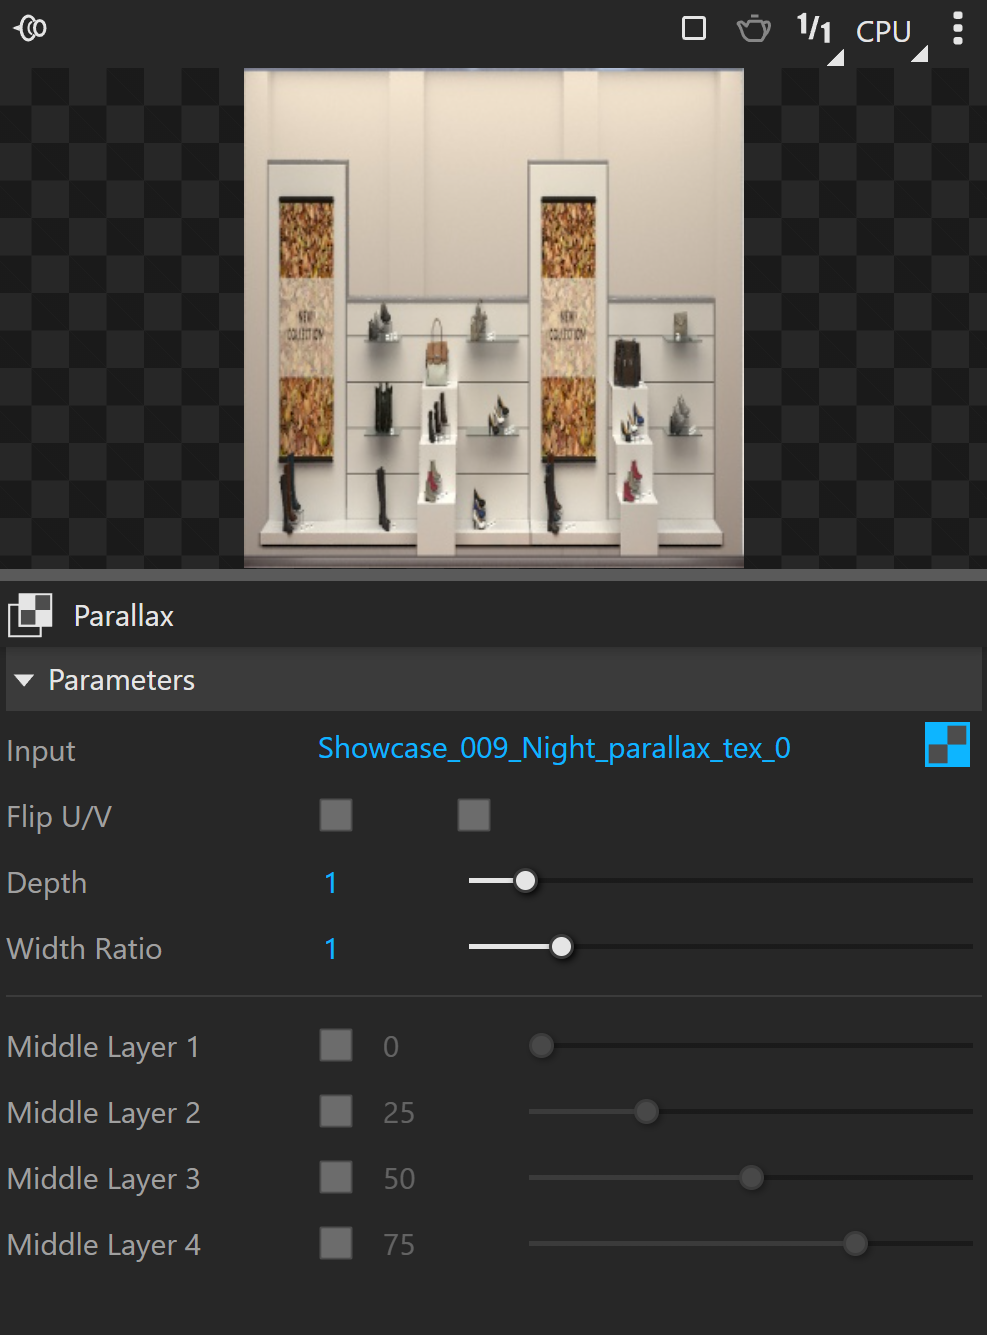
Input specifies the texture used for the parallax effect.
Flip U/V flips the texture horizontally or vertically.
Depth controls the depth of the imaginary 3D space created by the parallax effect.
Width ratio controls the strength of the perspective effect. Higher values exaggerate perspective. Lower values make the space appear more orthogonal.
Middle Layer 1, 2, 3, 4 control each middle layer's visibility and depth. Depth is a percentage of the overall Depth. These layers usually contain cutouts of furniture positioned in a room.
Workflow
This video shows you how to create and apply a V-Ray material with a Parallax texture in the Self-Illumination slot.
YouTube video
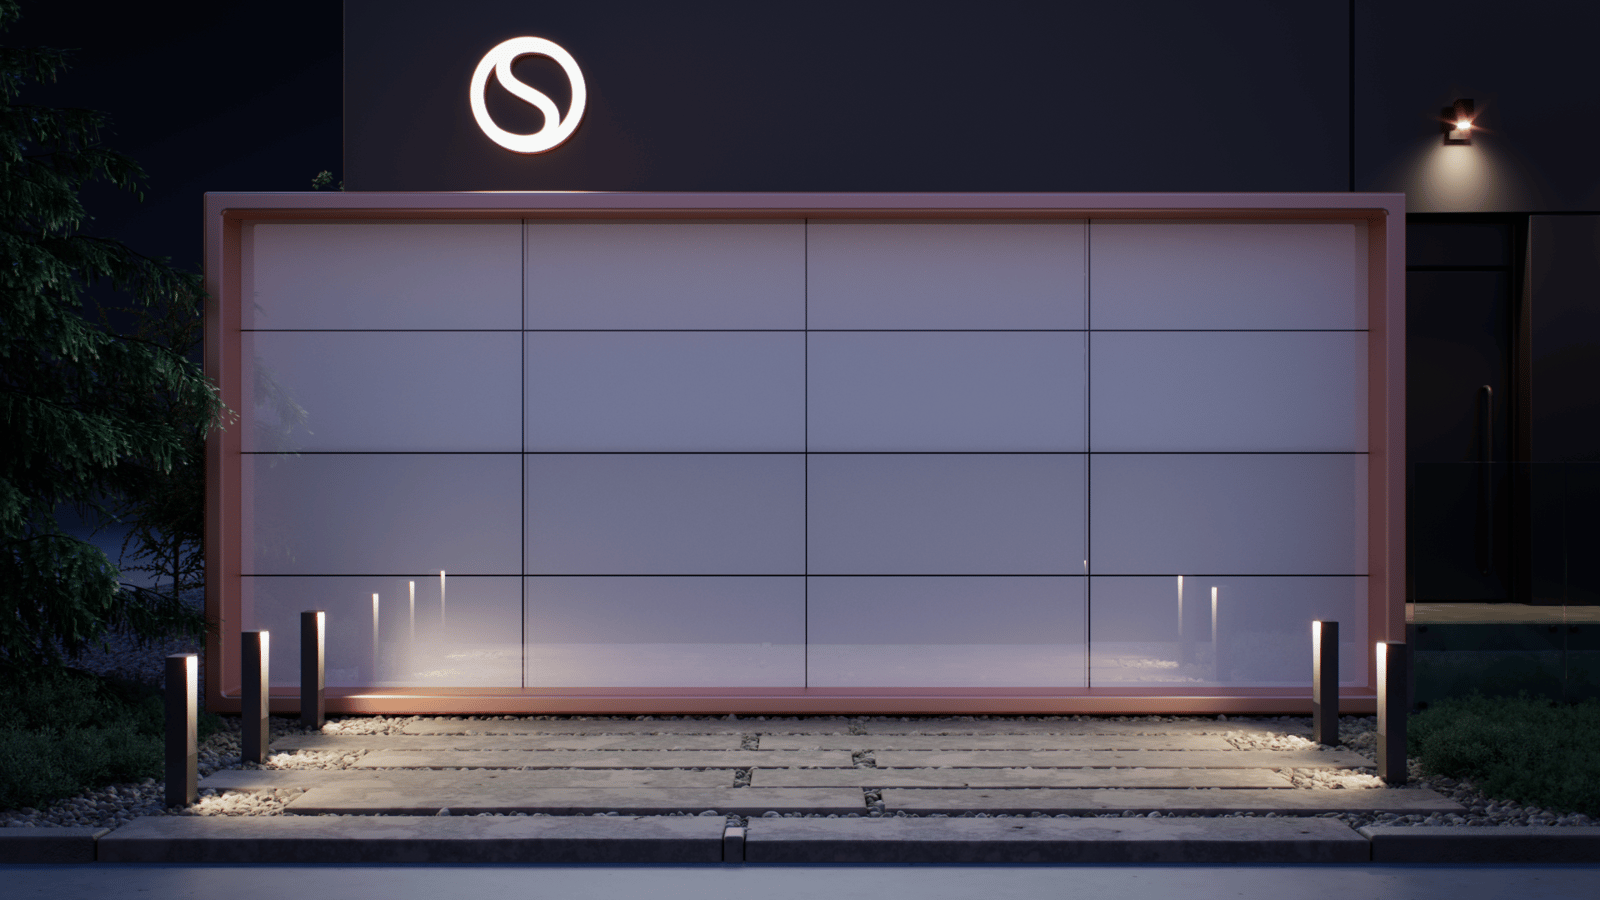
Example: geometry plane
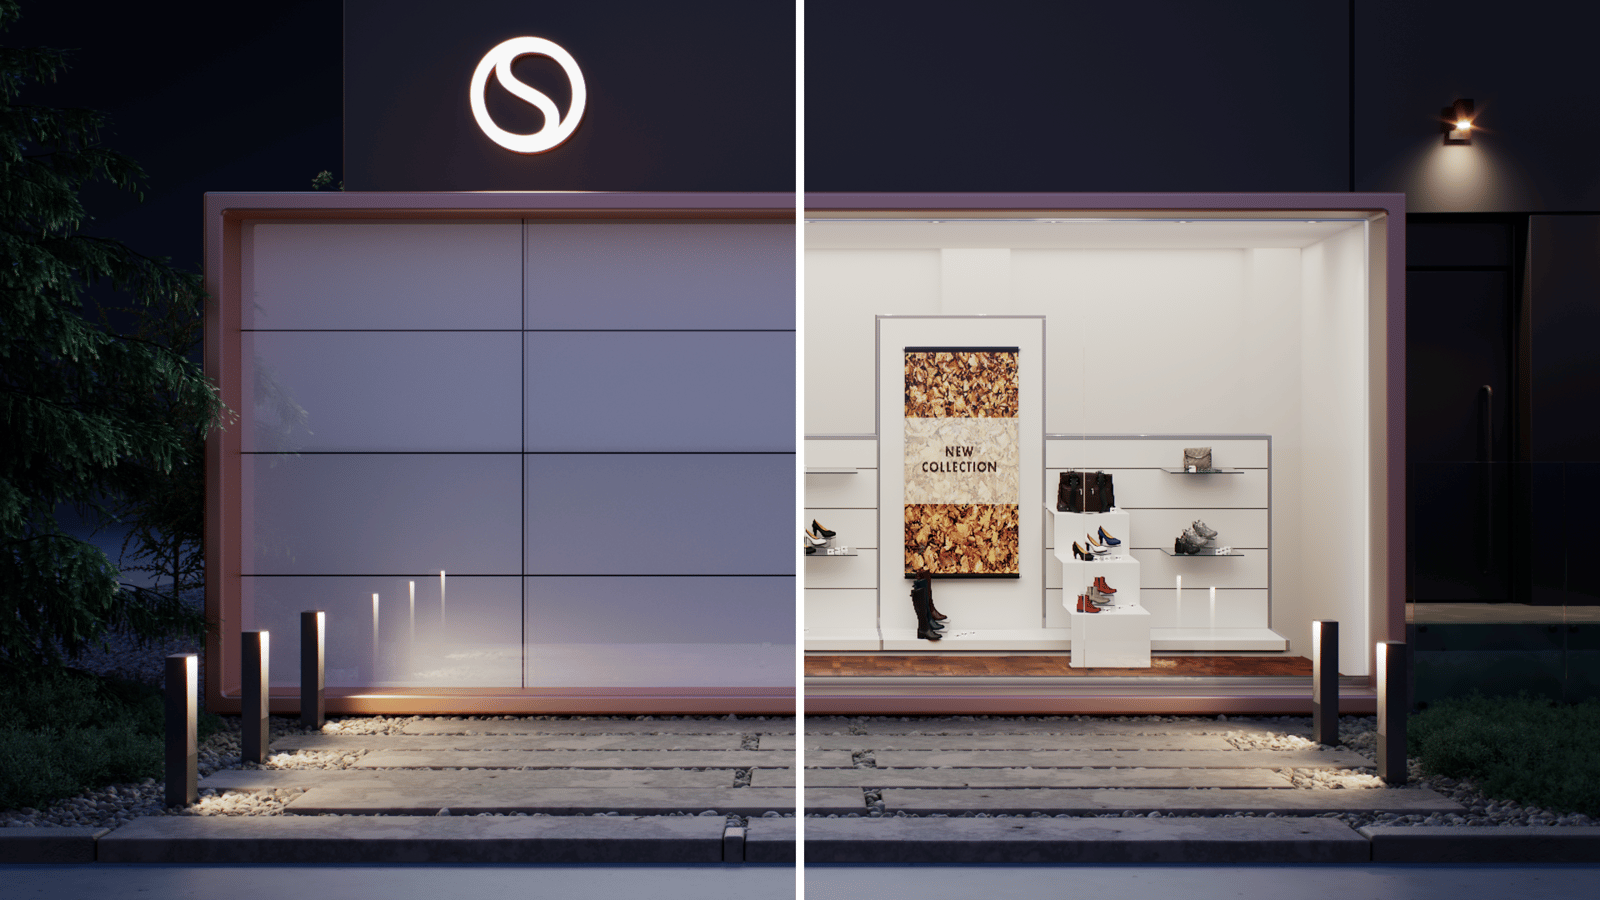
This example shows how the Parallax texture makes a surface appear to have depth without adding polygons.
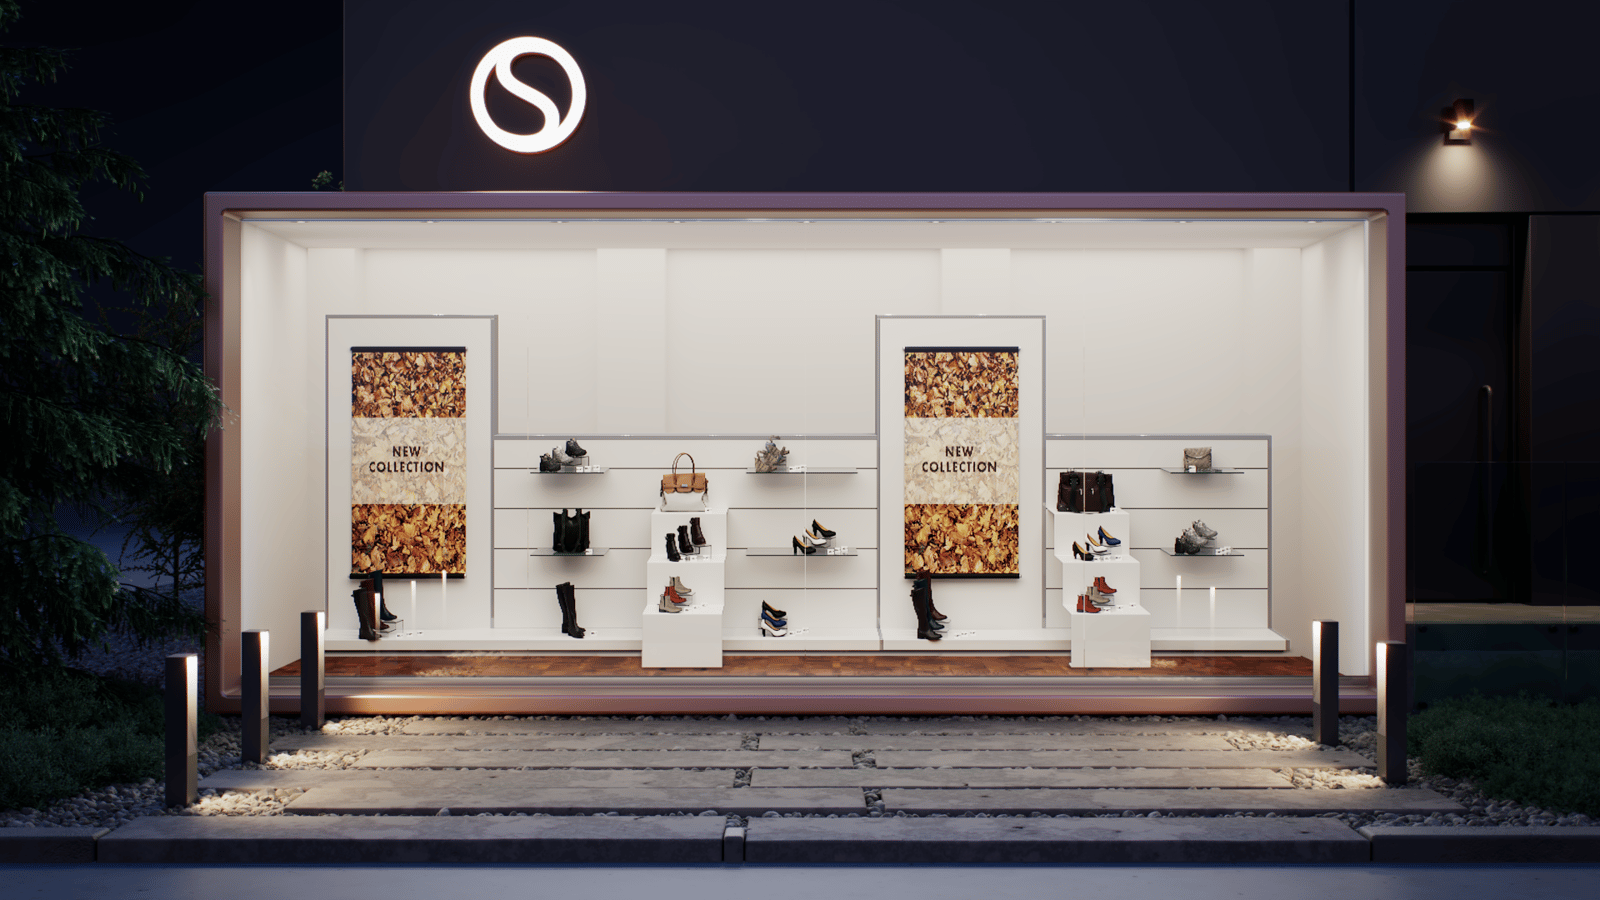
Example: middle layer depth
This example compares different Middle Layer depths. Depth = 2.5.
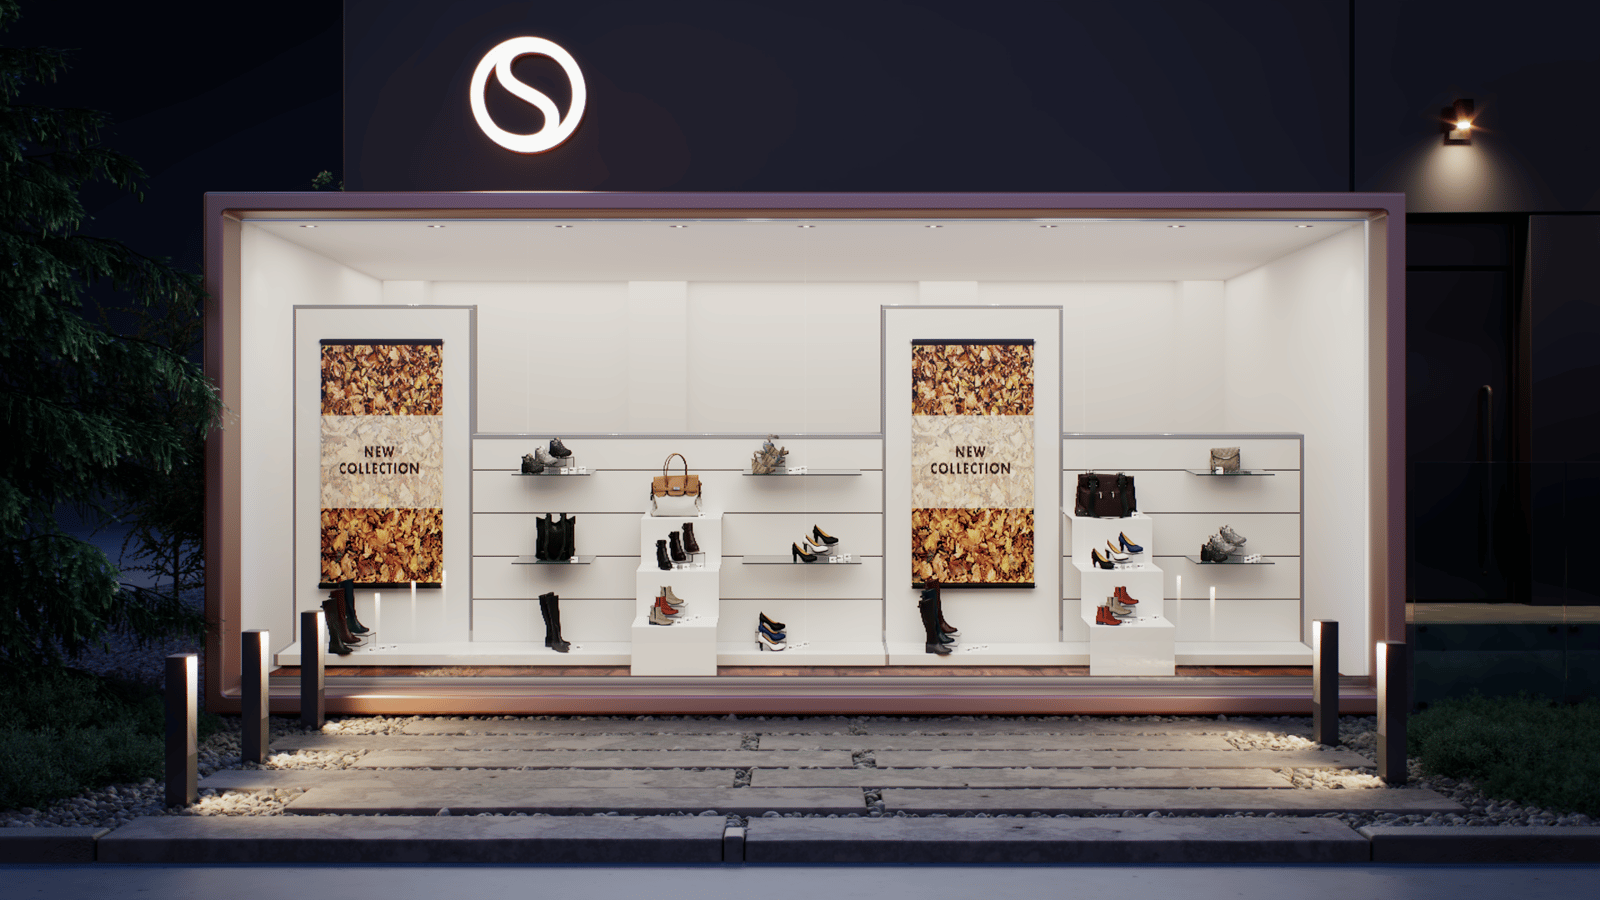
Middle Layer 2 Depth
= 0
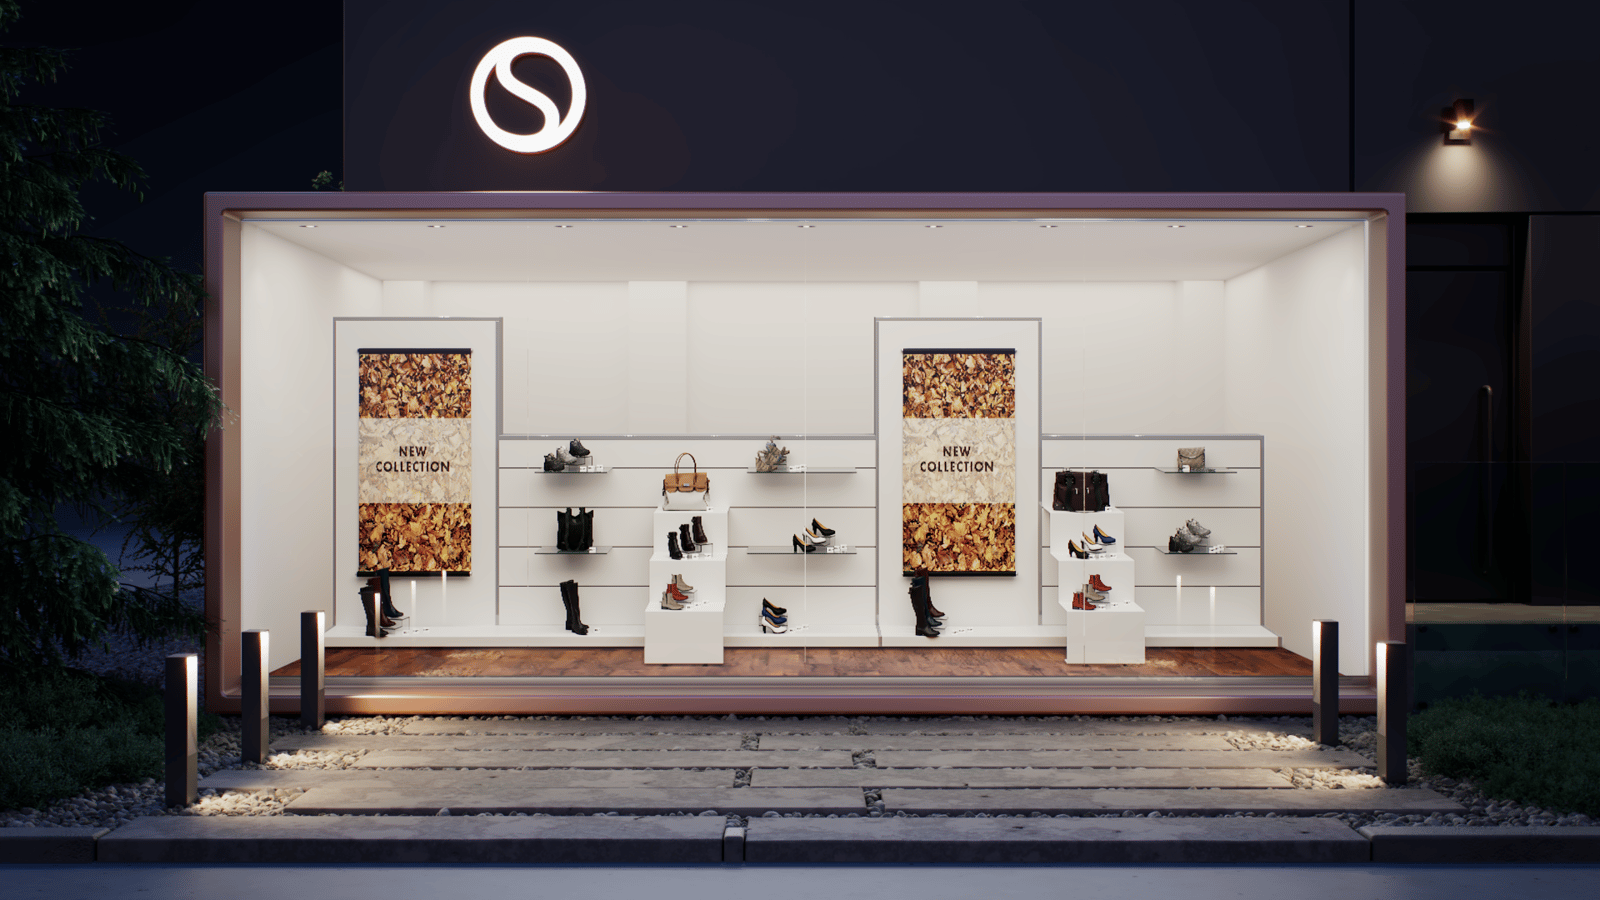
Middle Layer 2 Depth
= 25
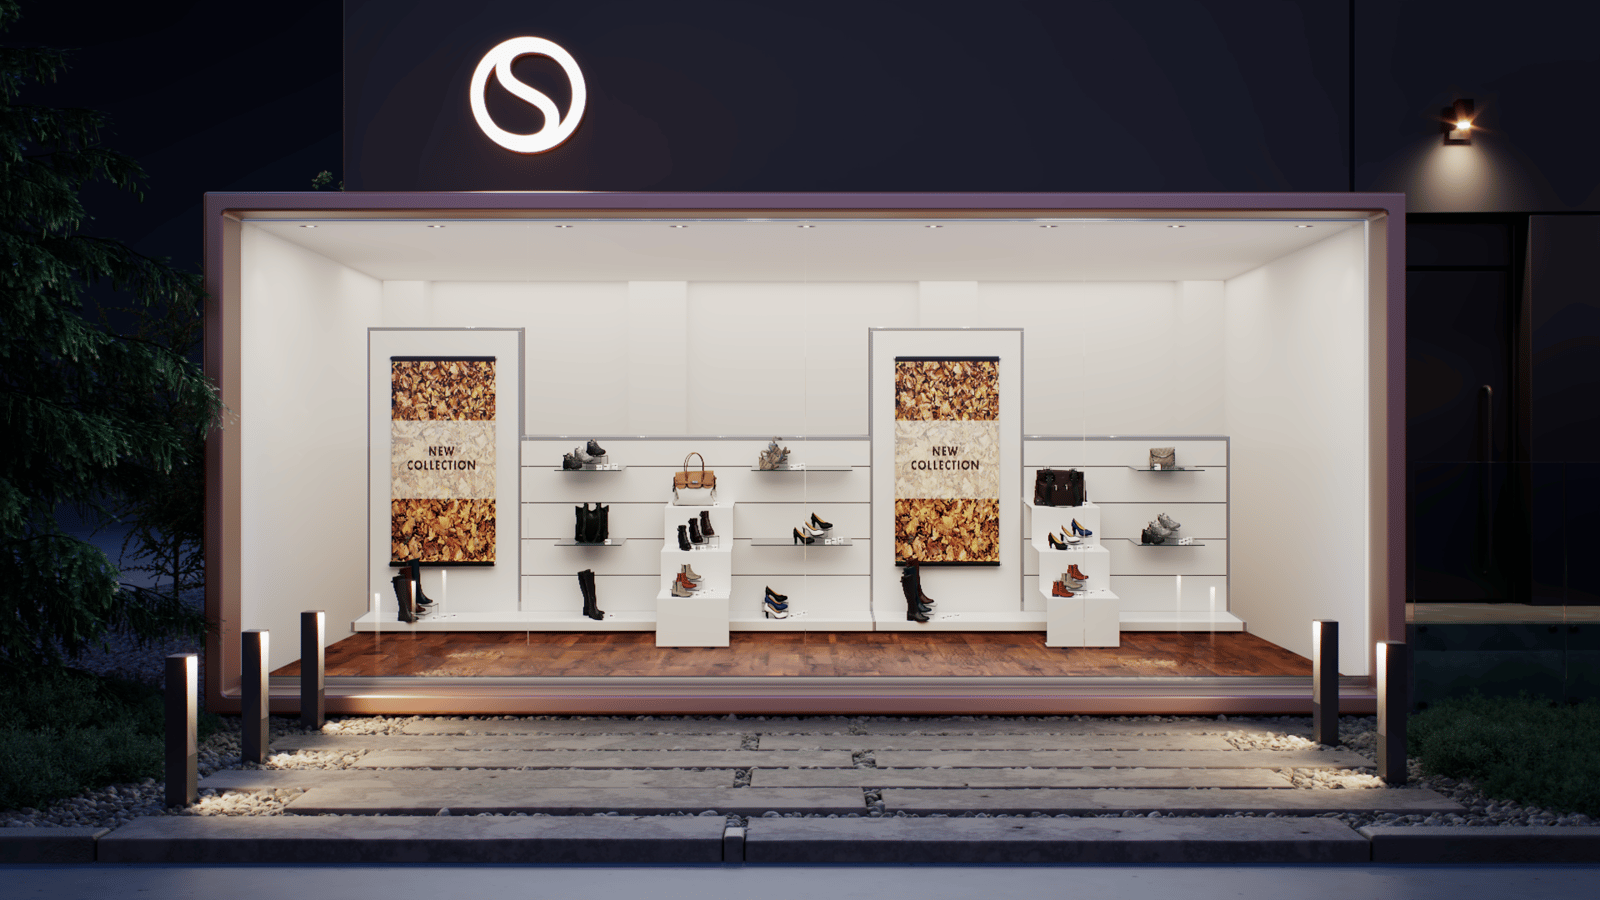
Middle Layer 2 Depth
= 50
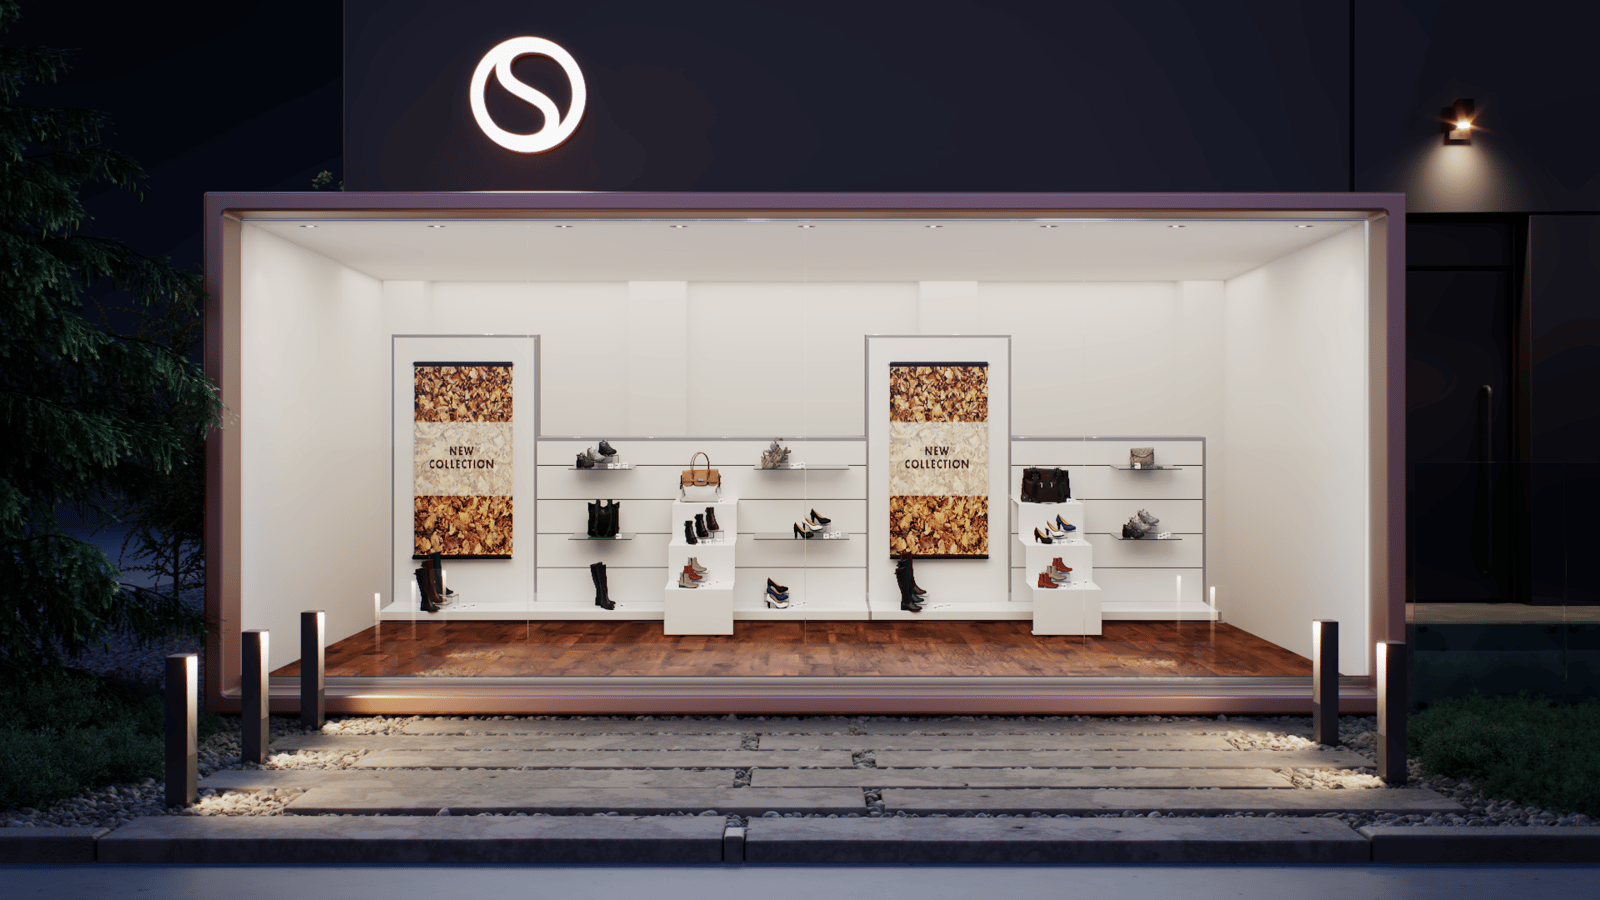
Middle Layer 2 Depth
= 70
Example: Depth
These images show how adjusting Depth changes the parallax effect. Higher values make the space appear deeper.
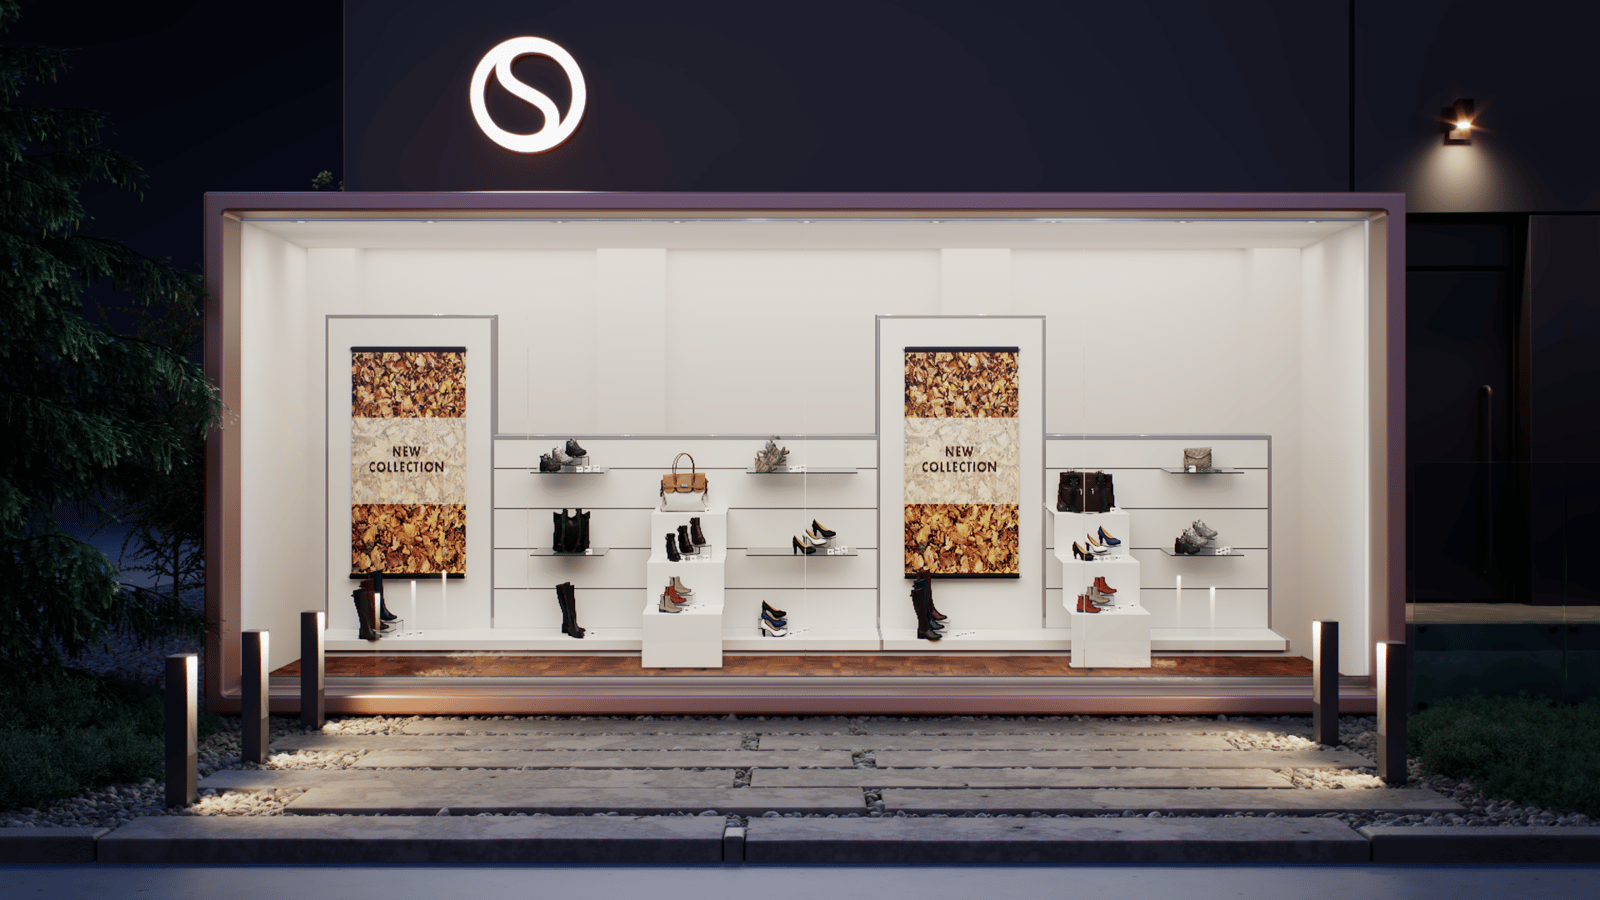
Depth
= 1
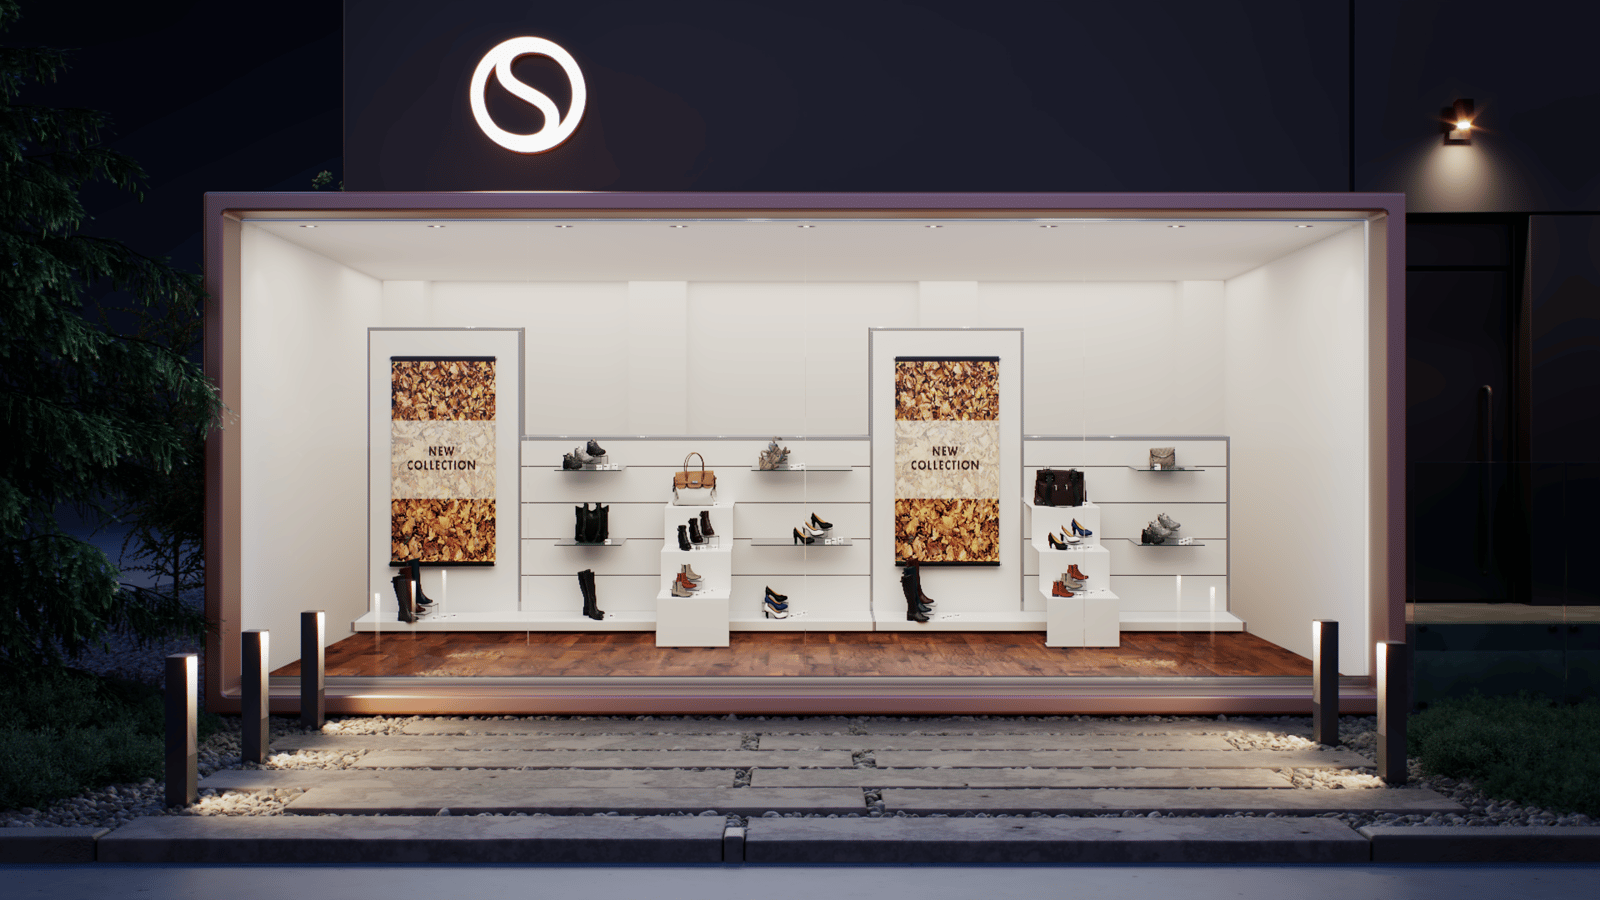
Depth
= 2.5
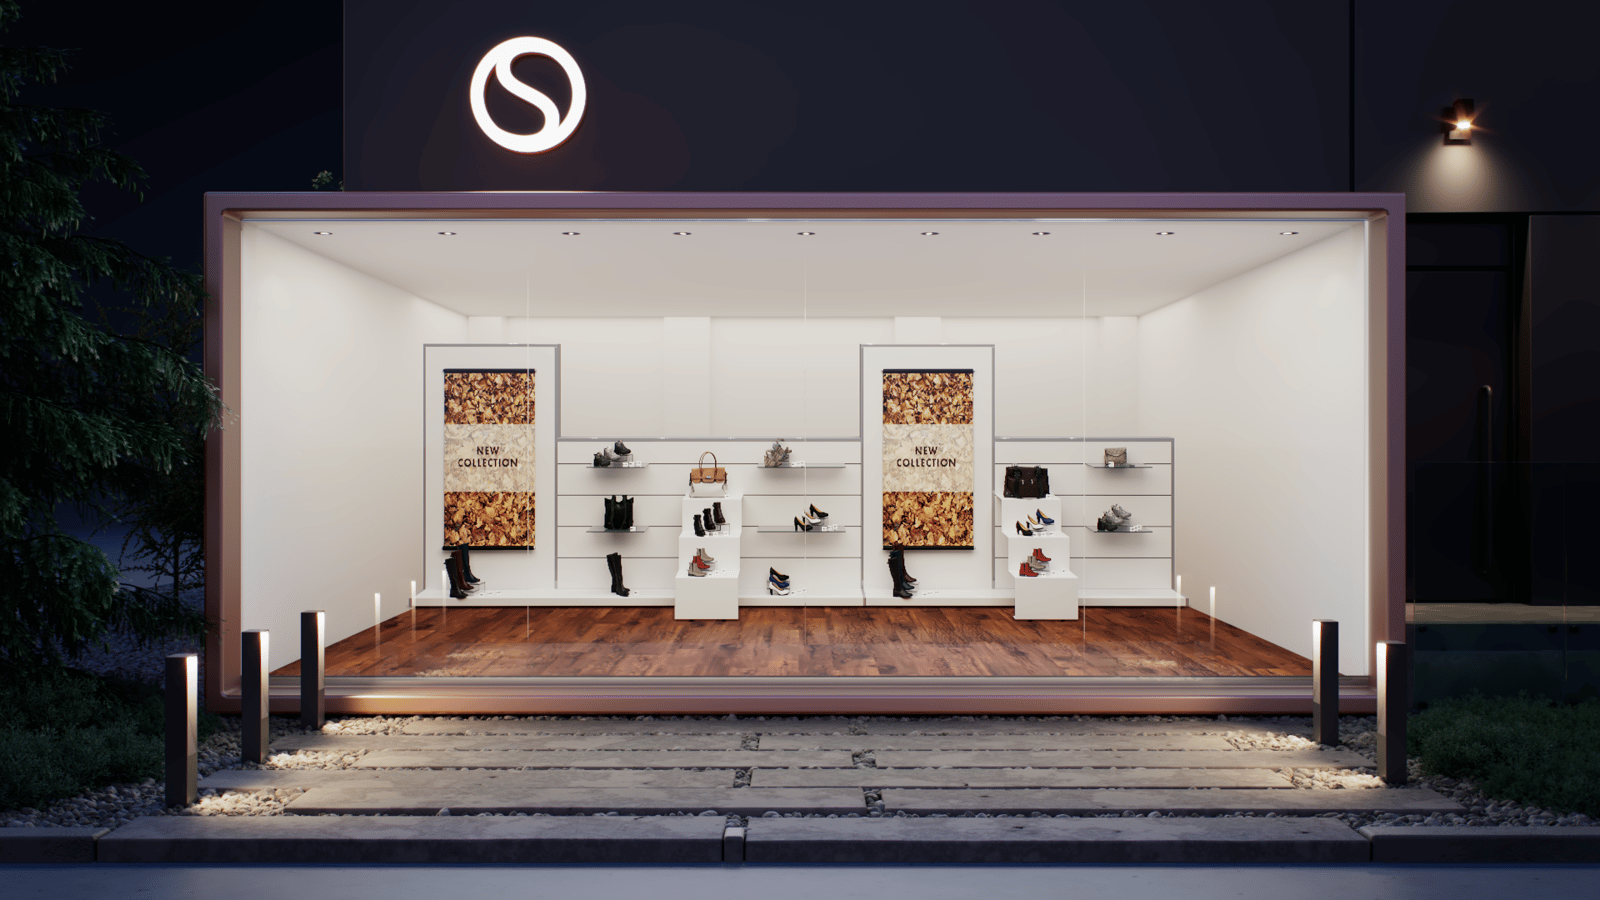
Depth
= 5
Example: layers on/off
This example compares the result with layers switched on and off.
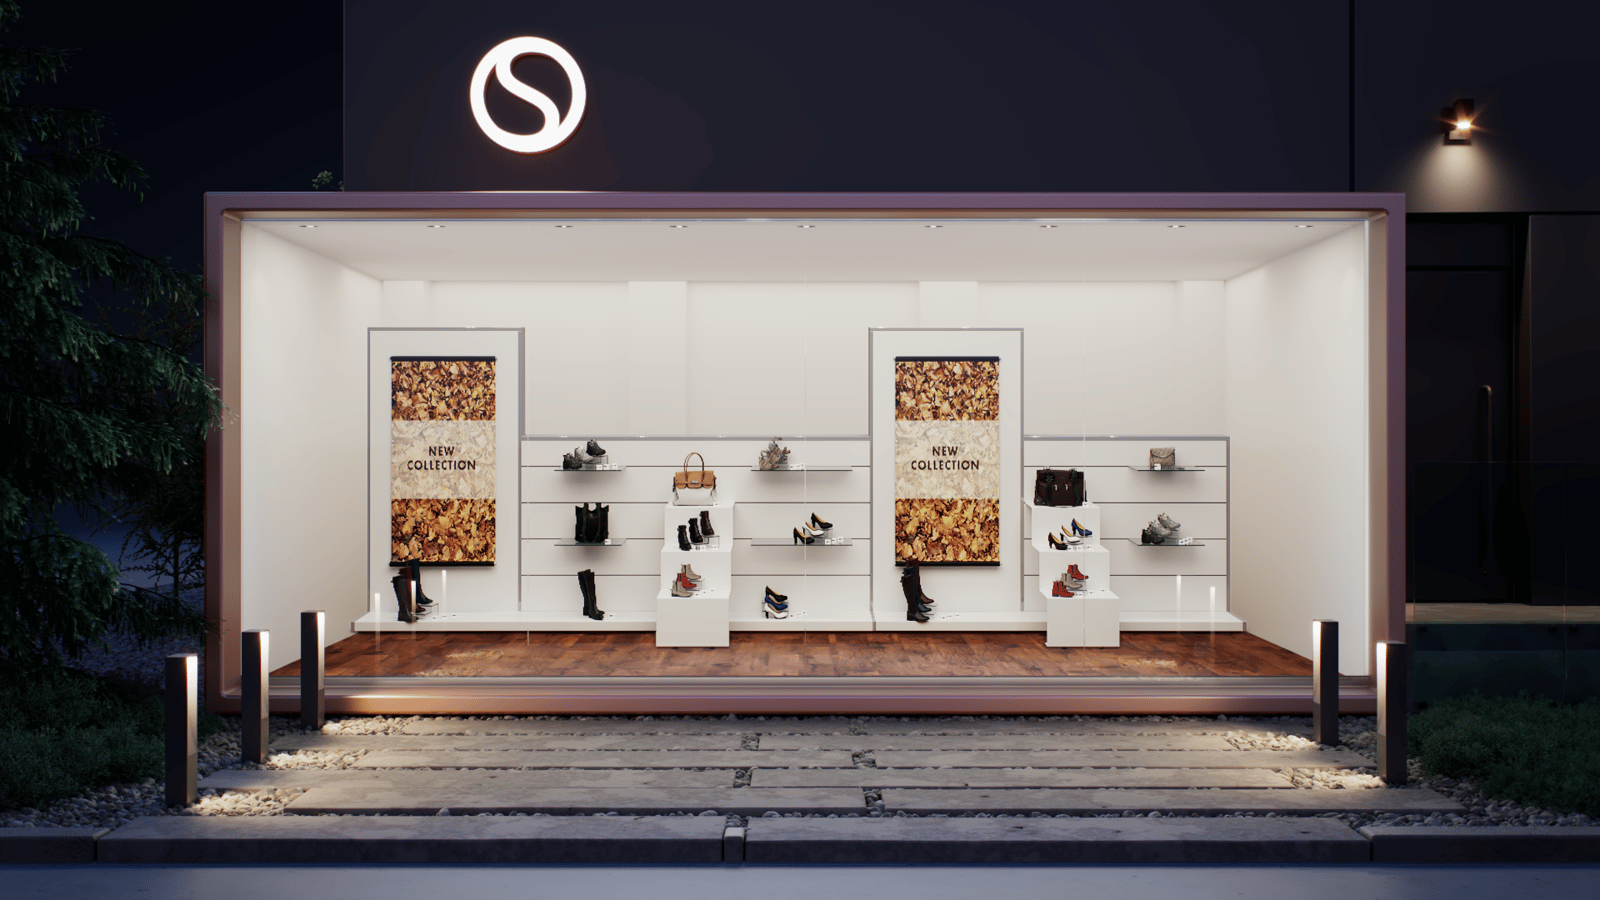
Middle Layer 1 Depth
= 0, On,
Middle Layer 2 Depth
= 0, On
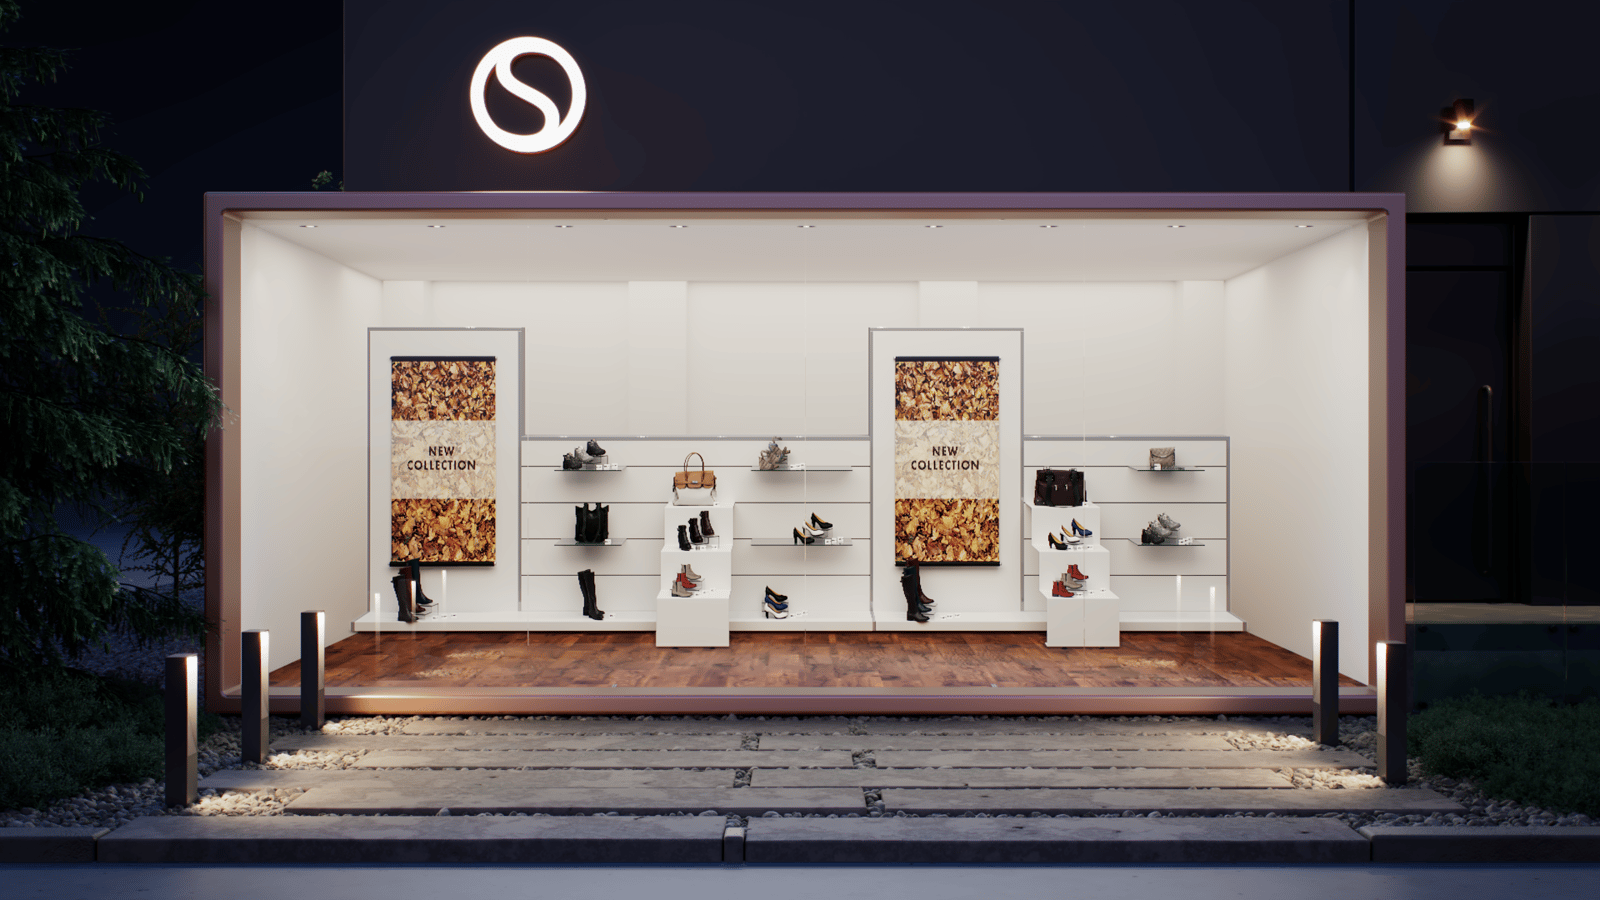
Middle Layer 1 Depth
= 0, Off,
Middle Layer 2 Depth
= 50, On
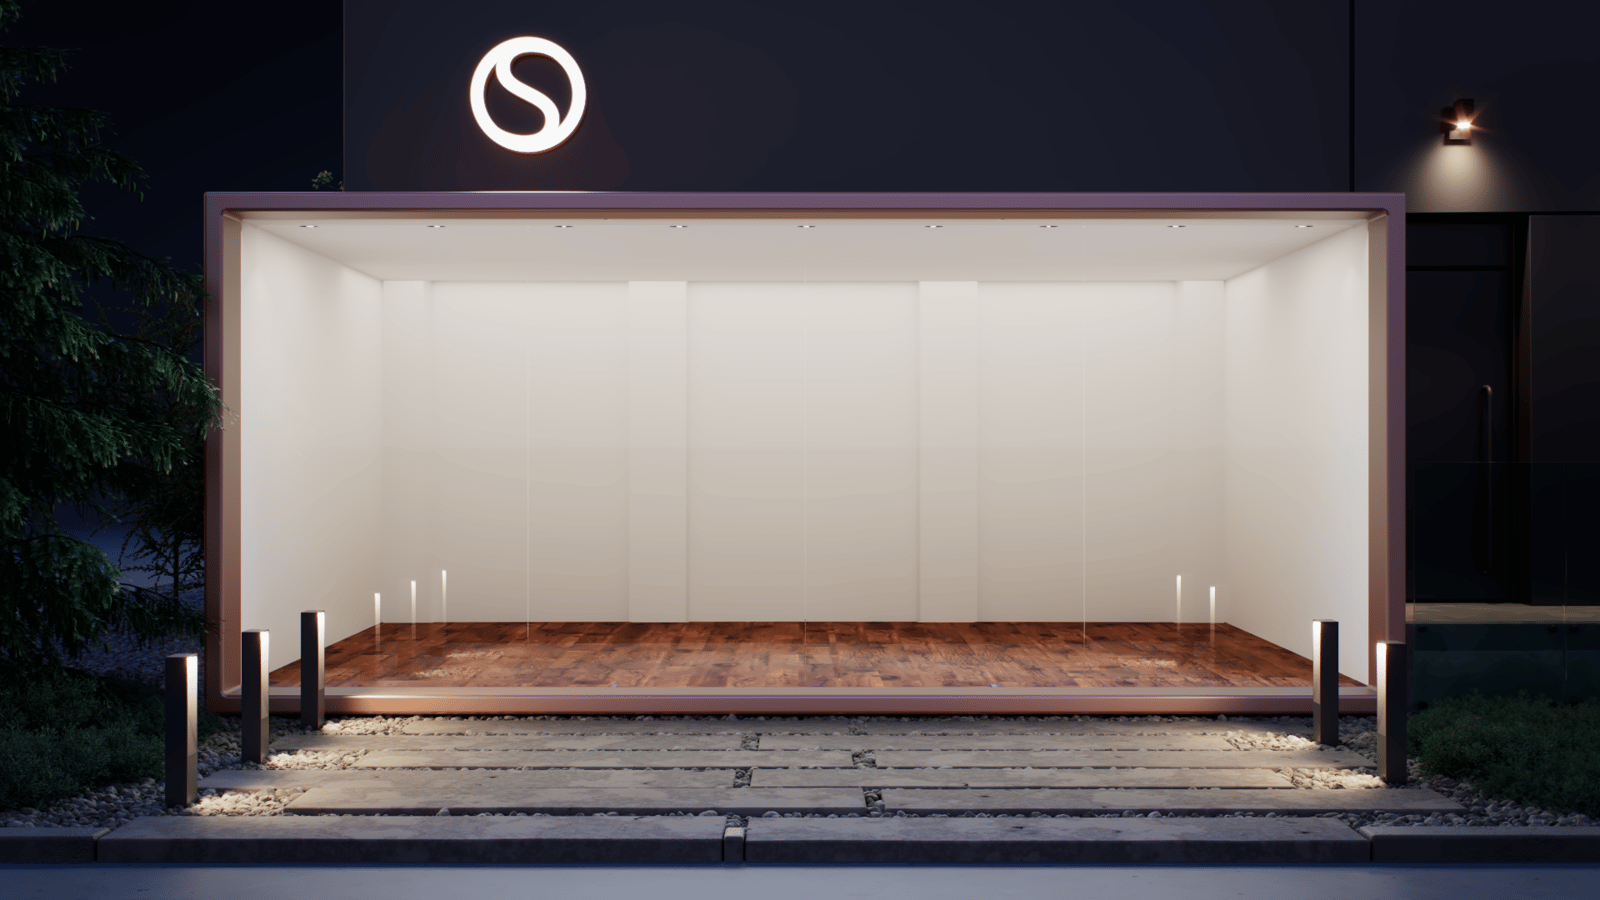
Middle Layer 1 Depth
= 0, Off,
Middle Layer 2 Depth
= 50, Off
Example: rotation
This example shows a 180-degree view of a building with parallax textures applied to all its windows.