Use the V-Ray Node Editor to create and edit materials and textures in V-Ray for SketchUp.
Overview
Create and edit materials and textures in your 3D scenes, including those from Chaos Cosmos.
UI paths
||V-Ray Asset Editor|| > Shortcuts menu > Open V-Ray Node Editor (Beta)
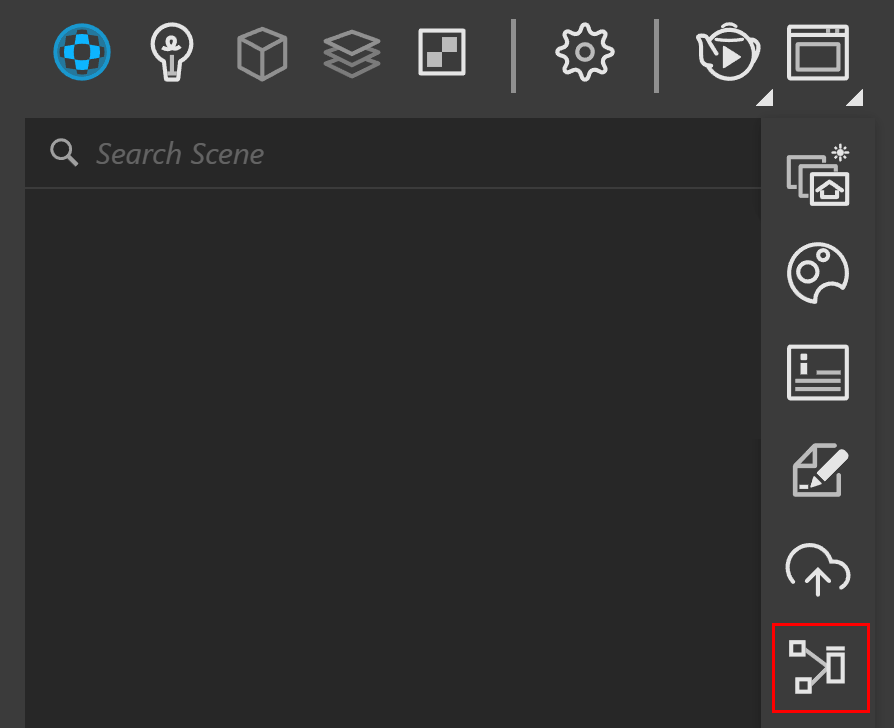
SketchUp Menus Ribbon
||Extensions|| > V-Ray > Node Editor (Beta)
||V-Ray for SketchUp Toolbar|| > Node Editor (Beta)

Adding nodes
When you import a material with sub-textures, the Node Editor imports the whole set as a Main Node with connected Child Nodes.
You can import multiple nodes.
Renaming or editing an asset in either the Asset Editor or the Node Editor updates it in both.
If you load materials or textures that the integrations do not directly support, for example through a .vrmat import, the Node Editor generates their inputs and connections and displays them as nodes and edges.
You can add nodes in the following ways:
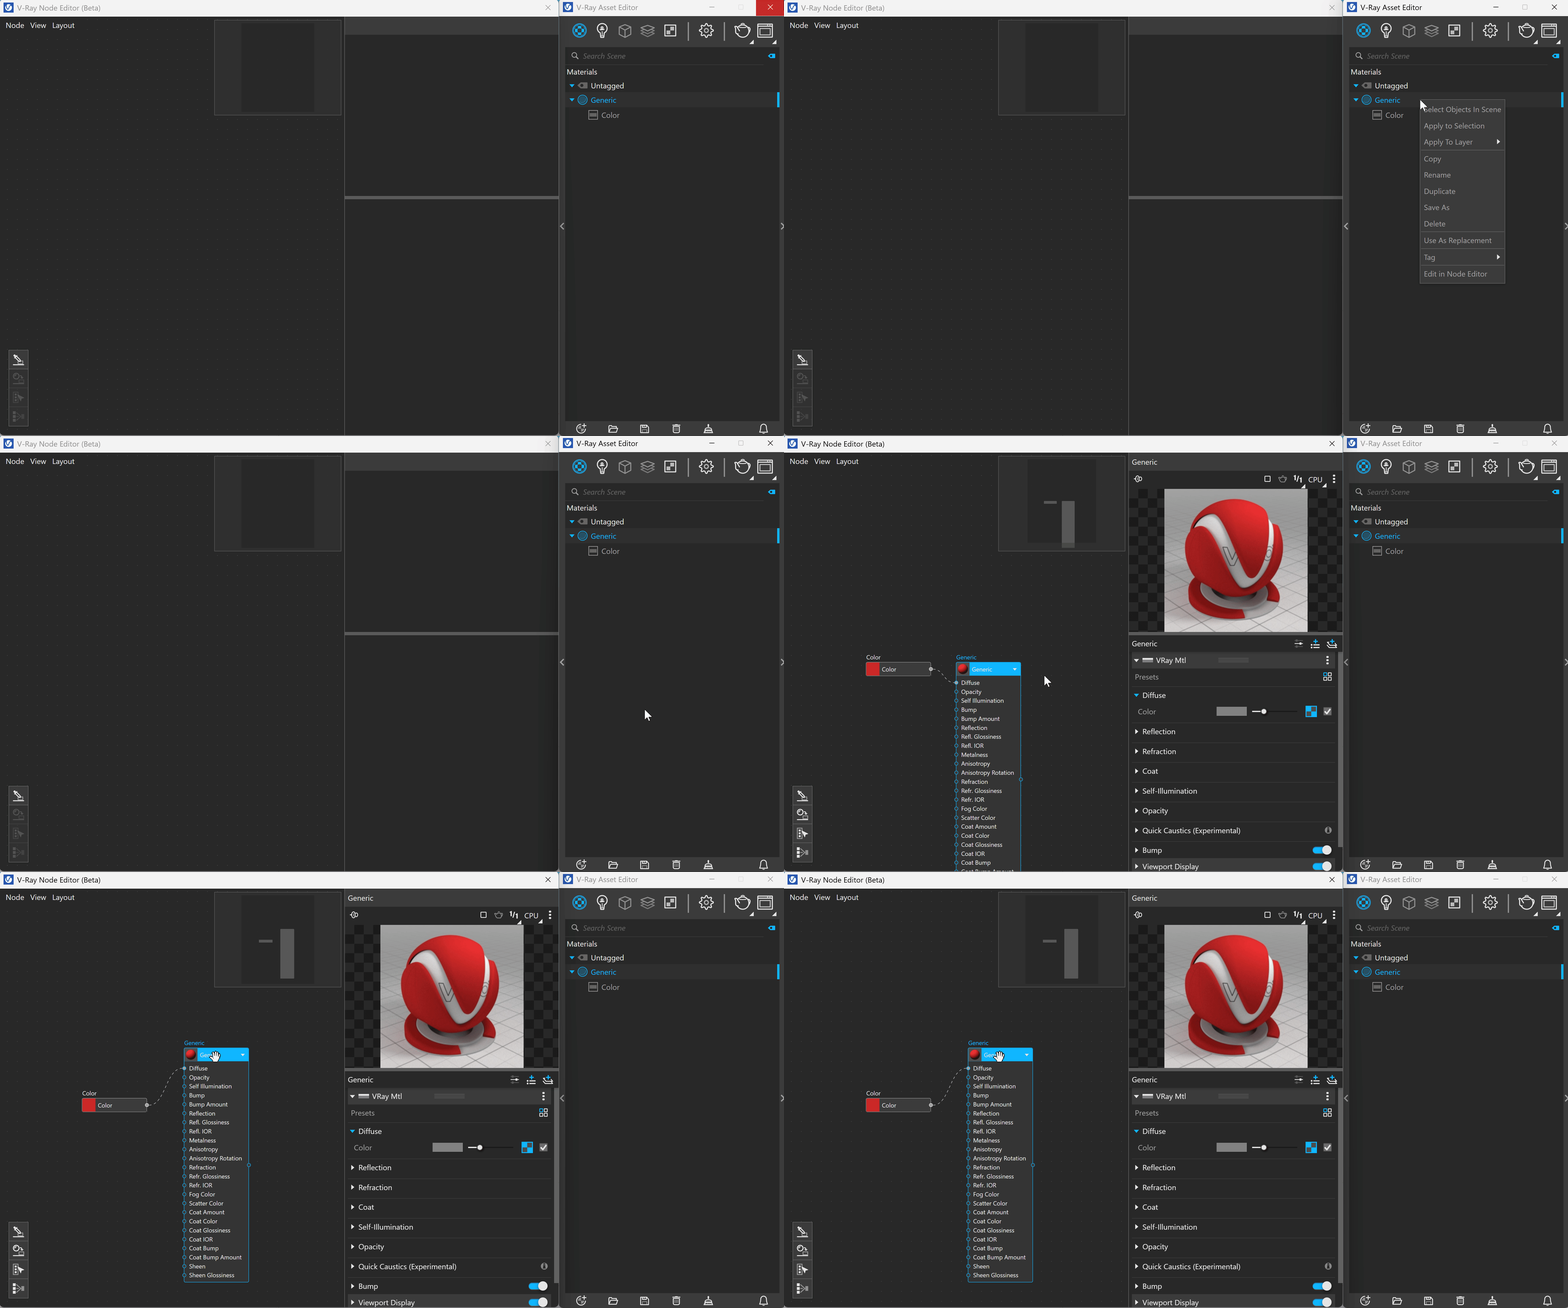
- In the Asset Editor, right-click an existing material or texture and select Edit in Node Editor.
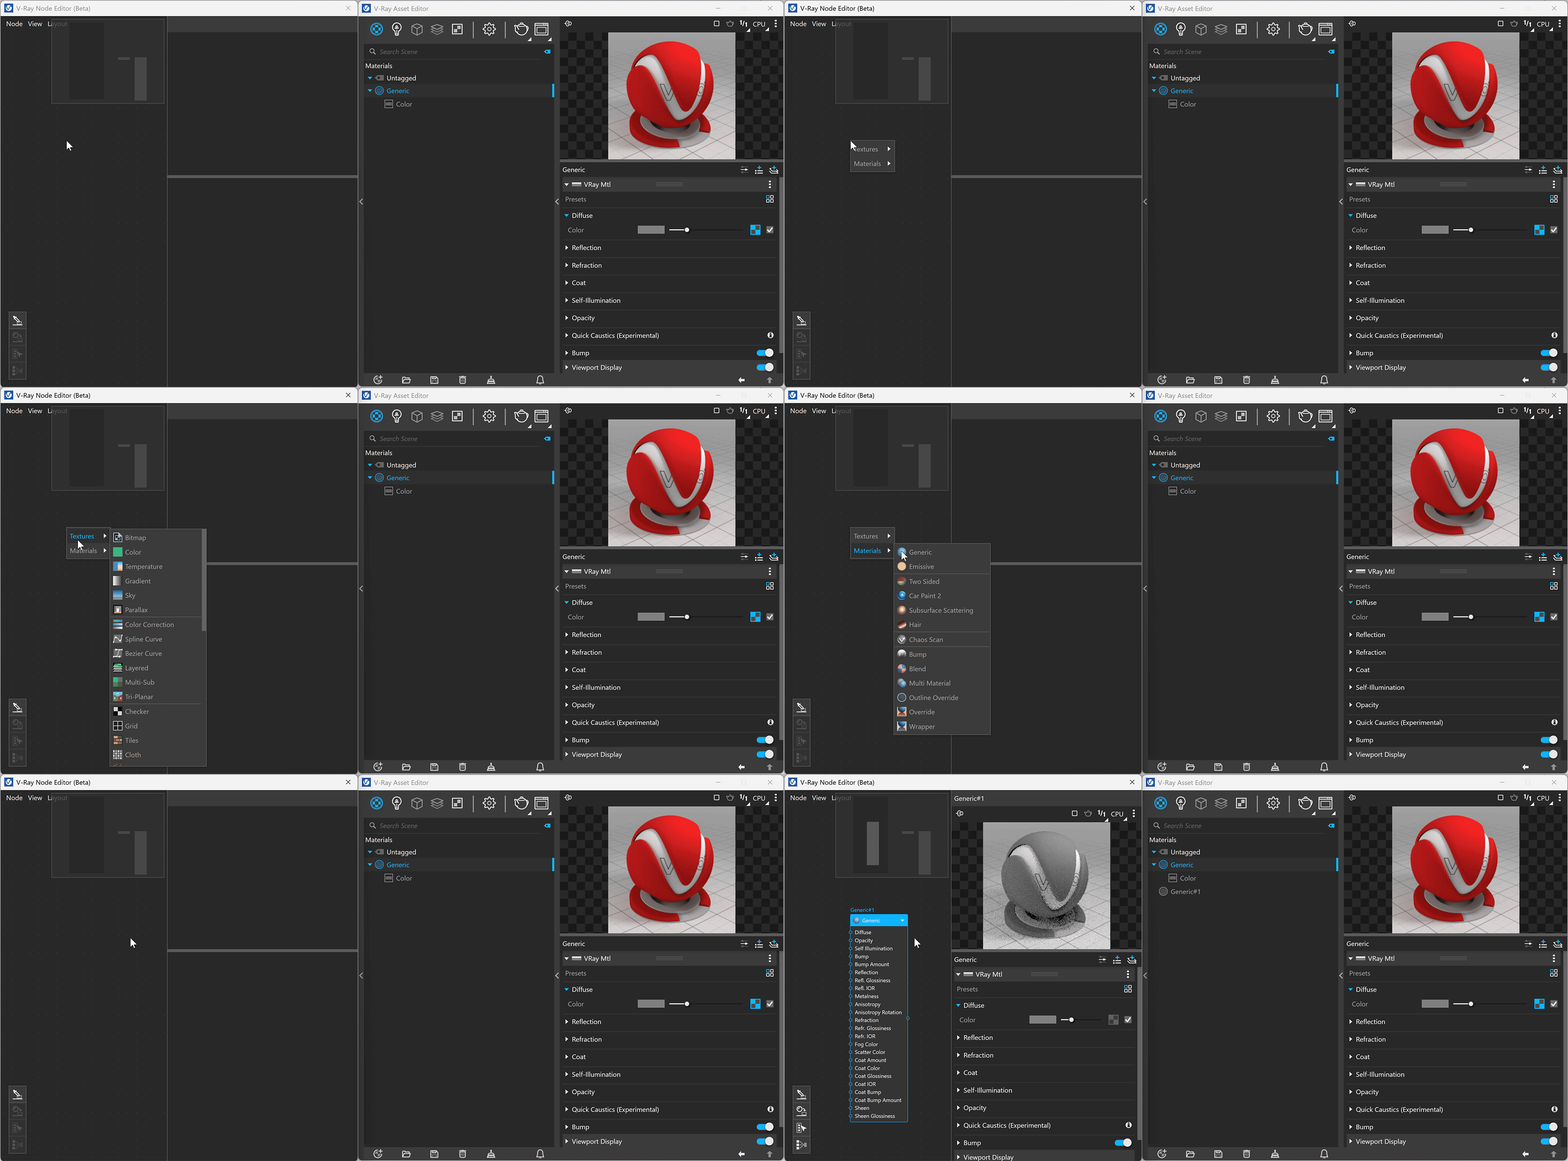
- Right-click an empty space in the Node Editor, select Textures/Materials and create the asset you need.
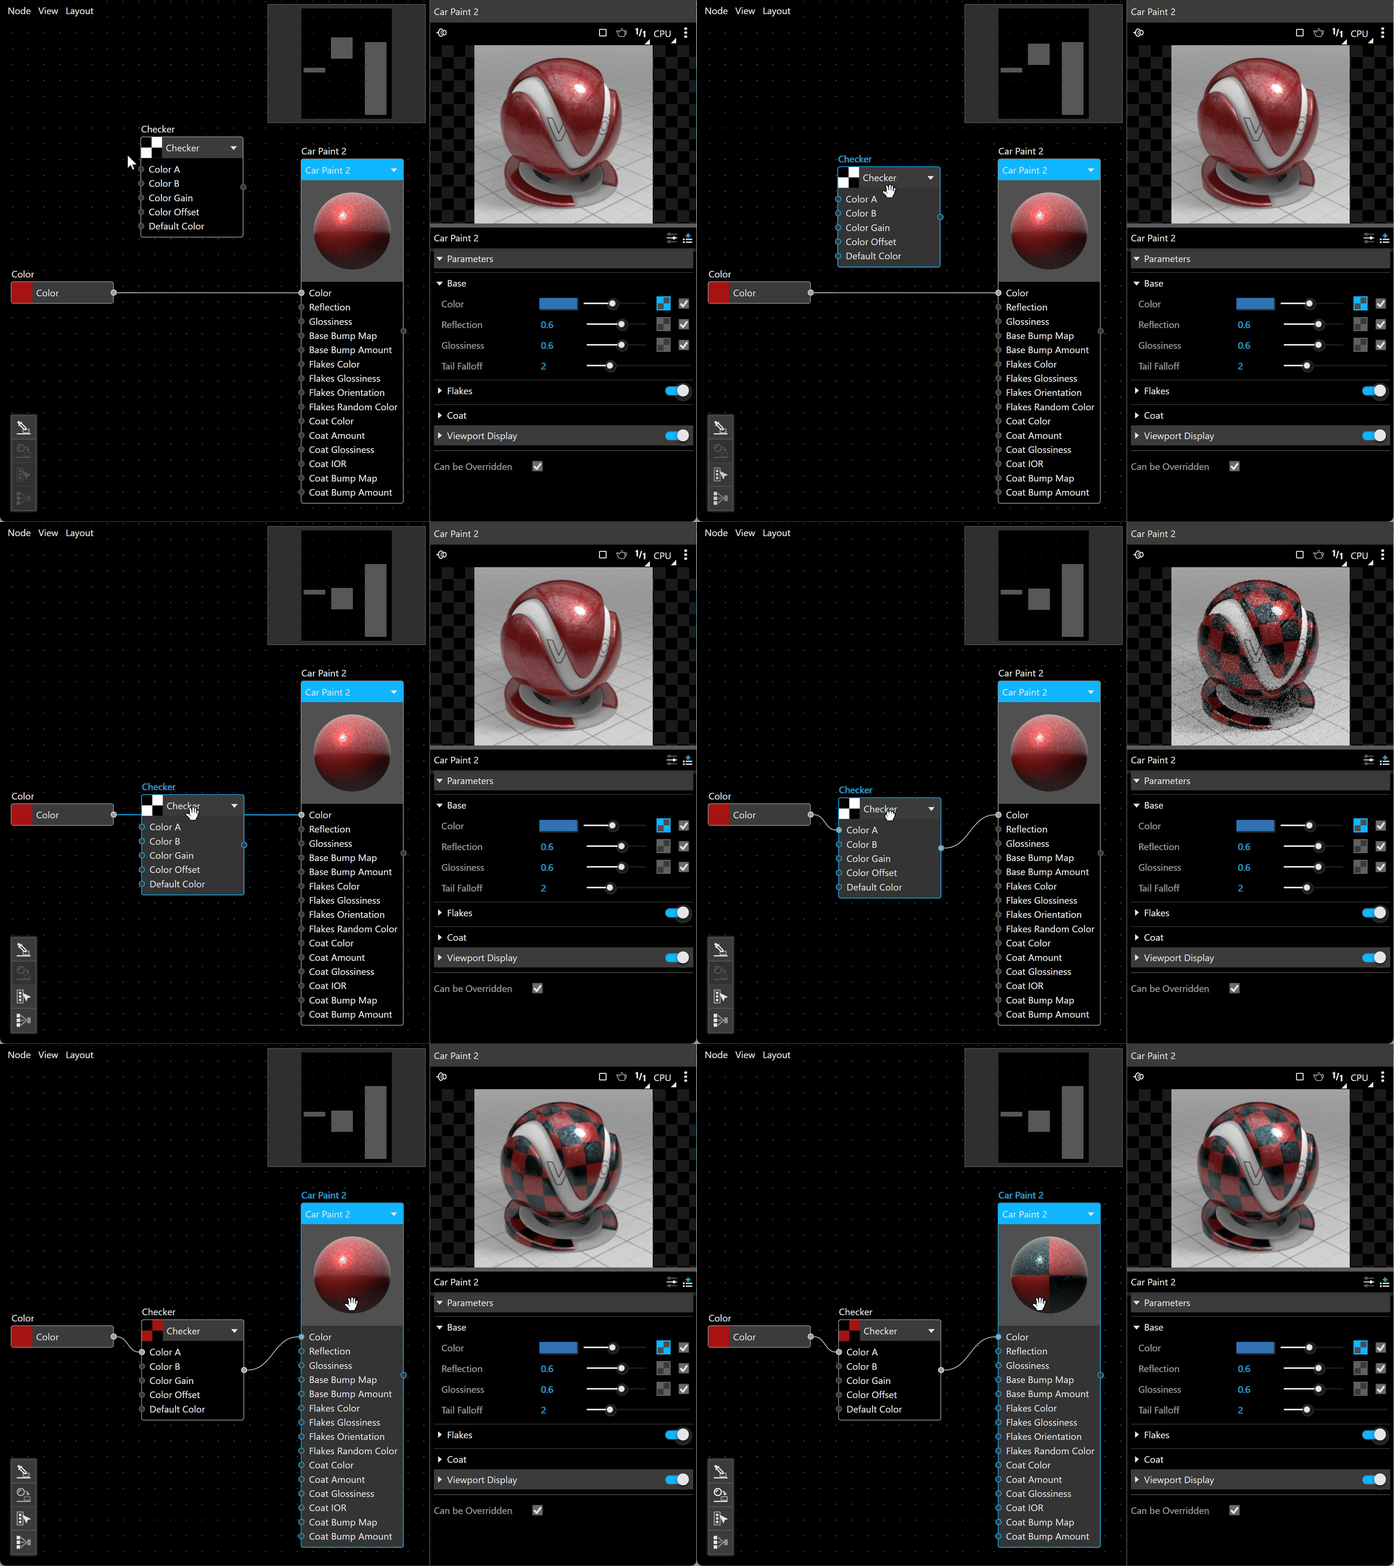
2.1. Right-click a connection to add a Texture.
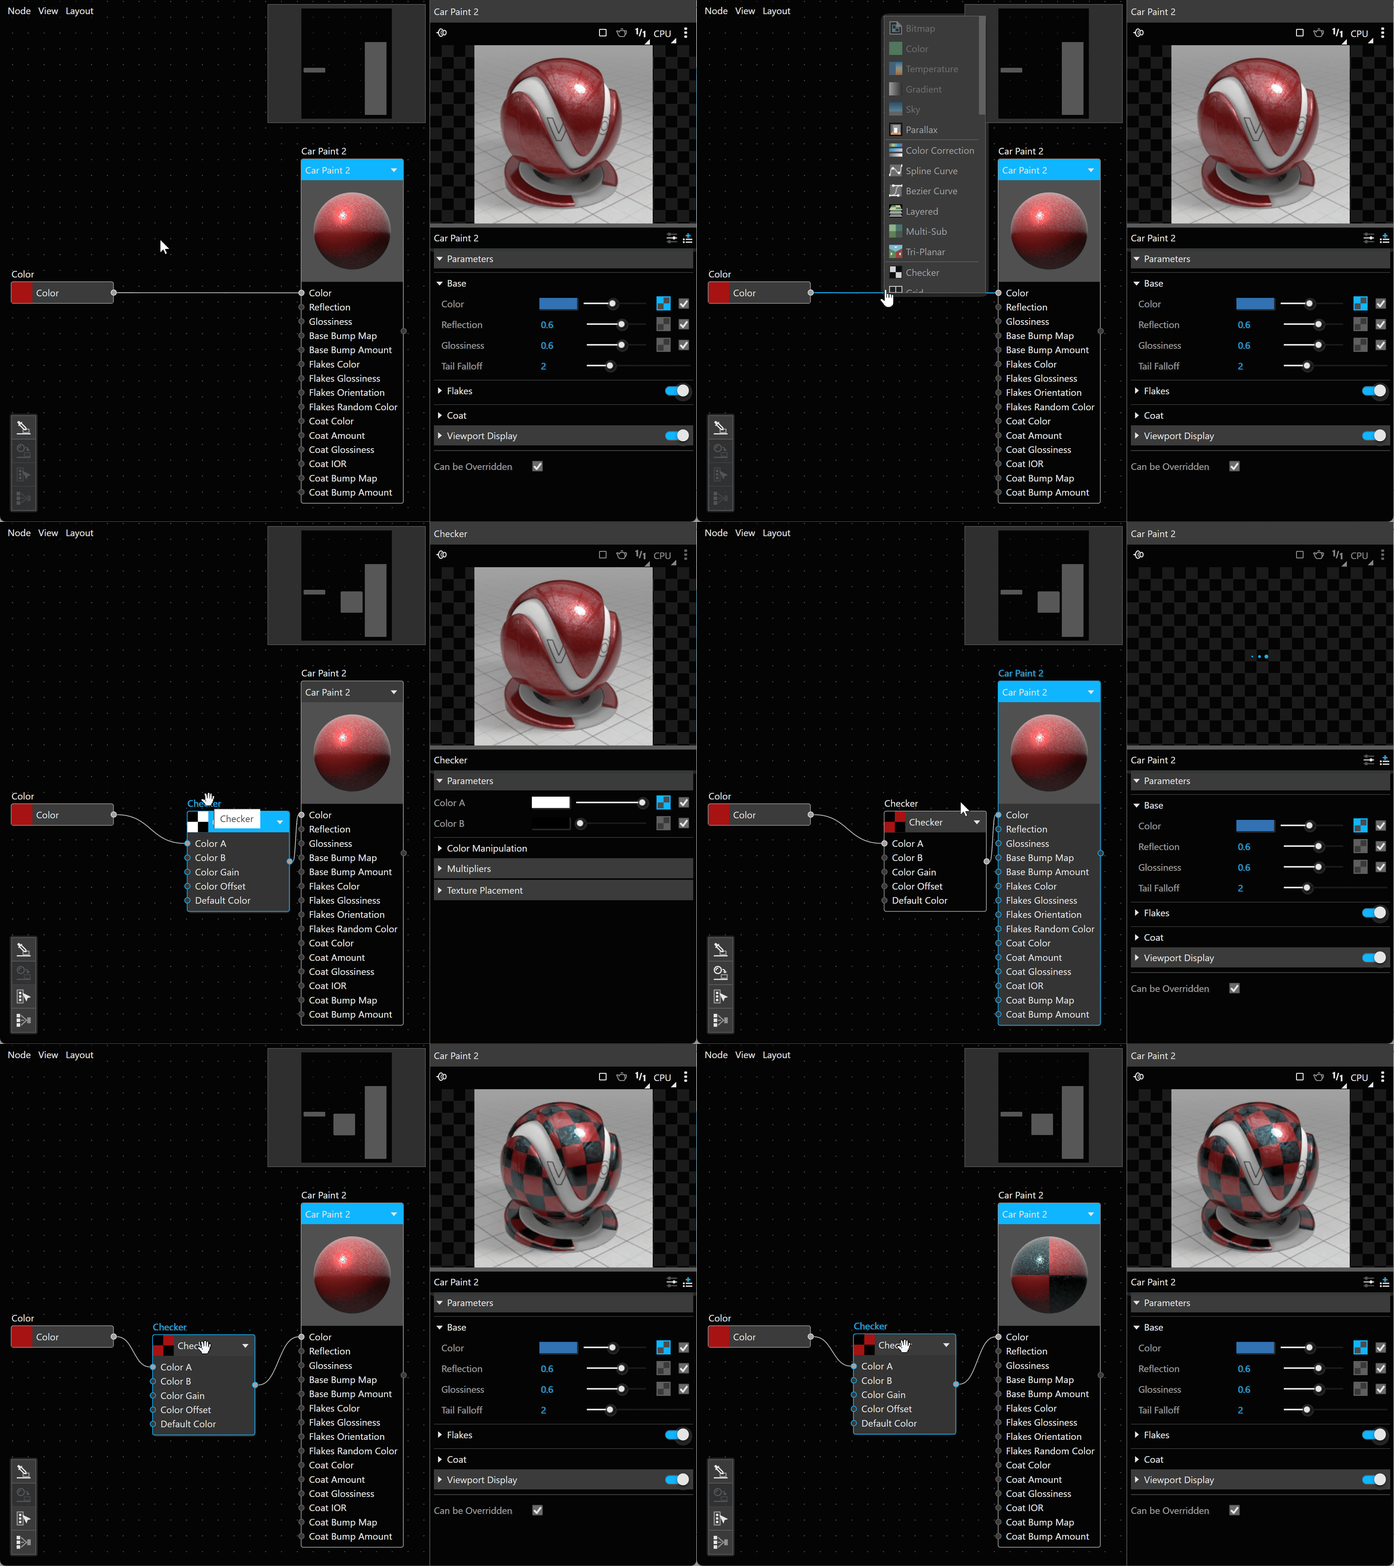
2.2 Drag and drop a standalone texture onto an existing connection.
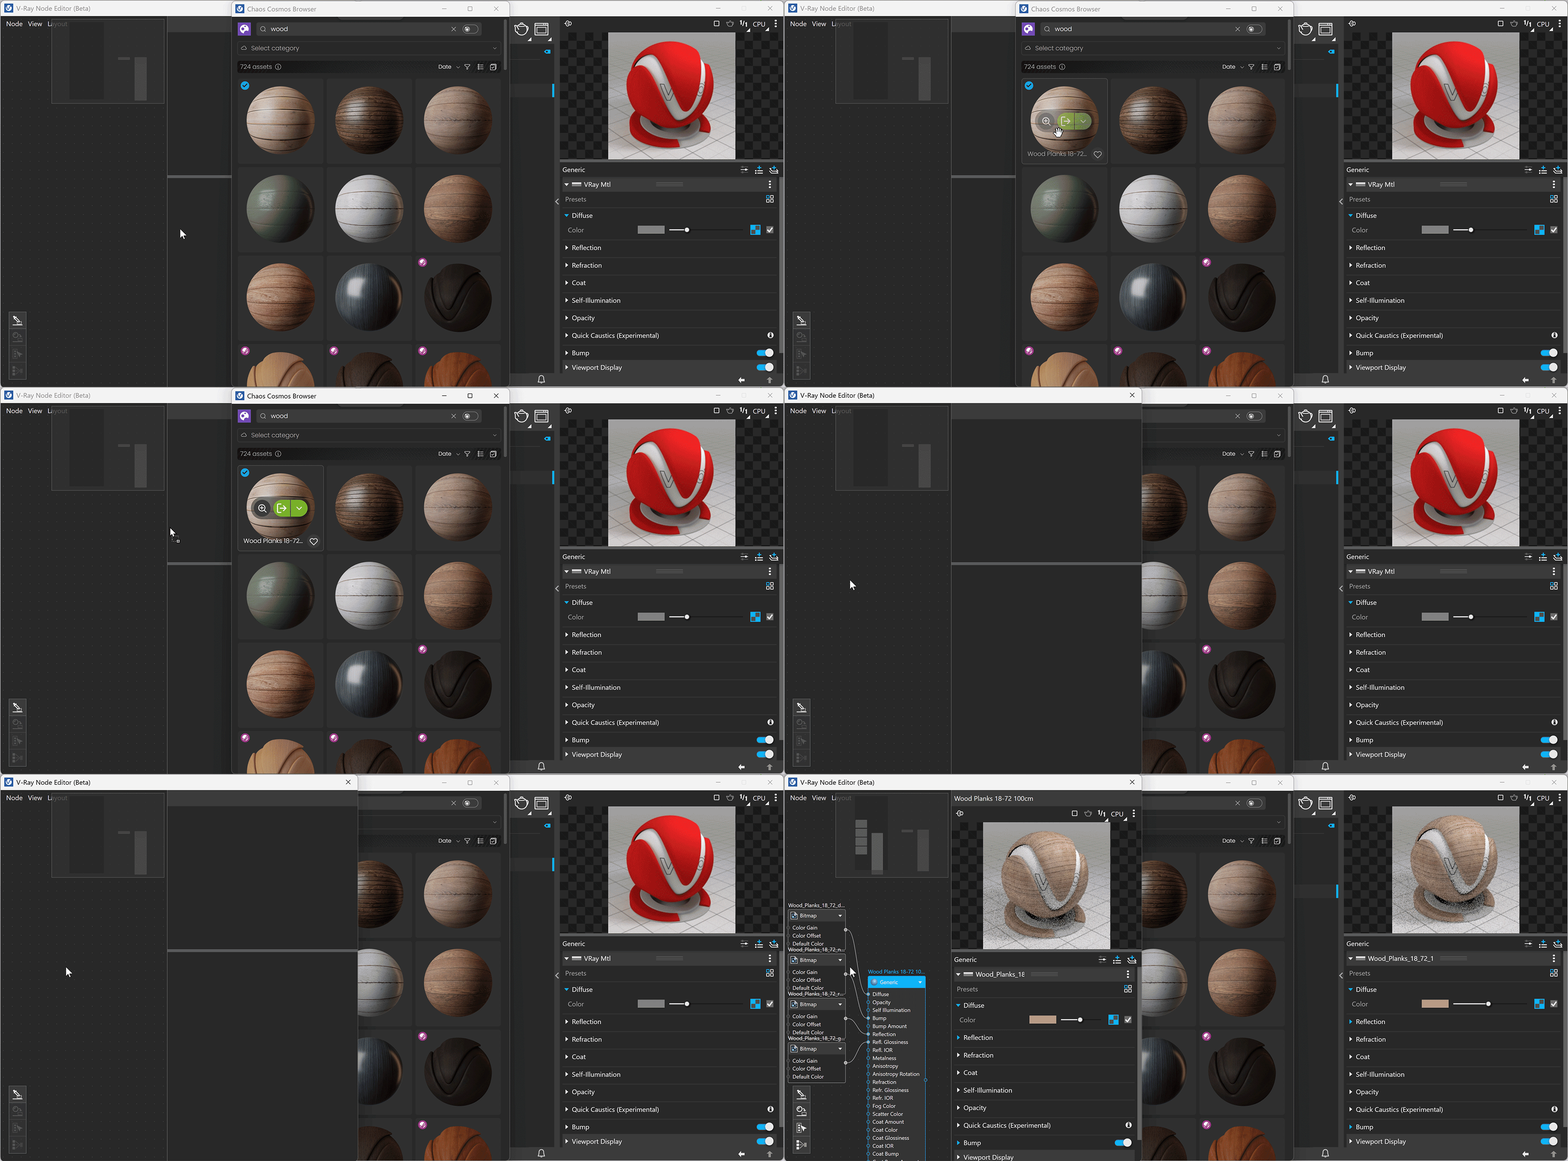
- Drag and drop Cosmos materials into the Node Editor to import them.
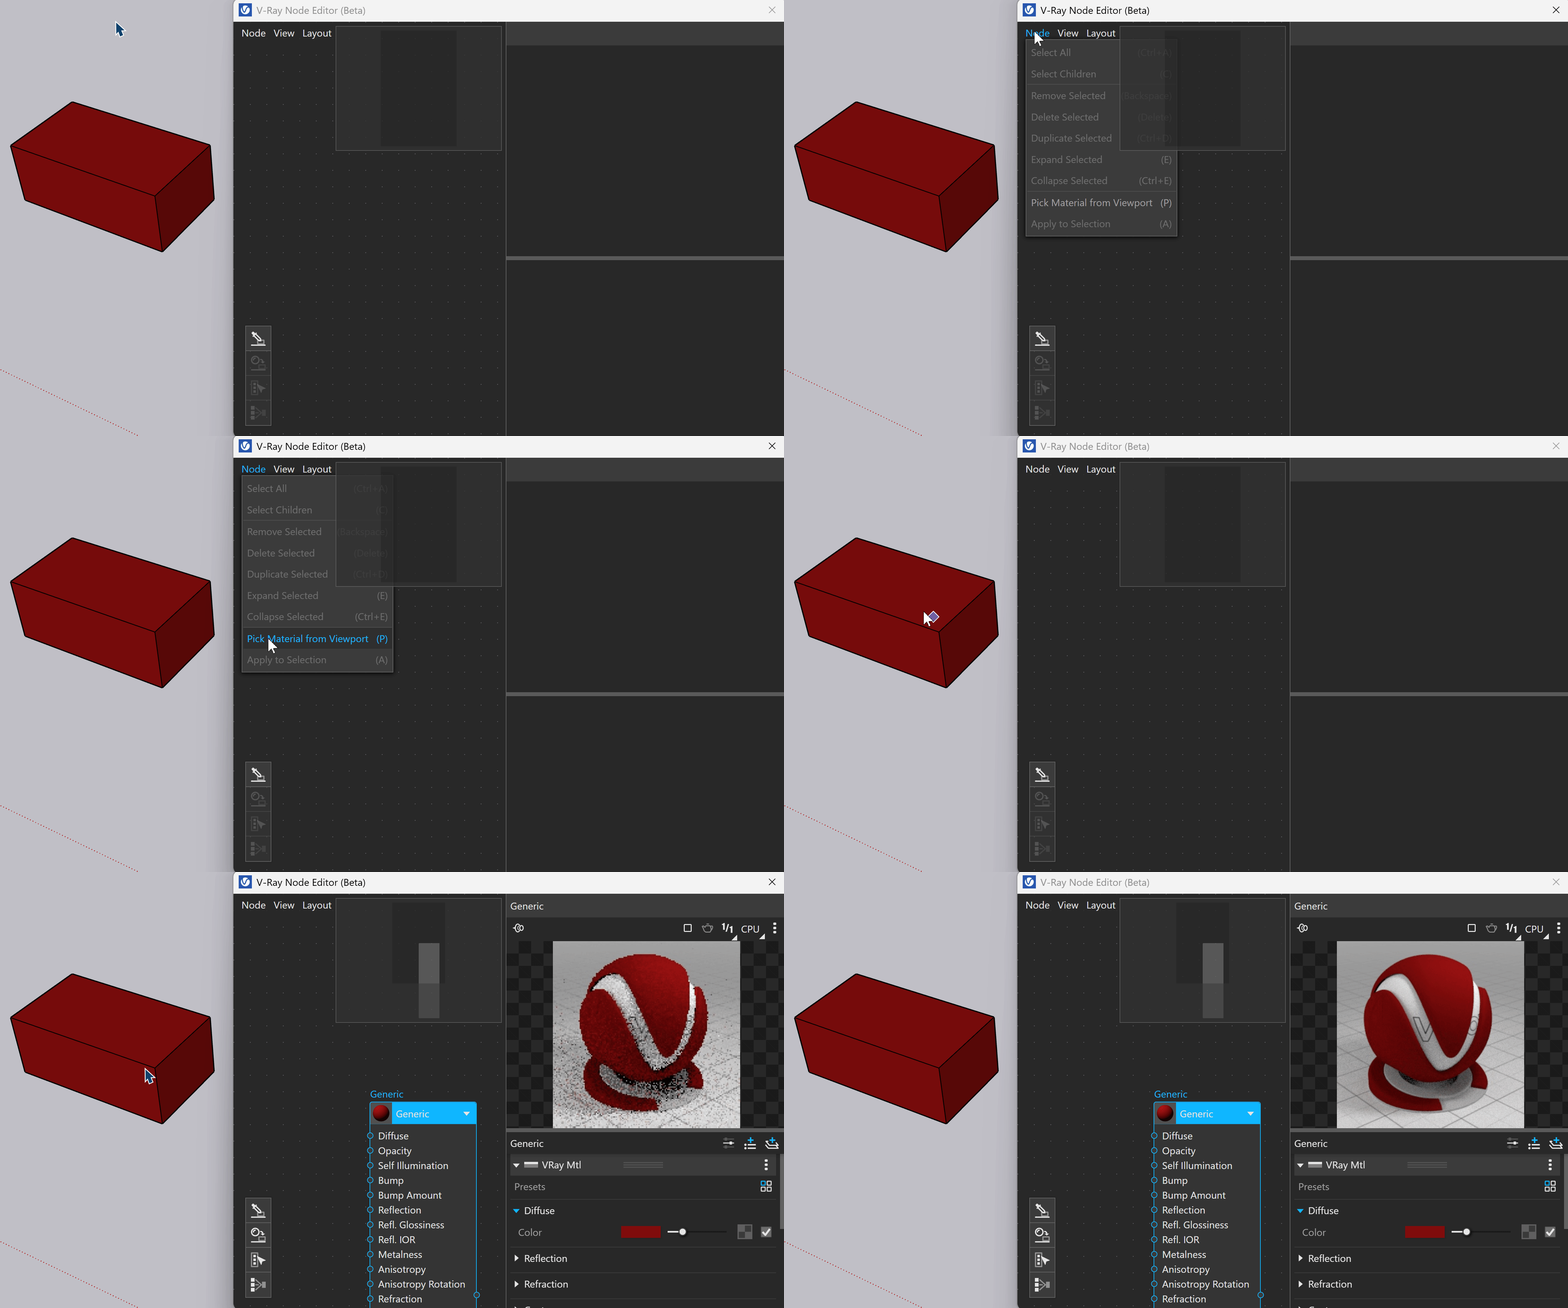
- Choose Node > Pick Material from Viewport, press P on your keyboard or use the material picker tool. Select an object in the scene to import its material into the Node Editor.
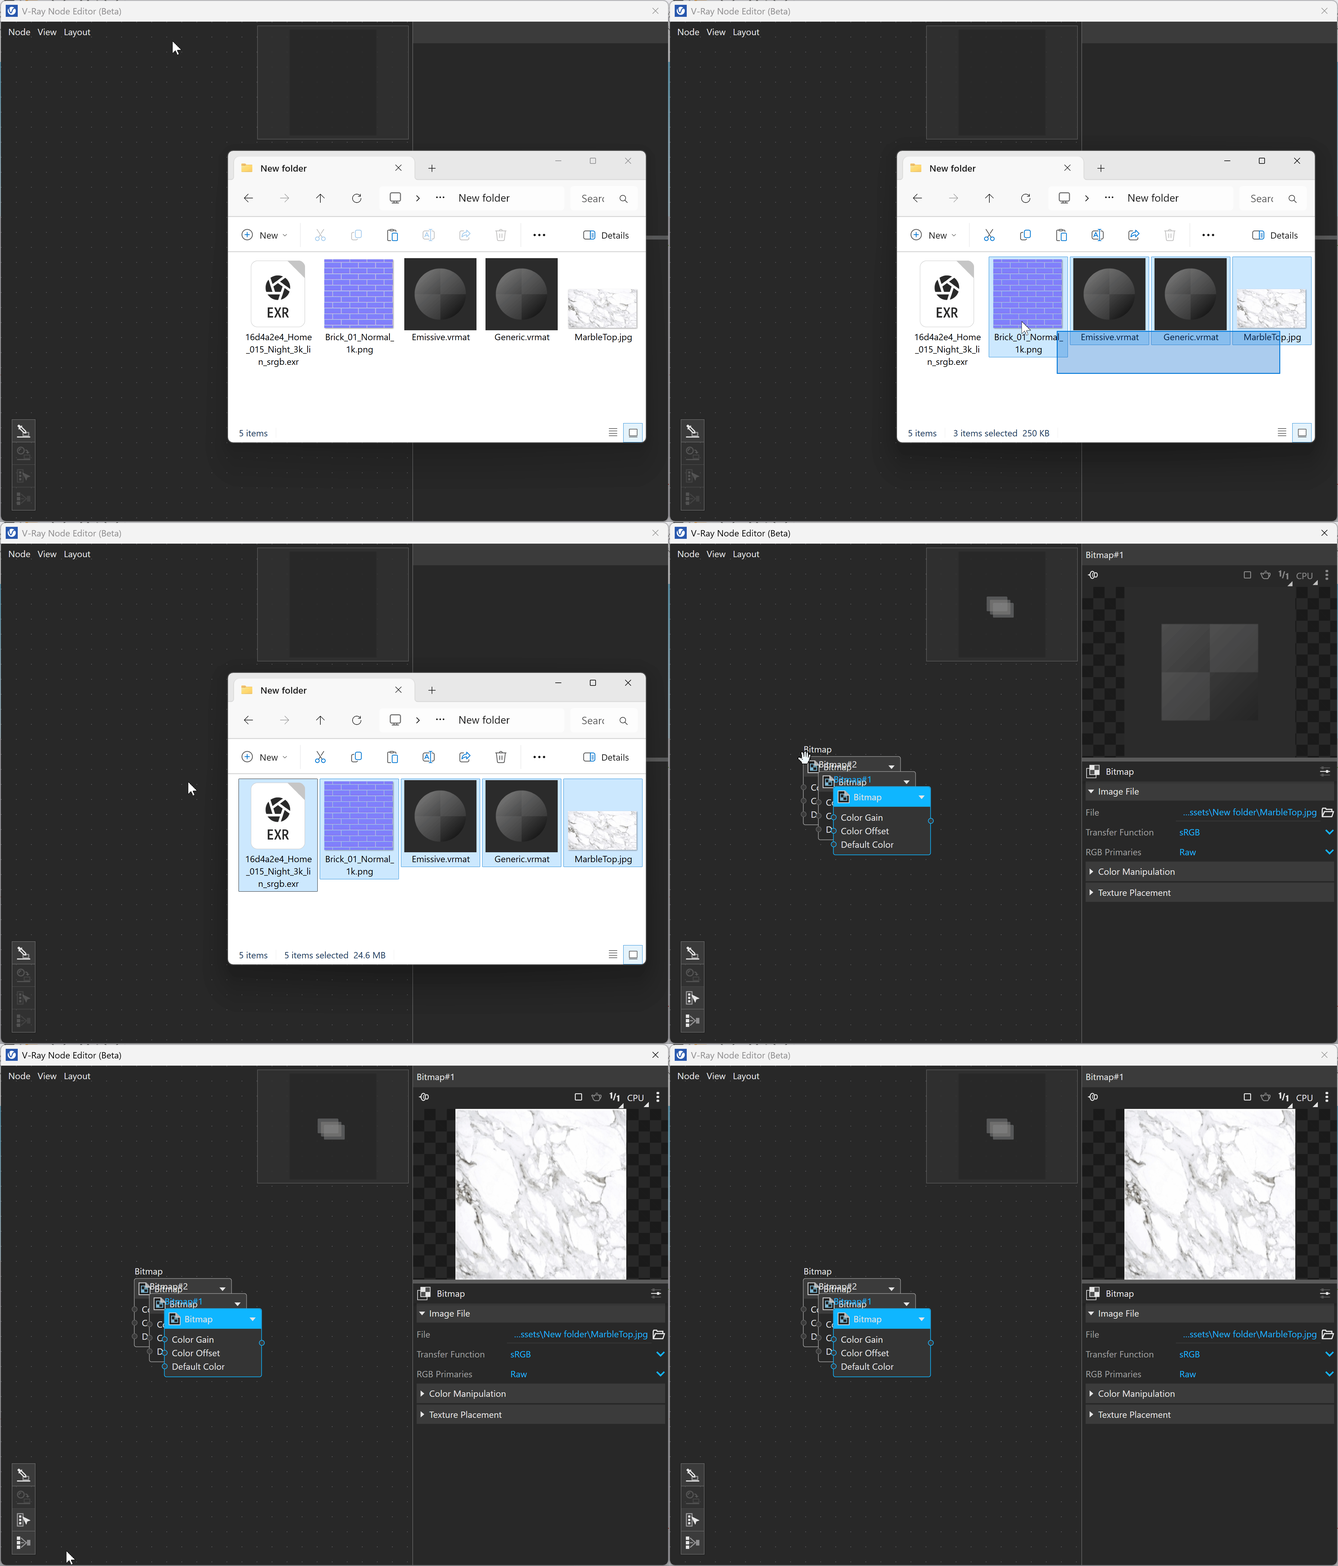
- Drag and drop a supported image file (bmp, png, jpeg, hdr, exr) from a folder on your computer.
Clearing nodes
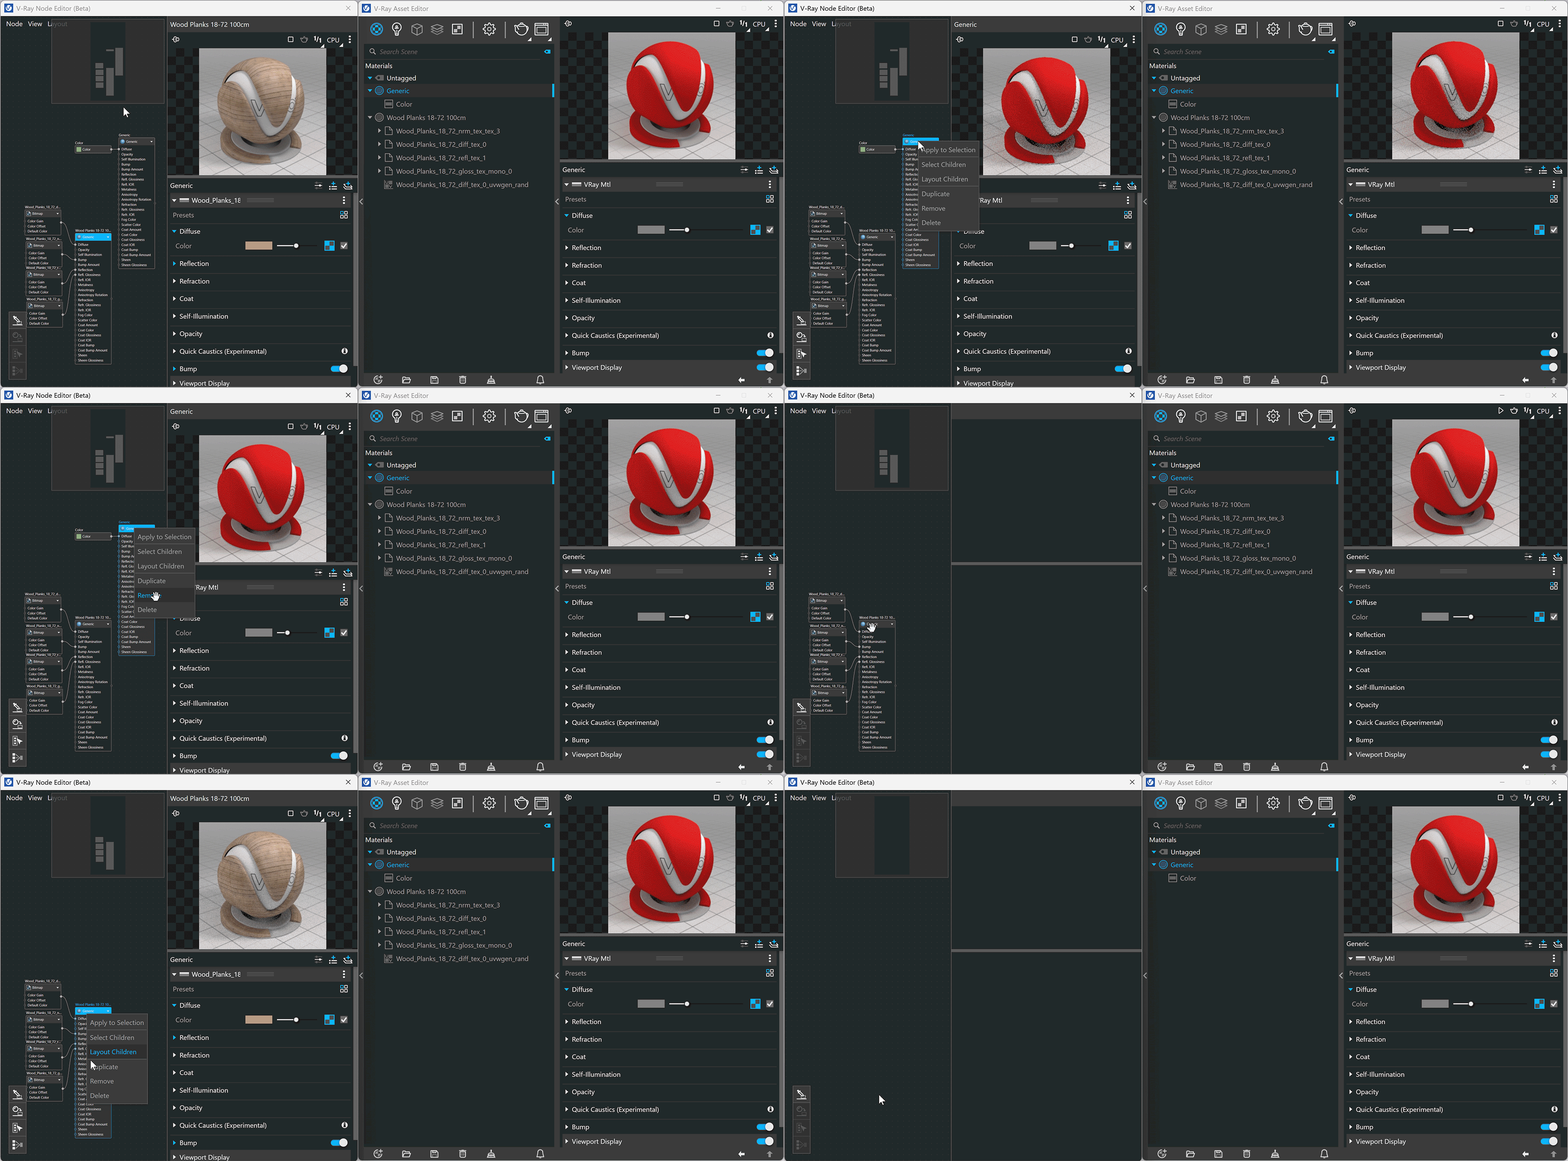
Remove removes the node from the Node Editor and keeps the asset in the scene.
Delete deletes the asset entirely from the scene.
To remove connections between nodes, use the key for your operating system:
Windows > Delete button
macOS > fn + Backspace
Thumbnails
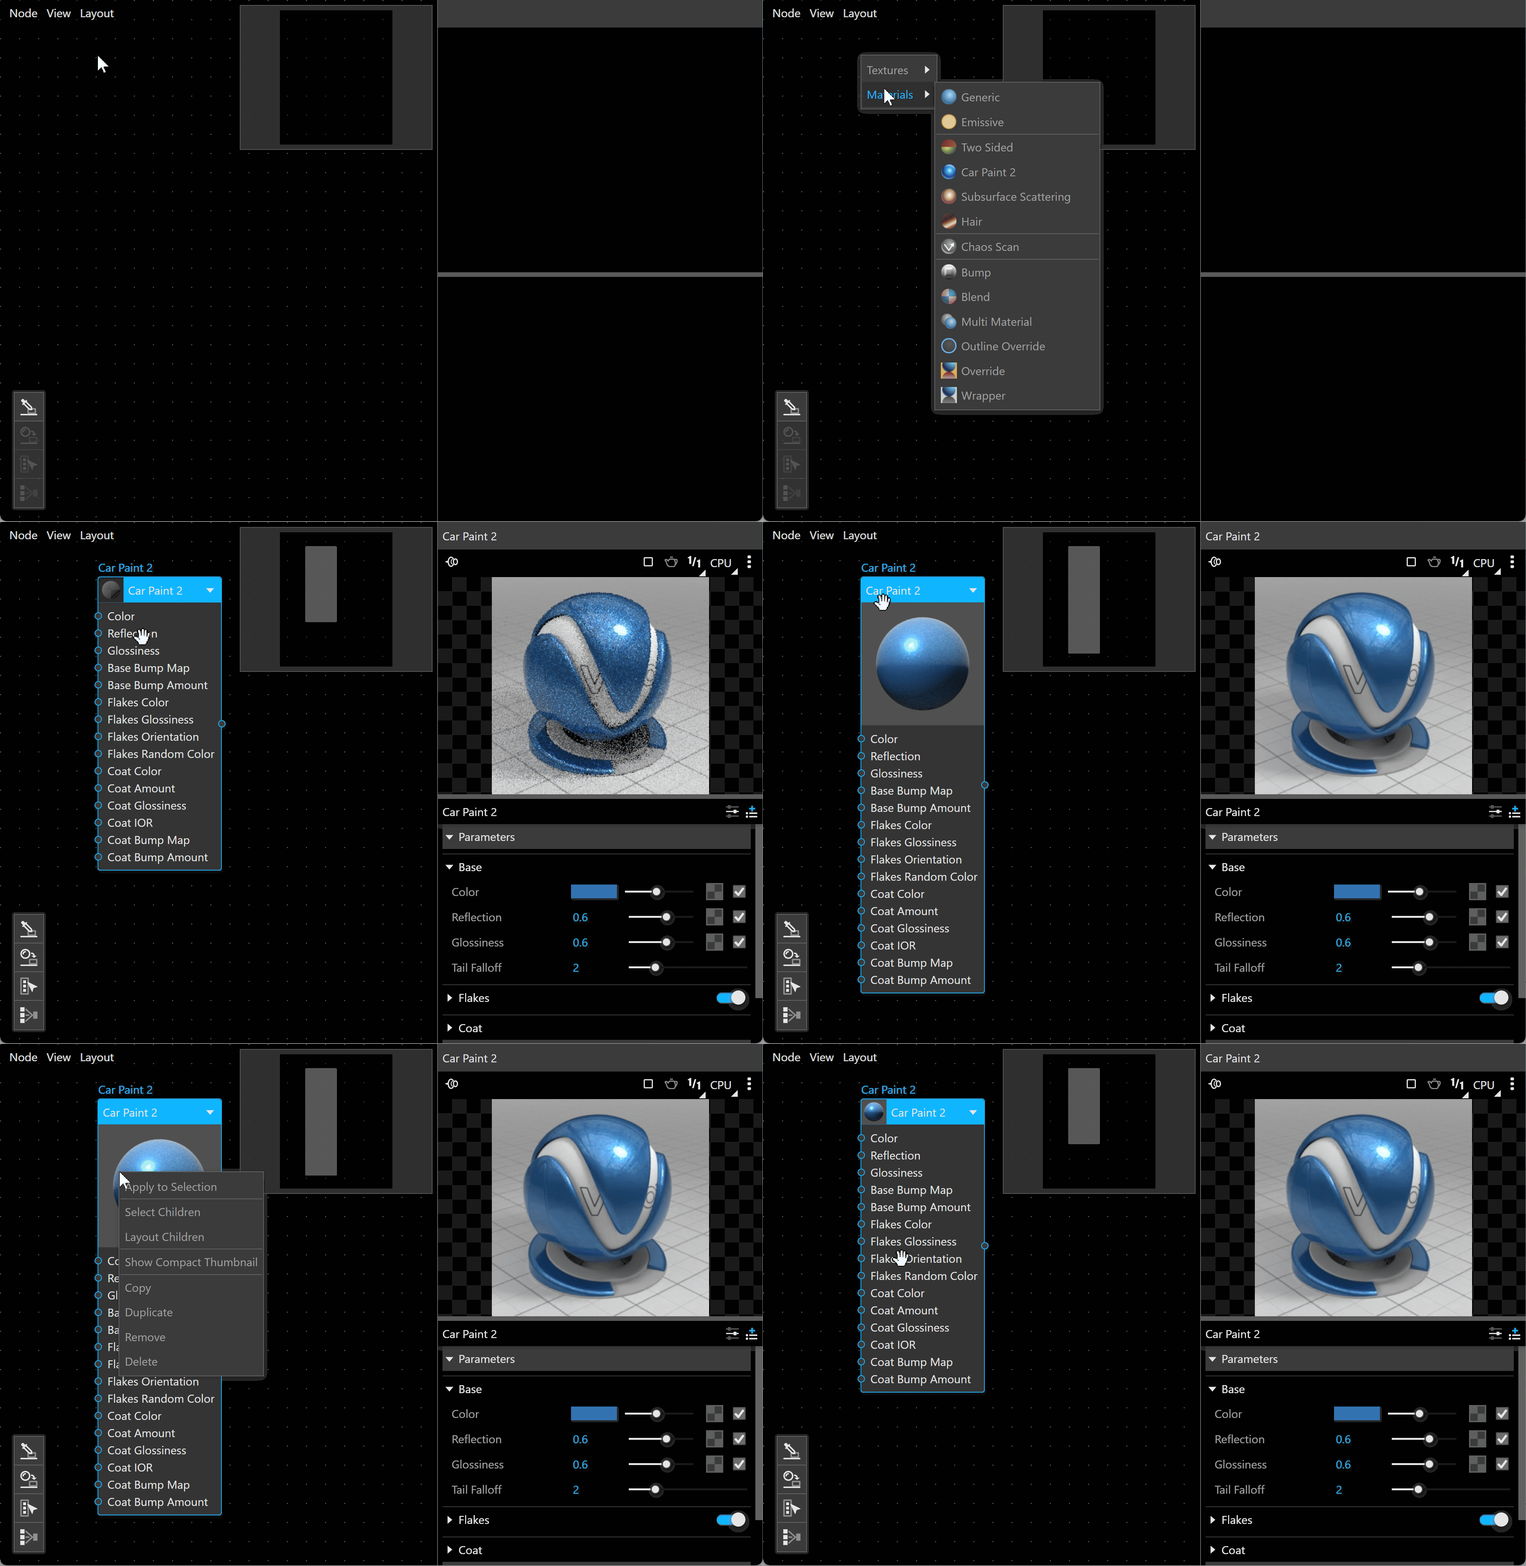
The Node Editor tray displays three thumbnail types: a default preview while the node loads, a small preview and a large preview.
To change the thumbnail size, double-click with the left mouse button or right-click and use the context menu.
Menus
Node menu
Menu | Description |
|---|
Menu | Description |
|---|---|
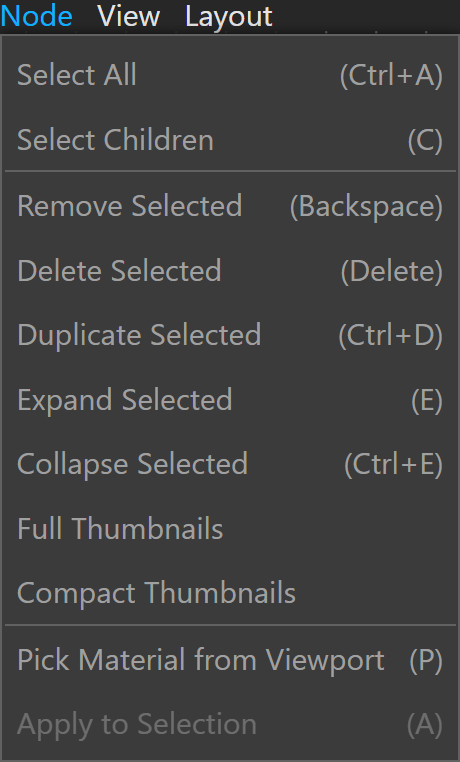
Select All (Ctrl+A) | Selects all nodes in the graph. |
Select Children (C) | Selects all children of the selected node. |
Remove Selected (Backspace) | Removes the selected node from the graph without deleting it. You cannot remove Child Nodes while their parent is still in the graph. |
Delete Selected (Delete) | Deletes the selected node. |
Duplicate Selected (Ctrl+D) | Duplicates the selected nodes. |
Expand Selected (E) | Expands the selected nodes to show all input parameters. |
Collapse Selected (Ctrl+E) | Collapses the selected nodes to hide all input parameters. |
Full Thumbnails | Displays large thumbnails for the selected nodes. |
Compact Thumbnails | Displays small thumbnails for the selected nodes. |
Pick Material from Viewport (P) | Activates the tool for picking a material from the host app's viewport. |
Apply to Selection (A) | Applies the selected material to the selected objects in the host app. |
Node Editor Node menu
View menu
Menu | Description |
|---|
Menu | Description |
|---|---|
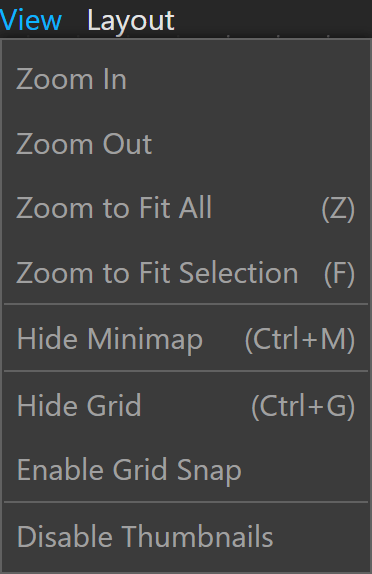
Zoom In | Zooms in on the graph. |
Zoom Out | Zooms out of the graph. |
Zoom to Fit All (Z) | Adjusts the graph view to fit all nodes. |
Zoom to Fit Selection (F) | Focuses the view on the selected nodes. |
Hide Minimap (Ctrl+M) | Shows or hides the Minimap. |
Hide Grid (Ctrl+G) | Shows or hides the grid. |
Enable Grid Snap | Turns grid snapping on or off. |
Disable Thumbnails | Stops generating and displaying thumbnails. |
Node Editor View menu
Layout menu
Menu | Description |
|---|
Menu | Description |
|---|---|
Layout All (Ctrl+L) | Rearranges all nodes and their children in the graph. |
Layout Children (L) | Rearranges the children of the selected nodes. |
Clear Graph | Removes all nodes from the graph without deleting them. |
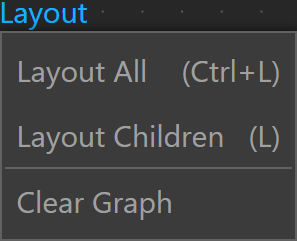
Node Editor Layout menu
Context menus
Right-click a node to open its context menu:
Menu | Description |
|---|
Menu | Description |
|---|---|
Select Children | Selects all children of the selected node. |
Layout Children | Rearranges the children of the selected nodes. |
Show Full Thumbnail | Displays a full thumbnail of the selected node. |
Copy | Copies the selected node. |
Duplicate | Duplicates the selected node or child. |
Remove | Removes the selected node from the Node Editor and keeps the asset in the scene. |
Delete | Deletes the node and the asset from the scene. |
Globalize | Makes the node a global instance. |
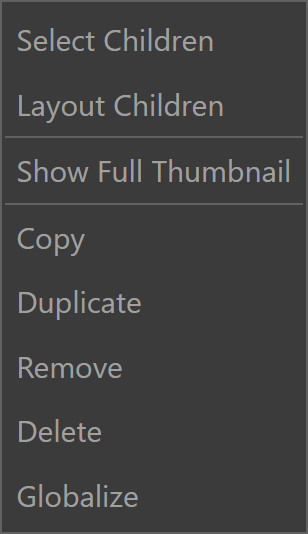
Node context menu
Tools
Tool | Description |
|---|
Tool | Description |
|---|---|
Activates the tool for picking a material from the host app's viewport. | |
Applies the selected material to the selected objects in the host app. | |
Selects all children of the selected node. | |
Rearranges the children of the selected nodes. |