V-Ray for SketchUp
V-Ray Toolbar
This page provides details on the V-Ray Toolbar.
Last updated 1 September 2026
This page provides details on the V-Ray Toolbar.
Overview
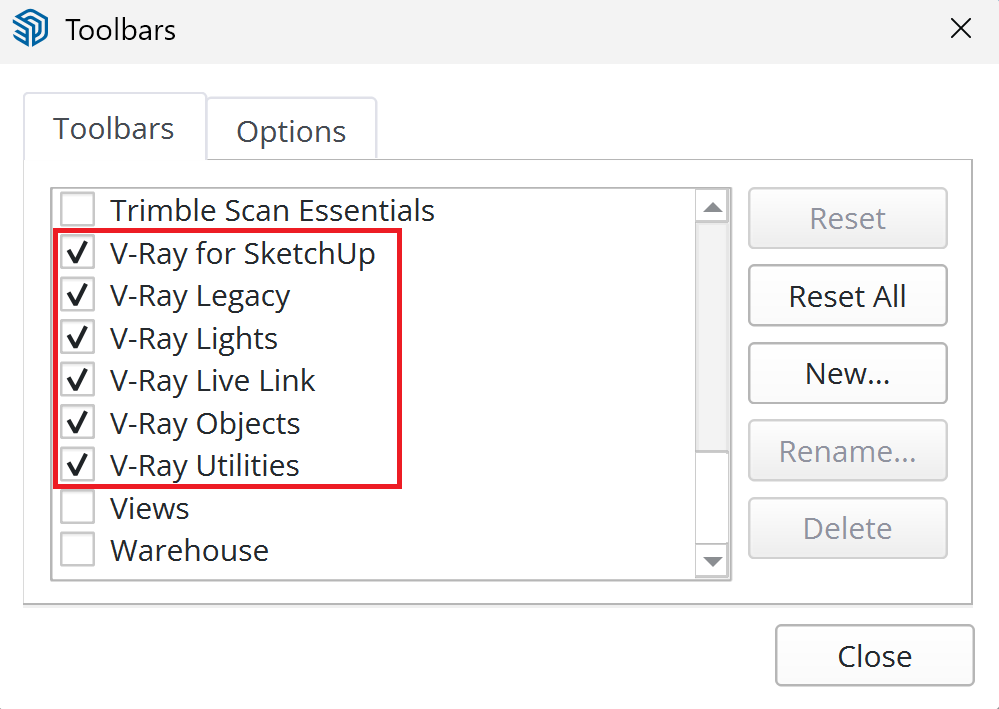
V-Ray includes a toolbar with easy shortcuts to some of the most commonly used V-Ray components. By default, the toolbar consists of four floating toolbars that can be docked where needed in the SketchUp interface. The V-Ray Toolbars can be easily placed to either a horizontal or vertical position by pulling at the top end of each toolbar.

Toolbar Functions
The V-Ray toolbar provides the functions listed below. Note that all buttons check if V-Ray (or respectively V-Ray Interactive) is the current renderer, and if not, prompt you to set the renderer to V-Ray. When you click on the V-Ray (or respectively V-Ray Interactive) button in the toolbar, the icon background changes color. The render buttons can be clicked again to stop the rendering process.
Button | Description |
|---|
Button | Description | |
|---|---|---|
V-Ray for SketchUp | V-Ray Asset Editor – Shows the Asset Editor window. | |
V-Ray Node Editor (Beta) – Shows the V-Ray Node Editor window. | ||
Chaos Cosmos Browser – Shows the Chaos Cosmos window. | ||
Render – Starts or stops a non-Interactive render. | ||
Render Interactive – Starts or stops an Interactive Render. | ||
Batch Render – Starts or stops a Batch Render. This iterates through all scenes of the SketchUp project and renders them one by one. | ||
Viewport to AI Visualization – Opens the AI Visualization window (Veras) and sends a viewport screenshot to be used as a generation source. | ||
Render to AI Visualization – Opens the AI Visualization window (Veras) and sends the latest render to be used as a generation source. | ||
Chaos Cloud render/upload – Opens the Chaos Cloud window from where jobs are submitted to Chaos Cloud for rendering. | ||
Chaos Cloud Batch Render – Opens the Chaos Cloud window from where jobs are submitted to Chaos Cloud for batch rendering. | ||
V-Ray Frame Buffer – Shows the V-Ray Frame Buffer (VFB). | ||
Notification Center – Opens the Notifications window. | ||
V-Ray Lights | Light Gen – Starts V-Ray Light Gen. | |
Rectangle Light – Activates the Rectangle Light tool. Click and drag in a viewport to create the light. | ||
Sphere Light – Activates the Sphere Light tool. Click and drag in a viewport to create the light. | ||
Spot Light – Activates the Spot Light tool. Click and select a point in a viewport to create the light. | ||
IES Light – Activates the IES Light tool. Click and drag in a viewport to create the light. | ||
Omni Light – Activates the Omni Light tool. Click in a viewport to create the light. | ||
Dome Light – Activates the Dome Light tool. Click in a viewport to create the light. | ||
Mesh Light – Converts the selected Group or Component into a V-Ray Mesh Light object. | ||
V-Ray Objects | Infinite Plane – Creates an Infinite Plane object. Click in a viewport to create the object. | |
Export Proxy – Exports the selected Group or Component as a .vrmesh file. Optionally, replaces a selection with the created V-Ray Proxy. | ||
Import Proxy – Imports a .vrmesh file as a V-Ray Proxy object in the scene. | ||
Fur – Adds V-Ray Fur to the selected Group or Component. | ||
Clipper – Converts the selected Group or Component. into a V-Ray Mesh Clipper object. | ||
Displacement – Adds V-Ray Displacement to the selected Group or Component. | ||
Decal – Creates V-Ray Decal that projects one material on top of another. | ||
Enmesh – Adds V-Ray Enmesh to the selected Group or Component. | ||
Scatter – Adds a Scatter modifier to a selected group or component. | ||
V-Ray Utilities | Enable Solid Widgets – Enables the use of faces for the viewport widgets. Only lines are used when this option is disabled. | |
Hide V-Ray Widgets – Hides V-Ray Lights, Fur, Proxies 2, Infinite Plane, Mesh Clipper, and Enmesh widgets from the viewport. This option does not affect rendering. This option provides a cleaner export to LayOut without any unnecessary V-Ray widgets and preview geometries. | ||
Remove Material – Removes the material from the currently selected face, group, or component and all its children. | ||
Tri-Planar Projection (World) – Modifies the texture placement for the selected objects. A cubic projection is used with texture size independent of object scaling. | ||
Tri-Planar Projection (Fit) – Modifies the texture placement for the selected objects. A cubic projection is used with texture scaled to match the object's bounding box size. | ||
Spherical Projection (World) – Modifies the texture placement for the selected objects. A spherical projection1 with texture size independent of object scaling. | ||
Spherical Projection (Fit) –Modifies the texture placement for the selected objects. A spherical projection with texture scaled to match the object's bounding box size. | ||
Lock Camera Orientation – Allows the camera to move without updating the render view during Interactive Rendering. | ||
Scene Interaction Tool – Activates a tool for inspecting scene hierarchy, material, and V-Ray Object ID assignments. Hold down Shift while hovering to select parent group or component definitions. Hold down Shift while hovering and left mouse click to select a material assigned to any group or component in the current hierarchy. The tool can also be used for interactive light intensity manipulation. | ||
V-Ray Live Link | Chaos Vantage – Starts a Vantage live session. Connects to an already running Vantage instance. | |
Vantage Viewport Render – Starts the Vantage Viewport Render, a real-time rendering session in the viewport. | ||
V-Ray Legacy | V-Ray Vision – Starts V-Ray Vision. | |
Viewport Render – Triggers an Interactive Viewport Render in SketchUp. | ||
Scatter Viewer – Makes the Scatter preview visible in the viewport. |
Footnotes
1 – When applying Spherical projection only to specific faces of an object, the mapping does not set properly. This generally occurs with faces aligned along the X or Y axes.
2 – Proxy objects are hidden in the viewport only when the preview type is Bounding Box or Point (origin).