Use the V-Ray Water Surface texture to create water surfaces with Bump and Displacement maps.
Overview
Water Surface is an infinite procedural texture that does not repeat cyclically. Use it in Bump and Displacement maps to create ocean-like water surfaces.
UI paths
||V-Ray Asset Editor|| > Textures (right-click) > Water Surface
||V-Ray Asset Editor|| > Create Asset (left-click) > Textures > Water Surface
General workflow
Create a Generic material and apply it to a surface (recommended) or an object.
Make the material fully refractive by setting Refractive Color to (255,255,255) and Refraction IOR to 1.33. Set Reflection Color close to white (222,222,222). Set Max Depth for both Reflection and Refraction to 10.
For blue sea or ocean water, you can set Fog Color to light blue (Refraction > Fog Color).
For Caustics, disable Affect shadows in the Water material's advanced settings (Refraction > Affect Shadows > off).
Add a Displacement asset (Asset editor > Geometry > Displacement) and assign it to the Water Geometry.
Add the Water Surface texture to the Mode/Map slot and use Normal Displacement Mode.
Adjust the material's texture scale to suit your surface.
Parameters
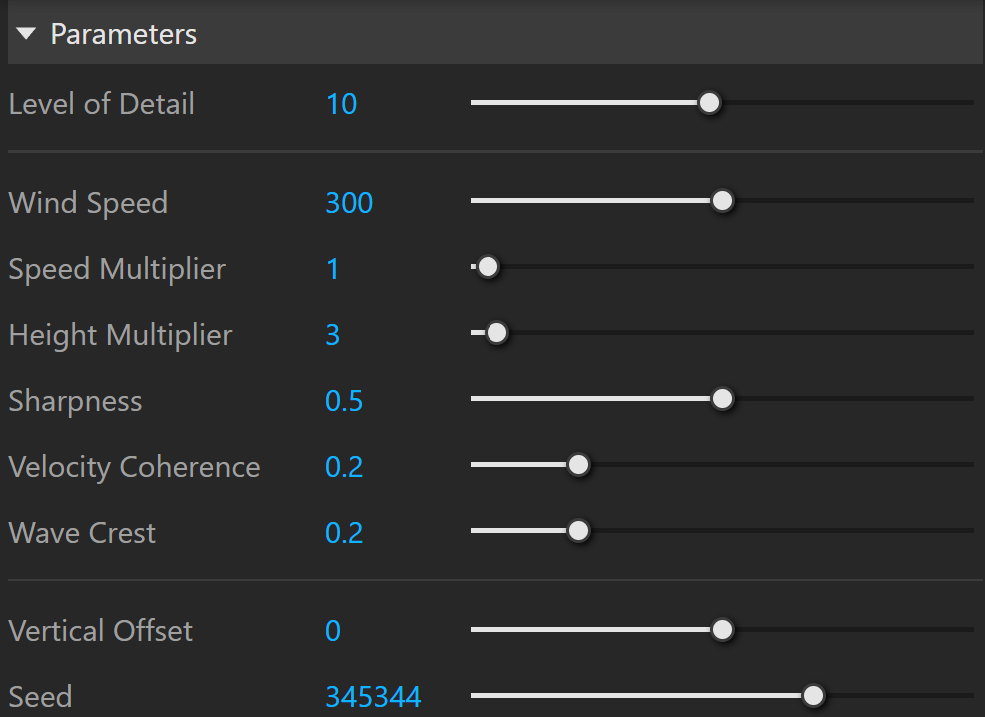
Level of Detail controls the amount of detail in the texture. Higher values make details more pronounced and varied. See the Level of Detail example below.
Wind Speed controls the wind speed and changes the waves' size, shape, height and movement speed. It is measured in system units per second.1 See the Wind Speed example below.
Speed Multiplier controls how fast the waves move.
Height Multiplier controls the amplitude of the waves. See the Height Multiplier example below.
Sharpness controls how sharp the wave crests are. See the Sharpness example below.
Velocity Coherence controls how much the wave directions vary. At 1, all waves move in the same direction, as in coastal areas. At 0, waves move in random directions, as in the open sea. See the Velocity Coherence example below.
Wave Crest controls the length of the wave crests. For realistic results, use smaller values for short crests when Velocity Coherence is low. Use larger values for longer crests when Velocity Coherence is high. See the Wave Crest example below.
Vertical Offset adds a shift to the displacement. See the Vertical Offset example below.
Seed sets the starting point for the random generator. Changing it changes the random wave pattern. If your scene has multiple Ocean Textures, use different Seed values to give each texture a different appearance. See the Seed example below.
Example: Level of Detail
This example shows how Level of Detail changes the amount of detail in the waves.
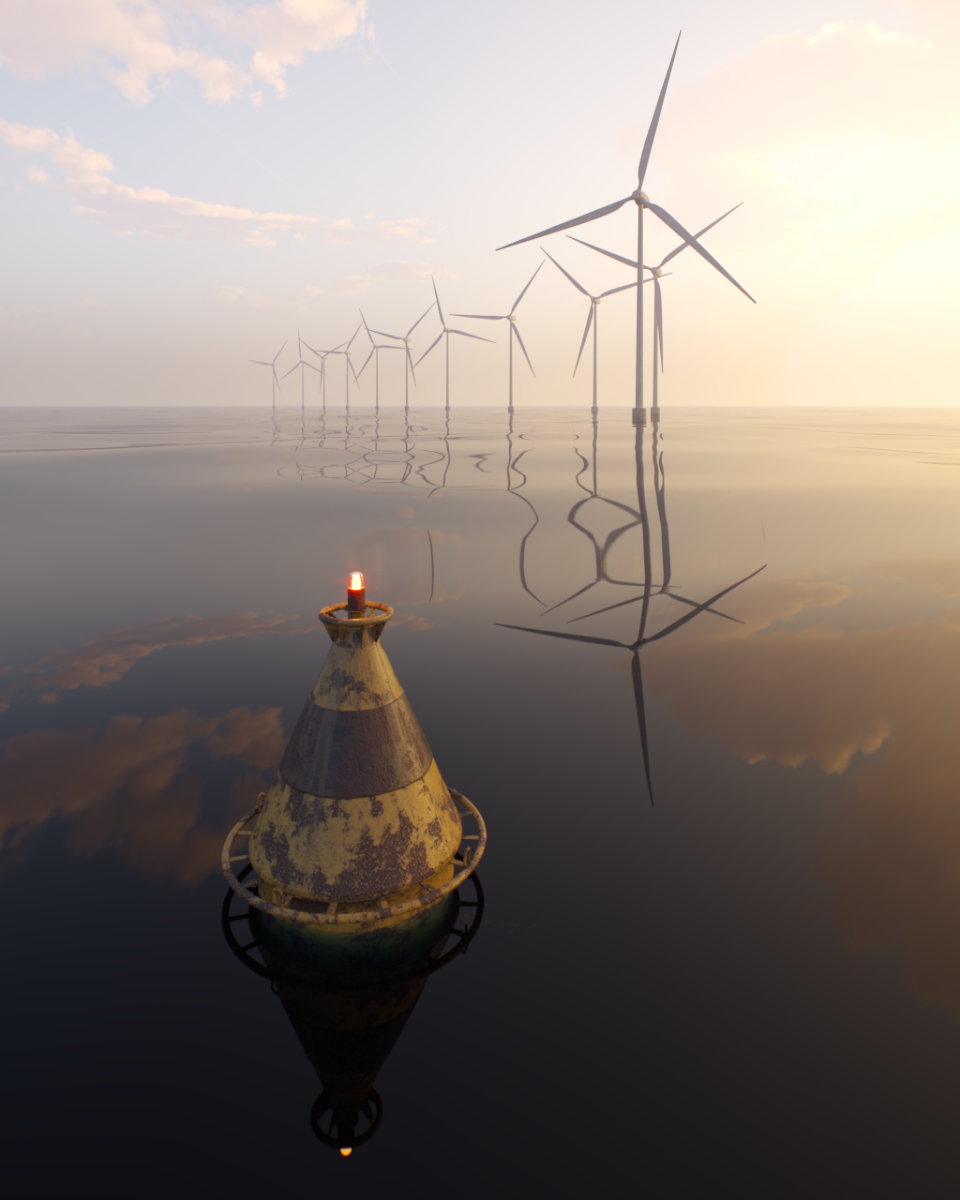
Level of Detail = 5
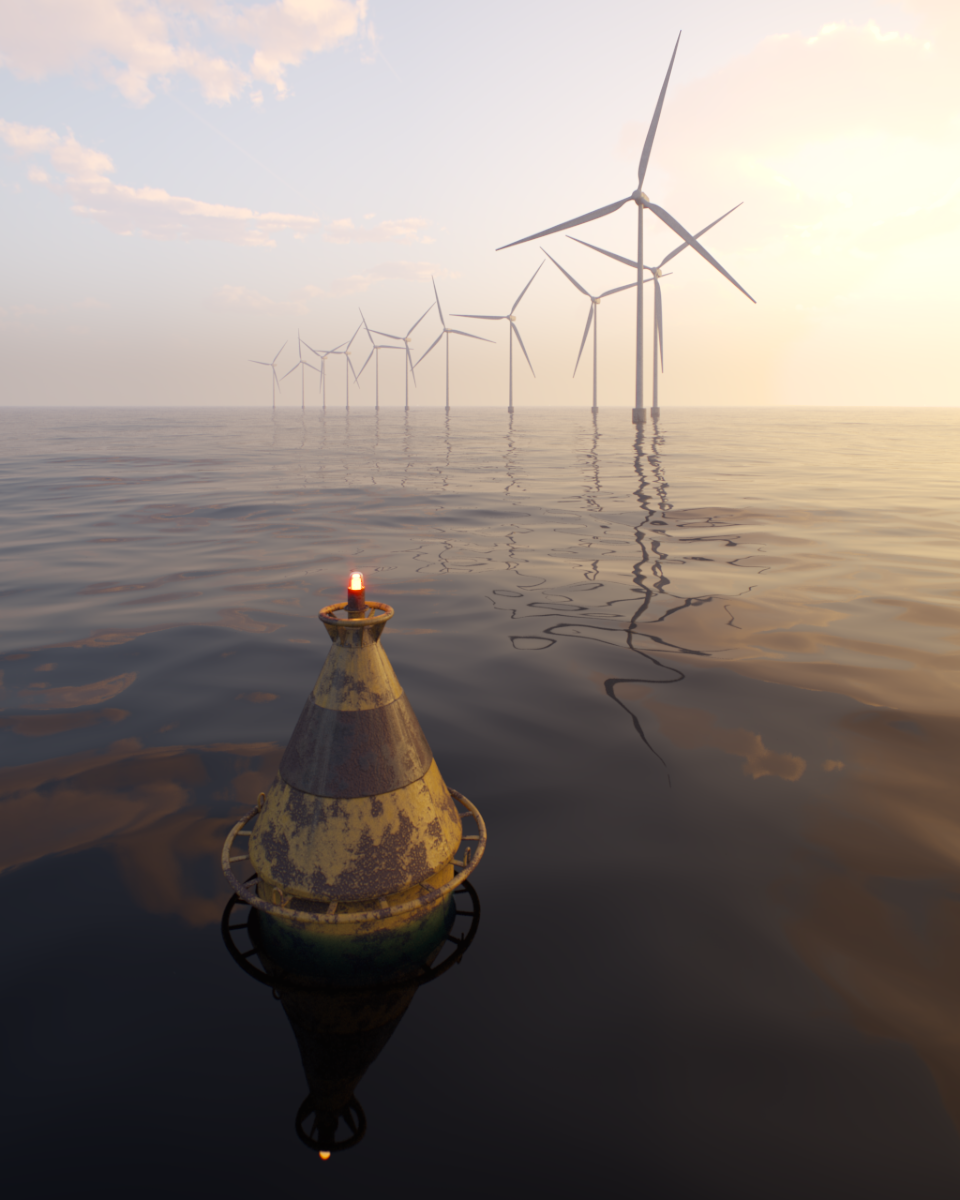
Level of Detail = 10
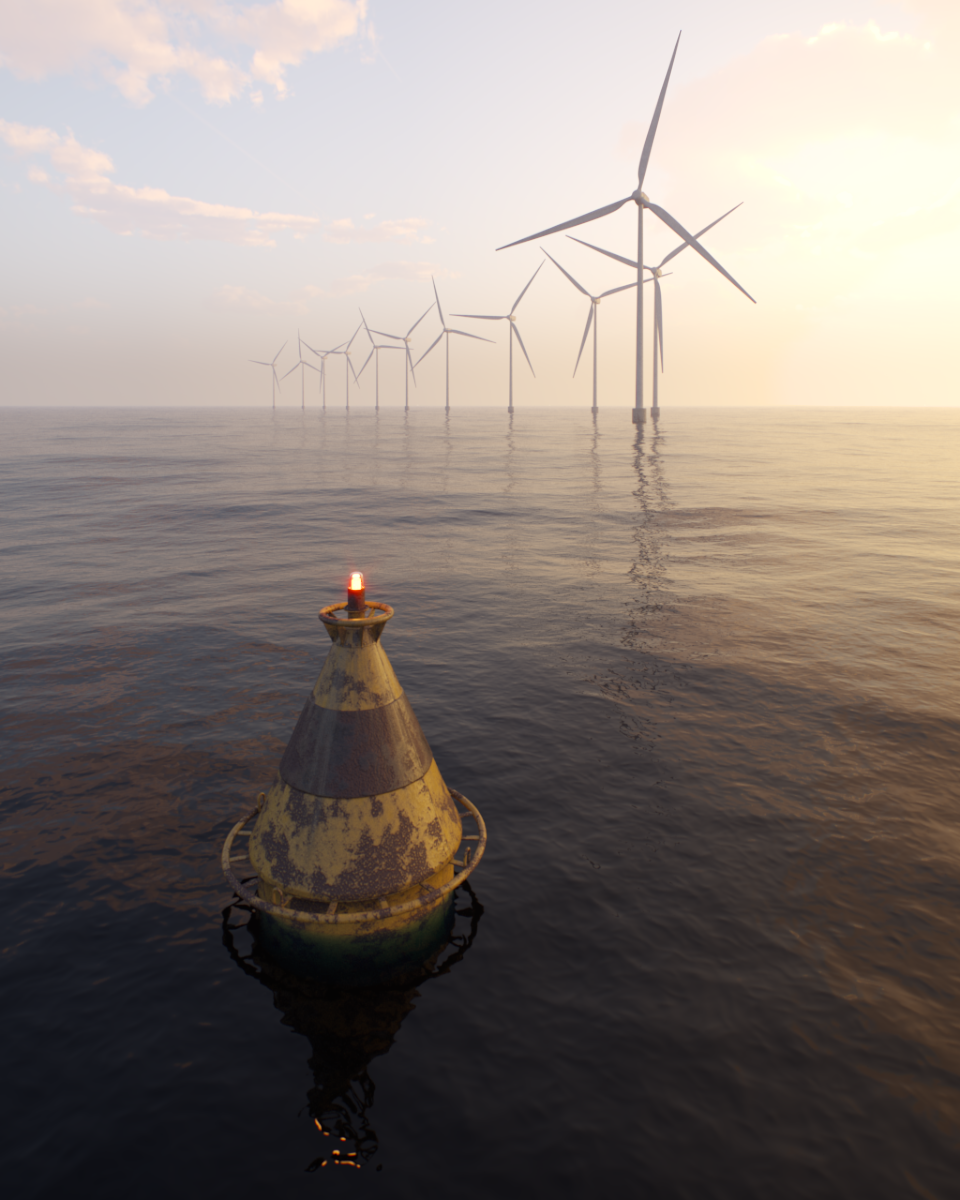
Level of Detail = 15
Example: Wind Speed
This example shows how Wind Speed changes the size, shape and height of the waves.
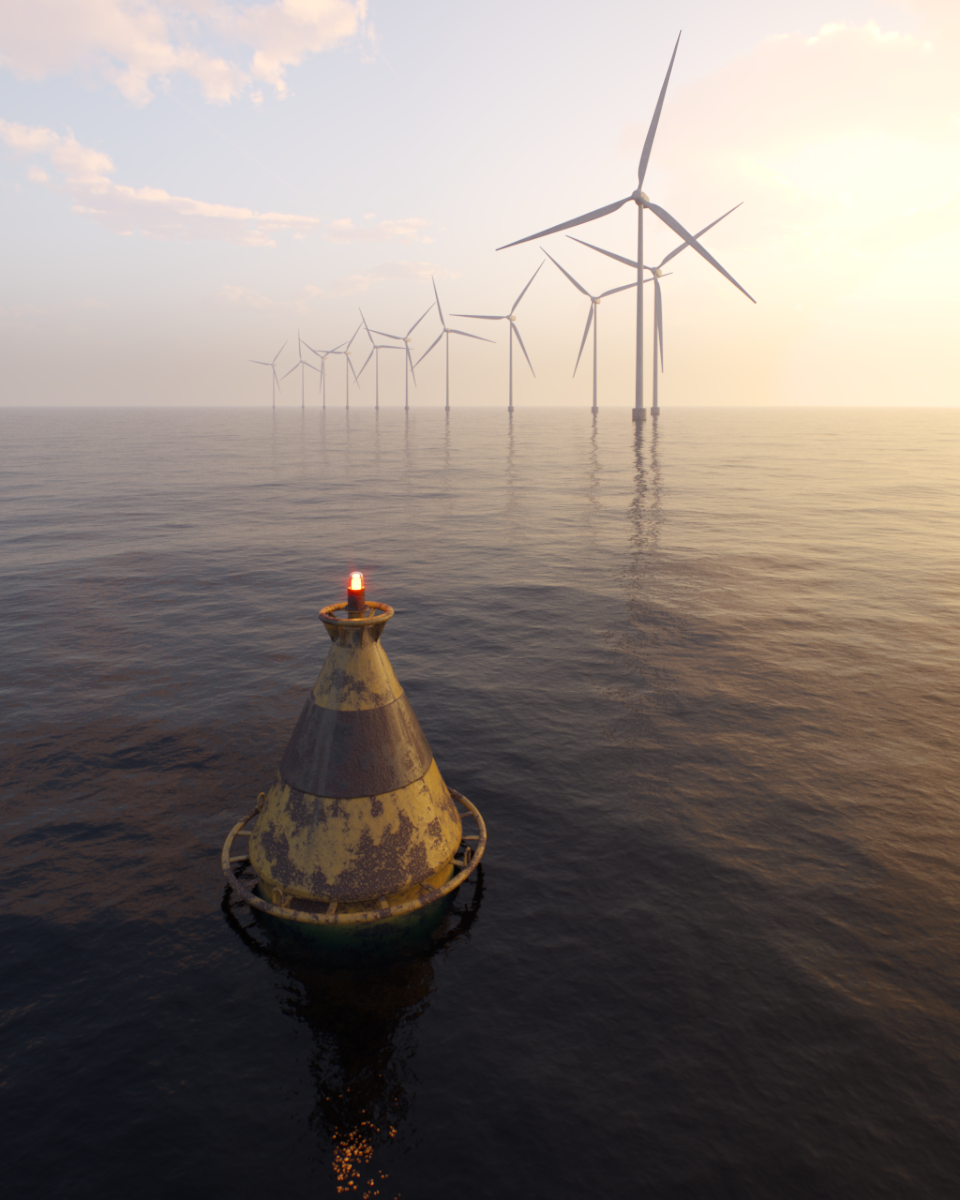
Wind Speed = 100
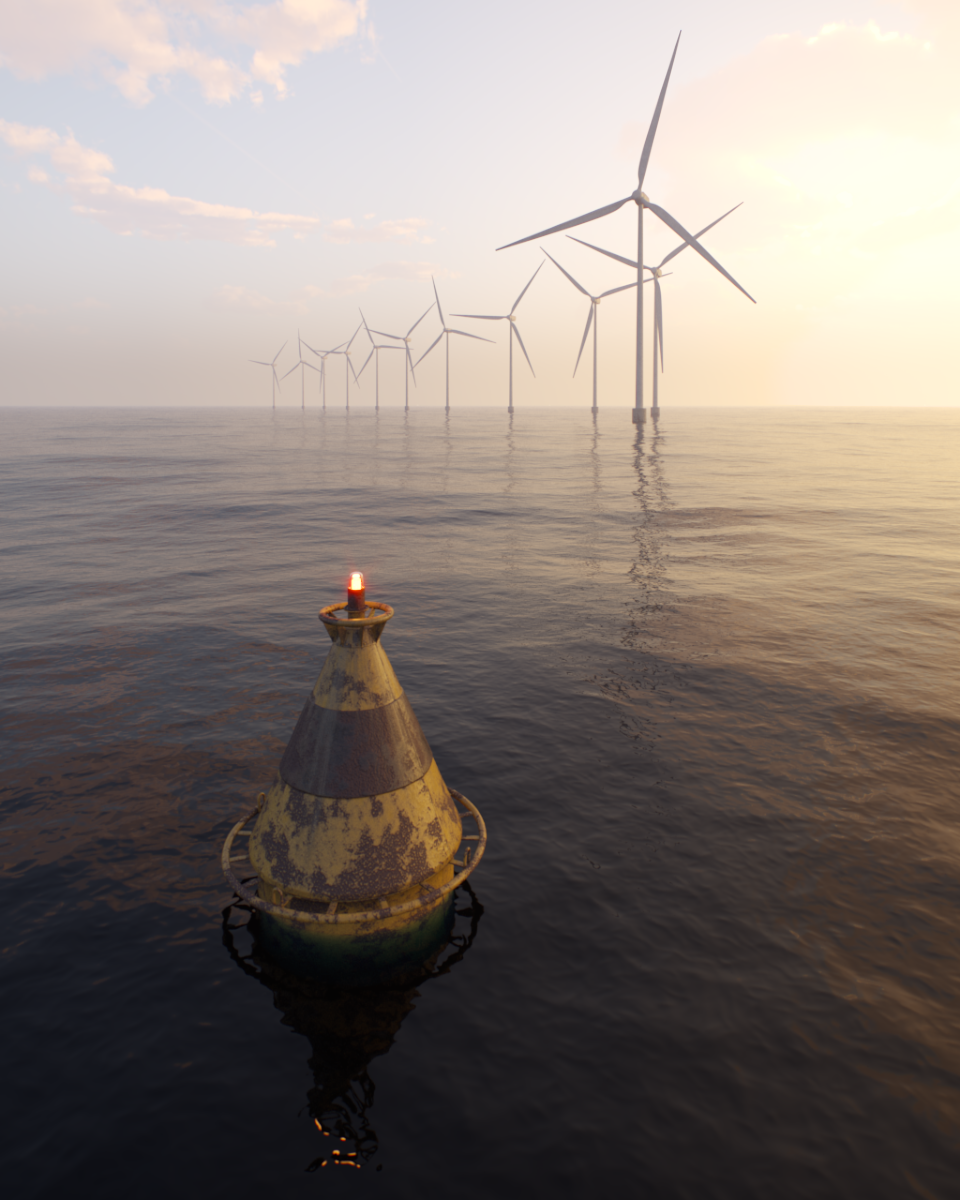
Wind Speed = 300
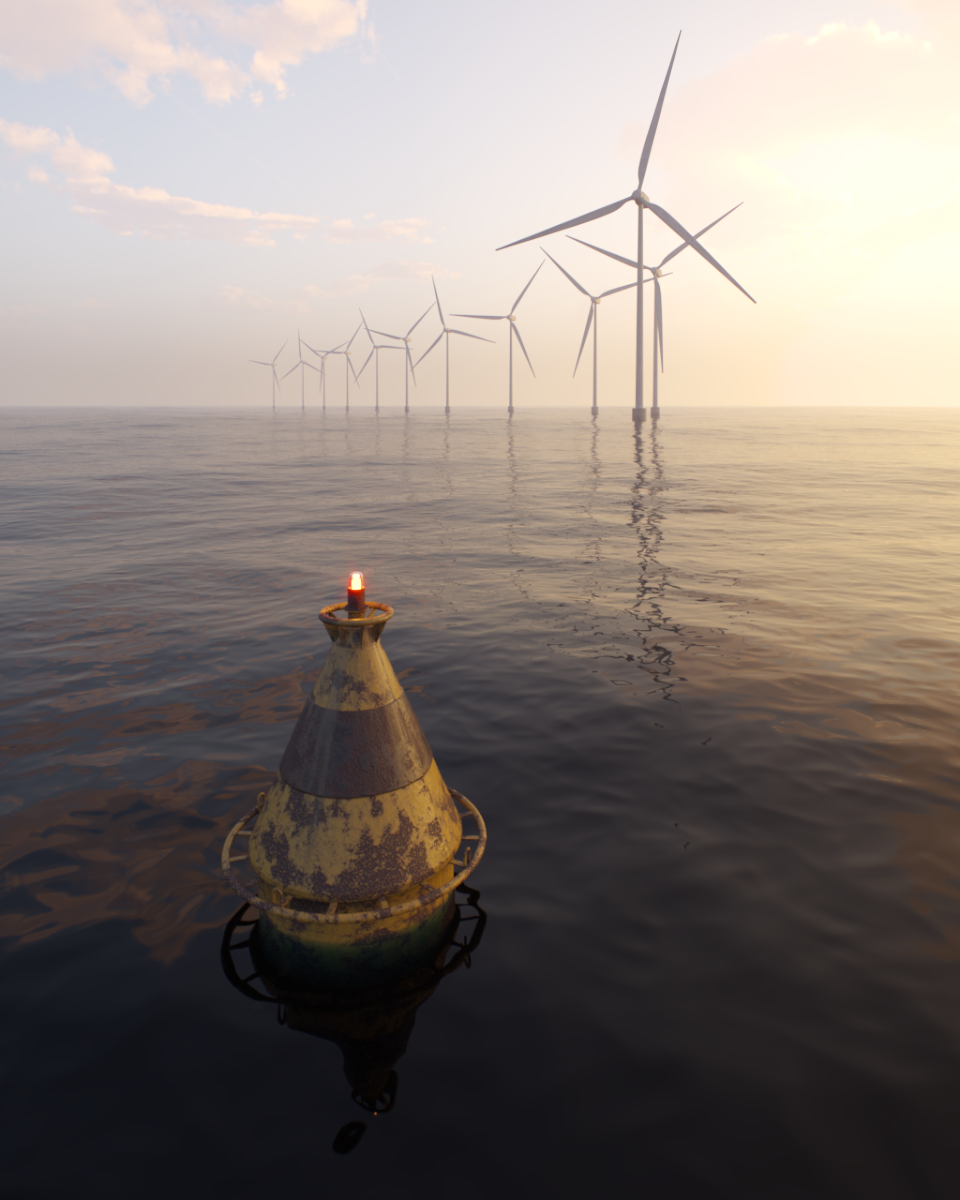
Wind Speed = 500
Example: animation
This animation uses the default Wind Speed of 300.
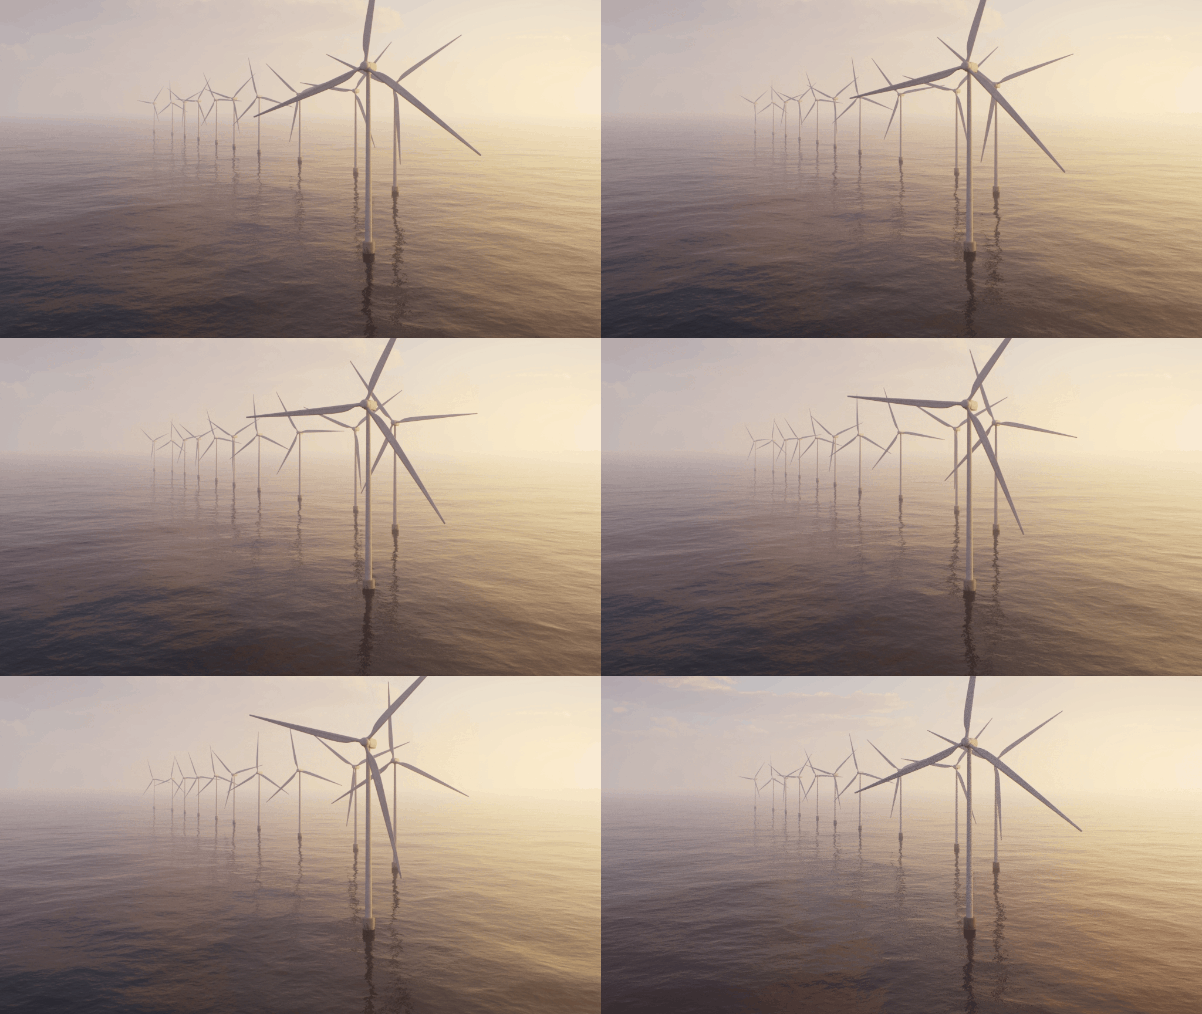
Example: Height Multiplier
This example shows how Height Multiplier changes the height of the waves.
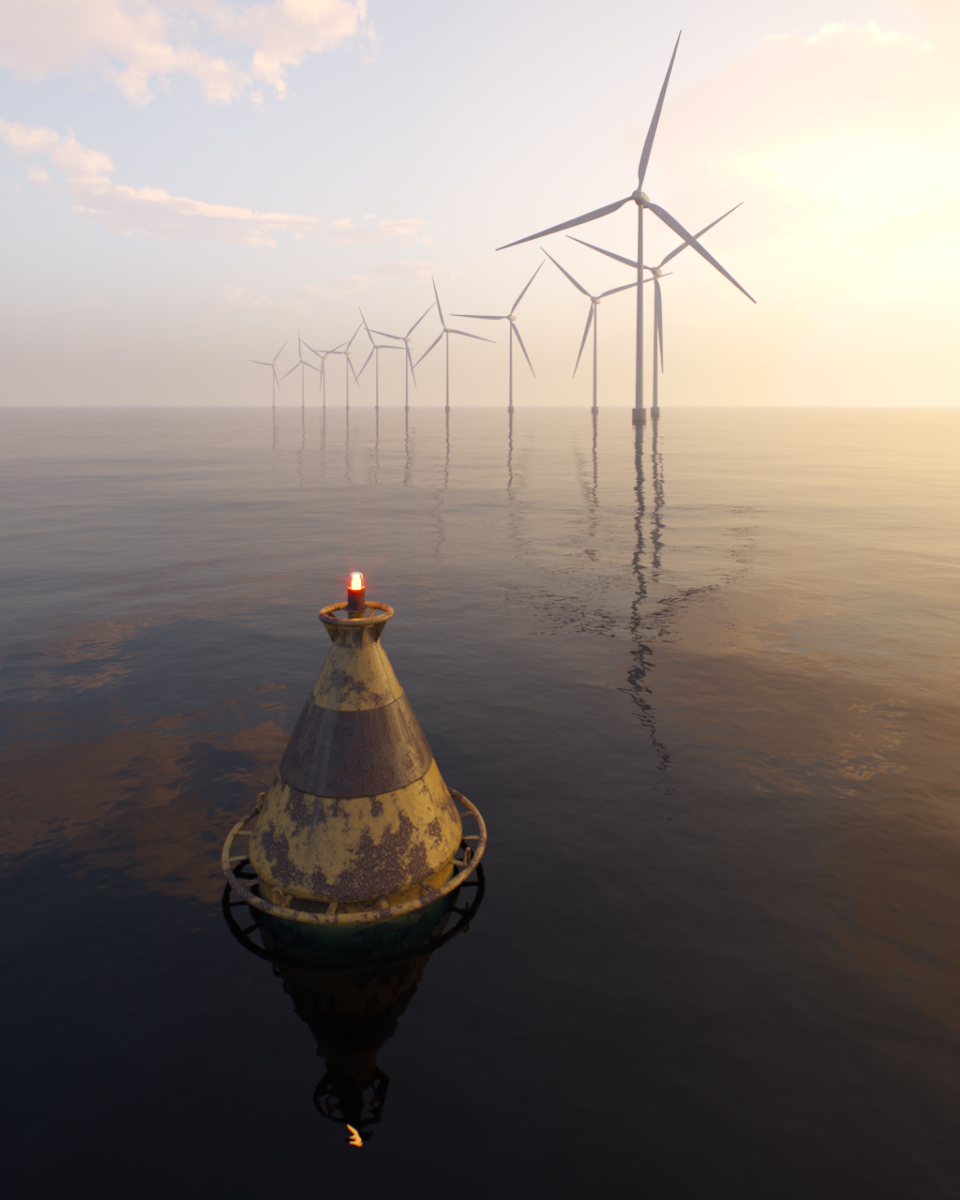
Height Multiplier = 1
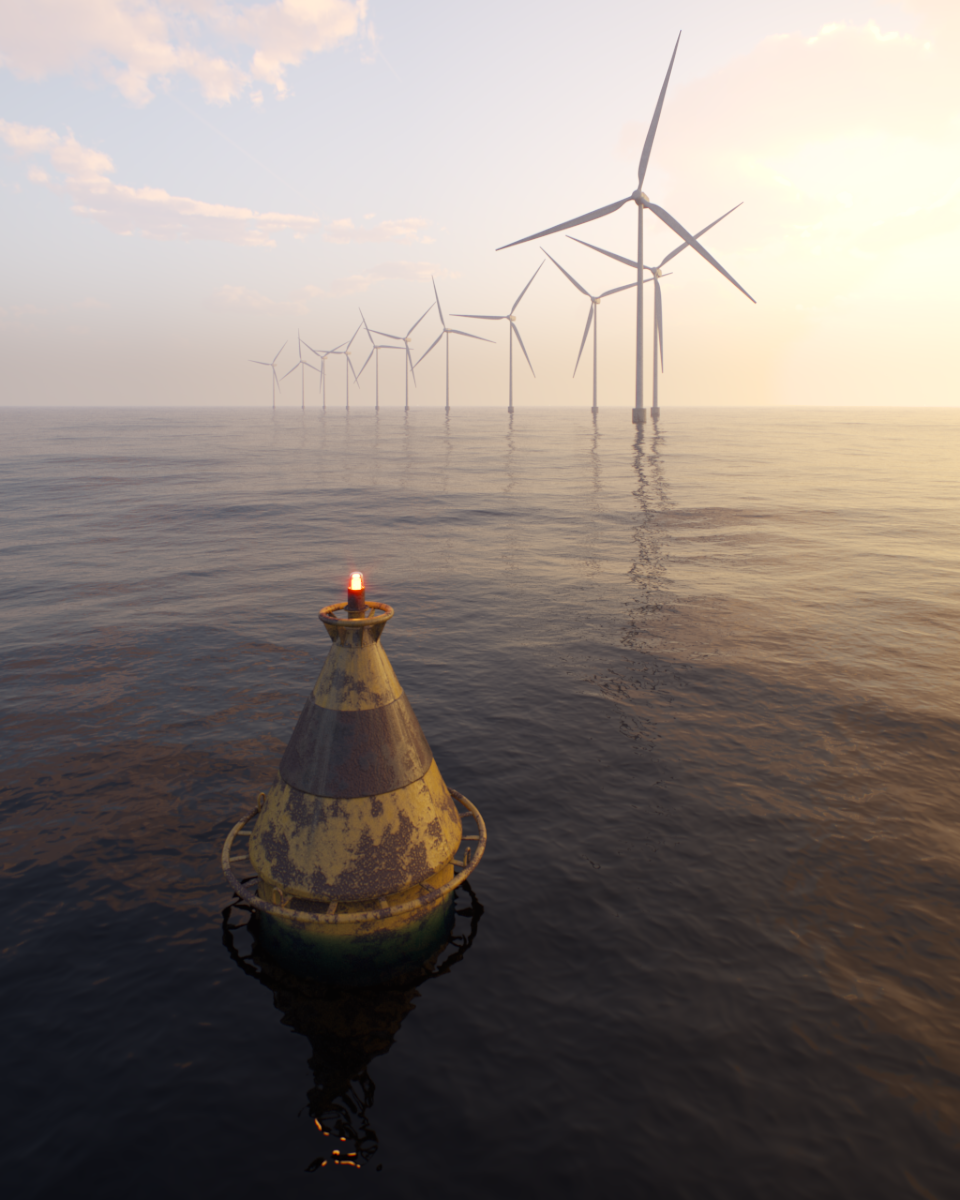
Height Multiplier = 3
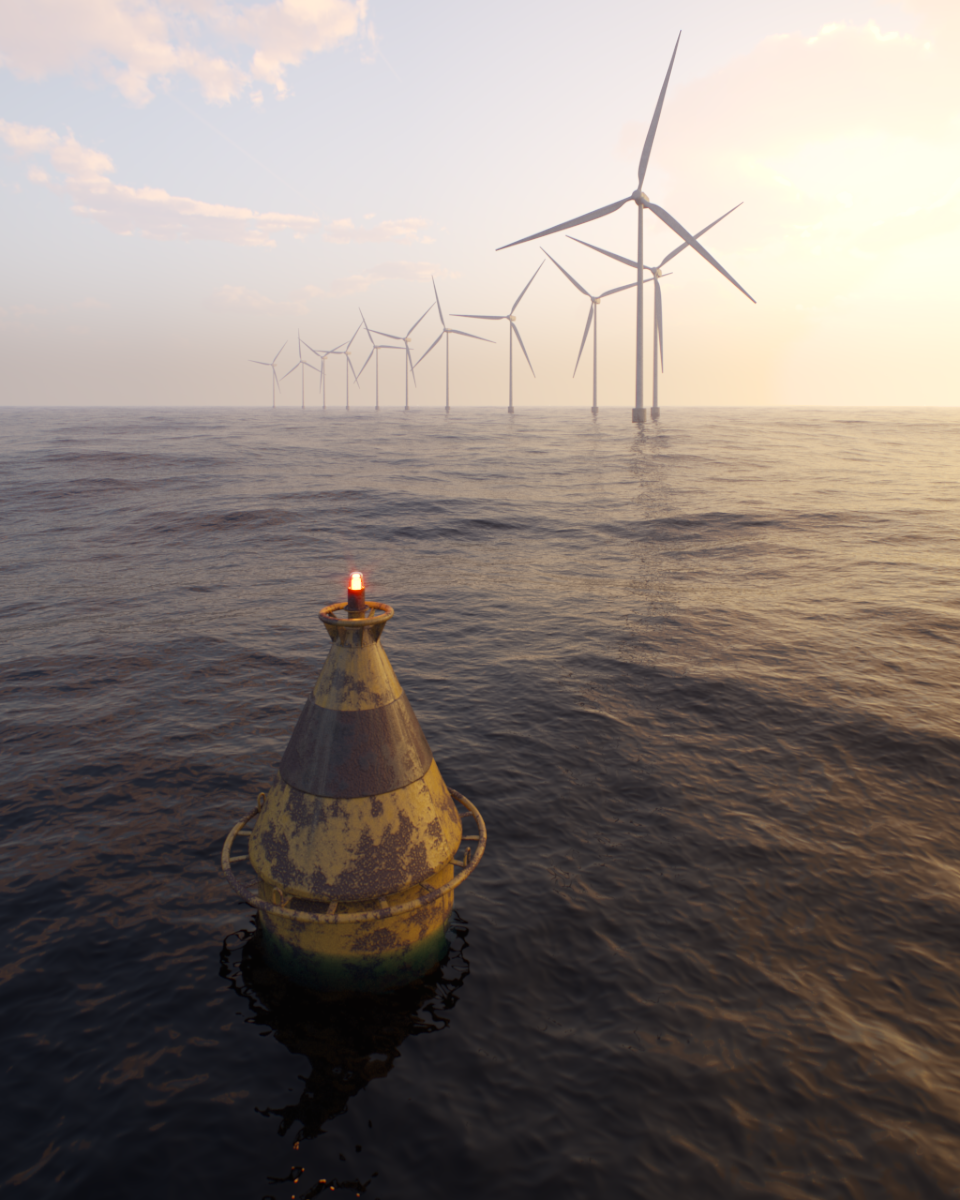
Height Multiplier = 6
Example: Sharpness
This example shows how Sharpness changes the sharpness of the wave crests.
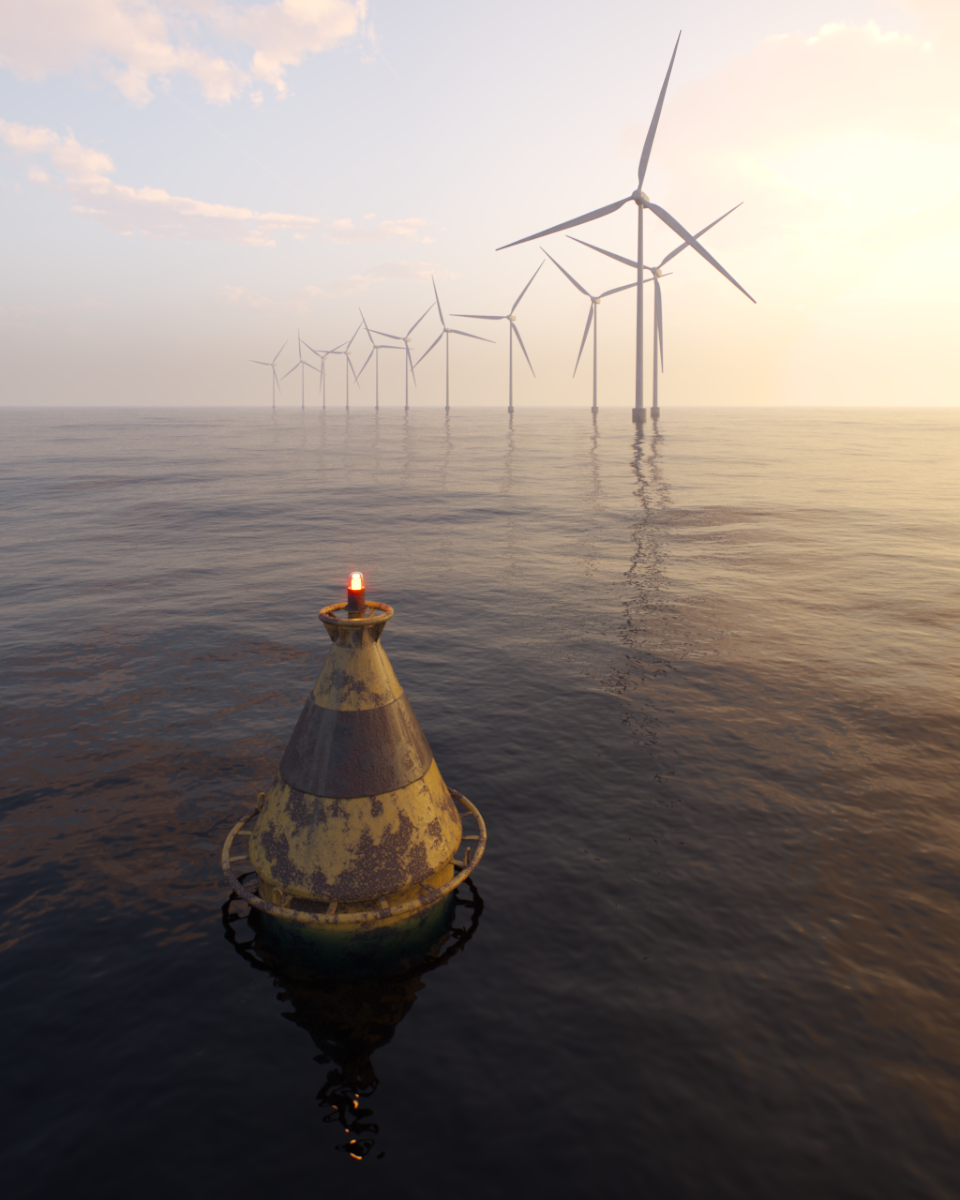
Sharpness = 0.2
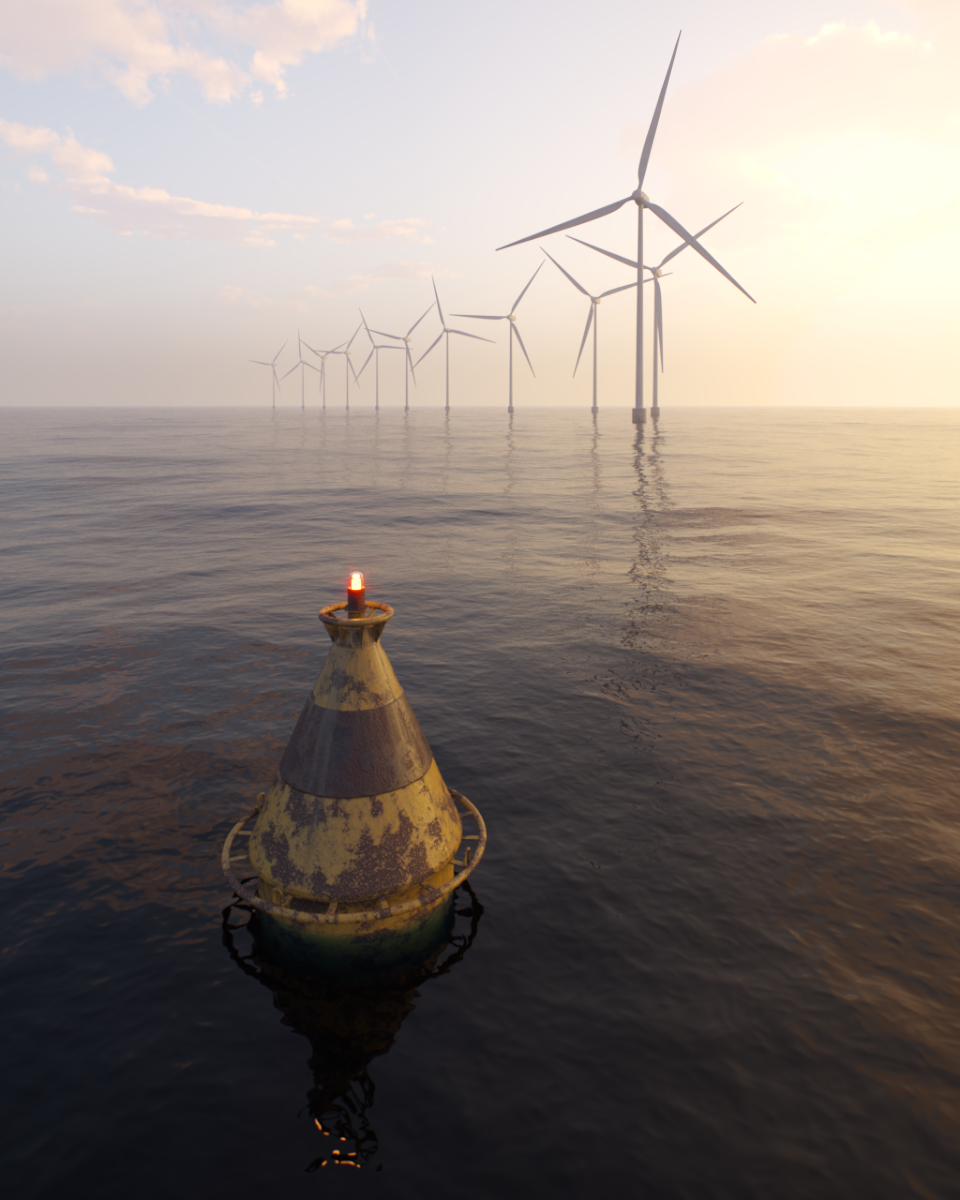
Sharpness = 0.5
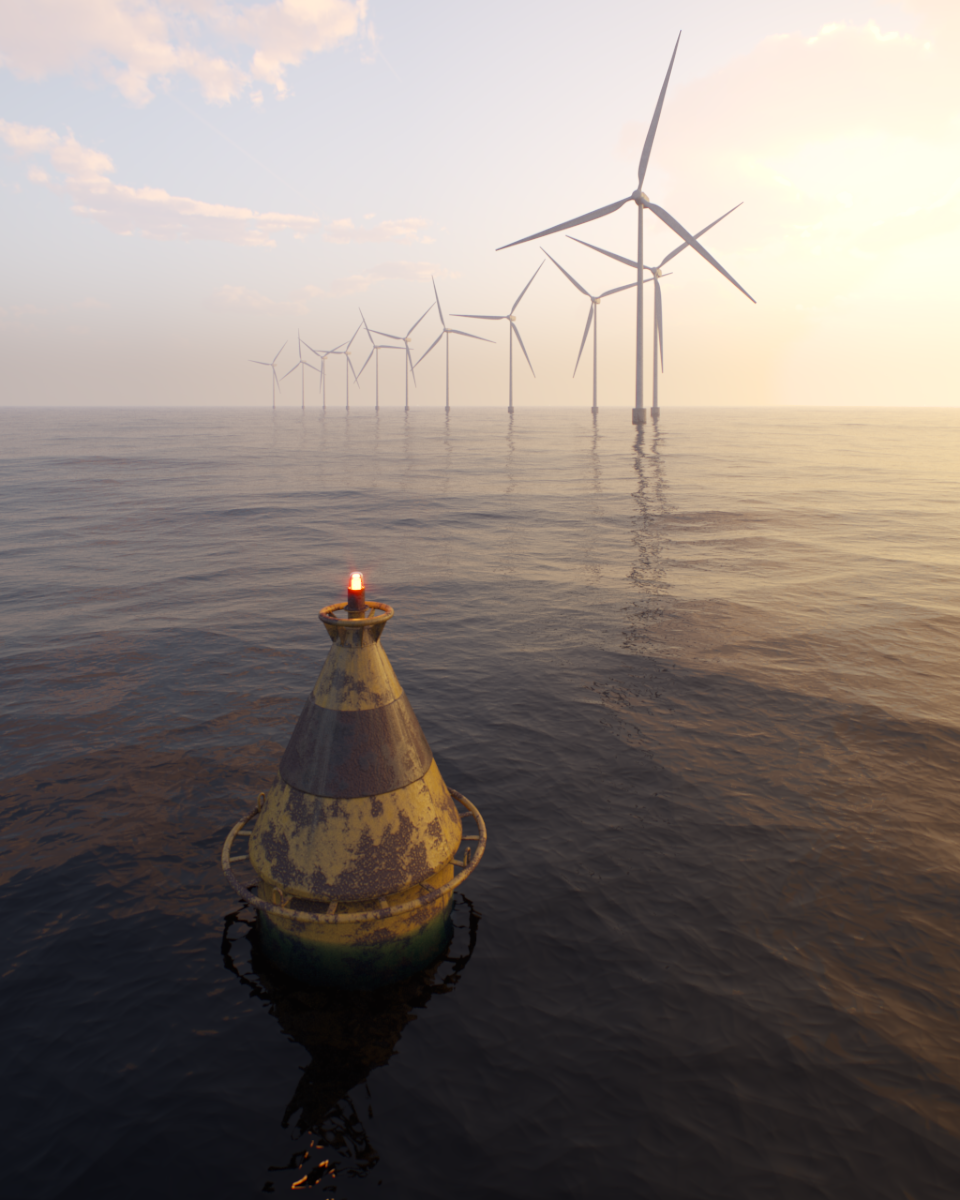
Sharpness = 0.8
Example: Velocity Coherence
This example shows how Velocity Coherence changes the variation in wave direction.
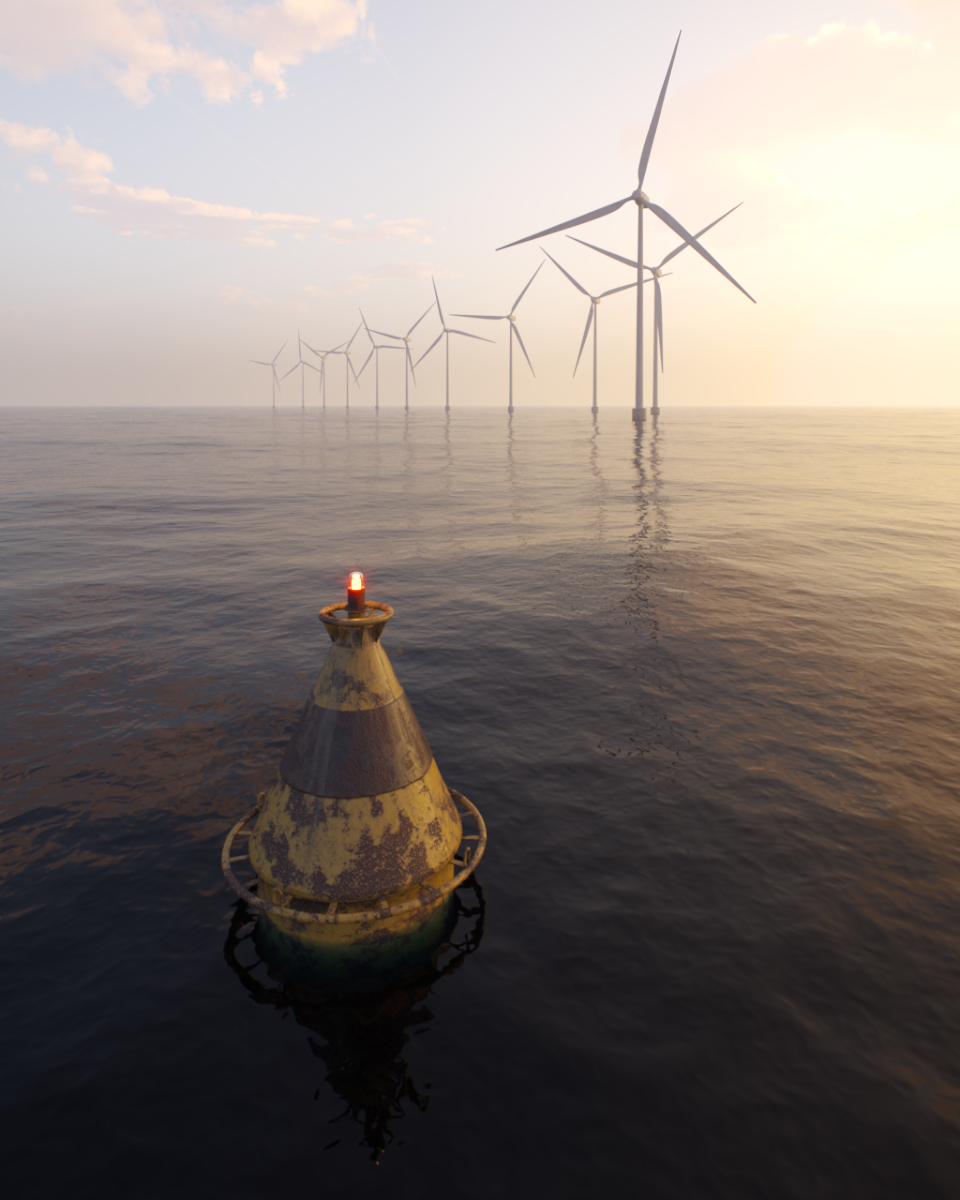
Velocity Coherence = 0
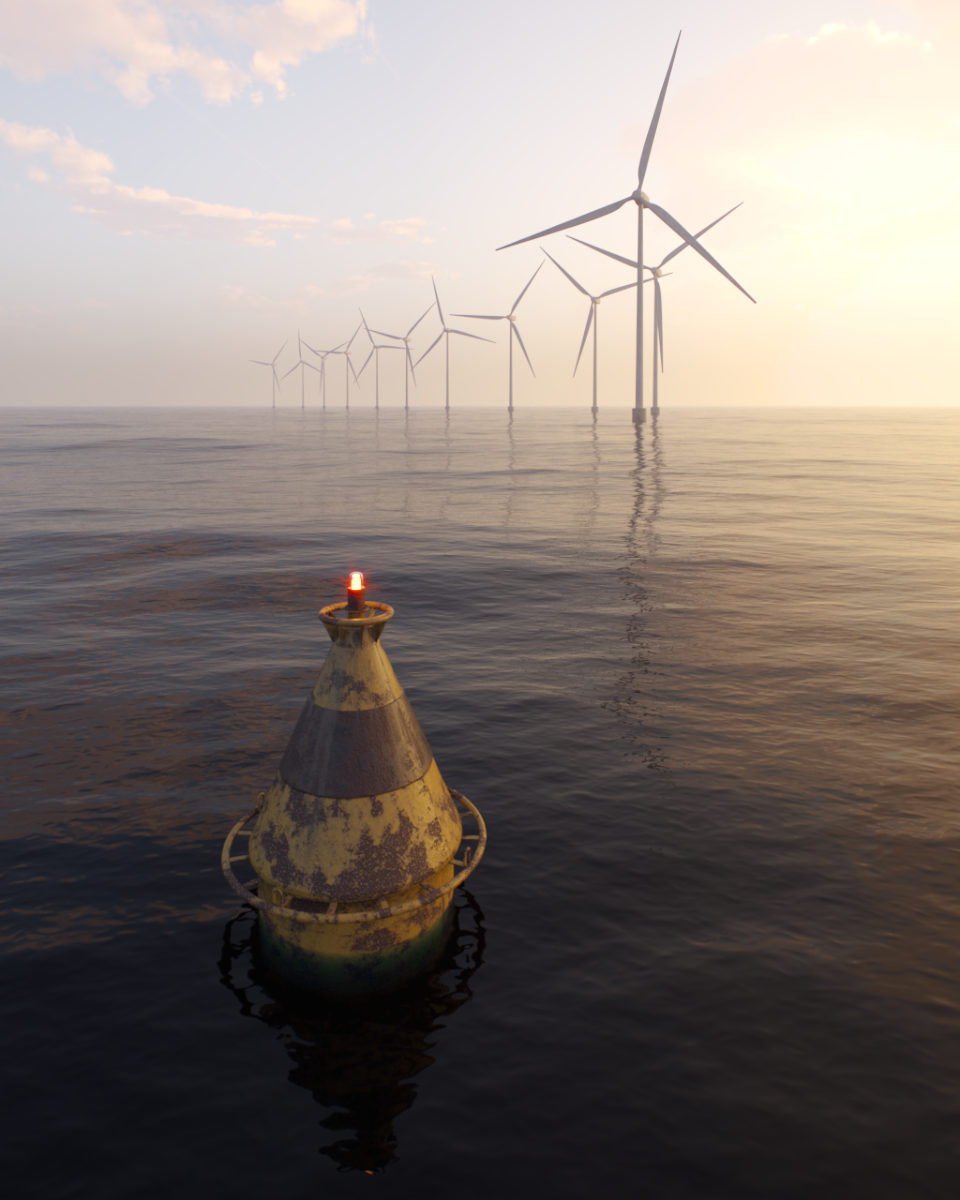
Velocity Coherence = 0.5
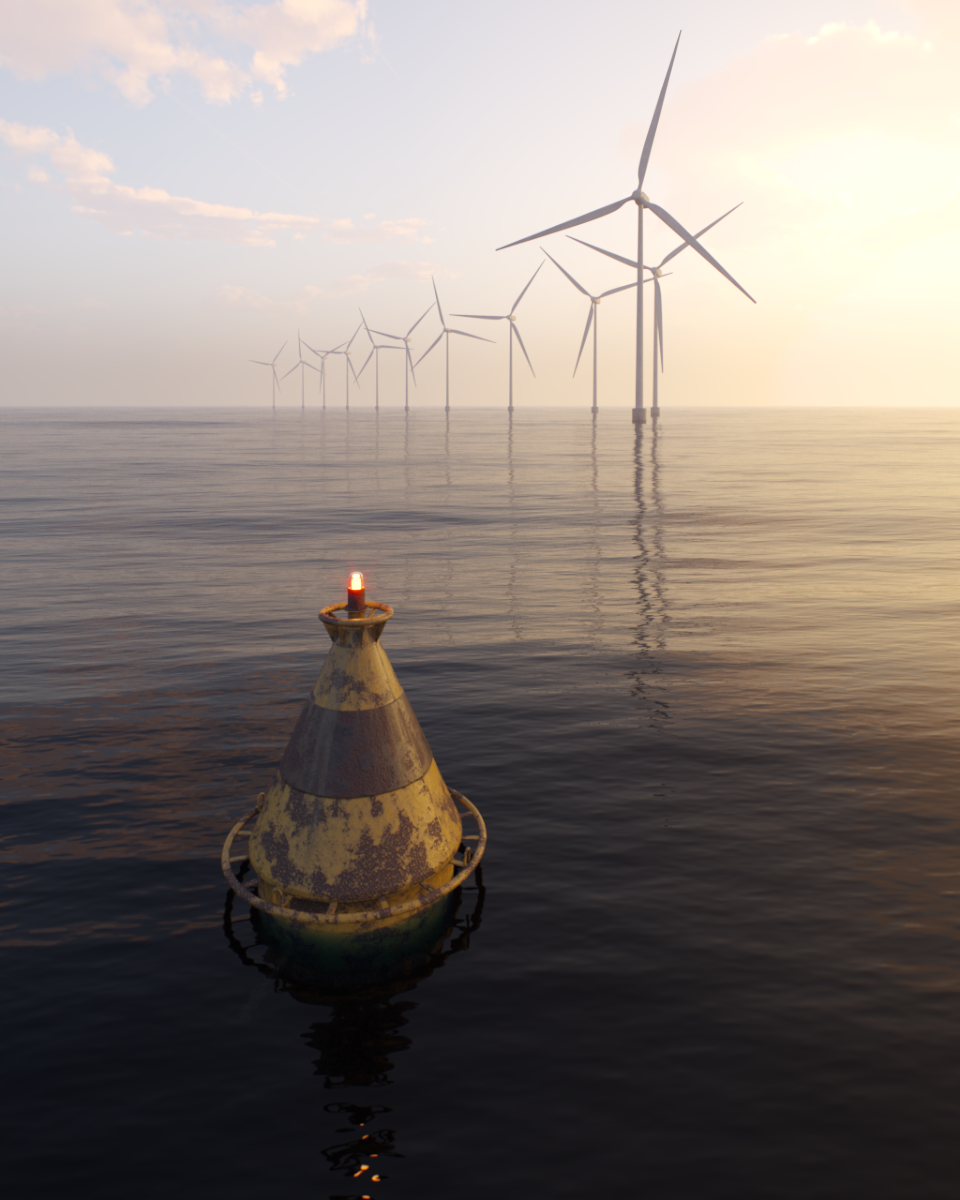
Velocity Coherence = 1
Example: Wave Crest
This example shows how Wave Crest changes the length of the wave crests.
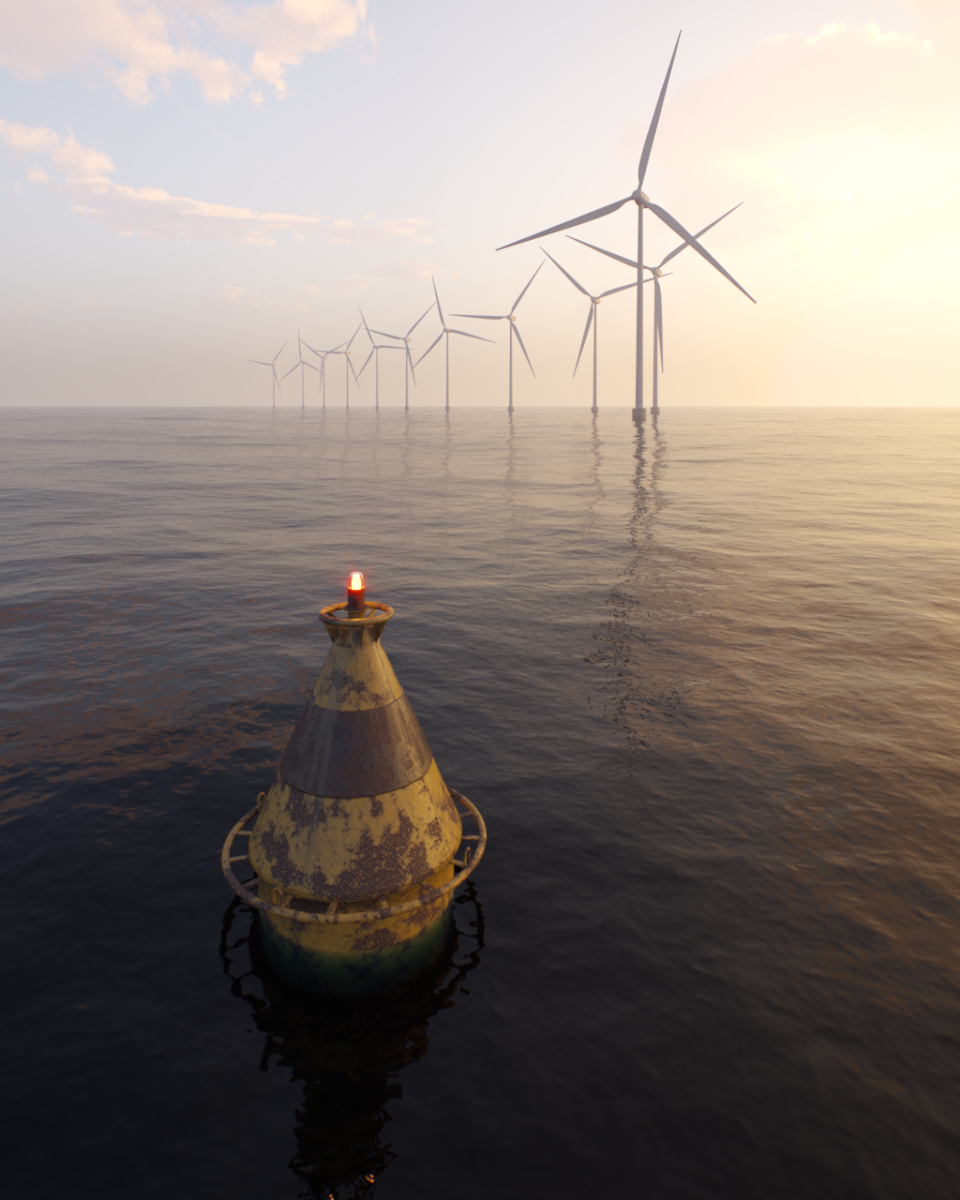
Wave Crest = 0
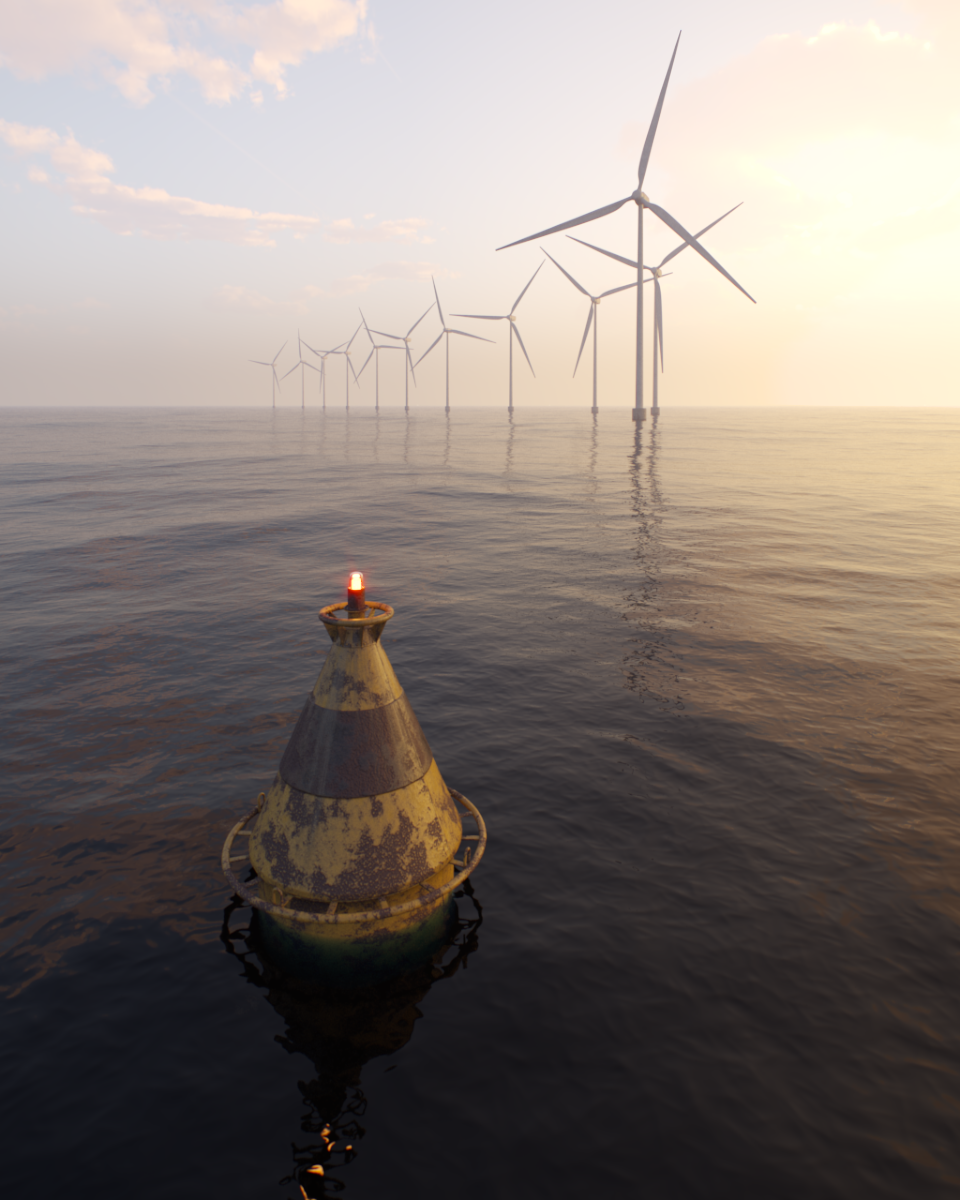
Wave Crest = 0.5
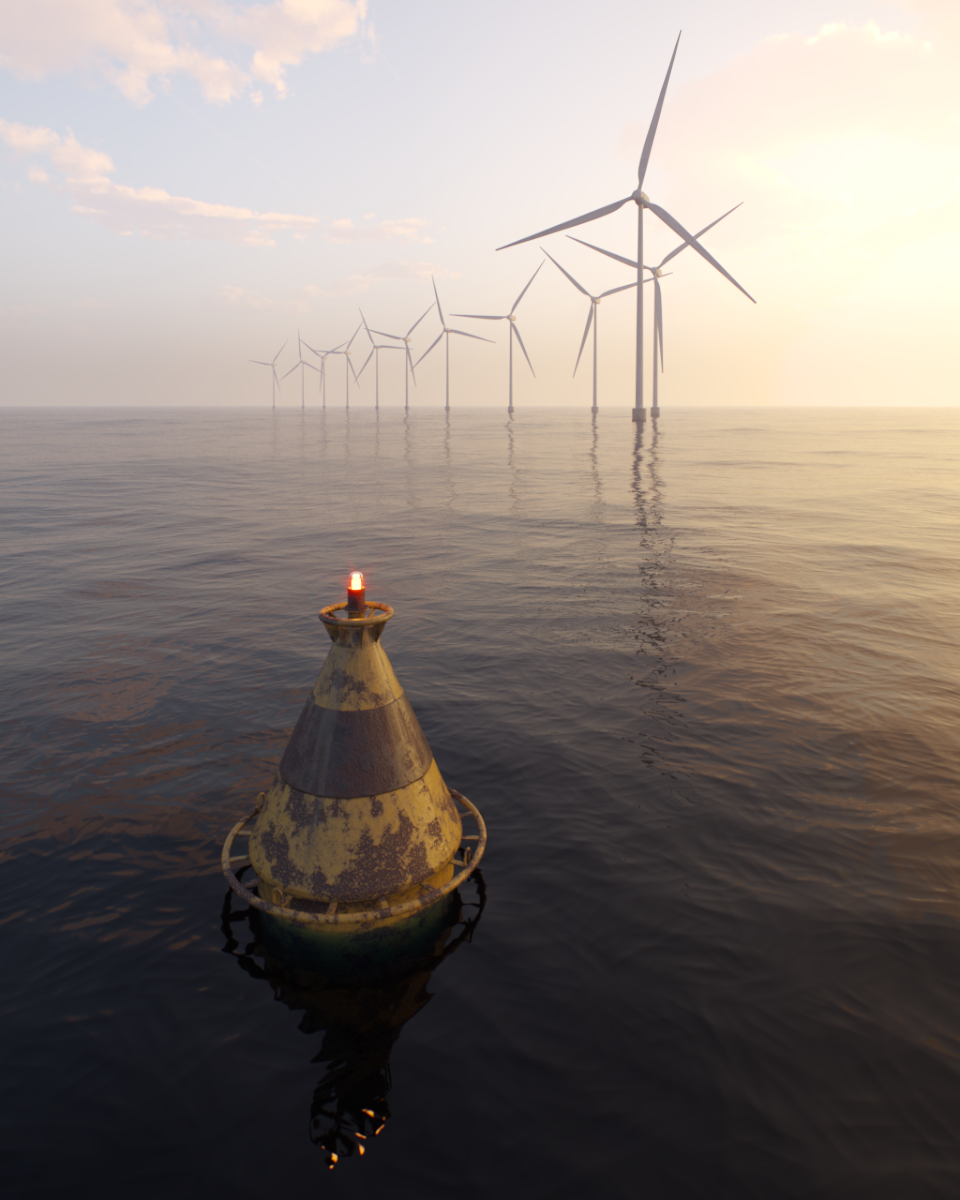
Wave Crest = 1
Example: Vertical Offset
This example shows how Vertical Offset adds a shift to the wave displacement.
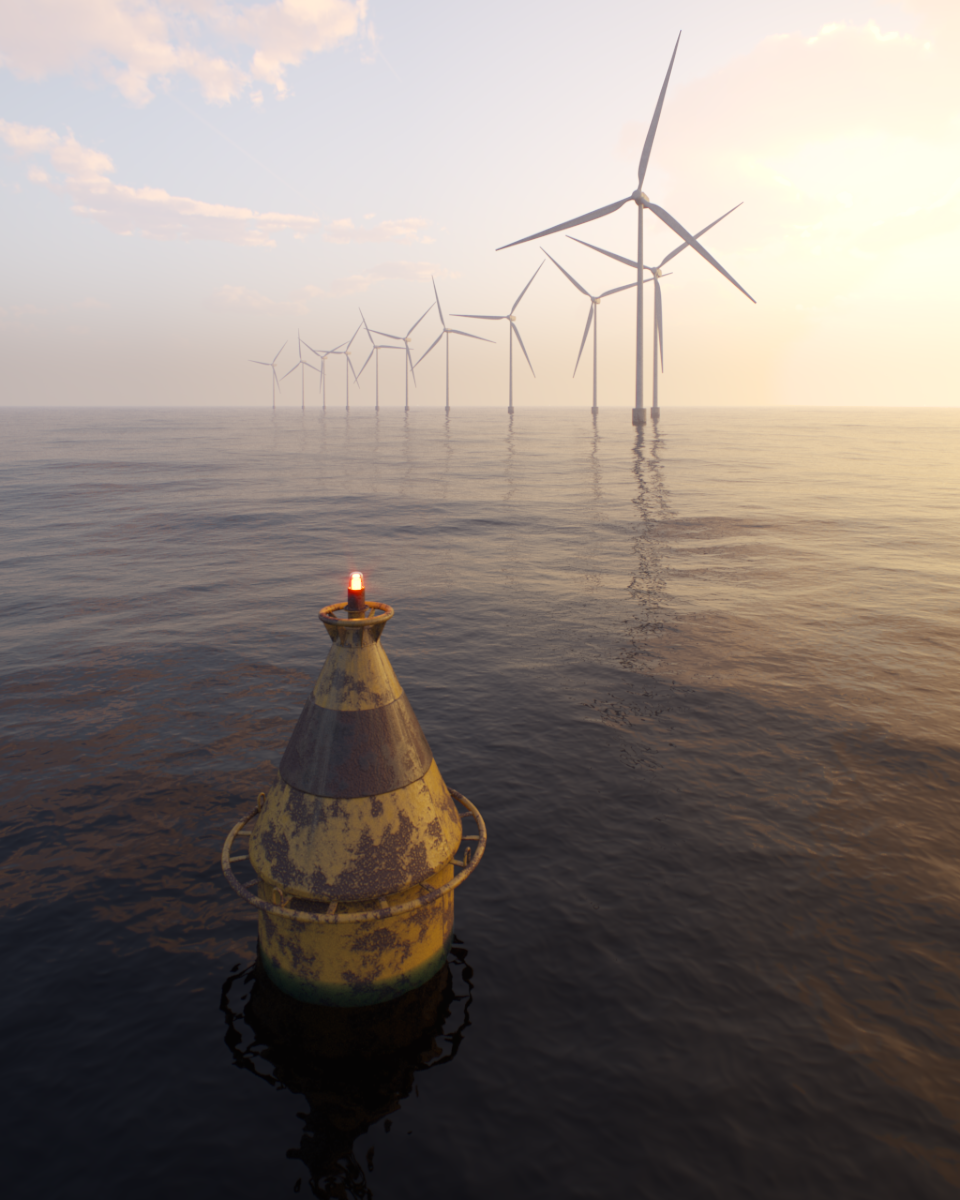
Vertical Offset = -50
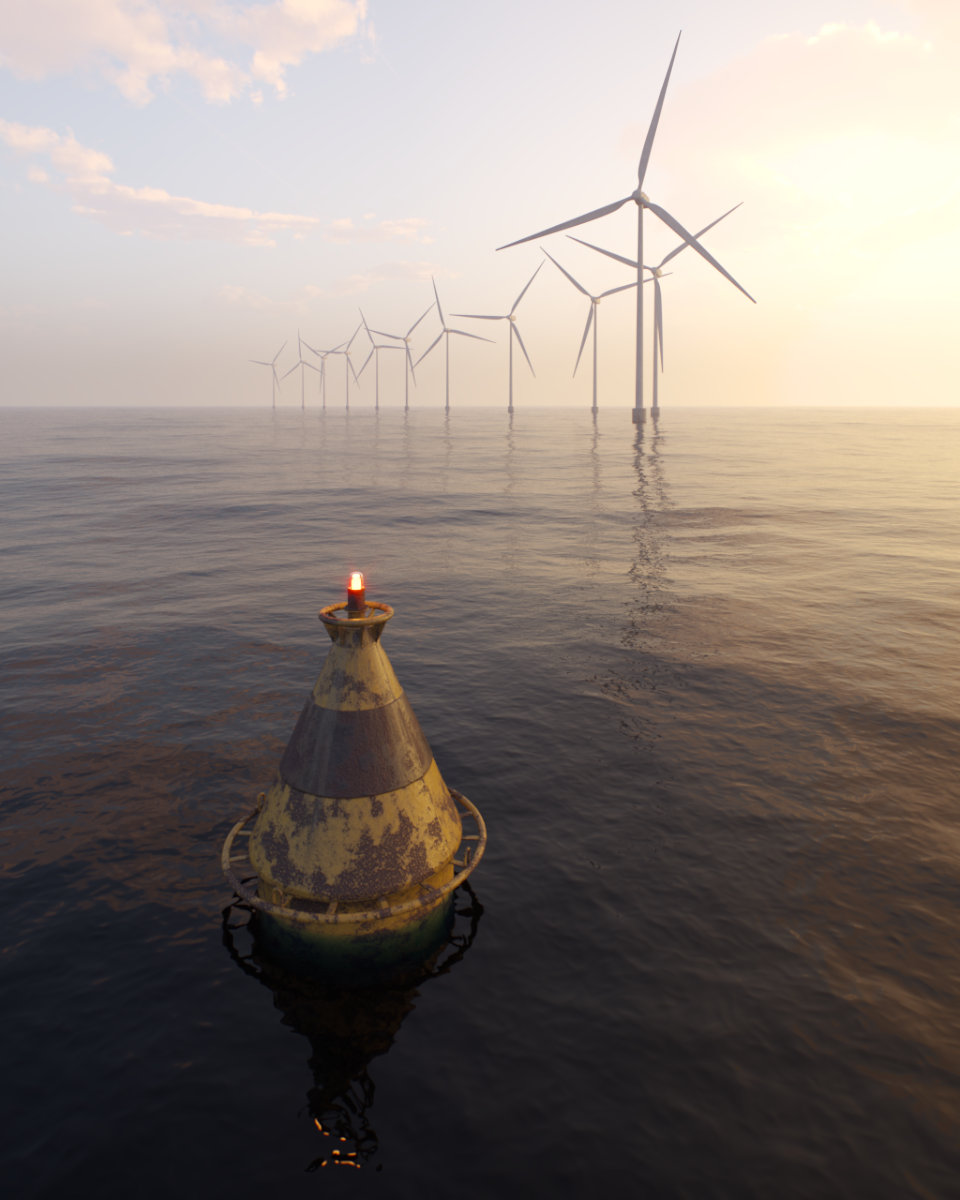
Vertical Offset = 0
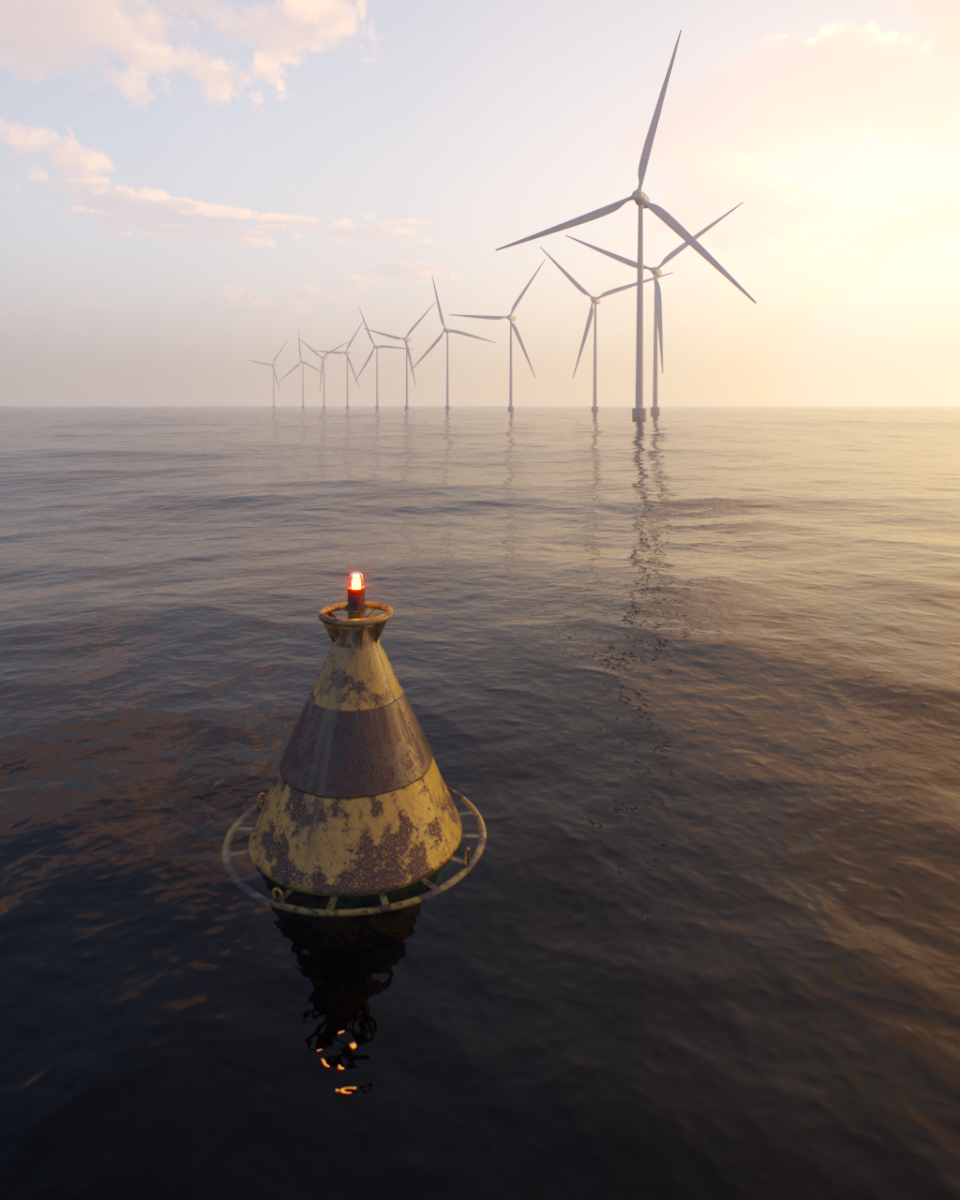
Vertical Offset = 50
Example: Seed
This example shows how Seed changes the random wave pattern.
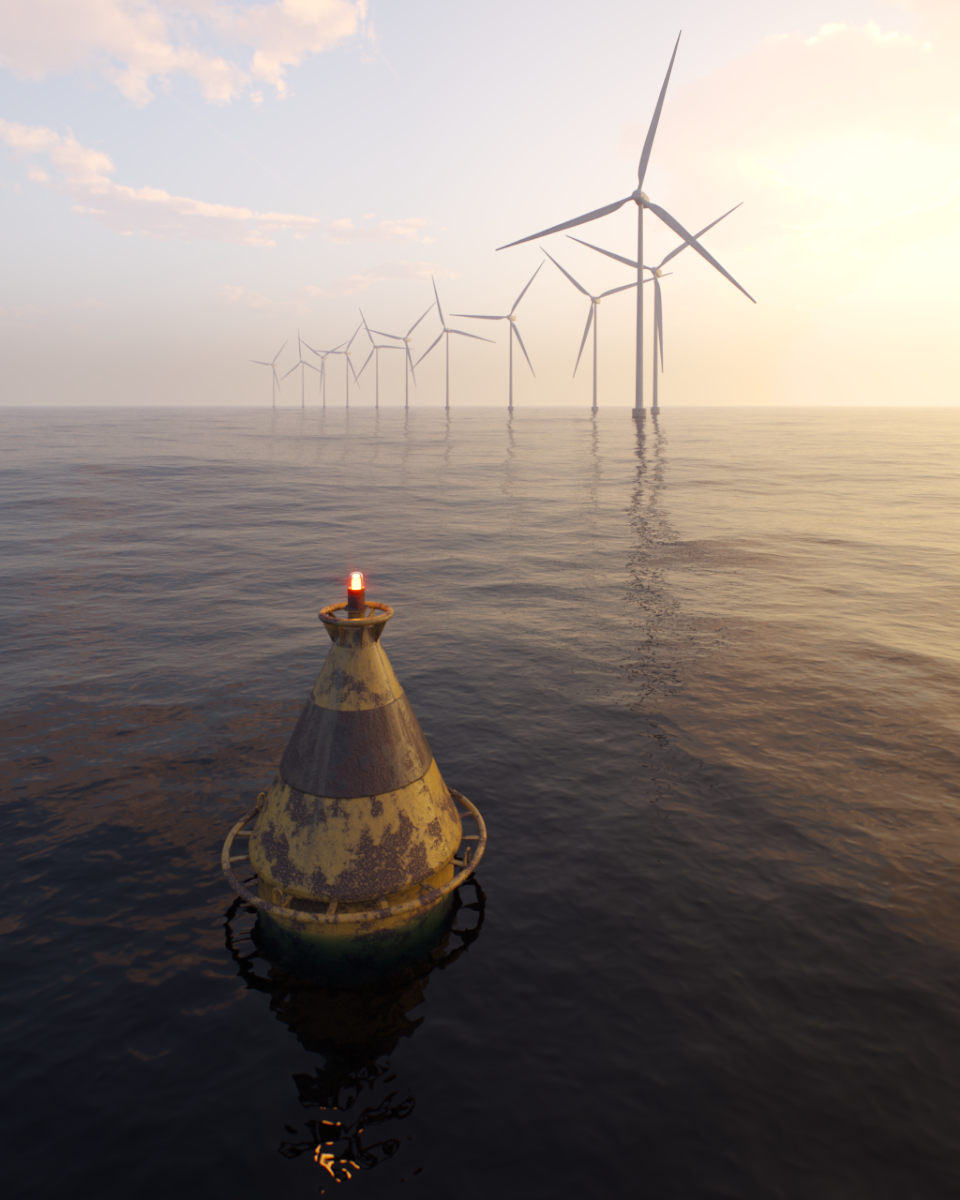
Seed = 1
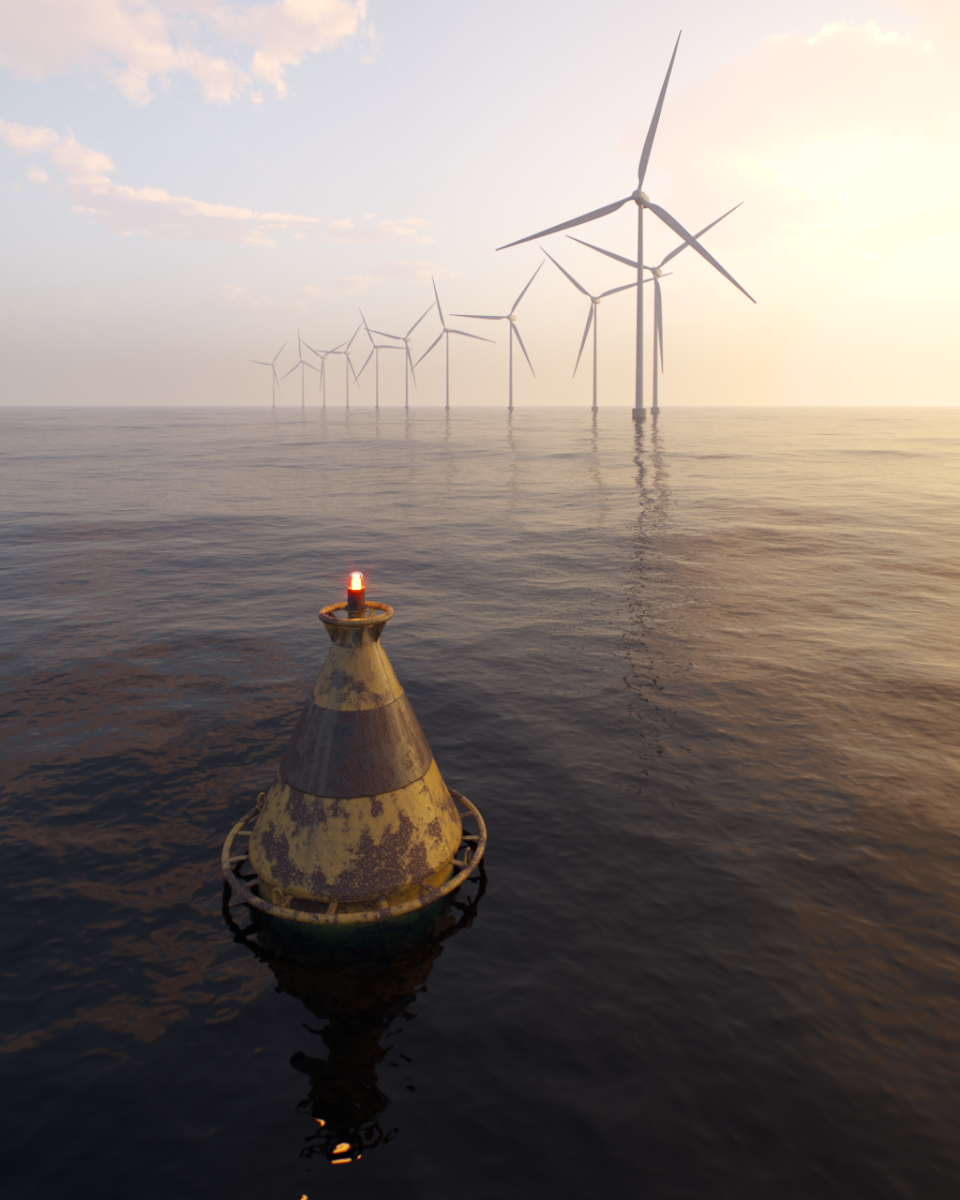
Seed = 3
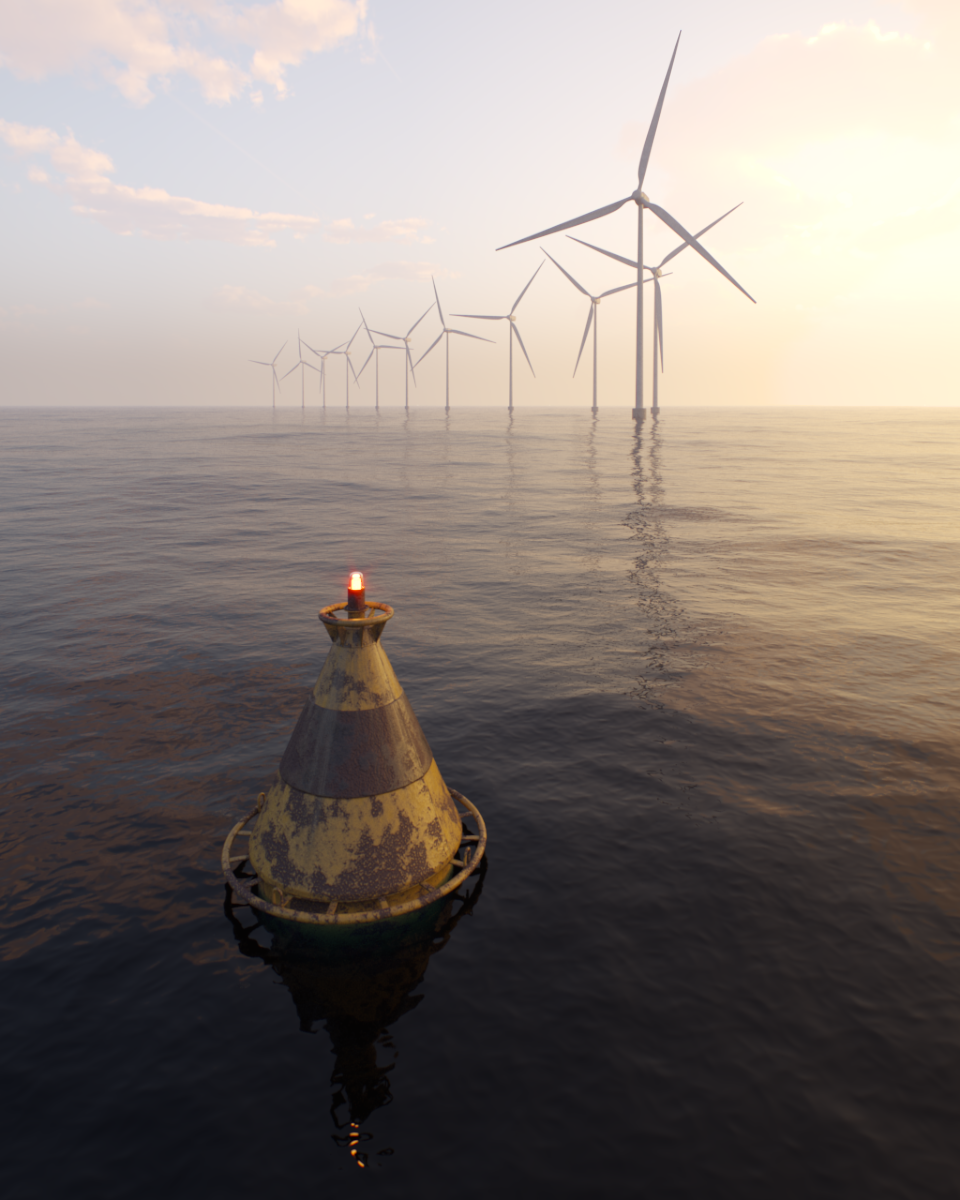
Seed = 5
Texture placement
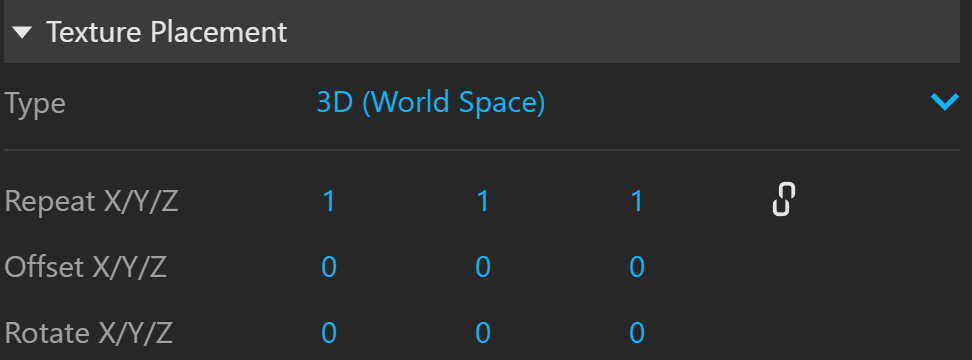
Type controls how the texture is positioned on the geometry.
3D (World Space) positions the texture using world coordinates, independently of the object's UVs.
Repeat X/Y/Z sets how many times the texture repeats along the X/Y/Z axis.
Lock X/Y/Z Repeat locks the X/Y/Z repeat.
Offset X/Y/Z controls the texture's offset in the X/Y/Z direction.
Rotate X/Y/Z rotates the texture around the X/Y/Z axis.
Notes
- Wind Speed is calculated in inches, the default SketchUp unit.