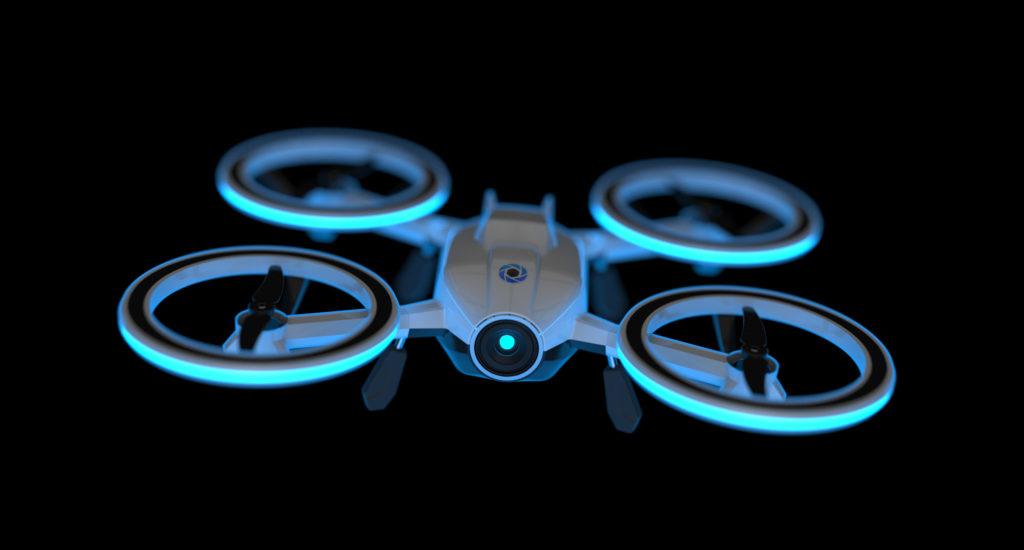
KeyShot Studio
Getting Started with KeyShot Studio
KeyShot Studio’s drag and drop based workflow will have you rendering images in minutes. With a simple interface providing many advanced features and instant real-time feedback, you save time while focusing on your design.
Last updated 3 August 2026
KeyShot Studio’s drag and drop based workflow will have you rendering images in minutes. With a simple interface providing many advanced features and instant real-time feedback, you save time while focusing on your design.
Step 1: Import Your 3D Model
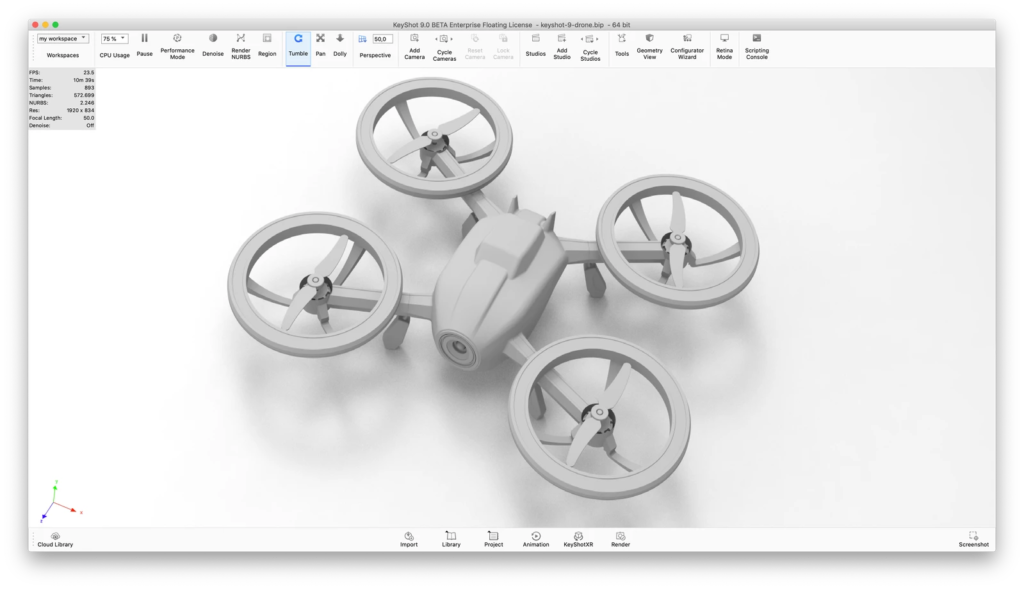
Launch KeyShot Studio. Import your 3D model via File > Import… (hotkey: i) KeyShot Studio supports more than 20 3D file formats, including SketchUp, SolidWorks, Solid Edge, Pro/ENGINEER, PTC Creo, Rhinoceros, Maya, 3ds Max, IGES, STEP, OBJ, 3ds, Collada, and FBX and USD (see the full list here). KeyShot Studio also features many plugins with more features, including KeyShot Studio BIP export and LiveLinking.
Step 2: Assign Your Materials
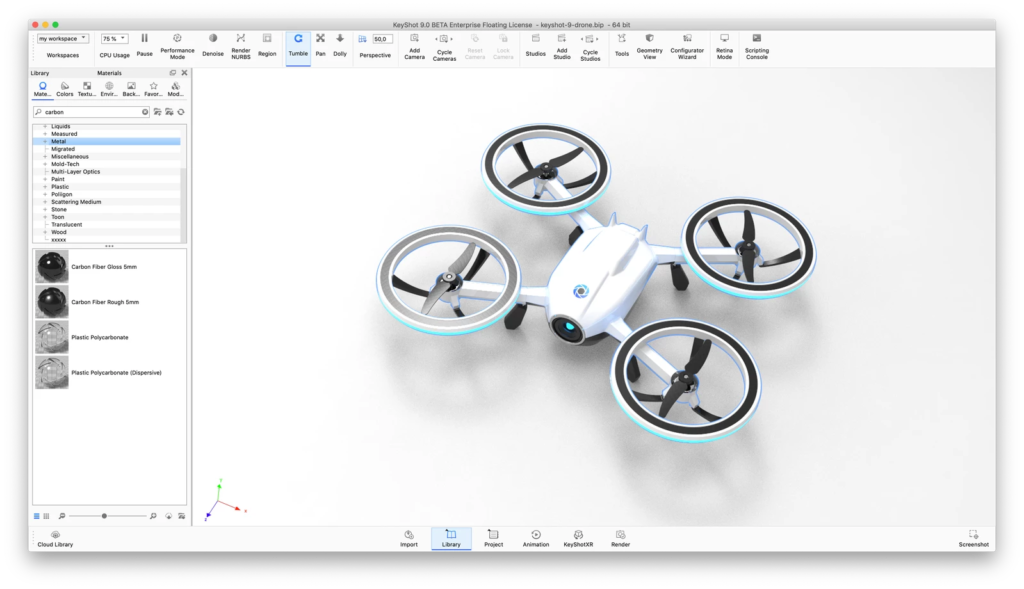
From the Library window, select the Materials tab. Apply any of the 700+ scientifically accurate materials from the material library by simply dragging and dropping them onto your model in the Real-time View. Changes appear on your model instantly with accurate color and lighting under the current lighting conditions.
Step 3: Choose Your Environment
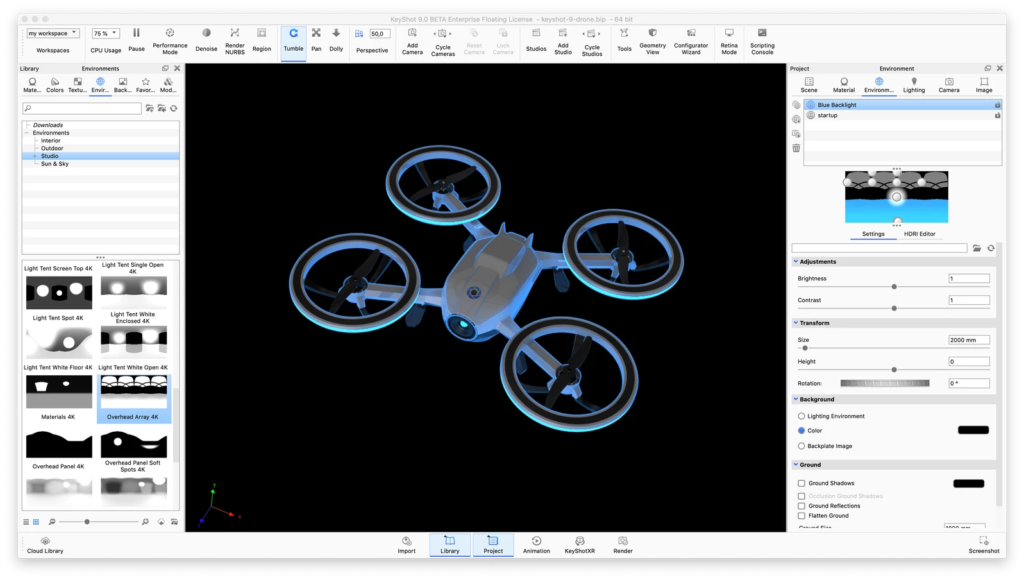
Now select the Environment library. Drag and drop an Interior, Outdoor or Studio lighting environment (HDRI) into your scene. You will see the change in the scientifically accurate, real world lighting immediately and how it affects the appearance of your colors, materials and finishes.
Step 4: Adjust Your Camera
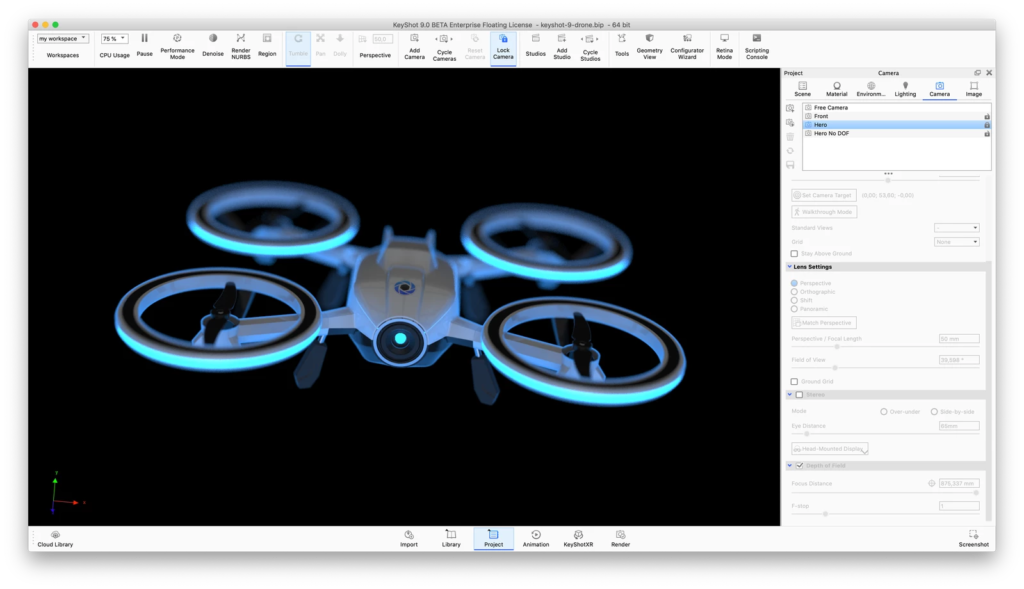
Use your mouse to adjust the camera. Additional settings are available in the Project > Camera tab. Adjust the angle and distance, control perspective with focal length and field of view settings, and easily add depth of field to your scene.
Step 5: Enjoy the Perfect Image
Hit  Render on the main toolbar (hotkey: P). Use the default setting or adjust the output options. When you are ready, press the Render button and watch your image render right before your eyes.