The Analysis Viewer
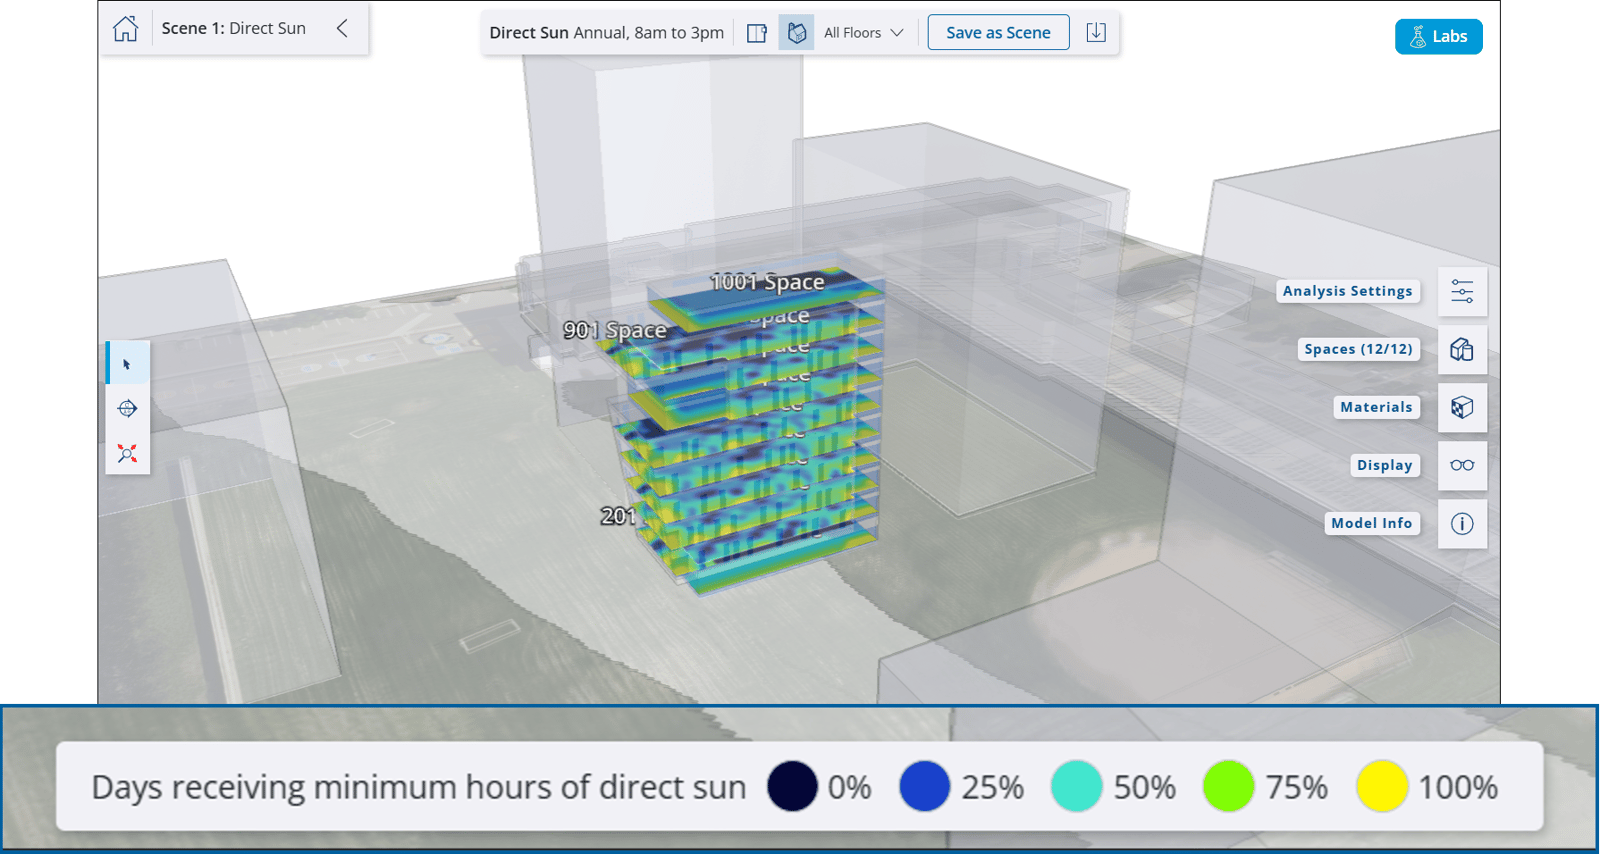
The Analysis Viewer provides a 3D environment where you can interact with your analysis results.
Last updated 17 July 2026
The Analysis Viewer provides a 3D environment where you can interact with your analysis results.
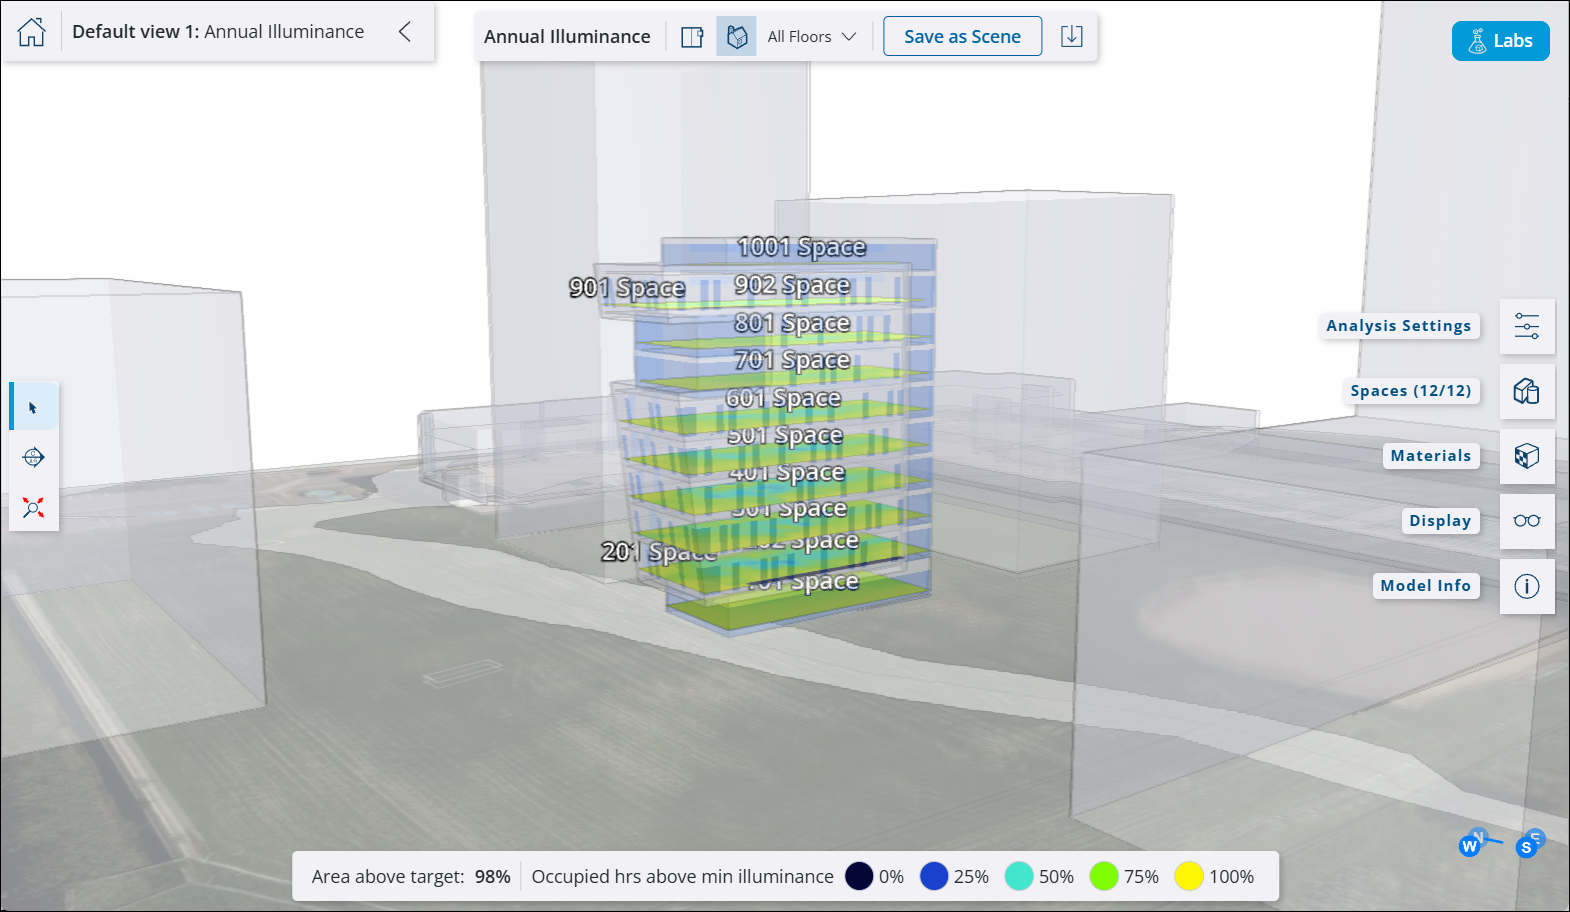
The top of the window lists the scene name for the analysis along with the type of analysis you performed.
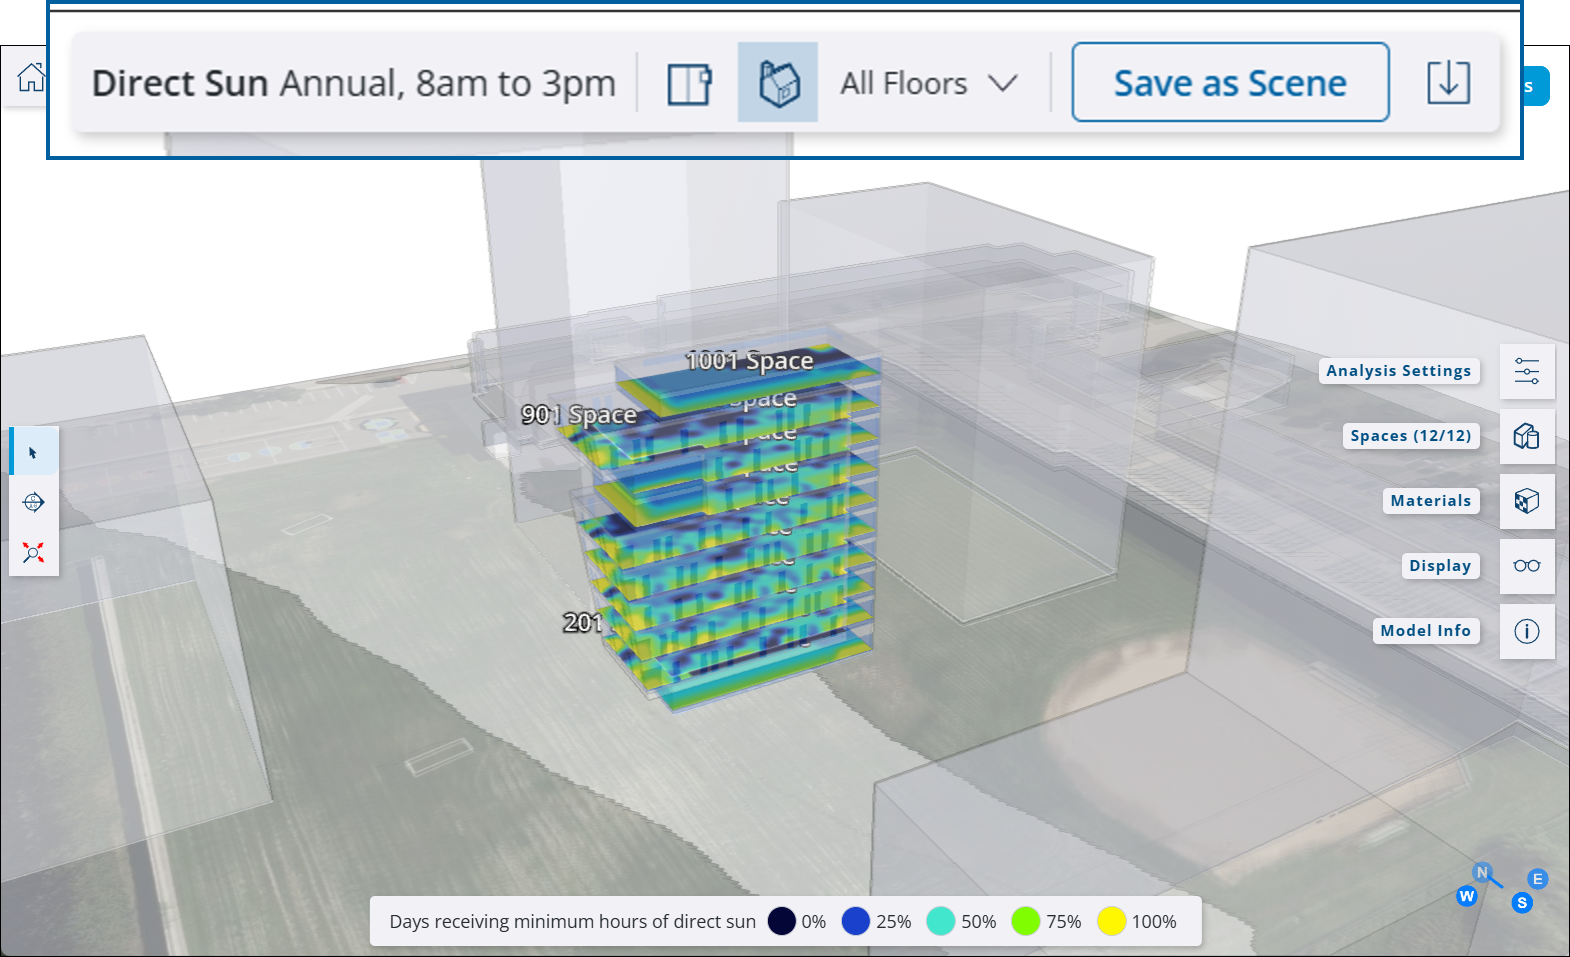
You can change the view of your model with the following options:
- Top View (
 ) displays a 2D top-down view using parallel projection.
 - Iso View (
 ) displays a 3D isometric view.
 - Using the dropdown, you can select a building floor in your model and narrow the view to only show that floor.
The left side of the window offers a toolbar containing the following tools:
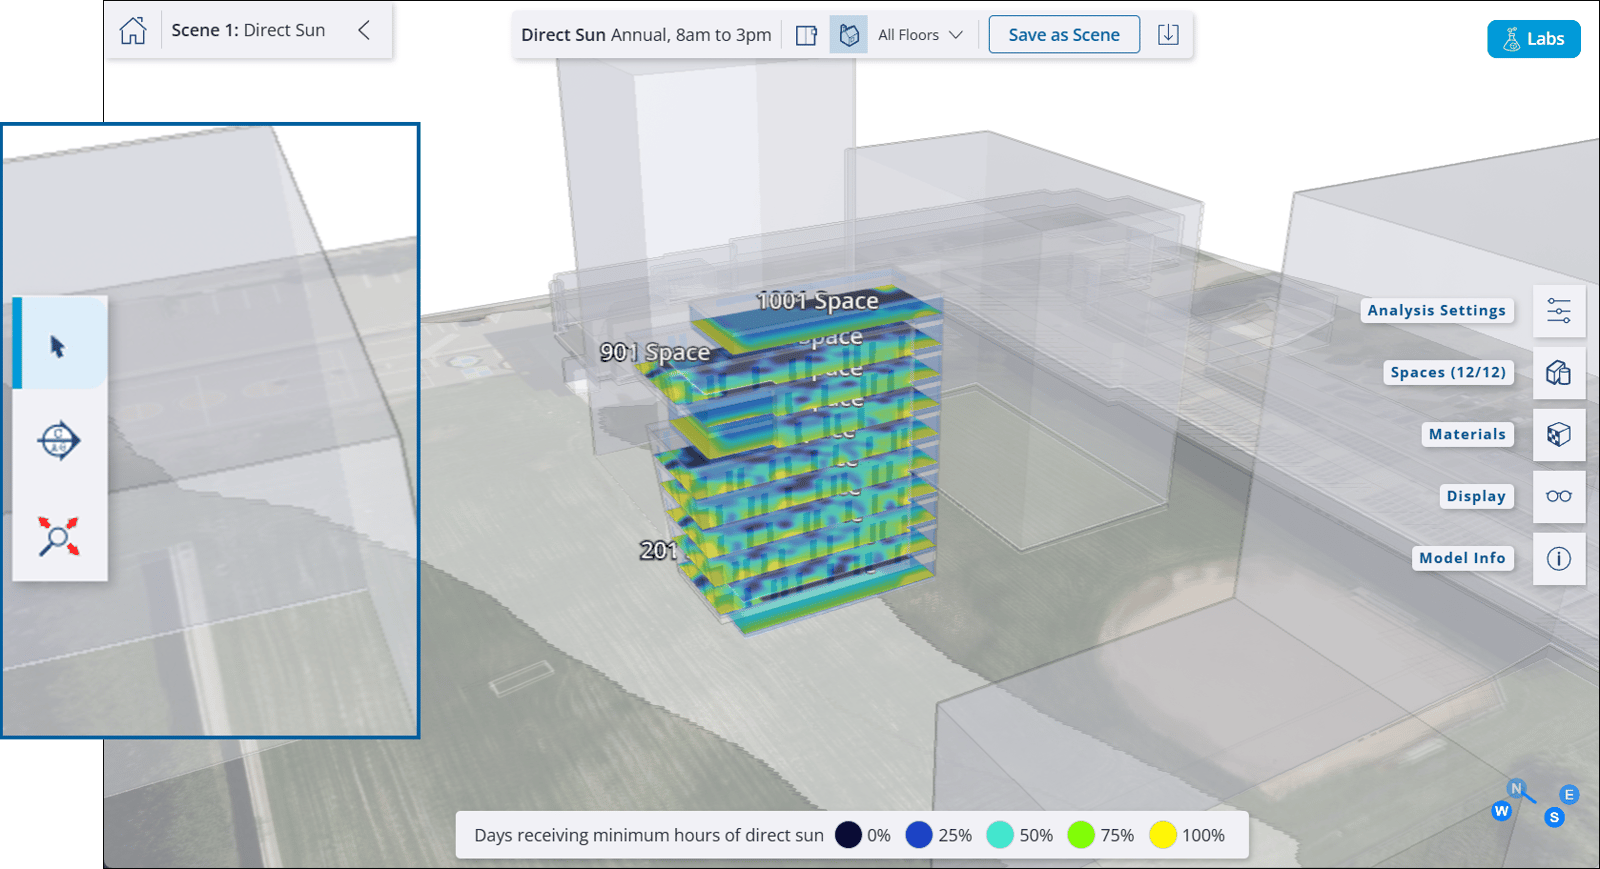
- Select (
 ) – The default tool for interacting with your analysis.
 - Section Plane (
 ) – Activate and click a face on the model to create a section. You can then use the tool to adjust the view or delete a section if needed.
 - Zoom Extents (
 ) – Resets the camera to show the entire uploaded model.
The right side of the window contains the following panels to help you adjust your results:
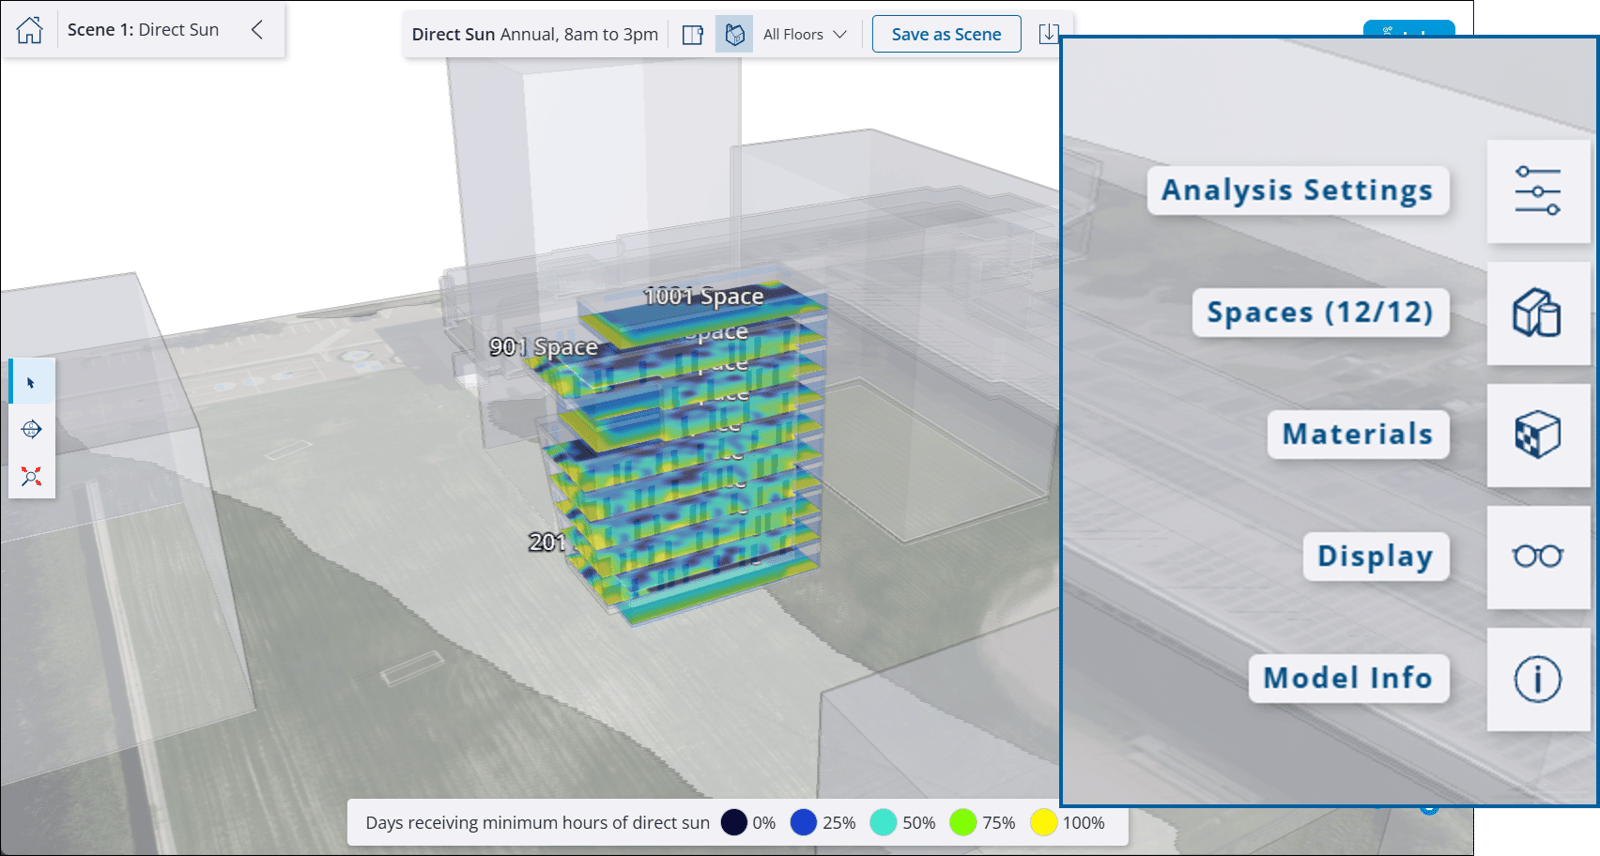
- Analysis Settings – Settings specific to each analysis allowing you to change the criteria used to generate your analysis data and adjust the settings for the simulation.
- Spaces – Lists all floors and spaces in the model with the option to toggle each on or off.
- Materials – Lists all materials in the model and how their properties are used in the simulation.
- Display – Settings allowing you to toggle on or off parts of your model, how faces appear in the simulation, and what units of measurement are used.
- Model Info – The model’s geolocation information.
The bottom of the window provides a legend appropriate to your chosen analysis type to help you interpret your analysis data.
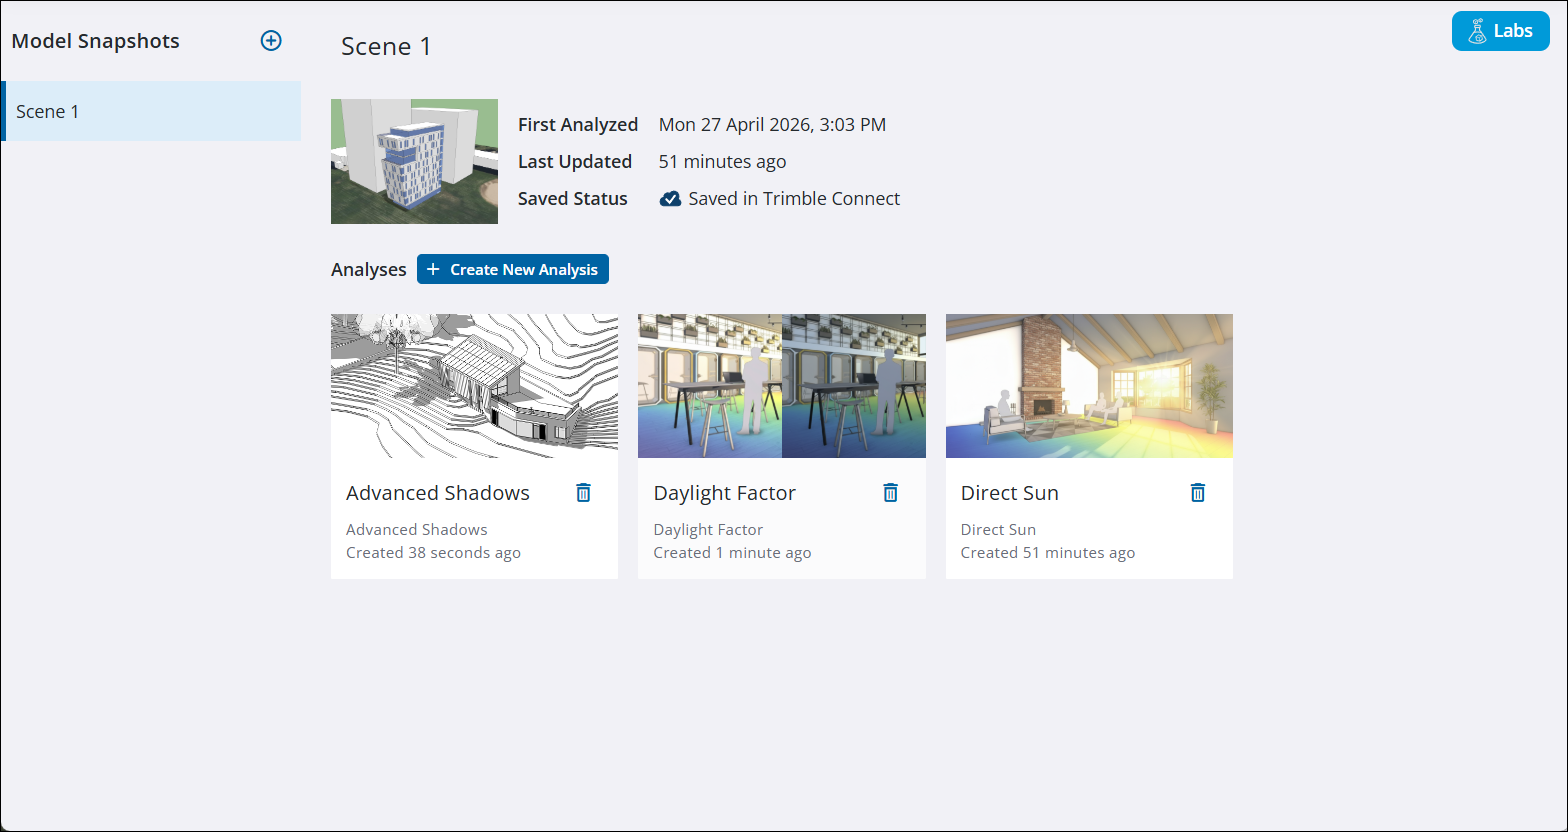
After performing an analysis, clicking Home ( ) on the Analysis Viewer opens the Analysis Hub dashboard where you can view and manage each analysis you’ve performed, create a new one, or start again with a new model snapshot.
Still need help?
Technical support from our New Zealand team is available to customers with a current Procadsys SketchUp Plus subscription: Pro Plus, Pro Scan Plus, Pro Civil Contractor Plus, Advanced Workflows Plus or Studio Plus. Self-help articles are public.
Contact SketchUp support