Chaos Vantage
Light Material
This page provides information about the Light Material available for creation in Chaos Vantage.
Last updated 28 February 2026
This page provides information about the Light Material available for creation in Chaos Vantage.
Overview
The Light material is a special material based on the VRayLight material of the V-Ray renderer. This material is generally used for producing self-illuminated surfaces. It also allows you to turn an object into an actual light source. Therefore, the light source can be of any shape.
Parameters
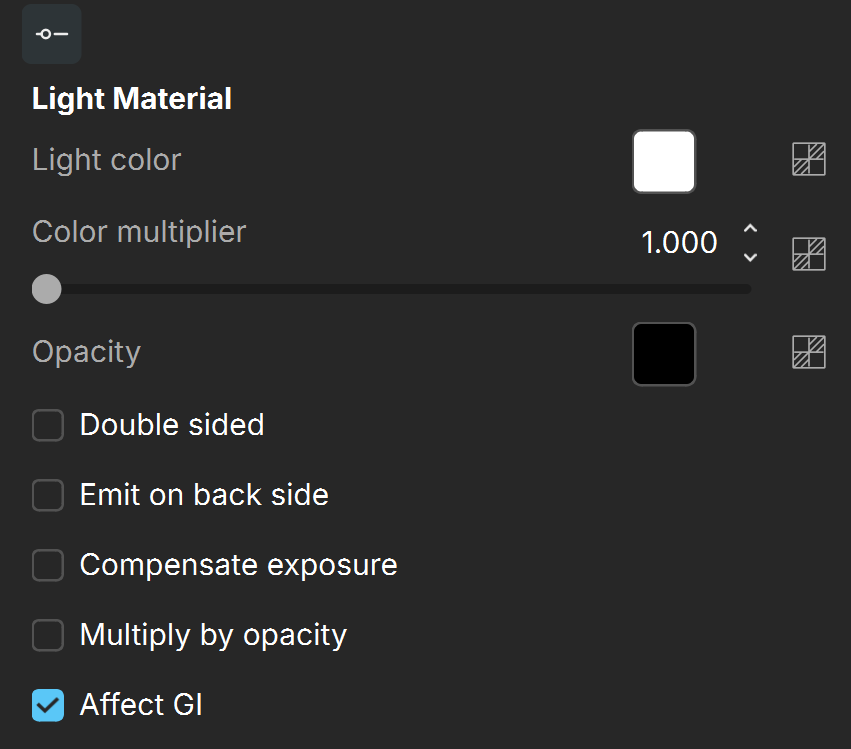
Light color – Specifies the self-illumination color of the material.
Color multiplier – Specifies a multiplier for the Light color. Note that this does not affect the texture map, if specified. See the Color Multiplier example below.
Opacity – Specifies a texture to use as opacity for the material. Note that making the material less opaque does not affect the intensity of the self-illumination color. This is so that perfectly transparent materials that nevertheless still emit light can be created.
Double sided – When disabled, the Light color is black for back-facing surfaces.
Emit on back side – When enabled, the object emits light from its back side as well. When disabled, the material is rendered as black on the back sides.
Compensate exposure – When enabled, the intensity of the light material is adjusted to compensate the exposure correction from the physical camera. See the Compensate Exposure example below.
Multiply by opacity – When enabled, the color of the light material is multiplied by the opacity texture. Otherwise, the color and opacity act independently (so-called additive transparency).
Affect GI – When enabled, the light emission affects GI rays and illuminates the scene.

Example
The following examples demonstrate the effect that individual Light material parameters have on the scene. Click on any image to view it at a higher resolution.
Example: Color Multiplier
This example shows the effect of the Color multiplier parameter. Note that a Gradient texture is mapped to the Light color texture slot and the Lens affects are enabled in the Color Corrections tab. The Compensate exposure option is enabled as well.
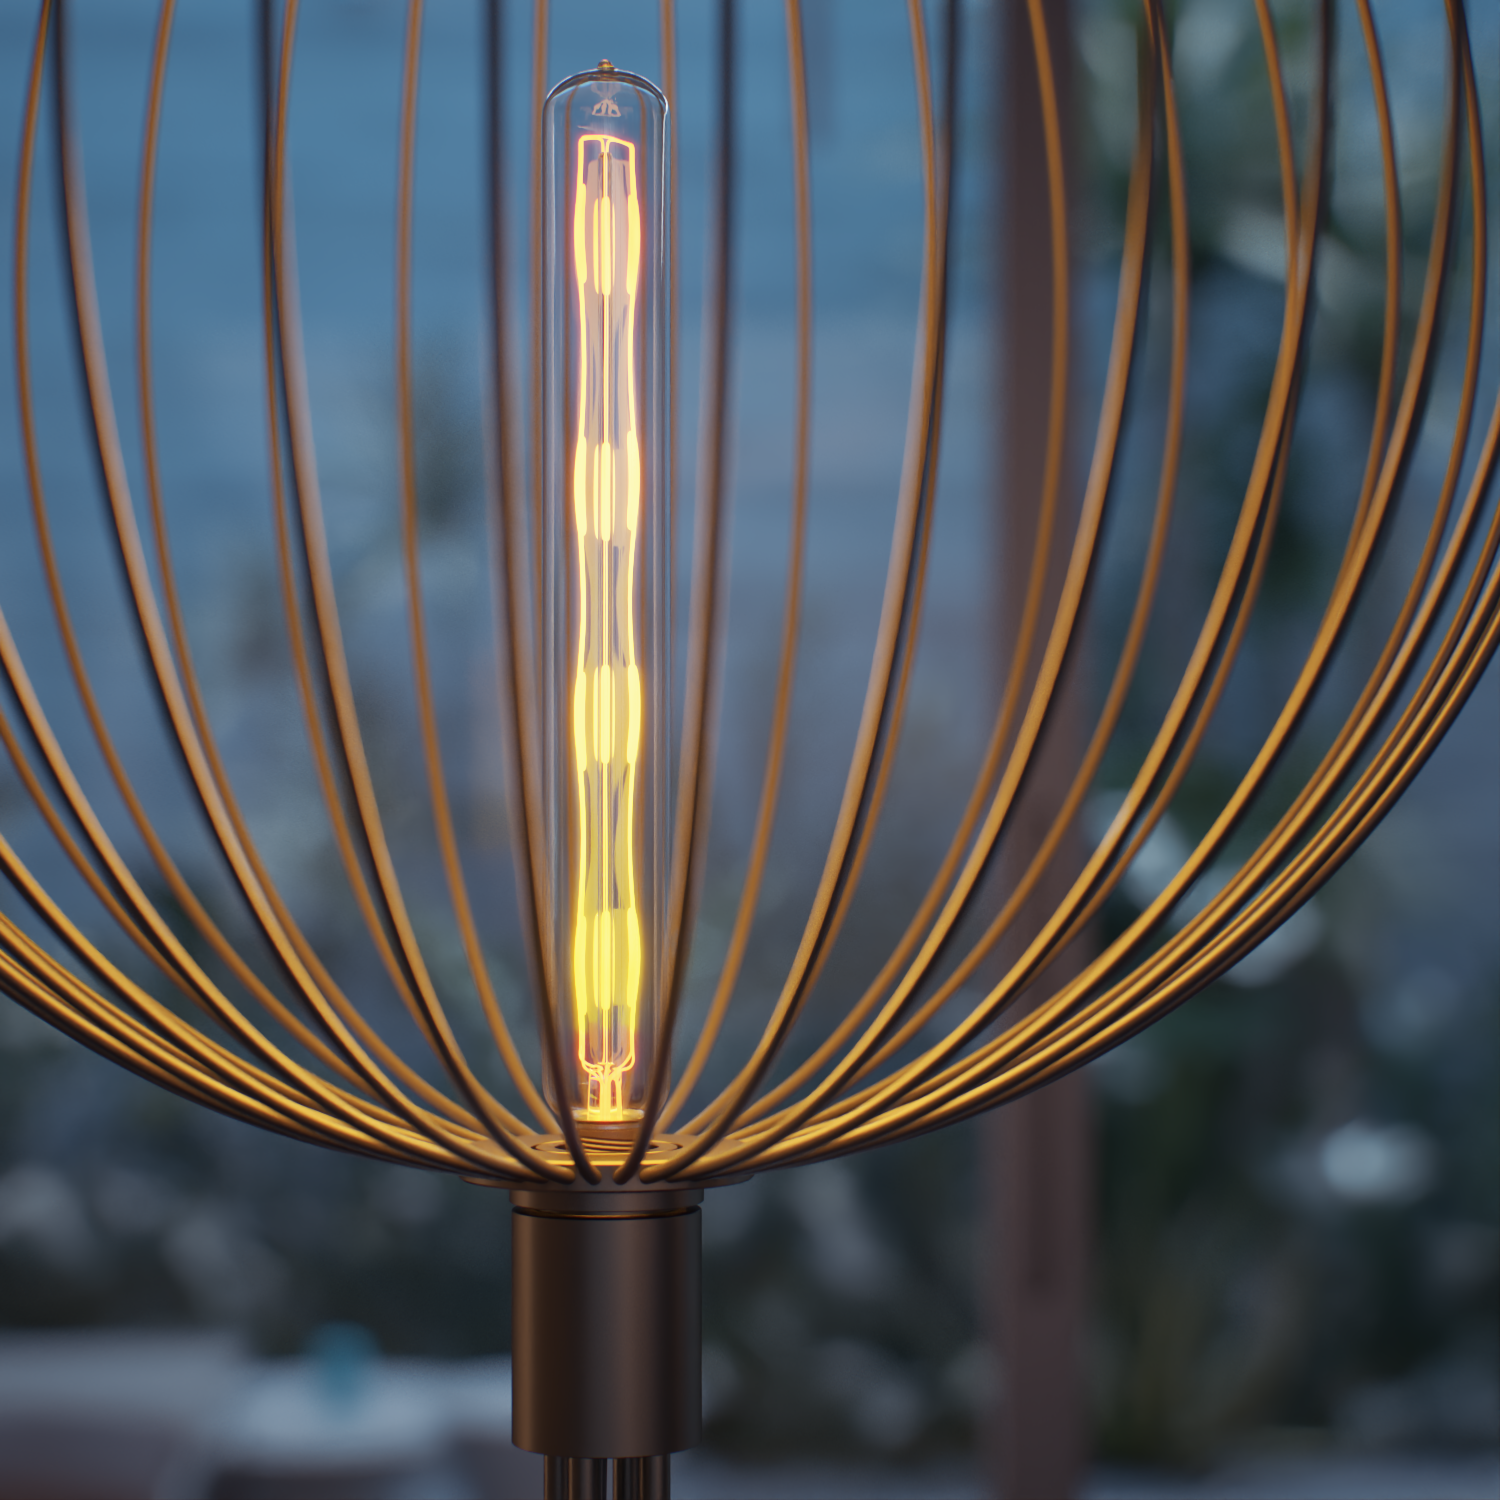
Color multiplier= 3
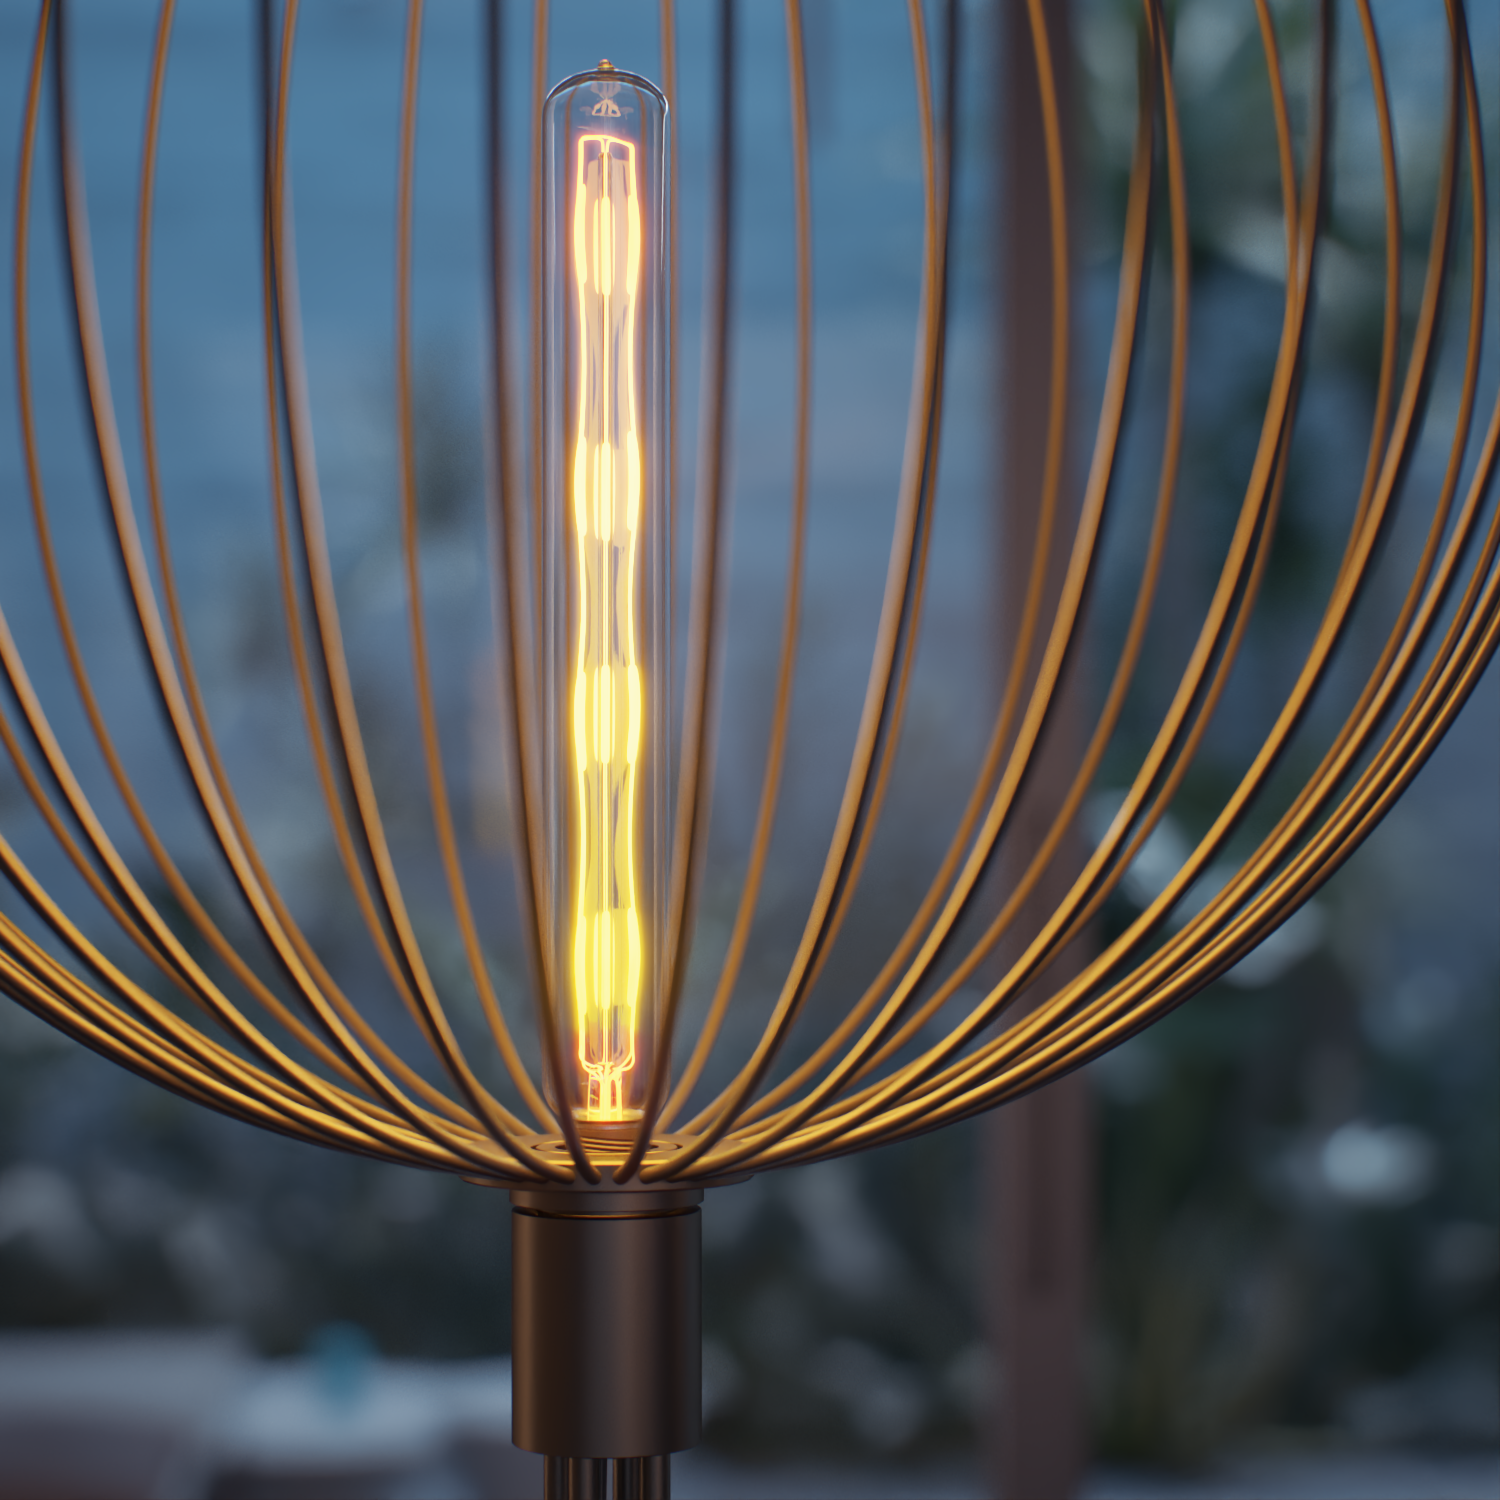
Color multiplier = 5
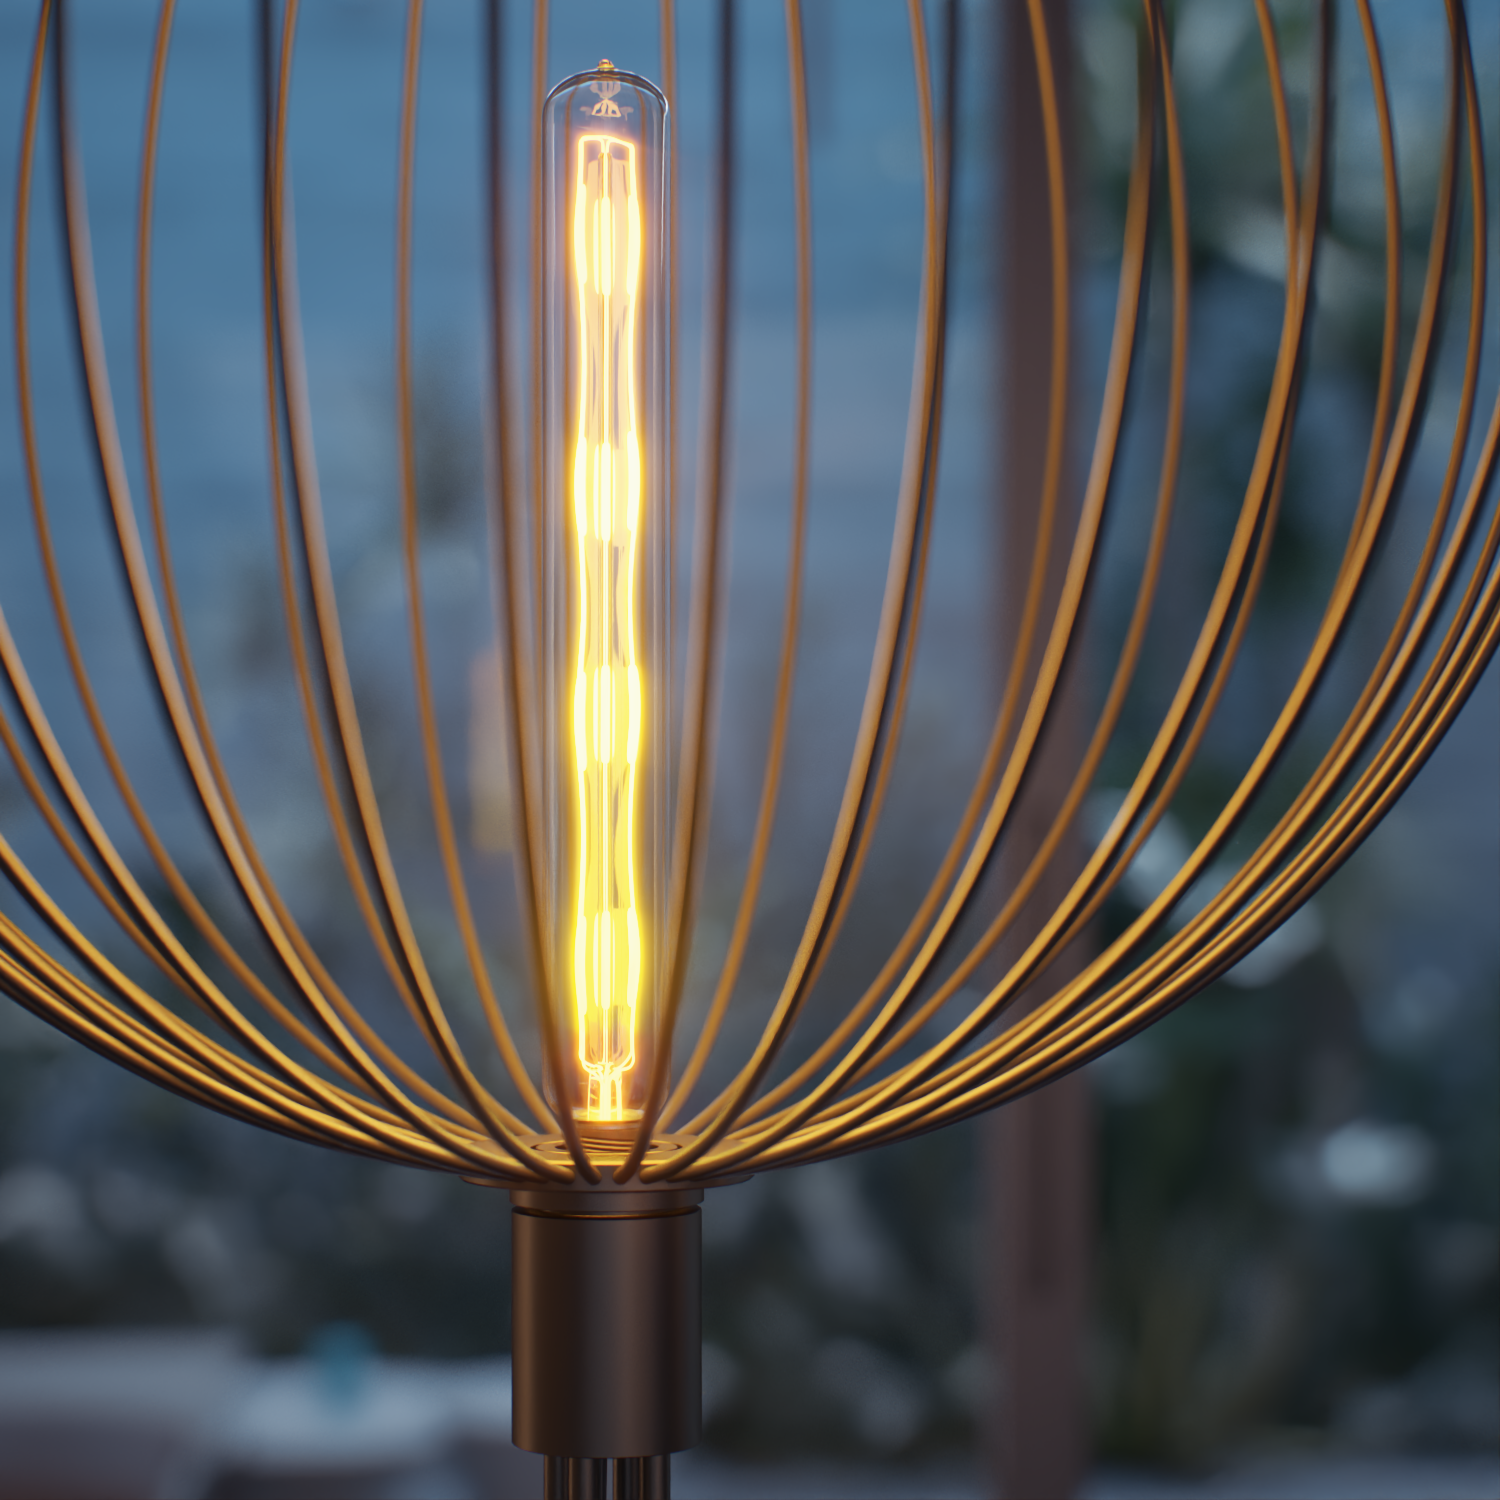
Color multiplier = 10
Example: Compensate Exposure
This example shows the effect of the Compensate exposure parameter. Note that a Gradient texture is mapped to the Light color texture slot and the Lens affects are enabled in the Color Corrections tab.
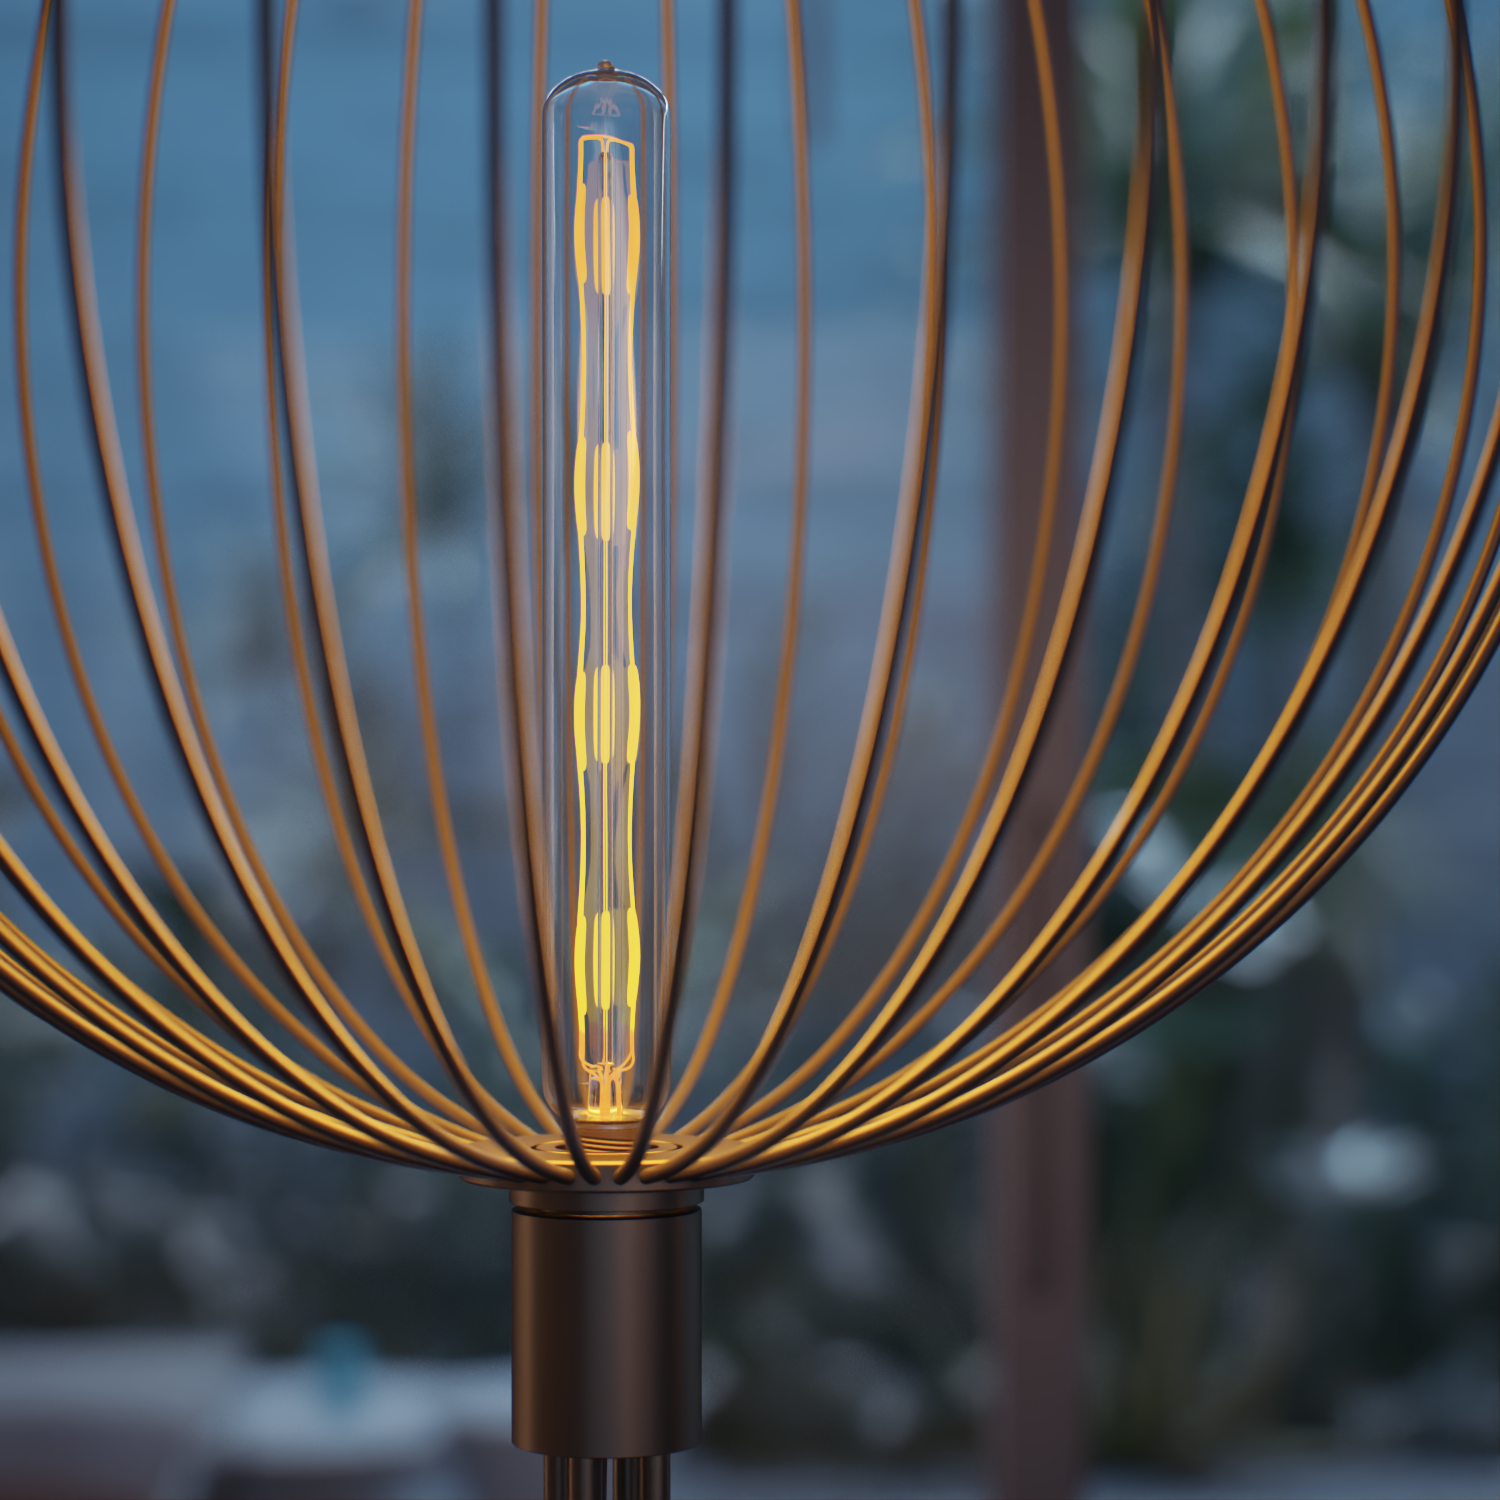
Compensate energy is off
Compensate energy is on