Chaos Vantage
VRayMtl
This page provides details about the VRayMtl available for creation in Chaos Vantage.
Last updated 10 February 2026
This page provides details about the VRayMtl available for creation in Chaos Vantage.
Overview
The VRayMtl is a very versatile material that allows for better physically correct illumination (energy distribution) in the scene, faster rendering, and more convenient reflection and refraction parameters. This material can simulate a wide variety of surfaces – from plastics to metals to glass and more – with a handful of parameter adjustments. Furthermore, with the VRayMtl you can apply different texture maps, control the reflections and refractions, add bump and displacement maps, force direct GI calculations, and choose the BRDF for how light interacts with the surface material.
Find more information about the VRayMtl structure at V-Ray Material Structure.

Parameters
The VRayMtl parameters are grouped into three tabs: VRayMtl, VRayMtl - Advanced, and VRayMtl - Opacity and SSS.

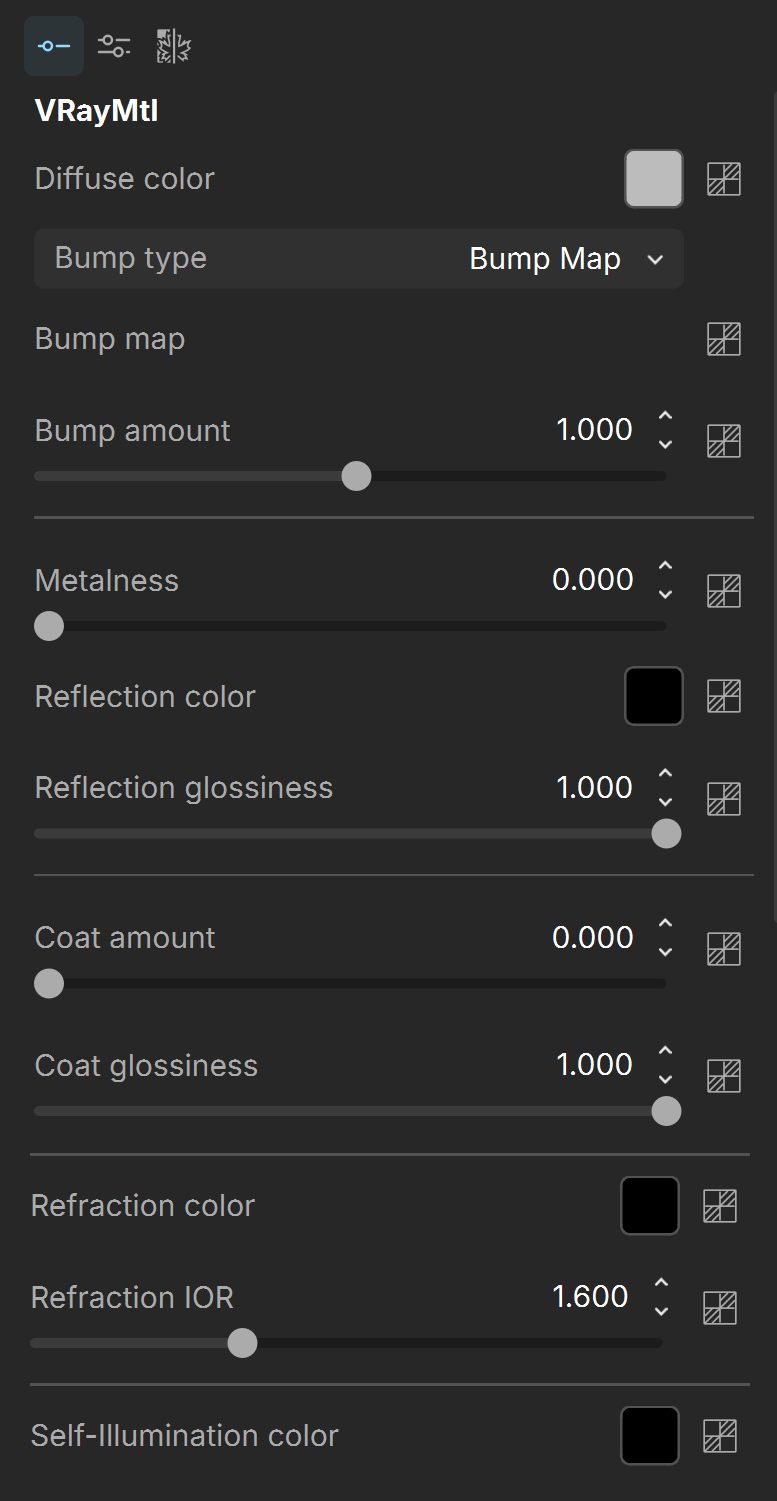
VRayMtl
Diffuse color – Specifies the diffuse color of the material. Note the actual diffuse color of the surface also depends on the Reflection and Refraction colors. See the Diffuse Color example below.
Bump type – Specifies the type of the map. The available types are Bump Map, Normal map in tangent space, and Explicit normal.
Bump map – Controls the Bump texture used for the material. See the Bump examples below.
Bump amount – Controls the strength of the bump effect. See the Bump examples below.
Metalness – Controls the reflection model of the material from dielectric (metalness 0.0) to metallic (metalness 1.0). Note that intermediate values between 0.0 and 1.0 do not correspond to any physical material. This parameter can be used with PBR setups coming from other applications. See the Metalness example below.
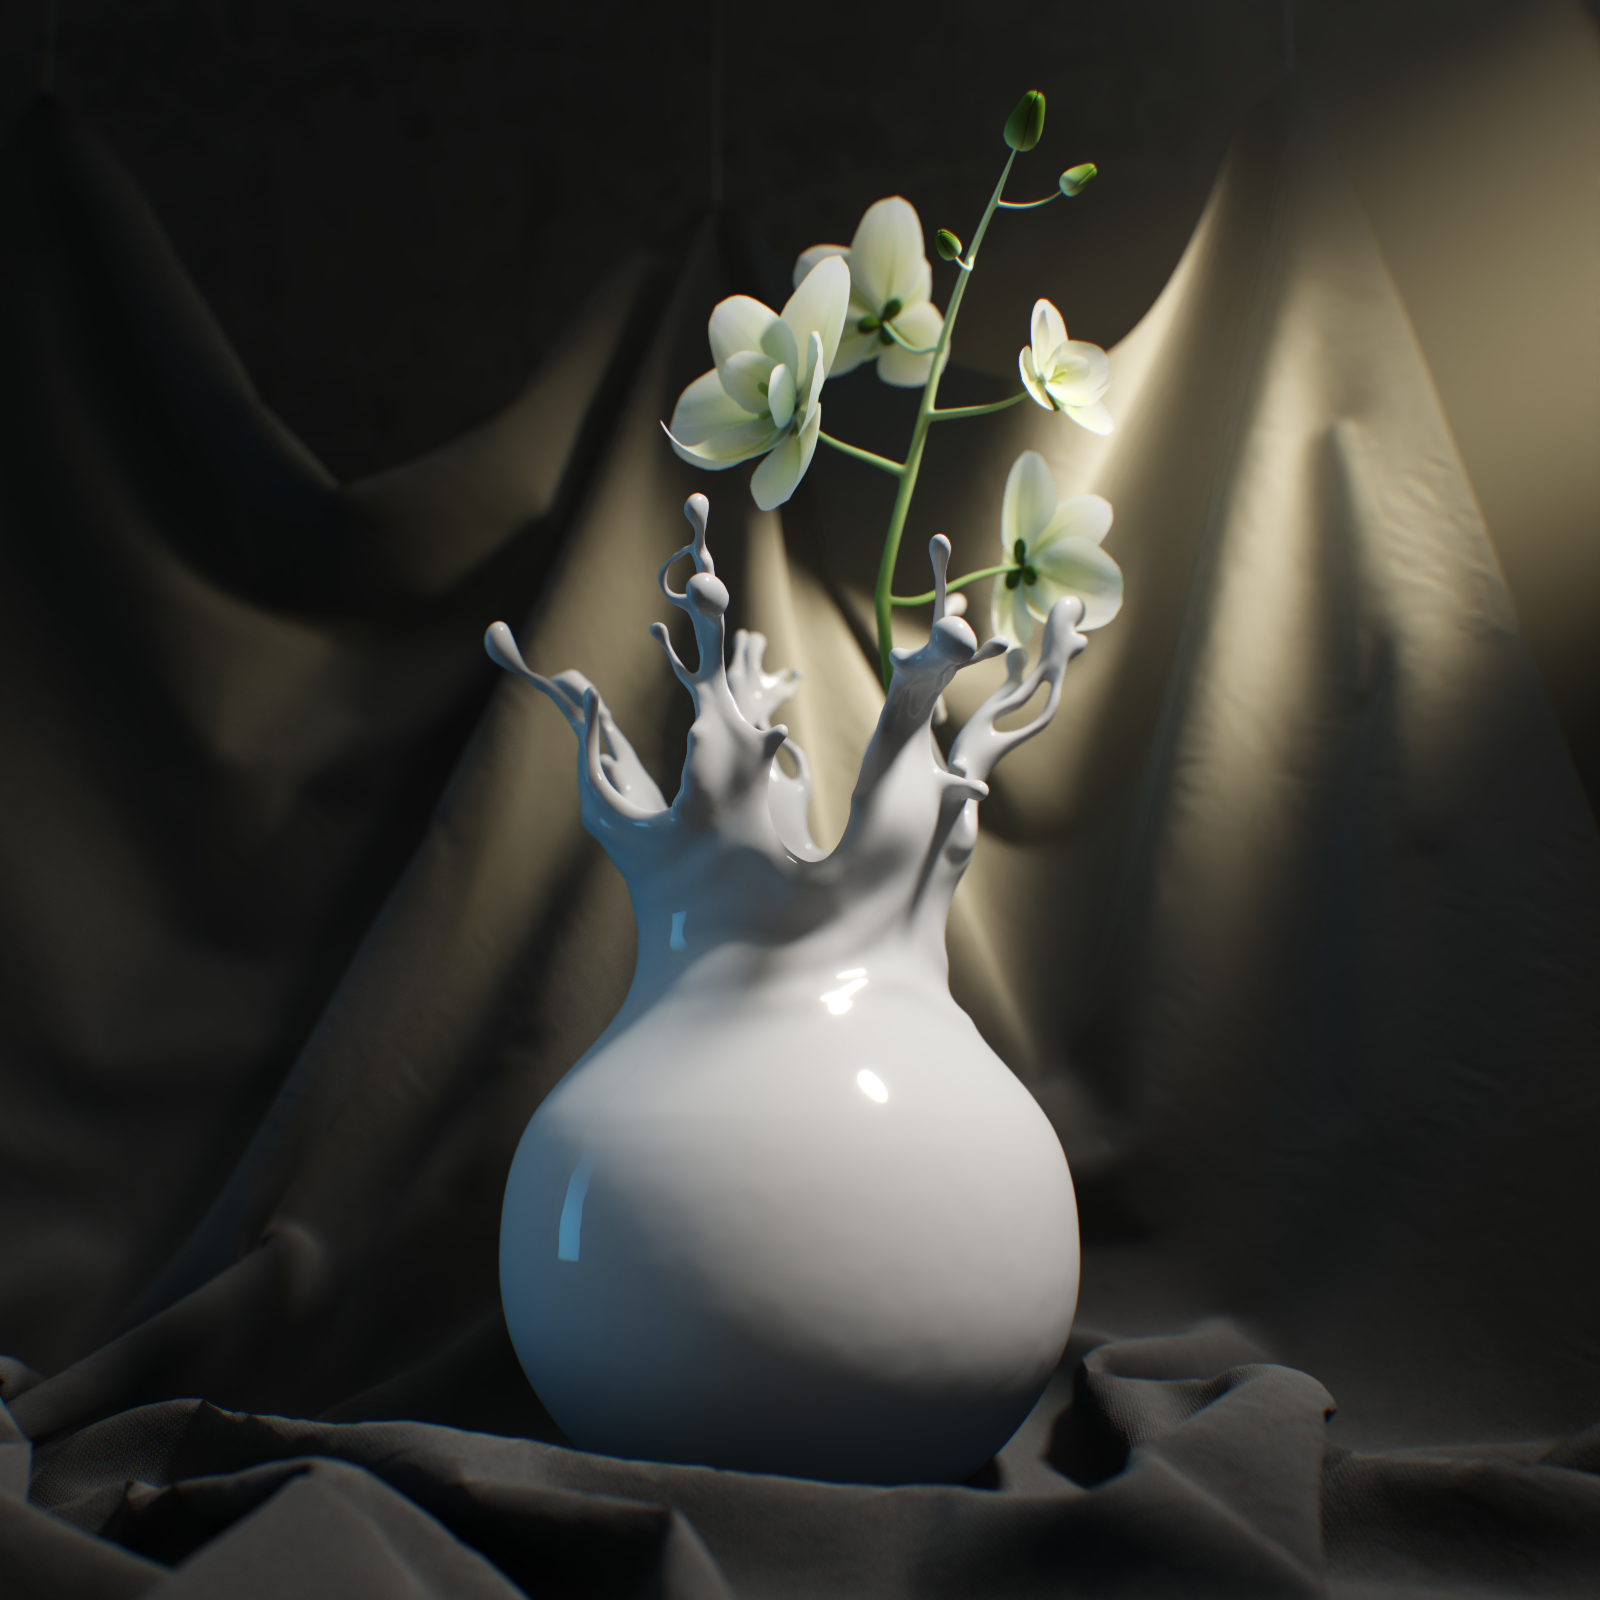
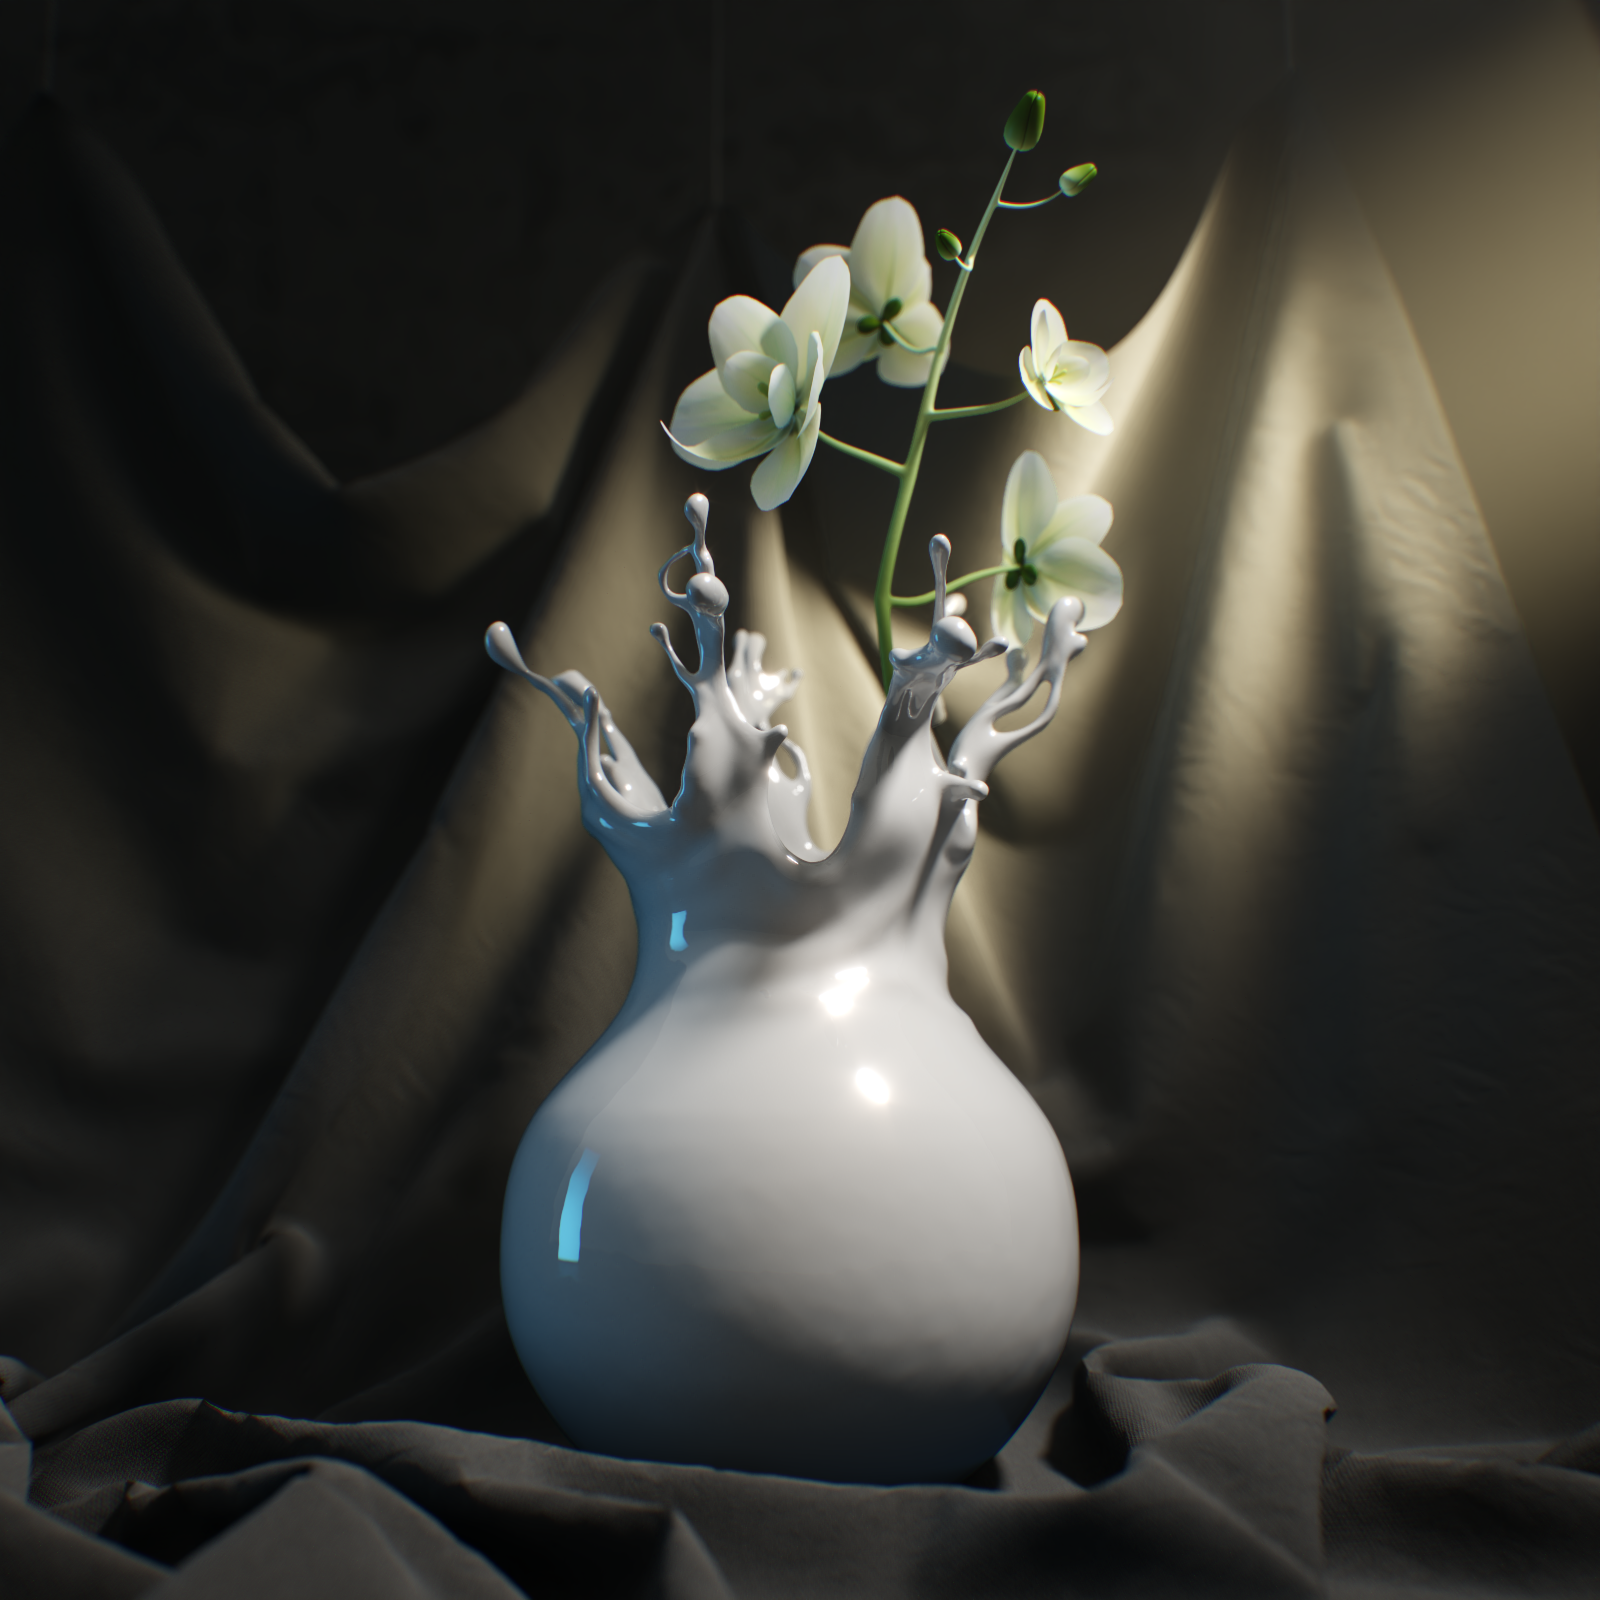
Reflection color – Specifies the amount of reflection and the reflection color. See the Reflection Color examples below.
Reflection glossiness – Controls the sharpness of reflections. A value of 1.0 means perfect mirror-like reflection; lower values produce blurry or glossy reflections. See the Reflection Glossiness example below.
Coat amount – Specifies the blending weight of the coat layer. A value of 0 does not add a coat layer, while higher values blend the coat gradually. See the Coat examples below.
Coat glossiness – Controls the sharpness of reflection. A value of 1.0 means perfect glass-like reflection; lower values produce blurry or glossy reflections. See the Coat examples below.
Refraction color – Specifies the amount of refraction and the refraction color. Any value above zero enables refraction. Note that the actual refraction color depends on the Reflect color as well.
Refraction IOR – Specifies the index of refraction for the material, which describes the way light bends when crossing the material surface. A value of 1.0 means the light does not change direction. See the Reflection Color examples below.
Self-Illumination color – Controls the emission of the surface. See the Self-Illumination Color example below.
VRayMtl-Advanced
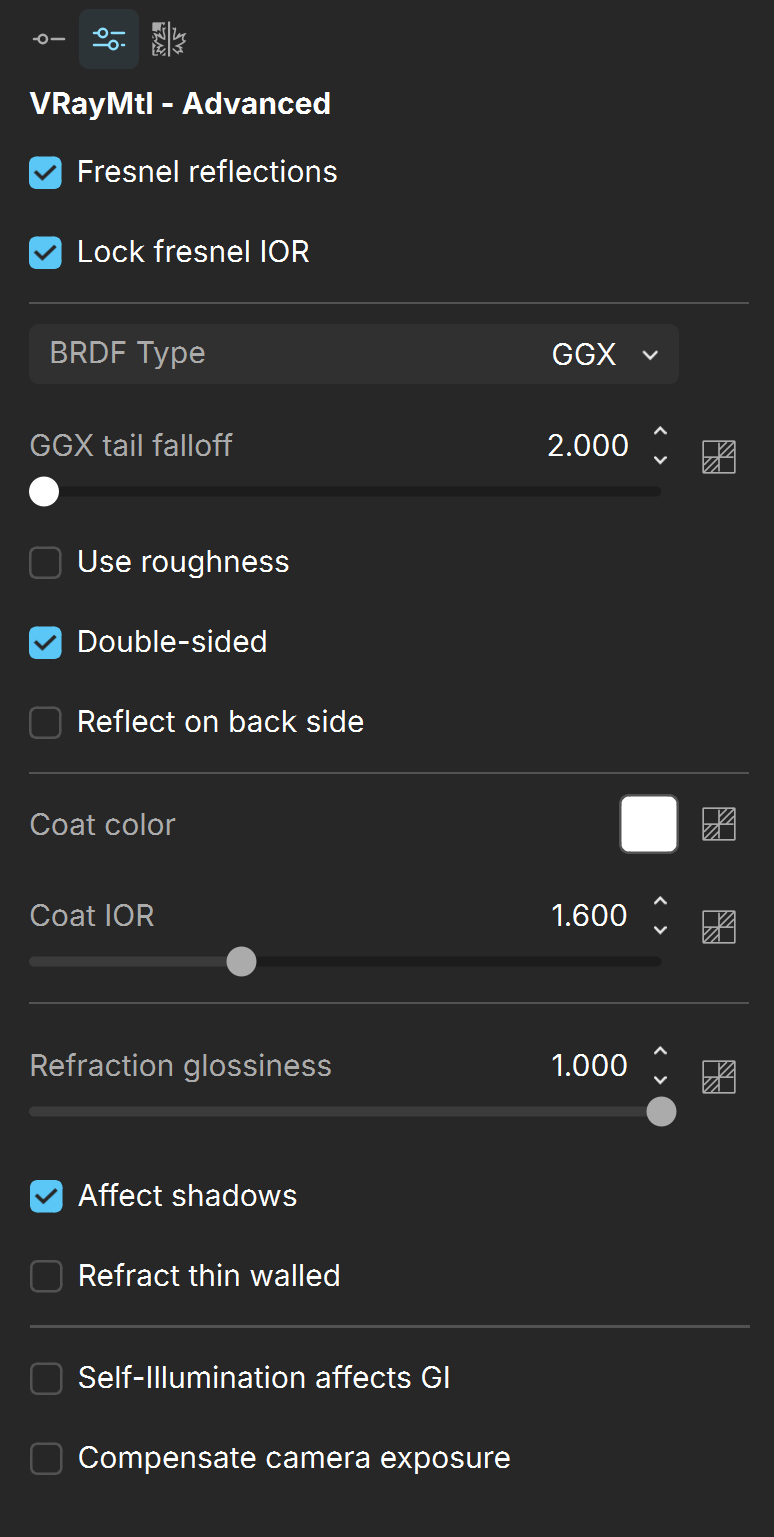
Fresnel reflections – When enabled, the reflection strength depends on the surface's viewing angle. Some materials in nature (glass, etc.) reflect light in this manner. Fresnel reflections calculation also interpolates glossy reflections and refractions at a 'microfacet' level to ensure a more natural effect with less brightening of the grazing edges as glossiness decreases. Note that the Fresnel effect depends on the index of refraction as well.
Lock fresnel IOR – Specifies the IOR to use when calculating Fresnel reflections. Normally, this is locked to the Refraction IOR parameter, but it can be unlocked for finer control. Note that this parameter has no effect on metallic materials with a Metalness value of 1.0.
Fresnel IOR – Specifies the IOR when the Lock fresnel IOR option is off.
BRDF Type – Determines the type of BRDF (the shape of the highlight). See the BRDF Type examples below.
Phong – Phong highlight/reflections. Specular highlights have a bright center with no falloff.
Blinn – Blinn highlight/reflections. Specular highlights have a bright center with a tight falloff.
Ward – Ward highlight/reflections. Specular highlights have a bright center with a broader falloff than Blinn but tighter than Microfacet GTR (GGX).
GGX – GGX highlight/reflections. Specular highlights have a bright center with a longer falloff.
Read more about GGX...
GGX tail falloff – Controls the transition from highlighted areas to non-highlighted areas when the BRDF type is set to GGX. See the BRDF Type examples below.
Use roughness – When enabled, inverts all glossiness values and uses roughness instead.
Double-sided – When enabled, calculates separately the shading for the back faces of surfaces with this material. When disabled, the back faces are shaded the same as the front faces.
Reflect on back side – When enabled, reflections are computed for back-facing surfaces too. Note that this affects total internal reflections too (when refractions are computed).
Coat color – Determines the coat layer's color. See the Coat examples below.
Coat IOR – Specifies the Index of Refraction for the coat layer. See the Coat examples below.
Refraction glossiness – Controls the sharpness of refractions. A value of 1.0 means perfect glass-like refraction; lower values produce blurry or glossy refractions. See the Refraction Glossiness example below.
Affect shadows – When enabled, allows the refraction to affect the shadows cast by the material (as transparent shadows). See the Affect Shadows example below.
Refract thin walled – (intended for single-surface transparent materials) When enabled and the Translucency type is set to SSS, it simulates thin translucent surfaces such as soap bubbles, leaves, curtains, etc. The SSS color defines the backside color, while the SSS amount controls the translucency effect.
Self-Illumination affects GI – When enabled, the self-illumination affects global illumination rays and allows the surface to cast light on nearby objects. Note, however, that it may be more efficient to use area lights or Light material for this effect.
Compensate camera exposure – When enabled, the intensity of the Self-Illumination is adjusted to compensate the exposure correction from the physical camera.
VRayMtl-Opacity and SSS
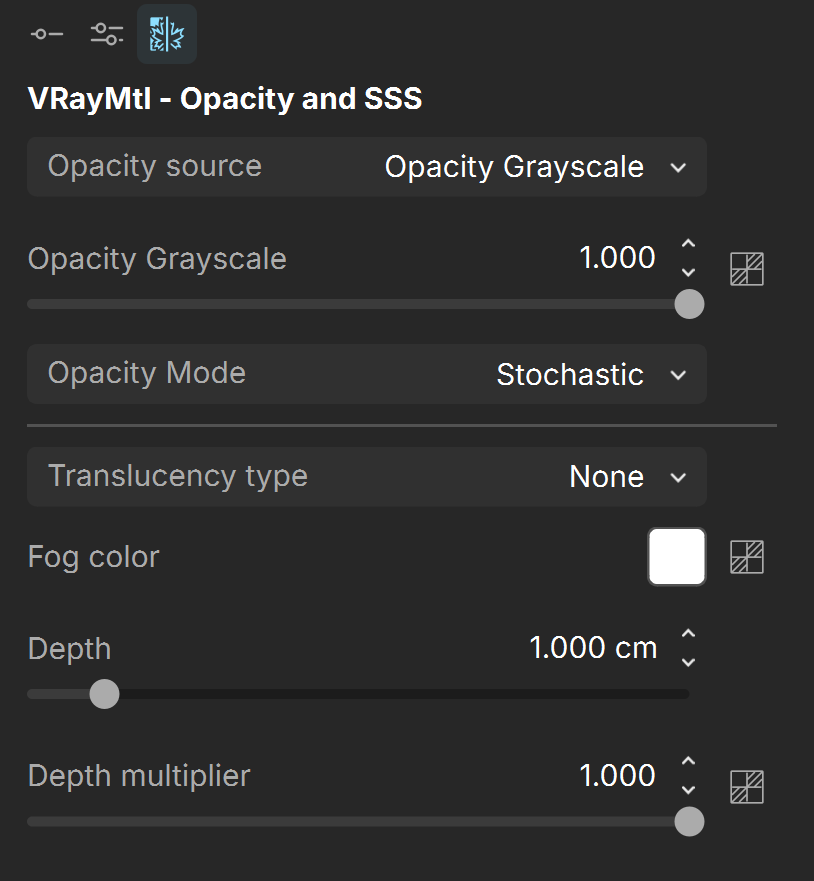
Opacity source – Chooses between Opacity Grayscale and Opacity Colored.
Opacity Grayscale – Specifies the opacity of the material.
Opacity Colored – Specifies the color opacity map of the material.
Opacity Mode – Controls how opacity is sampled.
Normal – The opacity map is evaluated as normal: the surface lighting is computed and the ray is continued for the transparent effect. The opacity texture is filtered as normal.
Clip – (Very fast) The opacity texture is not filtered and it is clipped to either fully opaque or fully transparent based on the mid-point value. Useful when there are many transparent surfaces one behind the other like leaves.
Stochastic – (Optimal) The opacity texture is filtered and the surface is randomly shaded as either fully opaque or fully transparent for a correct average appearance.
Translucency type – Selects the algorithm for calculating translucency (also called sub-surface scattering). Note that refraction must be enabled for this effect to be visible.
None – When selected, the only available parameters are the Fog color and Depth. Together with the Refraction color, they determine the attenuation of light as it passes through the material. In this mode, there is no subsurface scattering.
SSS – Useful for skin, wax, marble and other relatively opaque materials.
Fog color – Specifies the attenuation of light as it passes through the material. This option allows you to simulate the fact that thick objects look less transparent than thin objects. Note that the effect of the fog color depends on the absolute size of the objects and is therefore scene-dependent unless the Fog system units scaling is enabled. This parameter also determines the look of the object when using translucency. This parameter can be mapped with a texture in the Maps rollout. It is recommended that you use a 3D texture for the purpose. See the Fog examples below.
Depth – Controls the strength of the fog effect. Higher values reduce the effect of the fog, making the material more transparent. Smaller values increase the fog effect, making the material more opaque. See the Fog examples below.
Scatter radius – Controls how far each of the red/green/blue components travels inside the volume.
Scale – Controls the strength of the SSS effect. See the SSS examples below.
Scale multiplier –
SSS color – Determines the overall surface appearance.
SSS amount – Blends between the diffuse color of the material and the SSS effect by reducing the diffuse component of the material and replacing it with the sub-surface scattering effect. See the SSS examples below.
Examples
The following examples demonstrate the effect that individual VRayMtl material parameters have on the scene. Click on any image to view it at a higher resolution.
Example: Diffuse Color
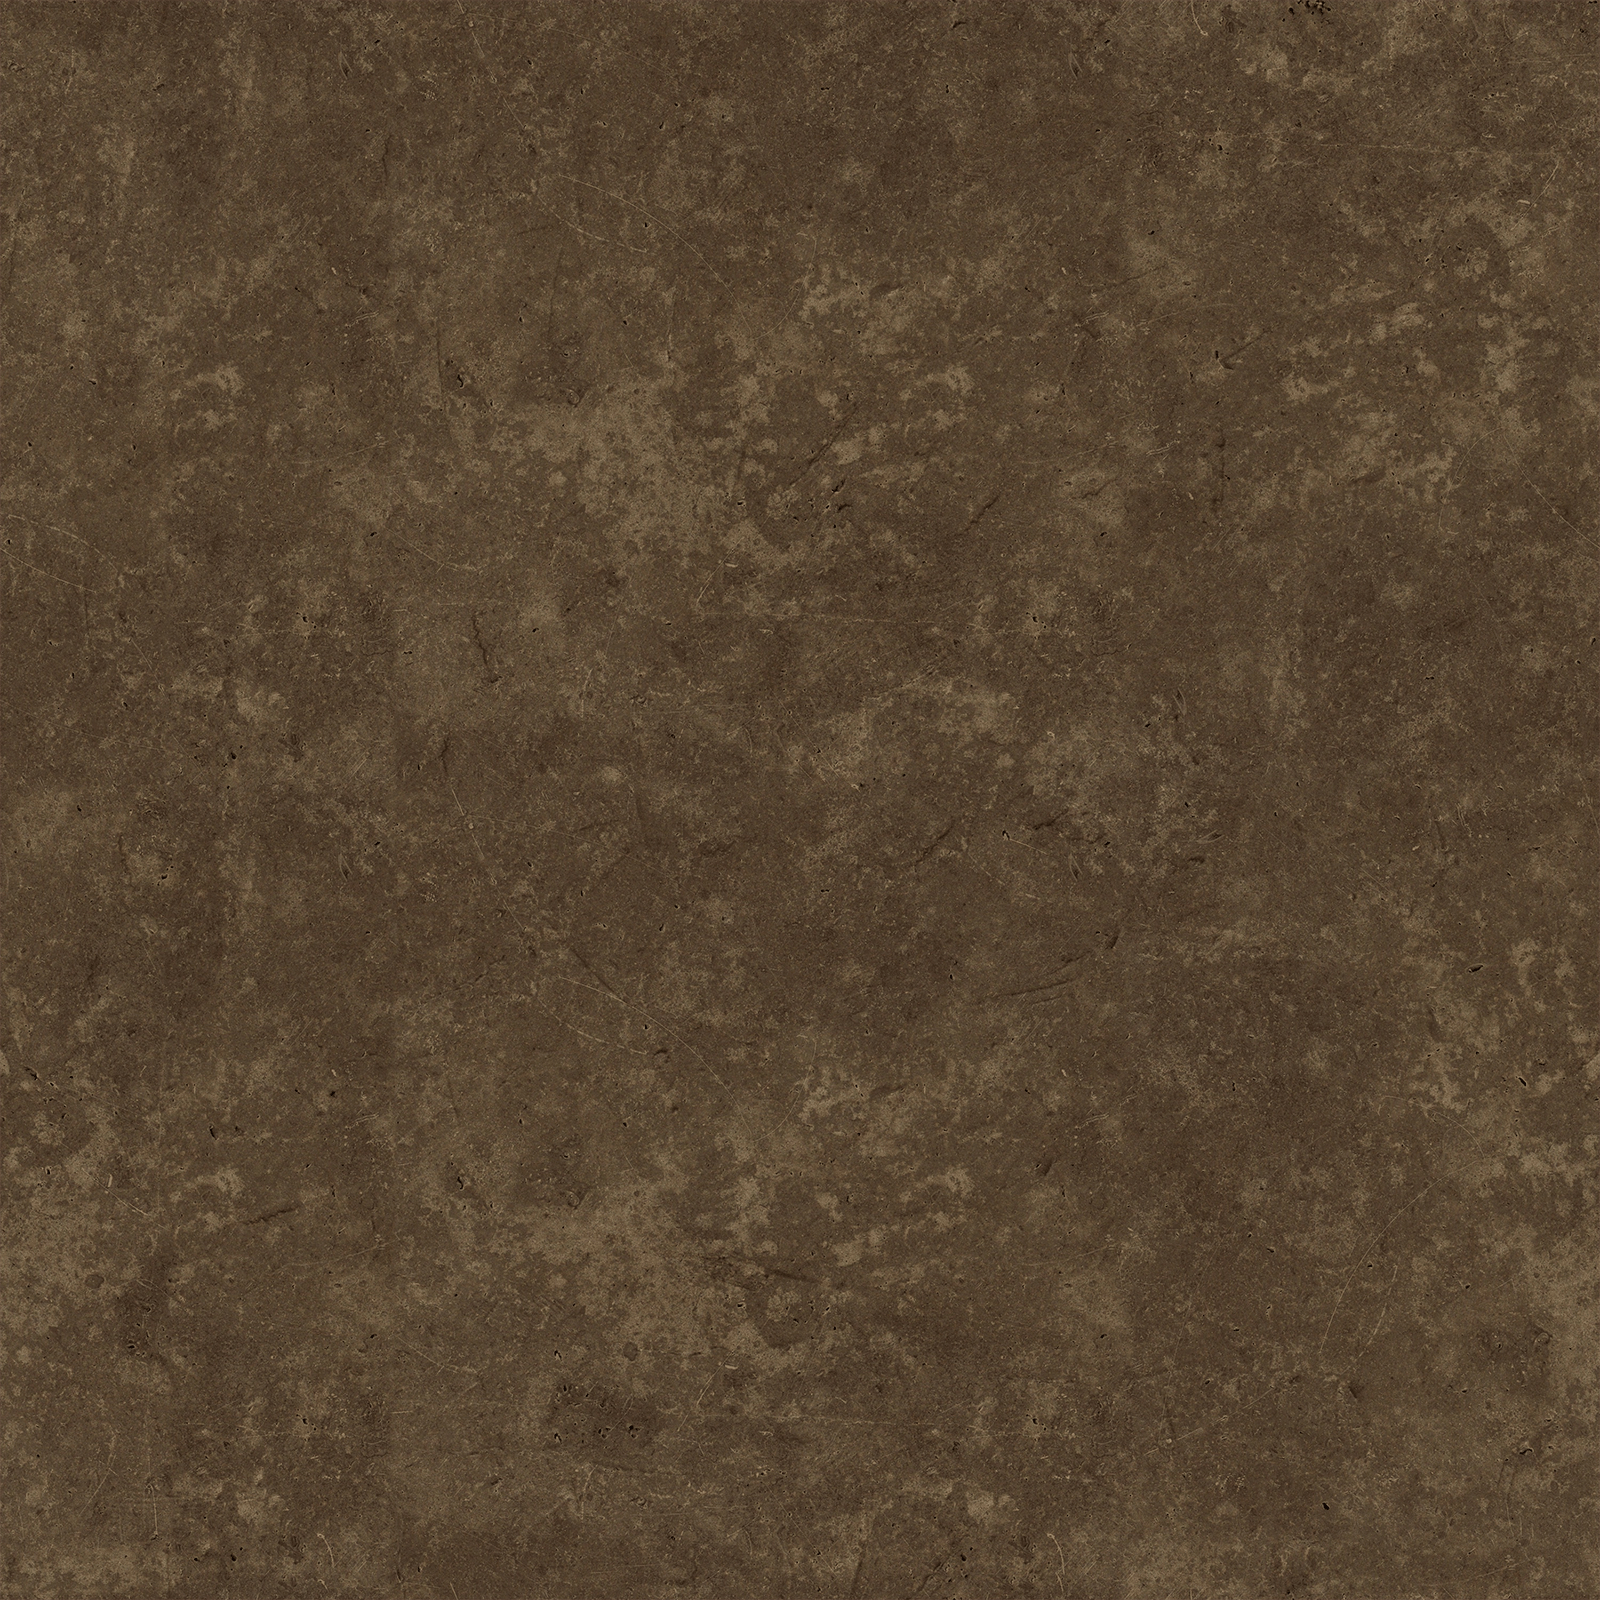
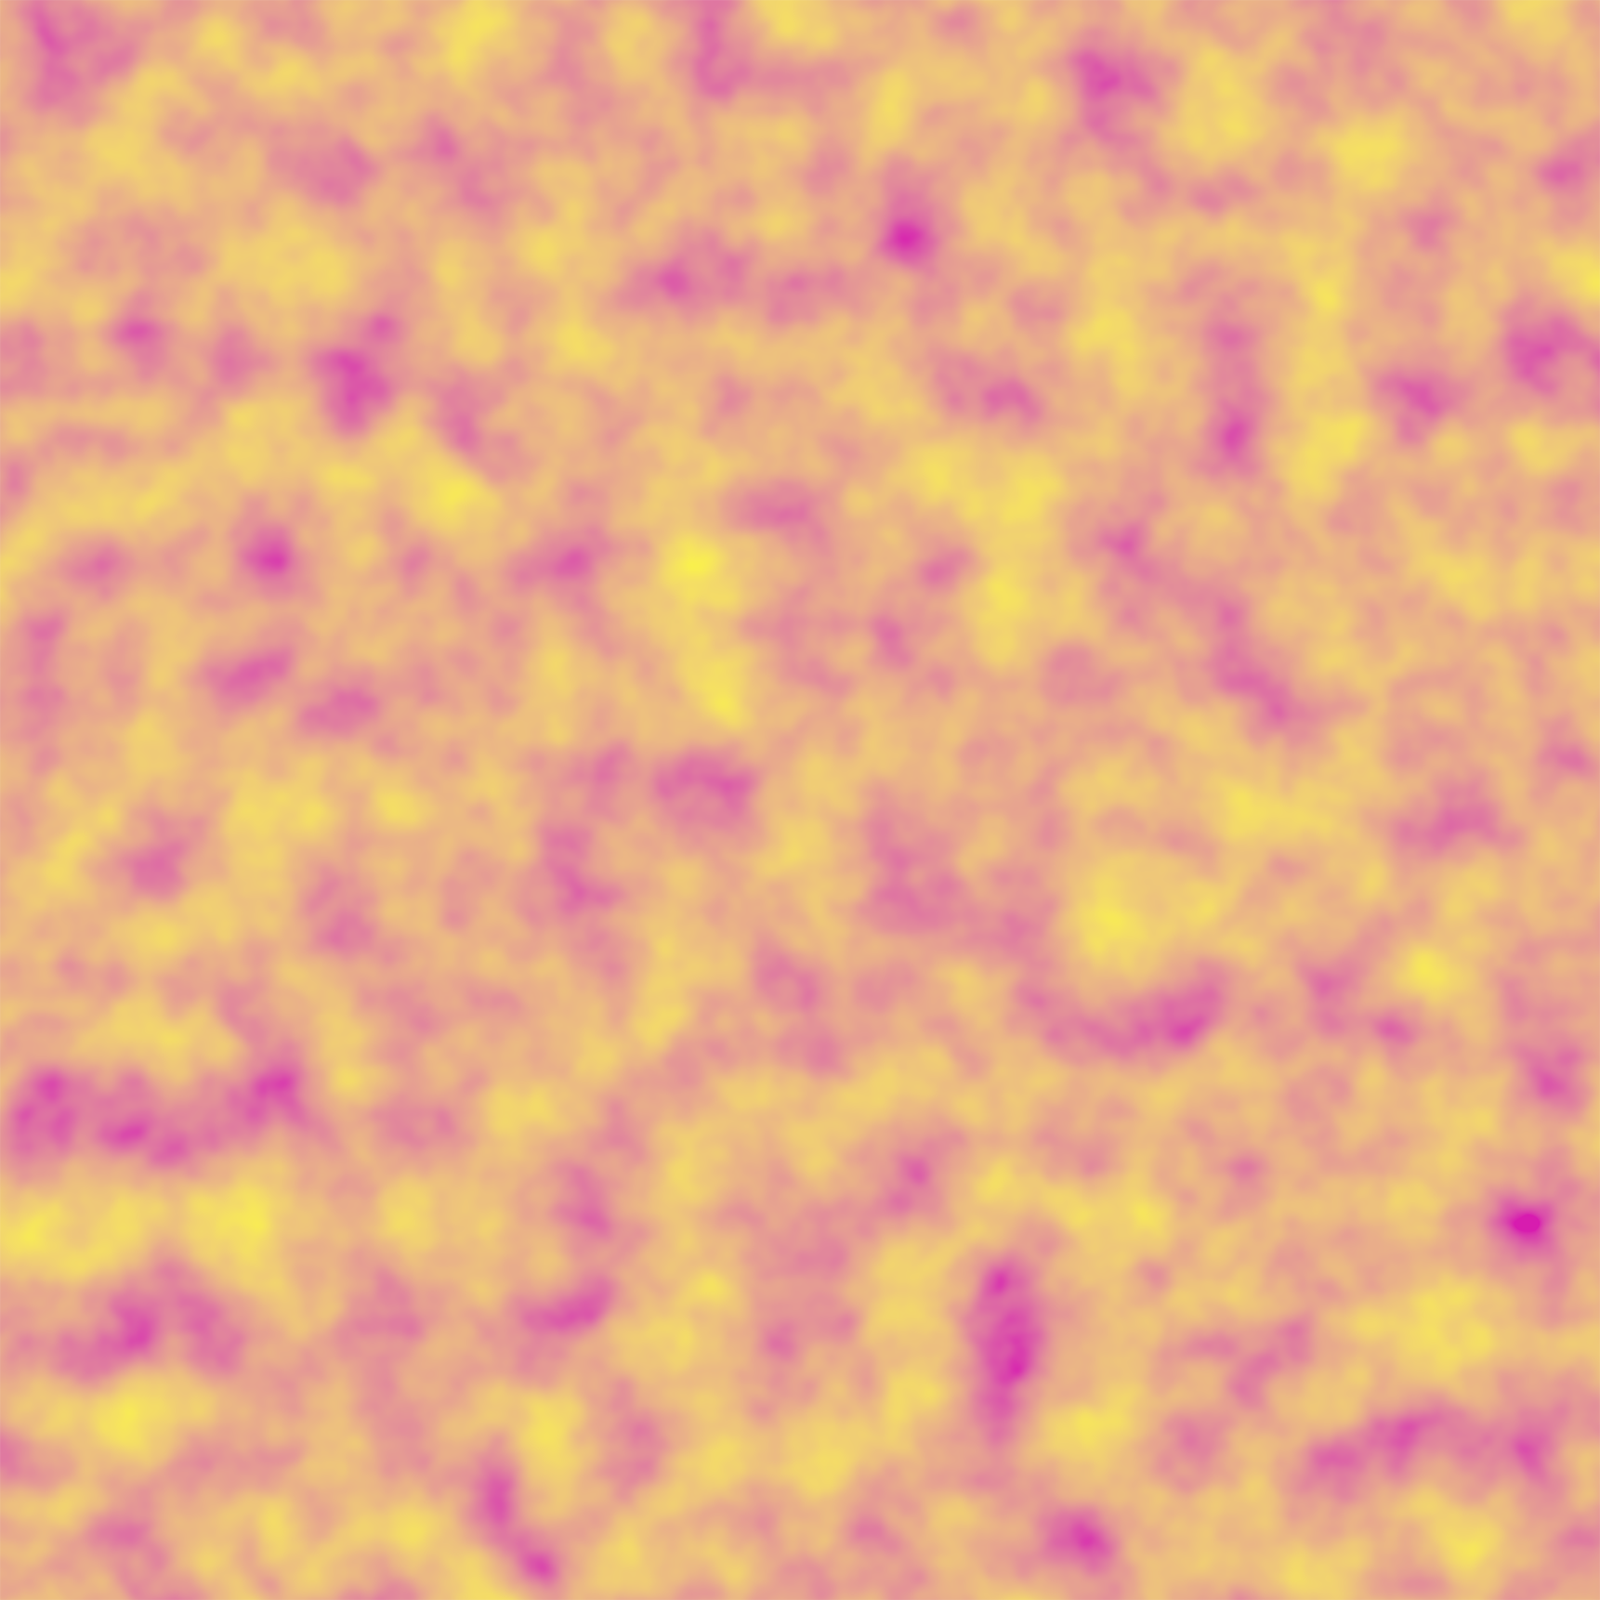
In the first two images, the Diffuse color value is modified. In the remaining images, a bitmap is plugged into the Diffuse color map slot to control the overall color of the object.
RGB (0.5, 0.5, 0.5)
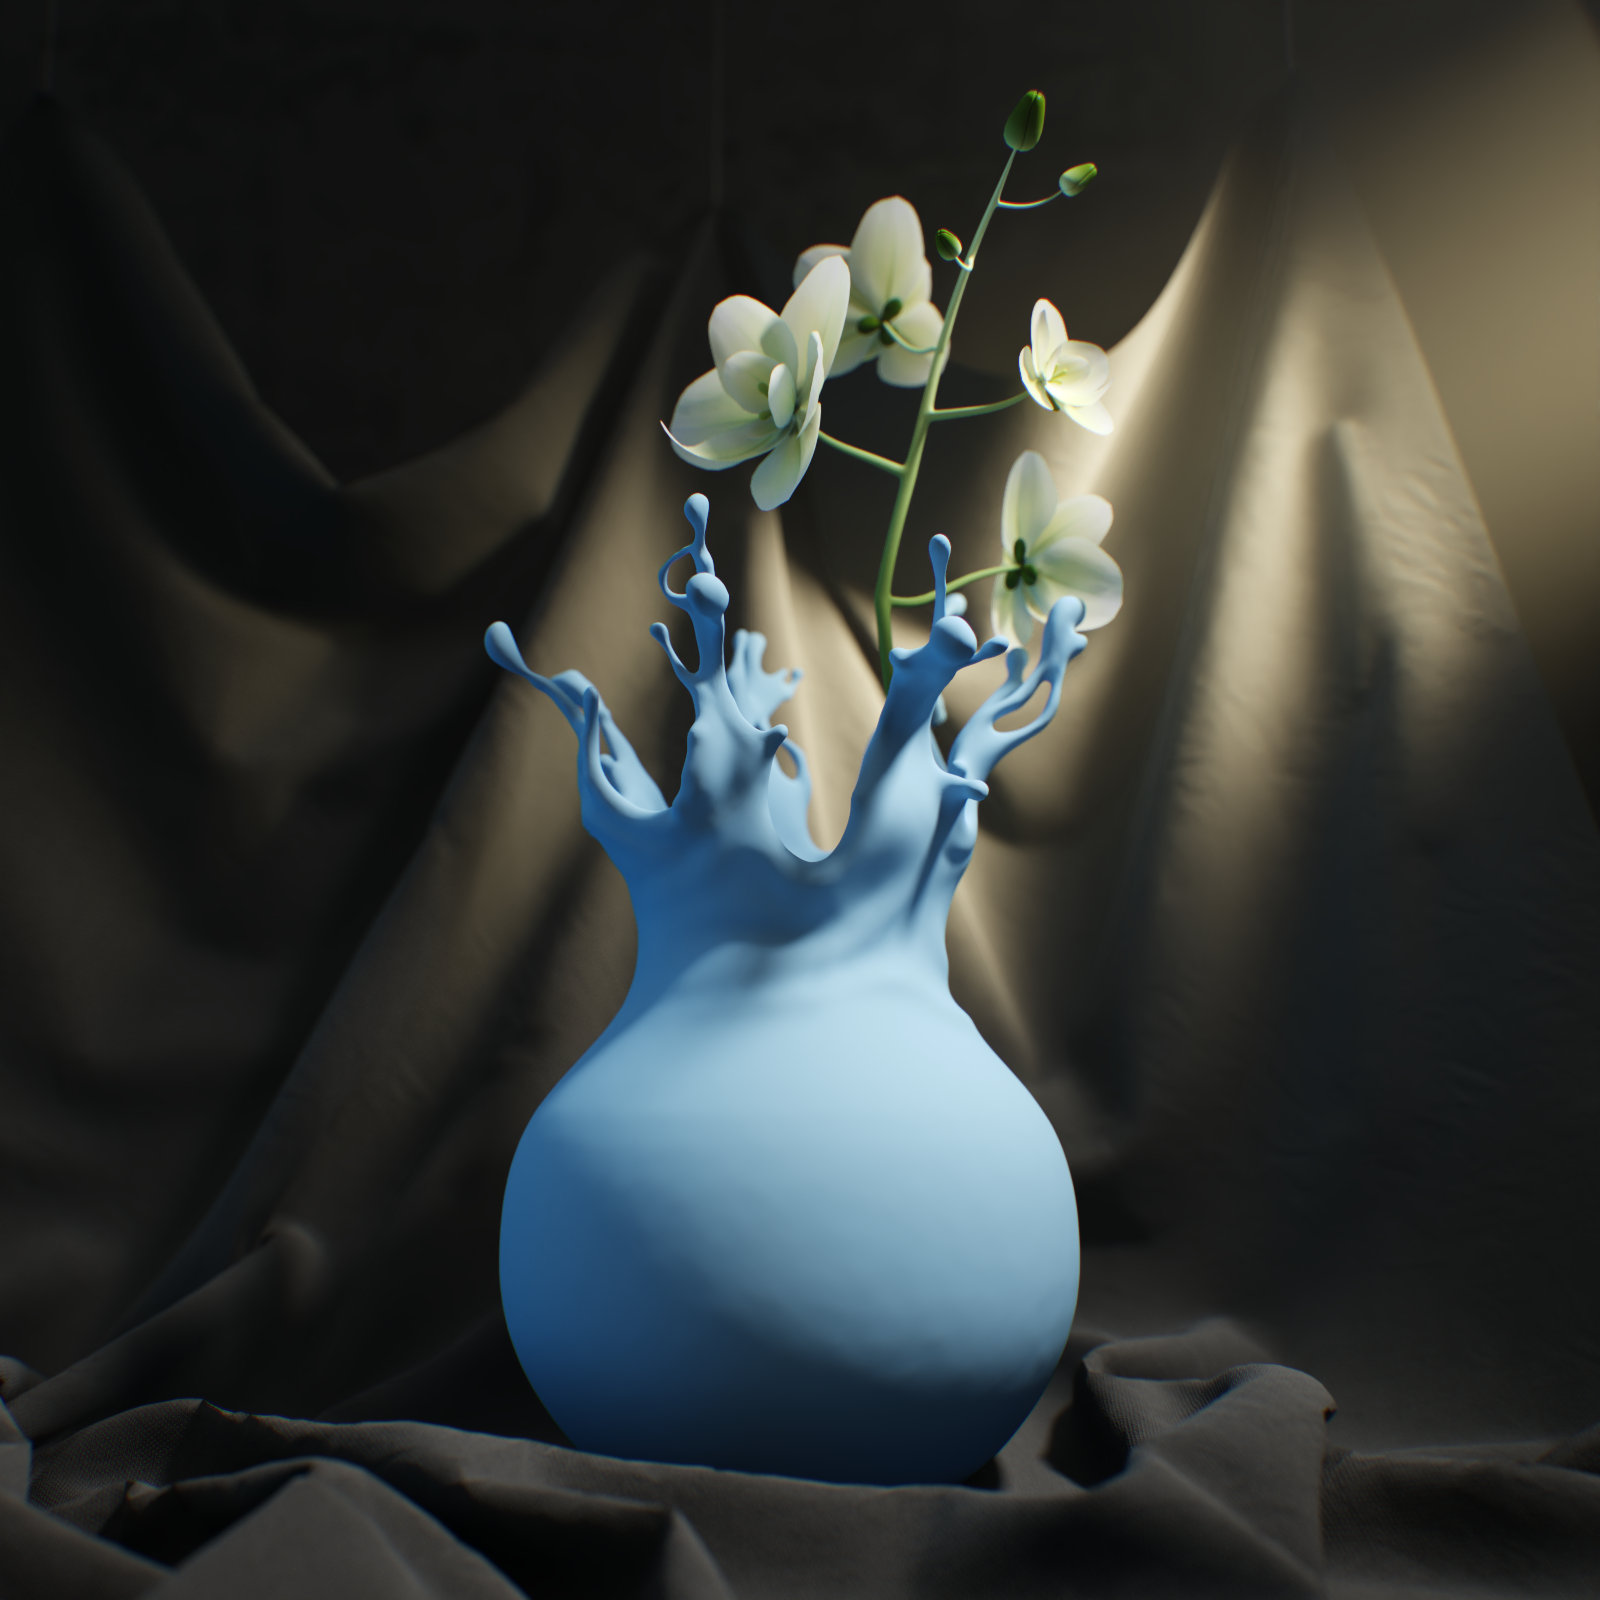
RGB (0.28, 0.5, 0.72)

bitmap
Click here to see the Bitmap used.


bitmap
Click here to see the Bitmap used.


bitmap
Click here to see the Bitmap used.
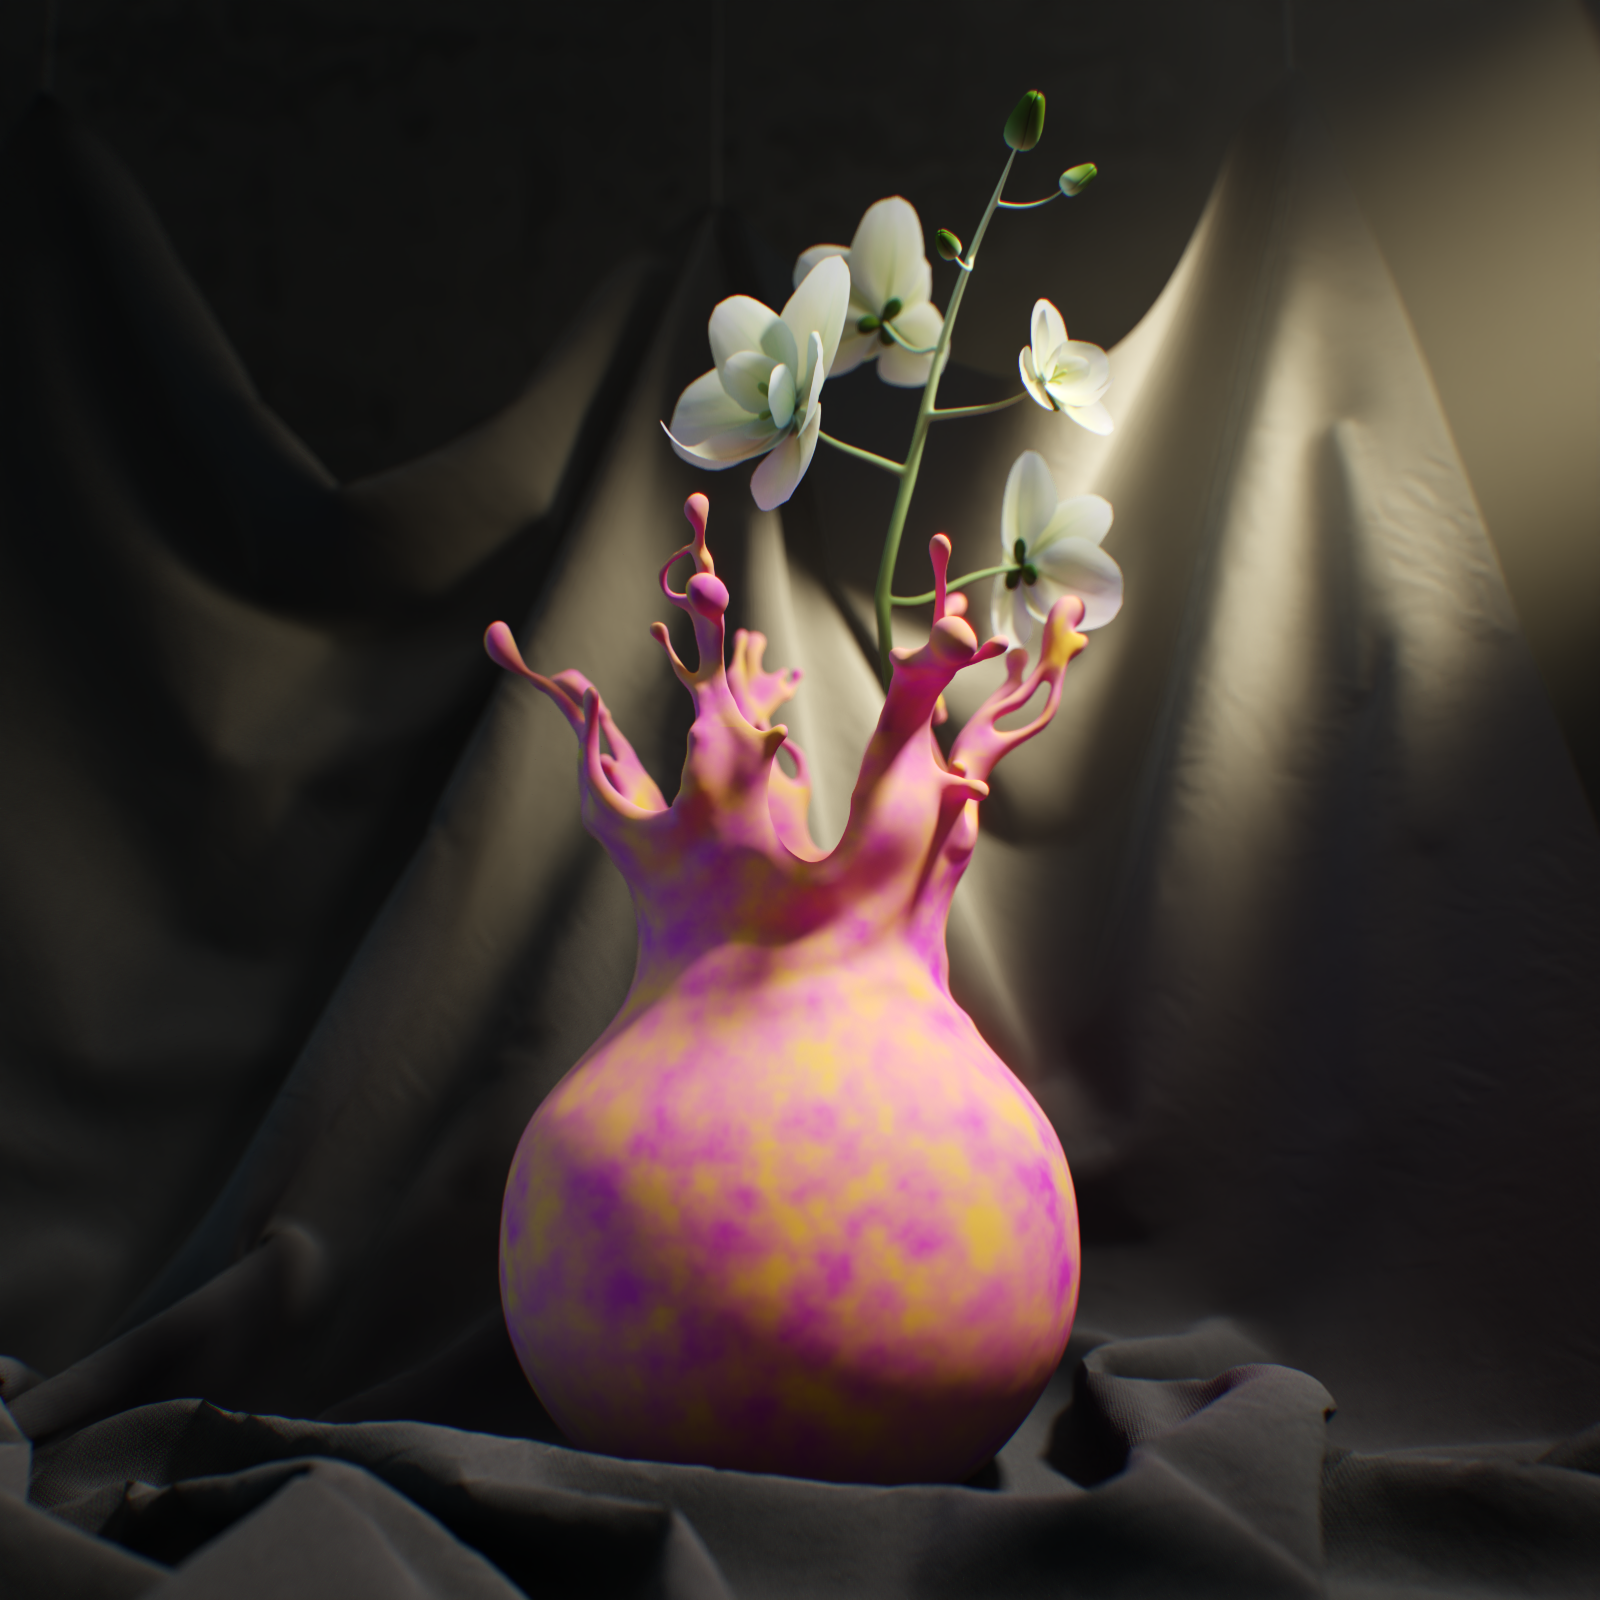
noise texture
Click here to see the Noise used.
Example: Bump
This example shows the effect of the Bump amount option. The Diffuse color is set to purple.
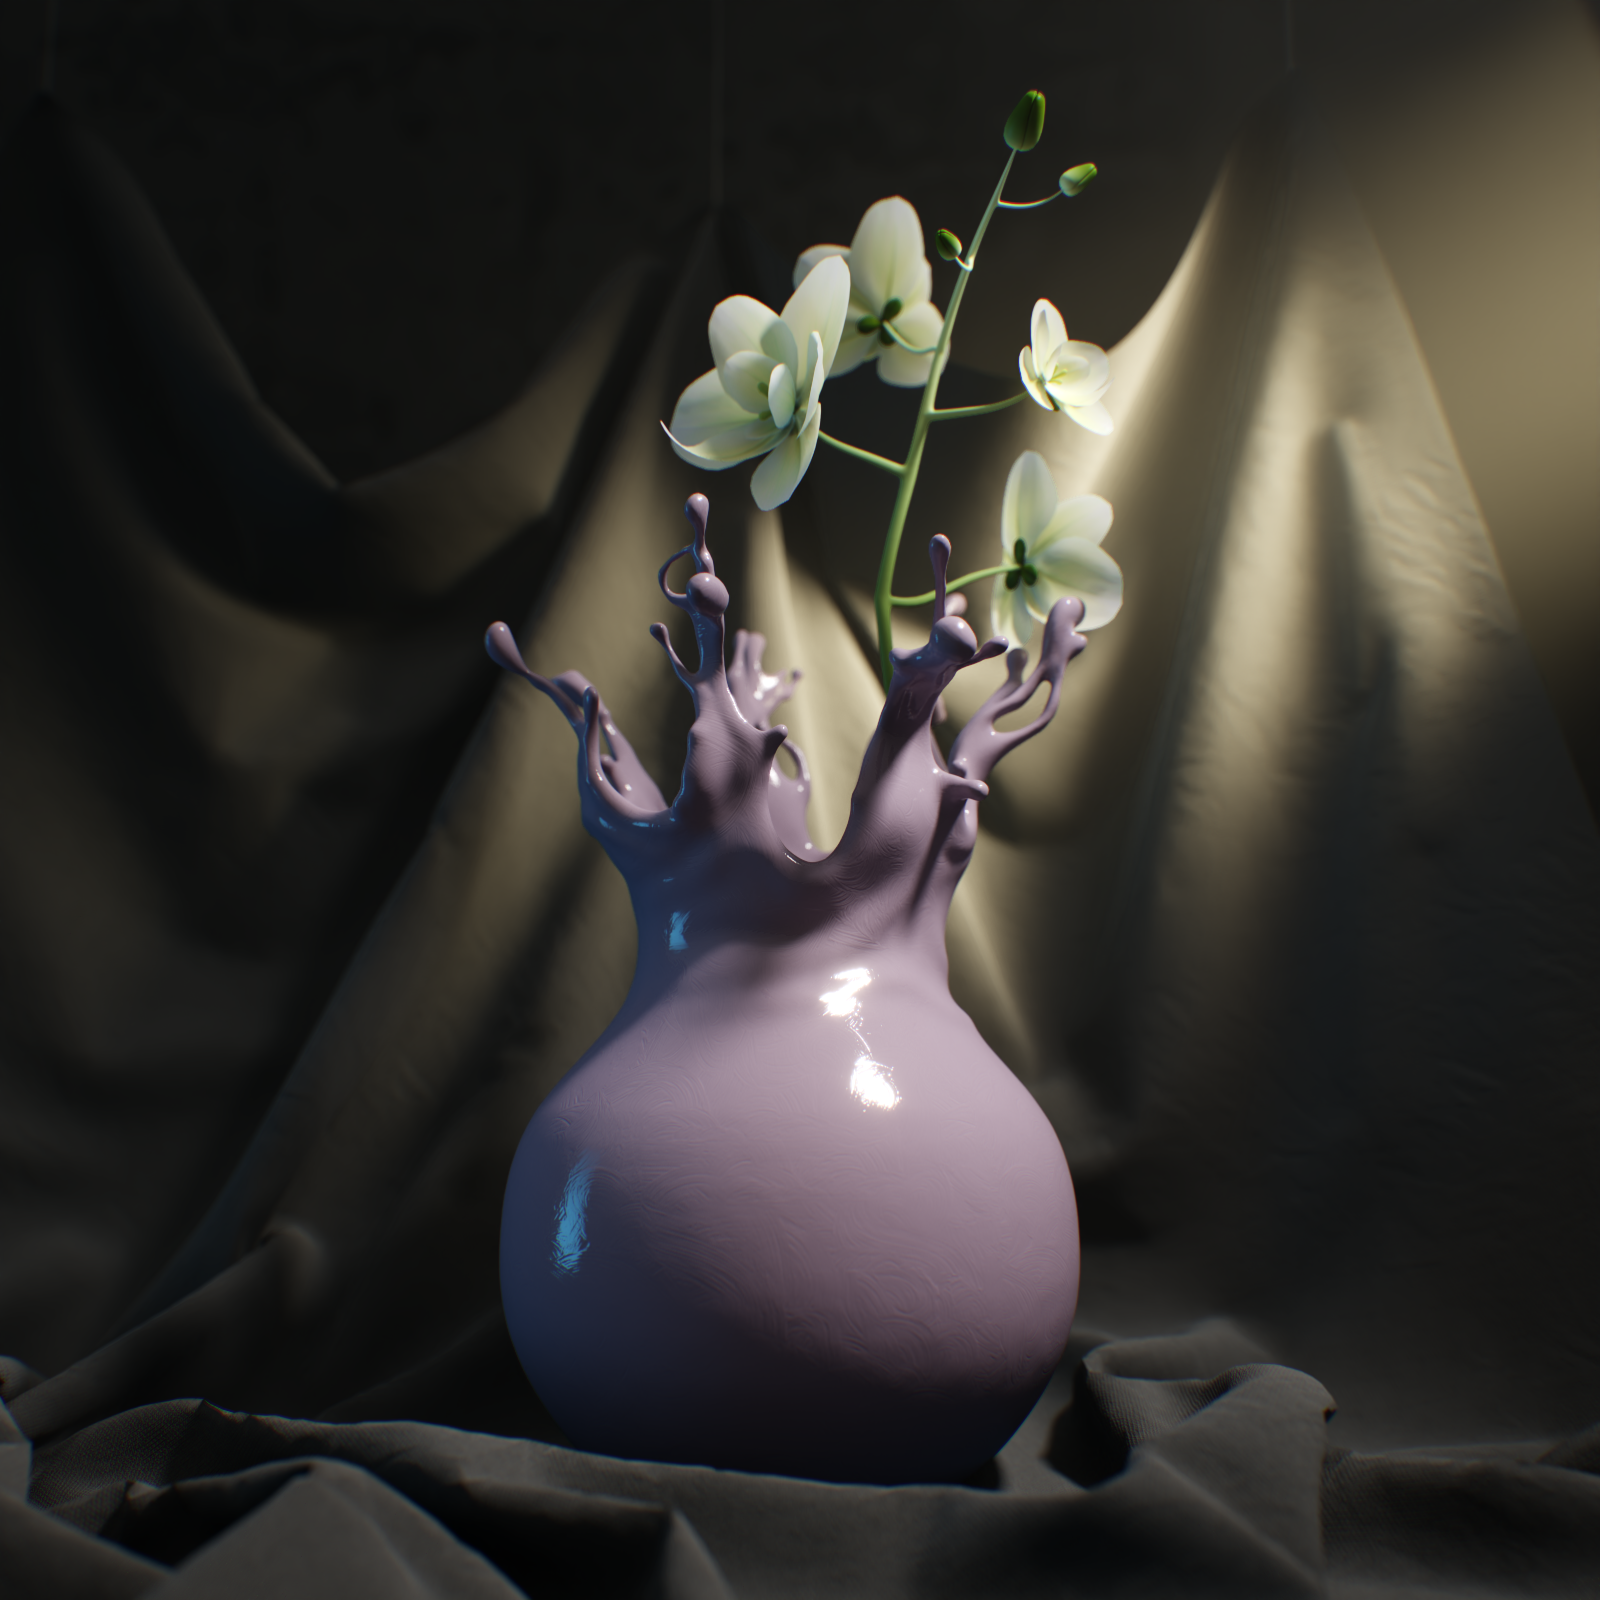
Bump amount = 0.1
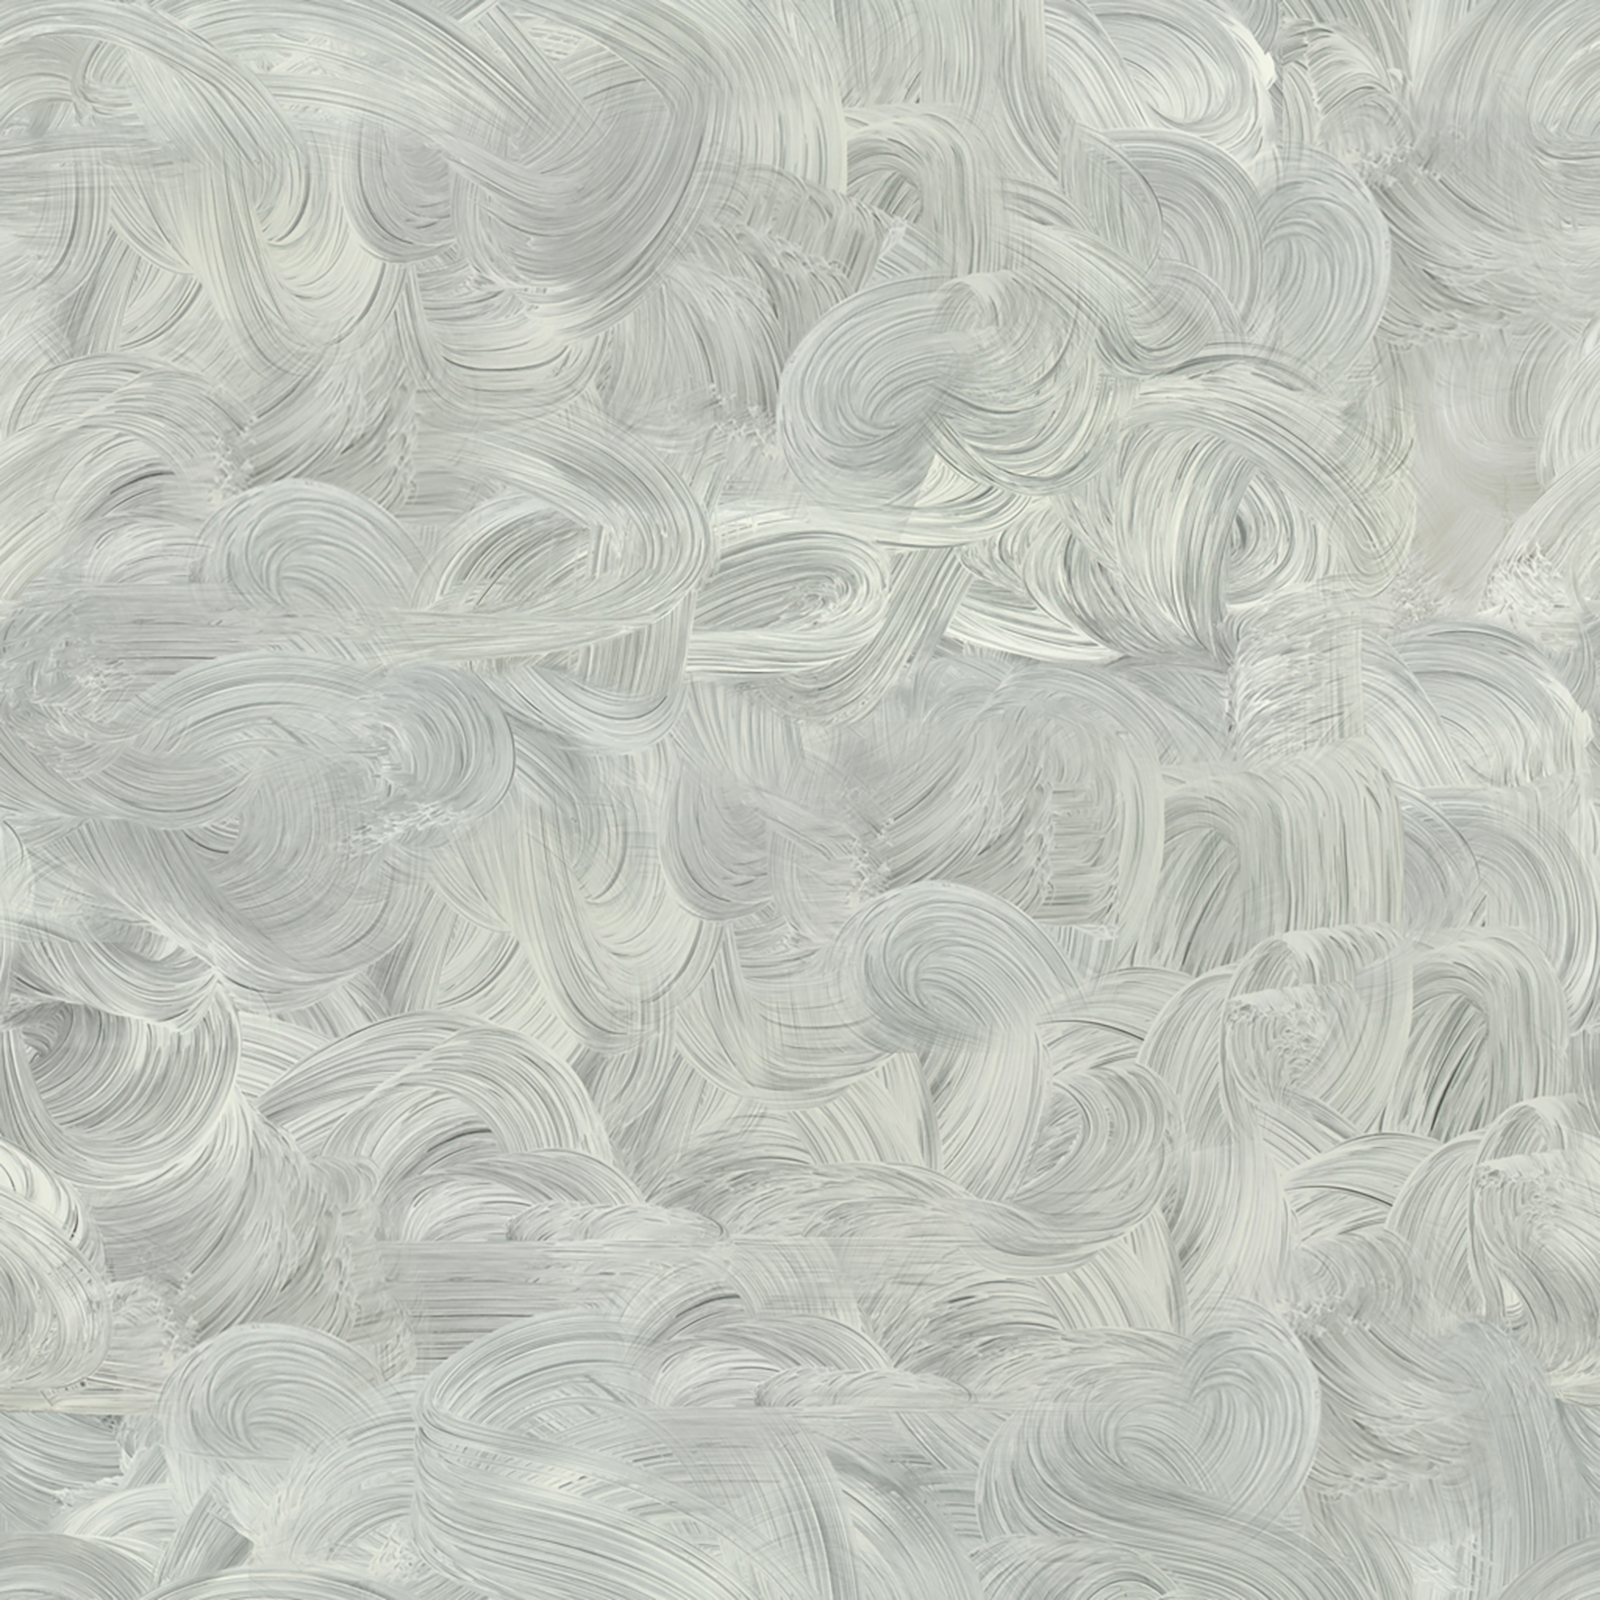
Click here to see the Bitmap used.
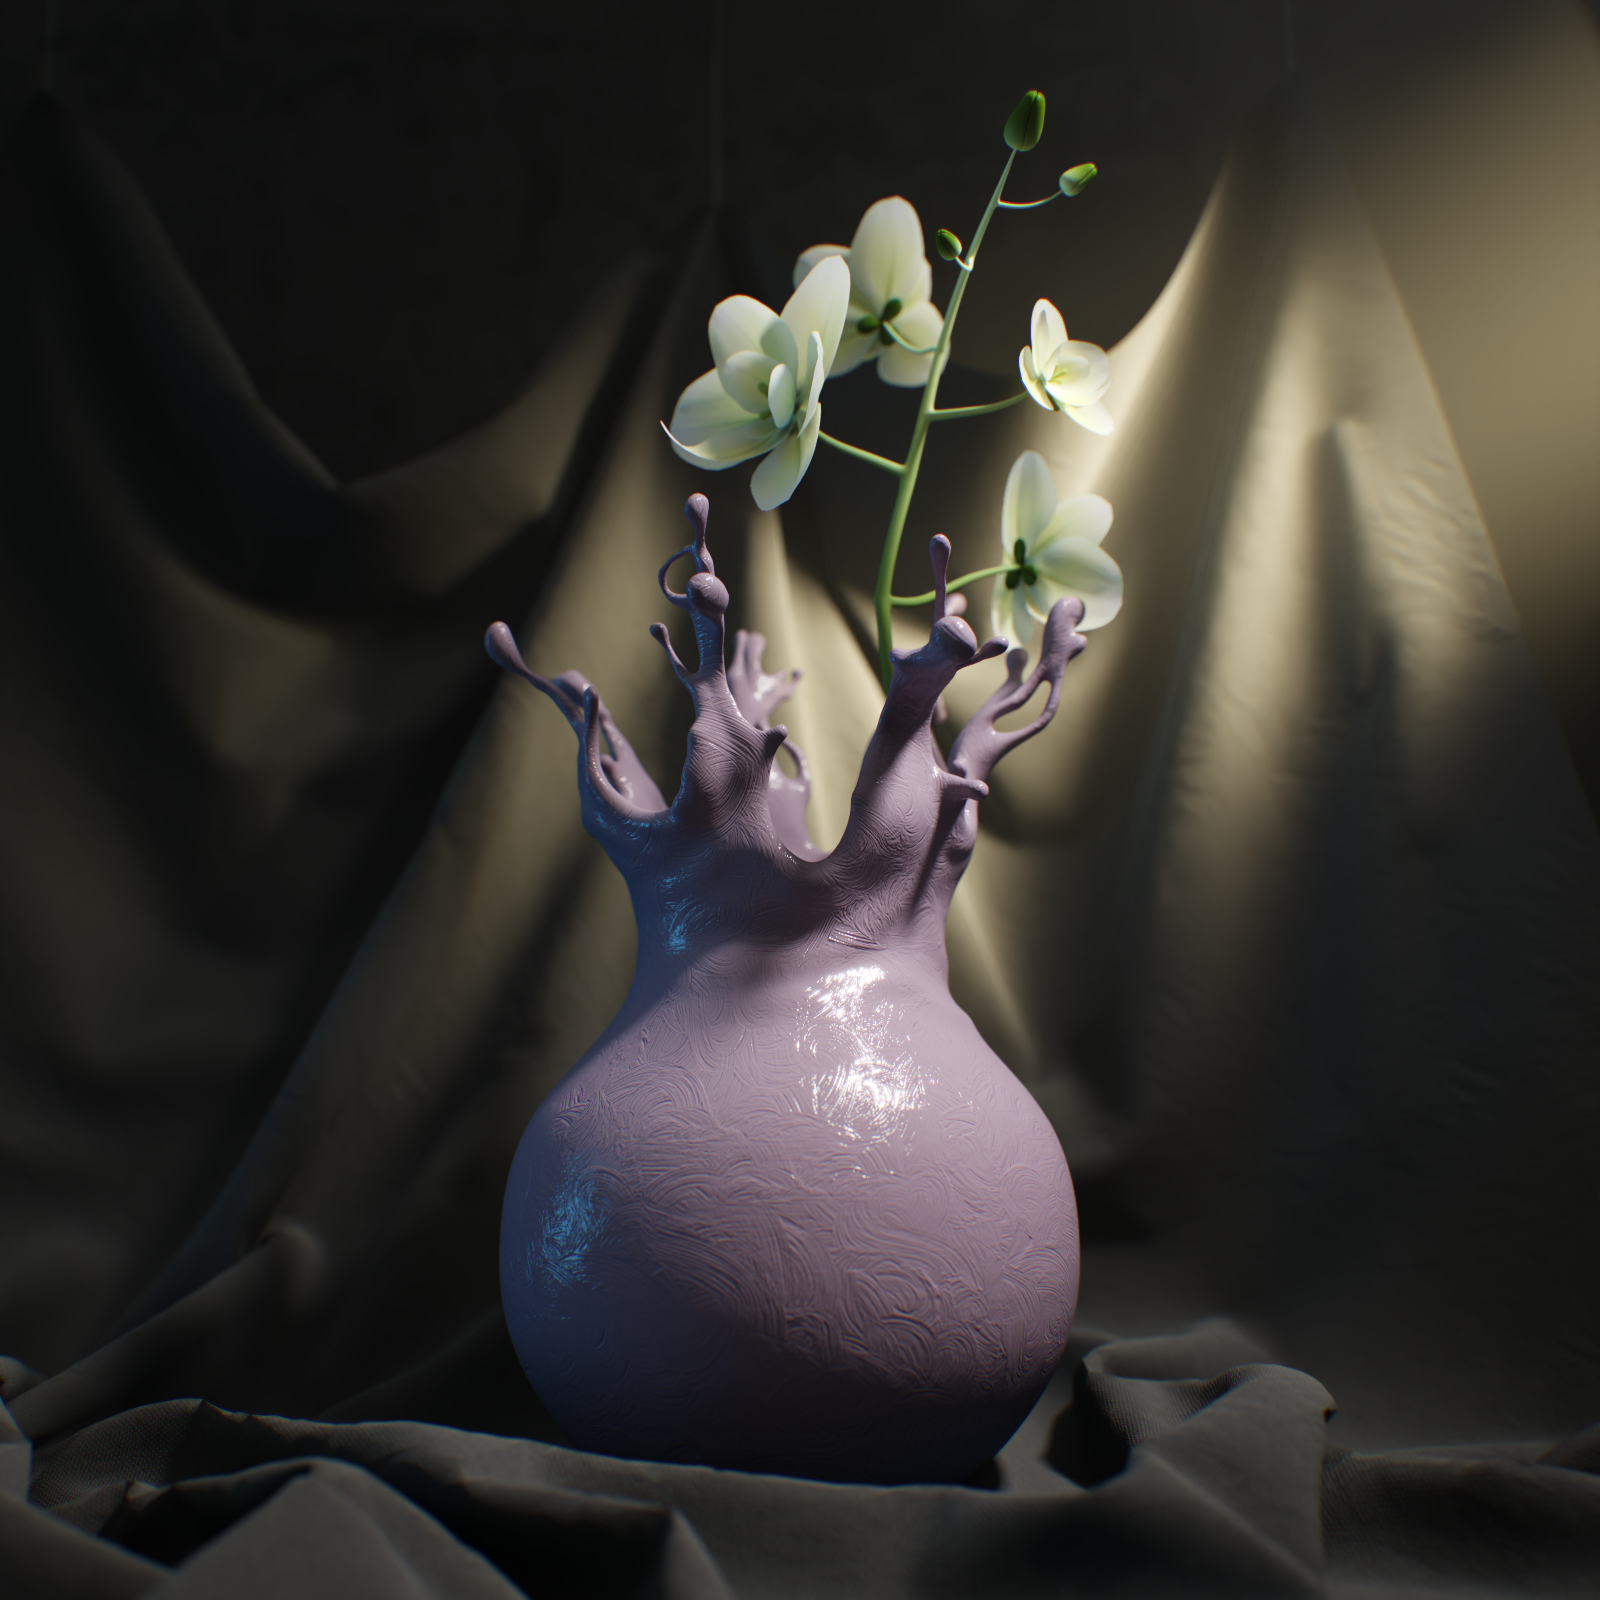
Bump amount = 0.5
Click here to see the Bitmap used.
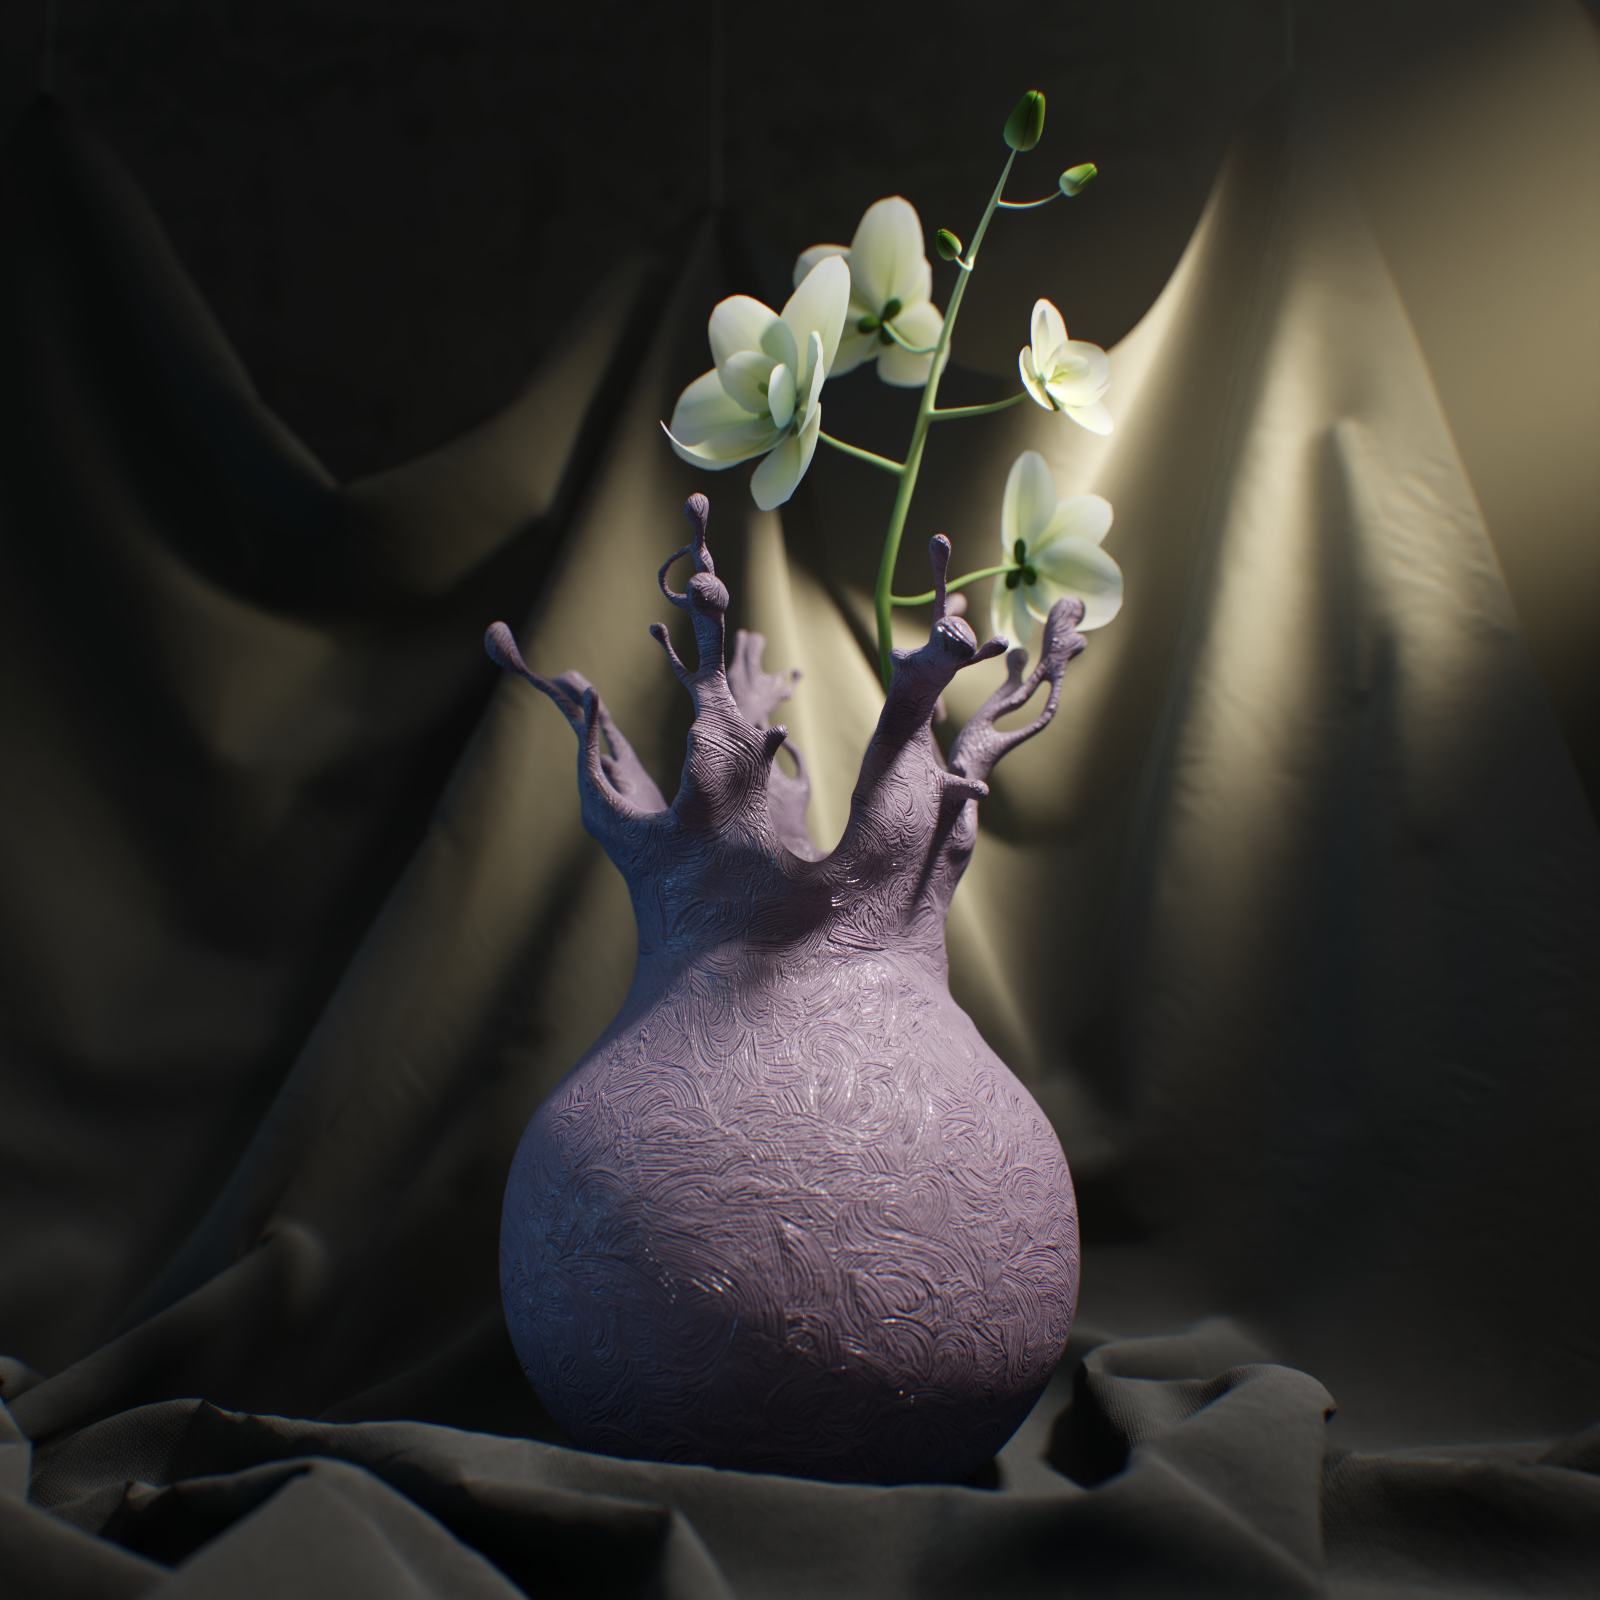
Bump amount = 2
Click here to see the Bitmap used.
The following images show different maps plugged into the Bump map slot. The Bump amount value is set to 1. The Diffuse color is different for all three images.

Click here to see the Bump map used.
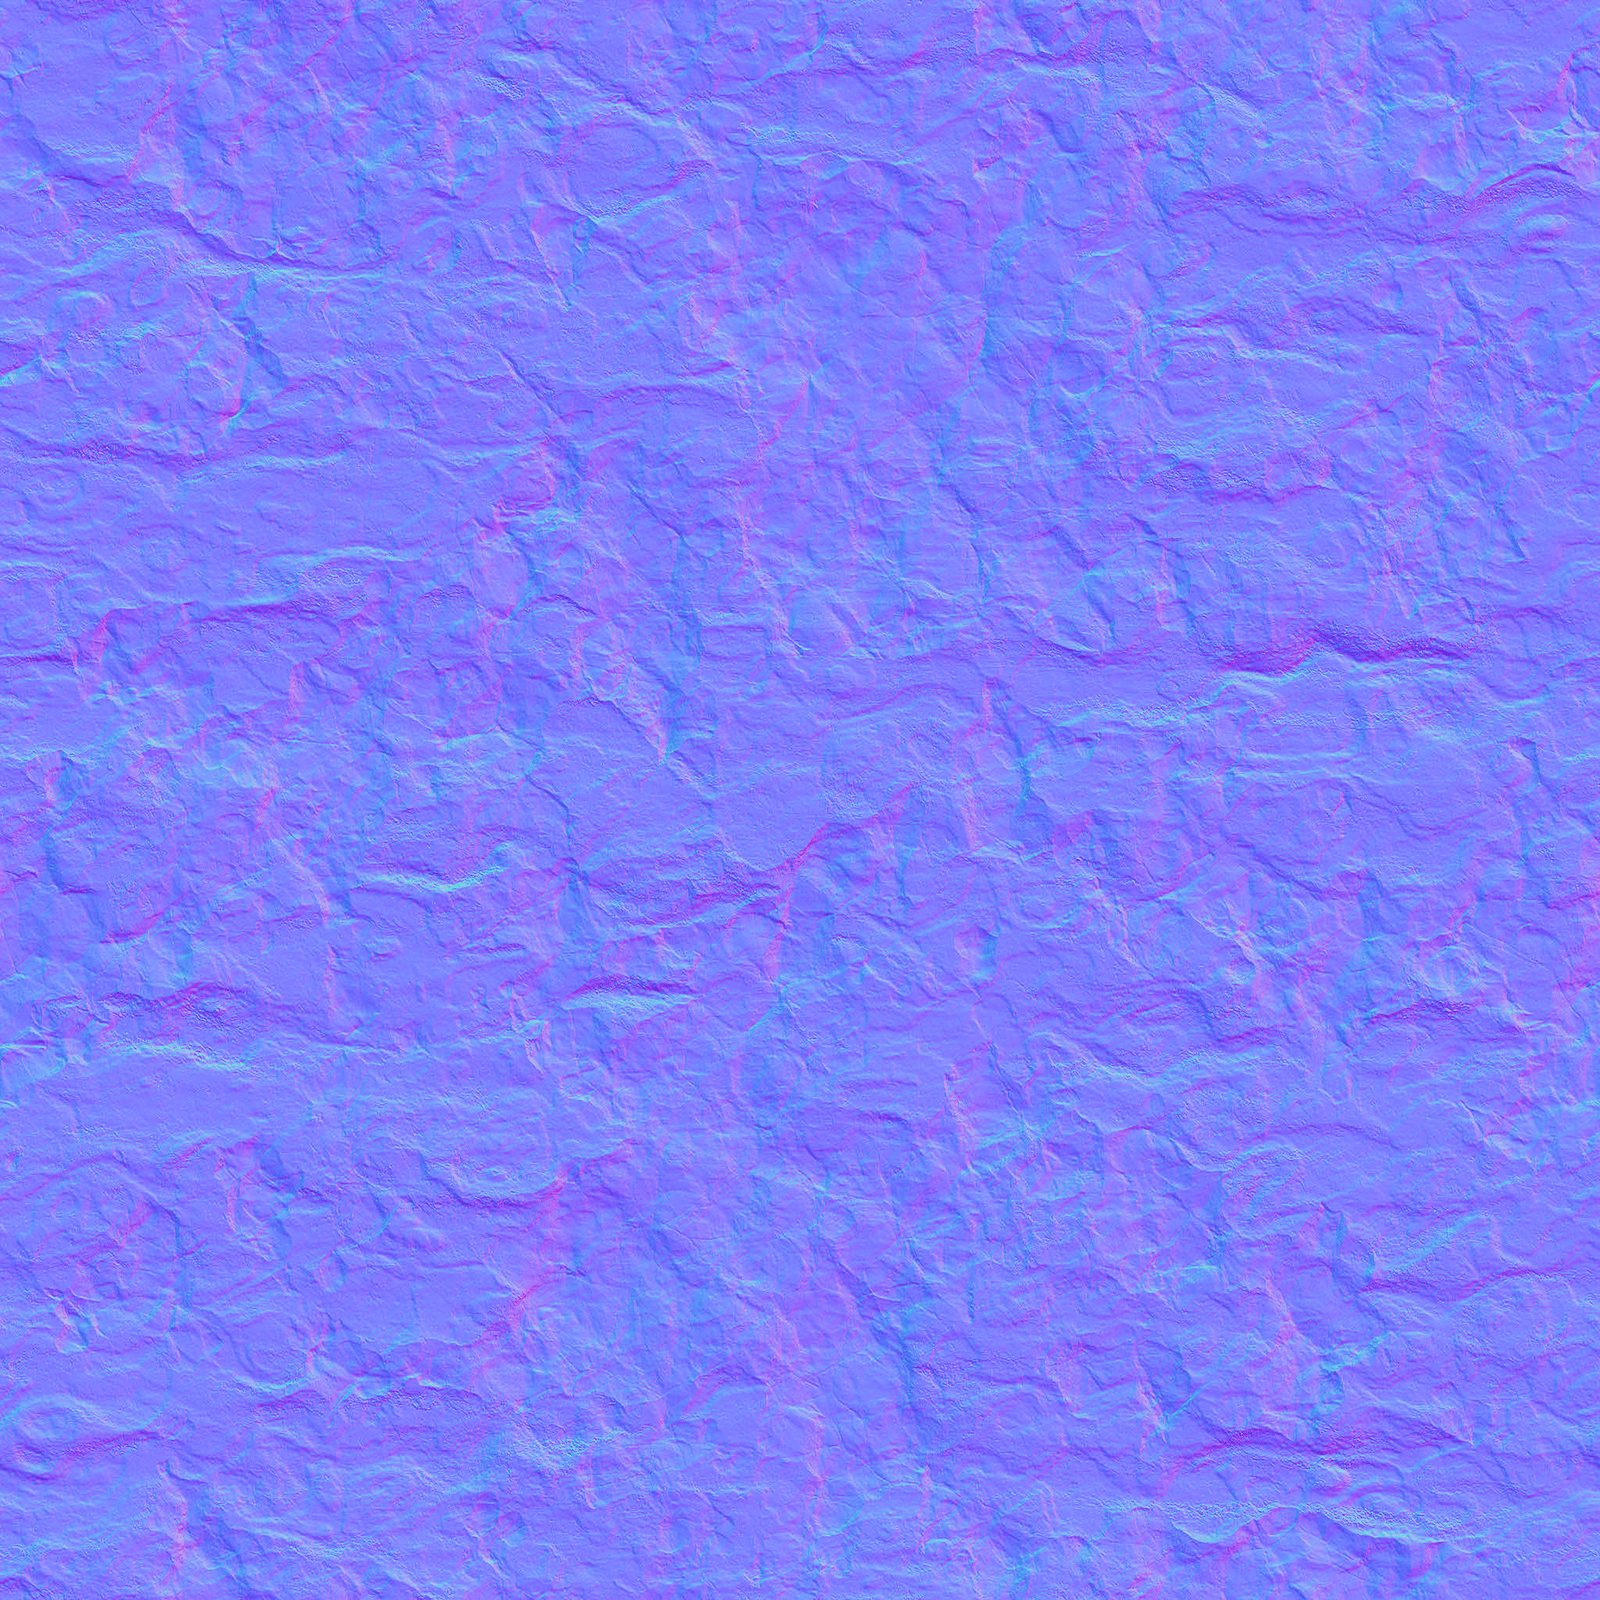
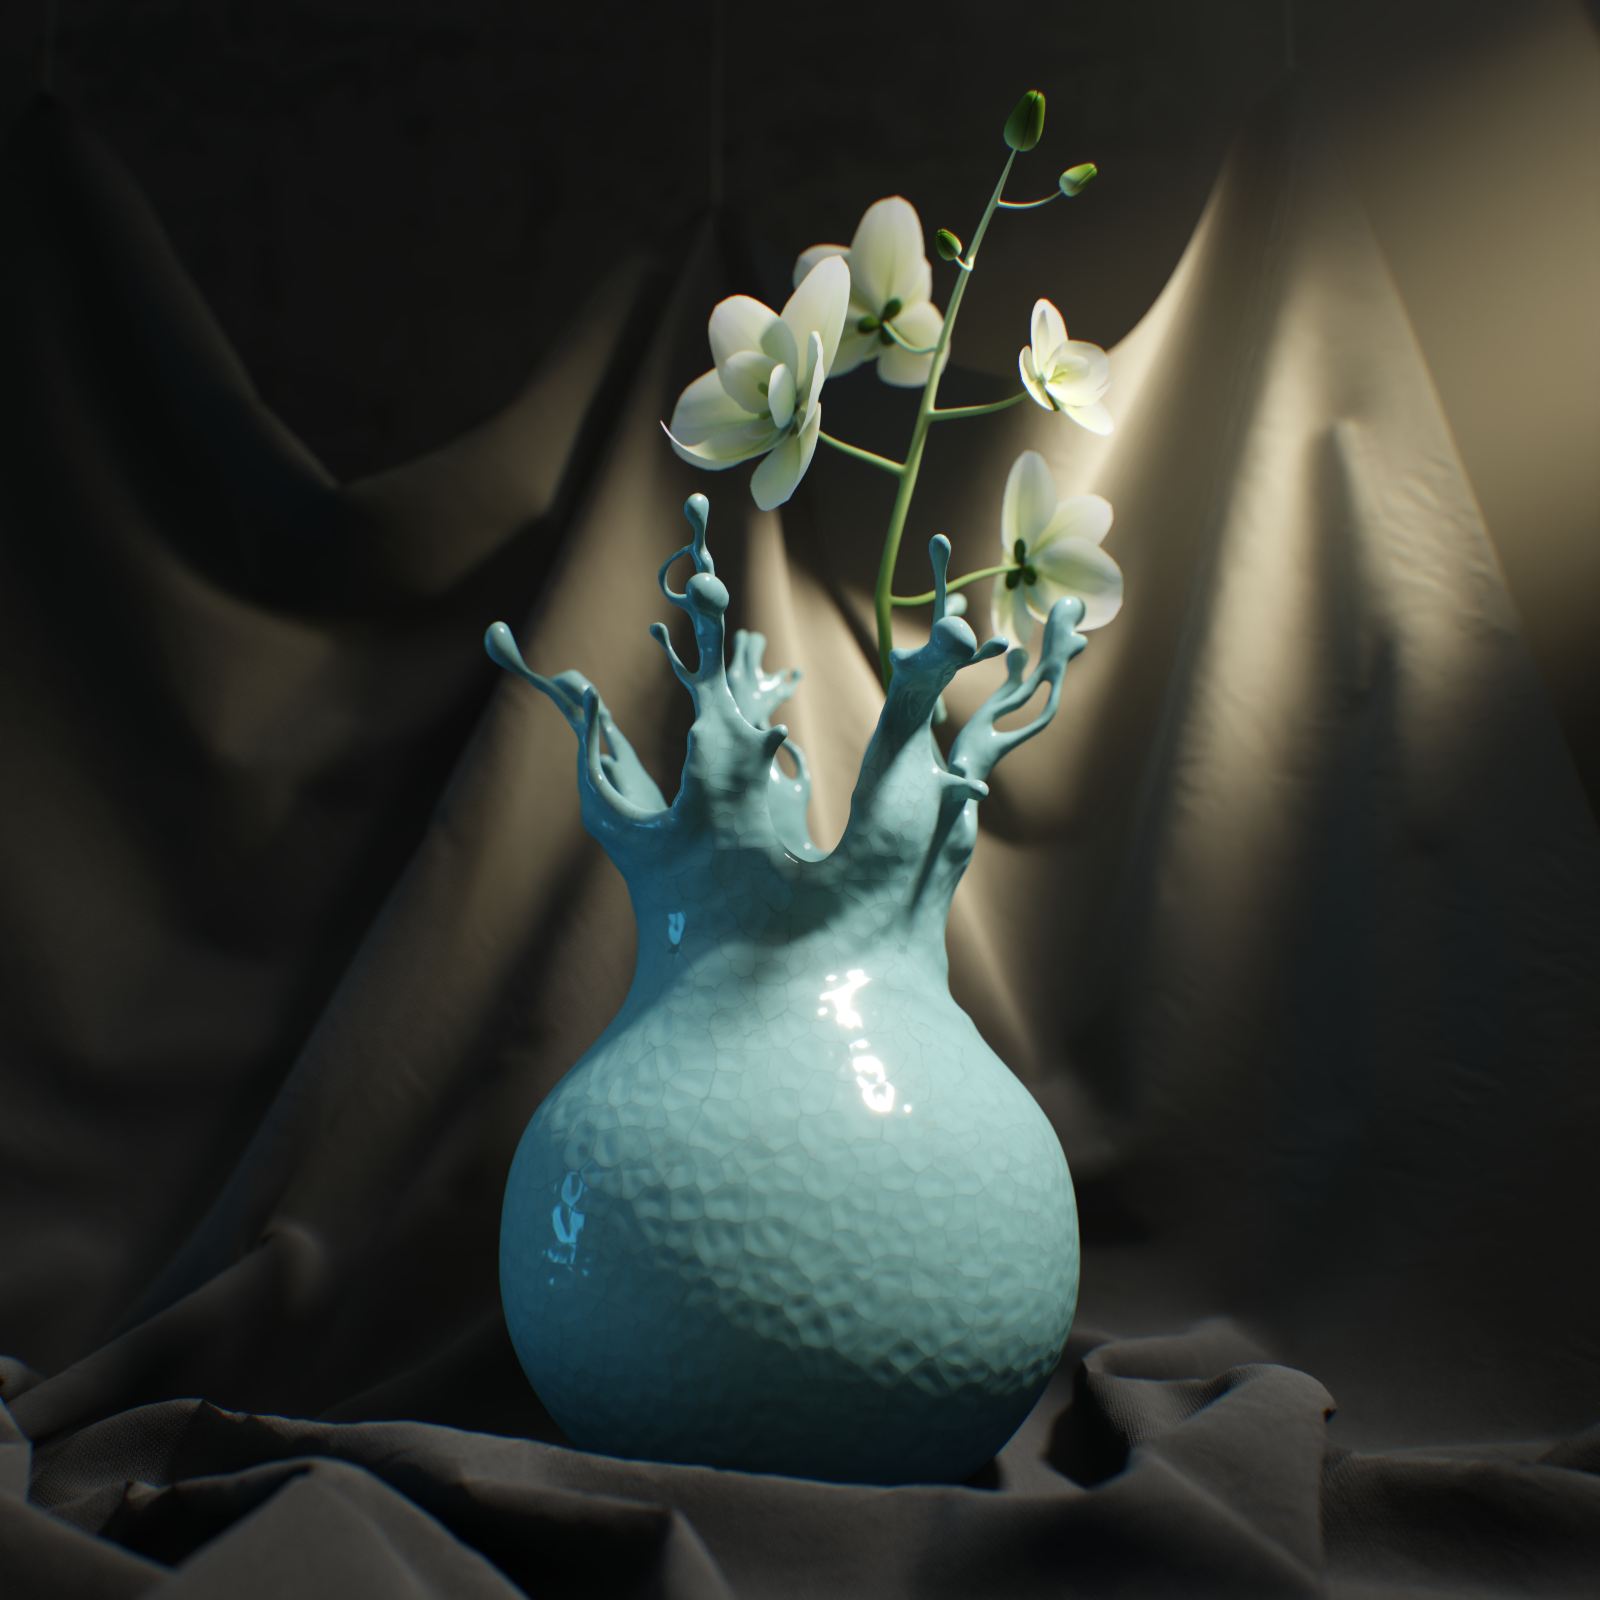
Click here to see the Bump map used.
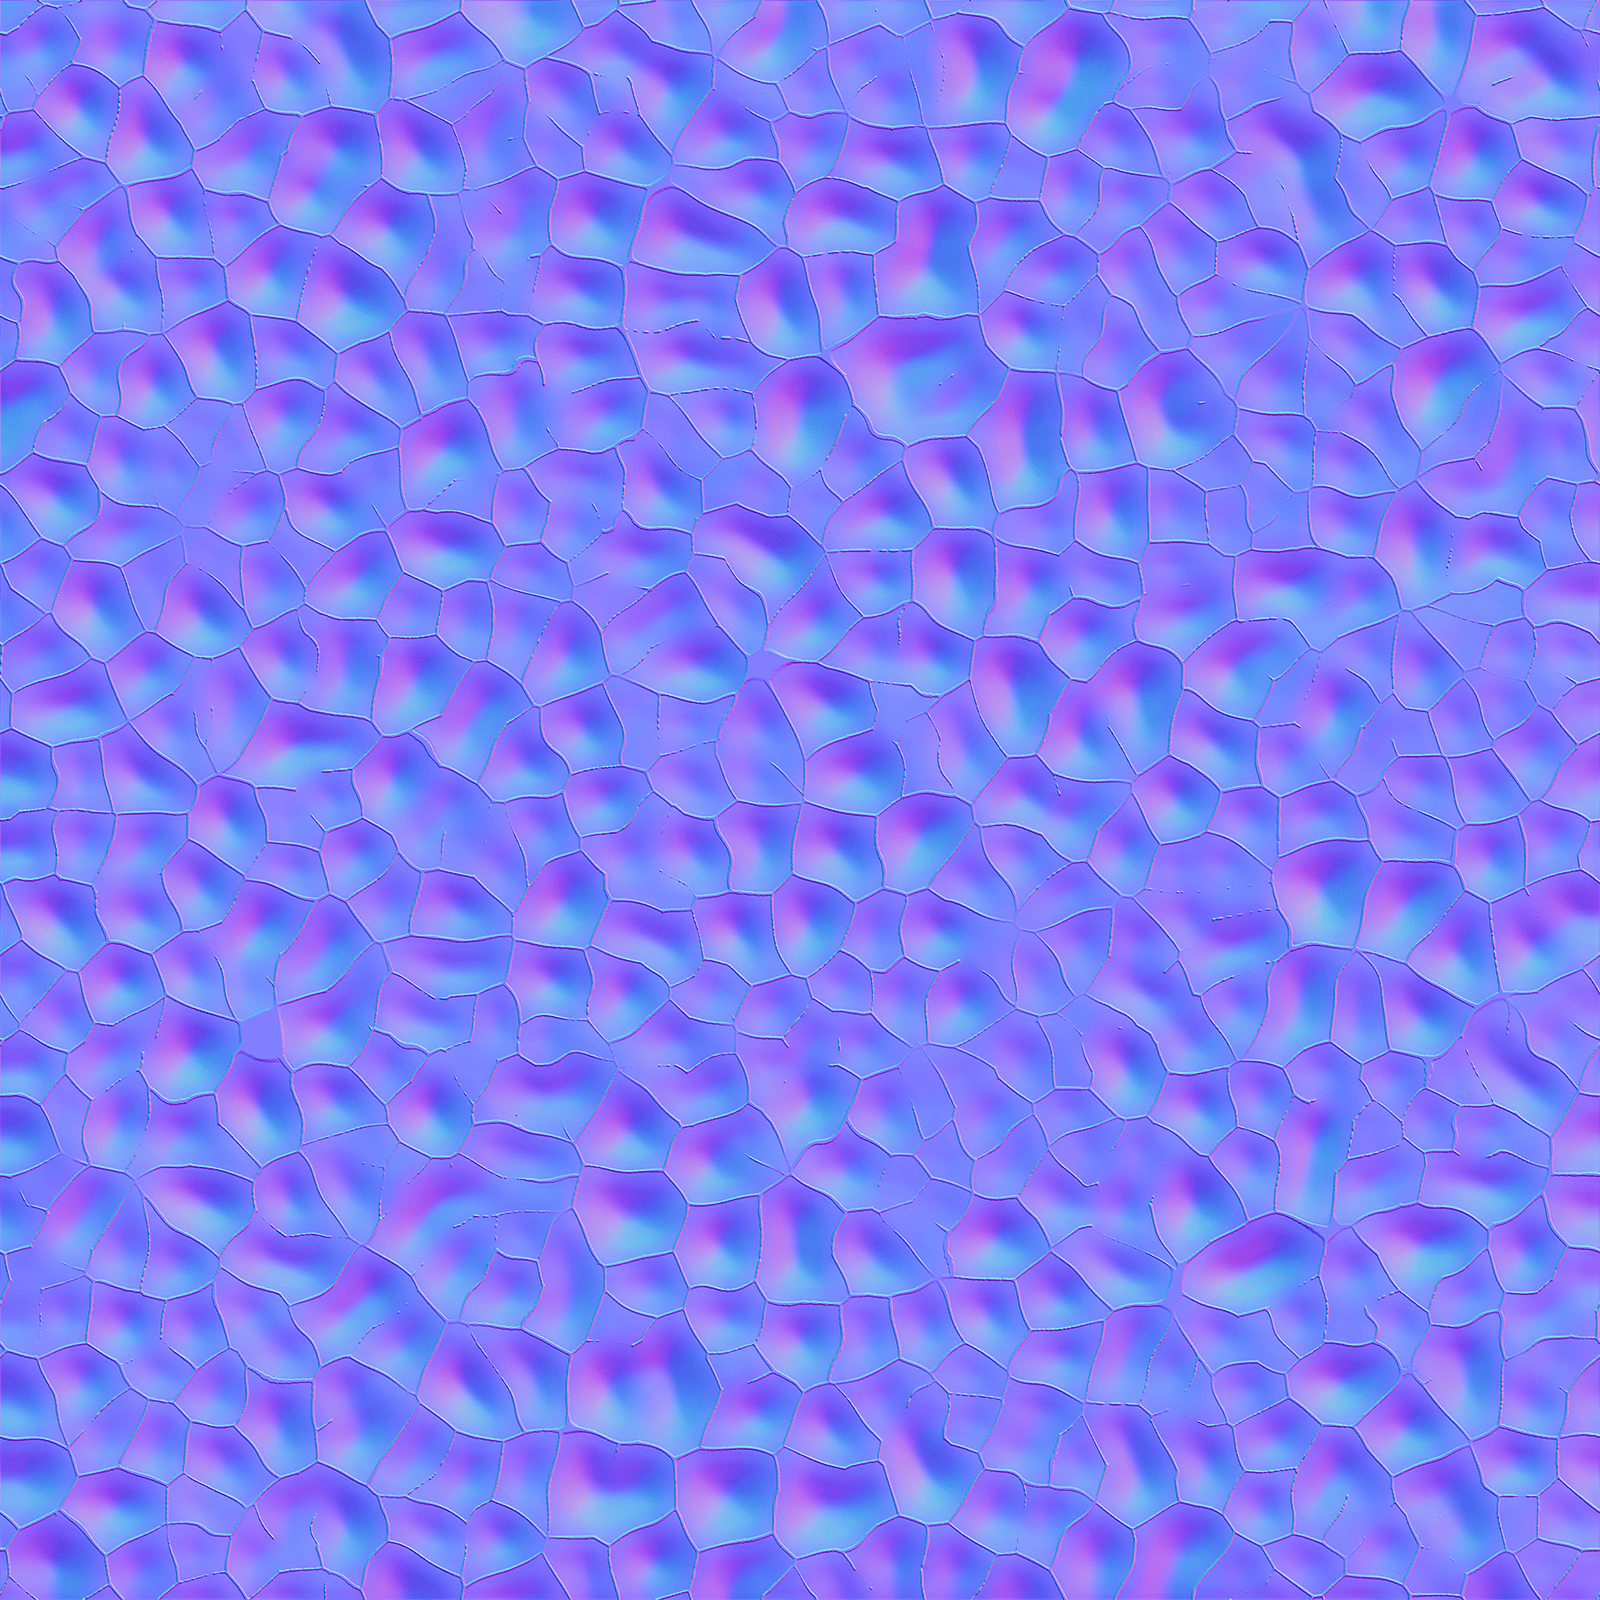
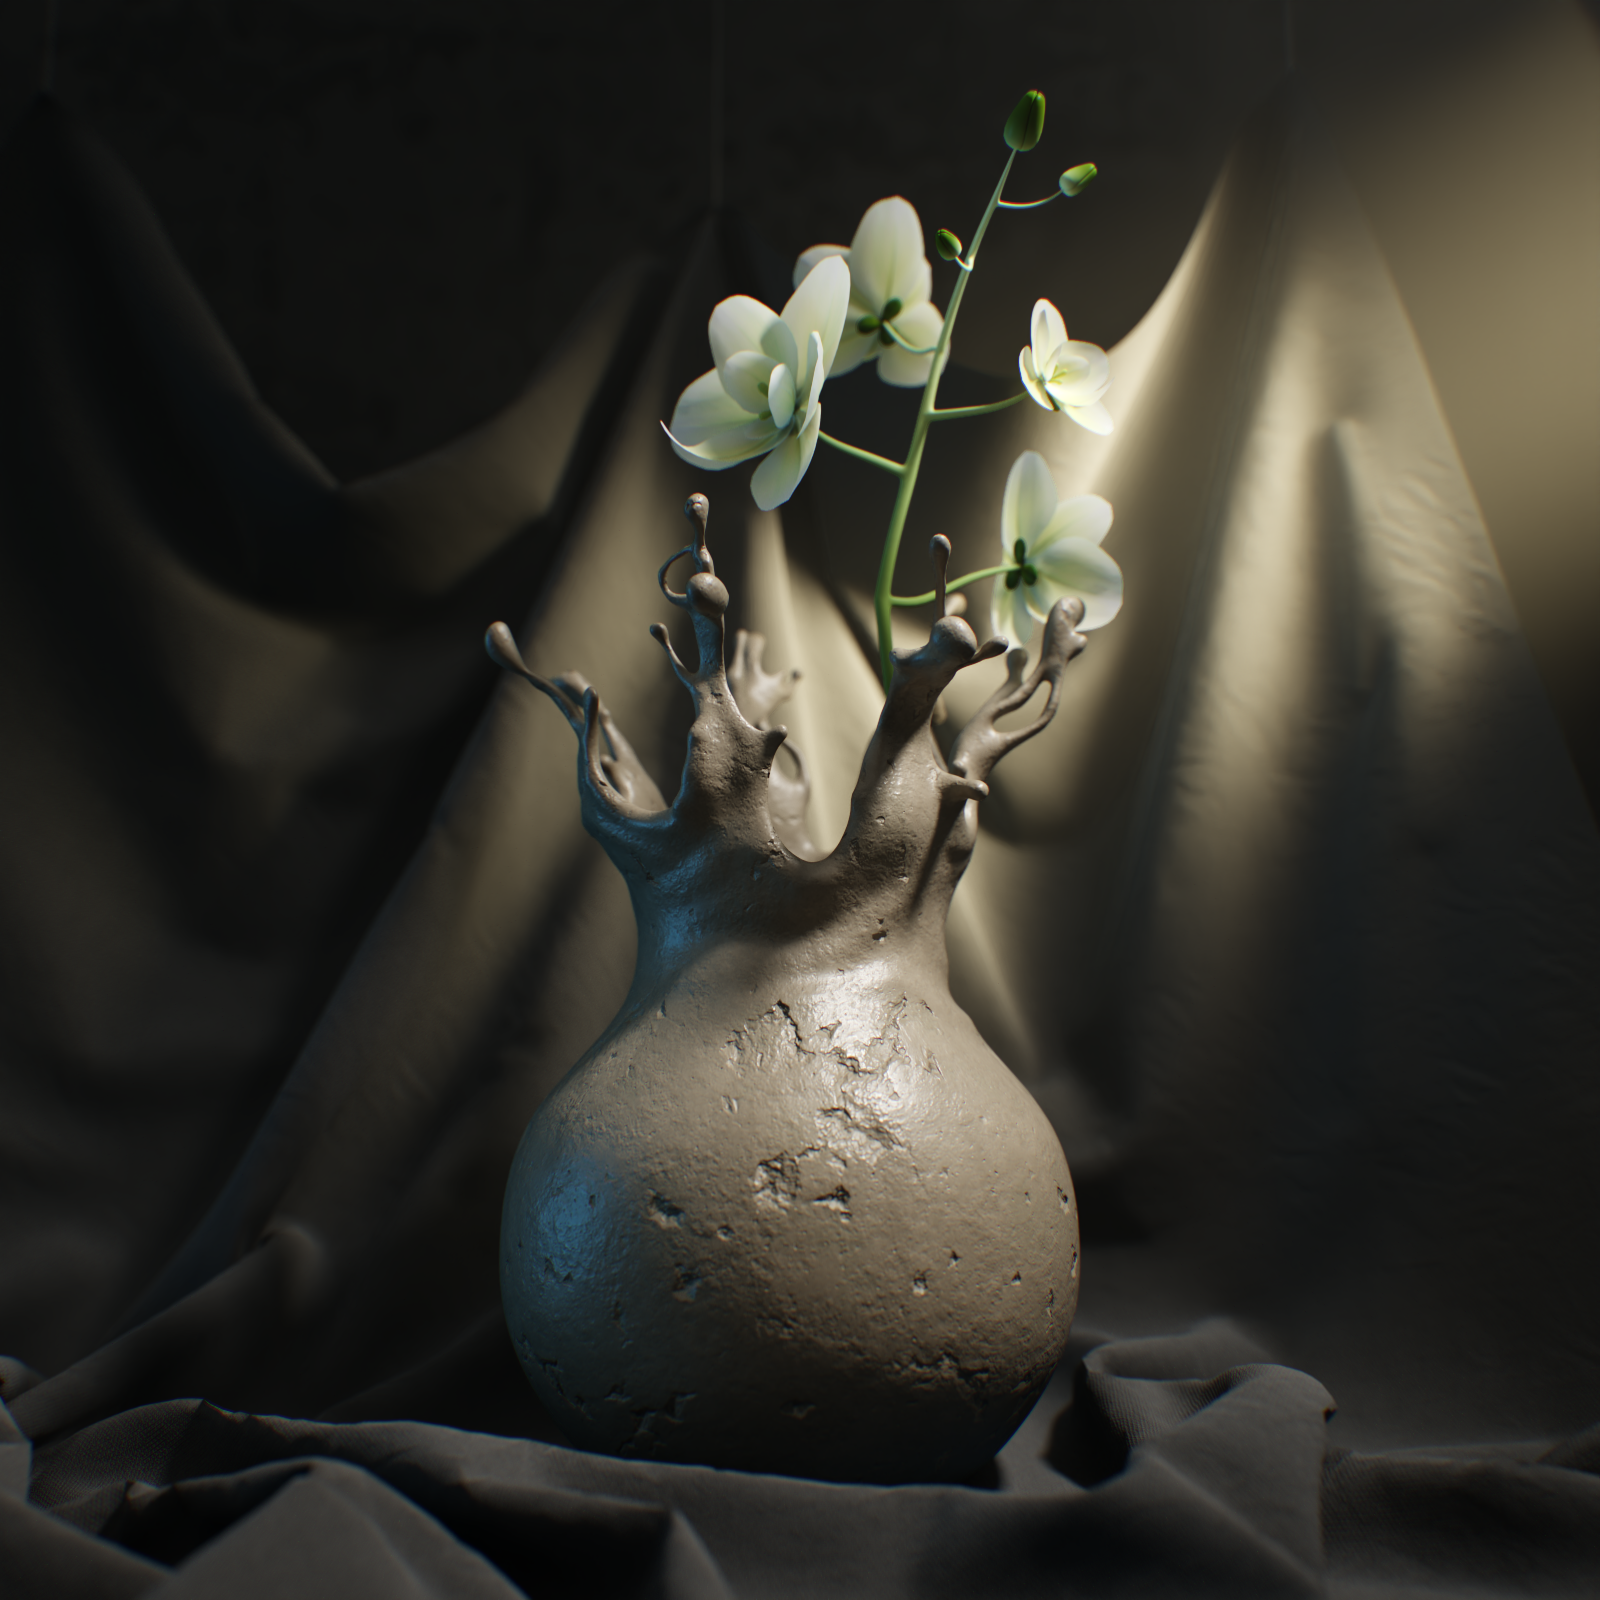
Click here to see the Bump map used.
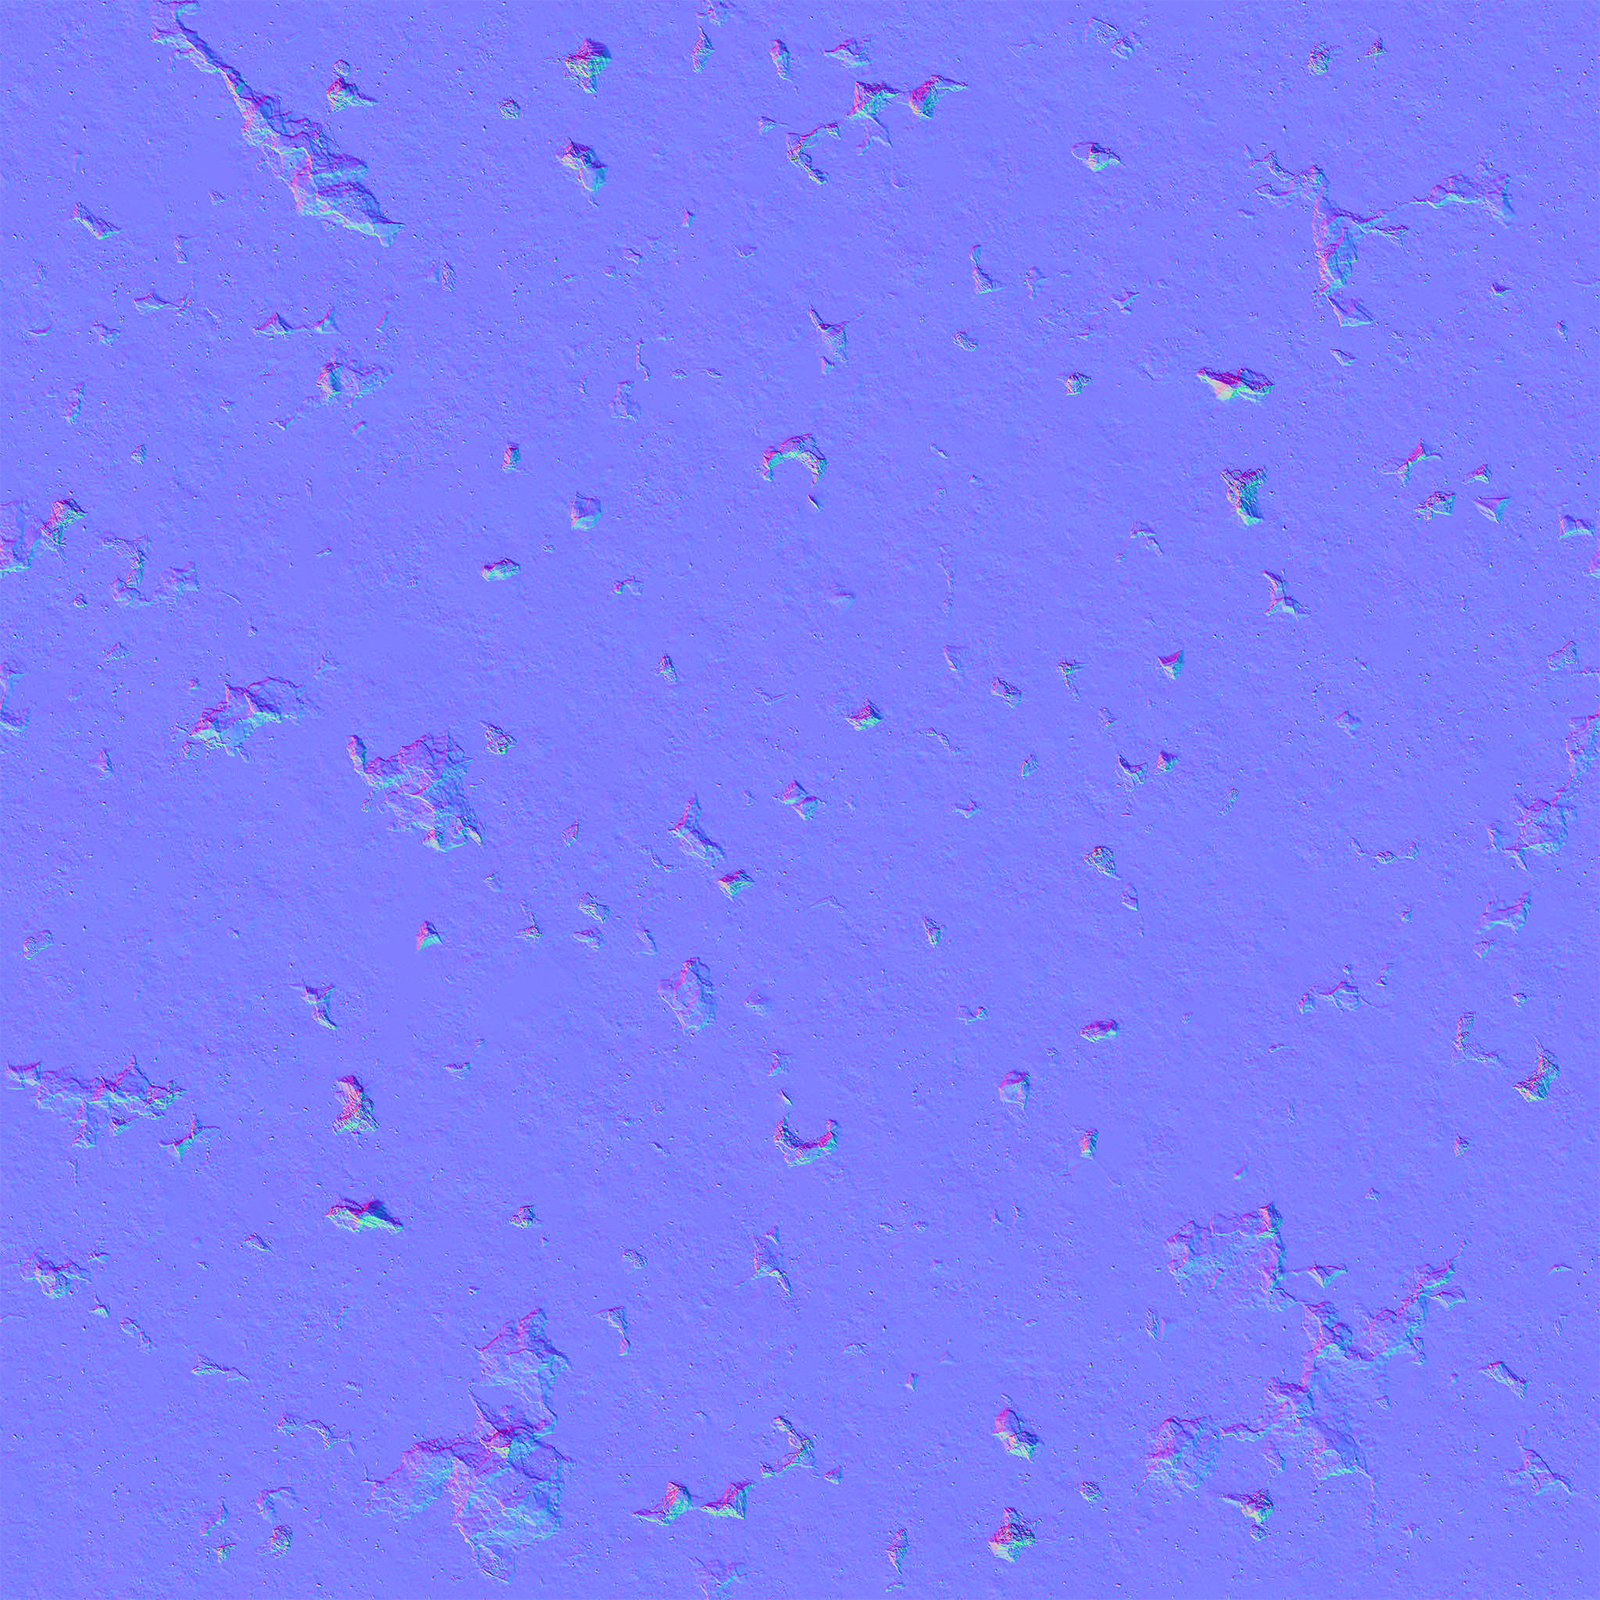
Example: Metalness
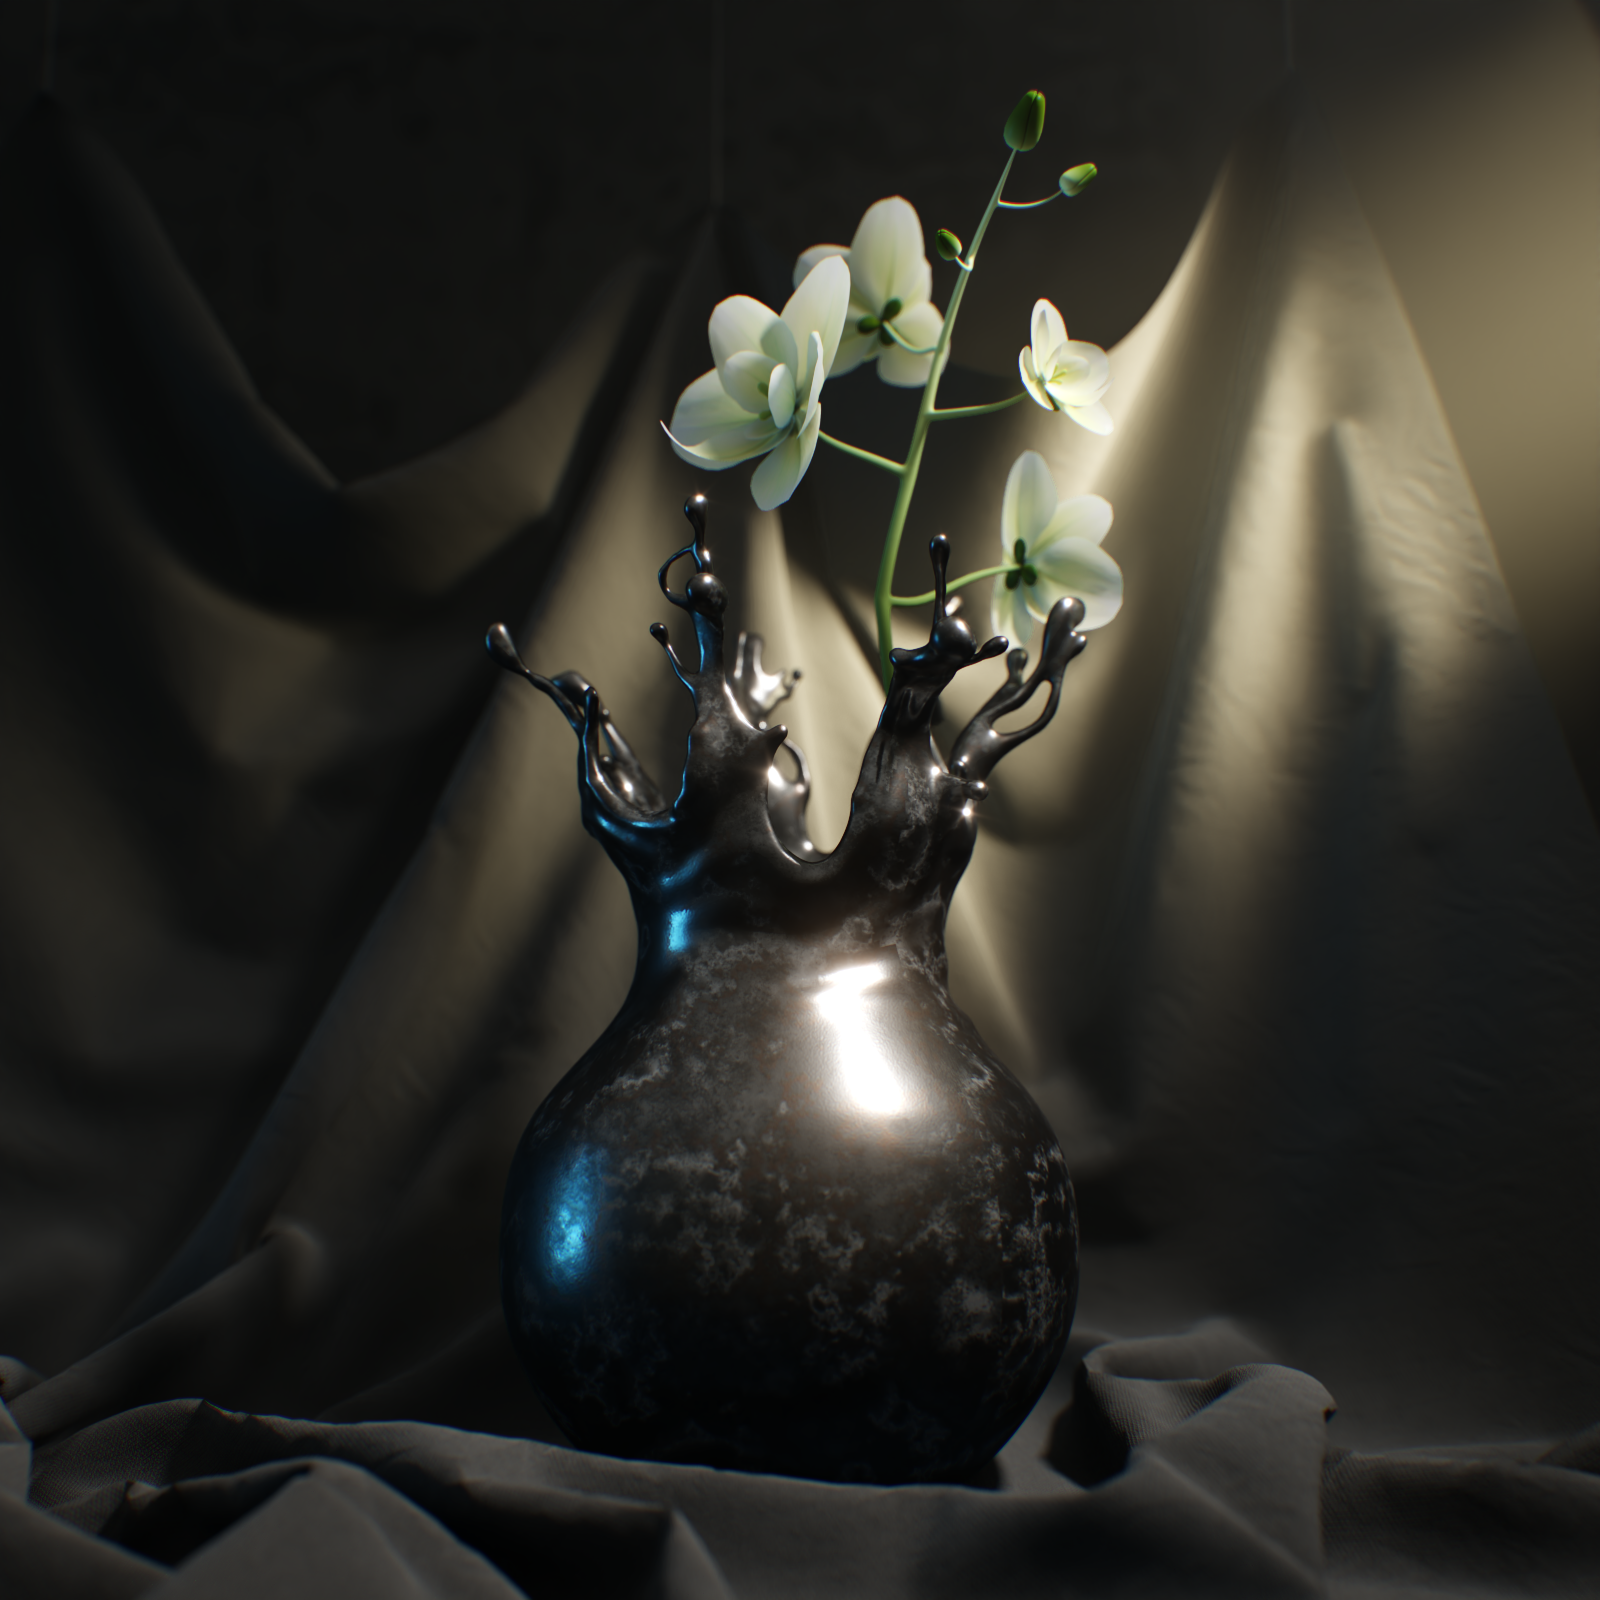
This example shows the effect of the Metalness option. In the first two images, Metalness is controlled by the slider value. In the last four images, Metalness is controlled by different bitmaps. Reflection glossiness is set to 0.75. The material transitions from dielectric (Metalness = 0.0) to metallic (Metalness = 1.0).
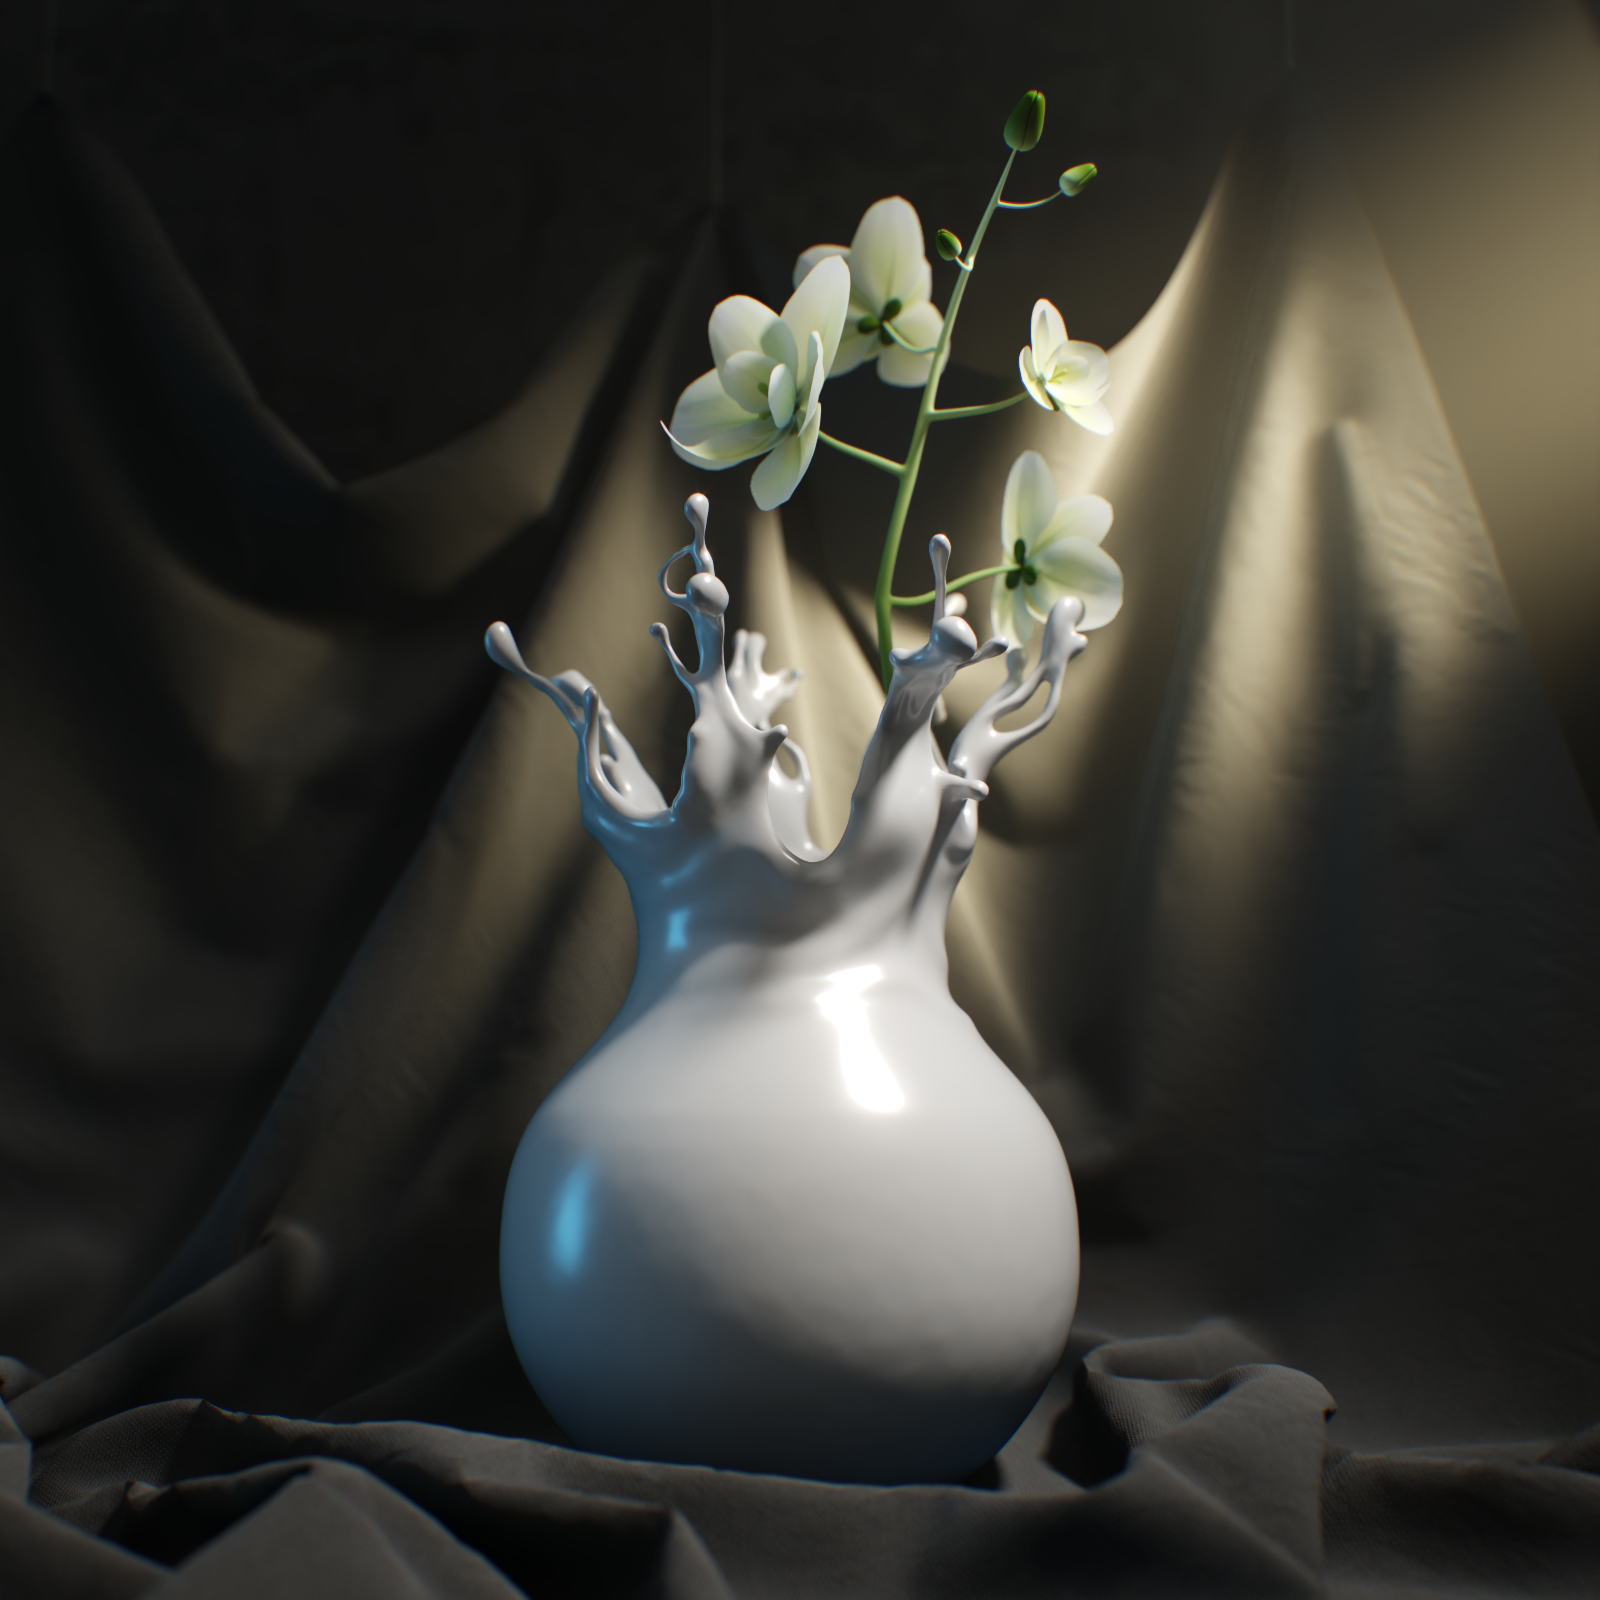
Metalness = 0

Metalness = 1

Metalness is controlled by Bitmap
Click here to see the Metalness map.

Metalness is controlled by Bitmap
Click here to see the Metalness map.


Metalness is controlled by Bitmap
Click here to see the Metalness map.


Metalness is controlled by Bitmap
Click here to see the Metalness map.

Example: Reflection Color
This example shows the effect of the Reflection color. The Diffuse color is the default grey.
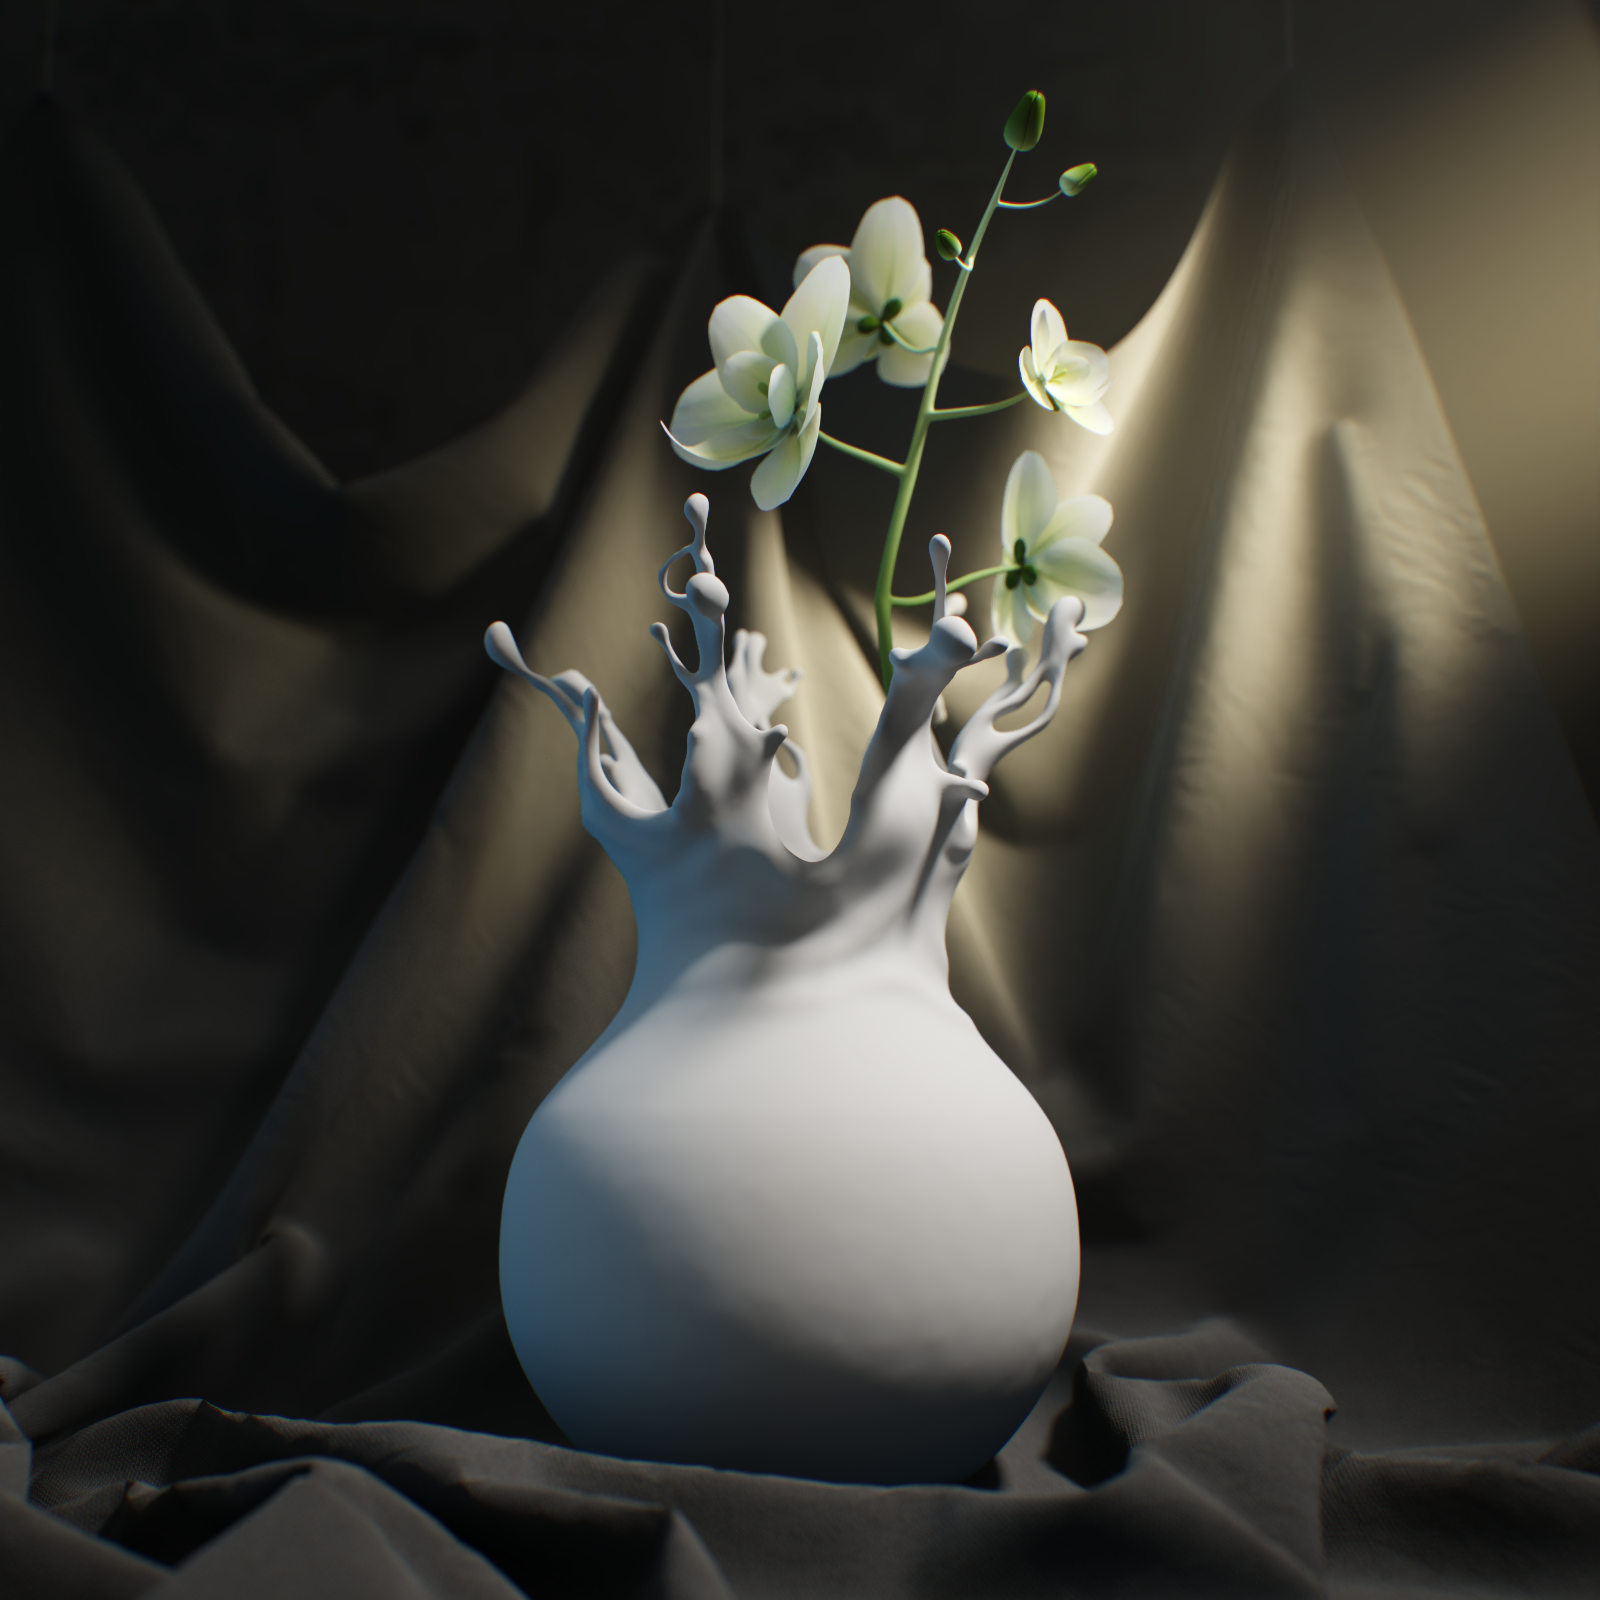
Value is 0
Click to see what value is used.

Value is 0.25
Click to see what value is used.

Value is 1
Click to see what value is used.

In this example, the Diffuse color is changed to black. The Refraction IOR is also adjusted to achieve a metallic surface look.

RGB (0.23, 0.9, 0.55)
Refraction IOR = 8
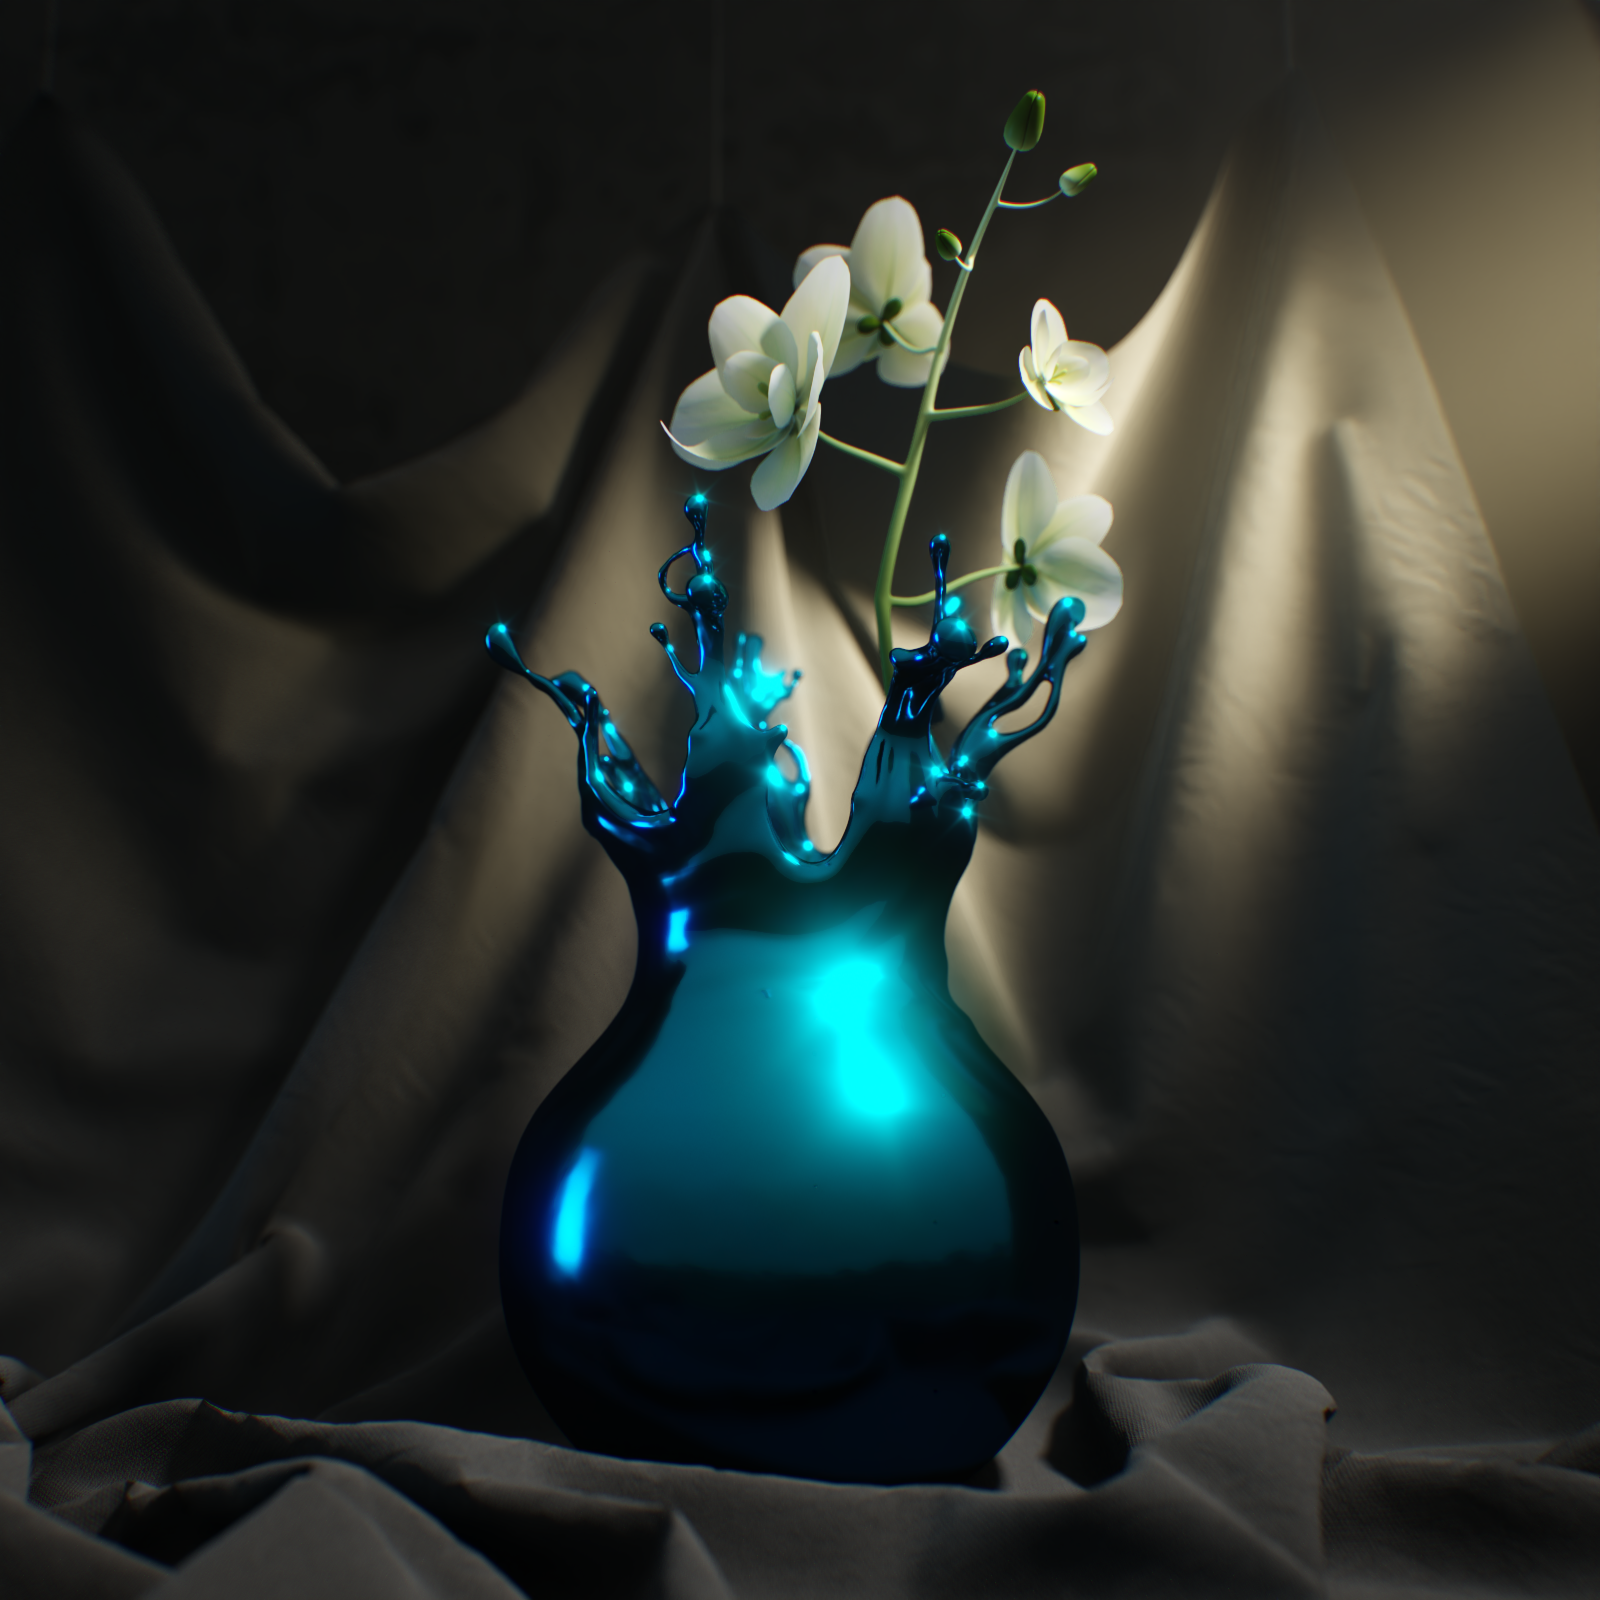
RGB (0, 0.45, 0.7)
Refraction IOR = 8

RGB (0.3, 0.2, 0.15)
Refraction IOR = 8
Example: Reflection Glossiness
This example shows the effect of the Reflection glossiness option.
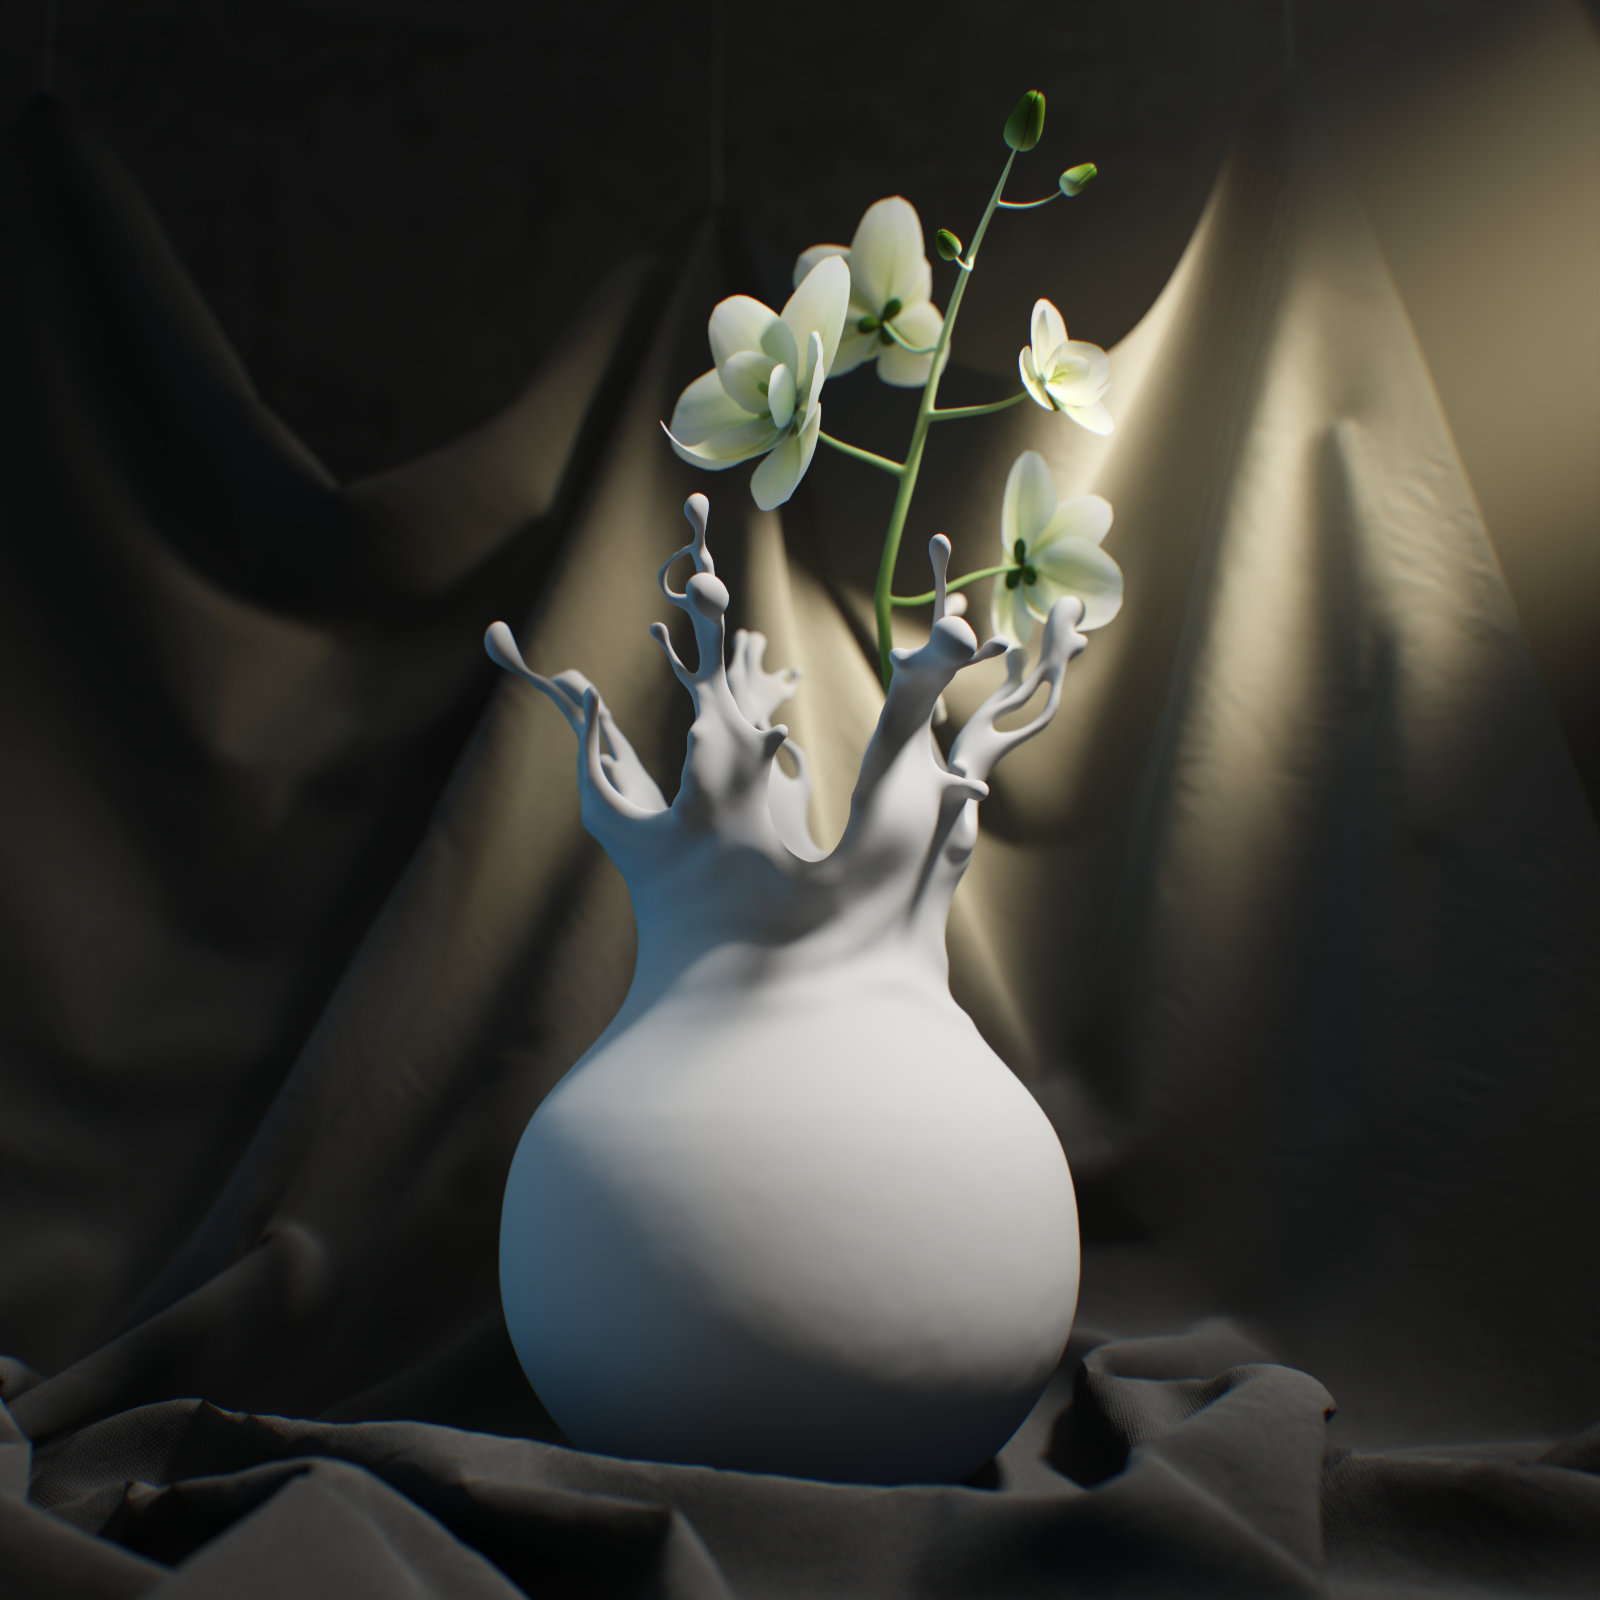
Reflection glossiness = 0

Reflection glossiness = 0.75
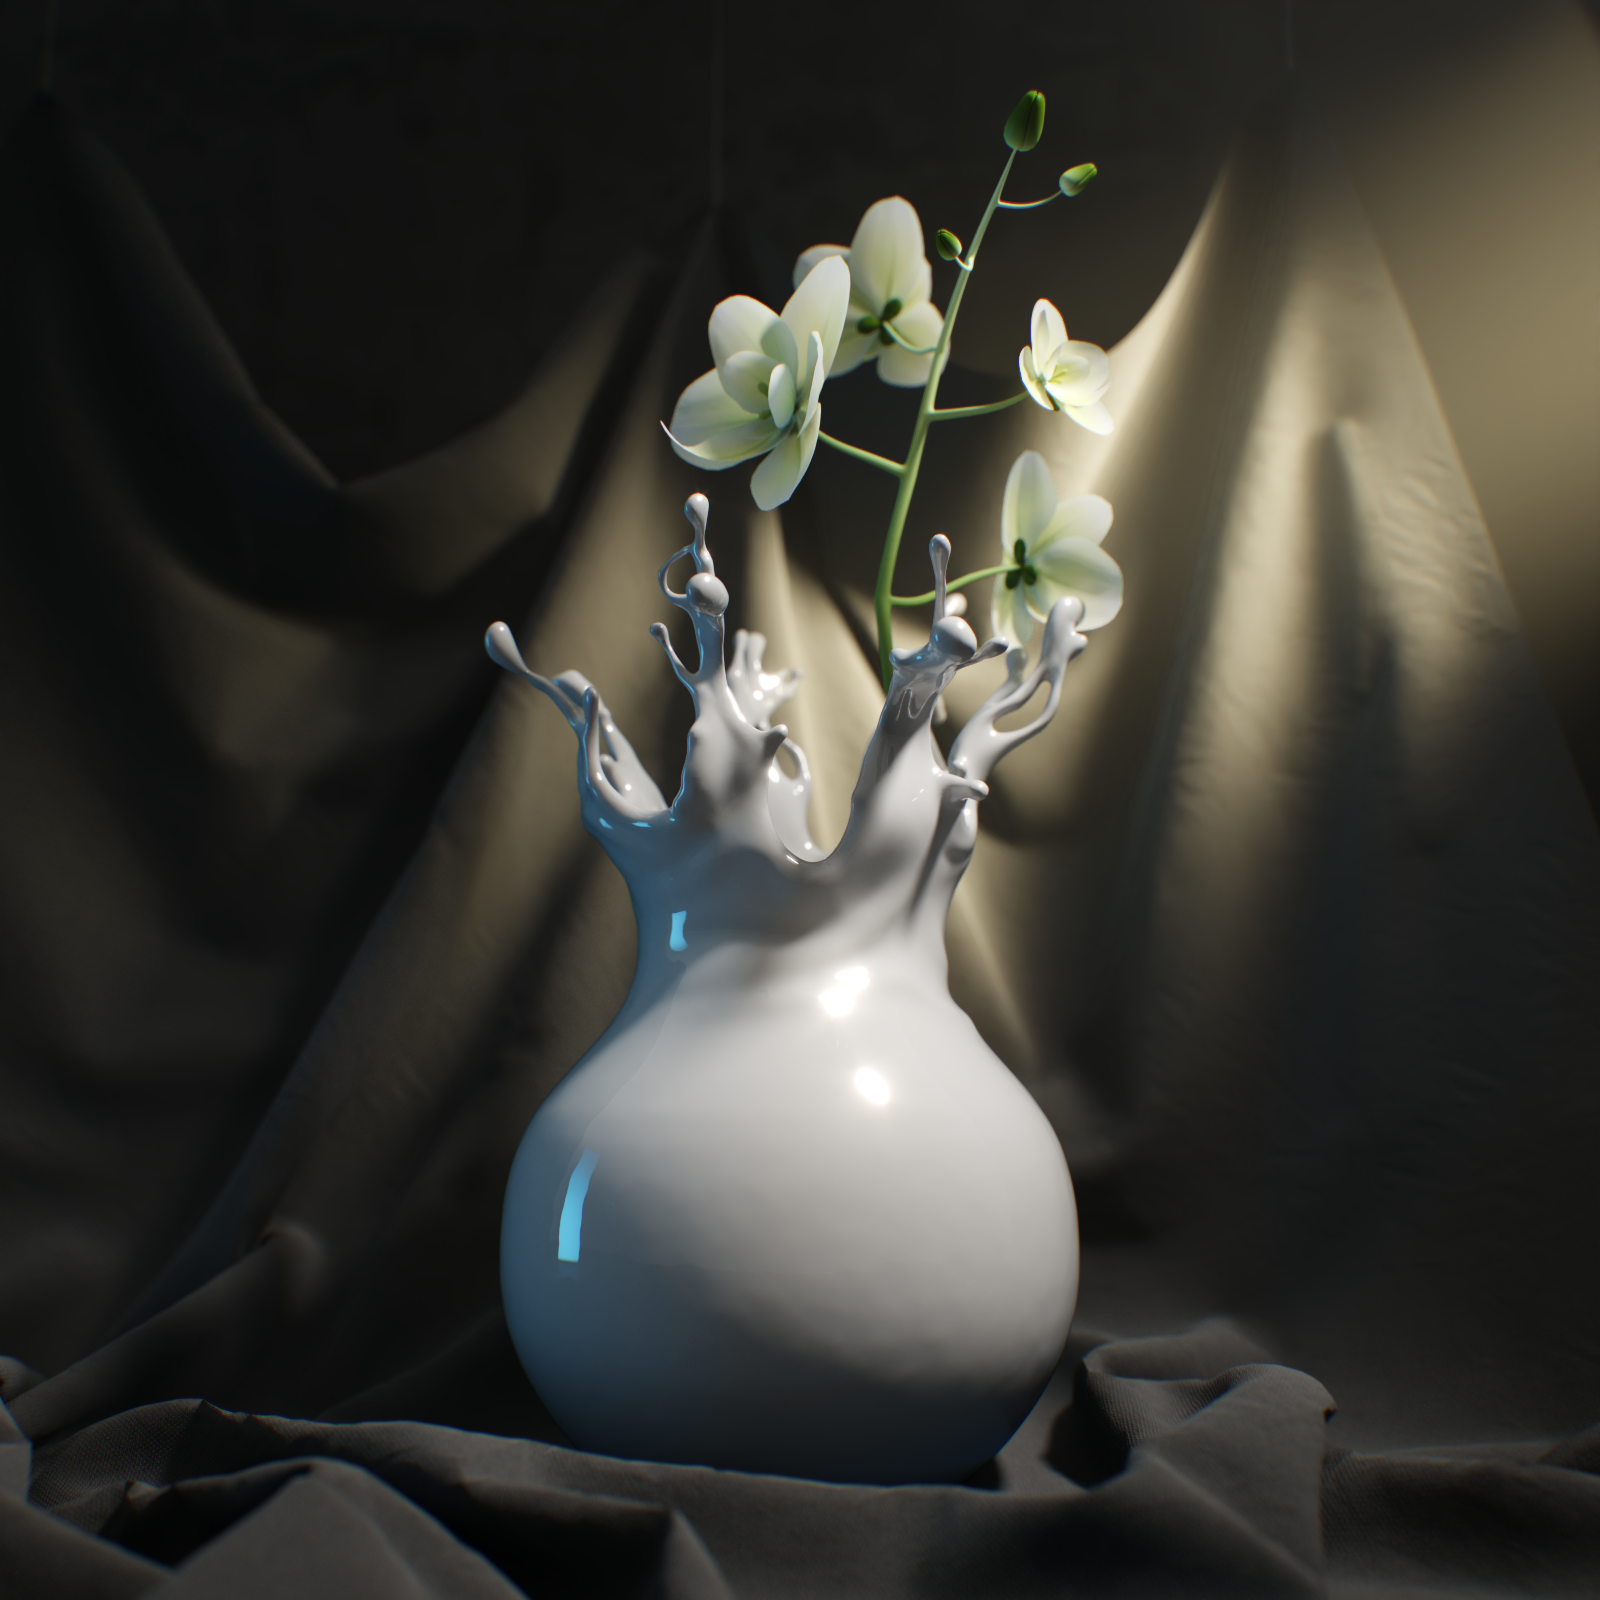
Reflection glossiness = 1
Here, a map is used in the Reflection glossiness slot.
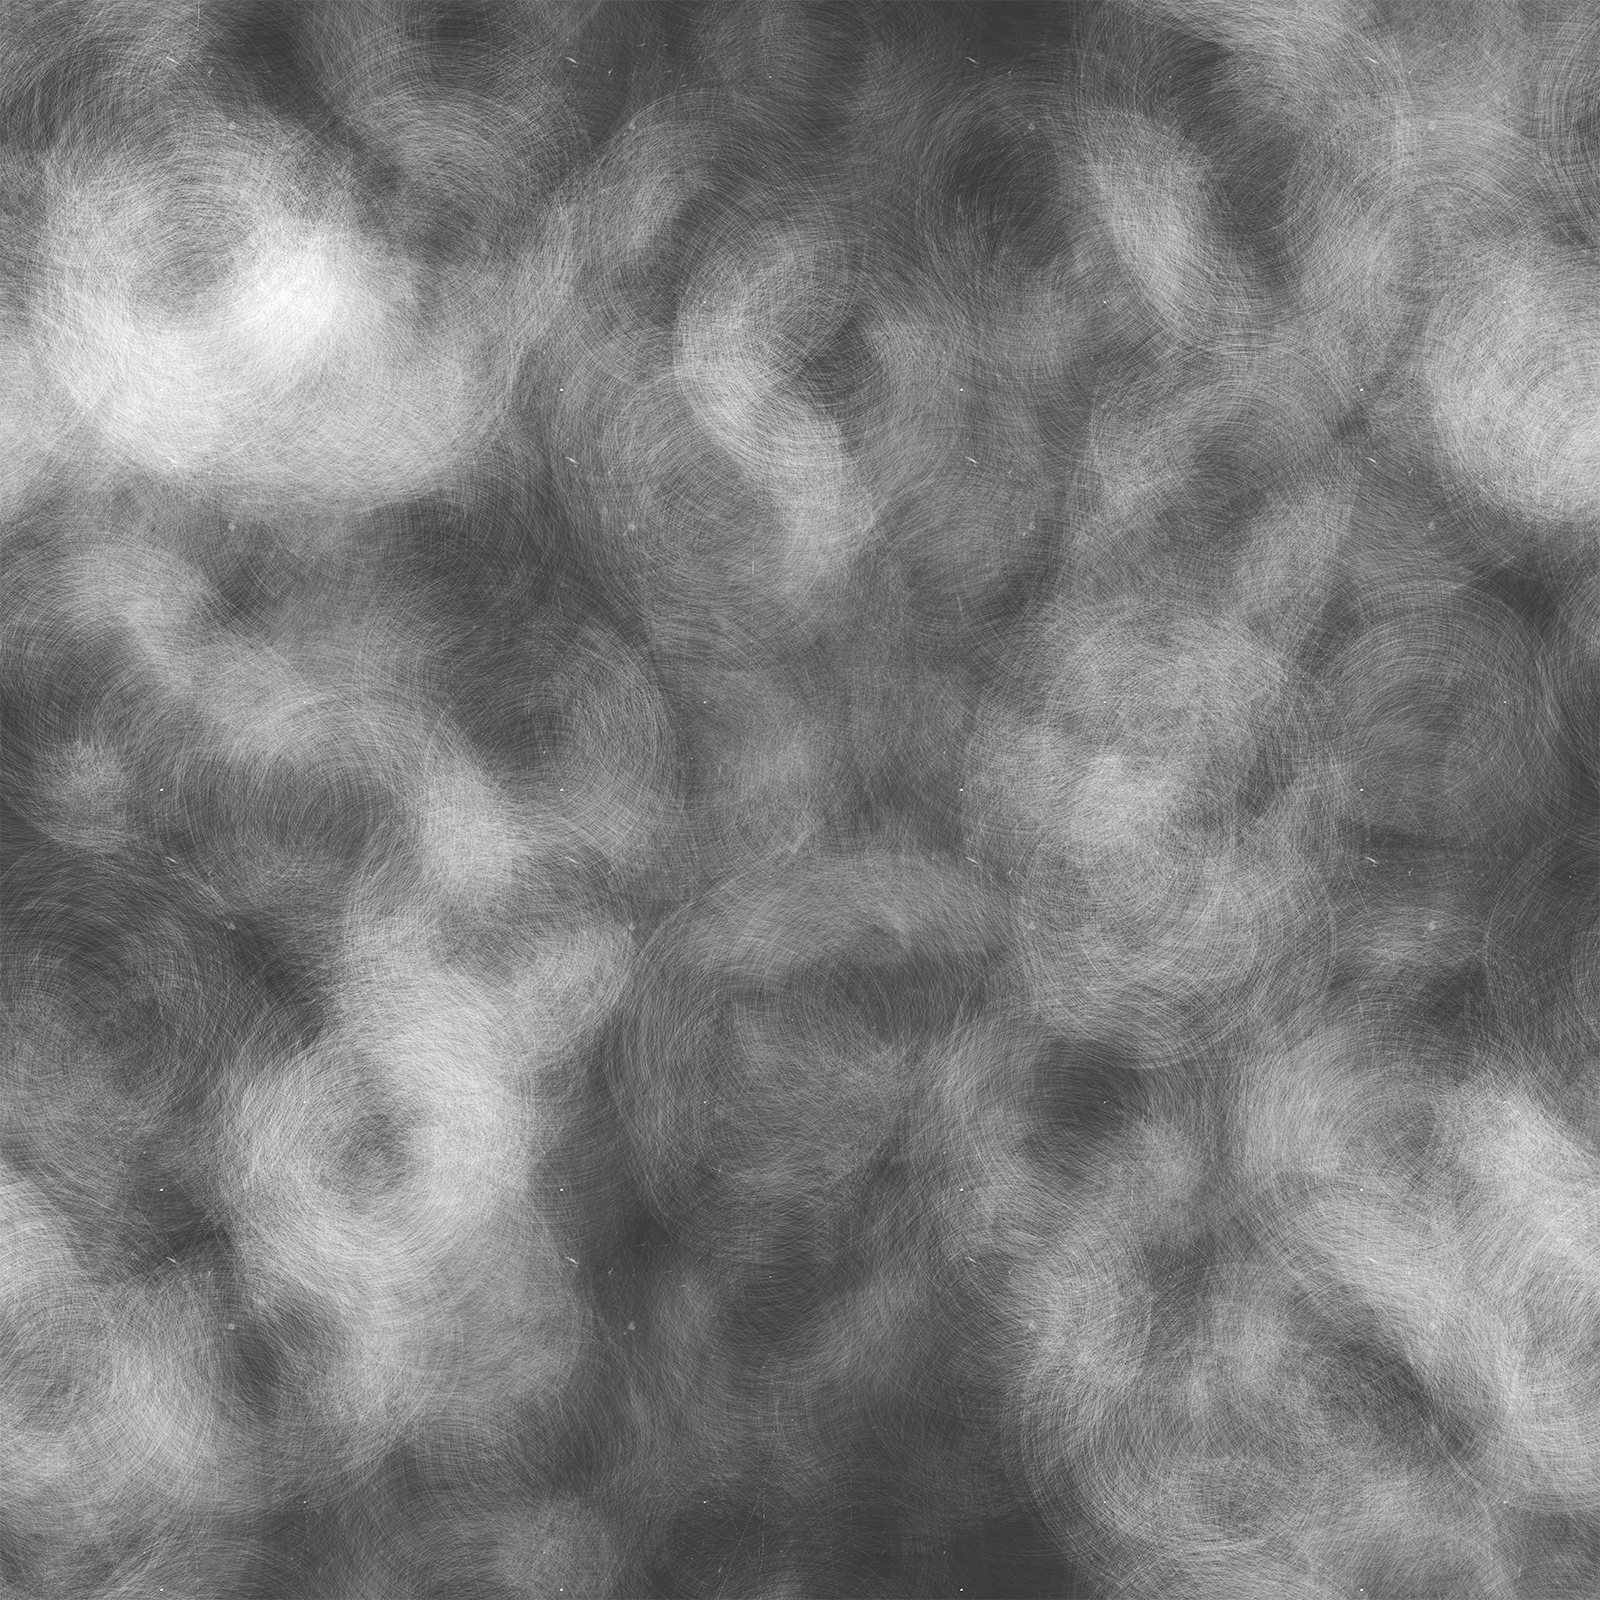
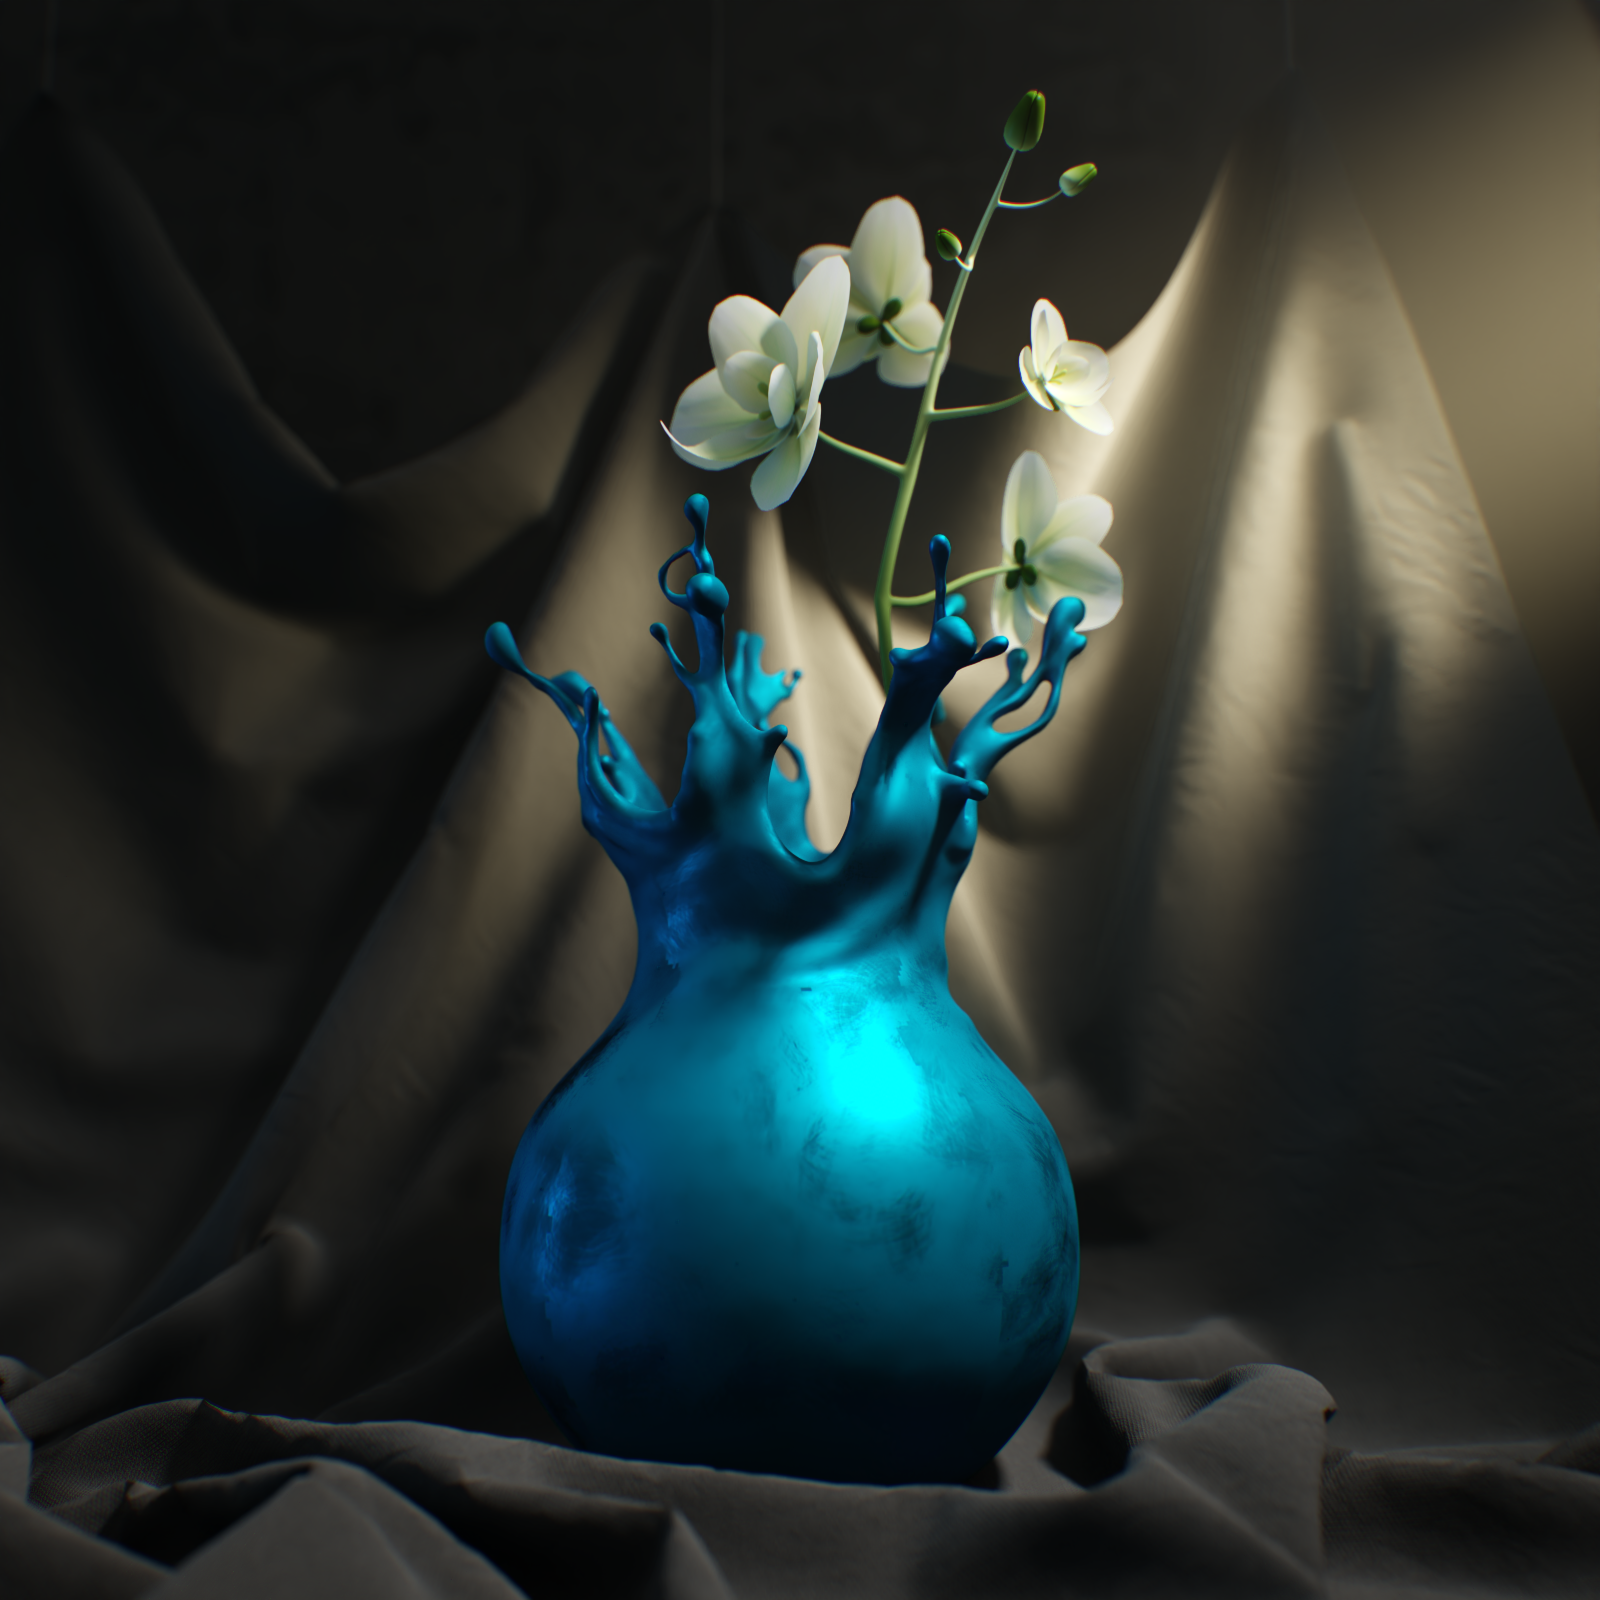
Example: Refraction Glossiness
This example shows the effect of the Refraction glossiness option.
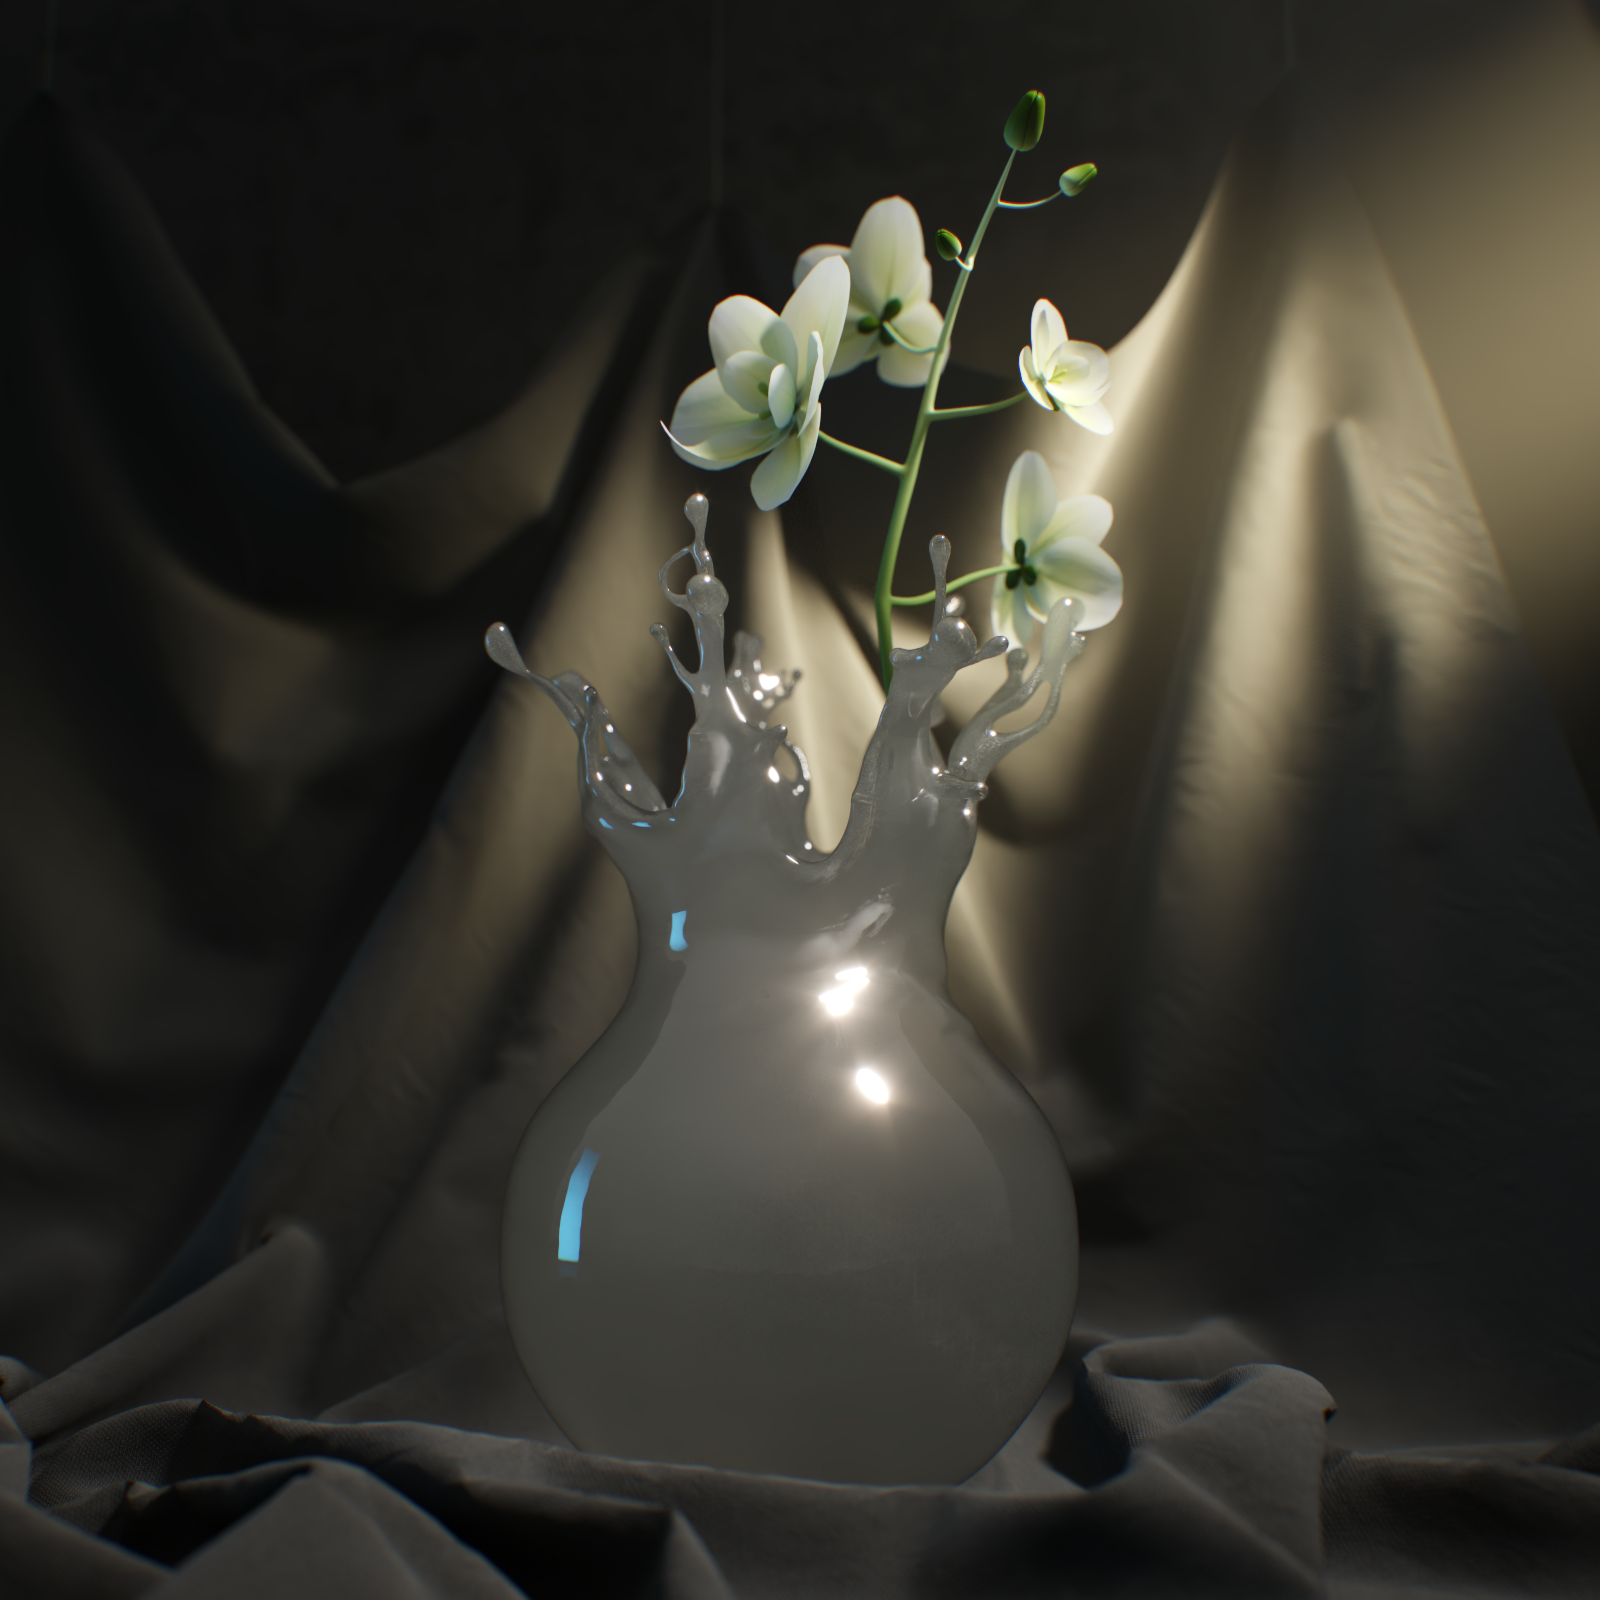
Refraction glossiness = 0

Refraction glossiness = 0.6
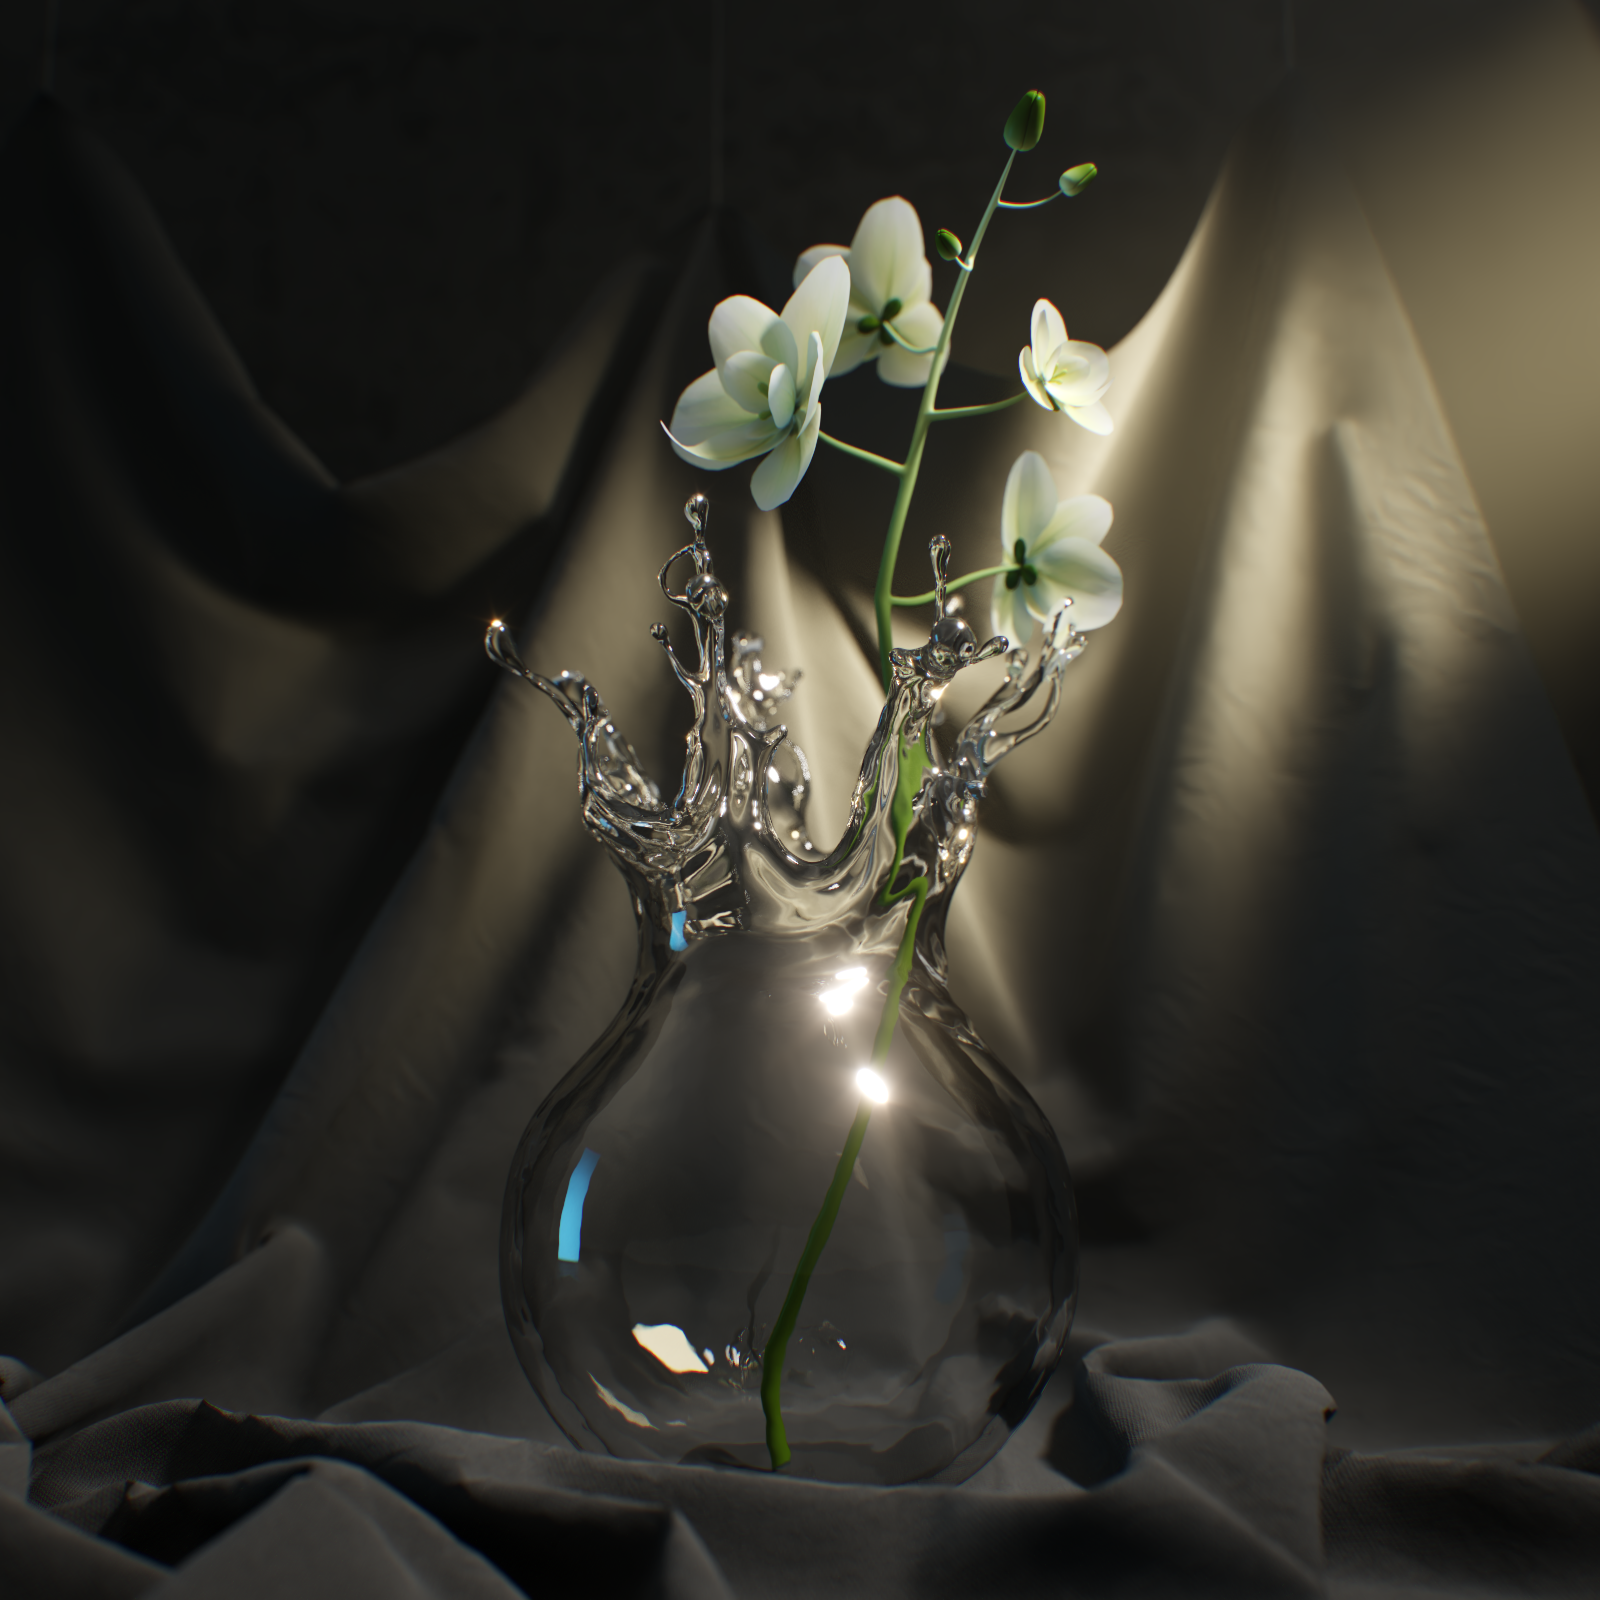
Refraction glossiness = 1
Here, a texture is used in the Reflection glossiness slot.


Example: Self-Illumination Color
This example shows the effect of the Self-illumination option. It is intentionally unrealistic and is used for showcase purposes only.

Self-illumination color is white

Self-illumination color is green

Self-illumination color is blue
Example: BRDF Type
The following example illustrates the differences between the four BRDF Types: Phong, Blinn, Ward, and GGX.
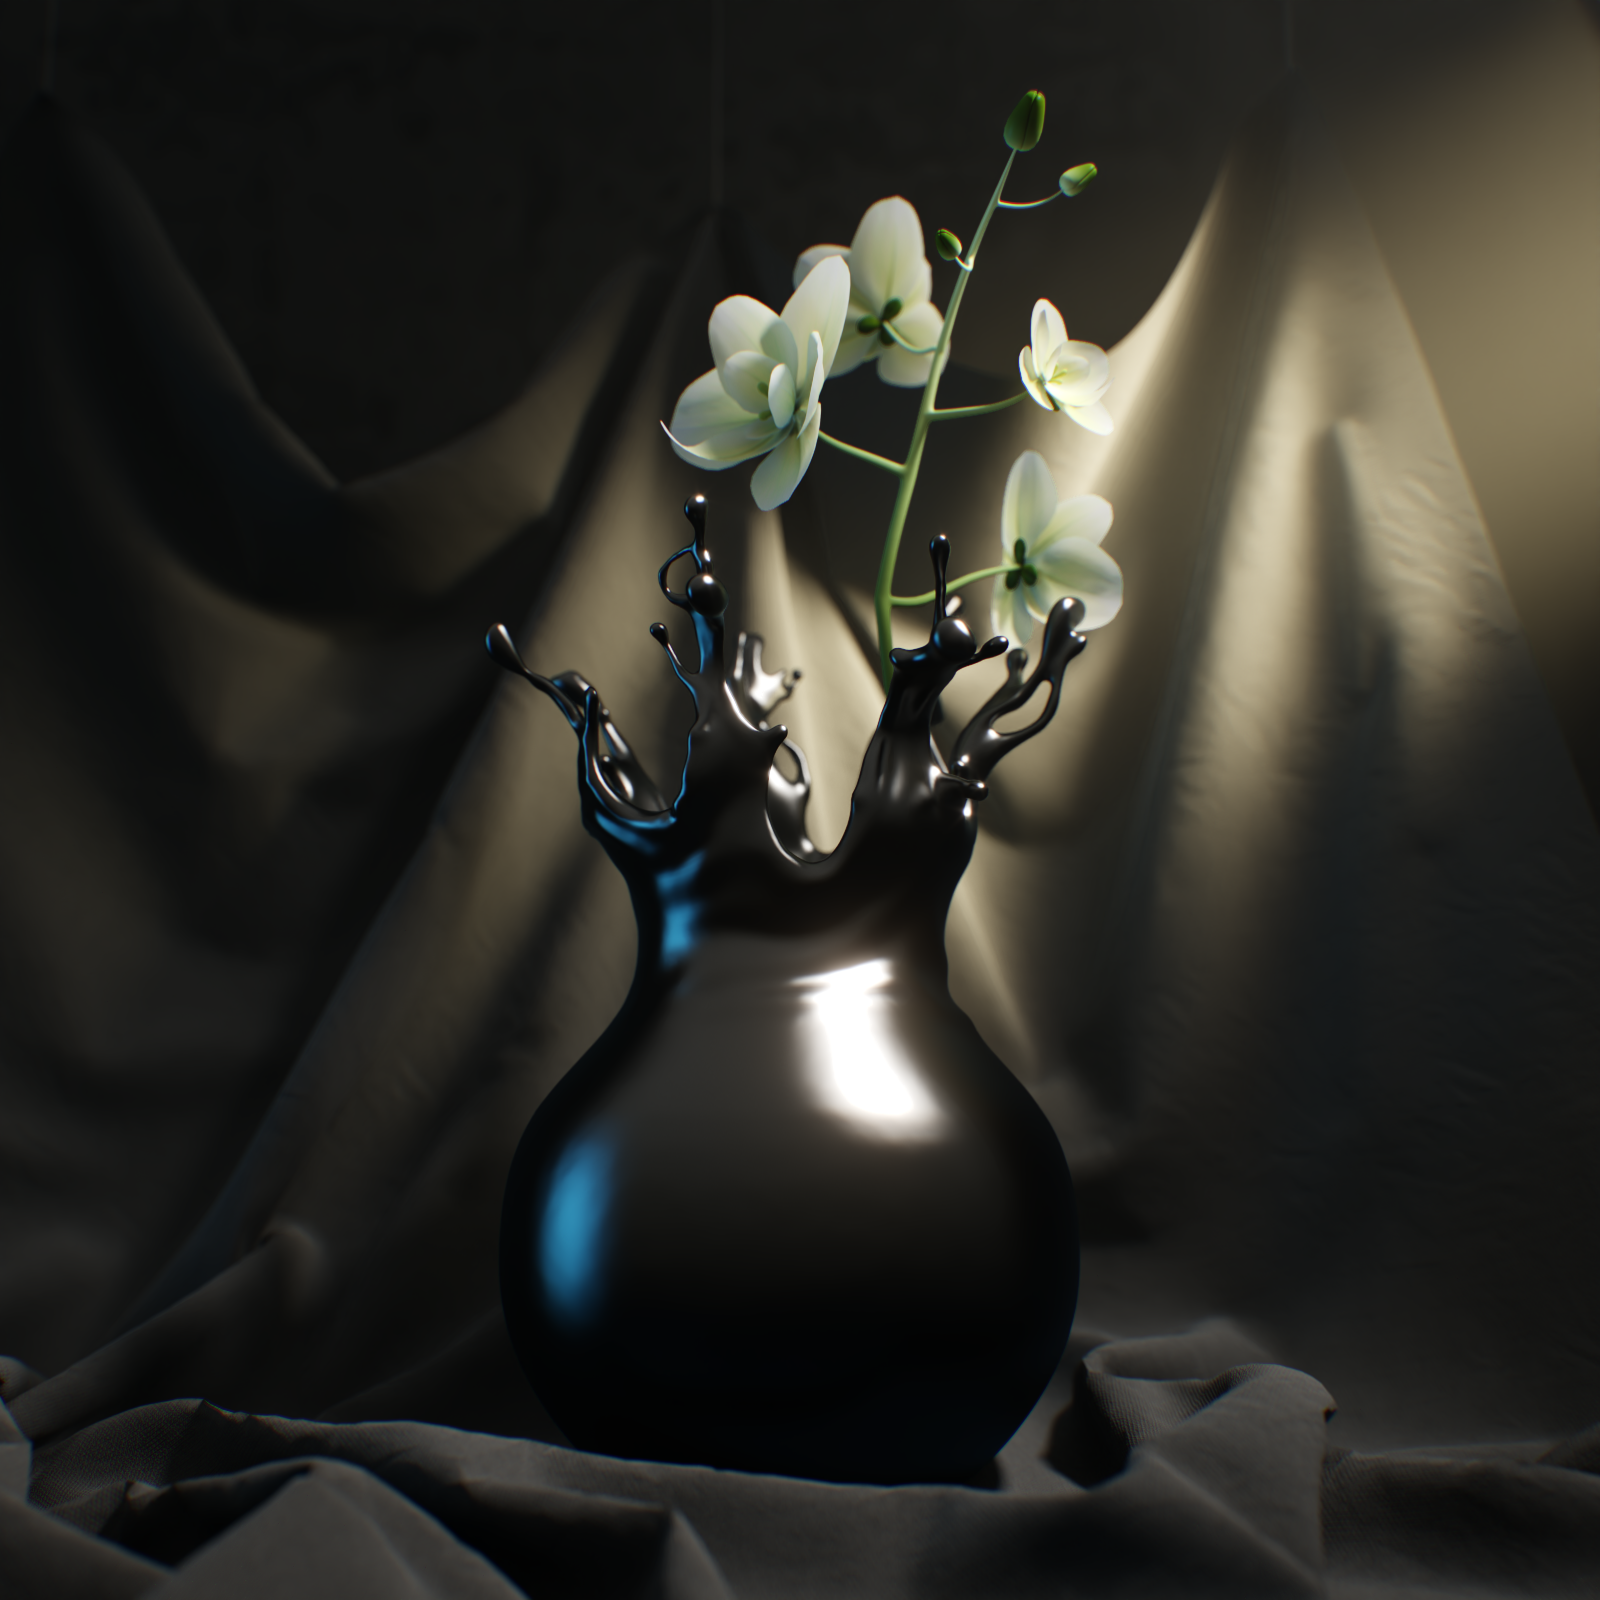
Phong
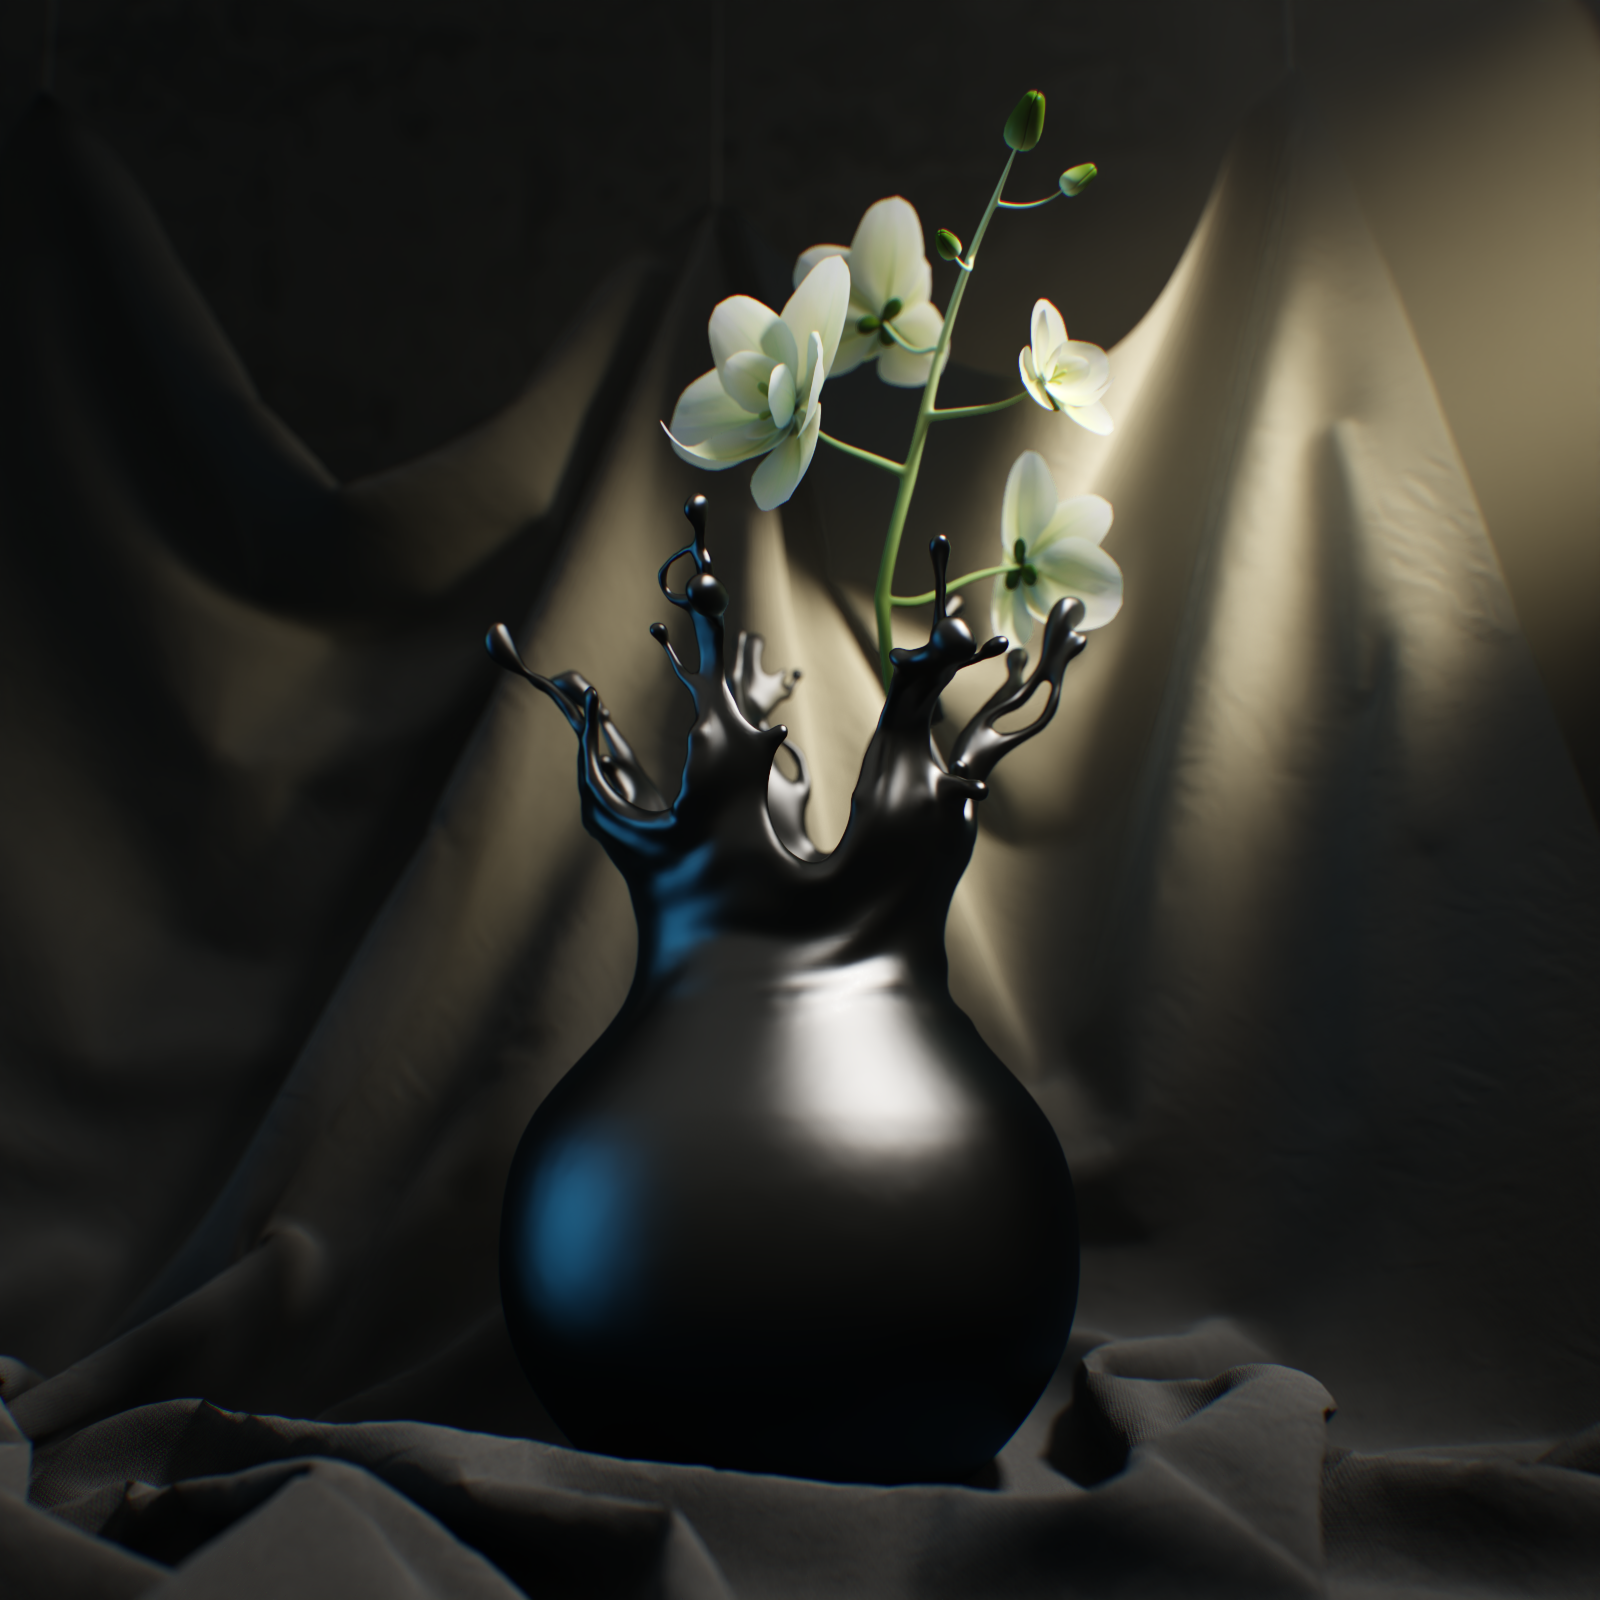
Blinn
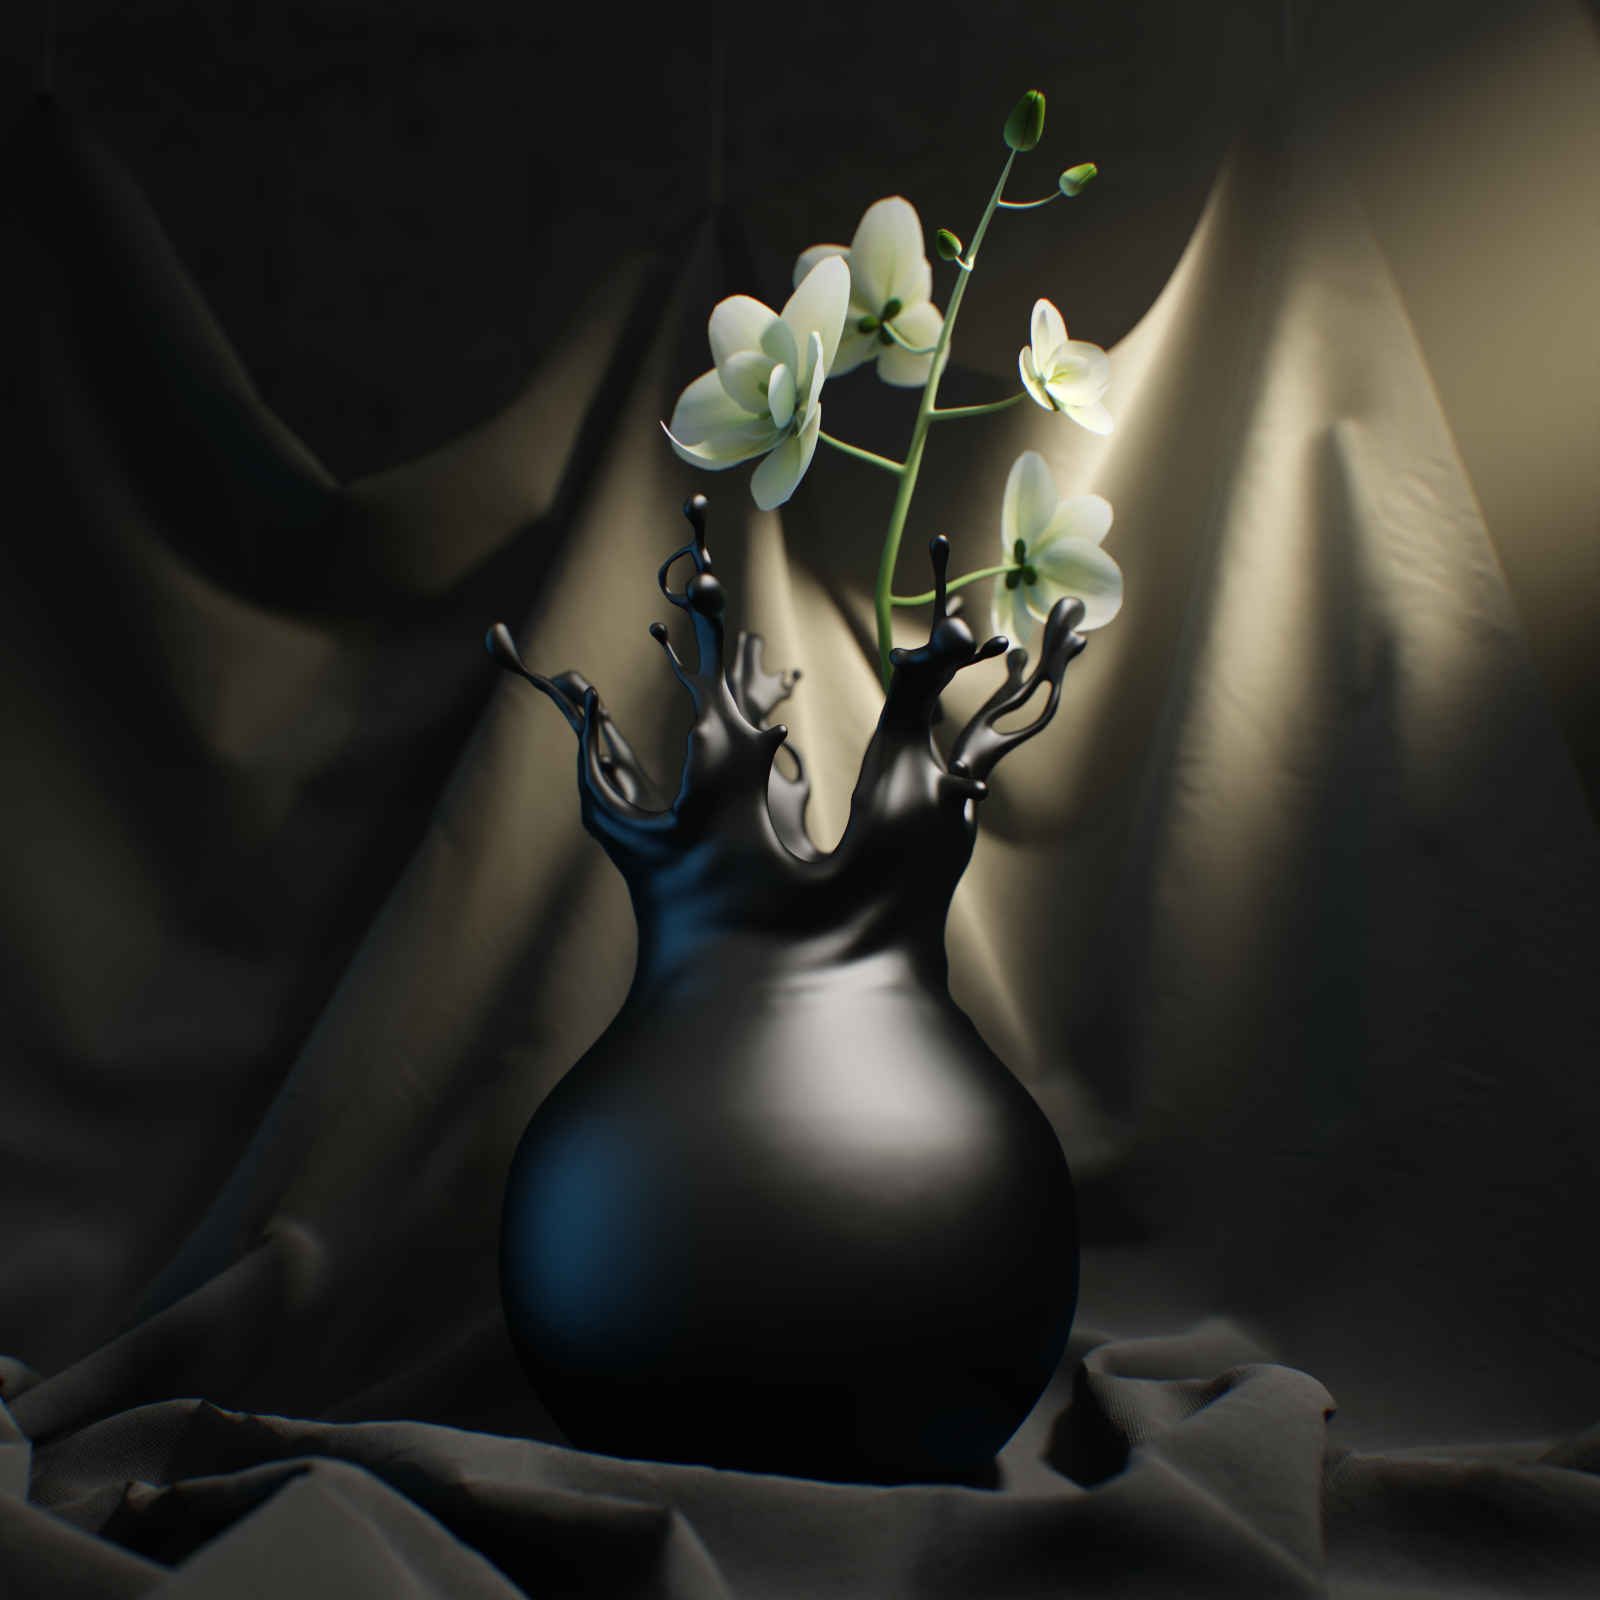
Ward
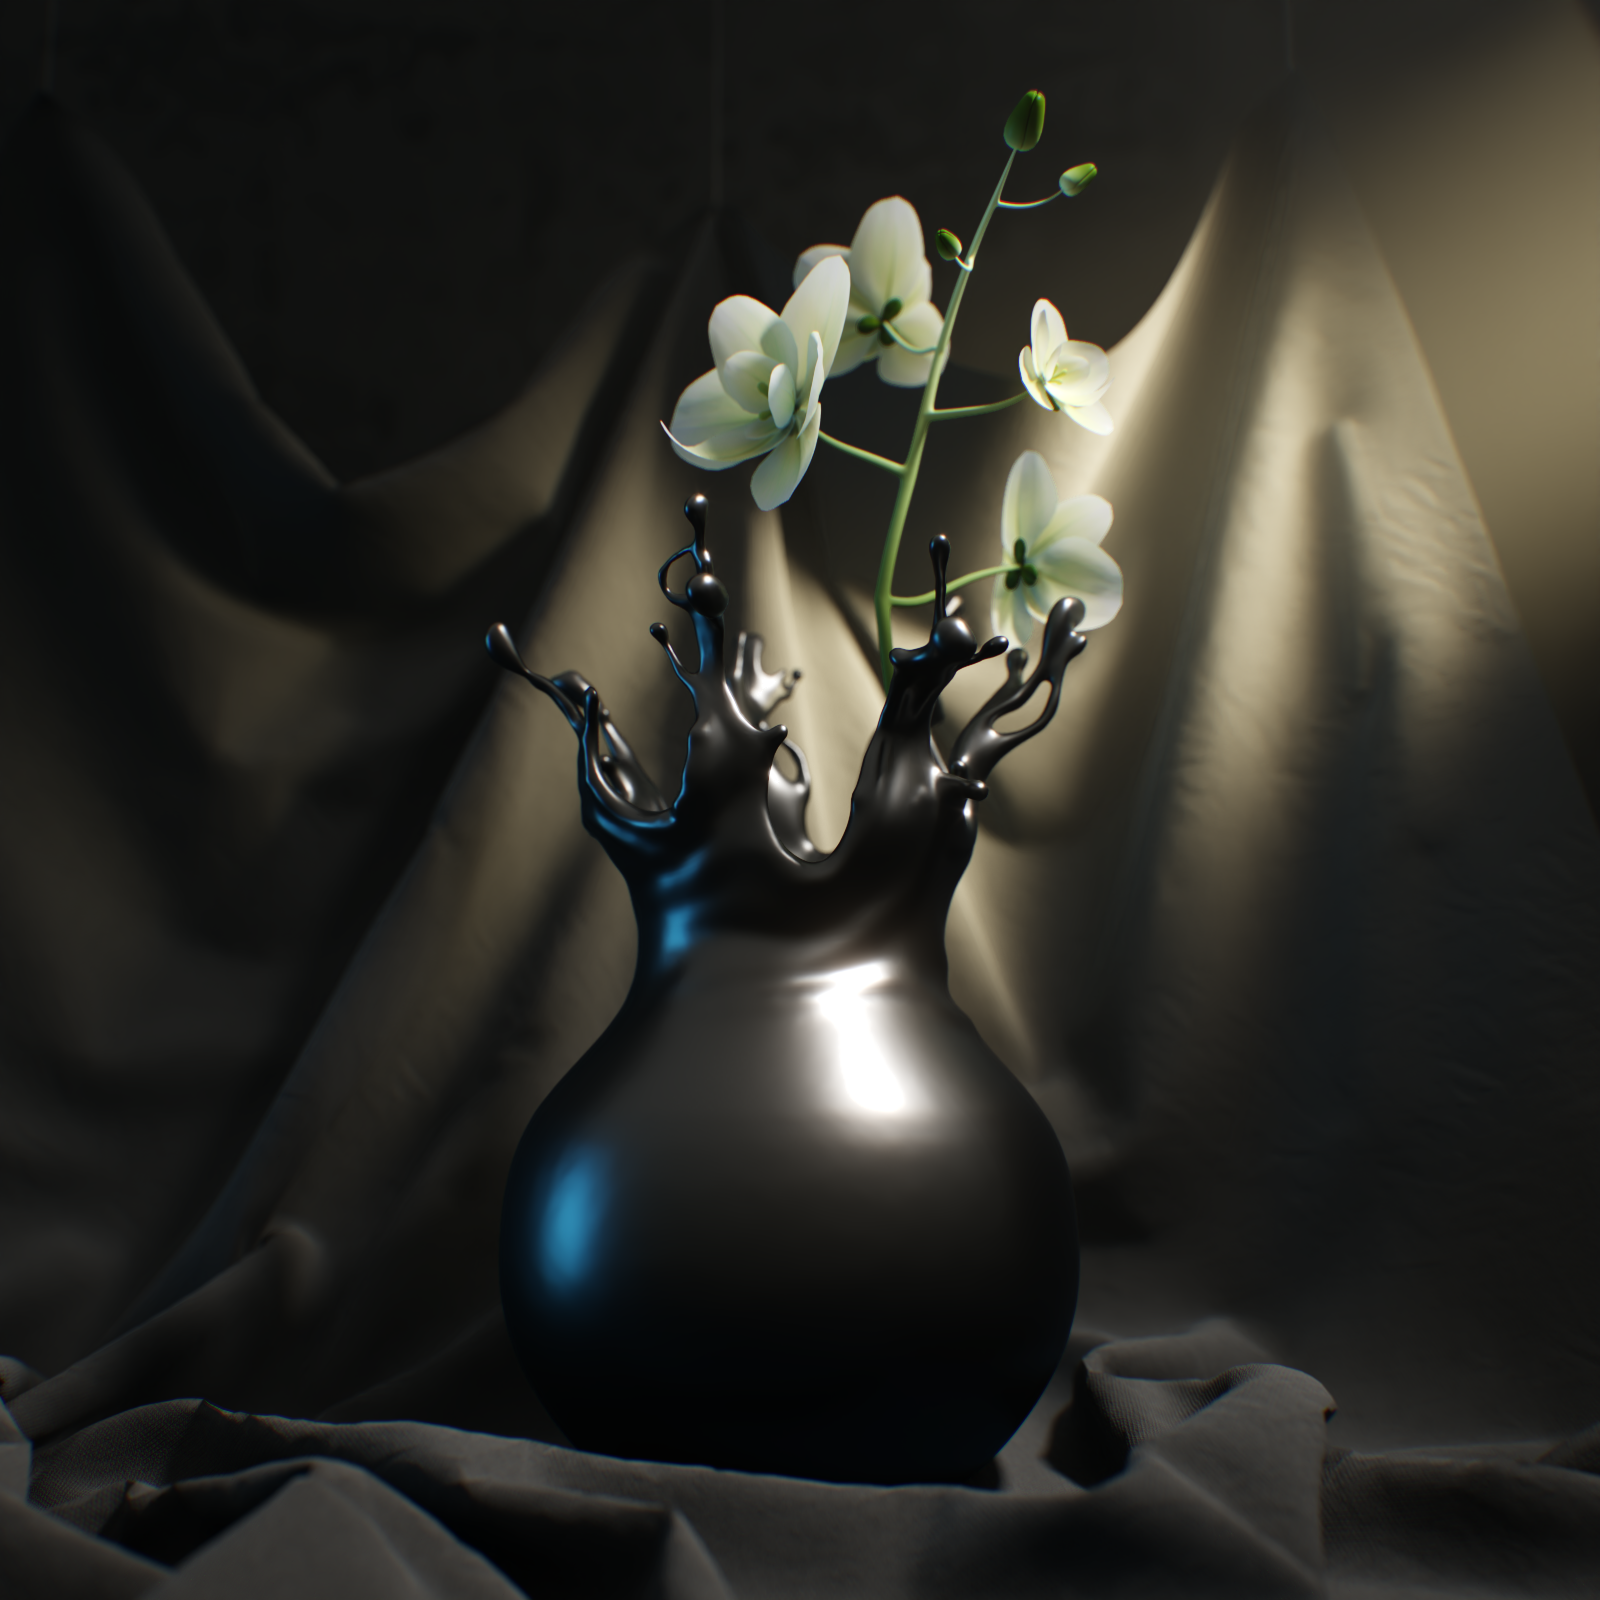
GGX
The following examples use the GGX BRDF type, and only the GGX tail falloff option is adjusted.

GGX tail falloff = 8
GGX tail falloff = 2 (default)

GGX tail falloff = 0.5
Example: Affect Shadow
This example shows the effect of the Affect Shadow option when the Refraction color is set to white. The difference is most visible at the bottom of the vase.

OFF
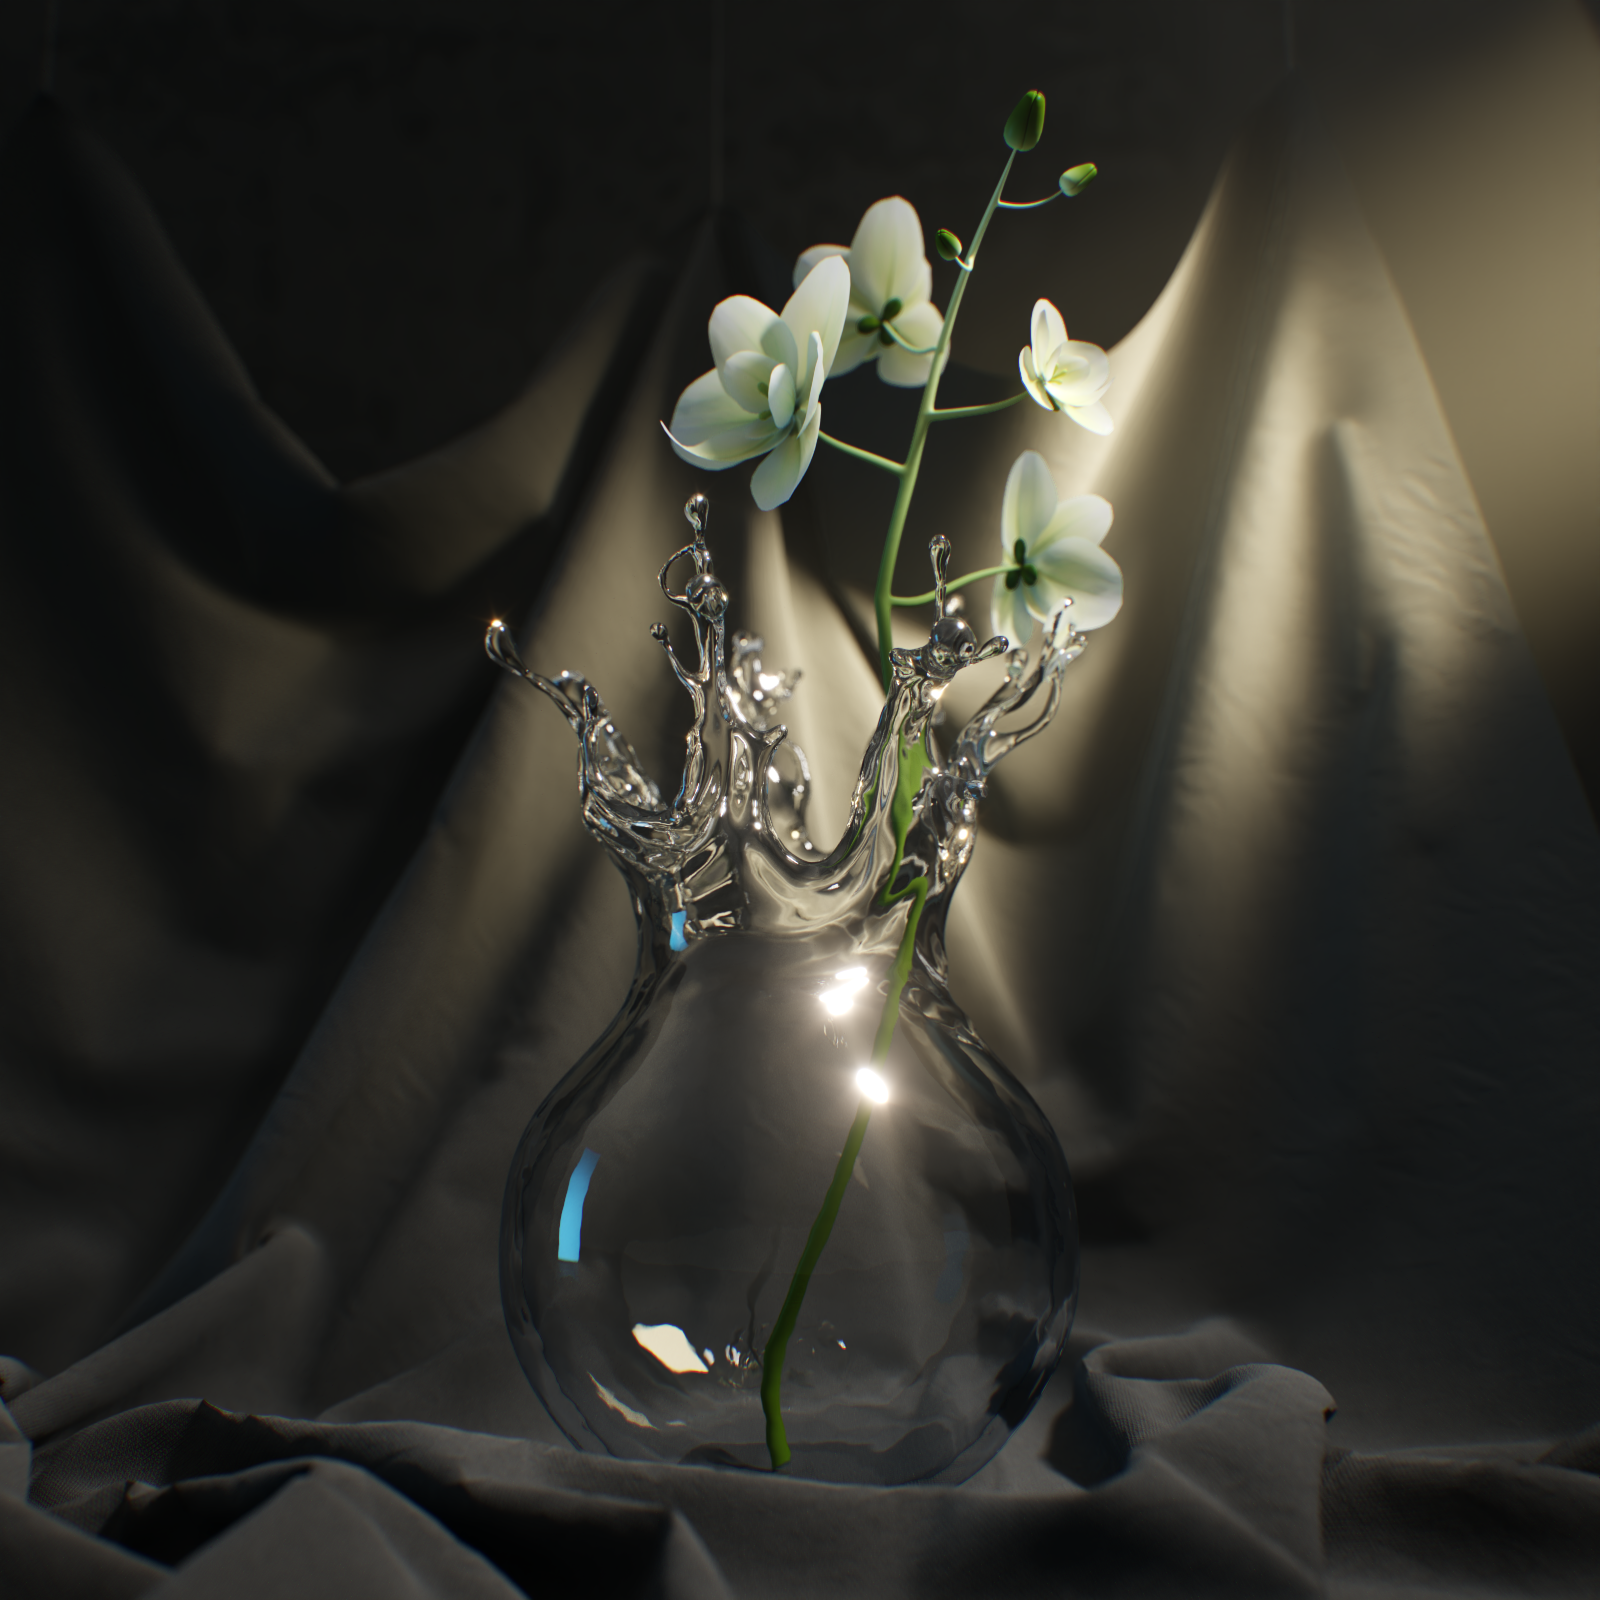
ON
Example: Fog Color
This example shows the effect of the Fog color option when the Translucency type is None.

red

green

blue
This example shows the effect of the Depth option when the Translucency type is None. The Fog color is blue - RGB (0.5, 0.78, 0.92).

Depth = 0.1

Depth = 0.5
Depth = 1
Example: SSS
This example shows the effect of the SSS amount option. The SSS color is greenish, and the Scale option is set to 4cm. The Diffuse color is grey and the Reflection color is white.
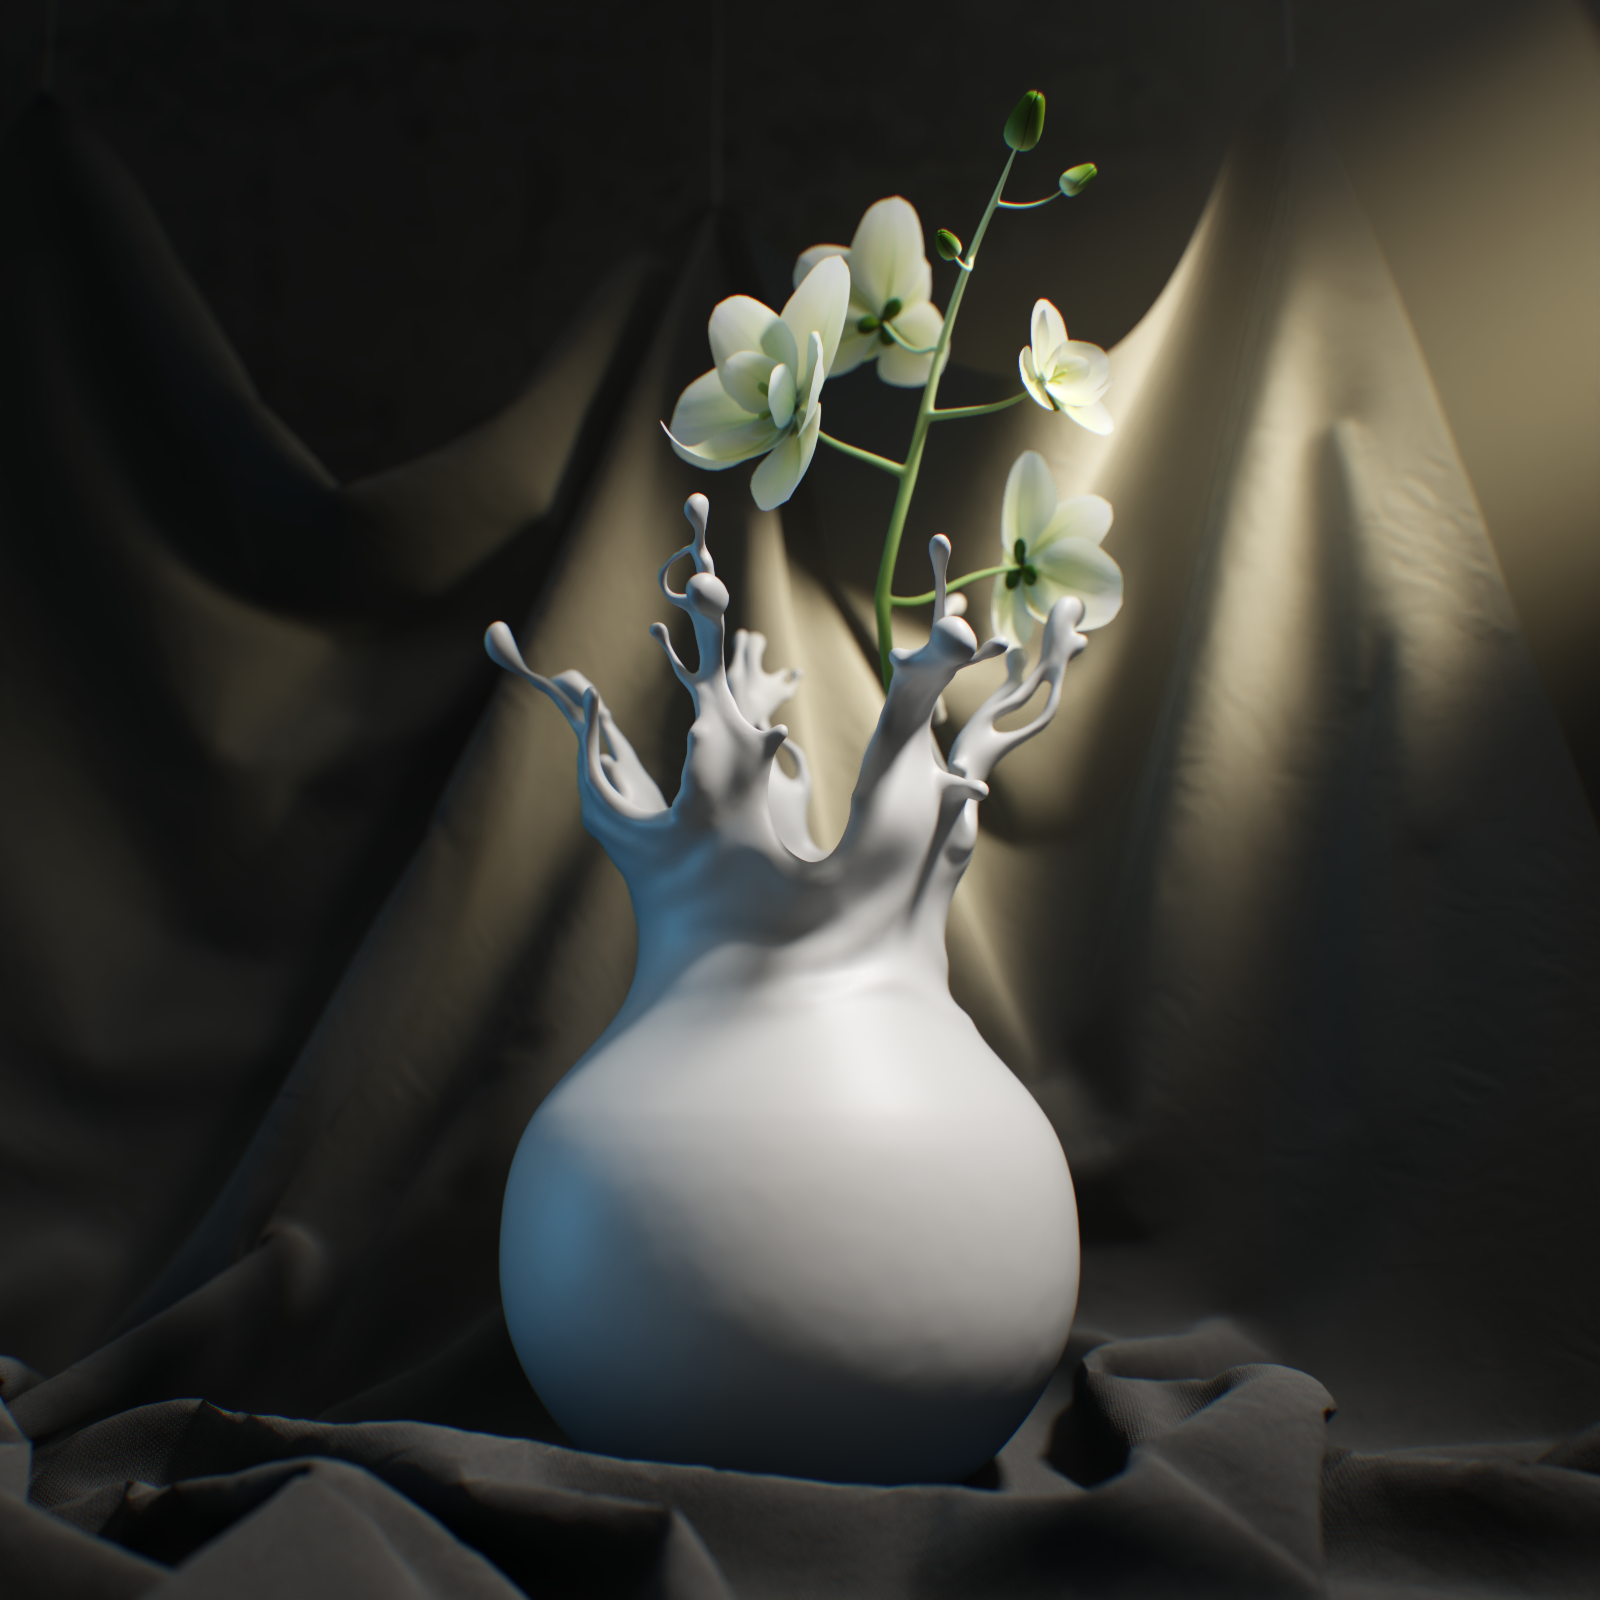
SSS amount = 0

SSS amount = 0.5

SSS amount = 1
Here, the Scale is adjusted in the range 0 - 16. The SSS color is still greenish.
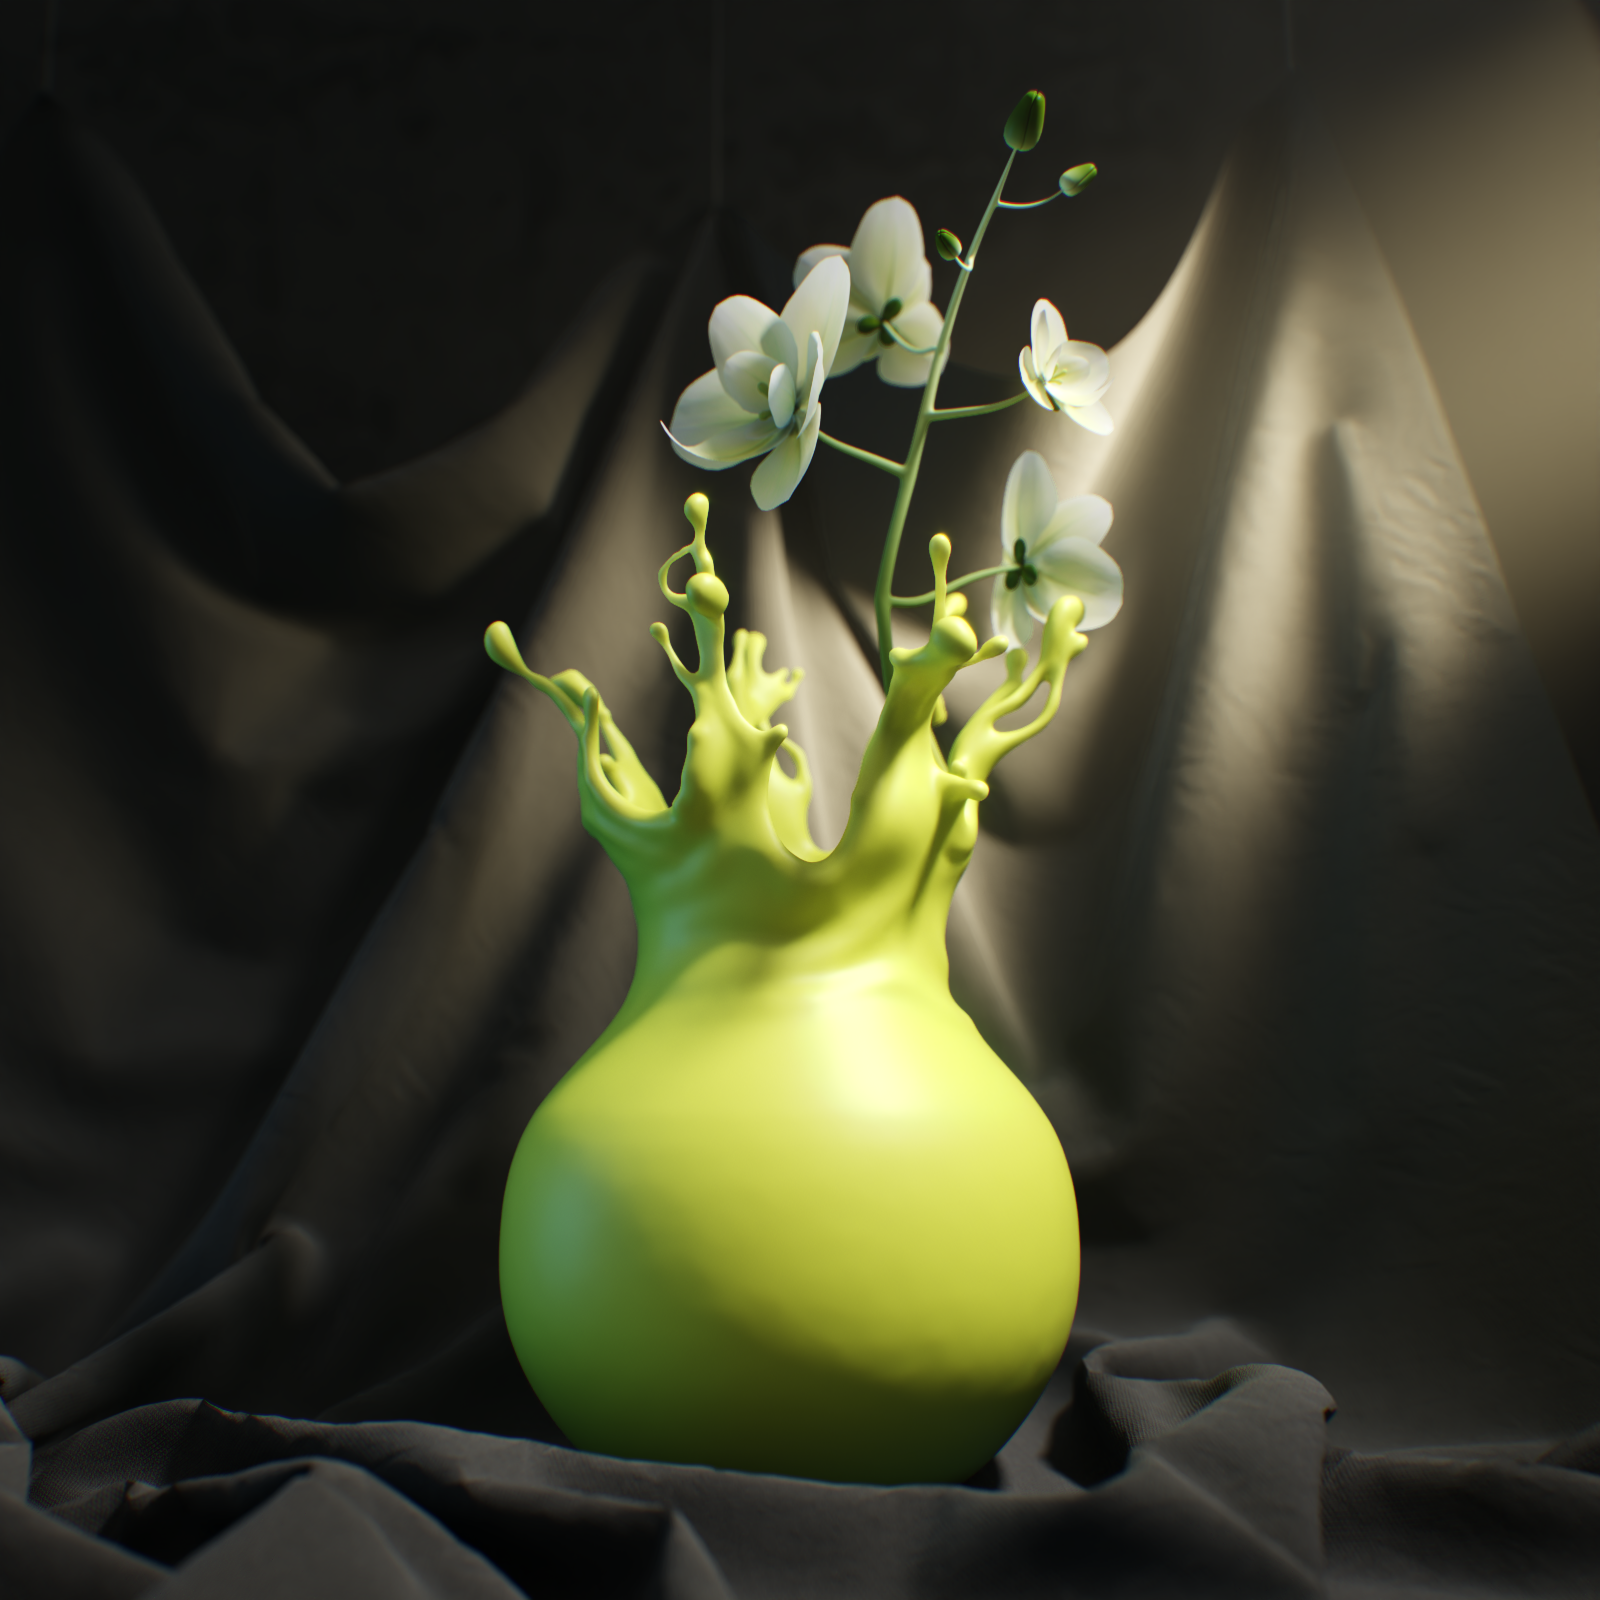
Scale = 0
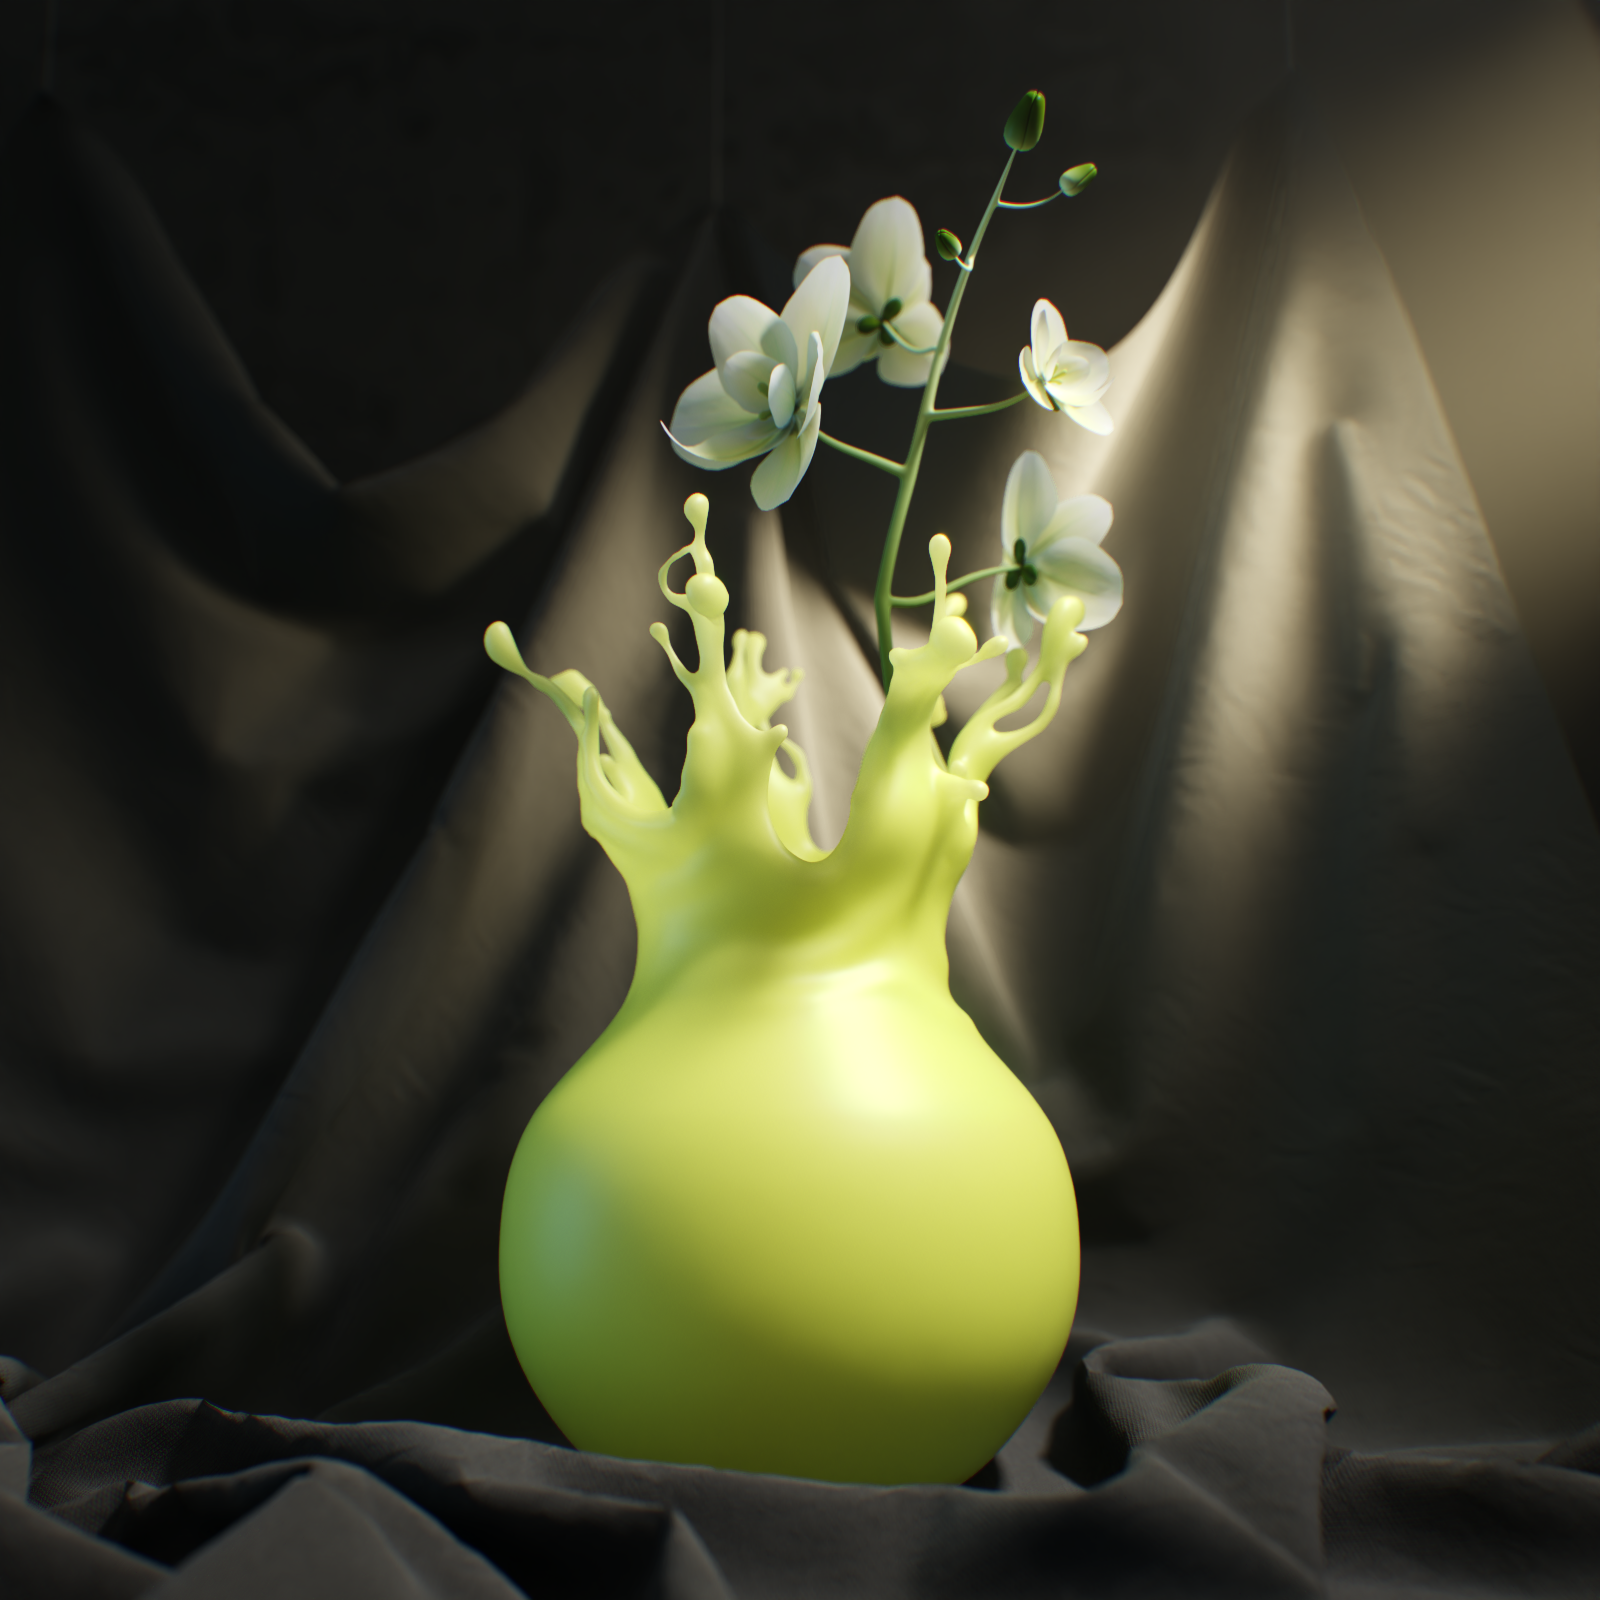
Scale = 4
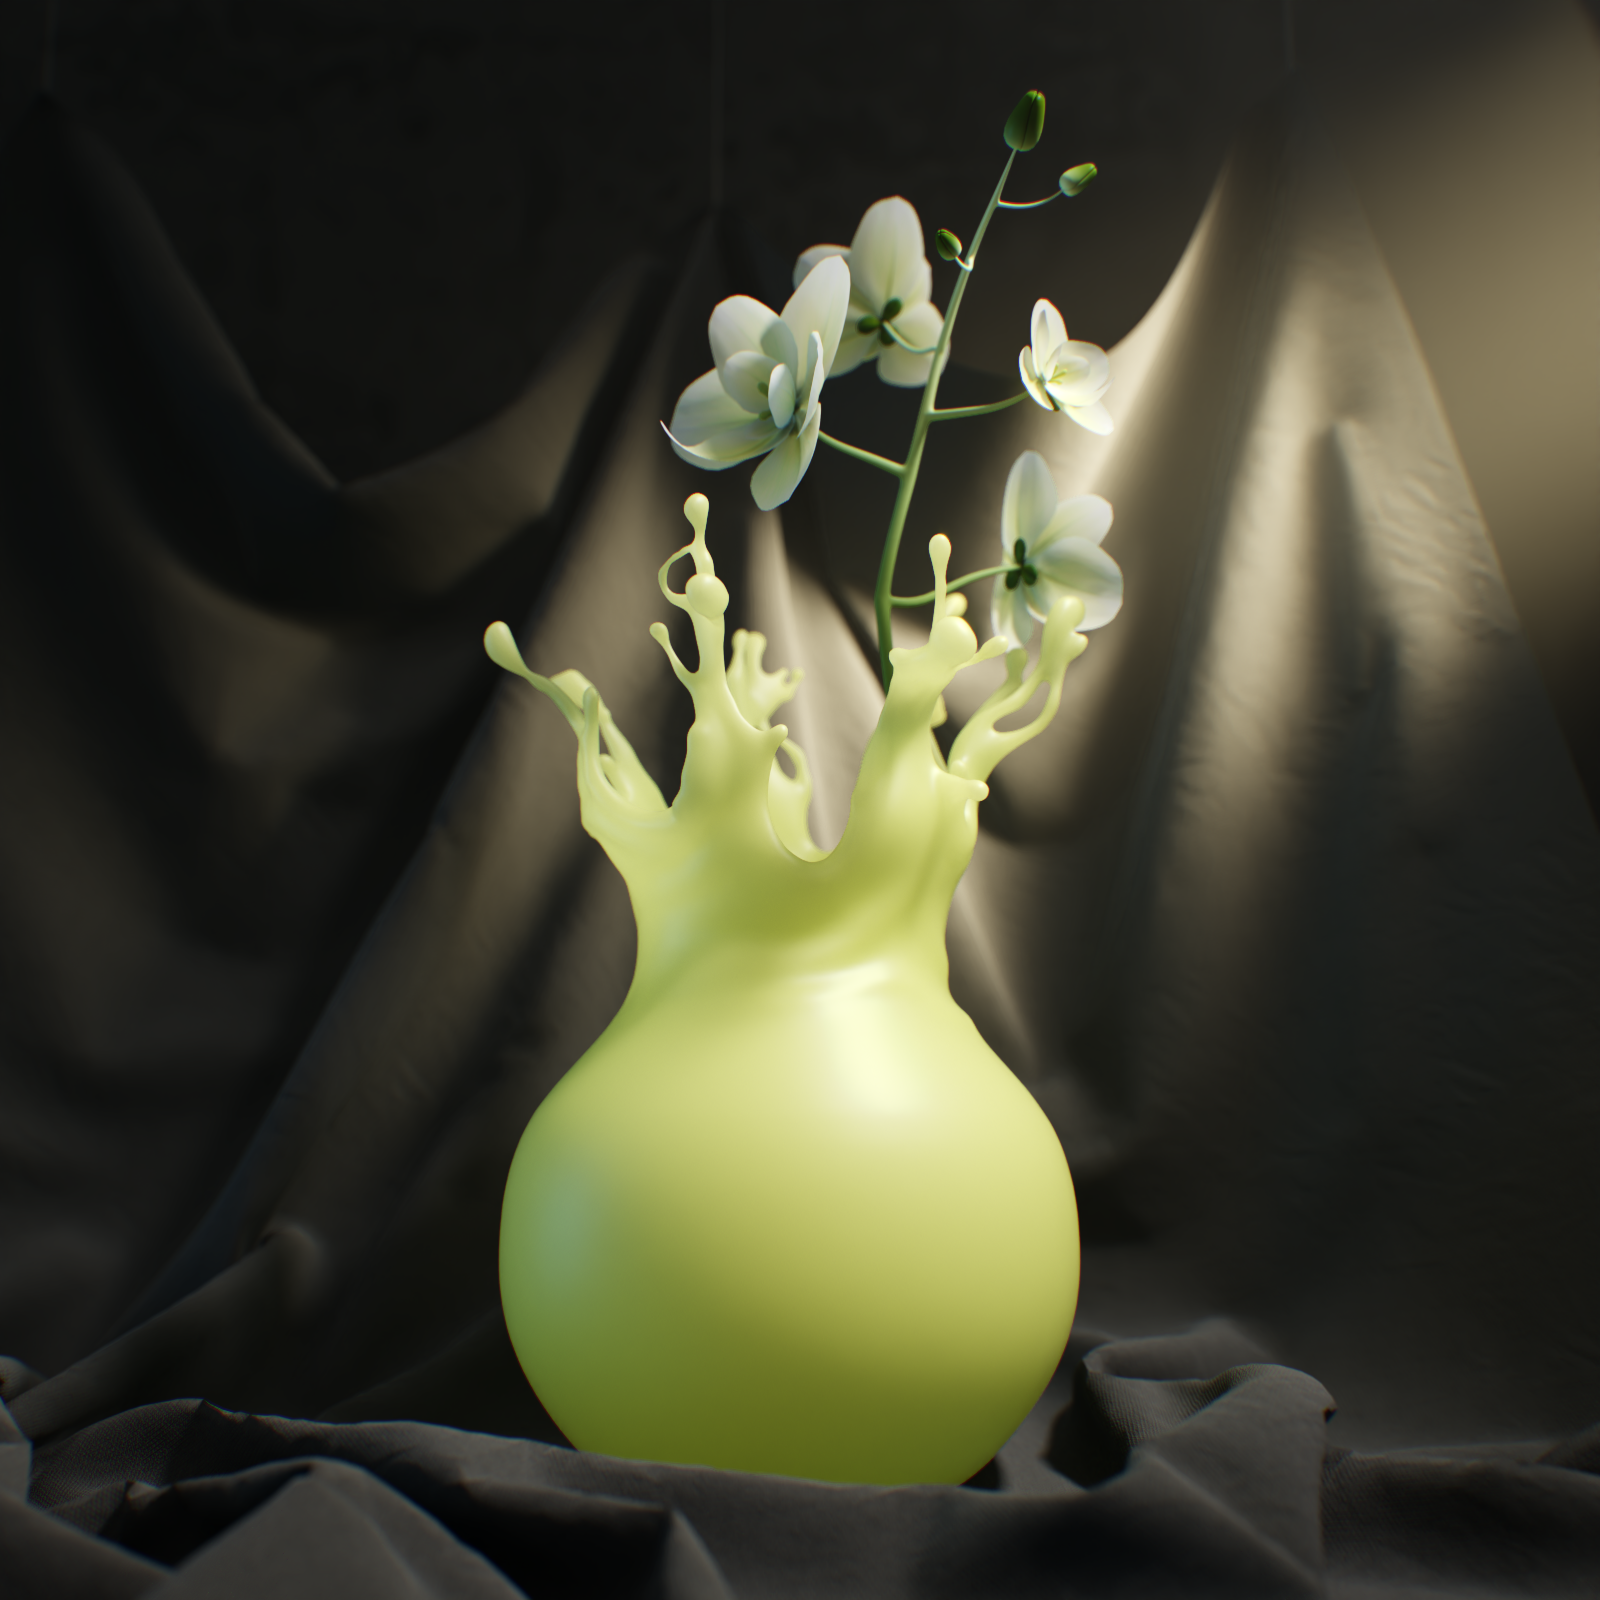
Scale = 16
Example: Coat
This example shows the effect of the Coat amount option. The Coat color is green and the IOR is 1.6. The Diffuse color is grey.
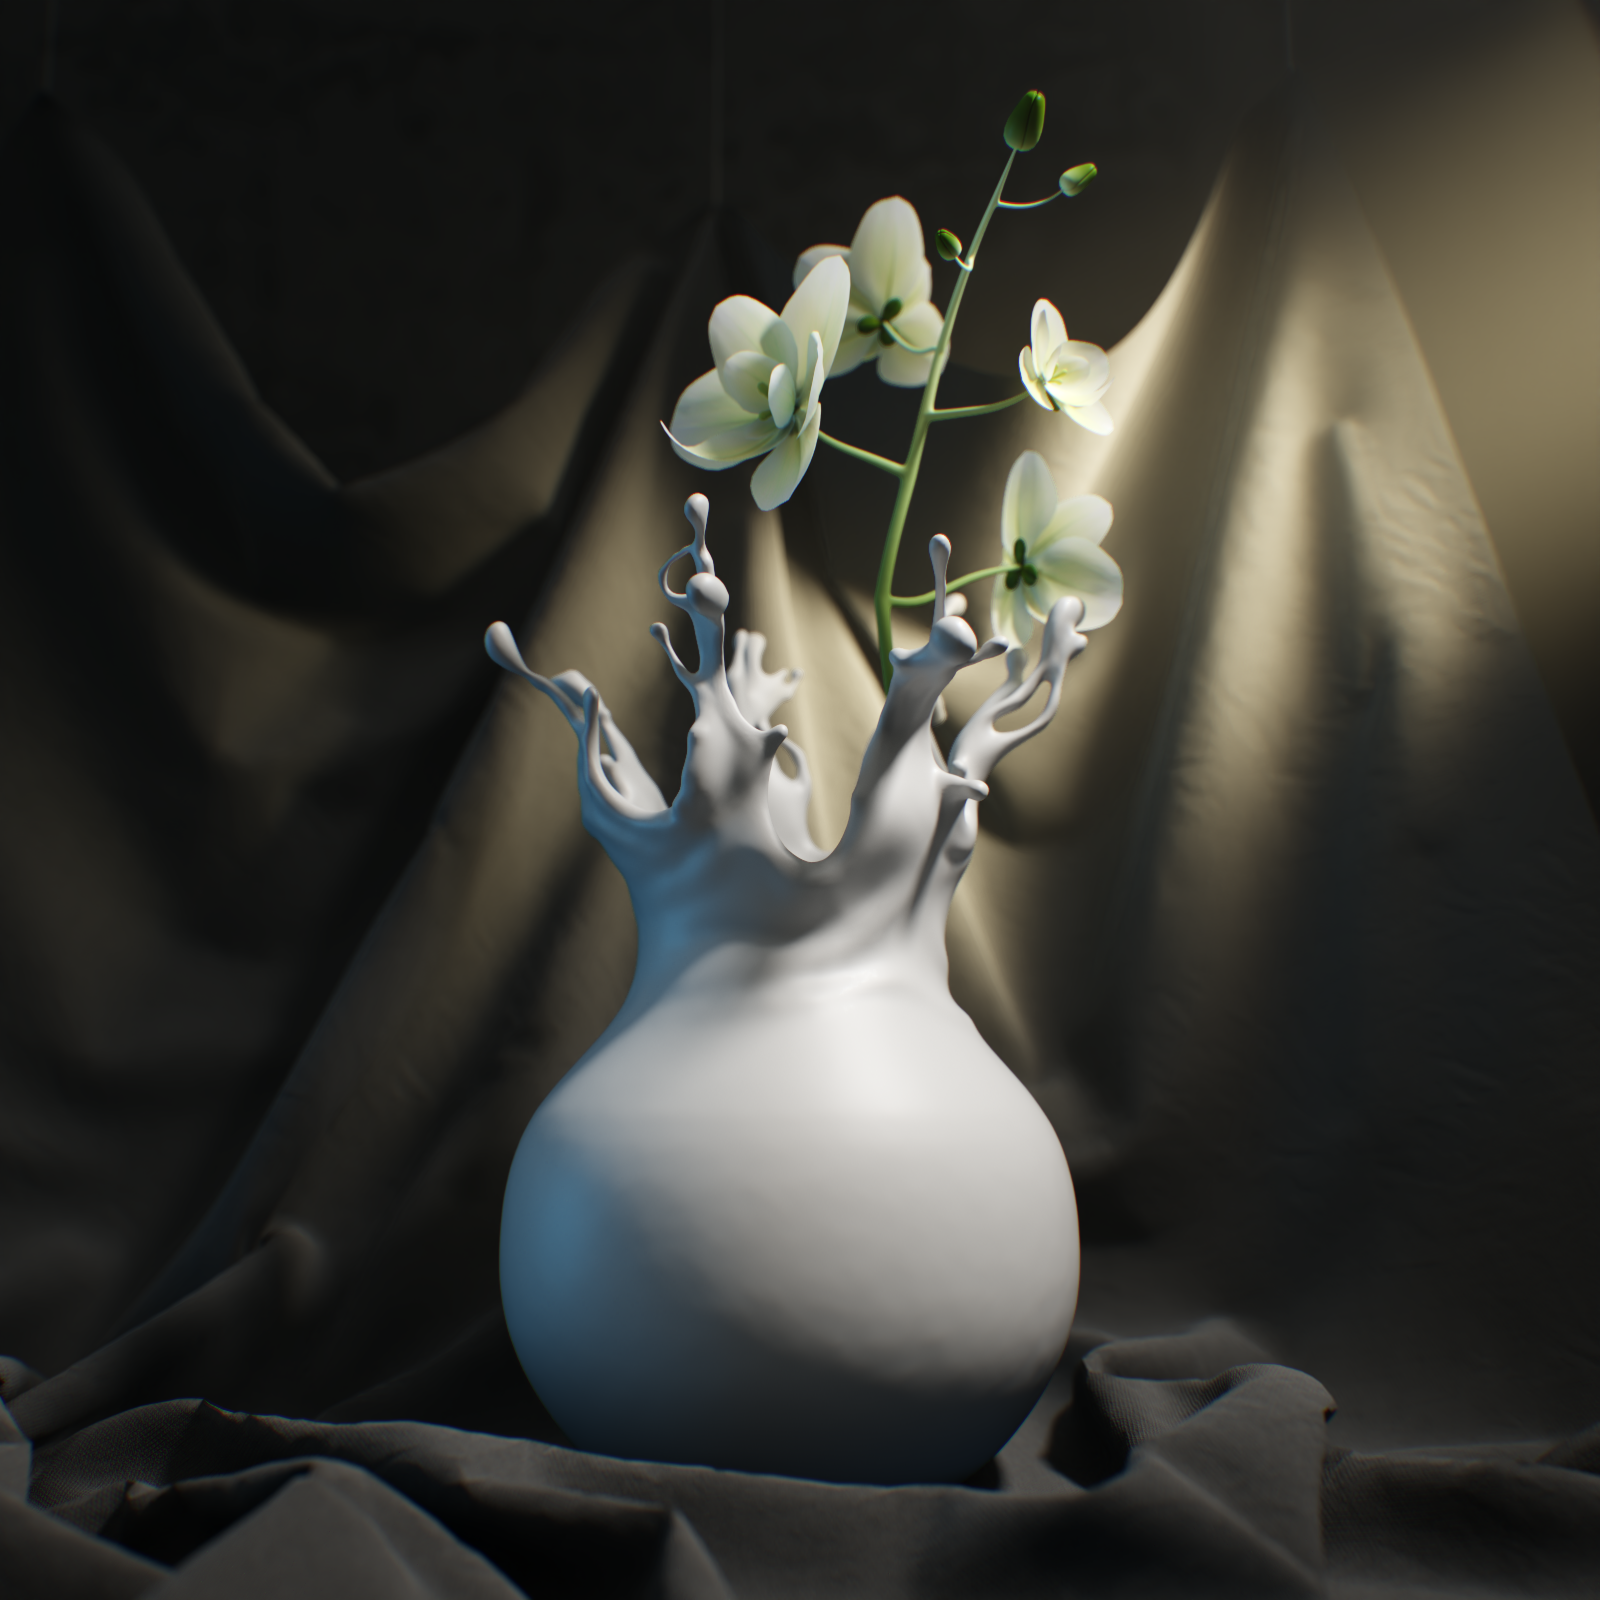
Coat amount = 0
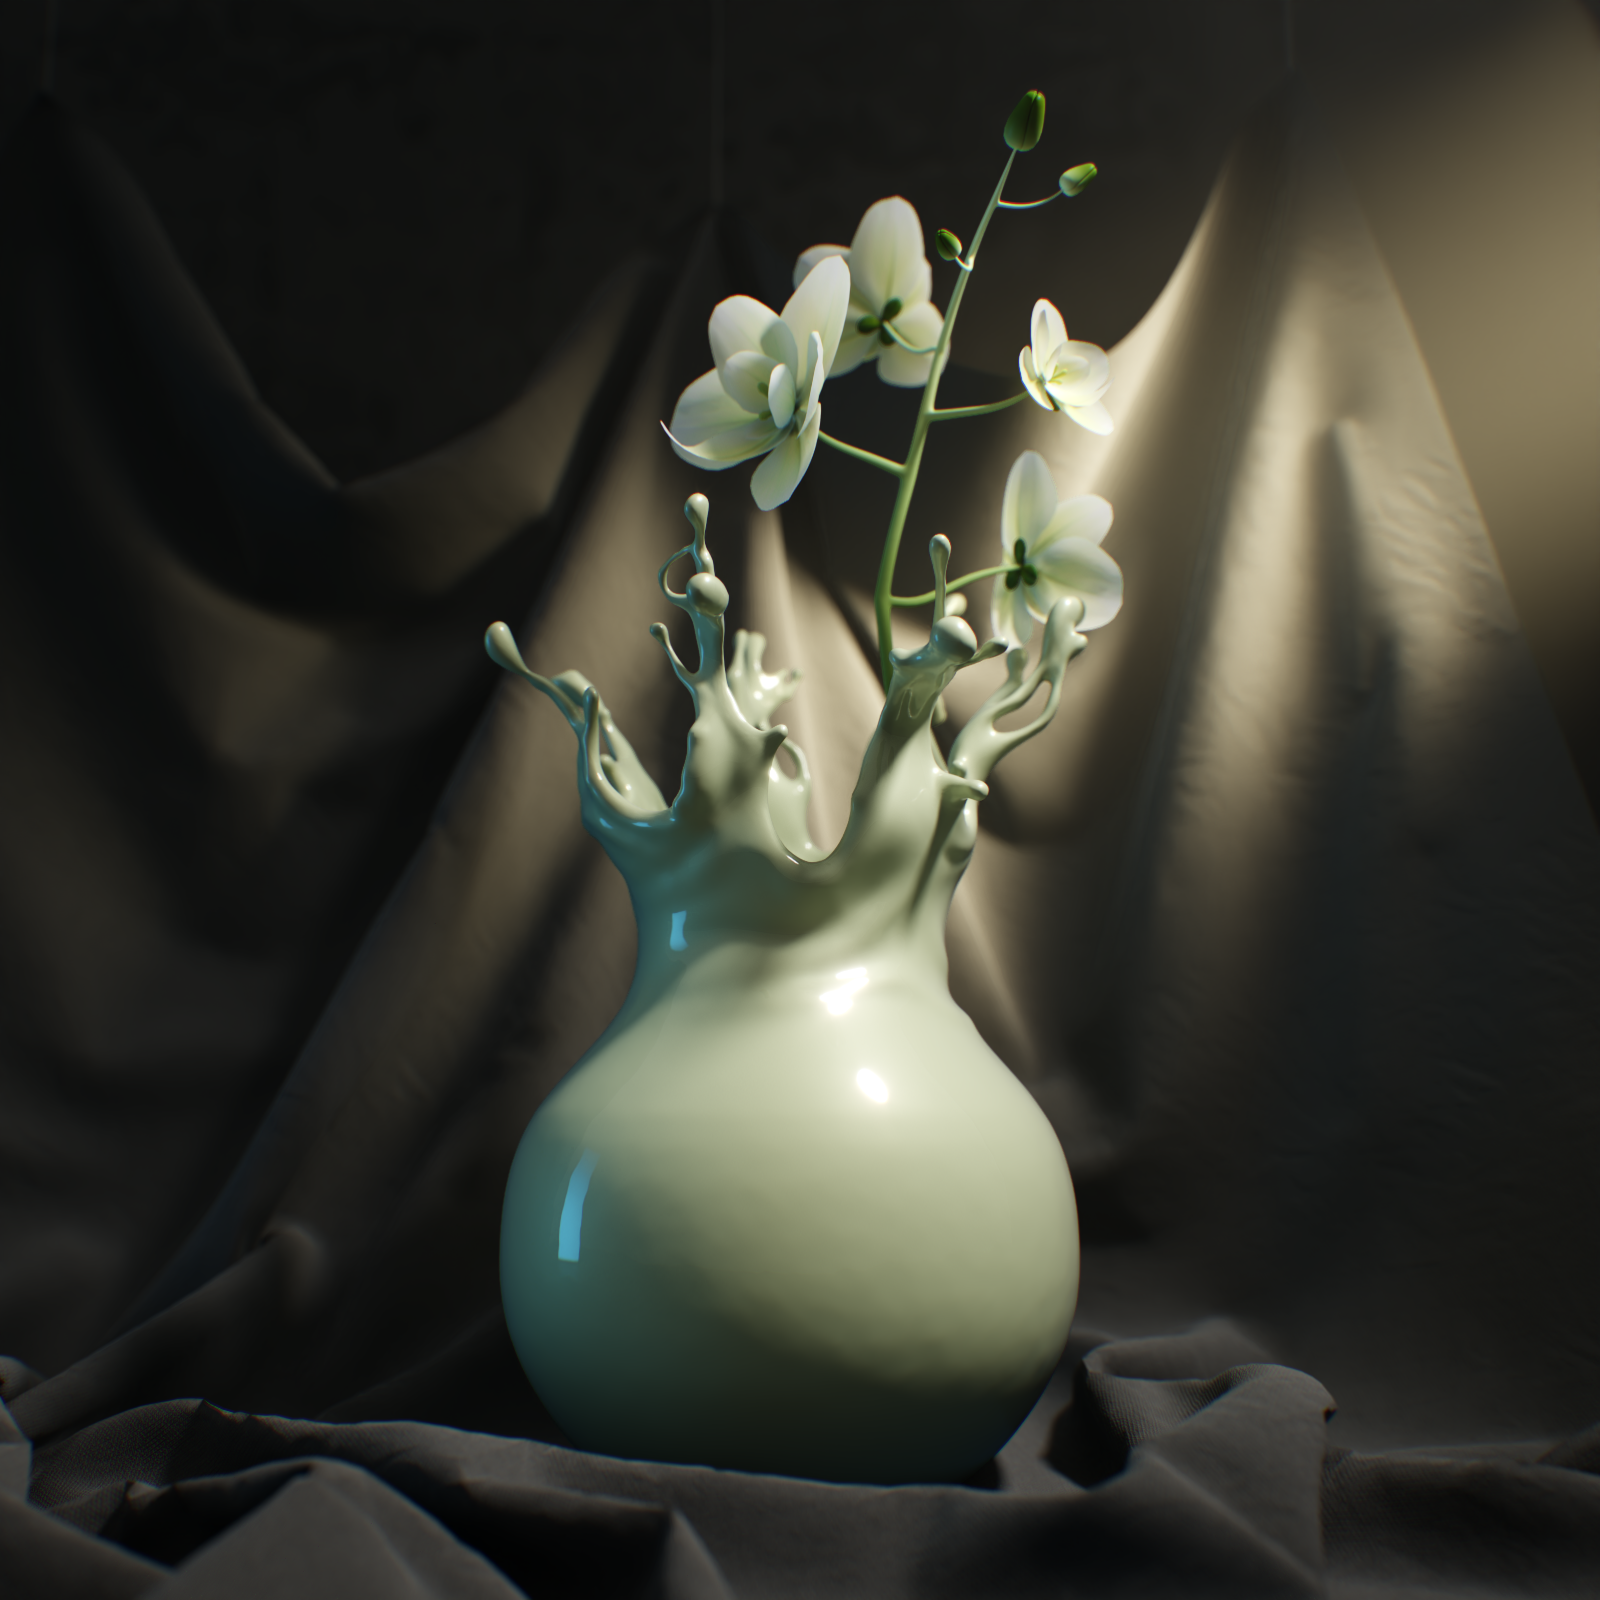
Coat amount = 0.5

Coat amount = 1
This example shows the effect of the Coat glossiness parameter. The Coat color is green and the IOR is 1.6. The Diffuse color is grey.

Coat glossiness = 0

Coat glossiness = 0.5

Coat glossiness = 1
This example shows the effect of the Coat color parameter. The Diffuse color is grey. Both the Coat amount and the Reflection glossiness are set to 1.

RGB (0.68, 0.63, 0.9)

RGB (0.4, 0.9, 0.9)

RGB (0, 0, 0)
This example shows the effect of the Coat IOR parameter. The Coat color is green, and the Diffuse color is grey. The Coat amount is set to 1.

IOR = 1

IOR = 4

IOR = 8