Corona for 3ds Max
Corona Select Map
This page provides information on the Corona Select Map.
Last updated 9 January 2026
This page provides information on the Corona Select Map.
Overview
The Corona Select Map lets you plug multiple maps into a single material editor node, and then choose which one of them to use in the actual rendering. To select a specific item, click the radio button next to that item's name.
See also: Corona Select Material

Properties
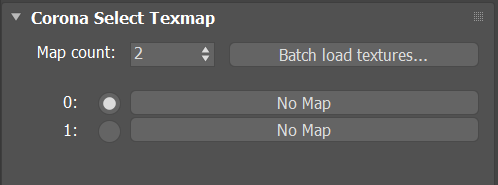
Map count – Specifies the number of maps that you wish to select between.
Batch load textures... – Allows loading multiple texture files at once as the Select Map items. The textures are always loaded as Corona Bitmaps.
List of maps – Shows the names of all connected maps and allows selecting one of them.
MAXScript Access
As stated in the Corona Select Map UI when map count is higher than 25, more items can be accessed through MAXScript. Below is a simple guide with a few possible use cases:
In the Compact Material Editor
Set number of items in the Corona Select Map in the 1st material editor slot to 100:
<code data-v-c2b1f83f=""><span data-v-c2b1f83f="" class="line">meditMaterials[1].mapCount = 100</span></code>
Add an empty Corona Bitmap to the 1st slot of the Corona Select Map:
<code data-v-c2b1f83f=""><span data-v-c2b1f83f="" class="line">meditMaterials[1].texmaps[1] = CoronaBitmap ()</span></code>
Select the 5th item:
<code data-v-c2b1f83f=""><span data-v-c2b1f83f="" class="line">meditMaterials[1].selected = 5</span></code>
In the Slate Material Editor
Set the number of items in the specific Corona Select Map (in this case called "mymap") to 100:
<code data-v-c2b1f83f=""><span data-v-c2b1f83f="" class="line">rootScene[#SME][#View1][#mymap____CoronaSelect].Properties.reference.mapCount = 100</span></code>
Add an empty Corona Bitmap to the 1st slot of the specific Corona Select Map:
<code data-v-c2b1f83f=""><span data-v-c2b1f83f="" class="line">rootScene[#SME][#View1][#mymap____CoronaSelect].Properties.reference.texmaps[1] = CoronaBitmap ()</span></code>
Select the 5th item of the specific Corona Select Map:
<code data-v-c2b1f83f=""><span data-v-c2b1f83f="" class="line">rootScene[#SME][#View1][#mymap____CoronaSelect].Properties.reference.selected = 5</span></code>
Troubleshooting
There is something wrong with numbering when adding and selecting maps through MAXScript!
Due to a small bug in the current version of Corona, the indexes start from different numbers, so for example if you assign a map to slot 1 of the Corona Select Map it will actually be assigned to slot 0. So to select it you will need to use selected = 0, not selected = 1.
How do I know what commands I should use?
You can open the MAXScript Listener (Scripting > MAXScript Listener...) and enable the MacroRecorder (MacroRecorder > Enable) to record various actions you perform in the material editor (such as creating new materials, changing the number of items in the Select Map, plugging different materials into different slots, selecting specific maps, etc). This can help you find the syntax which you will need to use, specific to your scene.
Examples
Controlling Scene Environment
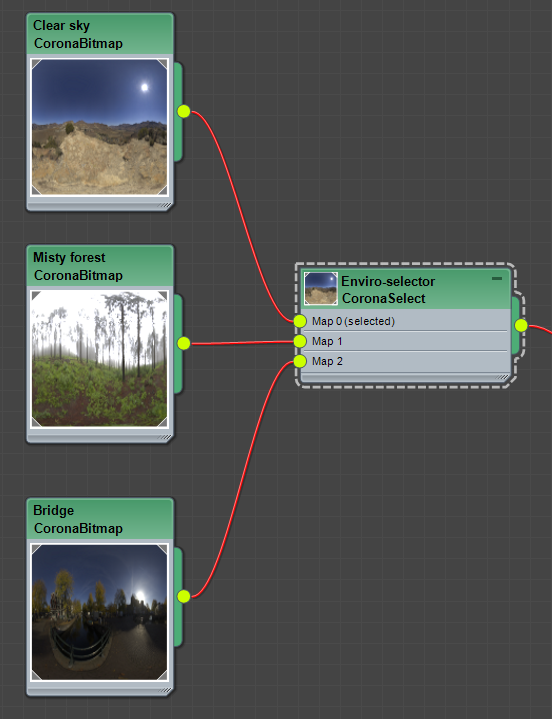
Three different HDRI maps are connected to a Corona Select Map, which is then used as the scene environment. This way, you can cycle between different scene environments using a single click.

Environment Map 1

Environment Map 2

Environment Map 3
Click here to see the material setup
Creating Color Schemes
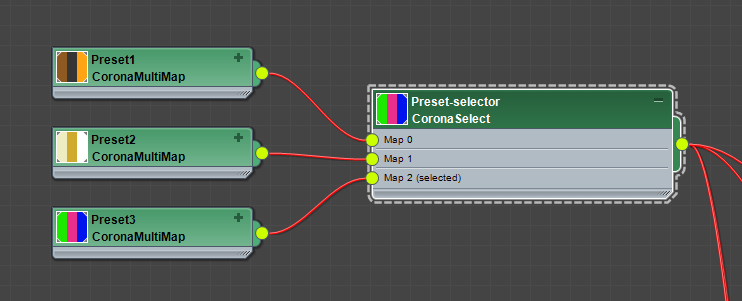
In this example we are using 3 different Corona Multimap presets which are then connected to the Corona Select Map. The purpose of the Multimap is to distribute different colors among different sub-materials based on the object Material IDs.
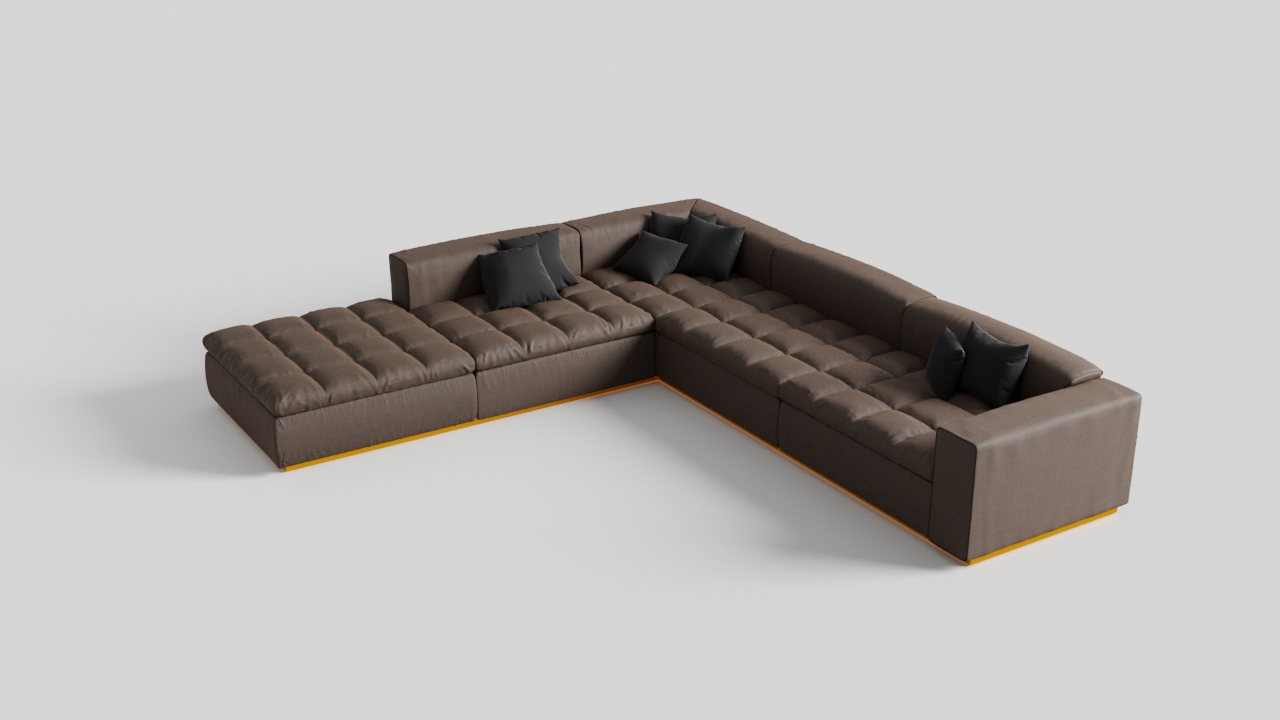
Color Scheme 1
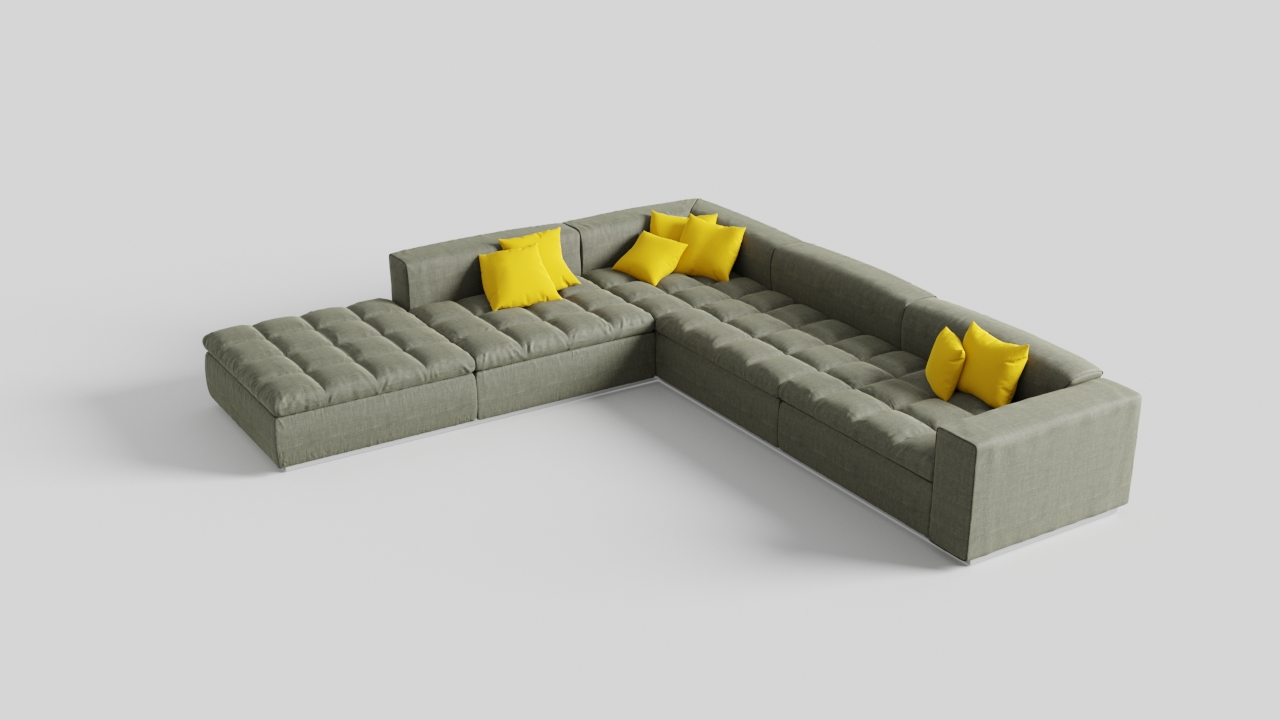
Color Scheme 2
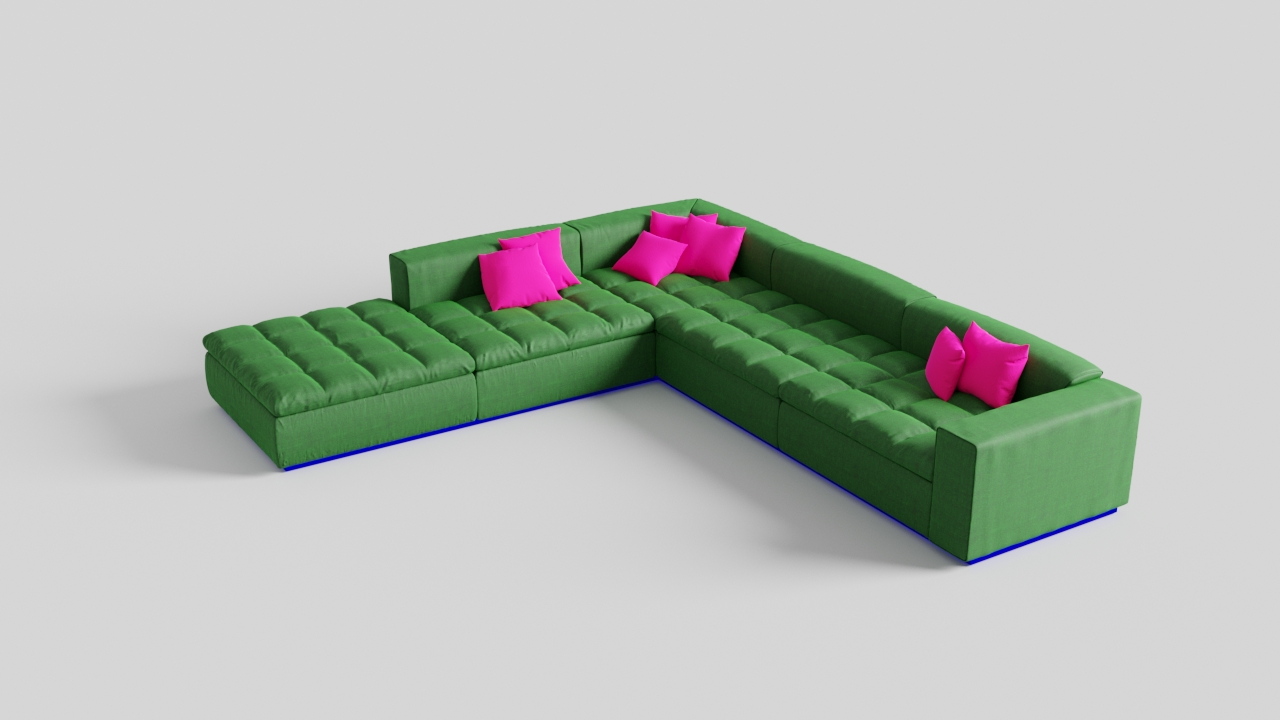
Color Scheme 3
Click here to see the material setup