Corona for 3ds Max
Corona Triplanar Map
This page provides information on the Corona Triplanar Map.
Last updated 4 March 2026
This page provides information on the Corona Triplanar Map.
Overview
The Corona Triplanar Map overcomes the limitations of conventional texturing, such as visible seams or stretching, without having to worry about the UVW mapping of your scene objects. The way it works is based on projecting textures along the object XYZ axes with some additional options such as scaling, rotation, offset, and blending.
youtu.be
Properties
Input Maps
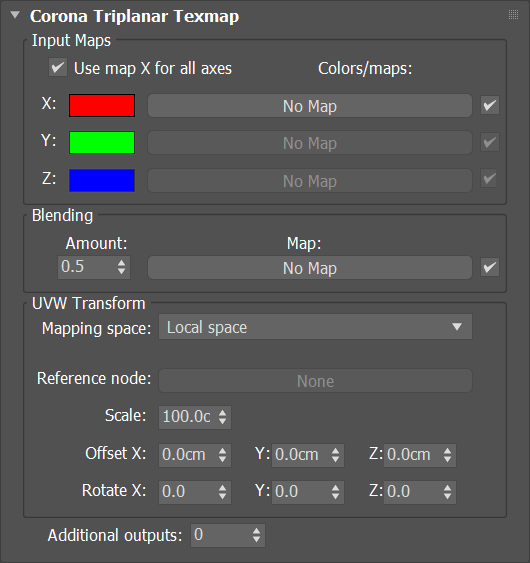
Use map X for all axes – When enabled, the same texture is projected in the X, Y, and Z axes and it is the texture defined in the Map X slot.
X – The texture to project in the X axis. If Use map X for all axes is enabled, this is the texture used for X, Y, and Z axes.
Y – The texture to project onto the object in the Y axis (only has an effect when Use X map for all axes is disabled).
Z – The texture to project onto the object in the Z axis (only has an effect when Use X map for all axes is disabled).
Blending
Amount – Controls the blending between the projected maps. Higher values give a softer blend with a less visible seam but potential blurring, while lower values give a sharper transition between the maps. This value is overridden if a Blend Map is used.
Map – Maps the blending value (from 0 to 1, like the Blend parameter) so that it varies across the object. Note that this map uses UV mapping from the object (unless you pass it through its own Triplanar mapping node).
UVW Transform
Mapping space – Specifies how to get the X, Y, and Z axes for mapping:
Local space – Causes each object to use its own pivot. If an object is copied or rotated, the mapping "sticks" to each object (stay locked).
Reference node space – Similar to Local space, but a different Reference node is used to control it. Useful with helper objects.
World space – Uses the same axes for all objects, and disregards object rotation - mapping stays locked to world coordinates and "flows" over the object surface when it is rotated.
Reference node – If Reference node space is enabled, this is the object used to control the mapping. Rotating the reference object rotates the mapping on other objects.
Scale – Controls the scale of the mapping. The input value is the side length of the texture in world units - larger values give less repeats of a texture and vice versa.
Offset X, Y, Z – Controls the offset of the texture in world units.
Rotate X, Y, Z – Controls the rotation of the texture in degrees.
Additional Outputs – If set to higher value than 0, the texture will have this many additional inputs and outputs. The inputs marked with number 'X' will be used for 'Additional Output X'.
Examples
The following examples demonstrate the effect that individual Corona Triplanar Map parameters have on the scene. Click on any image to view it at a higher resolution.
Using the X color for all axes
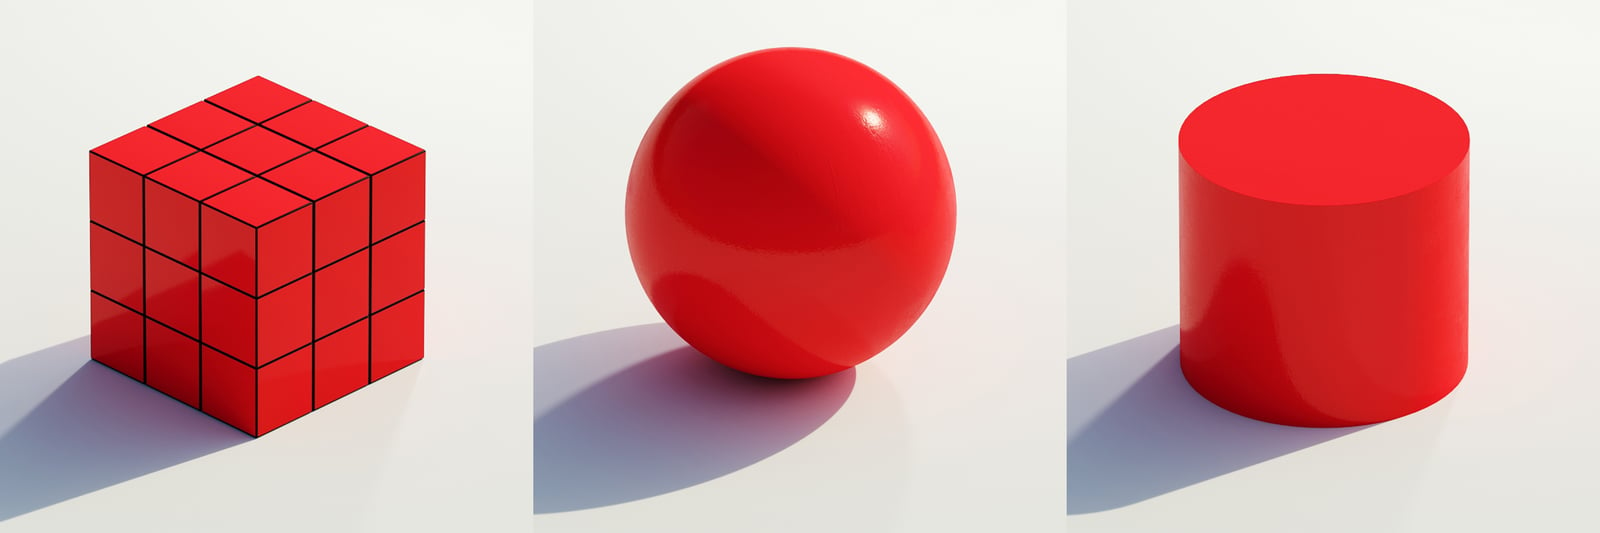
"Use map X for all axes" is enabled
Using a different color for each axis

"Use map X for all axes" is disabled
Different Blending Amount values

left: 0.0, middle: 0.5, right: 1.0
Different Scale values

left: 10, middle: 100, right: 200
Animating the Offset values
Animating the Rotate values
Organic objects
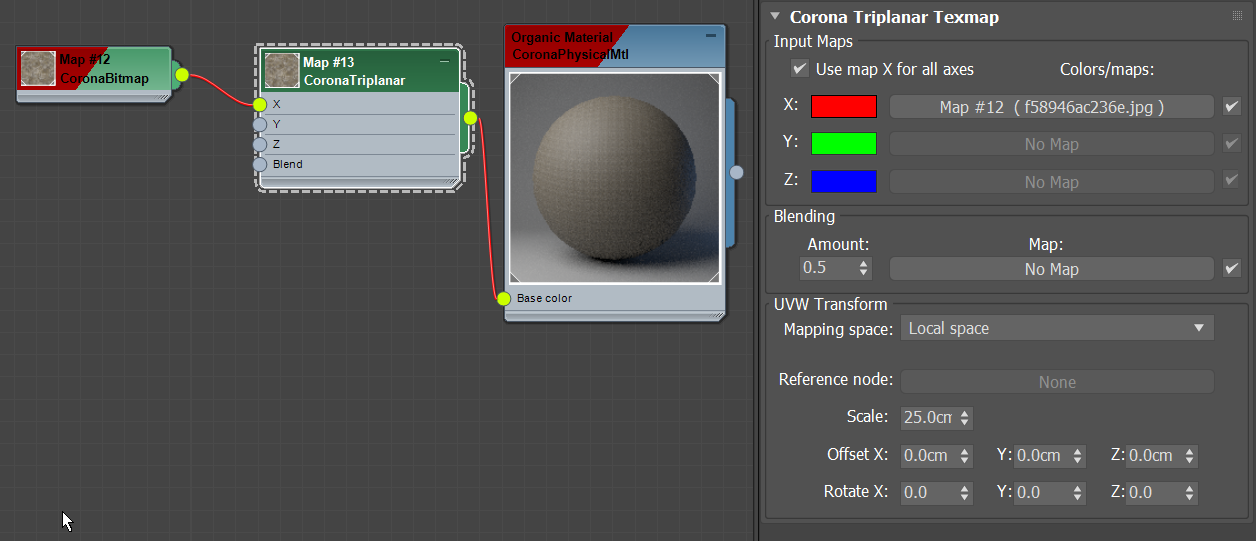
Note the visible texture stretching and seams when using classic UVW mapping. Corona Triplanar map gets rid of those issues and applies the texture in a uniform, natural way.

UVW Mapping

Triplanar Mapping
Click here to see the material setup
Technical objects
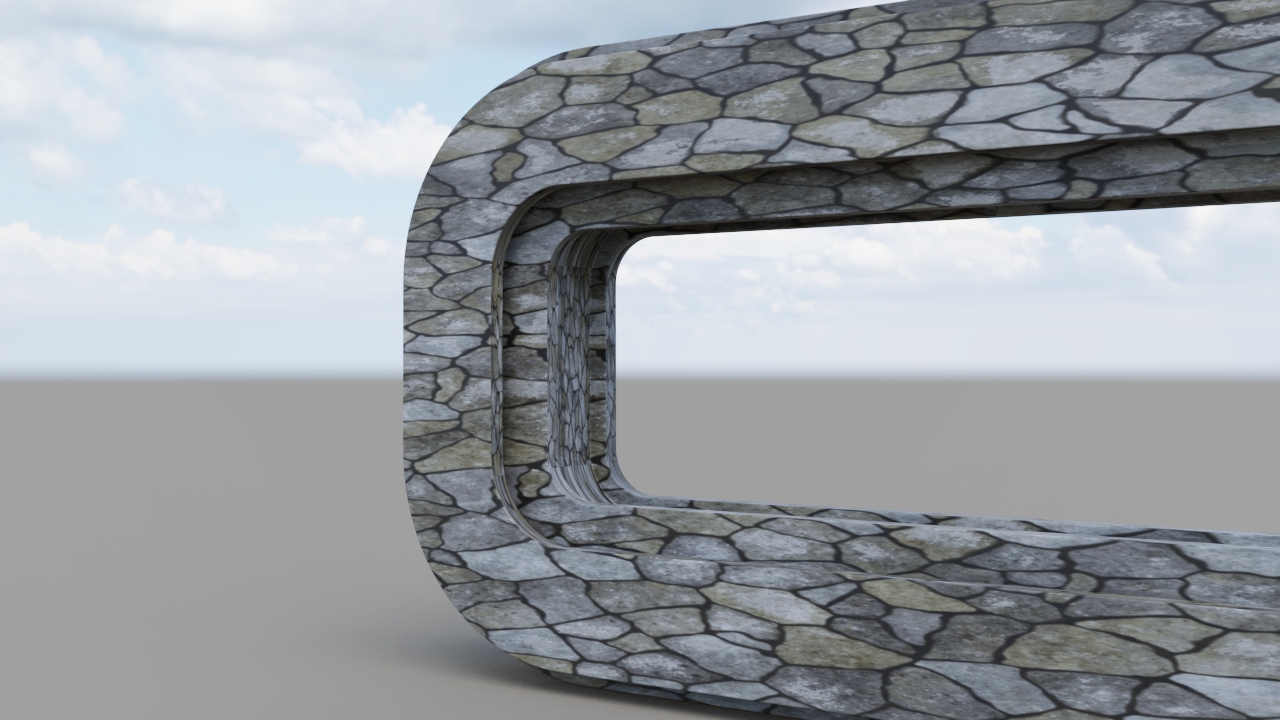
It may be especially challenging to texture an object with sharp corners and curved surfaces if they are missing proper UVW unwrapping. You can use the Corona Triplanar Map to easily apply a texture to such object.
UVW Mapping

Triplanar Mapping
Click here to see the material setup

Landscapes
Texturing landscapes is a perfect use case for the Corona Triplanar Map. In this case, a grass texture is projected from the top (Z axis) and a rock texture is projected from the sides (X and Y axes).

Click here to see the material setup
