Use Live Link to send changes from your CAD or BIM application to Enscape Envision.
Overview
Live Link displays changes from your CAD or BIM application immediately, without manually exporting and importing .vrscene files into Enscape Envision. Updates sit in layers beneath your existing Envision work and do not overwrite it. You can save, close and resume work without losing data.
Start Live Link with the dedicated button in Enscape or your CAD application. Envision accepts the first incoming connection and loads the project. It listens for either V-Ray or Enscape connections at a time. Only one connection can be active, so a new connection interrupts and replaces the previous one. The enable buttons are in the applications' top toolbars. Starting Live Link creates a Live Link object in the Objects tab on the left. Adjust its settings in the Details tab on the right.
Live Link setups
Set up Live Link from Enscape
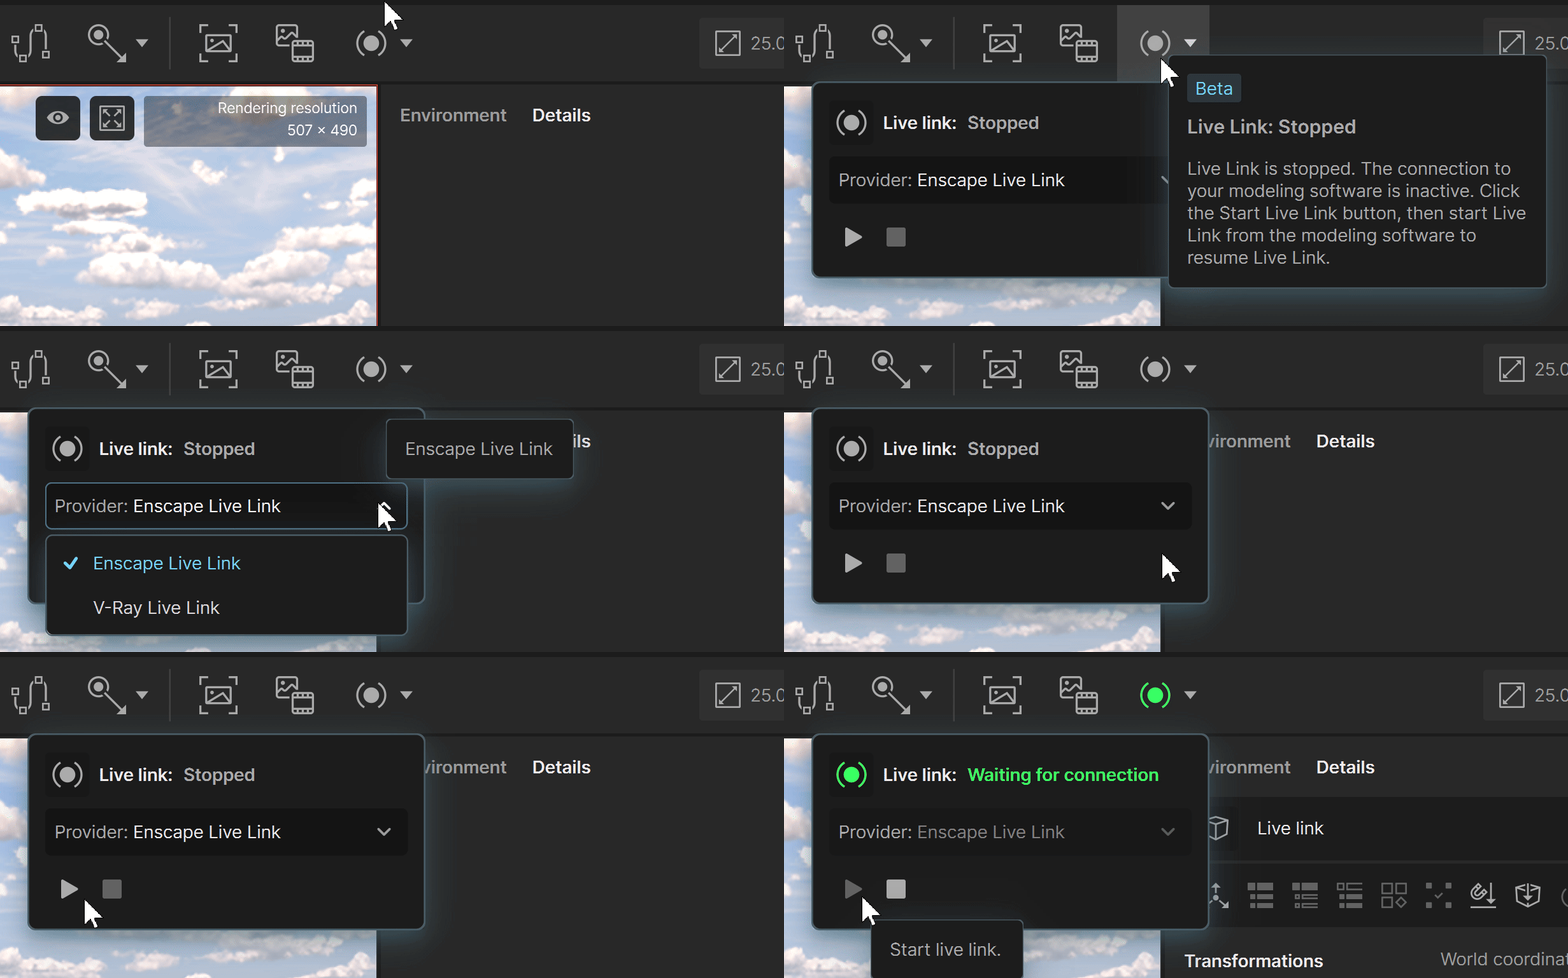
First, configure Live Link in Envision and start the connection:
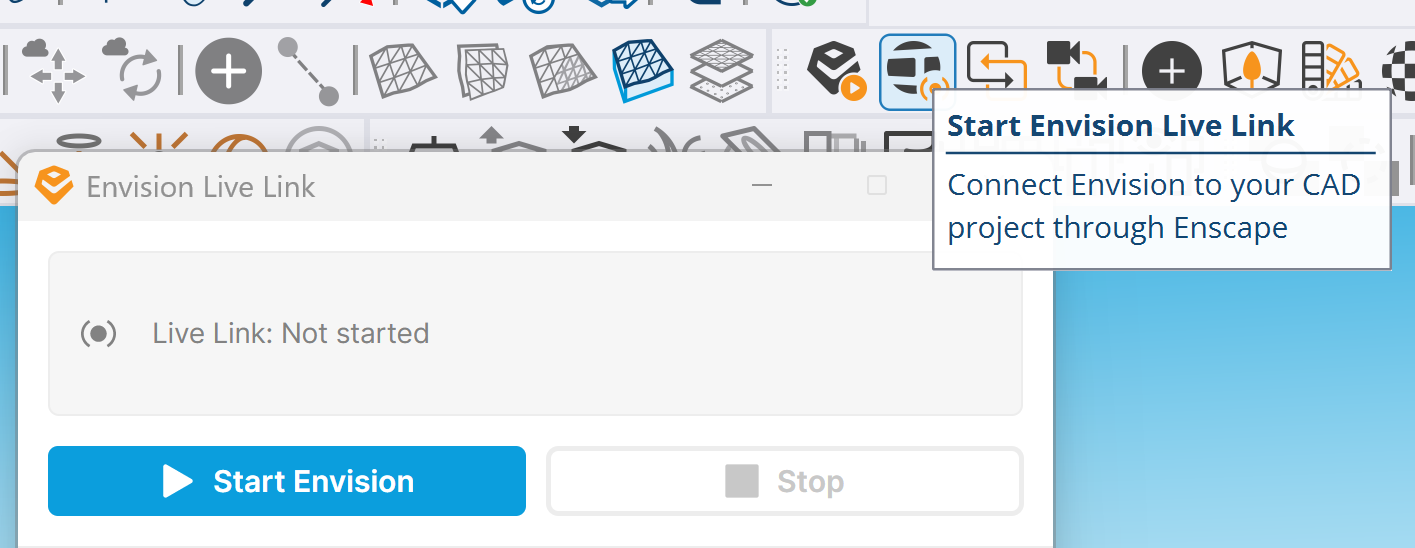
- Open Envision and click the Live Link () button in the top toolbar to display the controls.
- Set Live Link Provider to Enscape Live Link. This is the default provider. It listens in the background for incoming Enscape connections.
- Click Start Live Link () to enable Live Link. Alternatively, select Create menu > Create Live link.
Envision creates a Live Link object in the Objects list. Live Link runs in the background and waits for an incoming CAD/BIM connection.
Next, start the Live Link connection in Enscape:
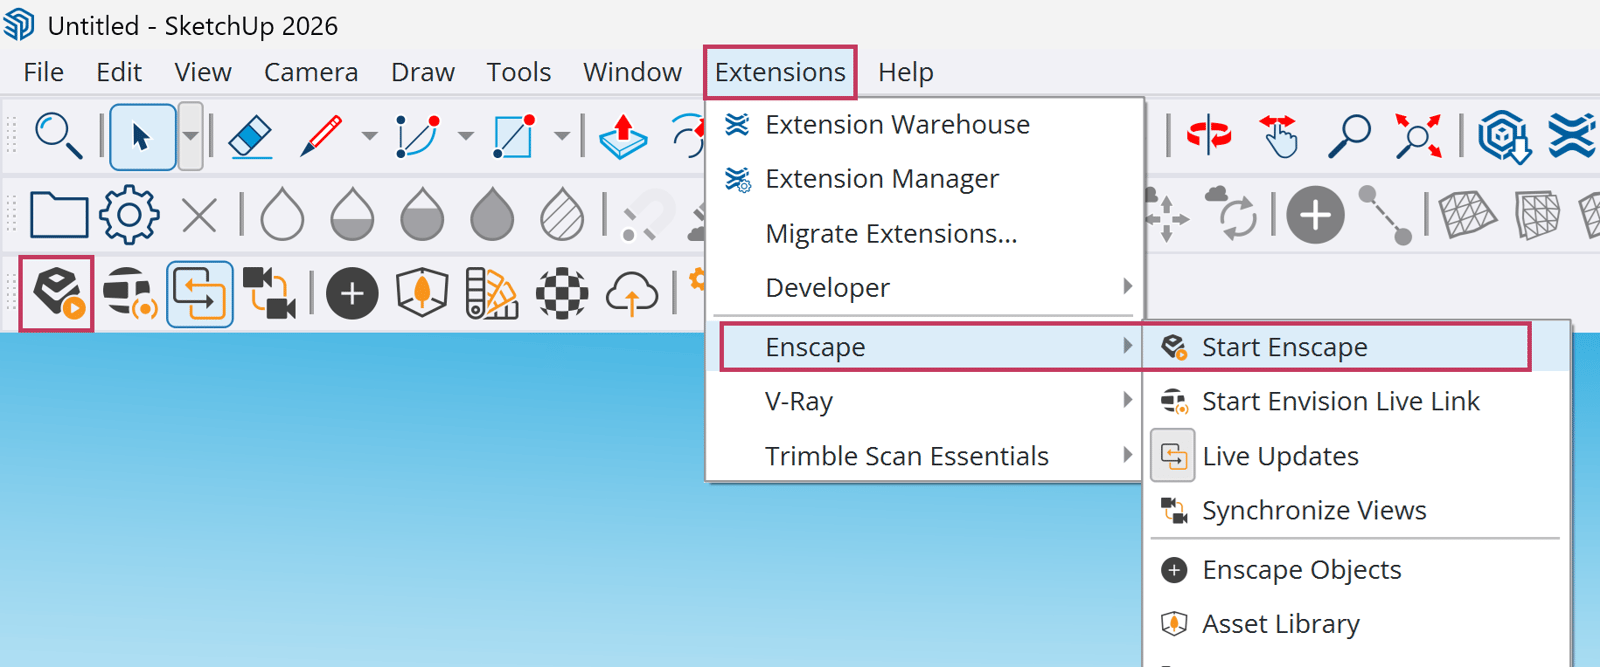
- Open your CAD/BIM application and go to its Enscape toolbar. Click Start Enscape () to open Enscape.
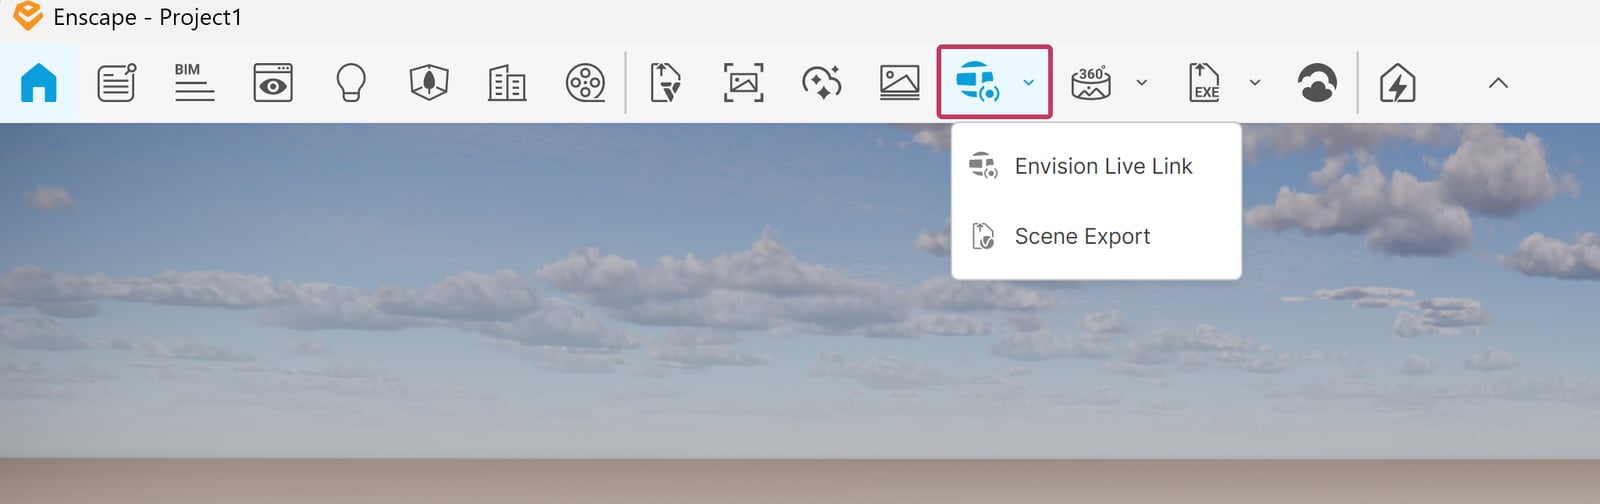
- In Enscape, click Envision Live Link. Confirm the prompt to go to Envision.
Start Live Link from Enscape for SketchUp
Start Live Link from Enscape for Revit

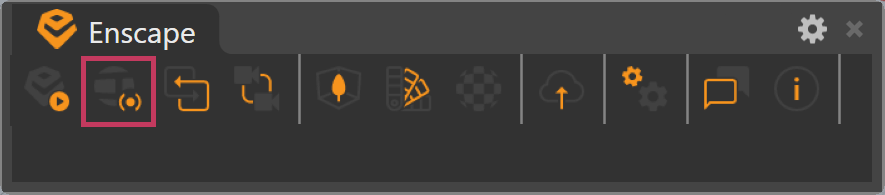
Start Live Link from Enscape for Rhino
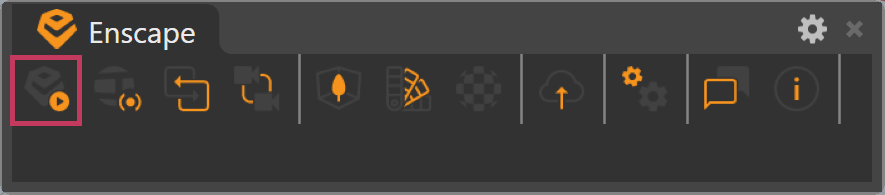
Start Live Link from Enscape for ArchiCAD
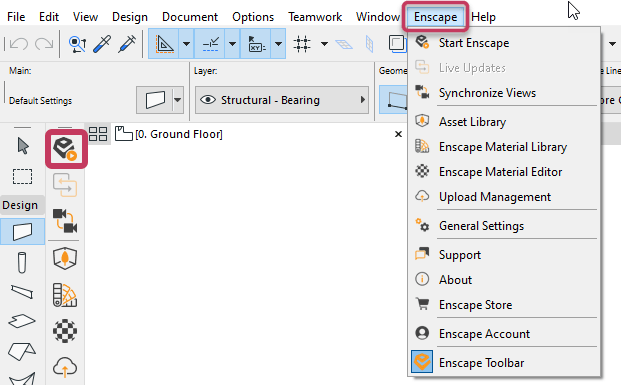
Start Live Link from Enscape for Vectorworks
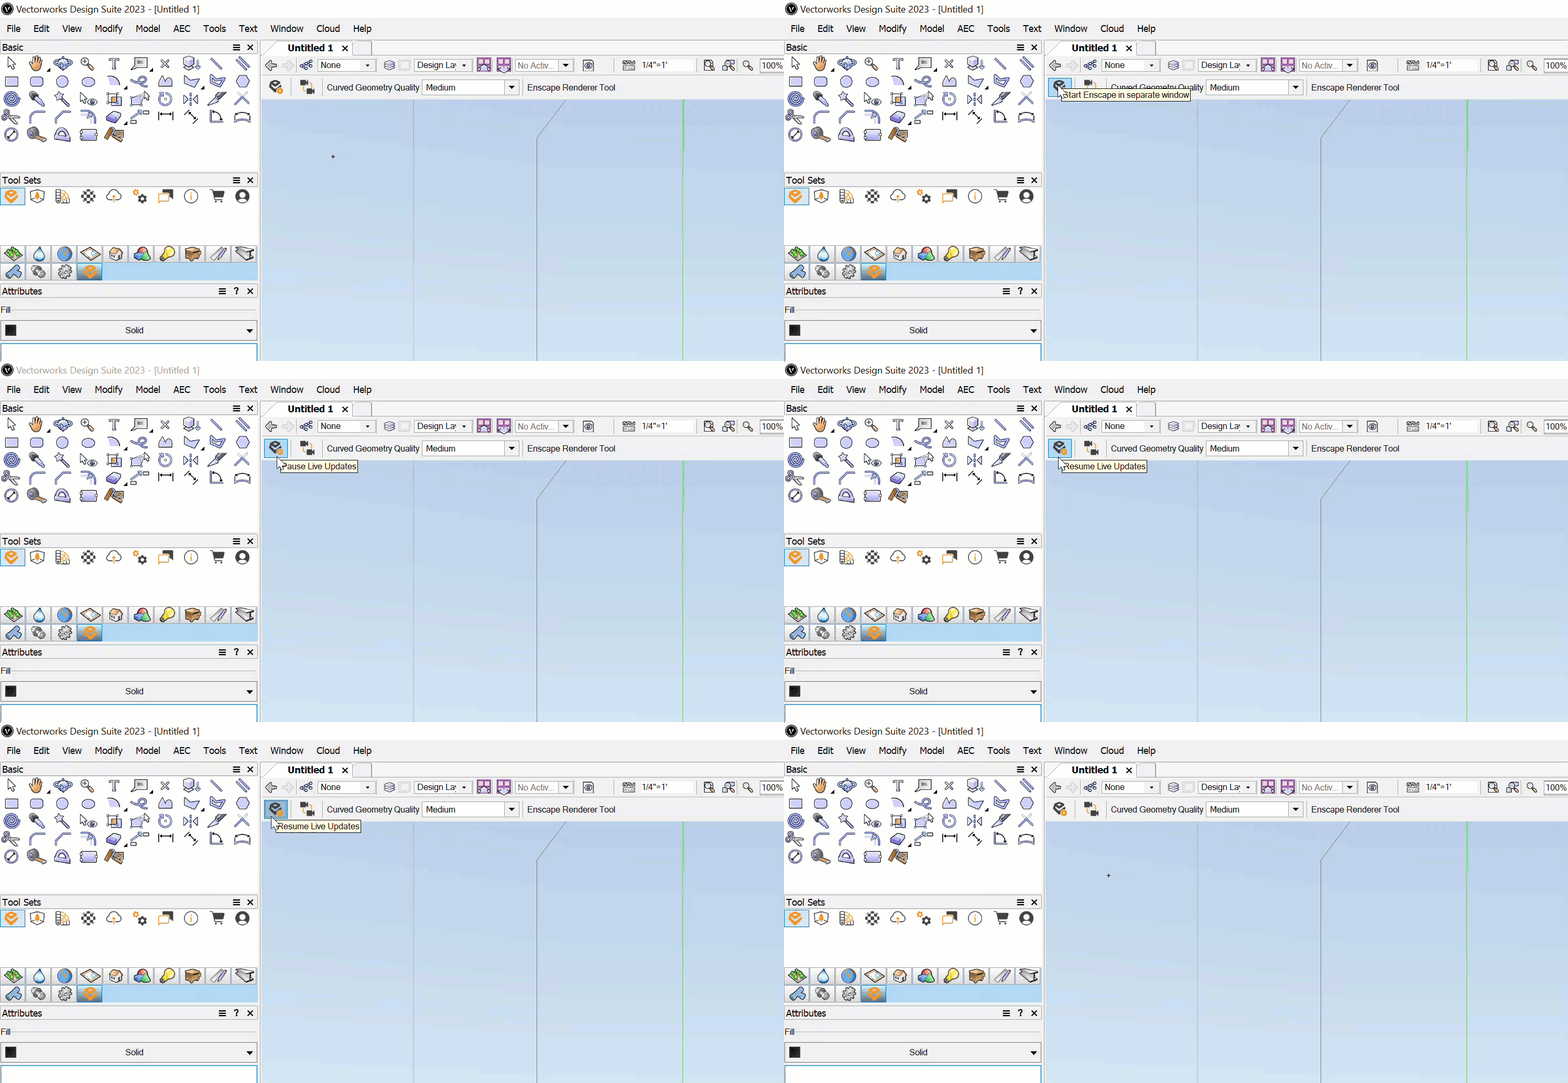
Video
The video shows how to start Live Link in Enscape for Rhino.
Set up Live Link from CAD/BIM
Step 1. Start Live Link from Envision

In Envision, click the Live Link () button in the top toolbar to display the controls.
Set Live Link Provider to Enscape or V-Ray. Enscape is the default. The selected provider listens in the background for an incoming connection.

Click Start Live Link () to enable Live Link. Alternatively, select Create menu > Create Live link.
Envision creates a Live Link object in the Objects list. Live Link runs in the background and waits for an incoming CAD/BIM connection.
Step 2. Start Live Link from CAD/BIM

In your CAD or BIM application, such as SketchUp, select Start Live Link () to connect to Envision. See the application instructions below.
The CAD or BIM application connects to Envision and sends the project.
Start Live Link from Enscape for Revit (BIM)

Start Live Link from V-Ray for Revit
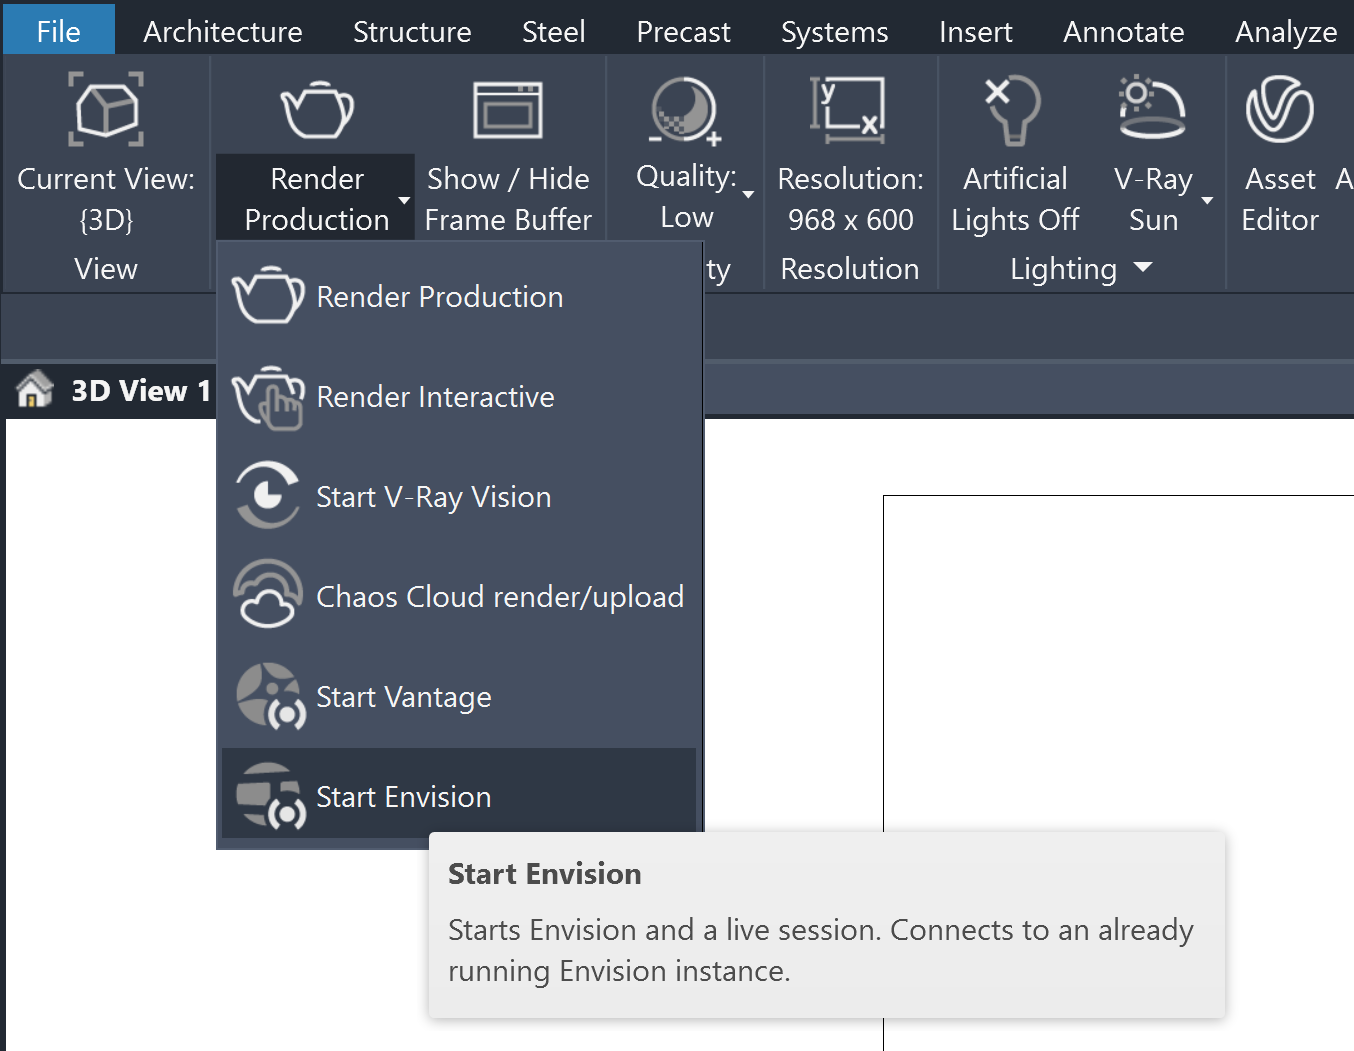
Start Live Link from Bridge for Revit
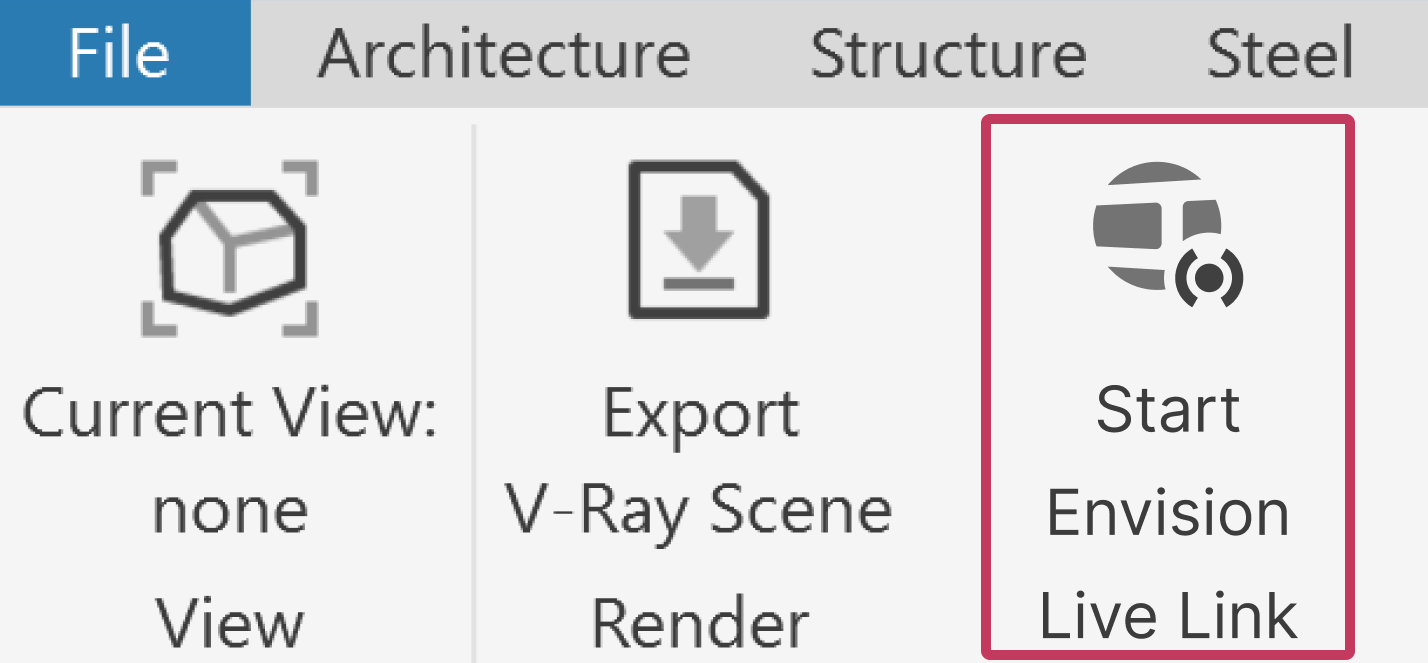
Start Live Link from Enscape for Rhino (CAD)
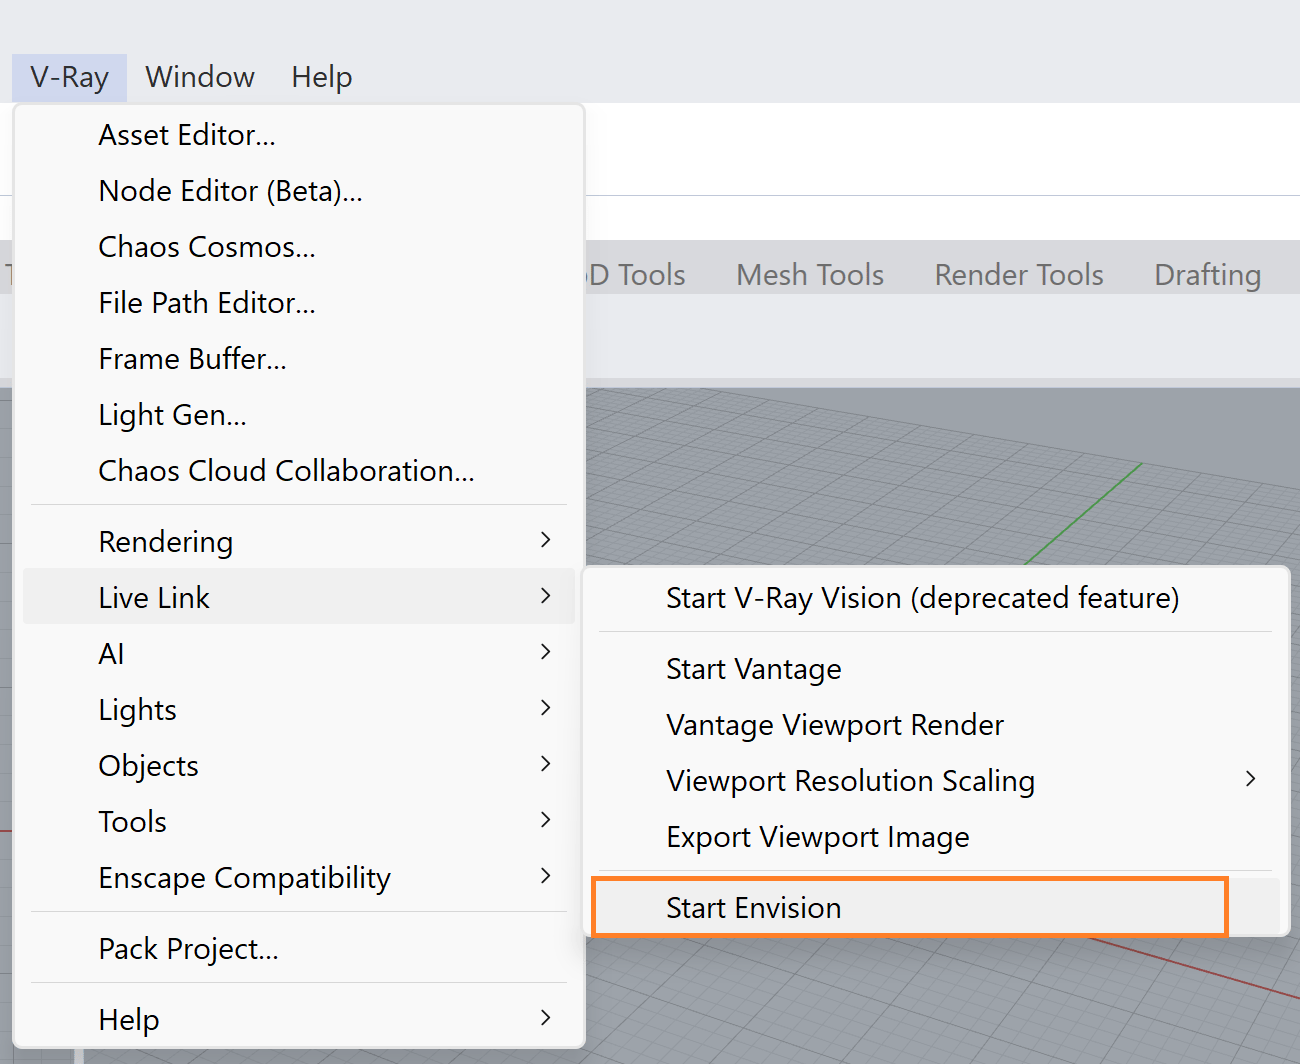
Start Live Link from V-Ray for Rhino
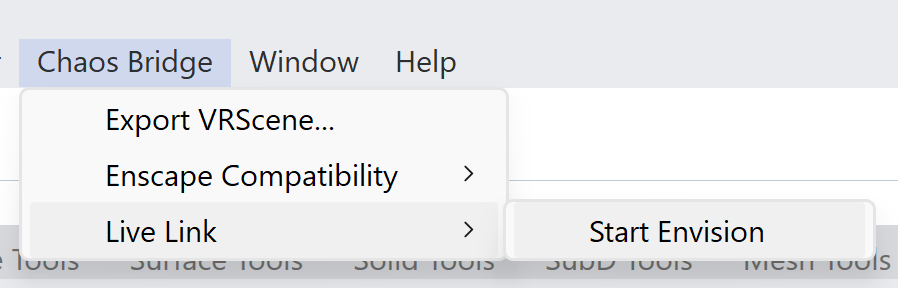
Start Live Link from Bridge for Rhino
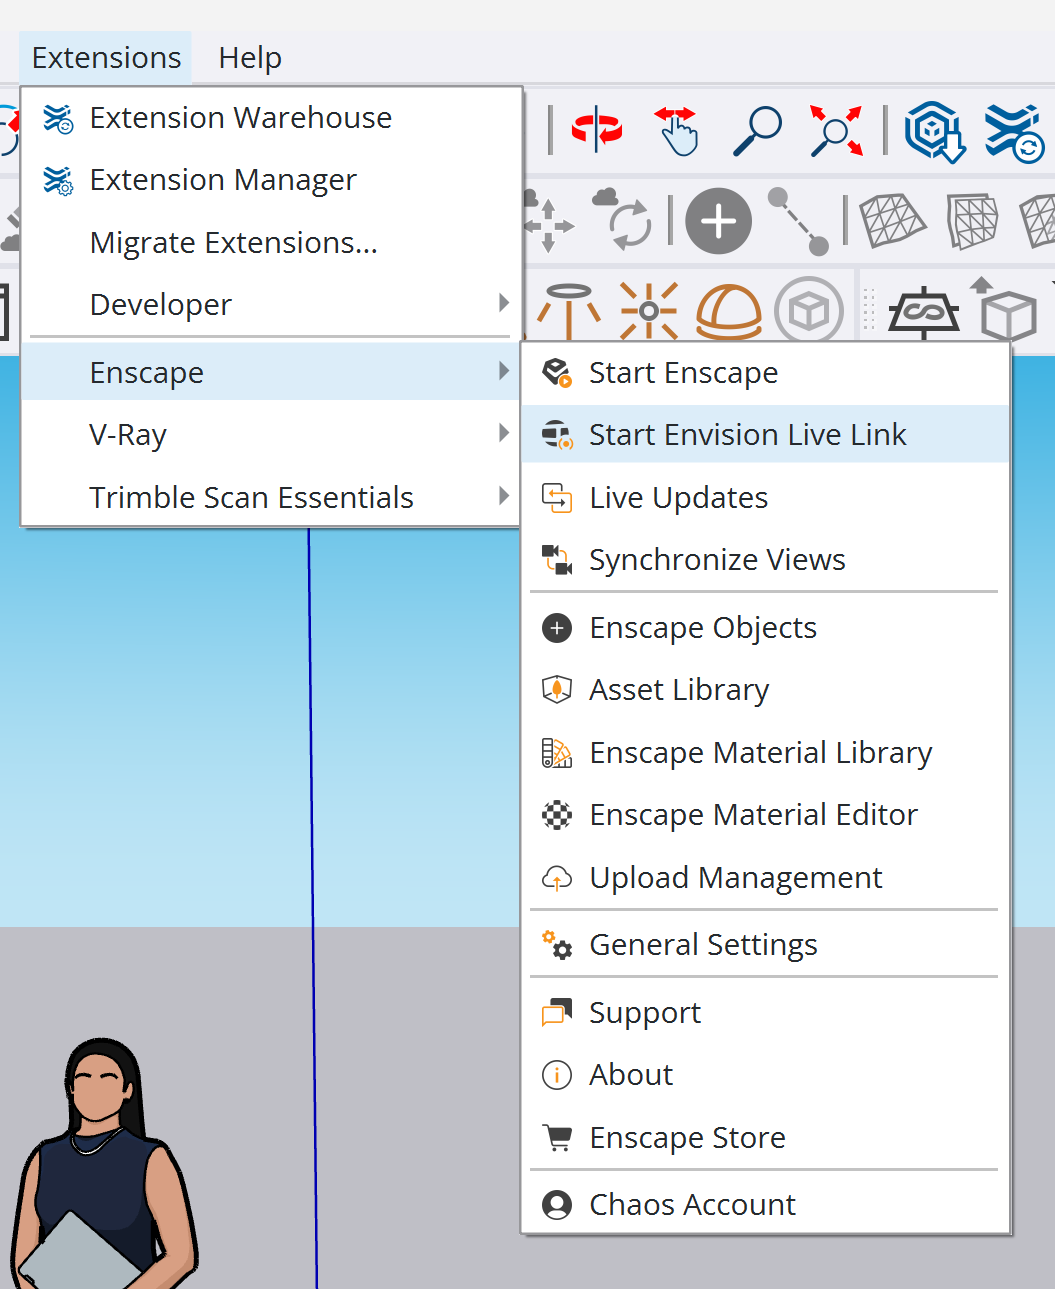
Start Live Link from Enscape for SketchUp
Start Live Link from V-Ray for SketchUp
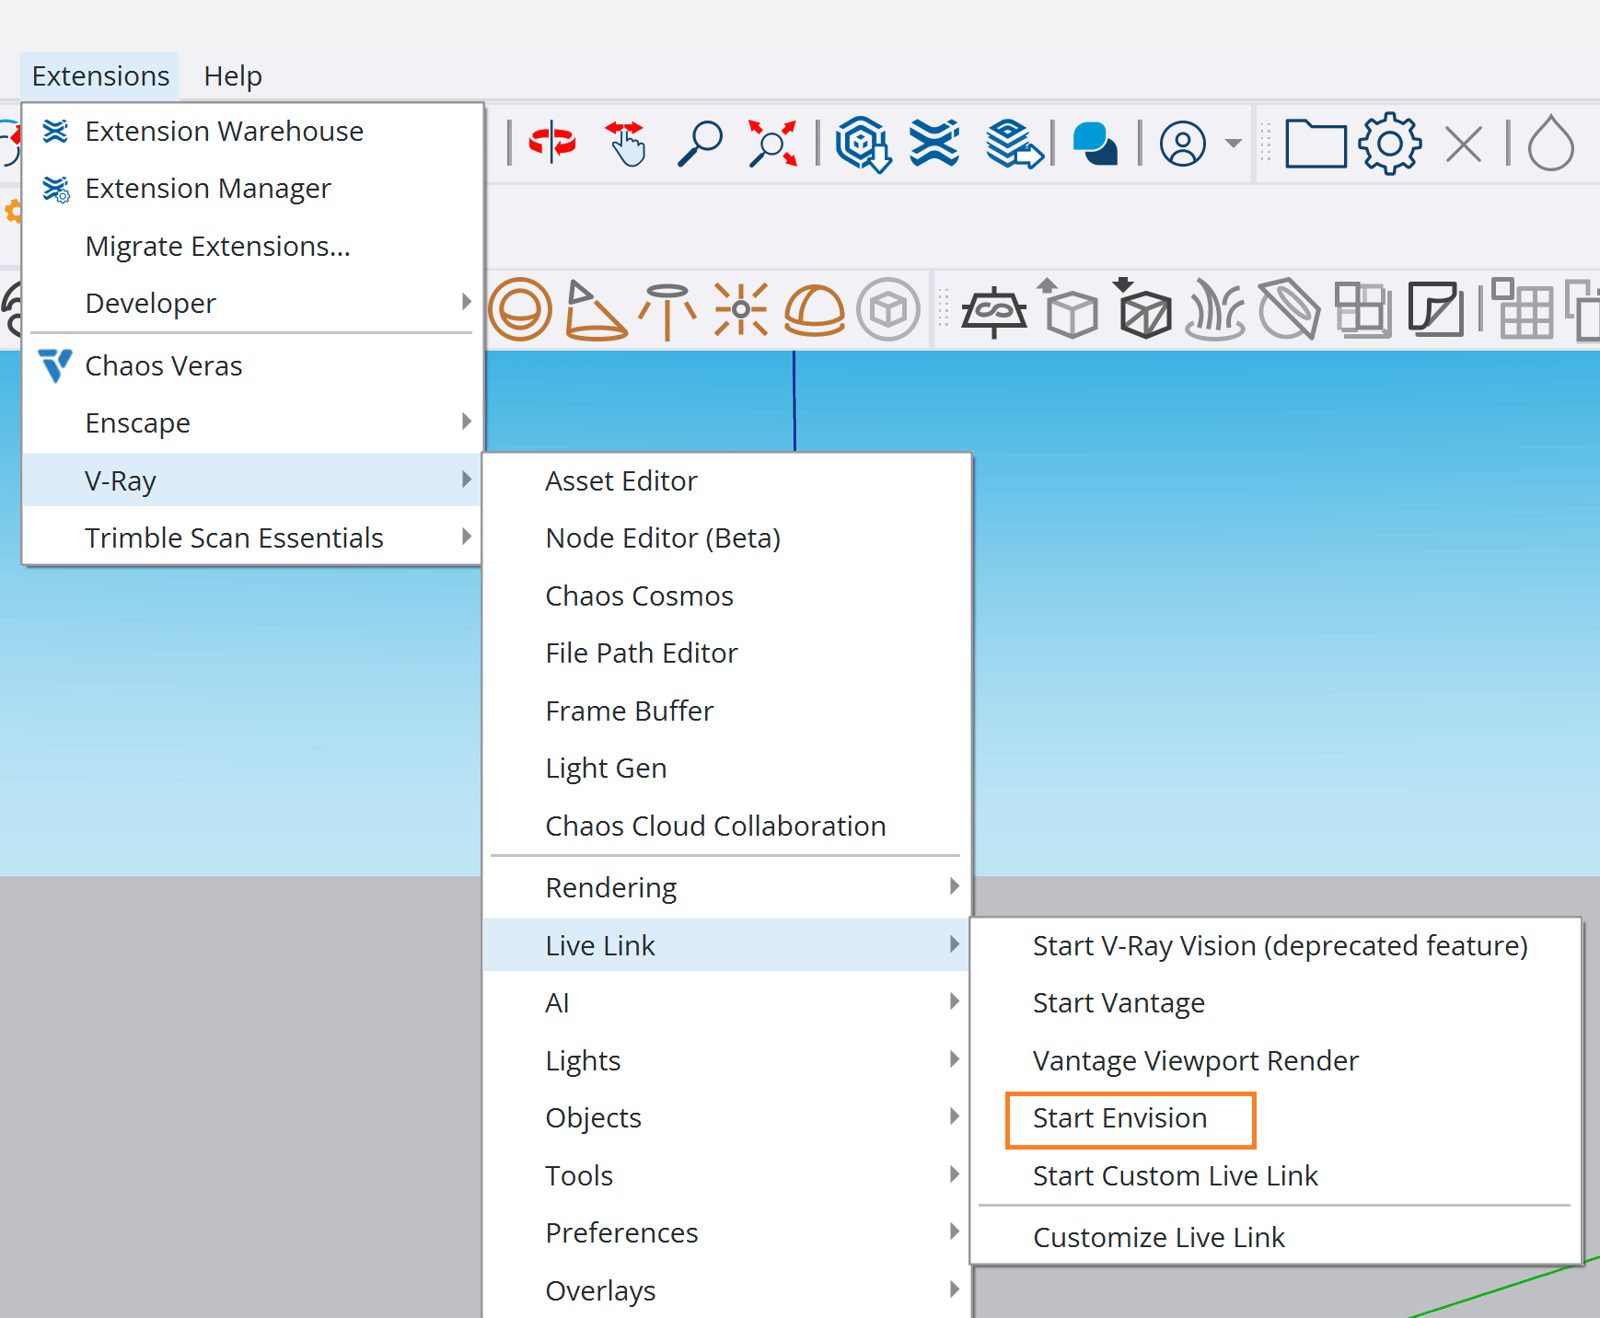
Start Live Link from Bridge for SketchUp
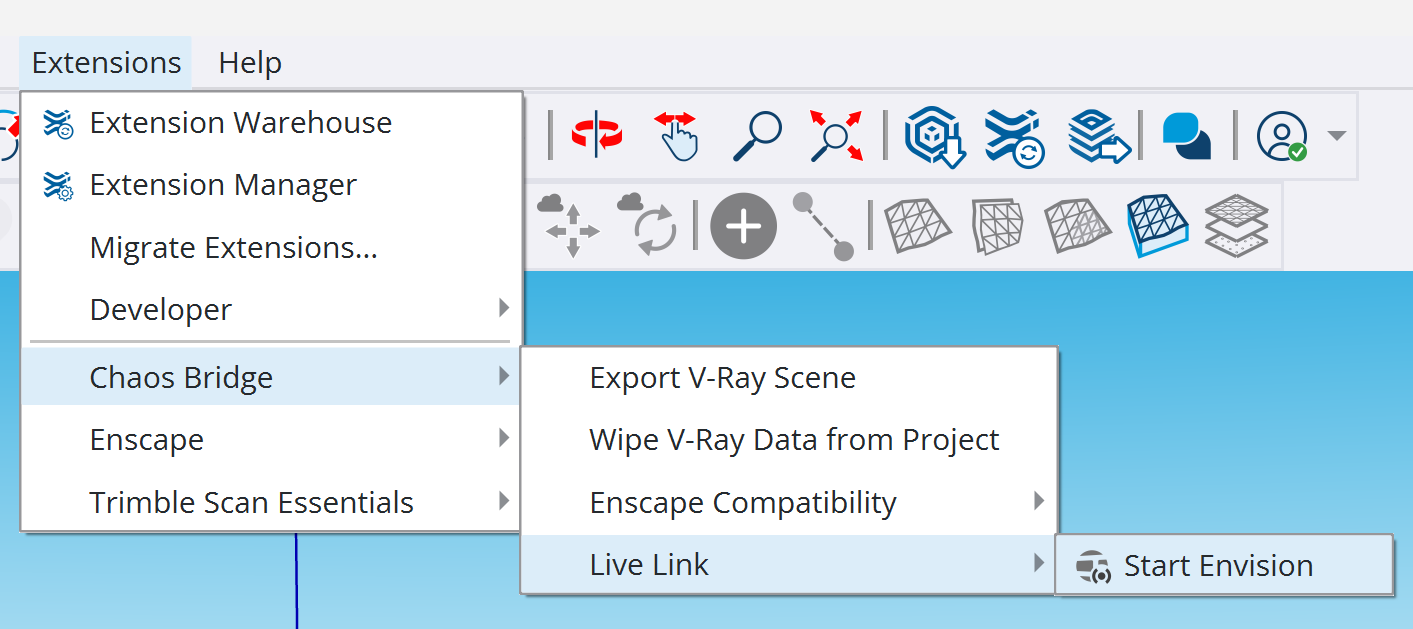

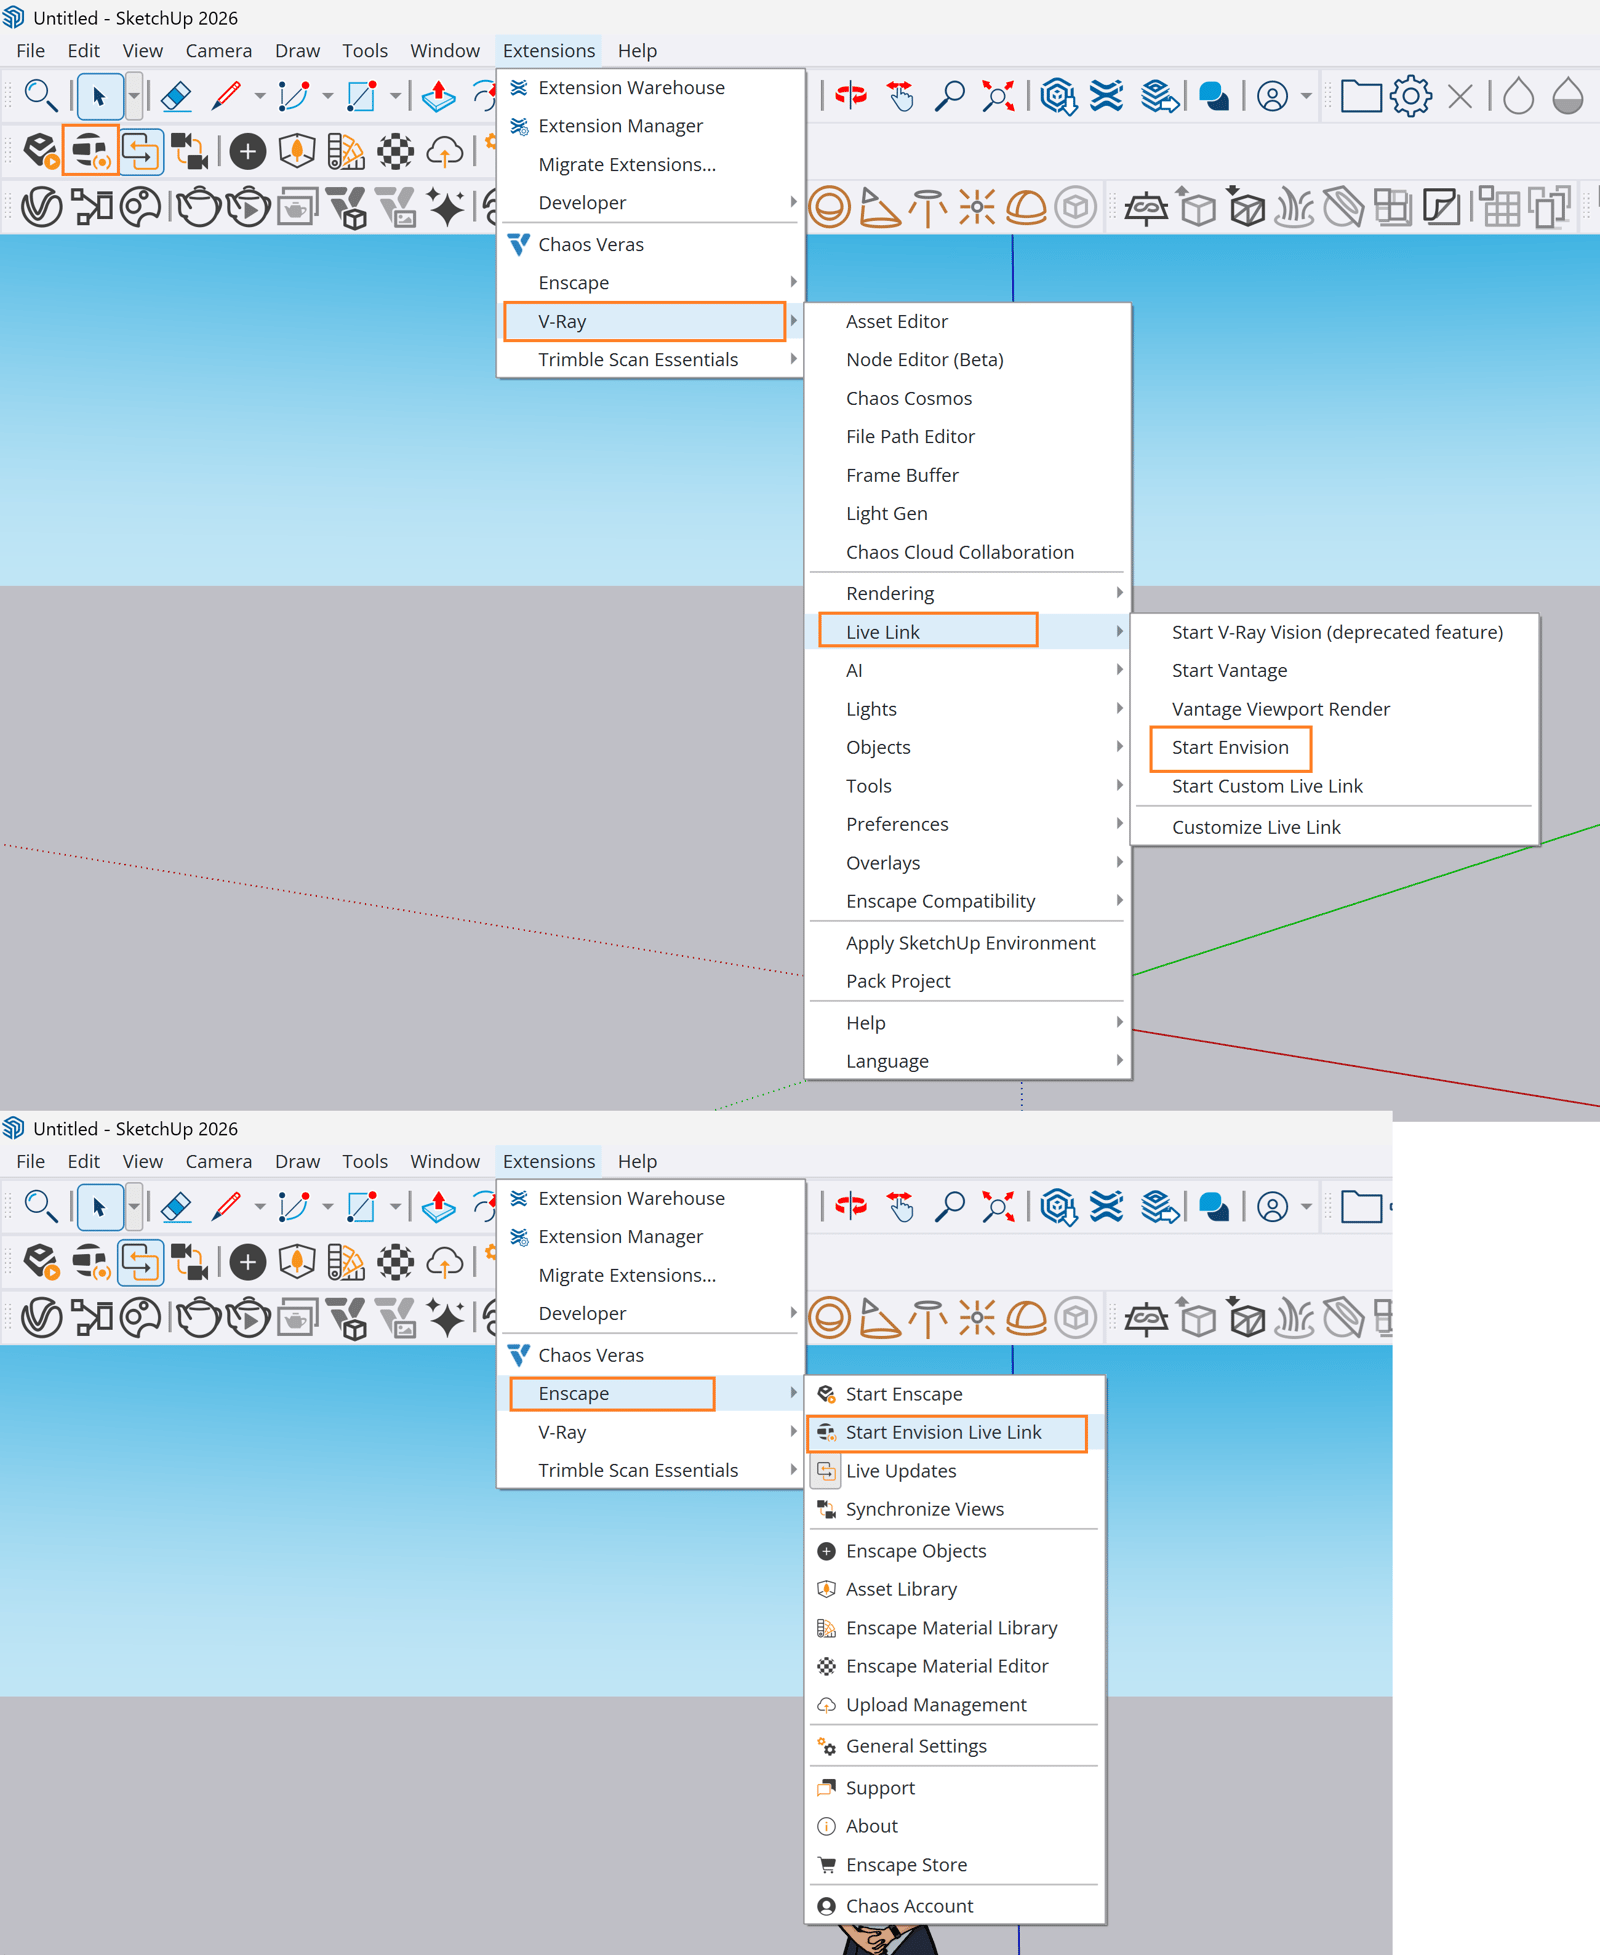
The image shows the Start Envision Live Link options in Chaos V-Ray for SketchUp and Enscape for SketchUp.
Step 3. Save and modify the project
Save the project as an .envision file. The file stores information about the Live Link source, such as a Revit or SketchUp file.
Changes you make in your CAD/BIM application appear immediately in Envision, in layers beneath the main Envision layers.
You can also apply materials, lighting, entourage and other changes in Envision. Envision saves these changes above the CAD/BIM base layers.
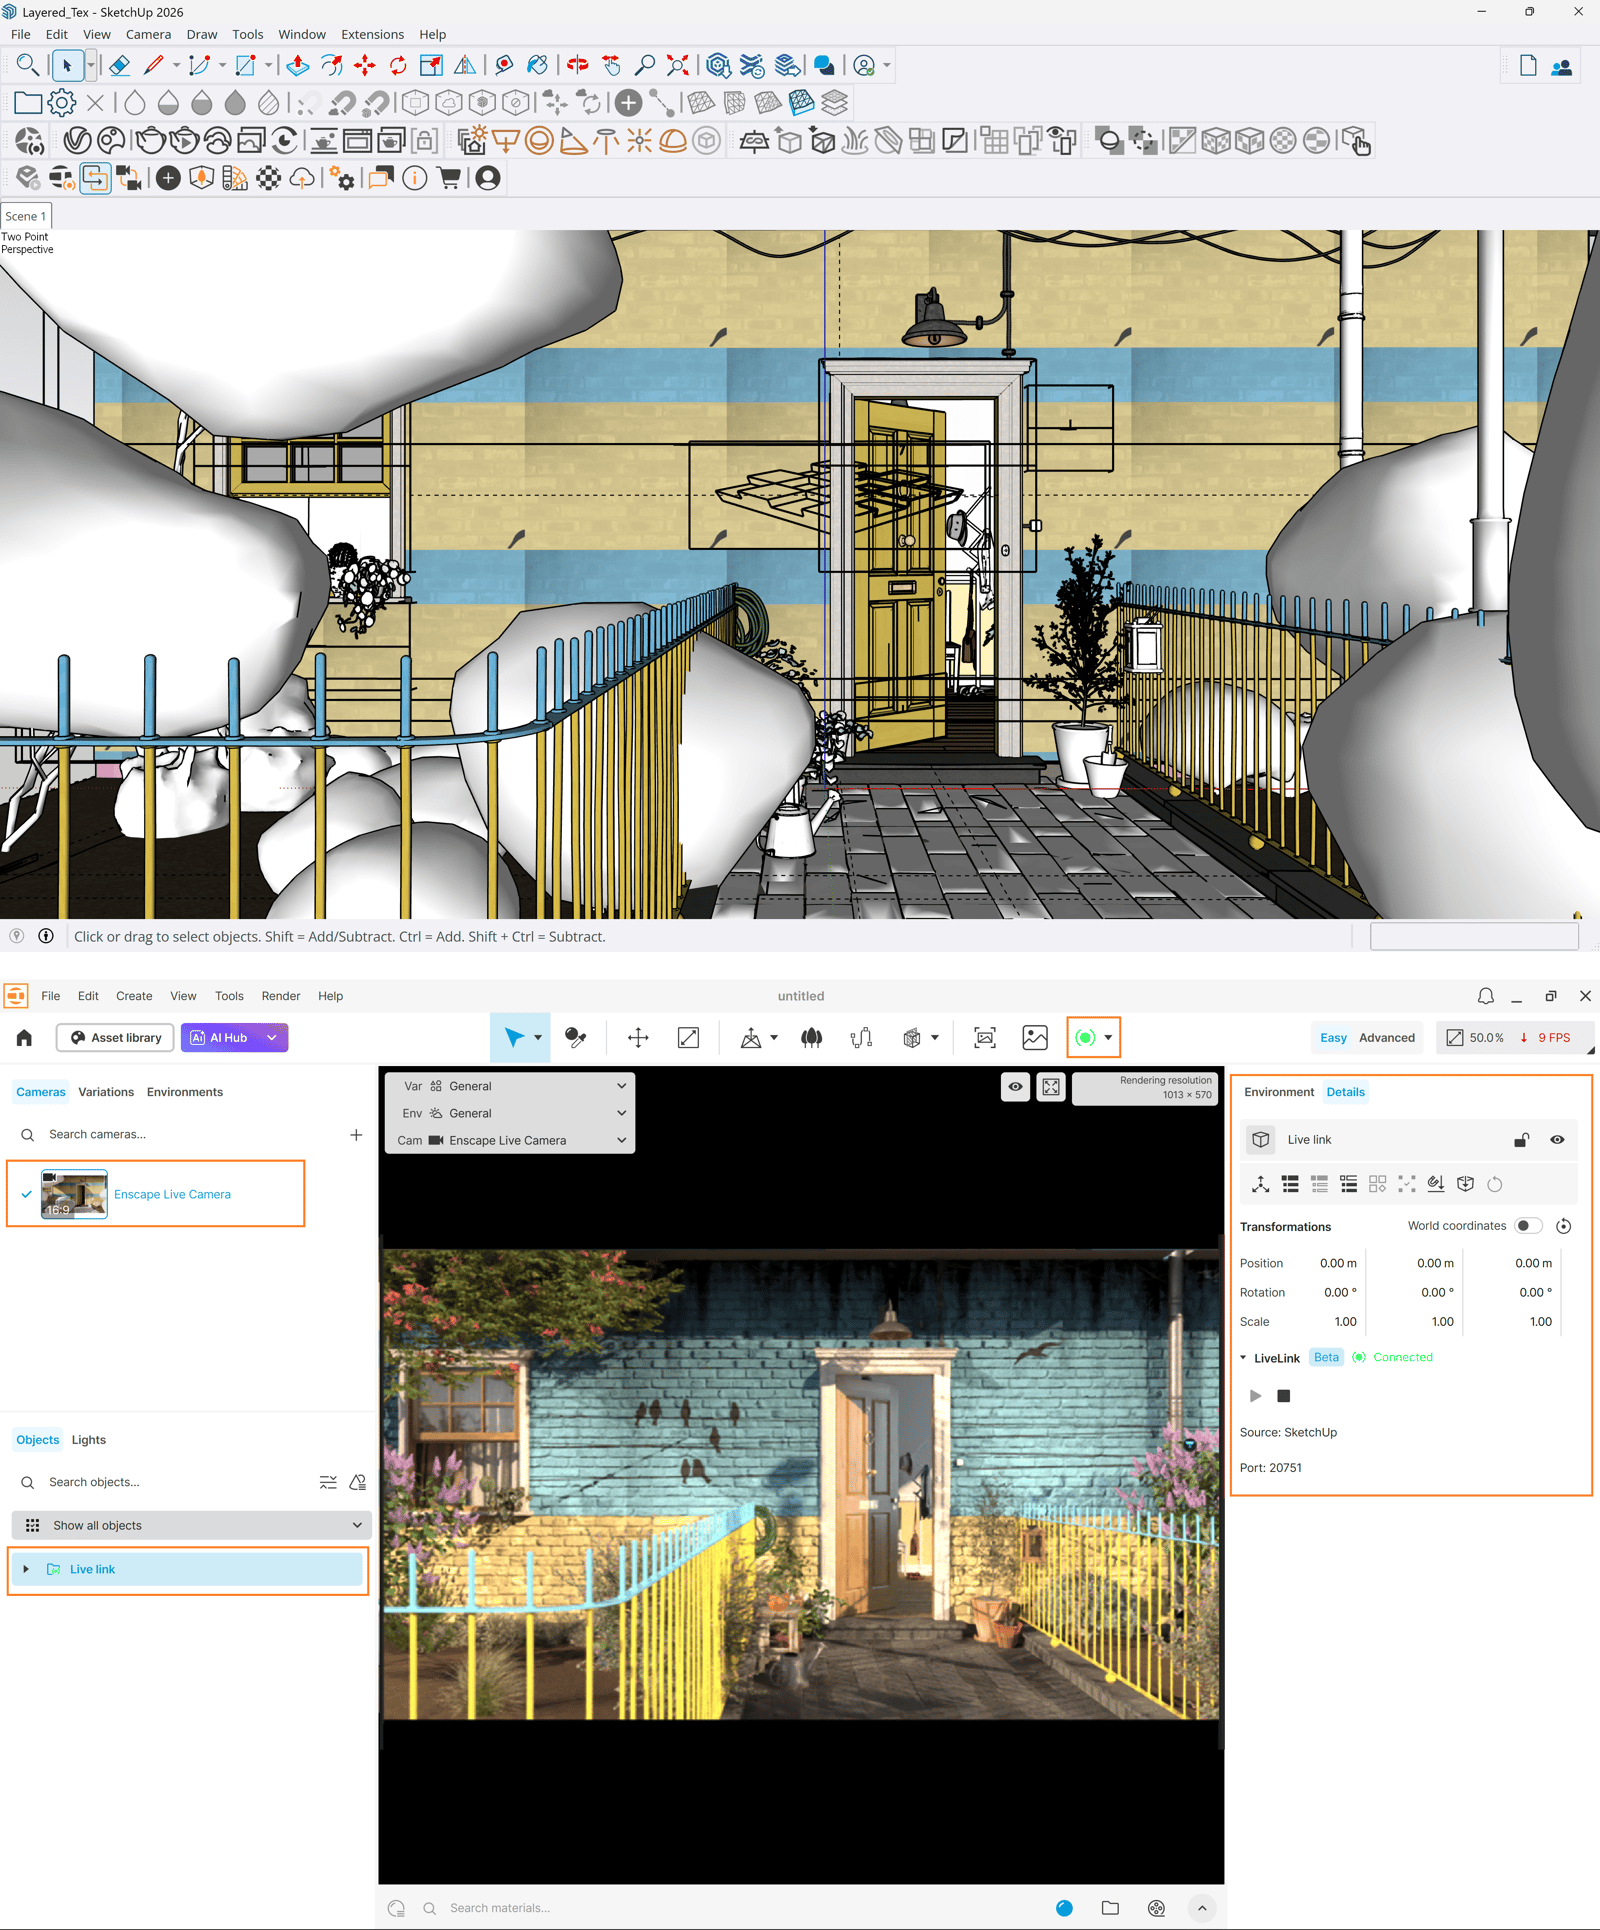
The image shows a Live Link connection between Envision and SketchUp.
Live Link controls
Click the Live Link button in the top toolbar to access these controls:
Provider sets the type of Live Link connection Envision listens for.
Enscape Live Link makes Envision listen for an incoming Live Link connection from Enscape.
V-Ray Live Link makes Envision listen for an incoming Live Link connection from V-Ray or Bridge.
Start Live Link () enables the Live Link connection from Envision.

Stop Live Link () ends the Live Link connection.
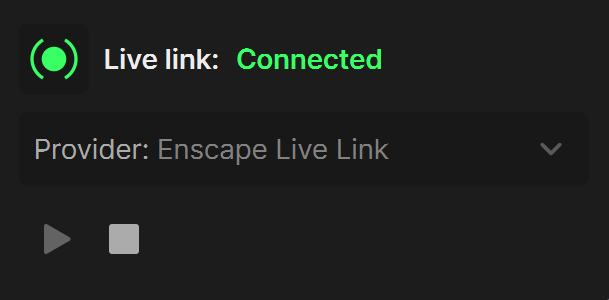
Live Link states
The toolbar button and Live Link object show the current Live Link state:
Live Link: Waiting for connection means Live Link is enabled or ready. Start Live Link from your modelling software to connect.
Live Link: Connected means the connection is active. Changes from your modelling software update automatically.
Live Link: Disconnected means the connection to your modelling software has been lost. Start Live Link from your modelling software to reconnect.
Live Link: Stopped means Live Link has stopped and the connection to your modelling software is inactive. Click Start Live Link, then enable Live Link in your modelling software to resume synchronisation.
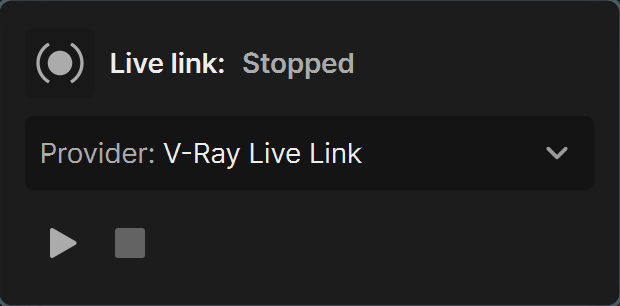
View all available Live Link states
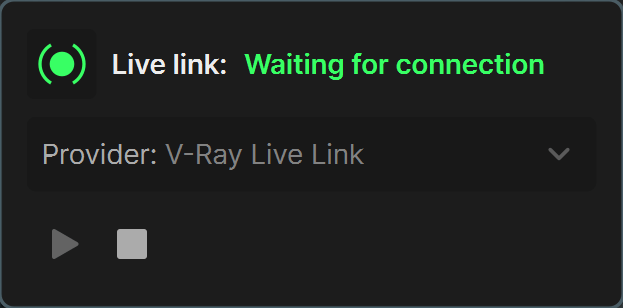
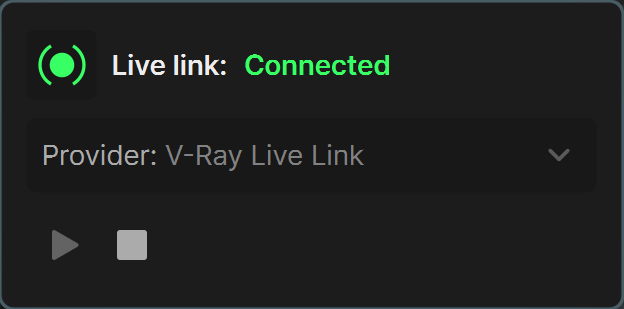
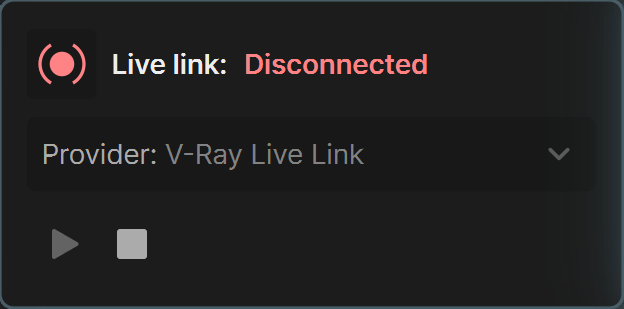
Live Link object actions


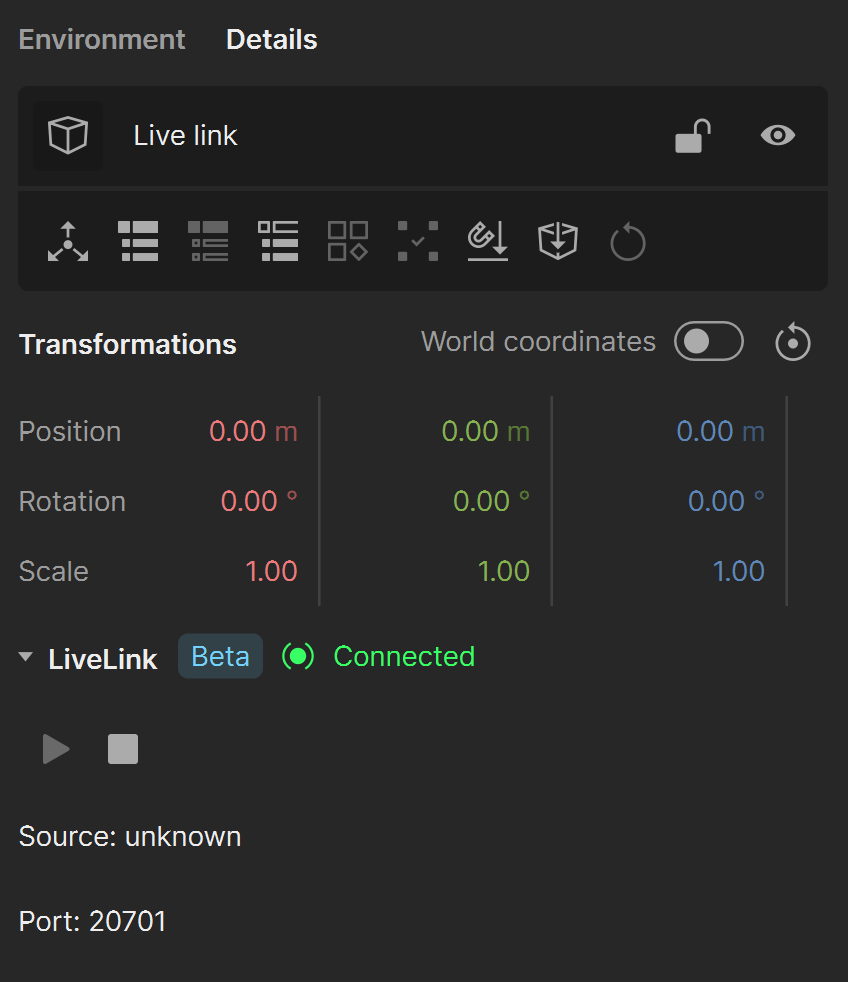
Lock () disables the selected Live Link object's position, rotation and scale controls. The controls become greyed out. Click the control again to enable them.

Hide () switches the element's visibility on or off. Hidden objects are not rendered.

Move pivot () opens the Pivot Point Adjustment settings, where you can move the pivot point.

Select hierarchy All () selects the parent and all children of the current selection in the scene hierarchy.

Select hierarchy Parent only () selects only the parent of the current selection in the scene hierarchy.

Select hierarchy All children () selects the remaining children in the scene hierarchy group that contains the current selection.

Make instance unique () separates the selection from its other instances and makes it unique. This action is disabled if the selection has no instances.

Select all instances () selects every instance of the selected Live Link object in the project.

Land to surface () moves the selected object down along the Z axis until its bounding box touches the first object below it.

Embed scene () cannot be undone. It embeds the scene by unlinking it from the project. You can no longer reload the scene and reapply your Envision work. Embed scene is disabled when the linked scene is unloaded.

Reset () resets all changes to the linked scene.
World coordinates uses the global scene axes for transformations when enabled. When disabled, transformations use local coordinates, which are the scene's own axes.

Revert the transformation () restores all position, rotation and scale values to their defaults of zero.
Position moves the Live Link object along the X, Y and Z axes.
Rotation rotates the Live Link object along the X, Y and Z axes.
Scale scales the Live Link object along the X, Y and Z axes.
Live Link controls are buttons for starting and stopping the Live Link connection. See the Live Link controls section for details.
Supported Live Link features with Enscape
Live Link between Envision and Enscape supports:
- Viewport view synchronisation, without named views.
- Geometry.
- Materials.
- Lights.
Live Link limitations with Enscape
Live Link between Envision and Enscape has these limitations:
- In Revit, switching views and exporting geometry from the active toolbar are not supported.
- Views and scenes are not supported.
- Visual settings are not supported.
- Environment support is limited. In Envision, right-click the Live Link object and select Use environment from this scene to enable the option manually.
- Object names, hierarchy and some environment parameters transfer on initialisation. Live updates to them are not synchronised.
- Some background image formats, including .ktx, are not supported.